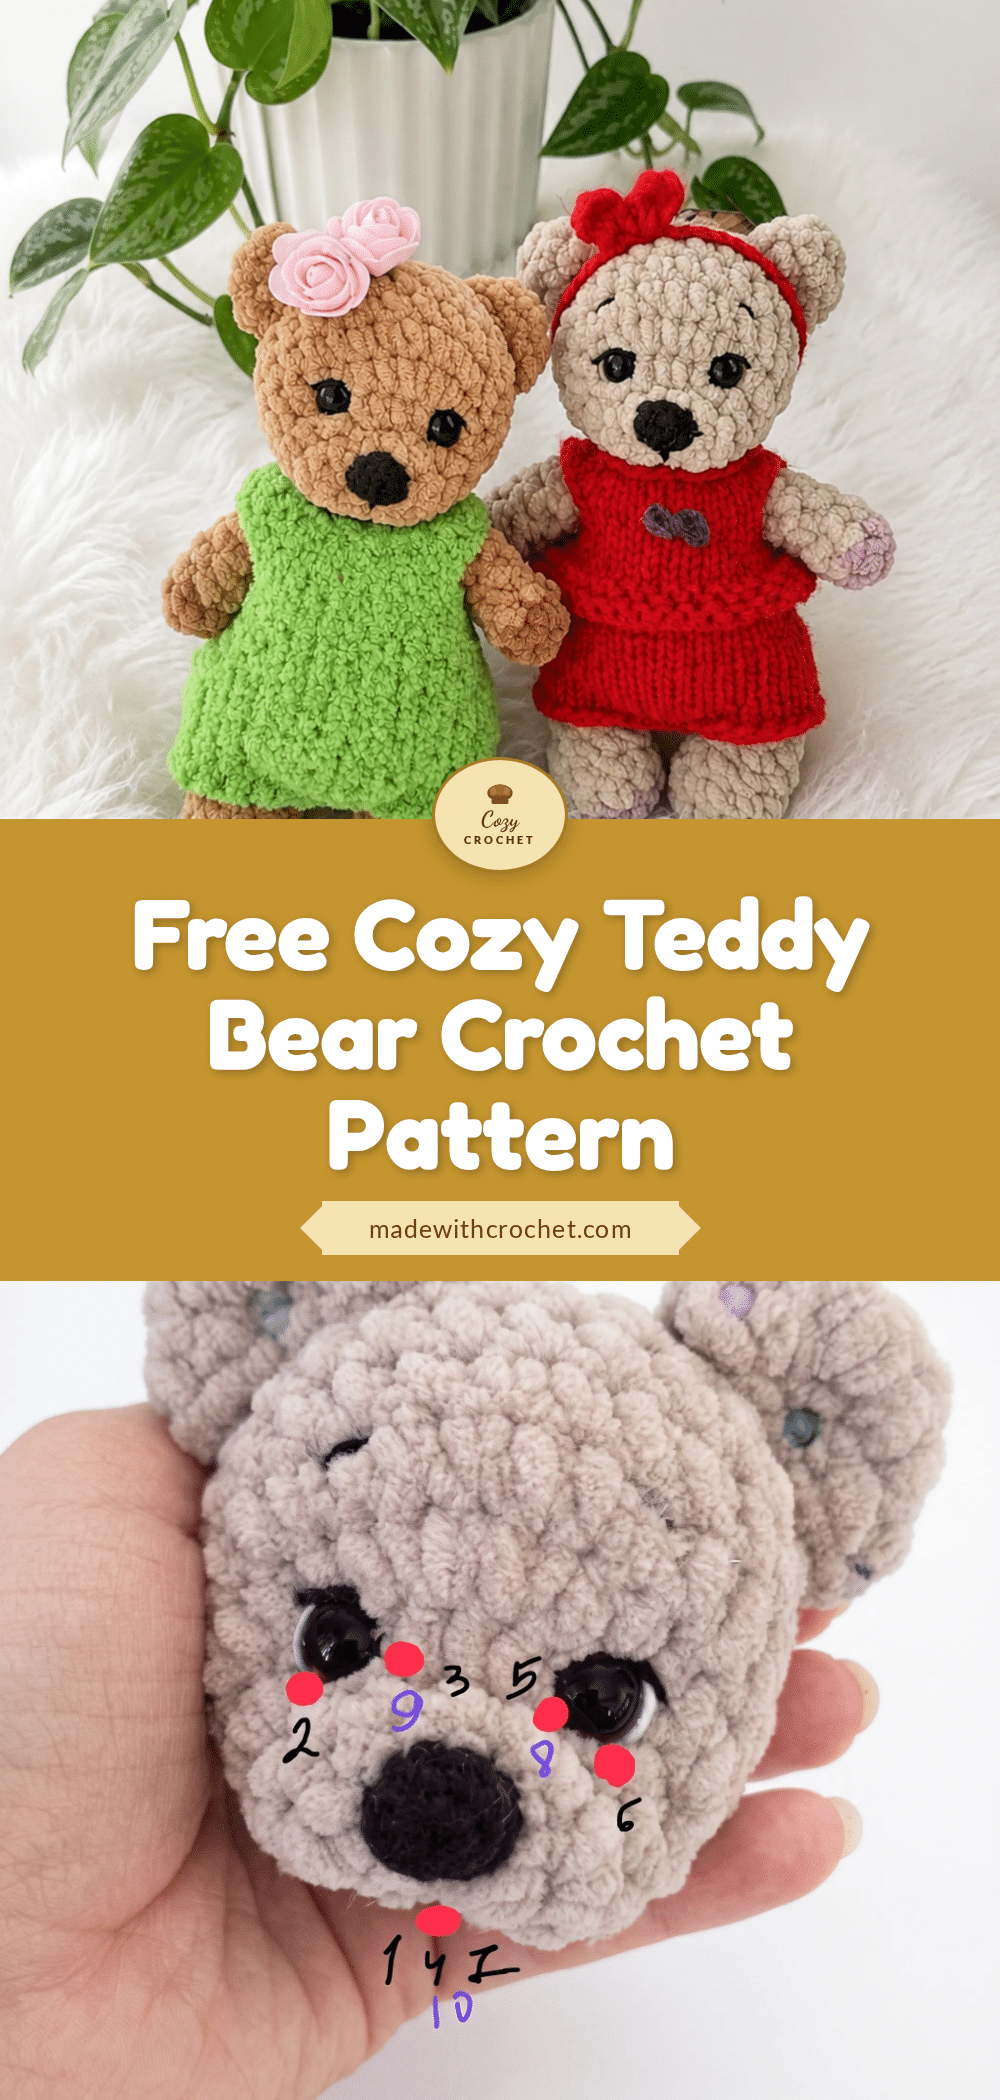
Picture this: a quiet evening, your favorite plush yarn wound into a neat ball on the table, and a 4.5mm hook waiting in your hand. You’re about to start a project that feels like a reward—a small, round-faced teddy bear with velvety fur and a shy little smile. This is the kind of toy that ends up tucked under someone’s arm every night, and you’re the one bringing it to life, one single crochet at a time.
Why This Project Works
This teddy bear pattern is a perfect next step for confident beginners who have mastered the basics of amigurumi. The plush yarn does most of the heavy lifting, turning simple single crochet rounds into a soft, huggable shape without any fancy stitchwork. The two-tone shading on the head and paw pads adds a professional touch, while the limbs join directly into the body as you go—no fiddly sewing later. It’s a satisfying, quick make that results in a timeless keepsake.
Project Overview
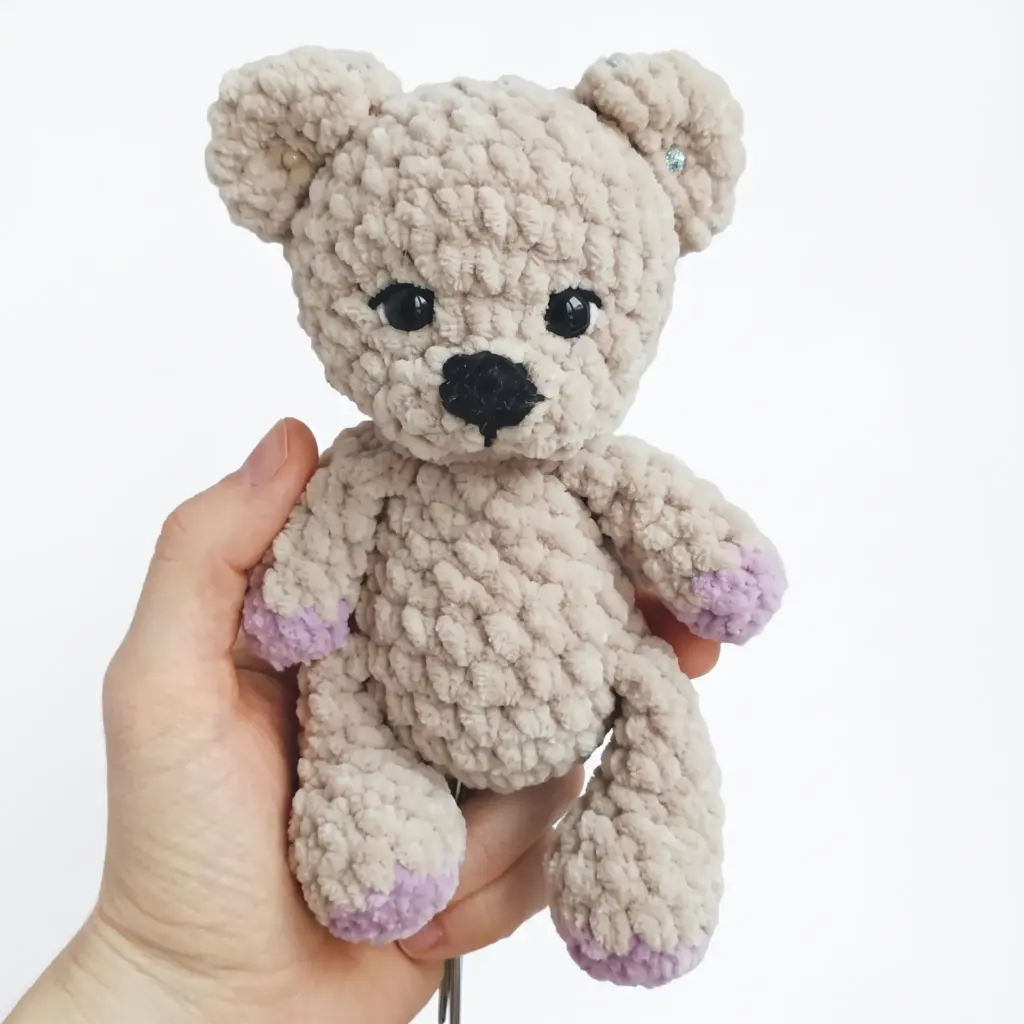
This pattern is written in US crochet terminology. The Head, Ears, Nose, Arms, Legs, Tail, and Body are all worked in continuous spirals—do not join or turn unless a round specifically calls for slip stitches. Gauge is not critical for this project; instead, match your hook to your yarn so your stitches are tight enough that stuffing doesn’t show through. Stitch counts are given at the end of each round in parentheses, for example (12). Stuff the Head, Arms, Legs, and Tail as you go, adding small amounts of fiberfill each round rather than packing it all in at the end. The Arms and Legs are joined directly into the Body during specific rounds—read ahead before you start the Body so you have your limbs ready. Safety eyes are inserted partway through the Head, before it’s fully closed, so plan to have them on hand before you begin that piece.
Materials
- Yarn: Bulky weight plush/velvet yarn (such as a soft polyester chenille-style yarn), less than half a skein in your main color, plus a small amount of a contrast color for the muzzle and paw pads
- Small amount of cotton-blend thread in black or dark brown for the nose embroidery
- Safety eyes: 10mm, 1 pair
- Hook: 4.5mm (G-6) for the body, 3mm (C-2/D-3) for the nose
- Stuffing / fiberfill
- Yarn needle / tapestry needle
- Sewing needle (for attaching pieces)
- Scissors
- Two knitting needles or long pins (to hold the head in place while sewing it on)
Abbreviations
- ch — Chain
- dec — Decrease (invisible decrease)
- hdc — Half Double Crochet
- inc — Increase
- MR — Magic Ring
- sc — Single Crochet
- sl st — Slip Stitch
- st(s) — Stitch(es)
Pattern Instructions
Head
Rnd 1: 6 sc in MR. (6)
Rnd 2: inc in each st around. (12)
Rnd 3: inc, 4 sc, inc, inc, 4 sc, inc. (16)
Rnd 4: change to contrast color, sl st in each st around. (16)
Rnd 5: inc around 6 times, then 10 sc. (22)
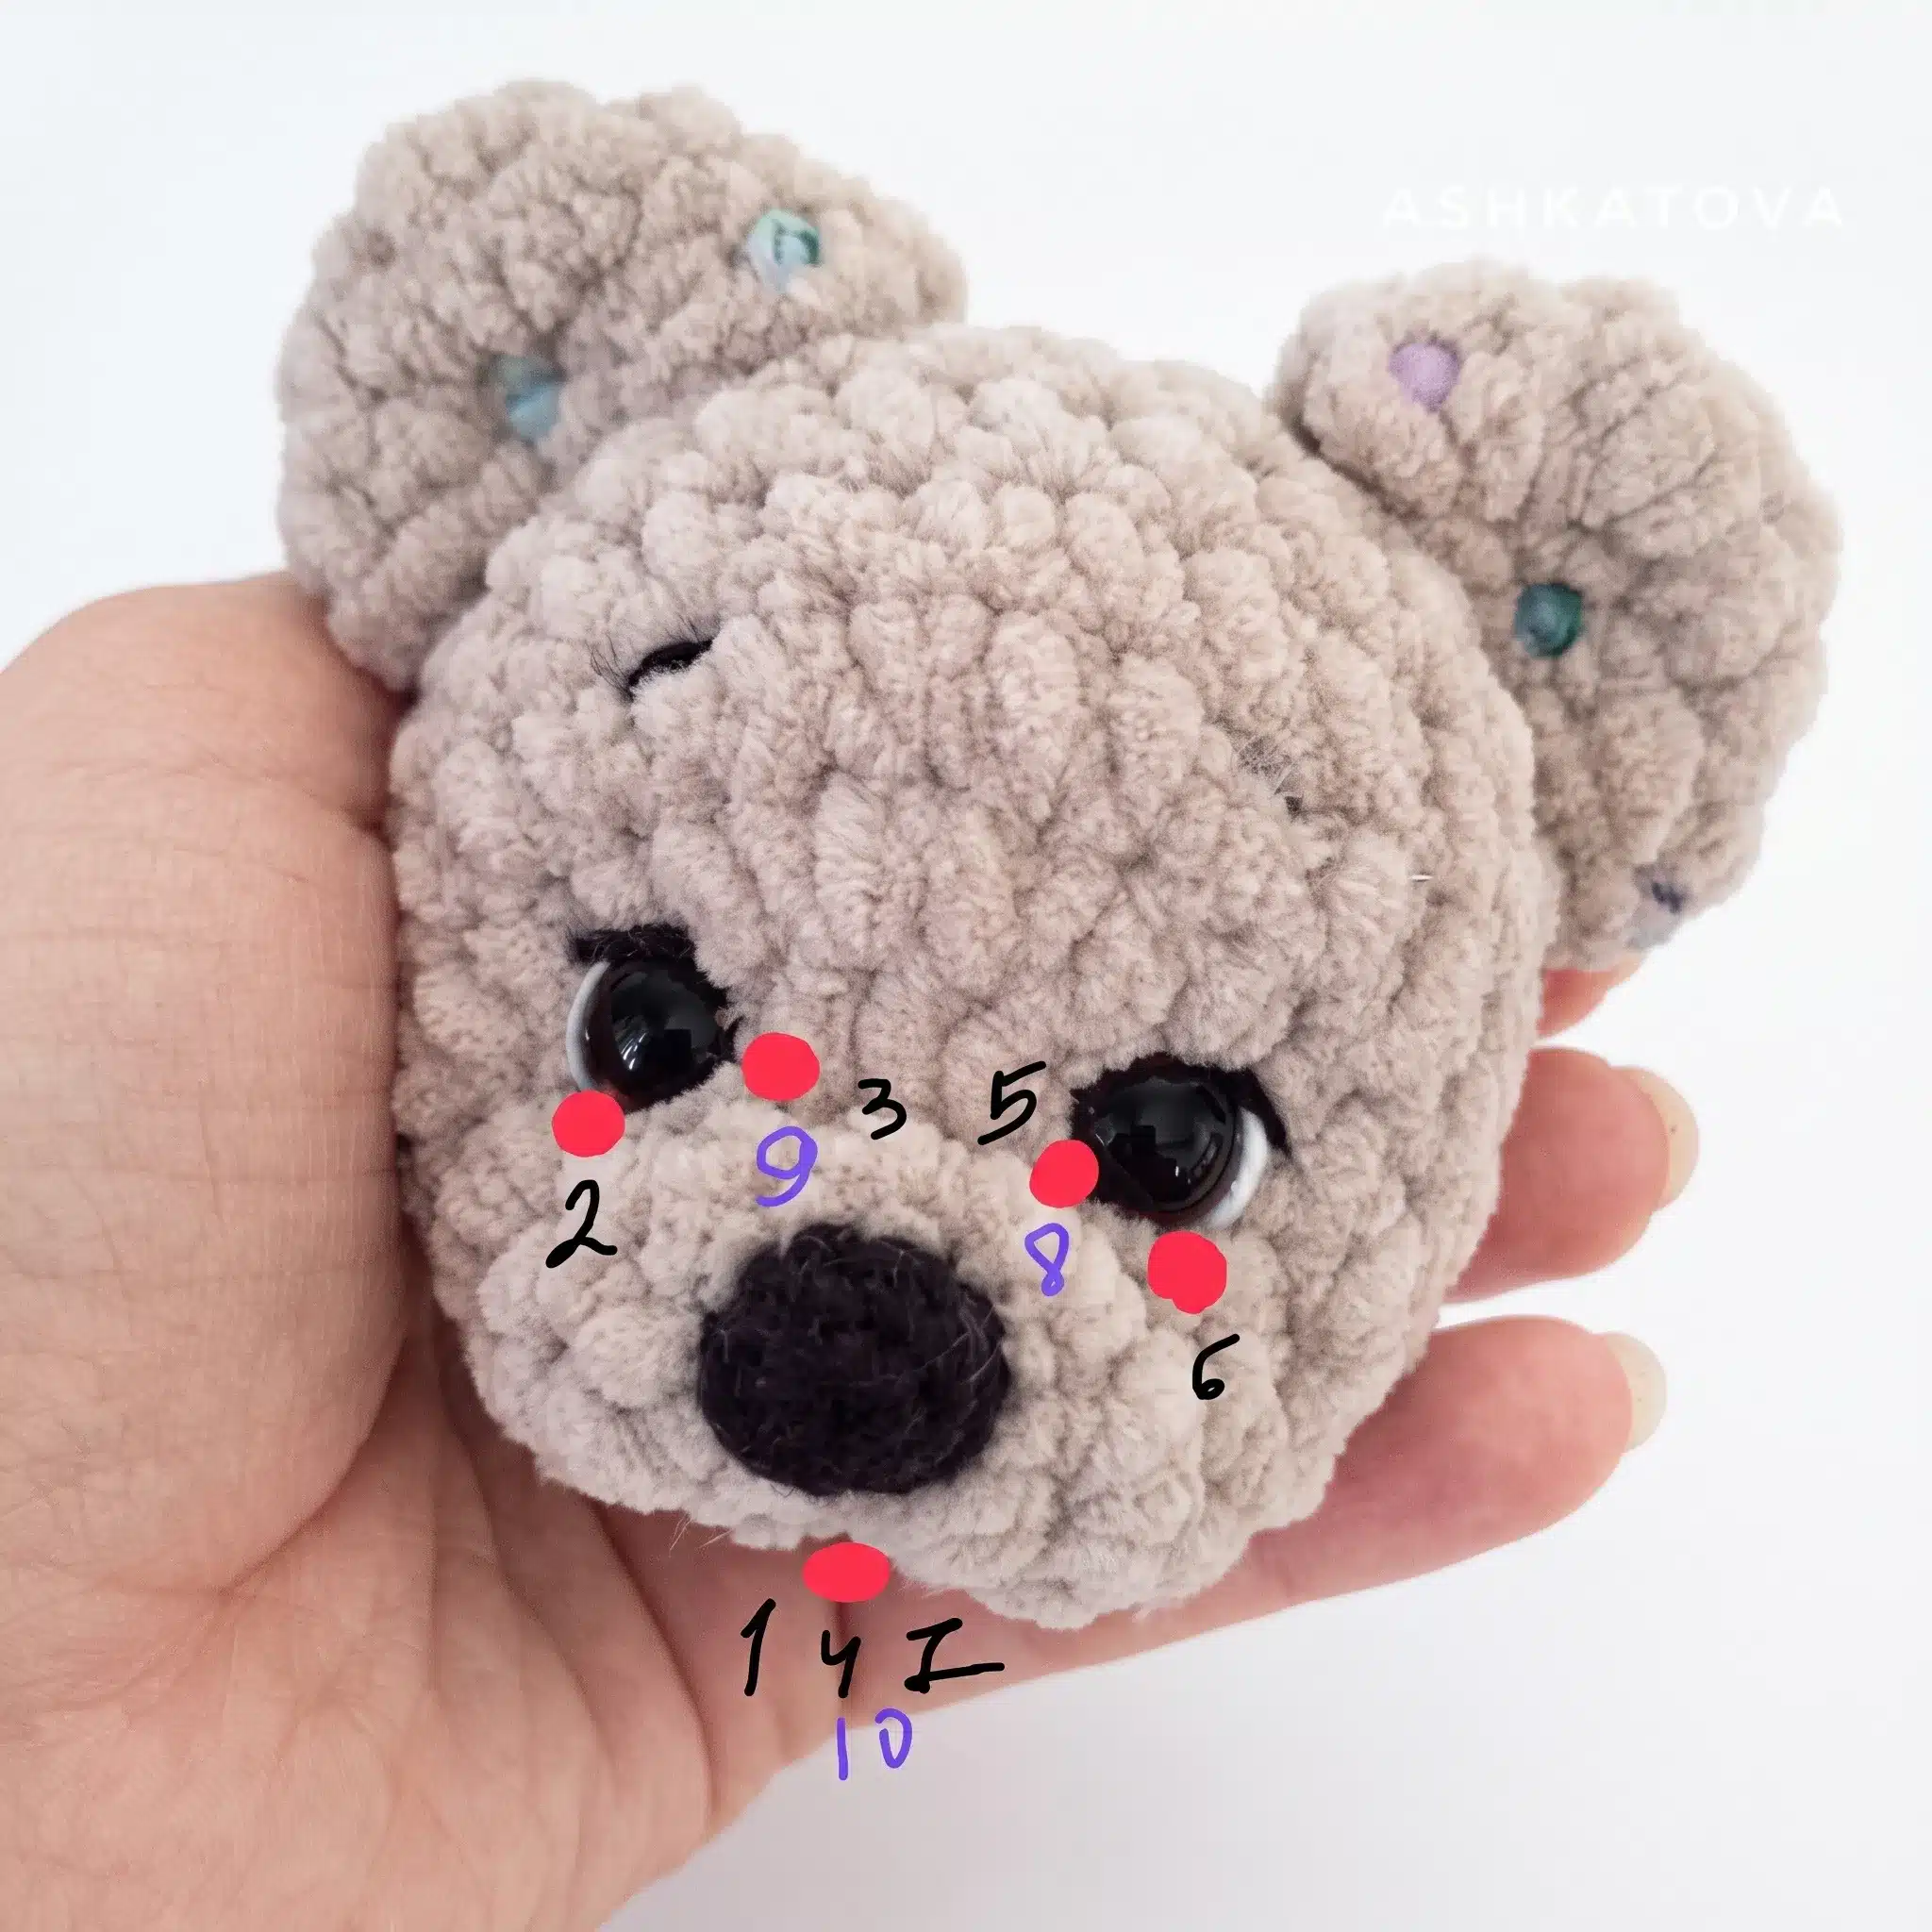
Insert safety eyes now, spacing them 5 stitches apart, positioned roughly at the 3rd and 9th stitch from the start of the round.
Rnd 6: 5 sc, inc, inc, 15 sc. (24)
Rnds 7–10: sc in each st around. (24)
Rnd 11: 2 sc, dec repeat around 6 times. (18)
Rnd 12: 1 sc, dec repeat around 6 times. (12)
Rnd 13: dec around 6 times, then fasten off, cinch the opening closed, sew on the nose, and embroider the mouth. (6)
Ears (make 2)
Rnd 1: 5 sc in MR. (5)
Rnd 2: inc in each st around. (10)
Rnd 3: sc in each st around. (10)
Sew each ear onto the head, positioning it over Rounds 1–4 of the Head.
Nose
Work with the 3mm hook.
Rnd 1: 6 sc in MR. (6)
Rnd 2: sc in each st around. (6)
Rnd 3: change color, sc in each st around. (6)
Rnd 4: 2 sc, dec, 1 sc, inc. (6)
Rnds 5–7: sc in each st around. (6)
Rnd 8: 1 sc, then fold the piece flat and sc through both layers across the remaining 3 stitches to close. (3)
Arms (make 2)
Rnd 1: 6 sc in MR. (6)
Rnd 2: sc in each st around. (6)
Rnd 3: change color, sc in each st around. (6)
Rnd 4: 2 sc, dec, 1 sc, inc. (6)
Rnds 5–7: sc in each st around. (6)
Rnd 8: 1 sc, then fold the piece flat and sc through both layers across the remaining 3 stitches to close. (3)
Legs (make 2)
Rnd 1: 6 sc in MR. (6)
Rnd 2: inc in each st around. (12)
Rnd 3: change color, sc in each st around. (12)
Rnd 4: sc in each st around. (12)
Rnd 5: 3 sc, dec, dec, dec, 3 sc. (9)
Rnd 6: 2 sc, dec, dec, 3 sc. (7)
For a mirrored pair, work the second leg’s Round 6 in reverse: 3 sc, dec, dec, 2 sc. Mirror Round 9 the same way on the second leg.
Rnds 7–8: sc in each st around. (7)
Rnd 9: 3 sc, dec, 2 sc. (6)
Rnd 10: 1 sc, then fold the piece flat and sc through both layers across the remaining 3 stitches to close. (3)
Tail
Rnd 1: 6 sc in MR. (6)
Rnd 2: sc in each st around. (6)
Body
Rnd 1: 6 sc in MR. (6)
Rnd 2: inc in each st around. (12)
Rnd 3: 1 sc, inc repeat around 6 times. (18)
Rnds 4–7: sc in each st around. (18)
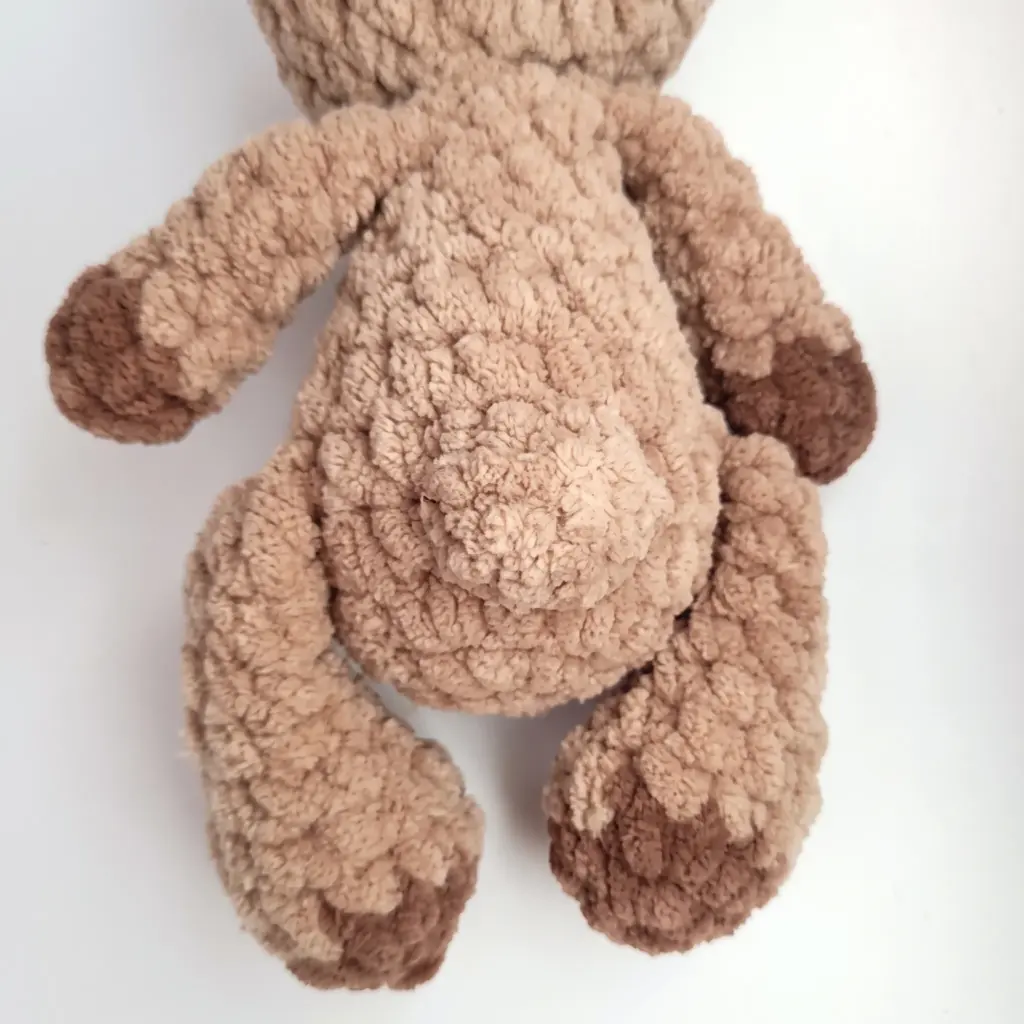
On Round 6, join the legs as you go: 1 sc, 3 sc joining the first leg, 6 sc, 3 sc joining the second leg, 5 sc.
Rnd 8: 1 sc, dec repeat around 6 times. (12)
Rnd 9: sc in each st around. (12)
Rnd 10: 3 sc, dec repeat around 2 times. (10)
Rnd 11: sc in each st around, joining the arms as you go: 1 sc, 3 sc joining the first arm, 3 sc, 3 sc joining the second arm. (10)
Rnd 12: 2 sc, then sl st in the remaining 10 stitches to finish.
Assembly
Pin the Head onto the top of the Body using knitting needles or long pins to hold it steady and centered. Whipstitch the Head securely to the Body, working through both layers around the entire opening. Sew the Tail onto the lower back of the Body using the yarn tail left from that piece. Double-check that both Ears and the Nose are firmly attached to the Head, adding extra stitches if either feels loose. Weave in all remaining yarn ends and trim any excess.
Tips
- Keep your tension snug throughout this pattern—plush yarn is forgiving, but loose stitches will let stuffing peek through, especially on the Head and Body. If your stitches feel gappy, drop down half a hook size rather than fighting your natural tension.
- When you reach the invisible decreases in the Head and Legs, work them slowly at first: insert your hook under the front loops of the next two stitches, pull up a loop through both, then complete as a single crochet. This keeps your decrease rounds smooth instead of leaving little holes.
- Stuff firmly but not rigidly. You want the bear to hold its round shape and feel huggable, not stiff. Add stuffing in small pinches as you close each piece rather than cramming it all in at the end, which tends to distort the stitches.
- Since plush yarn hides stitch definition beautifully, it also hides yarn tails well—use that to your advantage and leave slightly longer tails when joining the Arms and Legs to the Body so you have plenty to work with for reinforcing those seams later.
- Round 6 of the Body, where both legs get joined mid-round, is the trickiest section in this whole pattern. Work slowly here, and don’t be afraid to lay the piece flat and check that each leg is centered and facing forward before you continue past it.
Frequently Asked Questions
What yarn weight works best for this teddy bear pattern?
A bulky weight plush or velvet-style yarn works best for this pattern, as it creates the soft, huggable texture the design is known for. You’ll need less than half a skein of your main color, plus a small amount of contrast yarn for shading. Standard acrylic worsted yarn can be substituted, but the finished bear will look flatter and less plush.
How tall is the finished bear?
The finished bear measures approximately 17 to 18 centimeters, or about 6.7 to 7 inches, tall. Your exact size may vary slightly depending on your yarn choice, hook size, and how tightly you crochet. If you want a larger or smaller bear, switching to a thicker or thinner yarn with a correspondingly sized hook will scale the whole project up or down.
Can I use a plastic safety nose instead of embroidering one?
Yes, you can substitute a plastic safety nose if you prefer. However, the pattern is designed for an embroidered nose using cotton-blend thread, which gives the face a softer, more handmade look. If you use a plastic nose, attach it before closing the head, just like the safety eyes.
How do I make the invisible decrease look neat?
Work the invisible decrease by inserting your hook under the front loops only of the next two stitches, pulling up a loop through both, then completing the stitch as a single crochet. This technique eliminates the small holes that standard decreases can leave, especially important in plush yarn where gaps are more noticeable.
What if my stitches are too loose and stuffing shows through?
If stuffing is visible through your stitches, try dropping down half a hook size (for example, from 4.5mm to 4.0mm) to tighten your gauge. You can also use a smaller hook for the entire project, as long as you can still work the yarn comfortably. Keeping your tension consistently snug from the start is the best prevention.
Can I make this bear in a different color?
Absolutely. The pattern works beautifully in any color. For a classic look, use cream or light brown for the main color with a darker shade for the muzzle and paw pads. Pastel pinks, blues, or grays also make adorable variations. Just keep the contrast color for the muzzle and paw pads to maintain the bear’s signature two-tone look.
Pin This Crochet Pattern!