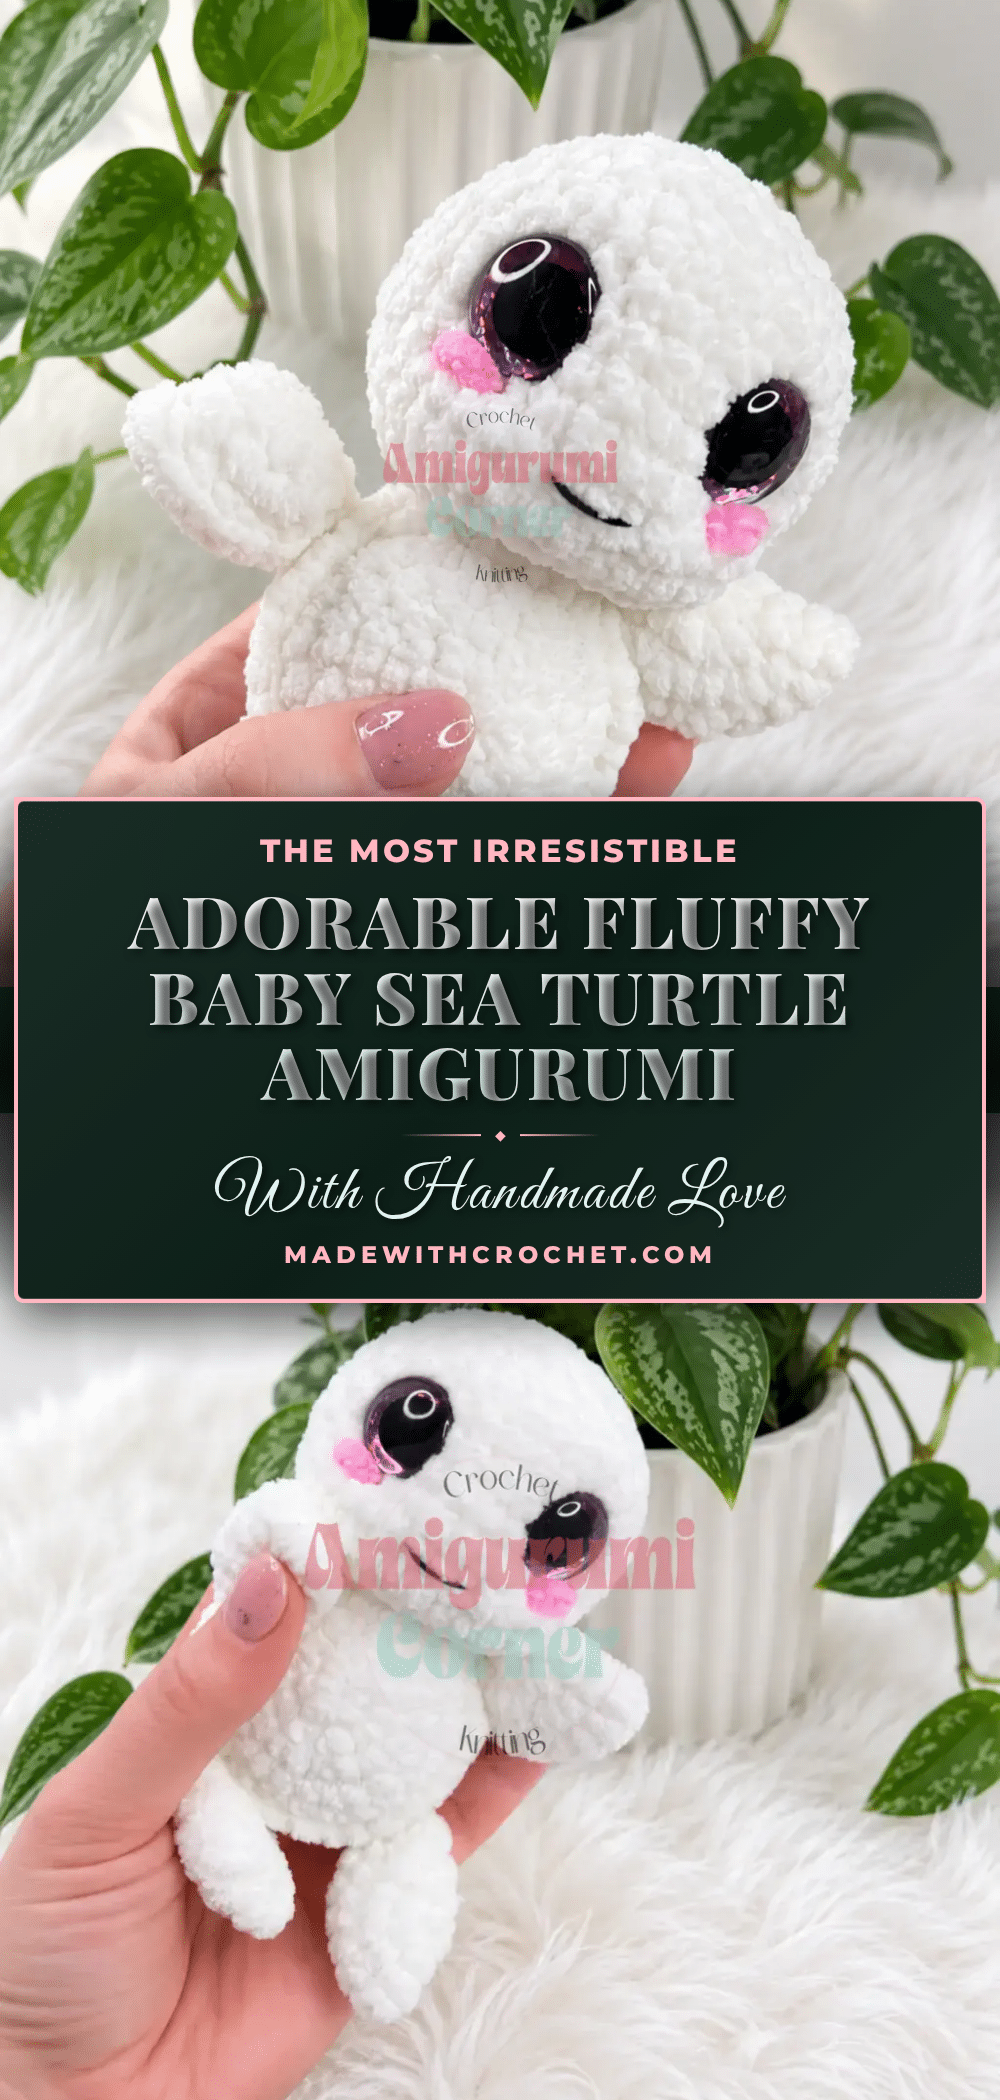
There is something undeniably heartwarming about gifting a handmade amigurumi, and this adorable fluffy baby sea turtle is the perfect candidate. Whether it is destined to be a comforting companion for a new baby, a charming addition to a nursery shelf, or a delightful prize at a local craft fair, this plush turtle captures attention with its soft texture and glossy eyes. The unique construction method—where the flippers are integrated directly into the body seam—creates a sturdy, seamless finish that looks professional and feels satisfying to make. This project is an excellent choice for crocheters who want to move beyond basic shapes while enjoying the cozy, tactile experience of working with plush yarn.
Our Touch: Gift and Use Ideas
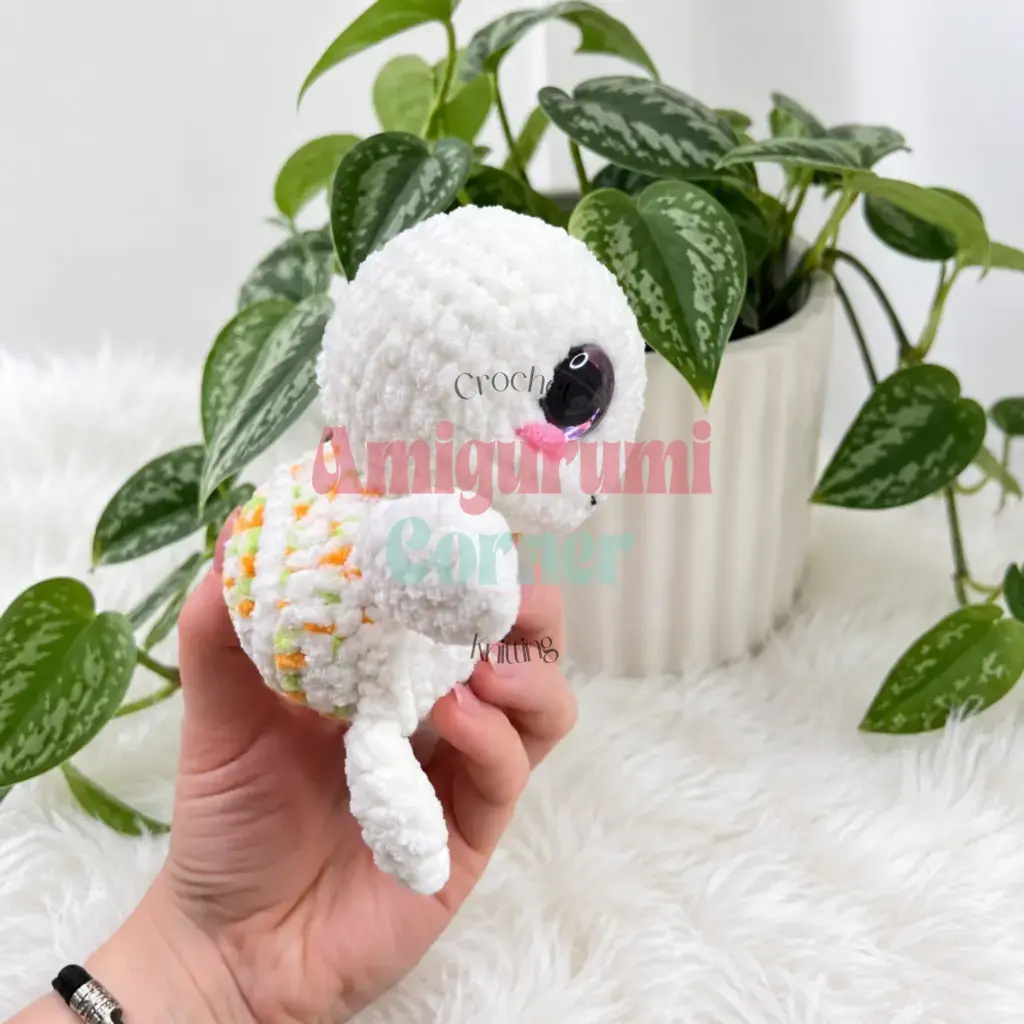
The soft, chenille-style yarn used in this pattern makes this turtle exceptionally huggable, elevating it from a simple toy to a sensory comfort object. The flecked shell adds a subtle, organic detail that mimics the natural patterns of sea turtles without being overly realistic, making it suitable for all ages. Because the head is worked directly from the body rather than sewn on, the neck is naturally firmer and more stable, which is a thoughtful design choice for baby-safe toys. This turtle also makes a wonderful “just because” gift or a sweet keepsake for a child’s first collection of stuffed animals. The optional pink cheek blushing adds a touch of personality that turns a simple crochet project into a character with a distinct personality.
Project Overview
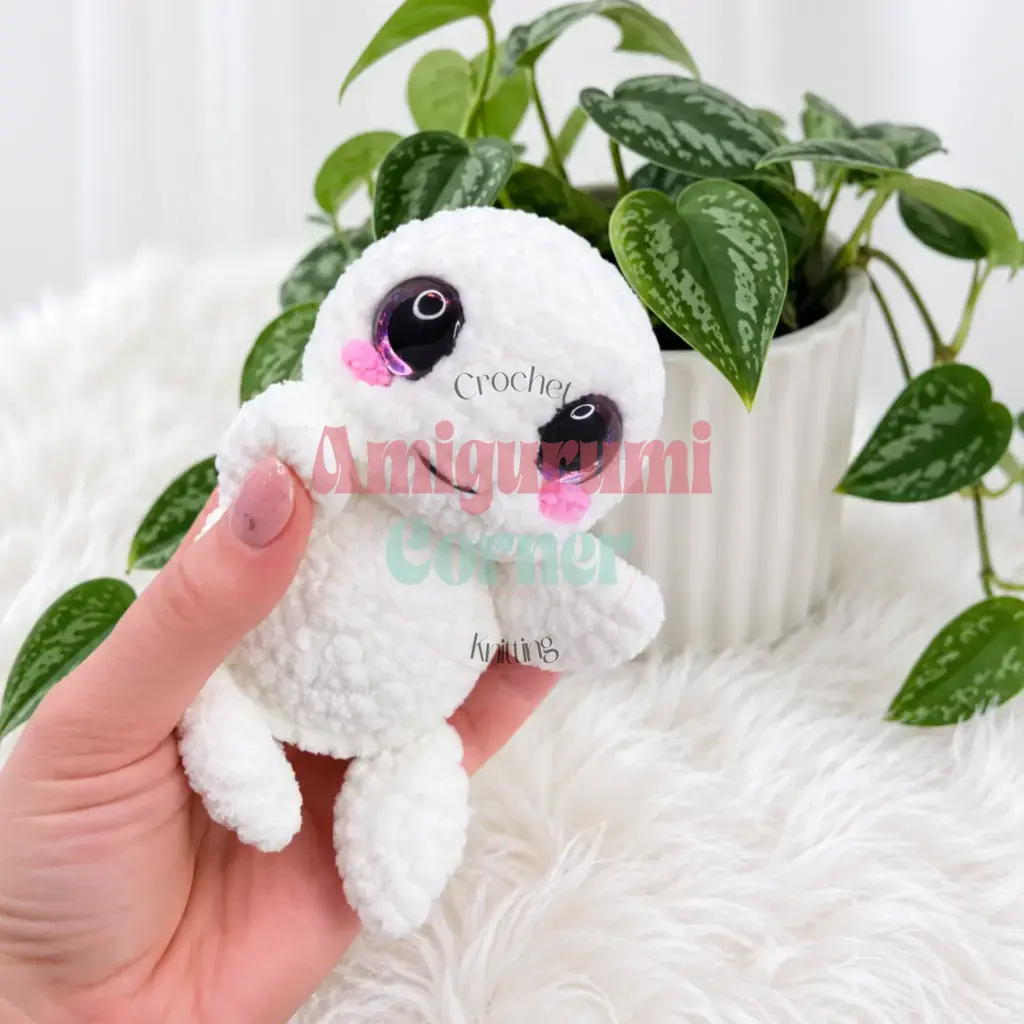
This fluffy baby sea turtle amigurumi is worked in a soft, plush-textured yarn that gives the finished piece a rounded, huggable look straight out of the ball. It is a great project if you’re comfortable with basic single crochet, increases, and decreases but haven’t tackled a multi-piece amigurumi build before. What makes this little guy different from a typical amigurumi turtle is how the pieces come together: the flippers are worked right into the seam between the shell and belly, and the head is crocheted directly from the body instead of being sewn on afterward. That means fewer ends to weave in and a sturdier, more seamless finish.
Materials
- Plush/chenille-style yarn (Bulky weight, CYCA 5) in cream/off-white — main color for the belly, head, flippers, and collar.
- A small amount of the same plush yarn in a fleck/multicolor blend (cream with orange and green flecks) — for the shell.
- Crochet hook, 3.5mm (US E-4) — adjust up or down depending on how tight or loose your stitches come out.
- Safety eyes, 10–12mm, 1 pair.
- Polyester fiberfill stuffing.
- Stitch marker.
- Yarn/tapestry needle.
- Scissors.
- Pink felt or pink yarn scraps for cheek blushing (optional, for the rosy cheek detail).
Gauge and Finished Size
Gauge isn’t critical here; your finished turtle will simply run a little larger or smaller depending on your tension and hook size, and either way it’ll still work up correctly.
Abbreviations
- ch — Chain
- dec — Decrease (invisible decrease)
- inc — Increase (2 sc in same stitch)
- MR — Magic Ring
- sc — Single Crochet
- sl st — Slip Stitch
- st(s) — Stitch(es)
- BLO — Back Loop Only
- FLO — Front Loop Only
Pattern Notes
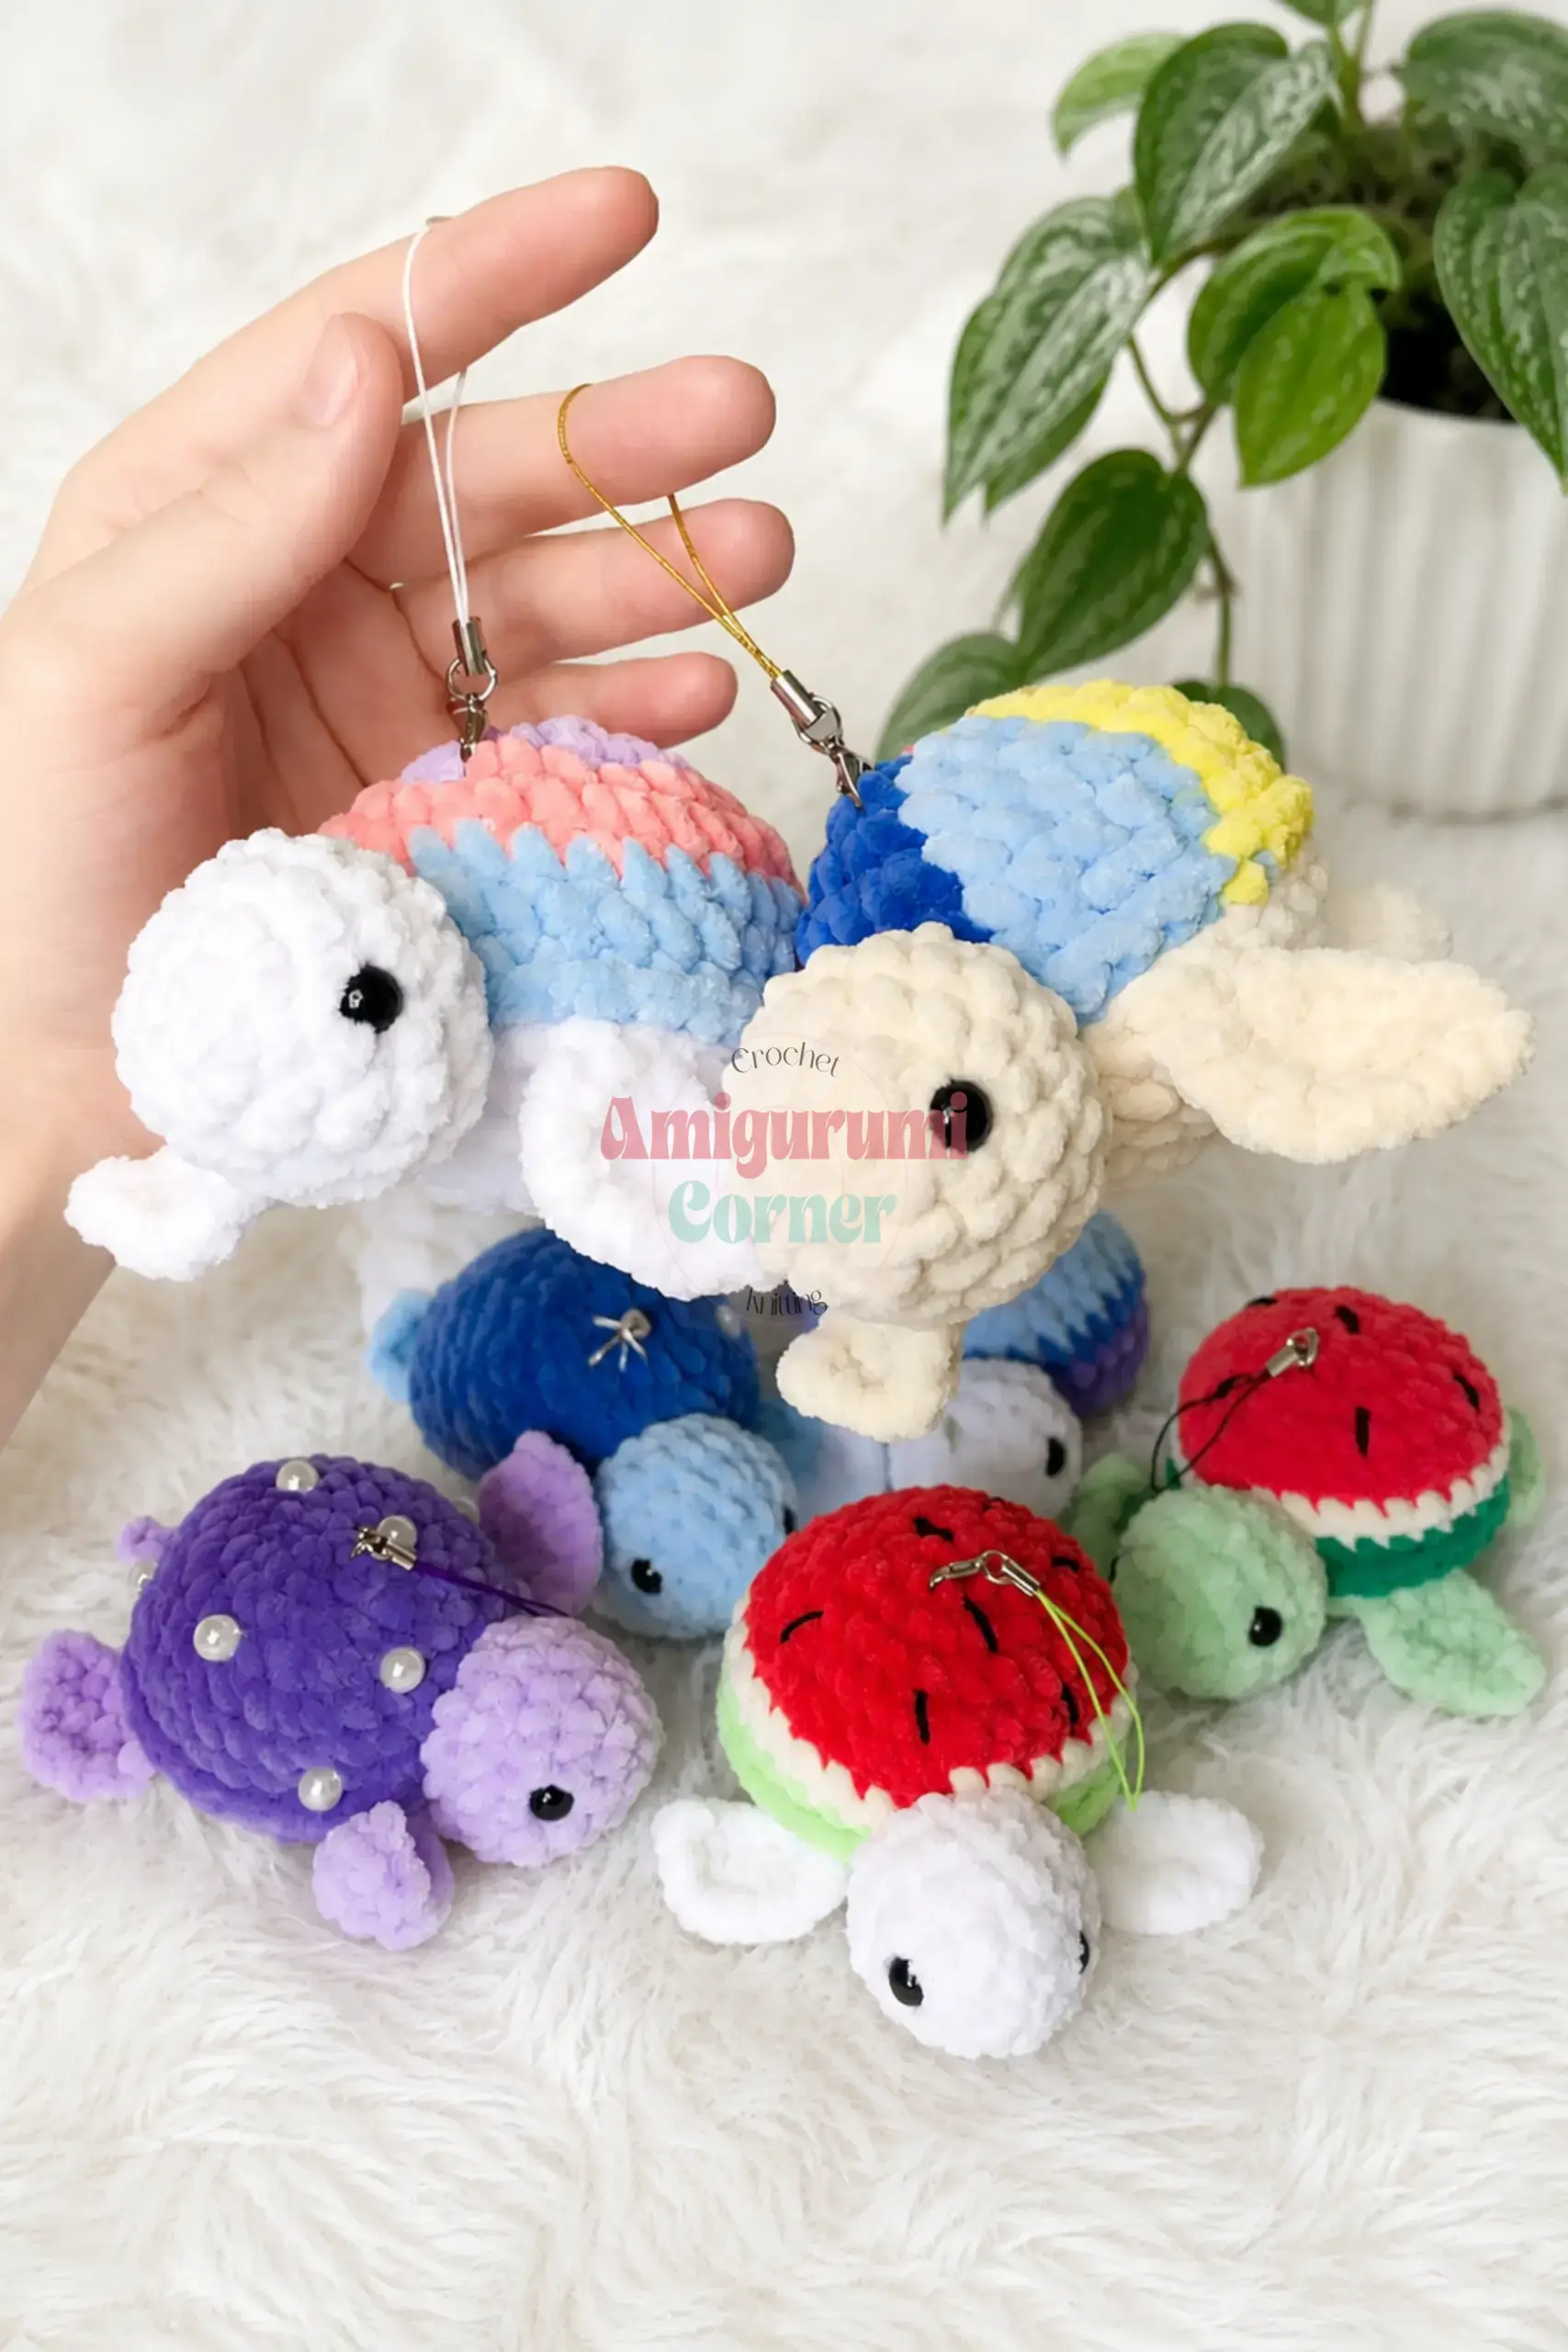
This pattern is written in US crochet terminology. The pieces are worked in continuous spiral rounds; do not join or turn unless a step tells you to work through both loops. Stitch counts are given at the end of every round in parentheses, like this: (12). The flippers are worked separately first, then joined into the seam as you connect the shell and belly — you won’t sew them on later. The head is worked directly from the joined body, and the collar is worked directly from the head, so most of this project is one continuous piece rather than separate parts stitched together at the end. Stuff firmly as you go, especially in the neck, since a well-packed neck is what keeps the head sitting up nicely.
Pattern Instructions
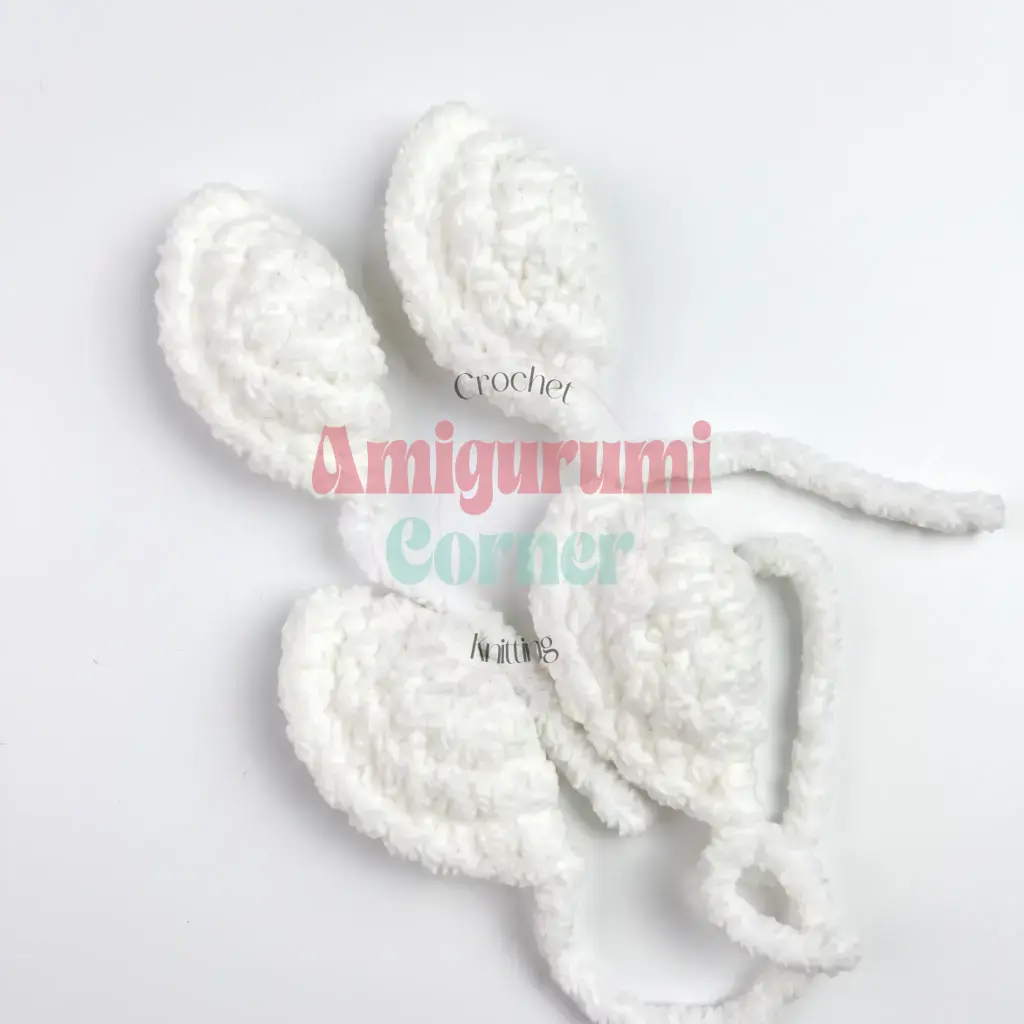
Flippers (Make 4)
Rnd 1: 6 sc in MR. (6)
Rnd 2: inc in each st around. (12)
Rnd 3: 1 sc, inc repeat 6 times around. (18)
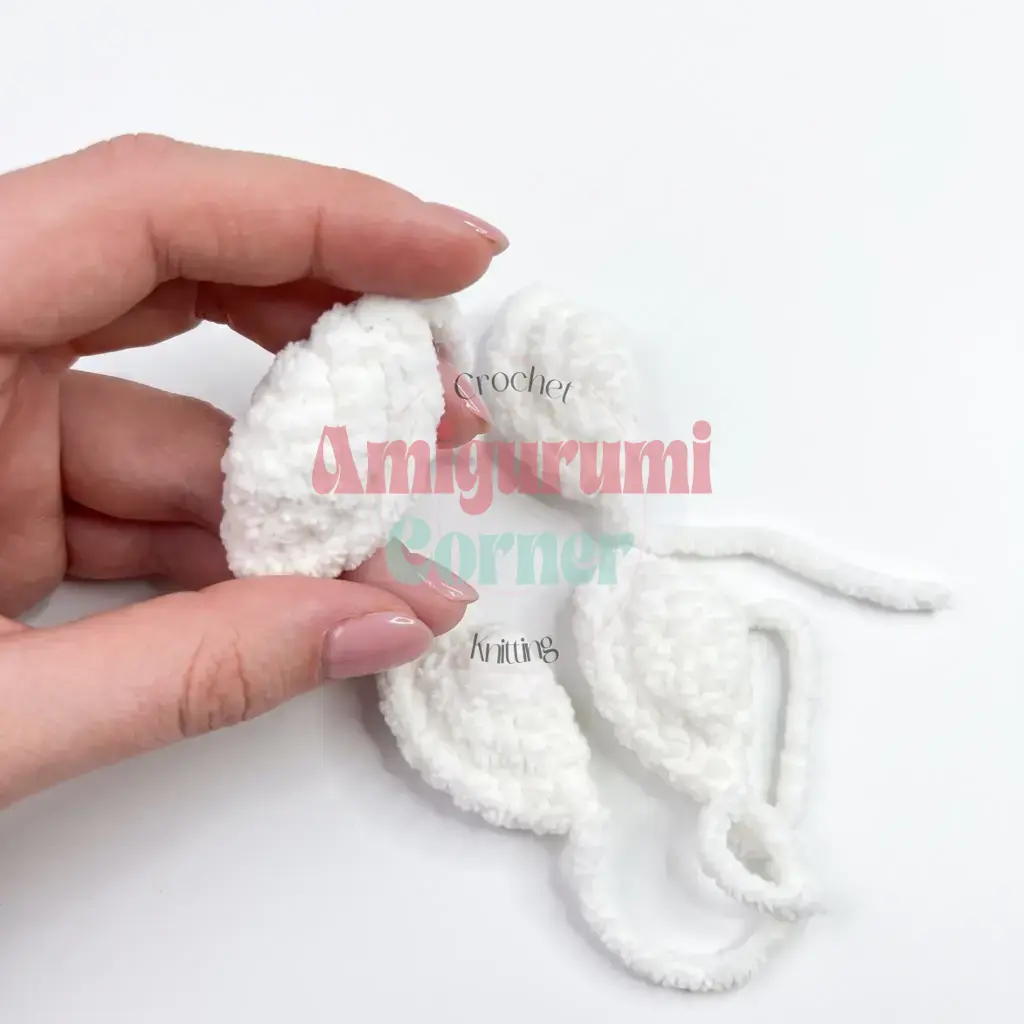
Fold the piece flat and, working through both layers, single crochet 9 sc across. Fasten off, leaving a yarn tail. Do not stuff the flippers — they’ll be joined flat into the body seam in the next steps.
Shell
Work this piece in your fleck/contrast yarn.
Rnd 1: 6 sc in MR. (6)
Rnd 2: inc in each st around. (12)
Rnd 3: 1 sc, inc repeat 6 times around. (18)
Rnd 4: 2 sc, inc repeat 6 times around. (24)
Rnd 5: 3 sc, inc repeat 6 times around. (30)
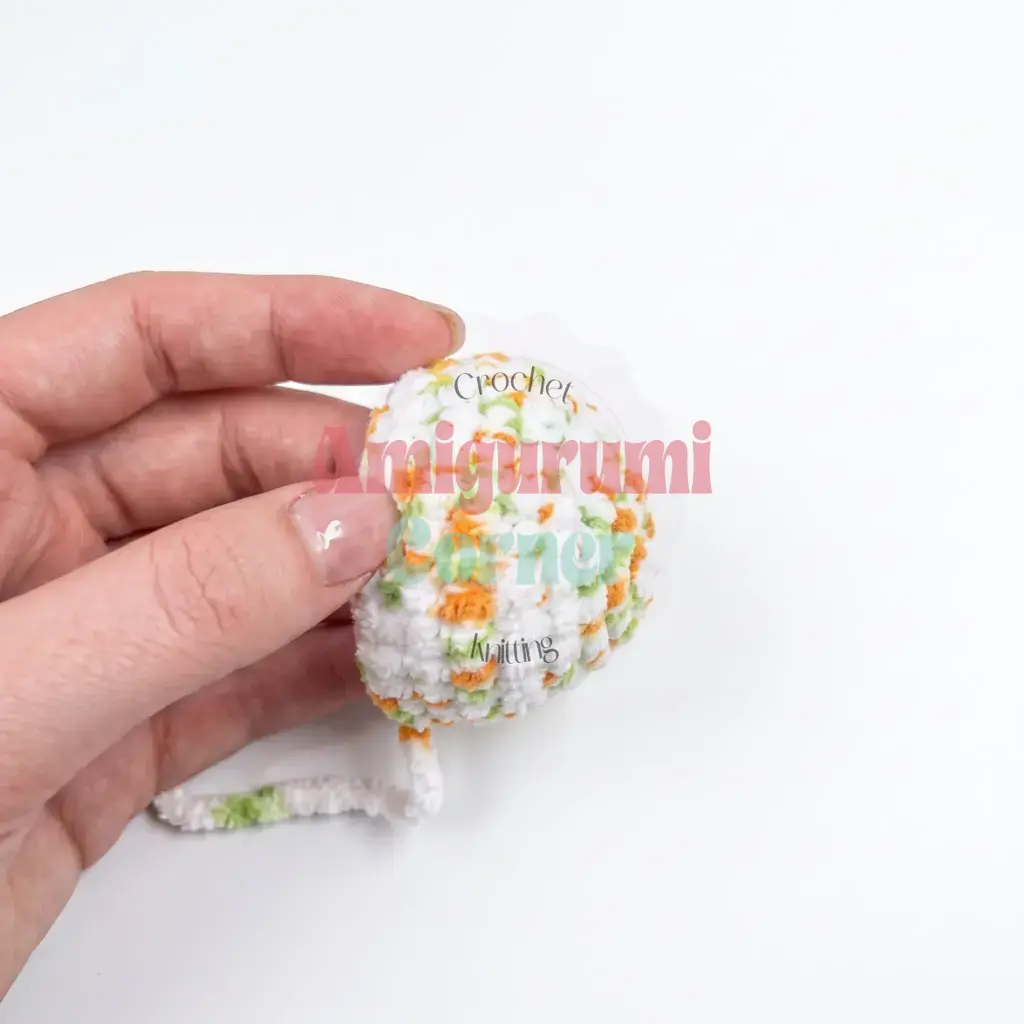
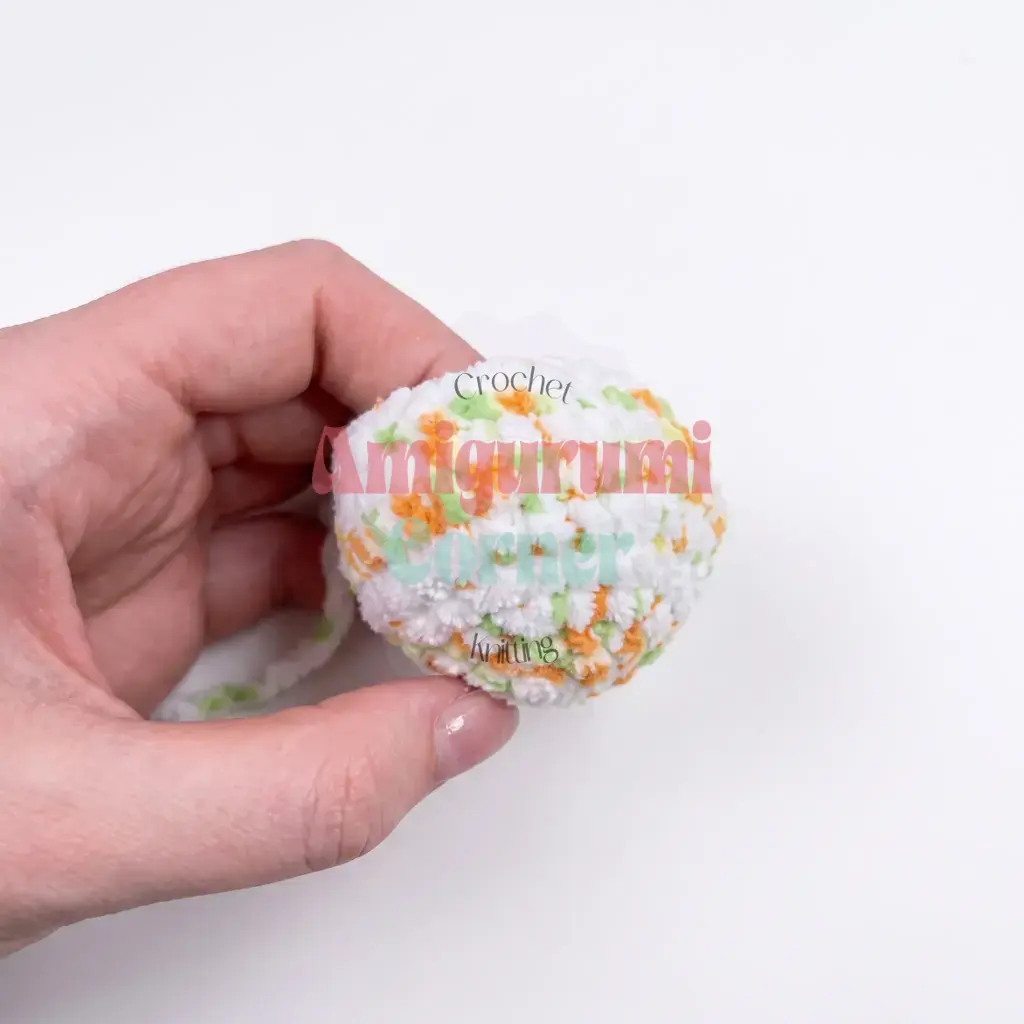
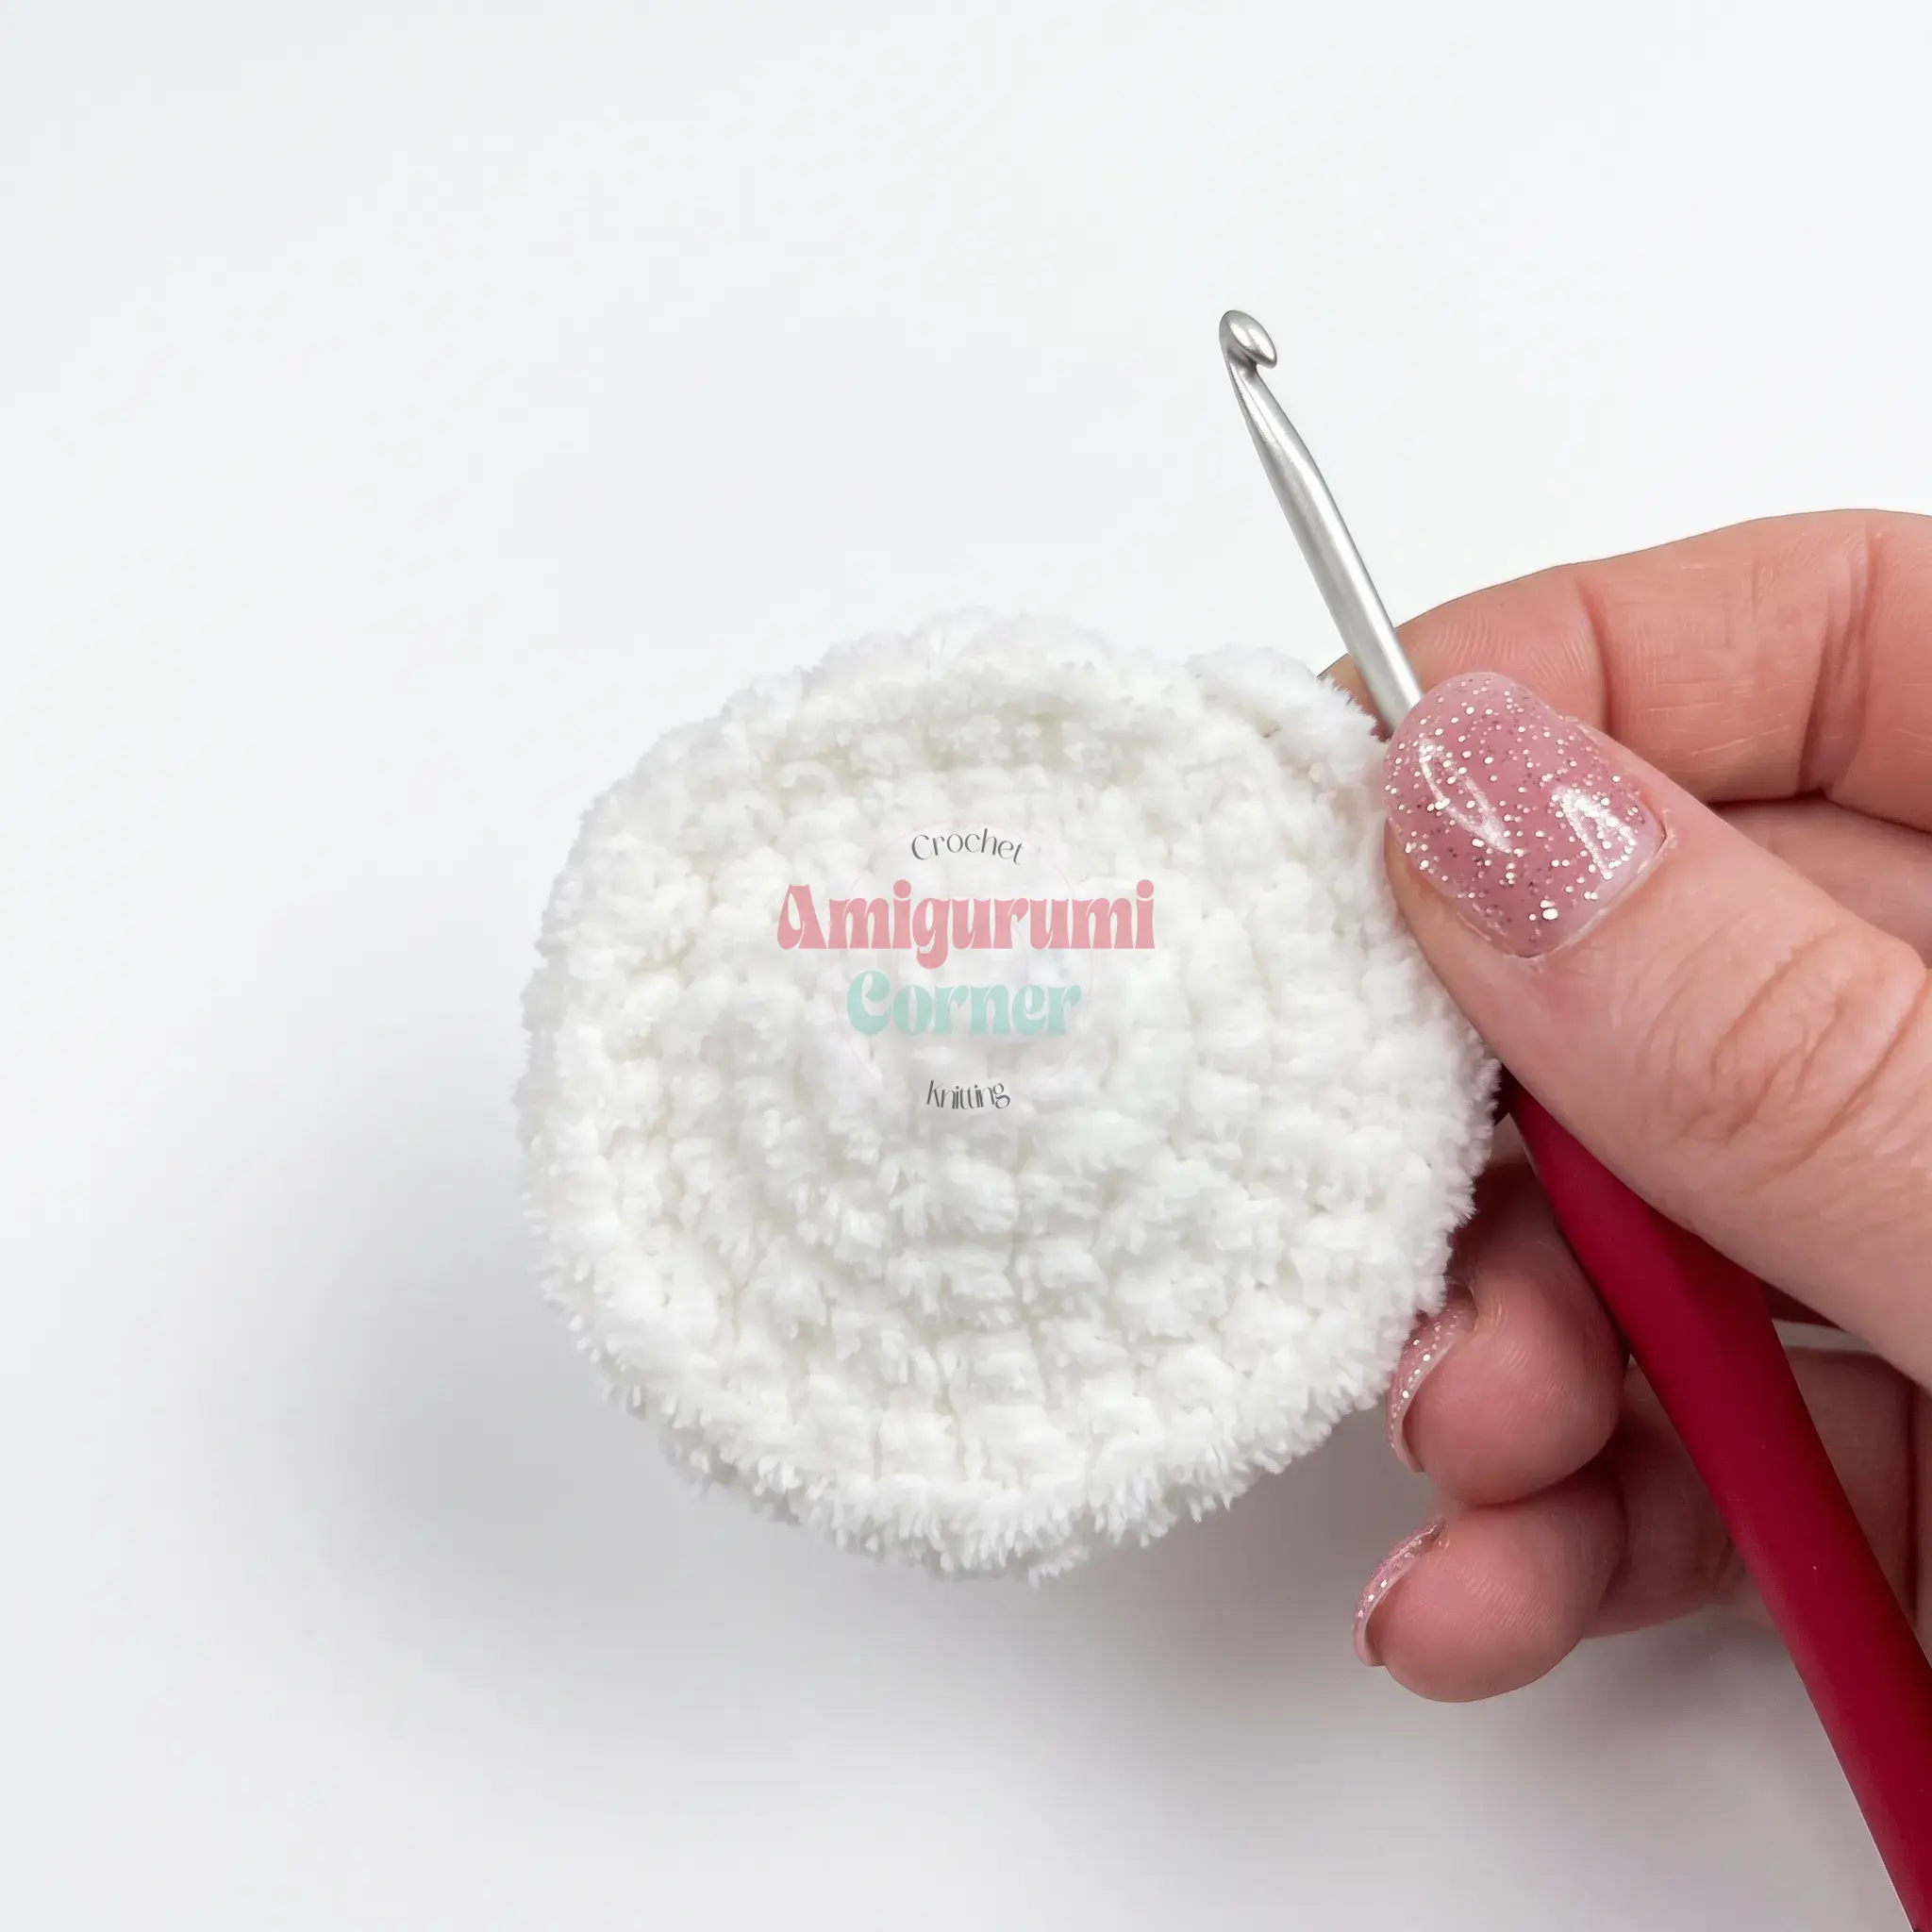
Rnds 6–8: sc in each st around. (30) — work 3 rounds even. Fasten off and weave in the end.
Belly
Work this piece in your main cream color.
Rnd 1: 6 sc in MR. (6)
Rnd 2: inc in each st around. (12)
Rnd 3: 1 sc, inc repeat 6 times around. (18)
Rnd 4: 2 sc, inc repeat 6 times around. (24)
Rnd 5: 3 sc, inc repeat 6 times around. (30)
Do not fasten off — you’ll continue directly into the joining round below.
Joining the Shell and Belly
Hold the belly and shell pieces wrong sides together (or however you like the flippers oriented — just make sure each flipper’s rounded, puffy side faces downward toward the belly). You’ll join both layers together in a single round, working the four flippers directly into the seam as you go. Leave a gap unworked around the last portion of the round — you won’t join all the way around, since the head will be worked straight out of this opening.
Attach your cream main-color yarn and work through both layers (belly and shell stitches held together):
Joining Rnd: 1 sc, 2 sc (catching a flipper in with these 2 sts) , 4 sc, 2 sc (catching a flipper in with these 2 sts) , 6 sc, 2 sc (catching a flipper in with these 2 sts) , 4 sc, 2 sc (catching a flipper in with these 2 sts) , 1 sc. (24)
Do not fasten off — continue with this same strand of yarn straight into the head.
Head
Rnd 1: 6 sc into the belly stitches, then 6 sc into the shell stitches, working in FLO (front loop only) so the back loops stay free for the collar later. (12)
Rnd 2: inc in each st around. (24)
Rnd 3: 3 sc, inc repeat 6 times around. (30)
Rnd 4: 4 sc, inc repeat 6 times around. (36)
Rnds 5–8: sc in each st around. (36) — work 4 rounds even.
Rnd 9: 4 sc, dec repeat 6 times around. (30)
Rnd 10: 3 sc, dec repeat 6 times around. (24)
Insert your safety eyes now, positioned between Rnds 7 and 8, spaced 9–10 stitches apart. Stuff the neck and head firmly before continuing.
Rnd 11: 2 sc, dec repeat 6 times around. (18)
Rnd 12: 1 sc, dec repeat 6 times around. (12)
Rnd 13: dec 6 times around. (6)
Close the remaining opening. Fasten off, weave the tail through the last stitches, and hide it inside the head.
Collar
Work into the BLO (back loop only) of Rnd 1 of the head — these are the loops you left free earlier. Attach the yarn color you used for the shell and work 1 sc in each stitch around, then fasten off and weave in the end.
Assembly
Crochet all four Flippers and set them aside with their tails left long for joining. Crochet the Shell and the Belly separately. Hold the shell and belly together and work the Joining round, catching a flipper into the seam at each of the four marked points as you go, leaving the small unworked gap as directed. Continue directly from that same round into the Head, working the increases, even rounds, and decreases in sequence. Insert the safety eyes between the rounds noted above, then stuff the neck and head firmly before closing the top of the head. Work the Collar into the back loops left at the base of the head. Weave in every remaining yarn tail, including the ones left on the flippers if any stray ends remain.
Tips
- Plush or chenille-style yarns are wonderfully soft, but they’re also stretchier and fuzzier than cotton, so keep your tension a little tighter than you normally would — this keeps stuffing from peeking through between stitches.
- When you reach the invisible decreases in the head, slow down and go stitch by stitch rather than by feel; it’s easy to skip a stitch in fuzzy yarn without noticing, and that will throw off your count for the rest of the round.
- Stuff the neck of the turtle before you close it, not after — once the head is sealed, you can’t add more filling to firm up that area, and a loose neck is the most common reason a finished amigurumi head flops instead of standing up.
- If you swap in a different yarn weight than the one listed, expect your turtle to come out proportionally larger or smaller, and consider sizing your safety eyes up or down to match — oversized eyes on a small turtle (or the reverse) can throw off the whole expression.
- Finally, take your time joining the flippers into the seam round: keeping their rounded side facing down is what gives the finished turtle that gentle, paddling-forward pose rather than flippers that stick out flat.
FAQs
Can I use cotton yarn instead of plush yarn?
Yes, but be aware that the finished turtle will look less “fluffy” and more structured. You may need to adjust your hook size to maintain the same gauge, and the texture will be smoother rather than soft and plush.
How do I keep the head from flopping over?
The key is to stuff the neck firmly before you close the top of the head. Once the head is sealed, you cannot add more filling to that area. Pack the stuffing tightly around the neck base to provide support.
What size safety eyes should I use?
The pattern recommends 10–12mm safety eyes. If you use a different yarn weight that results in a significantly larger or smaller turtle, you may need to adjust the eye size to maintain proper proportions.
Do I need to join rounds?
No, this pattern is worked in continuous spiral rounds. Do not join or turn unless a specific step instructs you to work through both loops.
Why are the flippers joined into the seam?
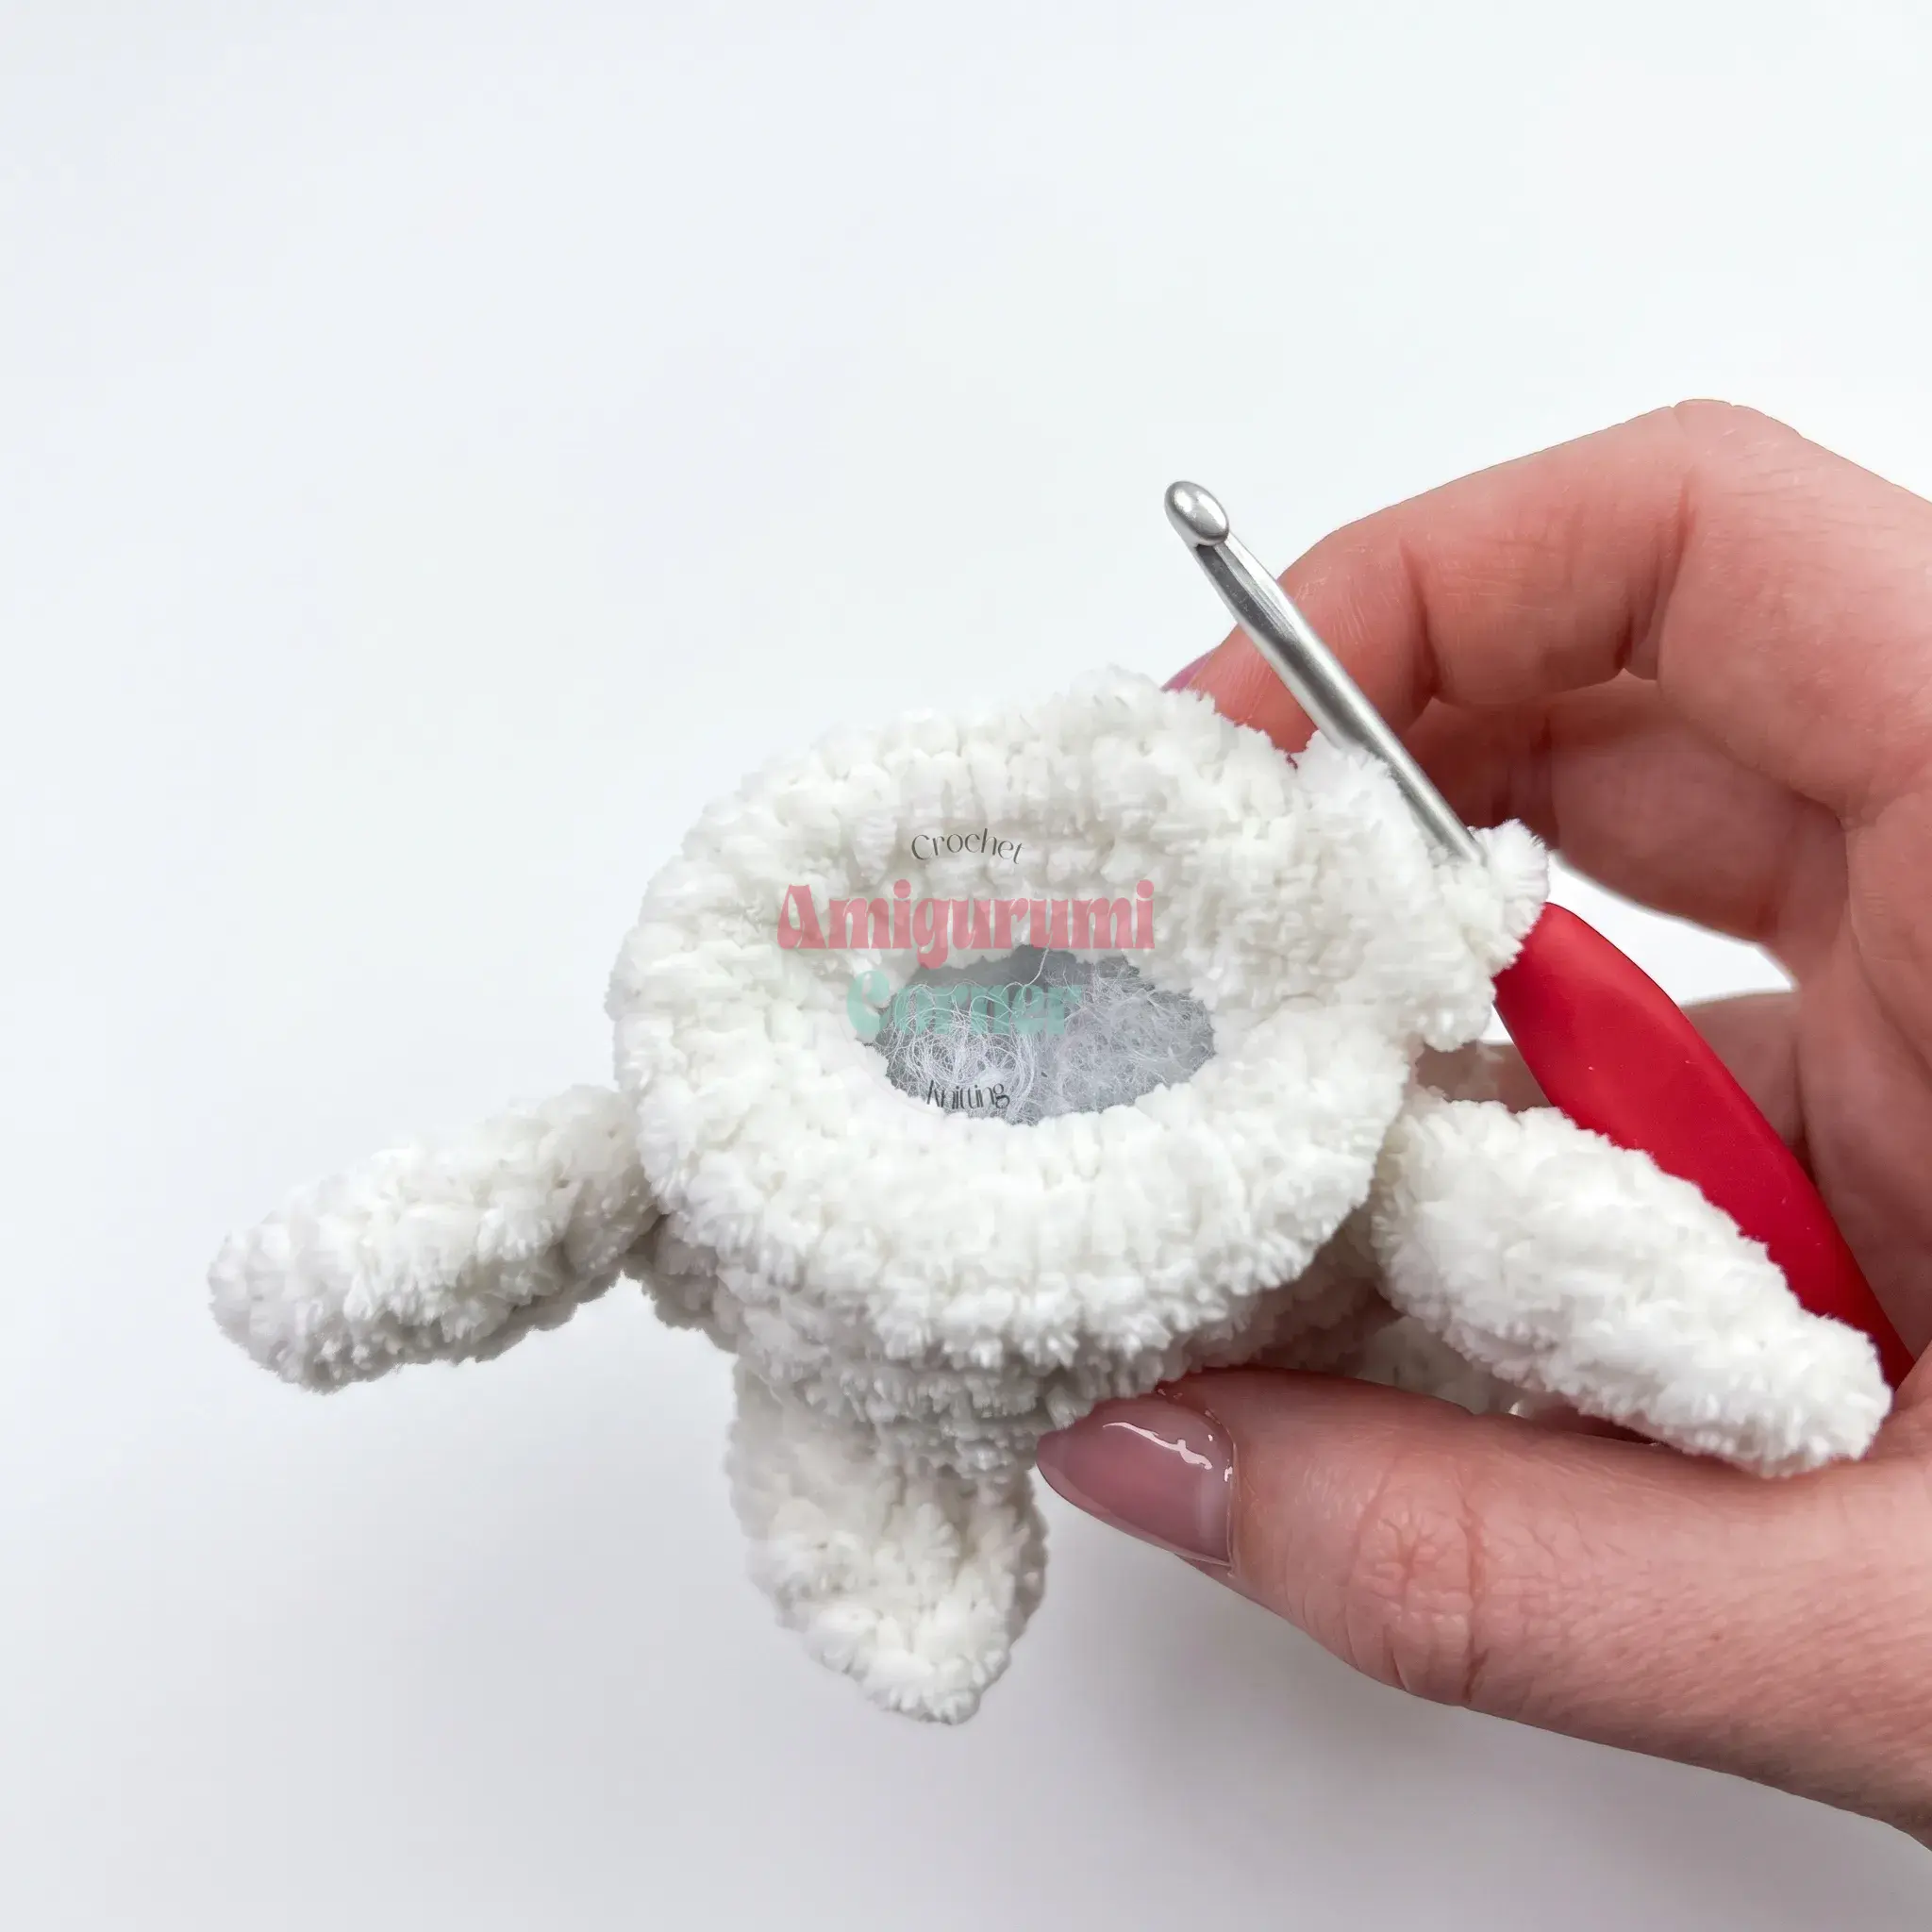
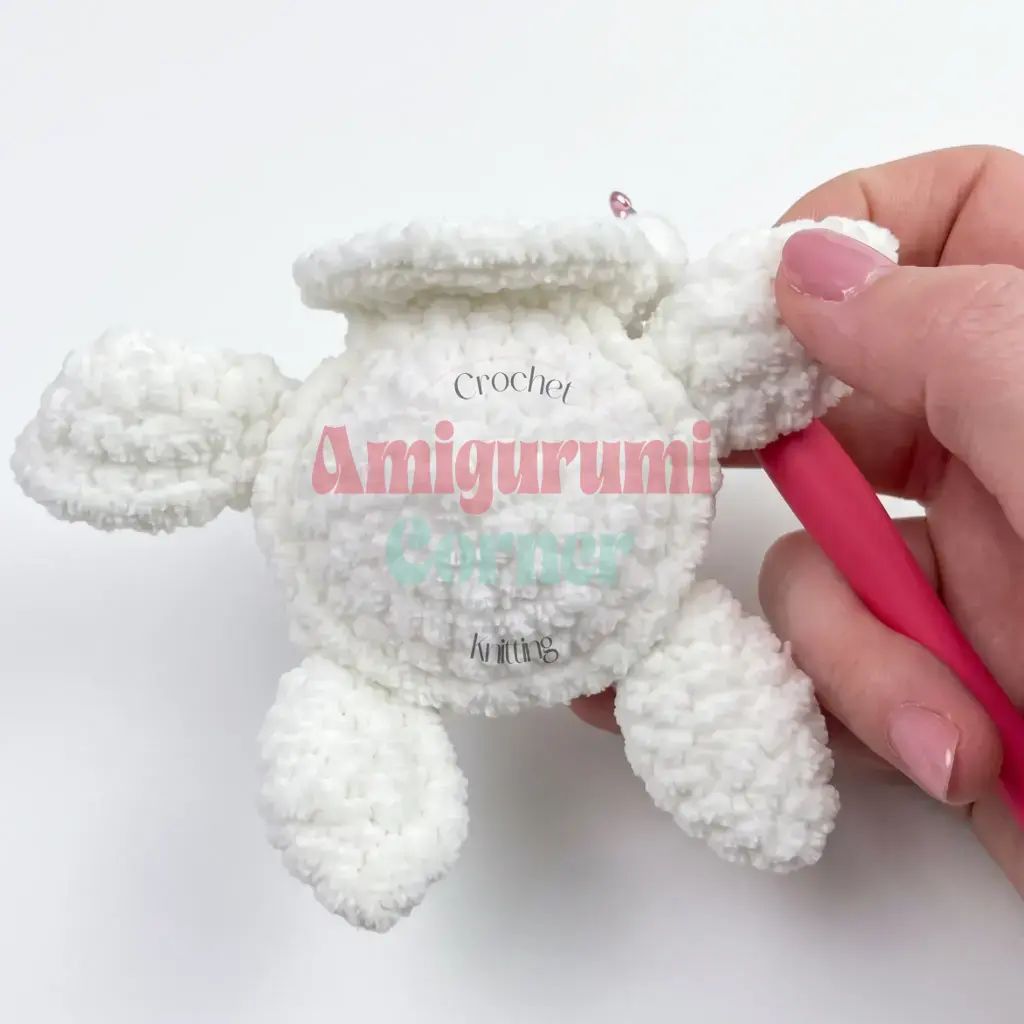
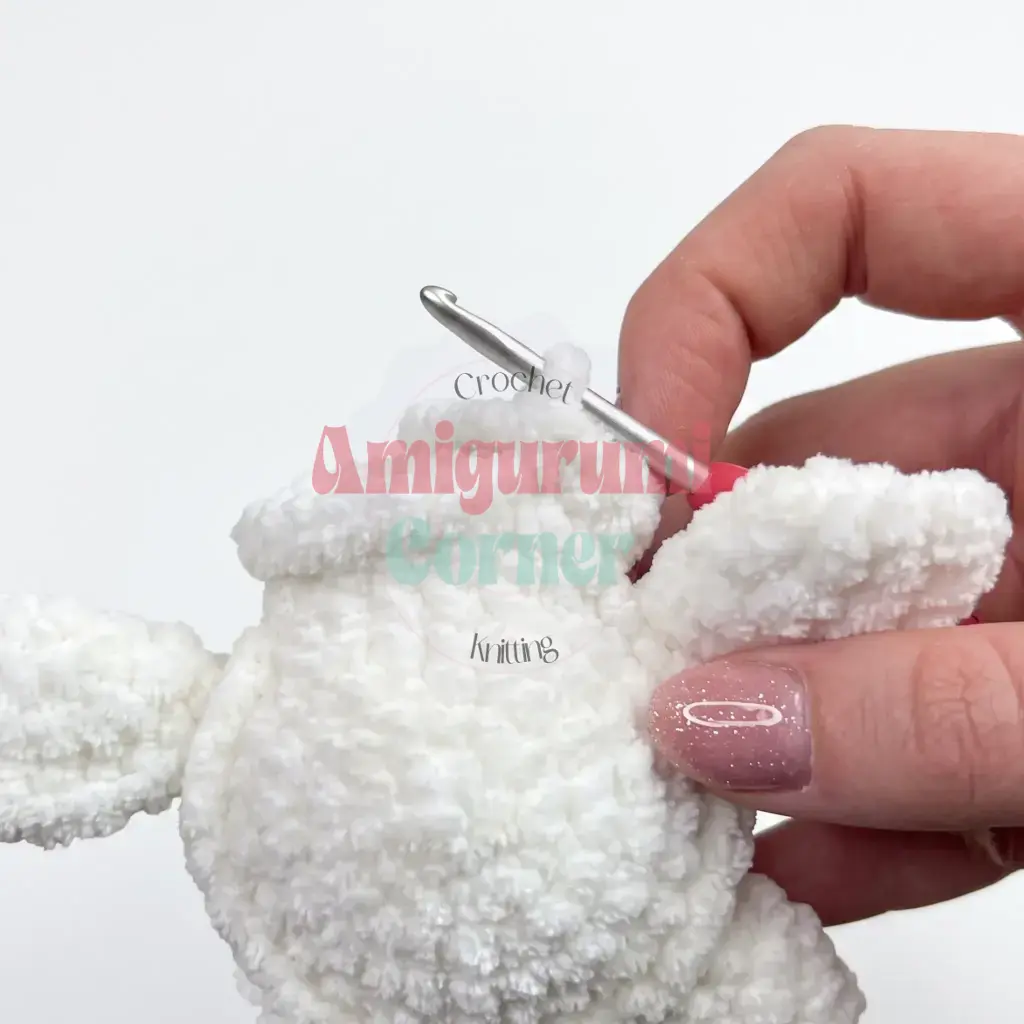
Integrating the flippers into the seam between the shell and belly creates a sturdier, more seamless finish. It also gives the turtle a natural, paddling-forward pose rather than having flippers that stick out flat.
Pin This Crochet Pattern!