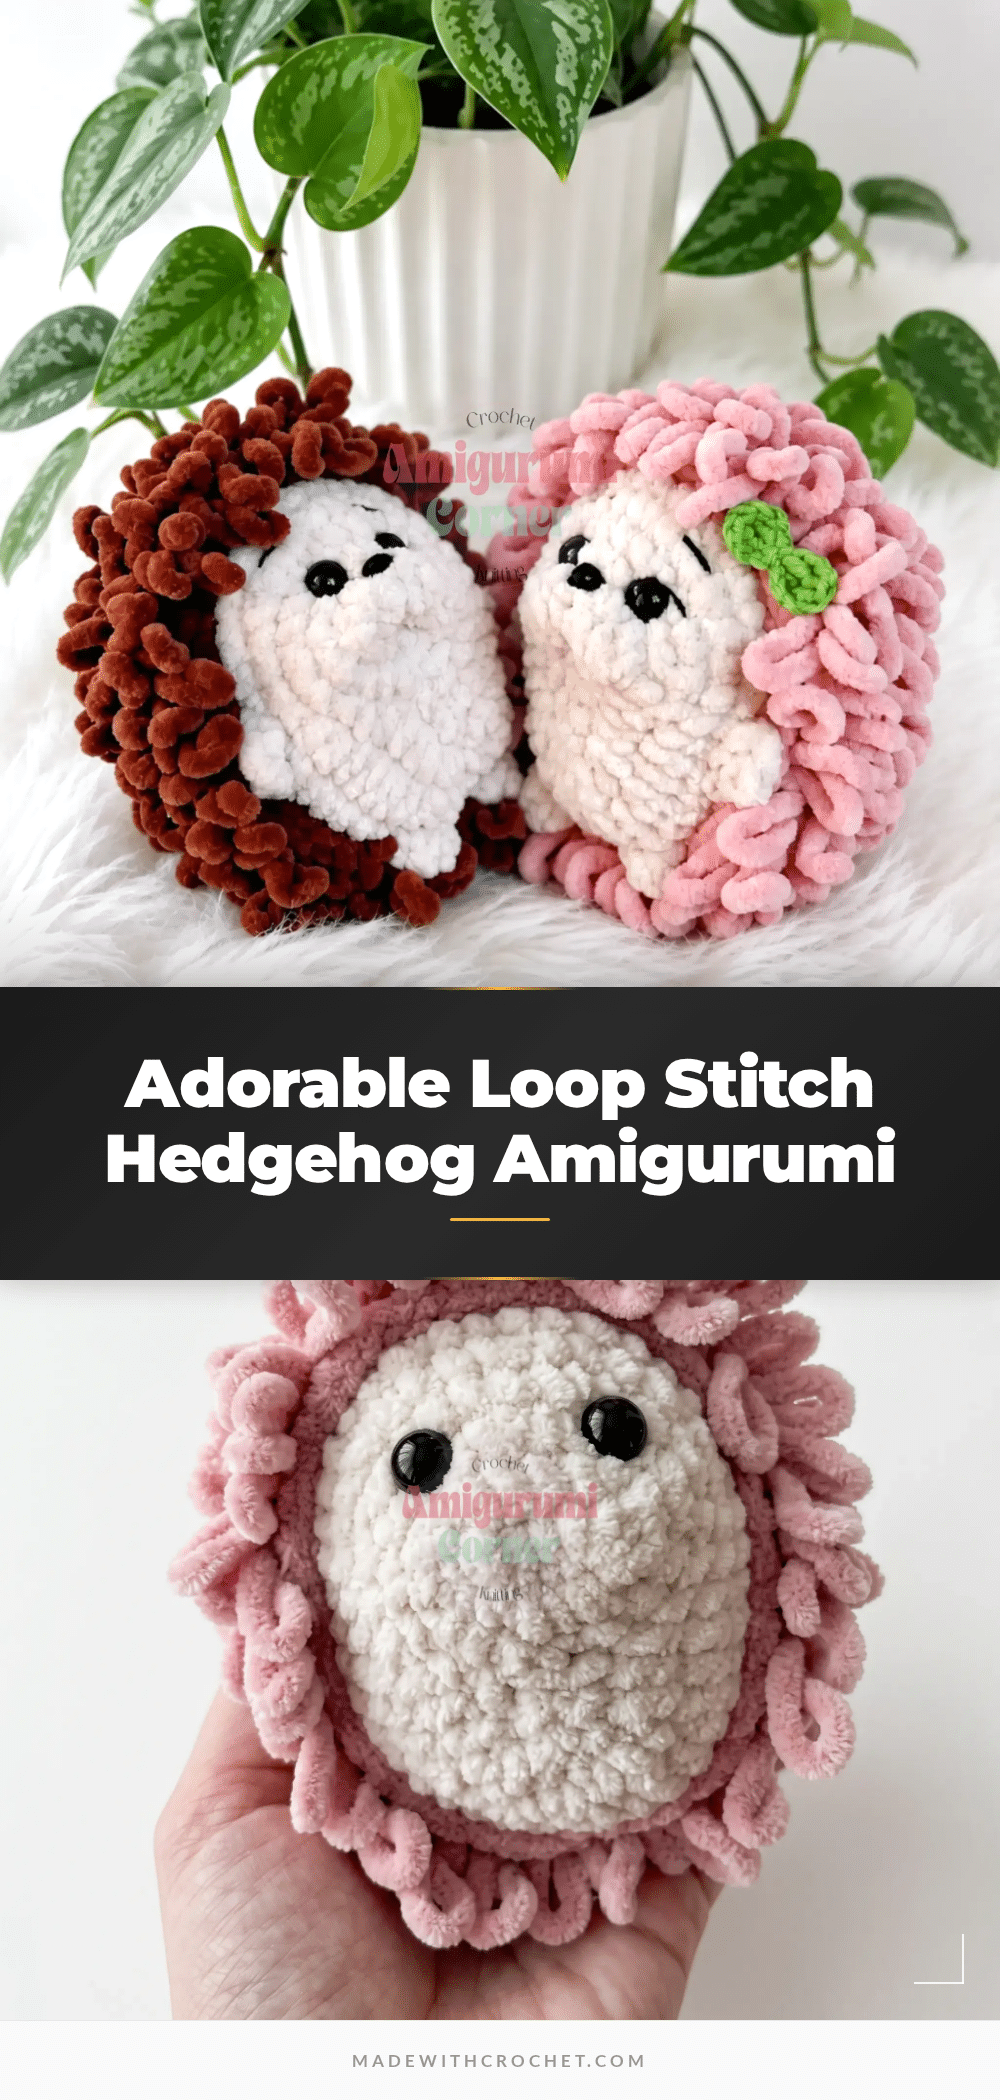
Picture a little face framed entirely in soft, curling loops, peeking out at you from a shelf or a diaper bag pocket. That’s the charm of this loop stitch hedgehog amigurumi. Two simple oval pieces come together to create a surprisingly textured, huggable little creature with a flat back, perfect for propping up on a desk or tucking into a gift box. This crochet hedgehog pattern is a great next project if you’ve already made a few basic amigurumi and are ready to try loop stitch for the first time. The shaping is beginner-friendly, but the loop stitch quills add just enough new technique to keep things interesting. Grab your hook and two colors of plush yarn, and let’s get those quills looping.
Seasonal Styling Ideas
While this hedgehog is a year-round companion, its natural color palette makes it perfect for autumn-themed decor. Pair the brown quills with a small knitted scarf for a cozy fall display. As winter approaches, the plush texture invites you to use it as a soft, tactile toy for little hands or a charming addition to a woodland-themed nursery. The flat back design allows it to stand upright on a mantelpiece or sit neatly in a basket of handmade gifts, making it an ideal seasonal craft for markets or holiday exchanges.
Project Overview
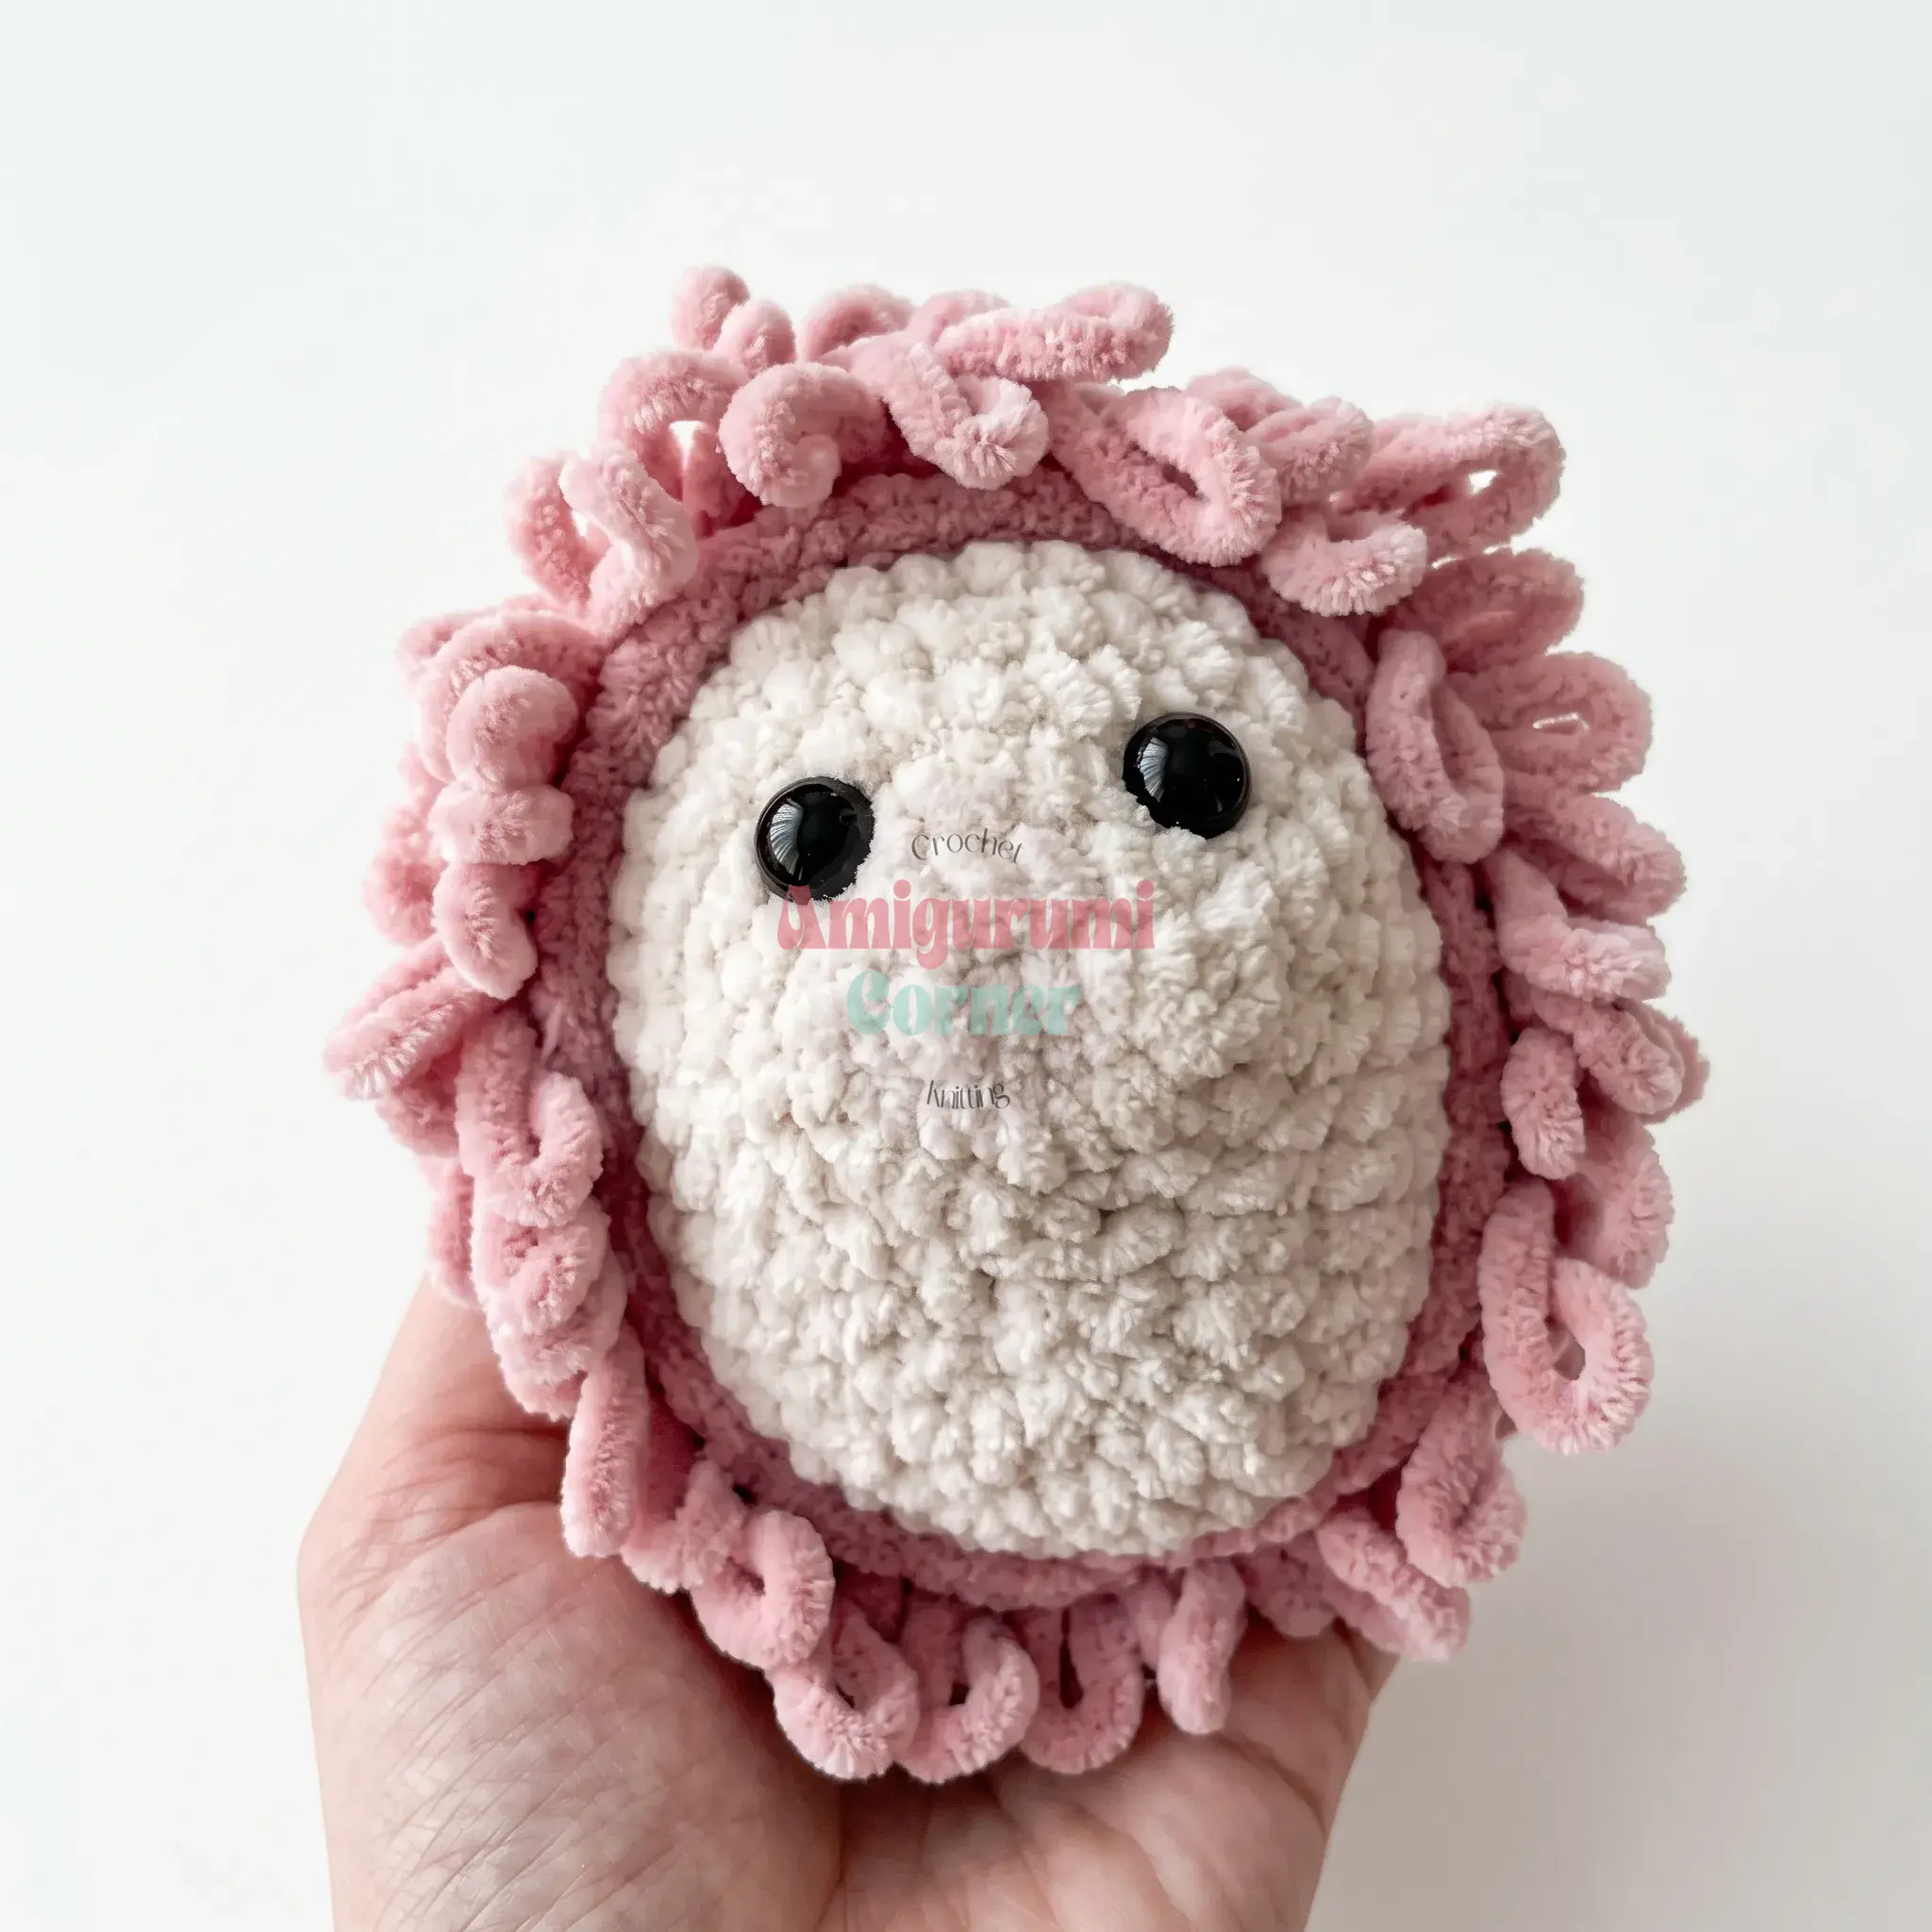
This project creates a charming amigurumi hedgehog using a unique loop stitch technique to form the spiky back. The pattern is designed for beginners who want to expand their skills with a new texture while maintaining a simple construction method. The hedgehog is made of two primary pieces—the Face and the Quills—which are joined together using the loop stitch itself. The finished toy measures approximately 12–13 cm (4.75–5 in) and features a flat back, allowing it to sit upright on surfaces.
Materials
- Yarn: Light worsted / DK weight plush yarn (such as Himalaya Dolphin Baby or a similar velvet-style yarn), in 2 colors — one for the face, one for the quills.
- Hook: 4 mm (US G/6) crochet hook.
- Filling: Polyester fiberfill.
- Eyes: Safety eyes, 10 mm, 1 pair (or black beads as a substitute).
- Embroidery Thread: Black cotton-blend embroidery thread, for gathering the face and stitching the nose and eyebrows.
- Tools: Tapestry/yarn needle, scissors, stitch marker (optional, but helpful for tracking rounds).
Gauge and Finished Size
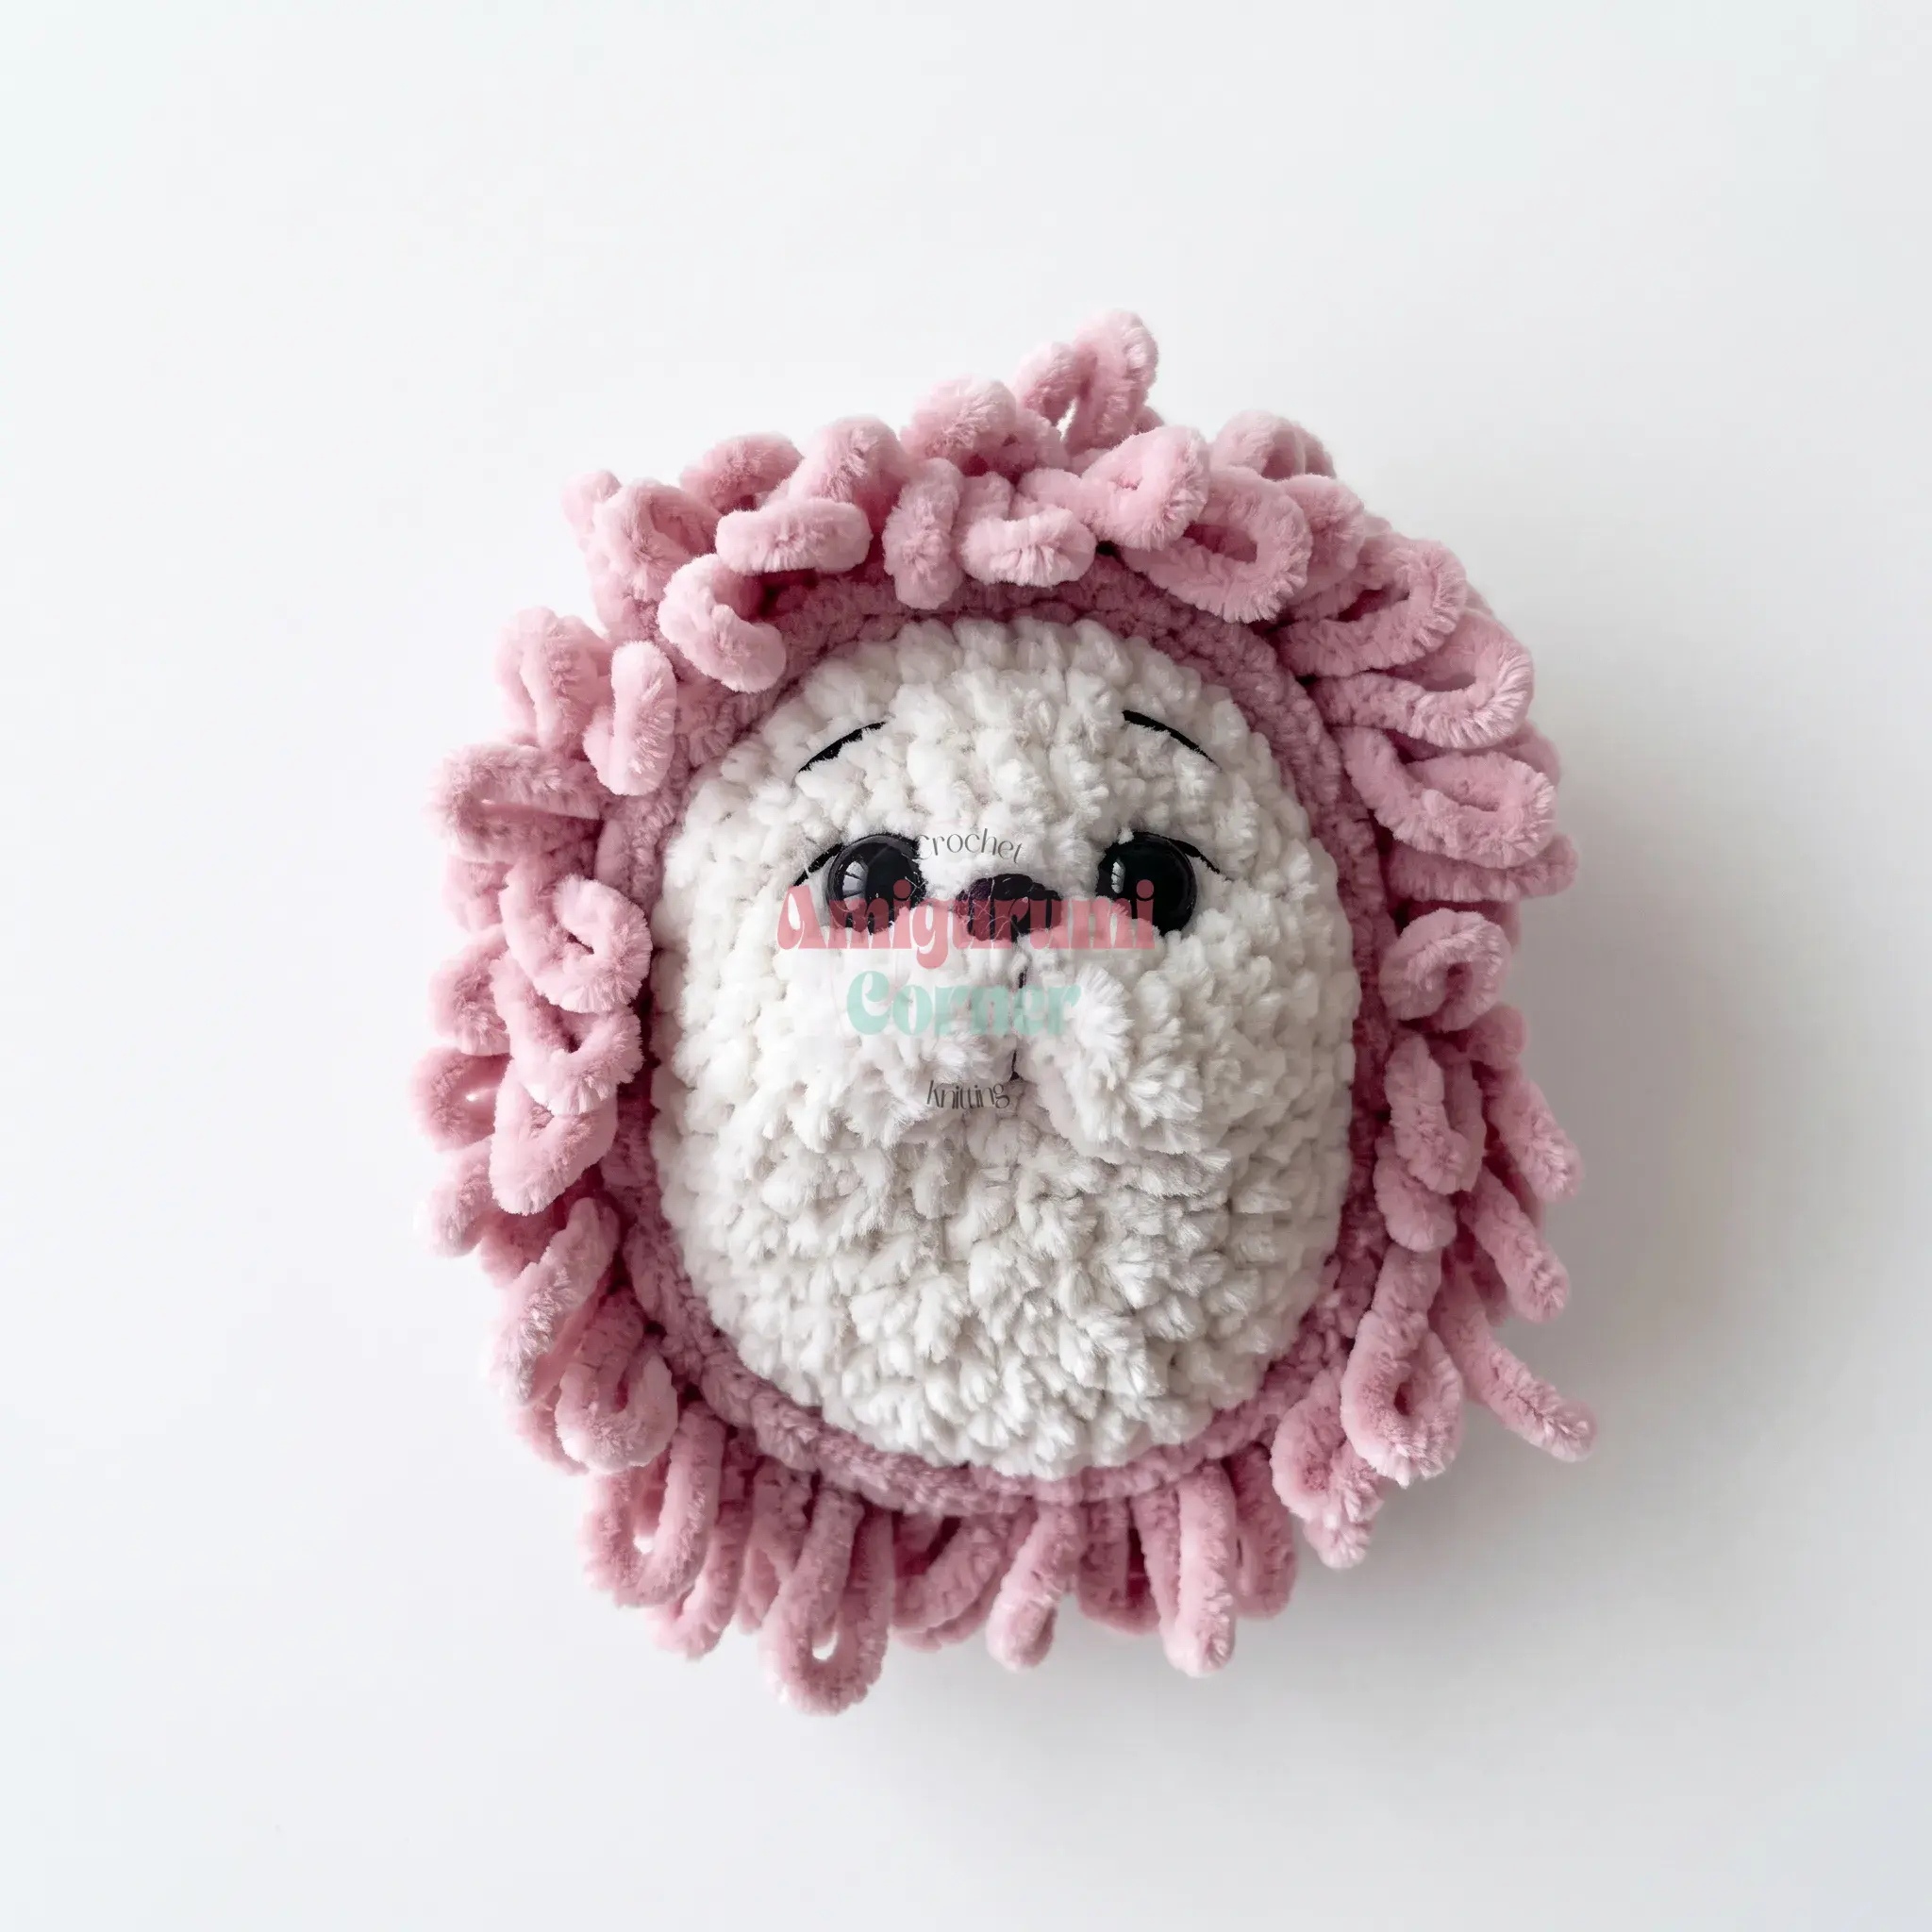
Finished Size: 12–13 cm (4.75–5 in).
Gauge: Gauge isn’t critical for this project; just keep your tension even so your finished hedgehog measures roughly 12–13 cm (4.75–5 in).
Abbreviations
- ch — Chain
- hdc — Half Double Crochet
- inc — Increase (2 sc in the same stitch, unless otherwise noted)
- inc-hdc — Increase worked in half double crochet (2 hdc in the same stitch)
- lp st — Loop Stitch (creates the furry, curling texture of the quills)
- inc-lp st — Increase worked in loop stitch (2 lp st in the same stitch)
- MR — Magic Ring
- sc — Single Crochet
- sl st — Slip Stitch
Pattern Notes
- This pattern is written in US crochet terminology.
- Both the Face and the Quills pieces are worked in joined rounds. Each round ends with a slip stitch to close it, rather than working in a continuous spiral.
- The stitch count is given at the end of every round in parentheses, like this: (24).
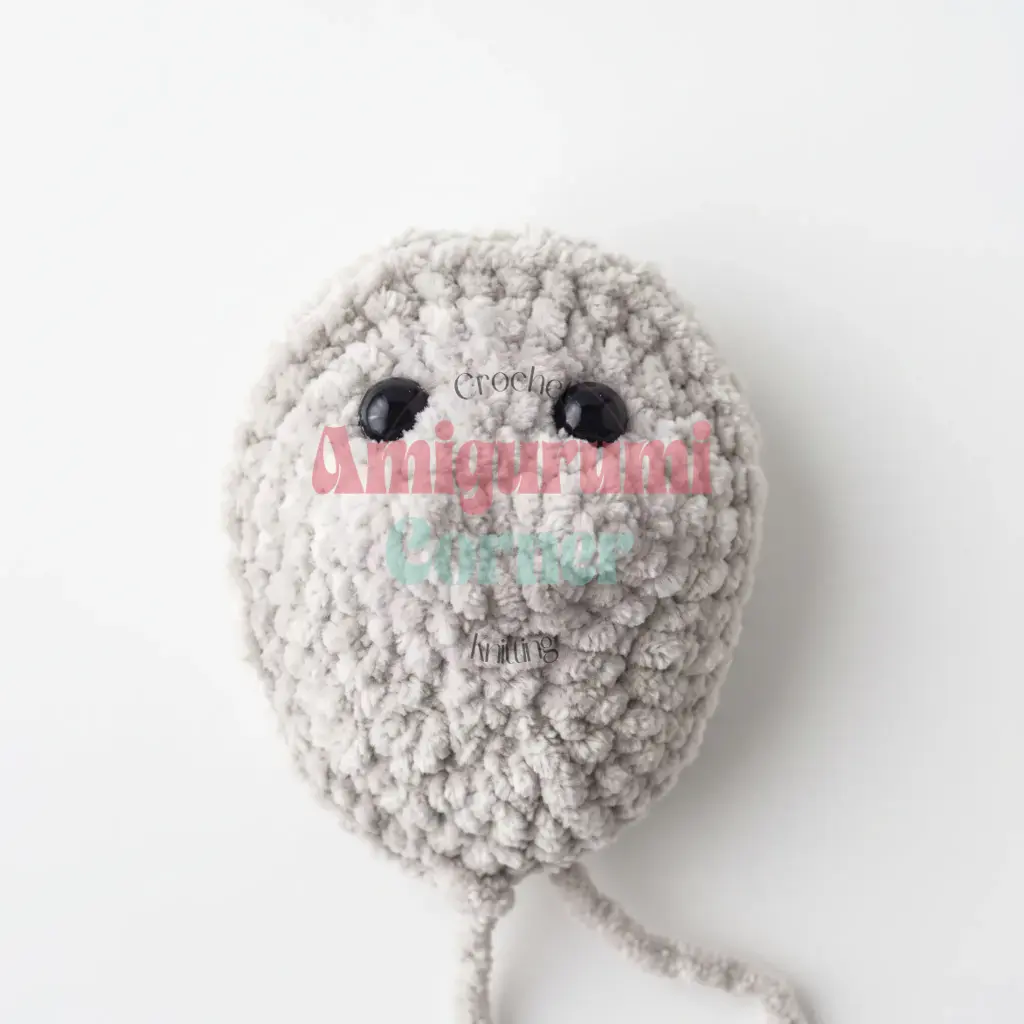
- Safety eyes are inserted into the Face piece between Rnd 3 and Rnd 4, spaced 3 sc apart — do this before you finish stuffing.
- The Quills piece uses loop stitch throughout to create the fringed, furry edge that becomes the hedgehog’s spiky back.
- At the end of the Quills piece, you’ll work 10 extra loop stitches simply to shift your position back to the start of the round. This offset stitch is not included in the stitch count.
Pattern Instructions
Face
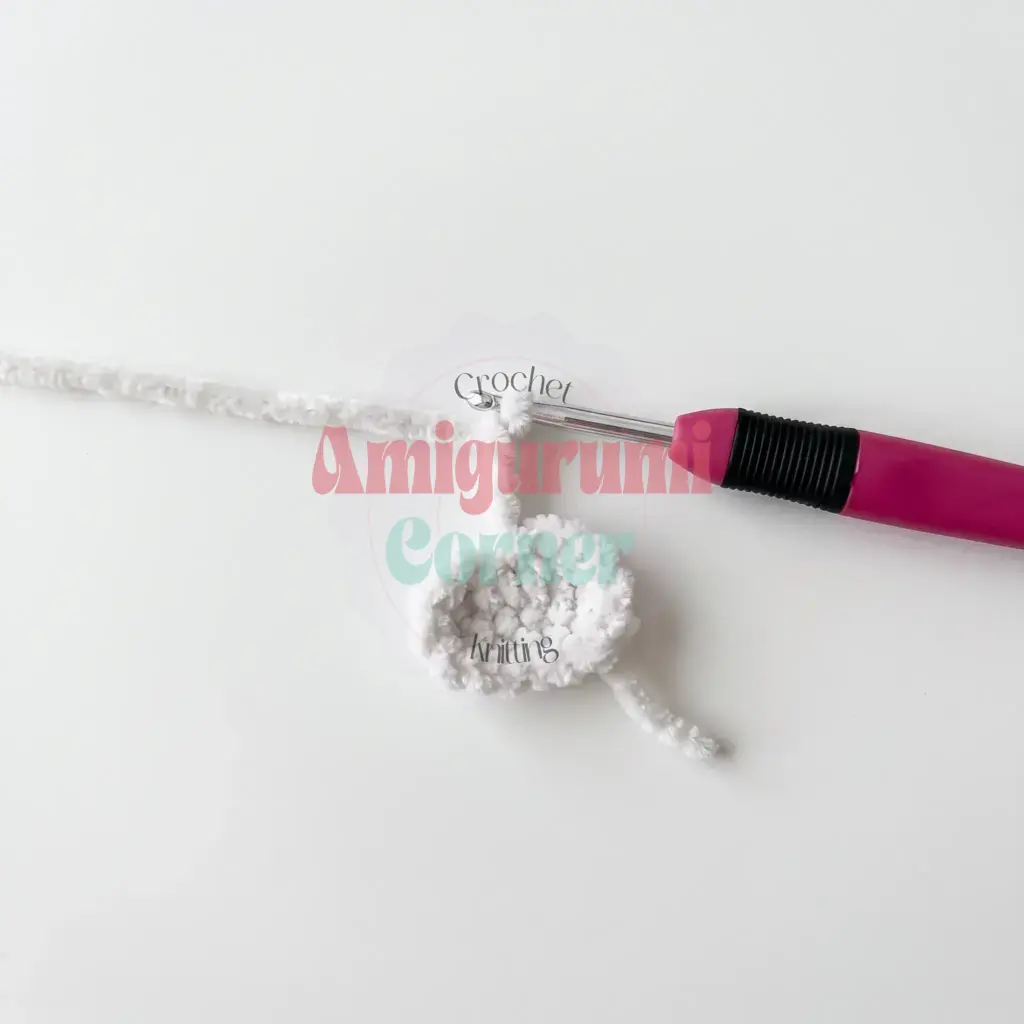
Rnd 1: Ch 6. Starting in the 2nd ch from hook, 3 sc in same st, 3 sc repeat twice. (12)
Rnd 2: Inc, 1 sc, inc, 3 sc, inc, 1 sc repeat twice, sl st. Chain 4, then starting in the 2nd ch from hook, work 3 sc back toward the base of the chain, then 1 sc. (21)
Rnd 3: 2 sc, inc, 3 sc repeat 3 times, 3 sc. (24)
Move your stitch marker here for easier counting; begin the next round in the following stitch.
Rnd 4: 2 inc-hdc, 2 hdc, 3 sc, inc, 2 sc repeat 4 times, 1 sc, 2 hdc, 2 inc-hdc. (32)
Rnd 5: 1 hdc, inc-hdc repeat twice, 3 hdc, 4 sc, inc, 3 sc repeat 3 times, 2 sc, 3 hdc, inc-hdc, 1 hdc repeat twice. (39)
Rnd 6: 1 inc-hdc, 15 sc, inc, 4 sc, inc, 17 sc. (42)
Work 2 additional sl st, then fasten off.
Insert the safety eyes between Rnd 3 and Rnd 4, spacing them 3 sc apart.
Quills
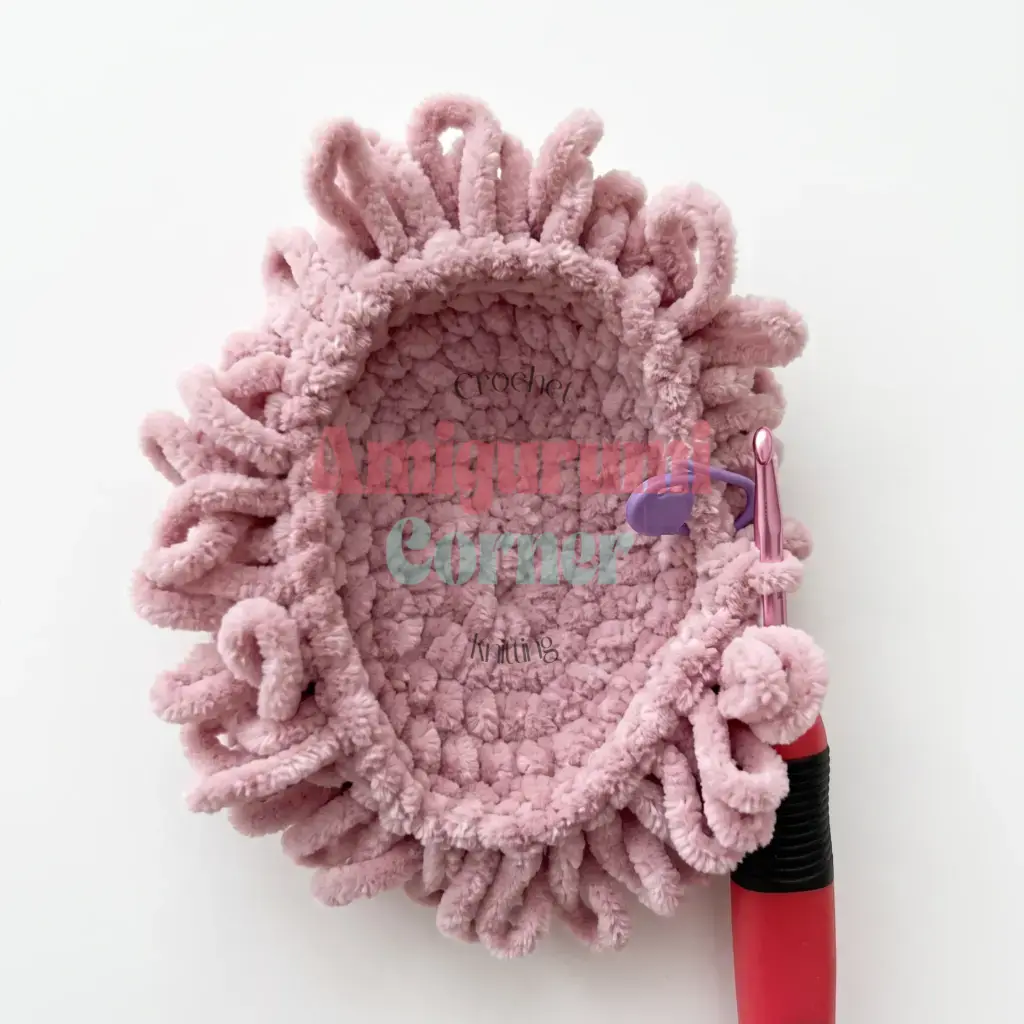
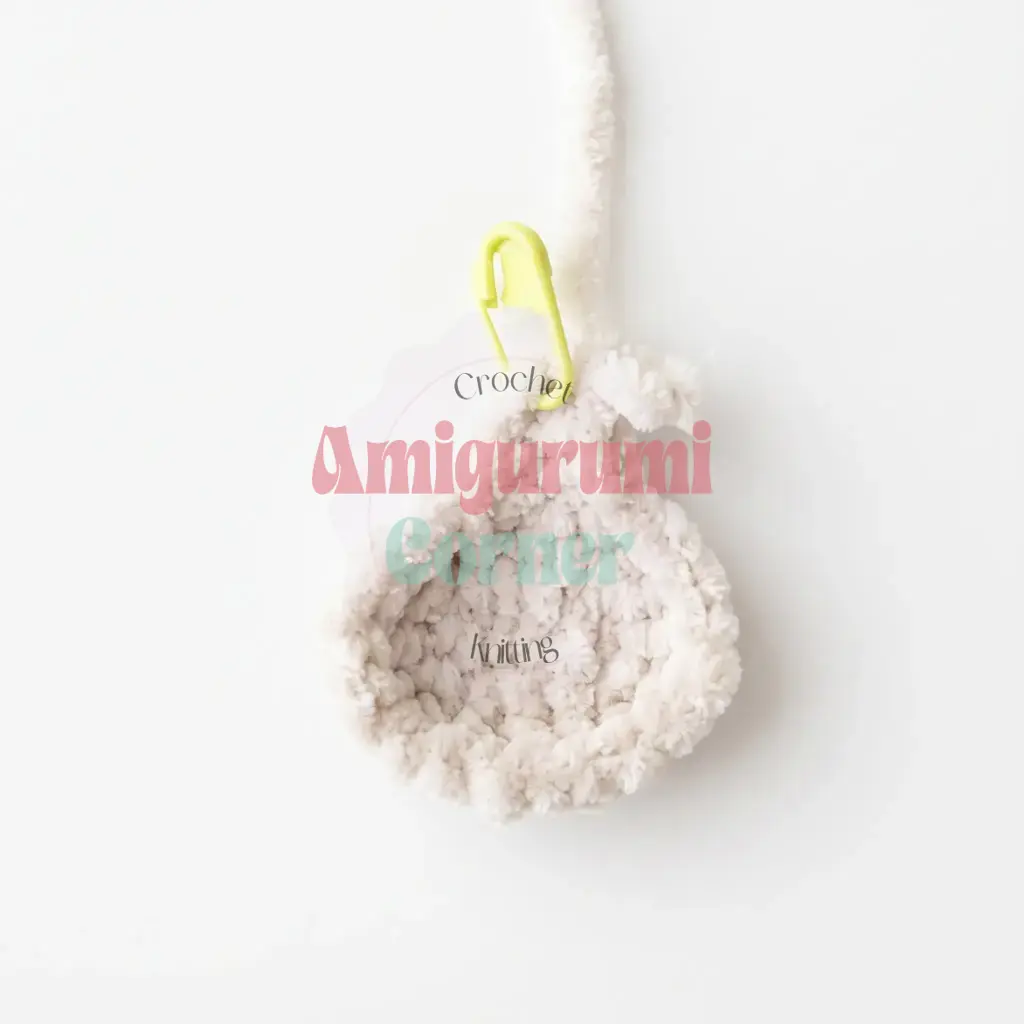
Rnd 1: Ch 6. Starting in the 2nd ch from hook, 3 lp st in same st, 3 lp st repeat twice. (12)
Rnd 2: 3 inc-lp st, 3 lp st repeat twice. (18)
Rnd 3: inc-lp st, 1 lp st repeat 3 times, 3 lp st, inc-lp st, 1 lp st repeat 3 times, 3 lp st. (24)
Rnd 4: 2 lp st, inc-lp st repeat 3 times, 3 lp st, 2 lp st, inc-lp st repeat 3 times, 3 lp st. (30)
Rnd 5: inc-lp st, 3 lp st repeat 3 times, 3 lp st, inc-lp st, 3 lp st repeat 3 times, 3 lp st. (36)
Rnd 6: 4 lp st, inc-lp st repeat 3 times, 3 lp st, 4 lp st, inc-lp st repeat 3 times, 3 lp st. (42)
Work 10 additional lp st to shift your position back to the start of the round — this offset stitch is not counted in the total. Do not cut your yarn.
Legs (make 4)
Row 1: Attach yarn at the base of the quills, just under the cheek, and work 3 sc in one direction directly into the fabric of the Face piece.
Row 2: Ch 1, turn, sc 2.
Fasten off, then tie a knot using the tail left when you attached the yarn. Weave both ends into the toy. Repeat for the remaining 3 legs.
Assembly
- Hold the Face piece and the Quills piece with wrong sides together.
- Without cutting the yarn left from the Quills piece, work lp st through both layers around the entire edge to join them.
- Stuff the hedgehog firmly with fiberfill before you close the last few stitches of the round.
- Finish the join and weave the tail into the body.
- Needle-sculpt the face: pull a threaded yarn needle through the head to create a slight indent that frames the eyes and muzzle, following a simple gather pattern (yarn exiting outside, re-entering inside, alternating around the eyes).
- Embroider the nose and eyebrows with black cotton-blend thread.
- Attach all 4 legs as described above, then weave in every remaining end.
Tips
- Loop Stitch Consistency: Loop stitch can feel fiddly the first few rounds, so keep your loops a consistent length by wrapping the yarn around two fingers (or a ruler) each time. This keeps the “fur” even across the whole Quills piece.
- Tension: Work your increases and single crochets with slightly firmer tension than usual. Plush and velvet yarns are naturally stretchy, and a looser gauge will let stuffing show through between stitches.
- Face Sculpting: When you needle-sculpt the face, pull the thread gently and check your progress often. You want a soft, natural indent around the eyes and muzzle, not a deeply cinched pucker.
- Stuffing: Don’t overstuff before you finish joining the Face and Quills pieces. Add fiberfill gradually as you work the last stretch of the lp st join, pressing it into the edges first so the oval shape stays smooth rather than lumpy.
- Alignment: If your two pieces don’t want to lie flush against each other while joining, pin them together at the top, bottom, and sides first, then work the lp st join between those anchor points — it keeps the edges lined up all the way around.
FAQs
What type of yarn is best for this pattern?
The pattern recommends a light worsted or DK weight plush yarn, such as Himalaya Dolphin Baby or a similar velvet-style yarn. This type of yarn creates the soft, curling texture essential for the hedgehog’s quills.
Do I need to work in a spiral?
No. Both the Face and the Quills pieces are worked in joined rounds. Each round ends with a slip stitch to close it, rather than working in a continuous spiral.
When should I insert the safety eyes?
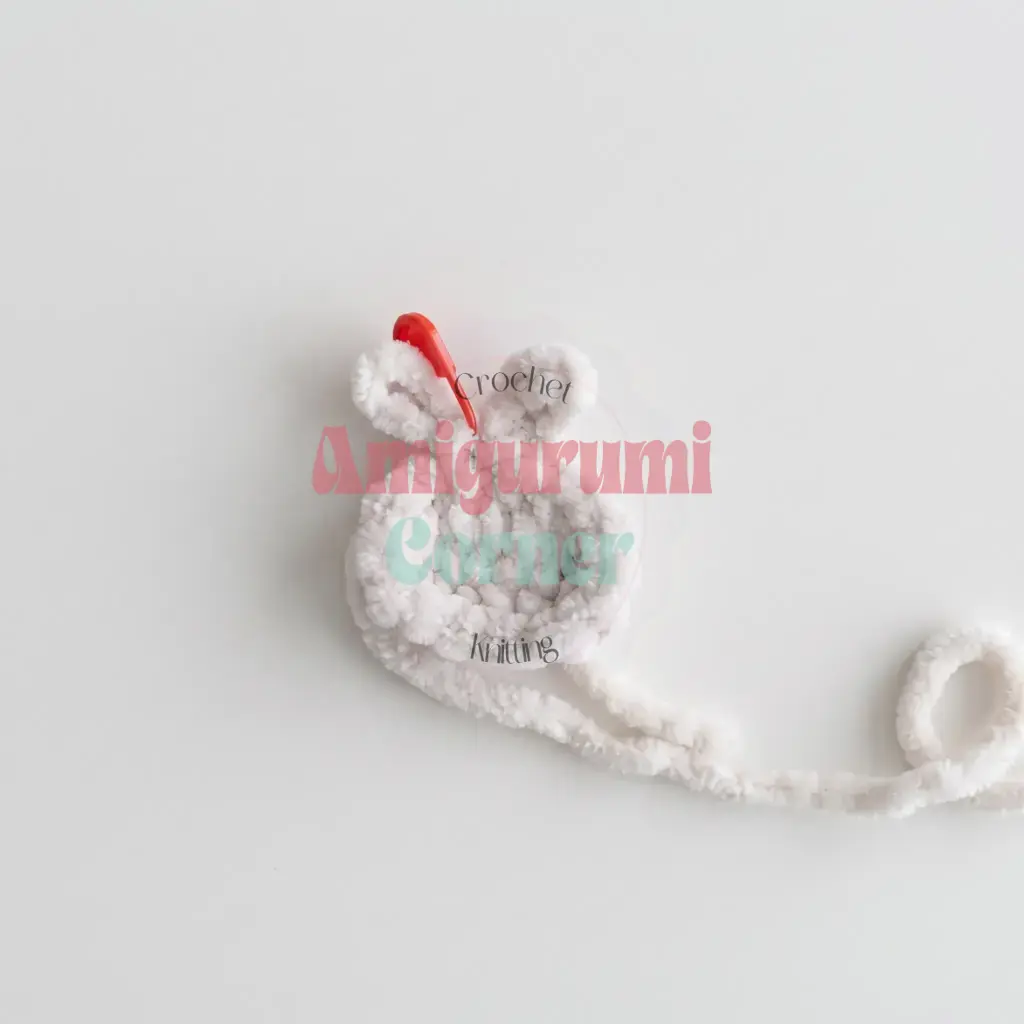
Insert the safety eyes into the Face piece between Round 3 and Round 4. They should be spaced 3 sc apart. Make sure to do this before you finish stuffing the hedgehog.
Why do I work 10 extra loop stitches at the end of the Quills piece?
These 10 extra loop stitches are used simply to shift your position back to the start of the round. This offset stitch is not counted in the total stitch count and helps align the edges for joining.
How do I join the Face and Quills pieces?
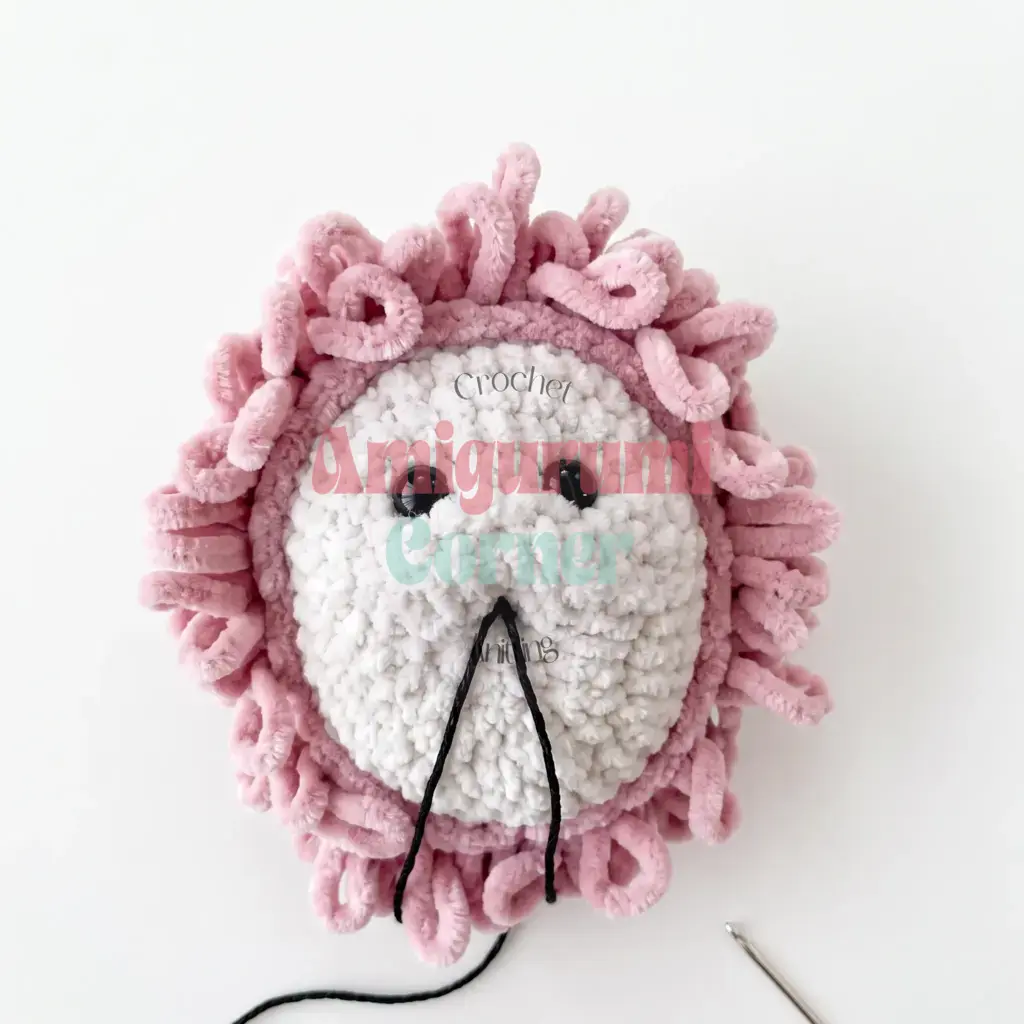
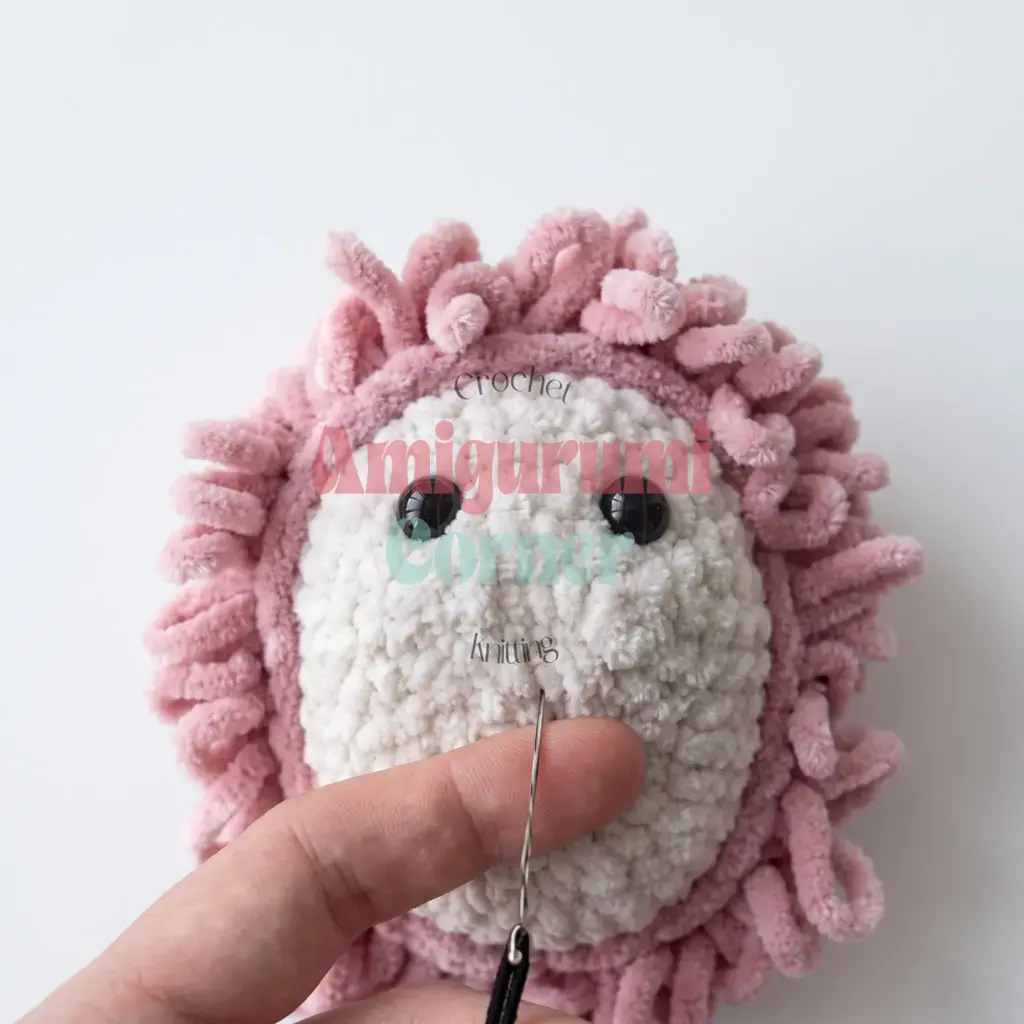
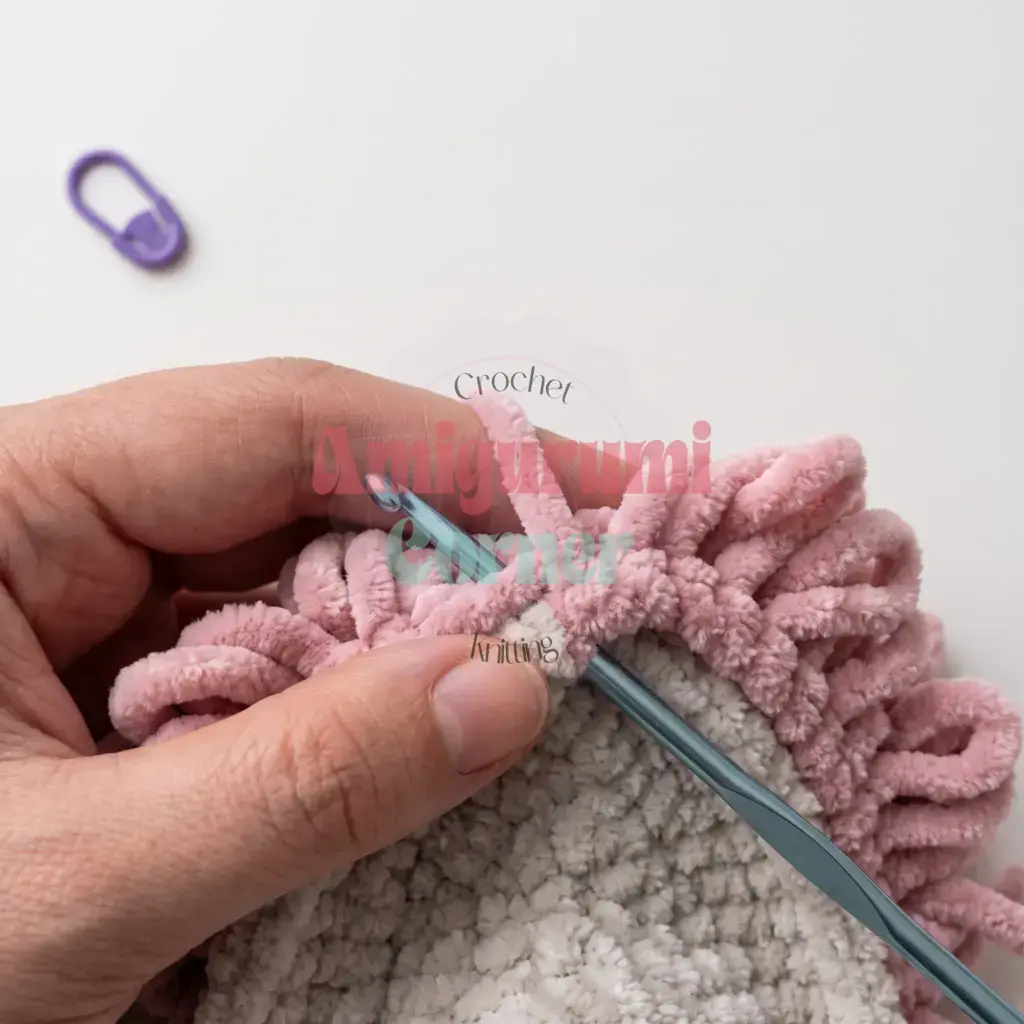
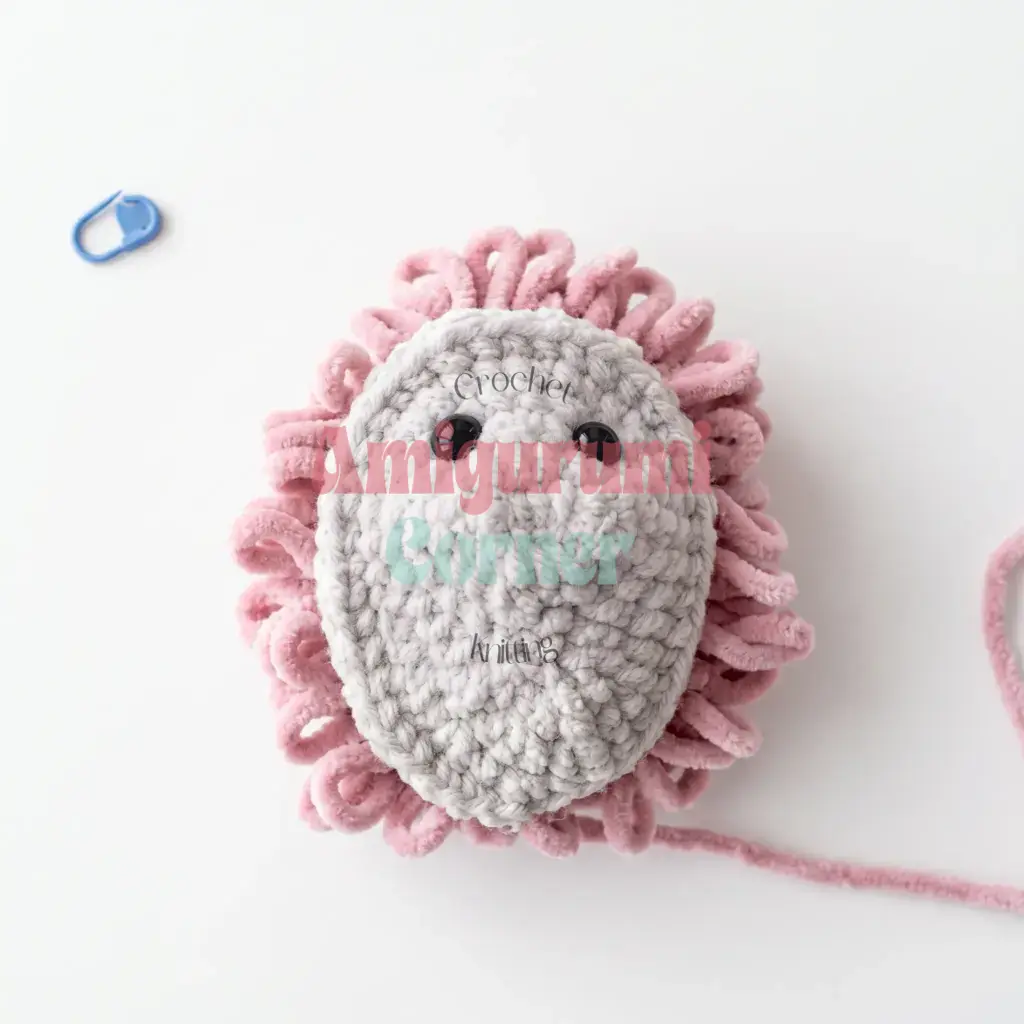
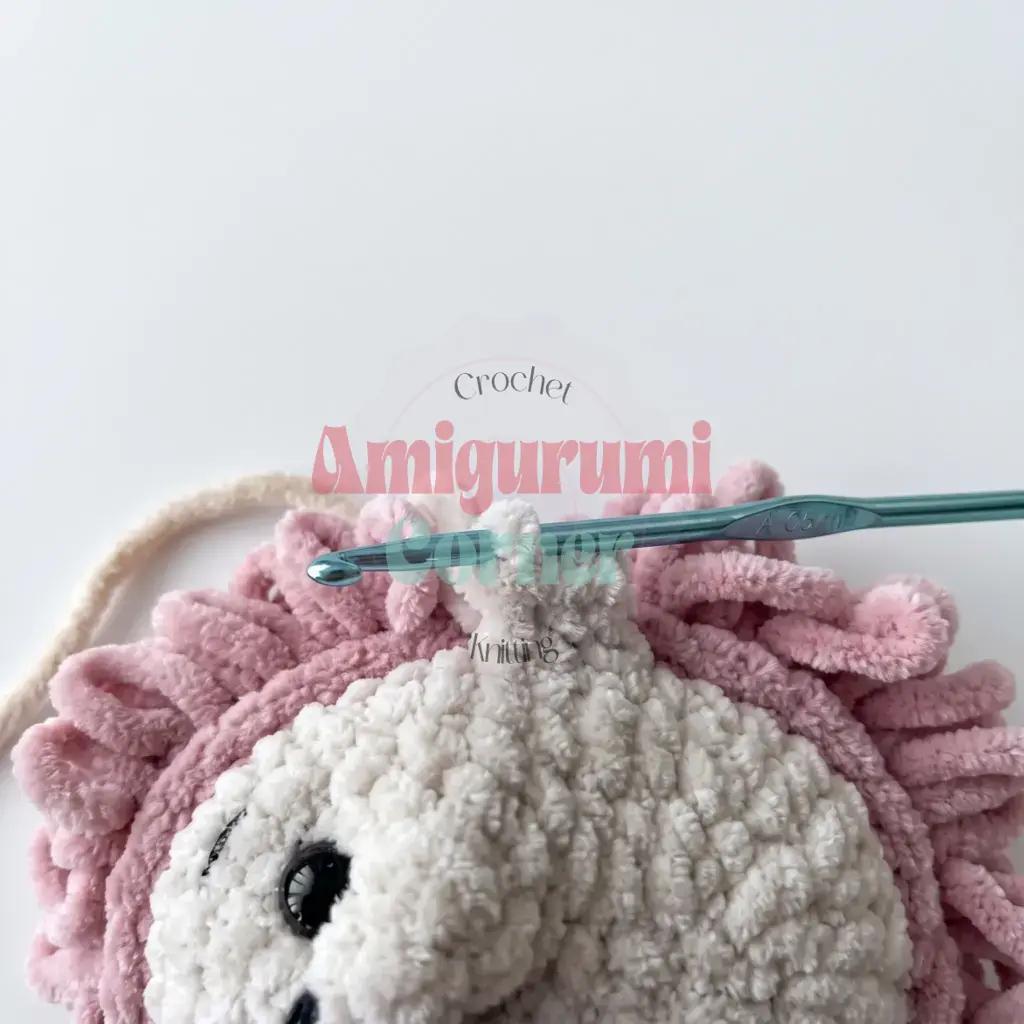
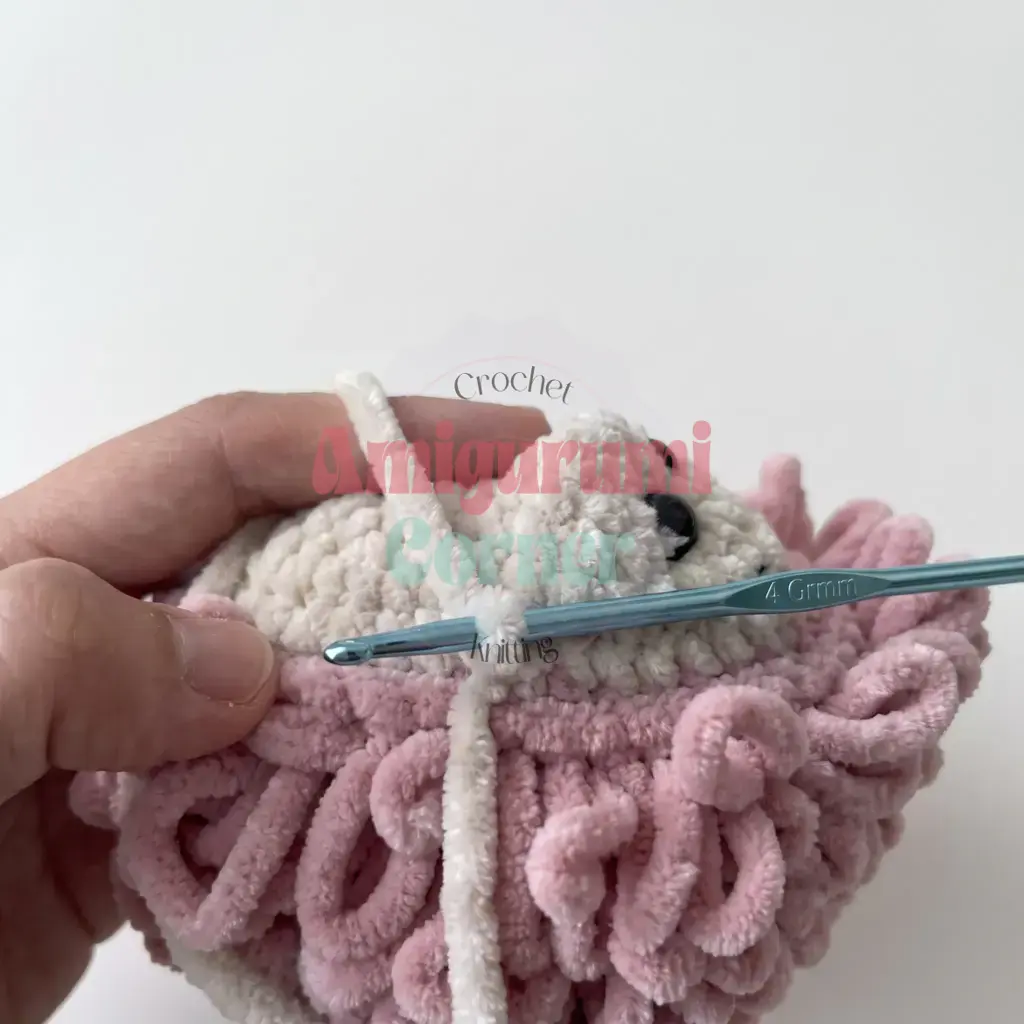
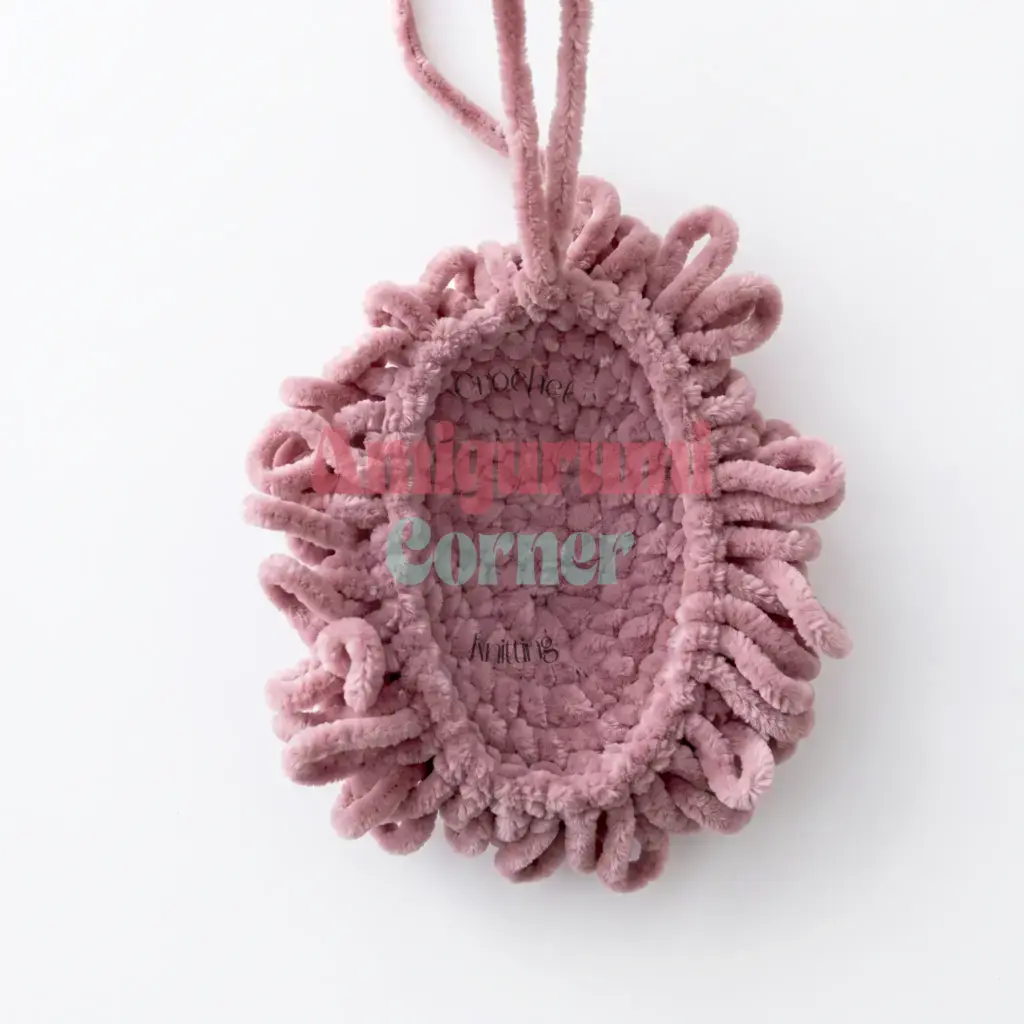
Hold the pieces with wrong sides together. Using the yarn tail left from the Quills piece (do not cut it), work loop stitches through both layers around the entire edge to join them securely.
Pin This Crochet Pattern!