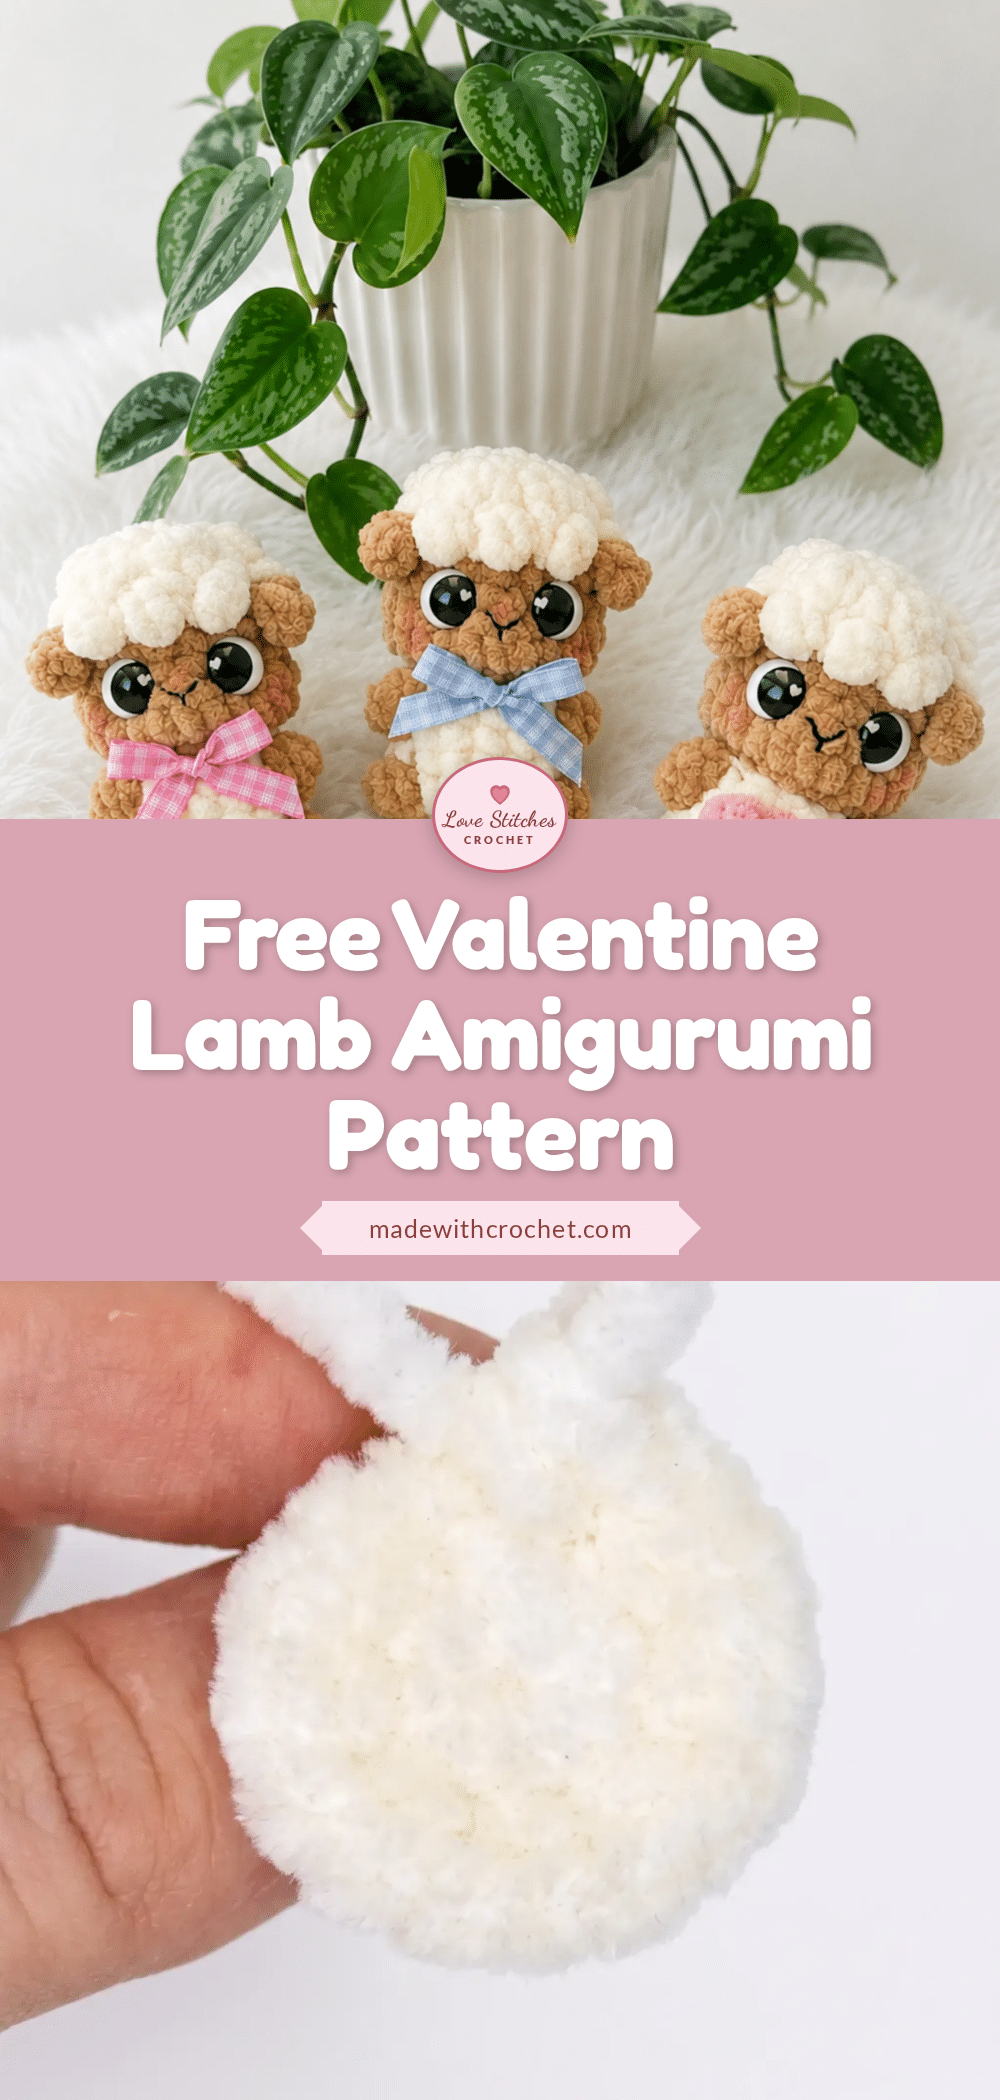
Picture this: your favorite plush yarn is on the table, your 3.5 mm hook is in your hand, and you’re about to start a project that feels almost magical. This Valentine Lamb Amigurumi is worked in one continuous piece, from her curly crown to her bobble-textured legs, with no sewing of separate parts. It’s a satisfying build that’s perfect for a cozy afternoon, and the result is a sweet, seamless lamb with rosy cheeks and a heart on her belly.
Why This Project Works
This pattern is a dream for makers who love a clean finish without the fuss of assembly. The seamless construction means you’ll spend your time crocheting, not stitching limbs together. The optional heart motif adds a charming Valentine’s touch, and the bobble stitches create a soft, textured look that’s both cuddly and professional. Whether you’re making a gift or a keepsake, this lamb comes together beautifully with a little patience and a lot of love.
Materials Needed
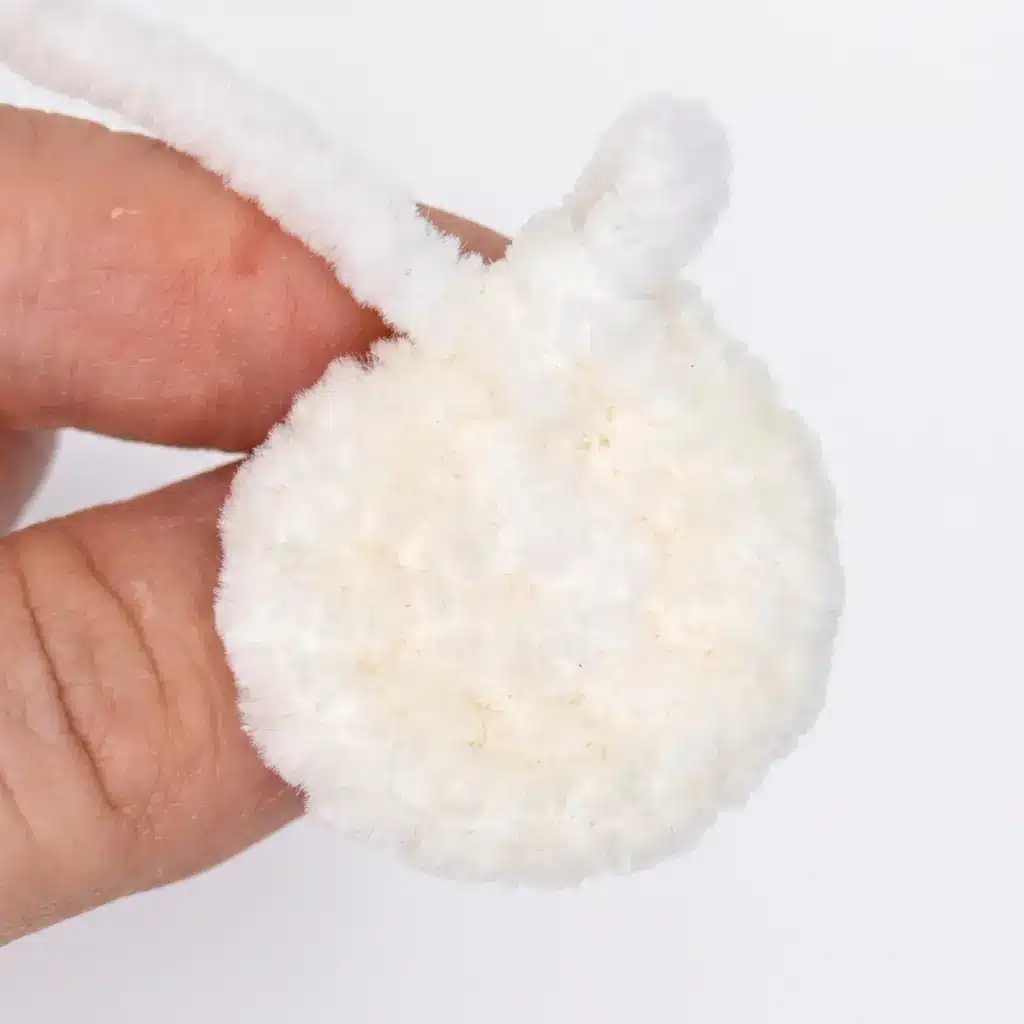
- Yarn: Wolans Bunny Baby plush yarn (light worsted weight), in cream/white (#504) and beige (#2), plus small amounts of pink and white for accent bobbles
- Hook: 3.5 mm (US E-4)
- 12 mm glass cabochon eyes (2)
- Fiberfill stuffing
- Stitch markers
- Yarn needle / tapestry needle with a large eye
- Scissors
- Strong sculpting thread (polyester or lavsan), doubled, for muzzle shaping
- Black embroidery floss, for the nose
- Pink soft pastel chalk, for blushing the cheeks
Abbreviations Used
- BLO — Back Loop Only
- ch — Chain
- dc — Double Crochet
- dec — Decrease (invisible decrease)
- FLO — Front Loop Only
- hdc — Half Double Crochet
- inc — Increase
- mr — Magic Ring
- sc — Single Crochet
- sl st — Slip Stitch
- st(s) — Stitch(es)
Pattern Notes
- This pattern is written in US crochet terminology.
- Worked in continuous spirals throughout — do not join or turn unless a step tells you otherwise.
- Gauge is not critical for this project; it only affects finished size. Work slightly tighter than usual to keep stuffing from showing through.
- Stitch count is given at the end of each round in parentheses, like this: (12).
- This lamb is worked as one seamless piece — legs, curls, and ears are all built directly into the rounds, so there’s no sewing of separate parts.
- A “bobble” in this pattern means several double crochets worked into the same stitch and closed together as one unit — used for the legs, curls, and optional heart.
- If you plan to use safety-back eyes, insert them before you finish stuffing the head, at the round noted below. If you’re using glue-in eyes, wait until the muzzle shaping step.
Pattern Instructions
Body (Standard Version)
Begin in cream/white.
- Rnd 1: 8 sc in mr. (8)
- Rnd 2: inc around. (16)
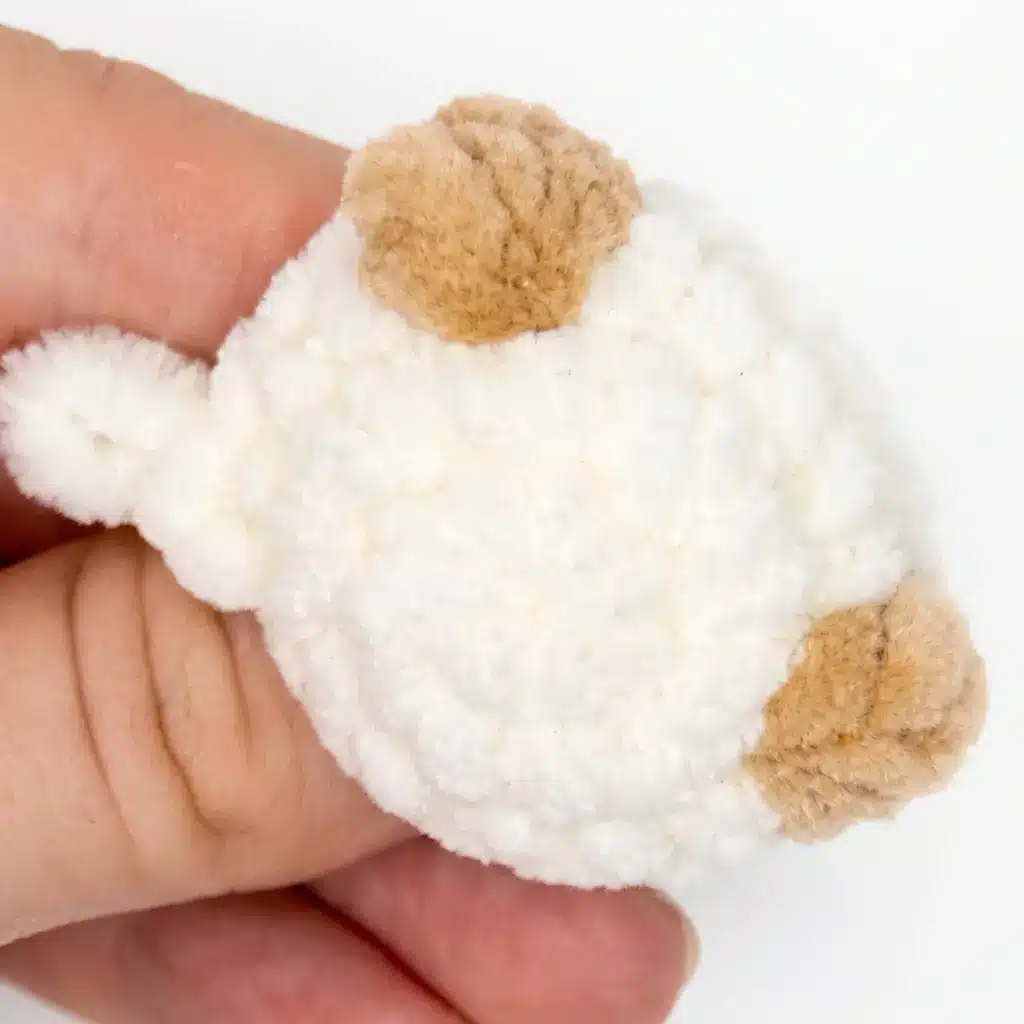
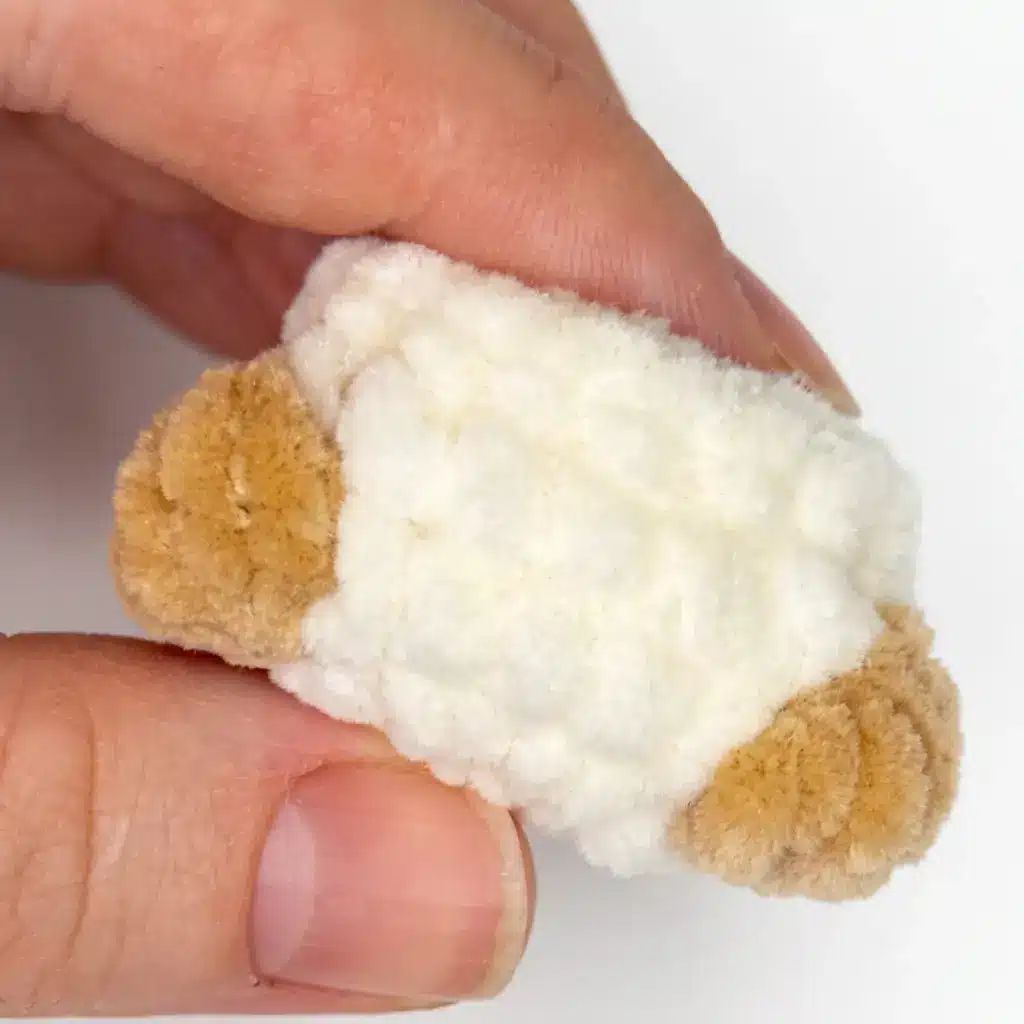
- Rnd 3: 5 sc, leg [switch to beige, 4-dc bobble in next st], 5 sc, leg [4-dc bobble], 4 sc. (16)
- Rnds 4–5: sc around, 2 rounds total. (16)
- Rnd 6: 5 sc, leg [4-dc bobble in beige], 5 sc, leg [4-dc bobble], 4 sc. (16)
- Rnd 7: (2 sc, dec) repeat 4 times, then 1 sc to offset the round and reposition your stitch marker. (12)
Change your working yarn to beige and continue directly to the Head section.
Body with Heart Motif (Optional Version)
Work this version instead of the standard body if you’d like a dimensional heart on the belly. Begin in white.
- Rnd 1: 8 sc in mr. (8)
- Rnd 2: inc around. (16)
- Rnd 3: 5 sc, leg [switch to beige, 4-dc bobble], 2 sc, pink 3-dc bobble, 2 sc, leg [4-dc bobble], 4 sc. (16)
- Rnd 4: 8 sc, pink 3-dc bobble, sl st, pink 3-dc bobble, 5 sc. (16)
- Rnd 5: sc around. (16)
- Rnd 6: 5 sc, leg [4-dc bobble in beige], 5 sc, leg [4-dc bobble], 4 sc. (16)
- Rnd 7: (2 sc, dec) repeat 4 times, then 1 sc to offset the round and reposition your stitch marker. (12)
Change your working yarn to beige and continue directly to the Head section.
Head
Rnd 8 is worked in Front Loop Only to create a defined neckline where the head meets the body.
- Rnd 8: inc around, working in FLO only. (24)
- Rnds 9–10: sc around, 2 rounds total. (24)
- Rnd 11: (2 sc, dec) repeat 6 times. (18)
- Rnd 12: 6 sc, ear [ch 3, 2 hdc in 2nd ch from hook, sc in 3rd ch from hook], 7 sc, ear [repeat ear instructions], 5 sc. (18)
Stuff the body firmly now, before continuing. If using safety-back eyes, insert them at this point.
Change your working yarn to white for the curls.
- Rnd 13: Before the first ear: (sl st, 3-dc bobble) repeat 3 times. Between the ears: (sl st, 3-dc bobble) repeat 3 times, sl st. After the second ear: (3-dc bobble, sl st) repeat 2 times, 3-dc bobble. (18)
- Rnd 14: (dec, 3-dc bobble) repeat 6 times. (12)
Stuff the head firmly and evenly, paying close attention to the cheeks and curled crown. The head should feel solid, not soft or dented.
- Rnd 15: dec 6 times to close the opening. (6, closed)
Once the last round is closed, go back and gently plump every bobble on the body and head — hook each one from underneath and tug it outward with your hook, needle, or scissor tip so the texture stands proud.
Assembly
Because this lamb is worked as one continuous piece, there are no separate parts to sew together — the “assembly” here is all about shaping and finishing.
With the head and body already stuffed, thread your long doll needle with doubled sculpting thread and begin the muzzle-gathering step. This shaping pulls the lower face inward to create a seat for the eyes. Insert the needle at point 1 on the muzzle and bring it out at point 2. Insert at point 3 (the neighboring single crochet) and bring it out at point 4. Insert at point 5 (the same spot as point 1) and bring it out at point 6. Insert at point 7 (the neighboring single crochet) and bring it out at point 8 (the same spot as point 4). Remove the needle and pull both thread ends evenly and simultaneously, checking that the muzzle stays centered and doesn’t twist left or right. Press the eye seats into place with your thumbs while the tension is still adjustable, then knot the two thread ends securely and bury the tails inside the head using your yarn needle. Glue in your 12 mm eyes if you haven’t already inserted safety-back eyes. Embroider the nose in black floss as a simple Y shape, centered just above the muzzle gather. Blush the cheeks with pink pastel chalk, or embroider them in pink floss if you prefer a permanent finish. Weave in any remaining yarn tails from color changes throughout the body and head.
Tips & Tricks
- Keep your tension on the tighter side throughout this pattern — plush yarn like Wolans Bunny Baby is forgiving, but a looser gauge will let stuffing peek through between stitches, especially around the bobbles. If your stitches feel loose, try dropping down half a hook size.
- When you reach an invisible decrease, insert your hook under the front loops of the next two stitches only, rather than through both full stitches. This keeps your decrease rounds smooth and nearly invisible, which matters most on Round 15 where the last few stitches close the head.
- Don’t rush the stuffing step. Add fiberfill in small pinches rather than one big handful, working it into the cheeks and curled crown with your fingers or the blunt end of your hook as you go. The head especially should feel firm all the way through — a soft or dented head is almost always a stuffing issue, not a stitch count issue.
- The muzzle-gathering step is the trickiest part of this whole pattern, so work slowly and check the lamb’s face from the front after every pull of the thread. It’s much easier to loosen and retry the tension before you knot off than to fix a crooked muzzle afterward.
- If you’re substituting yarn, choose something with a similarly soft, slightly fuzzy texture rather than a smooth cotton — the plush halo is what gives this lamb her cuddly finished look, and it also helps disguise the bobble stitch bases so the legs and curls read as soft texture rather than sharp clusters.
Frequently Asked Questions
Do I need to sew any parts together on this lamb?
No, this pattern is designed as one seamless piece. The legs, ears, and curls are all worked directly into the rounds as you go, so there’s no sewing of separate parts.
What if I don’t have Wolans Bunny Baby yarn?
You can substitute any light worsted weight plush yarn with a similar soft, fuzzy texture. Avoid smooth cottons, as the plush halo helps disguise the bobble stitch bases and gives the lamb her cuddly look.
How do I make the invisible decrease?
Insert your hook under the front loops of the next two stitches only, then yarn over and pull through both loops, then yarn over and pull through the remaining two loops on your hook. This keeps the decrease smooth and nearly invisible.
When should I insert the safety-back eyes?
Insert them after stuffing the body and before finishing the head, at the point noted in the pattern (after Rnd 12). If using glue-in eyes, wait until the muzzle shaping step.
My bobbles look flat. What should I do?
After closing the last round, gently plump each bobble by hooking it from underneath and tugging it outward with your hook, needle, or scissor tip. This helps the texture stand proud and look more dimensional.
Can I skip the muzzle-gathering step?
This step is key to shaping the lamb’s face and creating a seat for the eyes. Skipping it will result in a flat, less expressive face. Take it slow and check the face from the front after each pull of the thread.
Pin This Crochet Pattern!