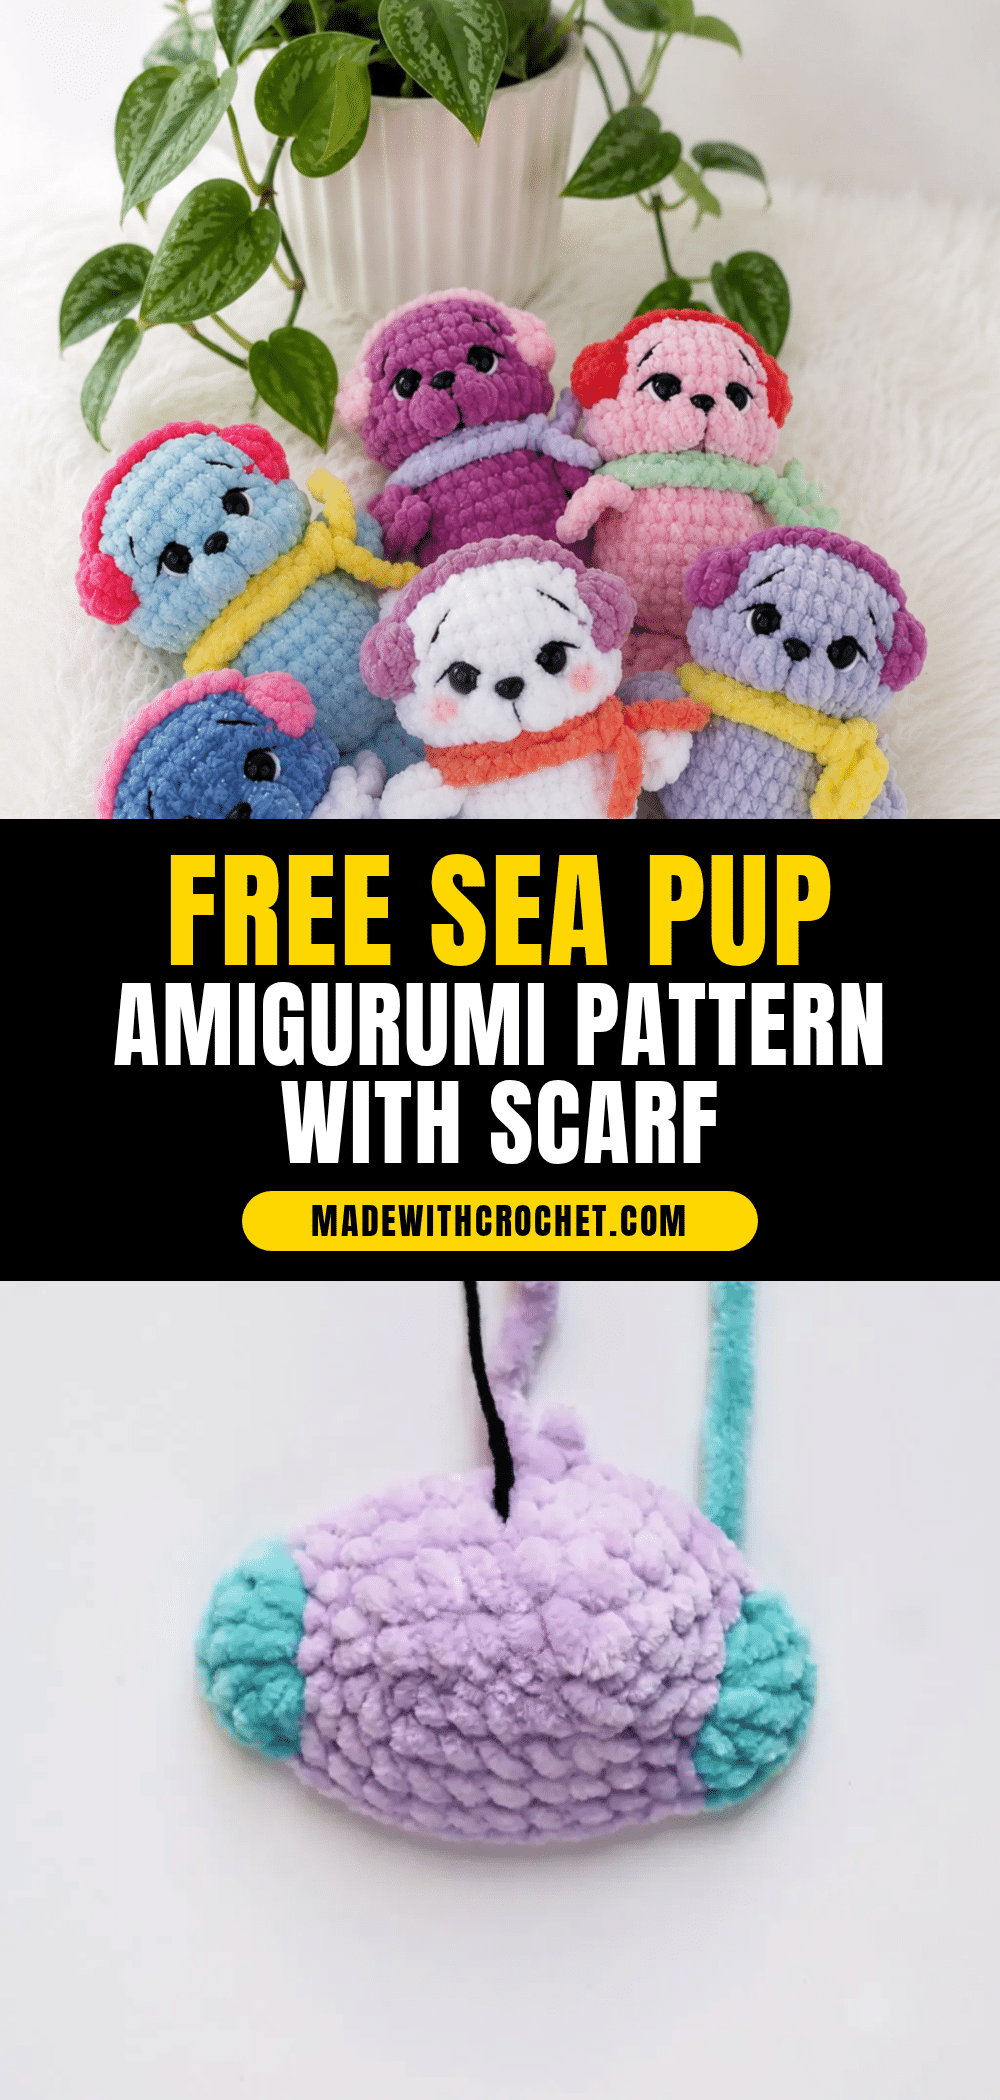
I remember the moment I chose the yarn for this Sea Pup. I was standing in my stash, holding a skein of soft lilac chenille, a bright turquoise, and a bold fuchsia. The lilac felt like the perfect, gentle base for a seal pup, while the turquoise and fuchsia added a playful, winter-ready pop. It was a simple decision, but it made the whole project feel intentional, like I was dressing a little friend for the cold.
Yarn and Color Notes
The magic of this Sea Pup comes from its yarn. The main body in lilac gives it a soft, almost ethereal quality, while the turquoise earmuffs and fuchsia scarf create a cheerful contrast. If you want a more natural look, you could use a warm grey or cream for the body. For a bolder pup, try a bright teal body with mustard yellow accessories. The key is to use a bulky (5) weight chenille yarn for that signature plush, huggable texture. The yarn choice is your first opportunity to make this pattern your own.
Project Overview
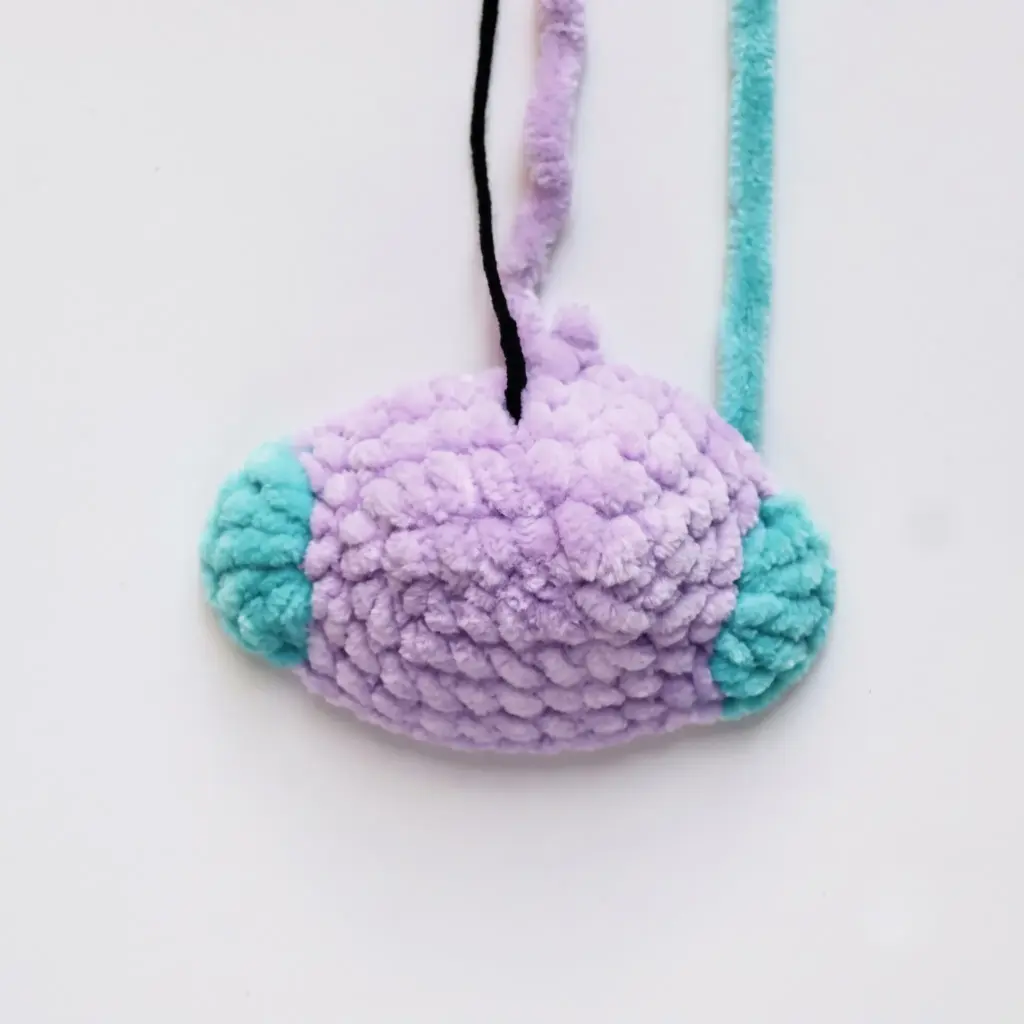
This pattern creates a 14.5 cm (5.7″) plush seal pup, complete with textured flippers, a cozy earmuff headband, and a detachable scarf. It’s a one-piece construction from body to tail, with the head, flippers, and tail all worked continuously. This project is best suited for an intermediate crocheter, as it involves color changes, a gathered face shaping technique, and working with chenille yarn. The finished pup is a cuddly companion with a surprising amount of personality.
Materials
- Yarn: Bulky (5) weight chenille yarn, such as Wolans Bunny Baby (100% polyester, 100 g / 120 m) — lilac for the main body, turquoise for the earmuffs, and fuchsia for the scarf
- Hook: US C/2–D/3 (3.0 mm)
- Safety eyes: 10.0 mm, 2 count
- Safety nose: oval, 9×7 mm, 1 count
- Fiberfill stuffing
- Stitch marker
- Yarn needle with a large eye (for chenille yarn) and a needle with a small eye (for fine thread)
- Fine black thread (for facial embroidery)
- Fine white thread (for the whites of the eyes)
- Strong fine thread (for face gathering)
- Scissors
- Lighter (to singe the scarf ends)
Abbreviations
- BLO — Back Loop Only
- ch — Chain
- dc — Double Crochet
- dc3tog — 3-Double Crochet Cluster Decrease
- dec — Decrease (invisible decrease)
- dtr — Double Treble Crochet
- FLO — Front Loop Only
- hdc — Half Double Crochet
- inc — Increase (2 sc in same stitch)
- sc — Single Crochet
- sh st — Shift Stitch (a realignment stitch worked under the back loop of the current stitch and the front loop of the next, used to nudge the round marker back into position without changing the stitch count)
- sl st — Slip Stitch
Pattern Notes
This pattern is written in US crochet terminology. The body, head, flippers, and tail are worked as one continuous piece in joined rows and spiral rounds — stuff as you go rather than waiting until the end. Gauge isn’t critical here. Matching the designer’s tension will get you closest to the 14.5 cm (5.7″) finished size, but a slightly larger or smaller pup will turn out just as cute — simply adjust your stuffing to match. Stitch count is given at the end of each round or row in parentheses: (##). Insert the safety eyes between Rounds 5 and 6, and the safety nose after Round 8, as noted in the instructions below. Stuff the cheeks generously right after placing the eyes — this is what gives the face its rounded, expressive shape.
Pattern Instructions
Body, Head, Flippers & Tail (Made in One Piece)
Work in main body color.
- Row 1: Ch 6. Starting in 2nd ch from hook: inc, 3 sc, 4 sc in last ch. Continue into the opposite side of the foundation ch: 3 sc, inc. (14)
- Rnd 2: 2 inc, 1 sc, inc, 1 sc, 4 inc, 3 sc, 2 inc. (23) Work 6 sh st, then place your stitch marker. It should sit exactly at the center back of the toy.
- Rnd 3: 5 sc, 2 inc, 9 sc, 2 inc, 5 sc. (27)
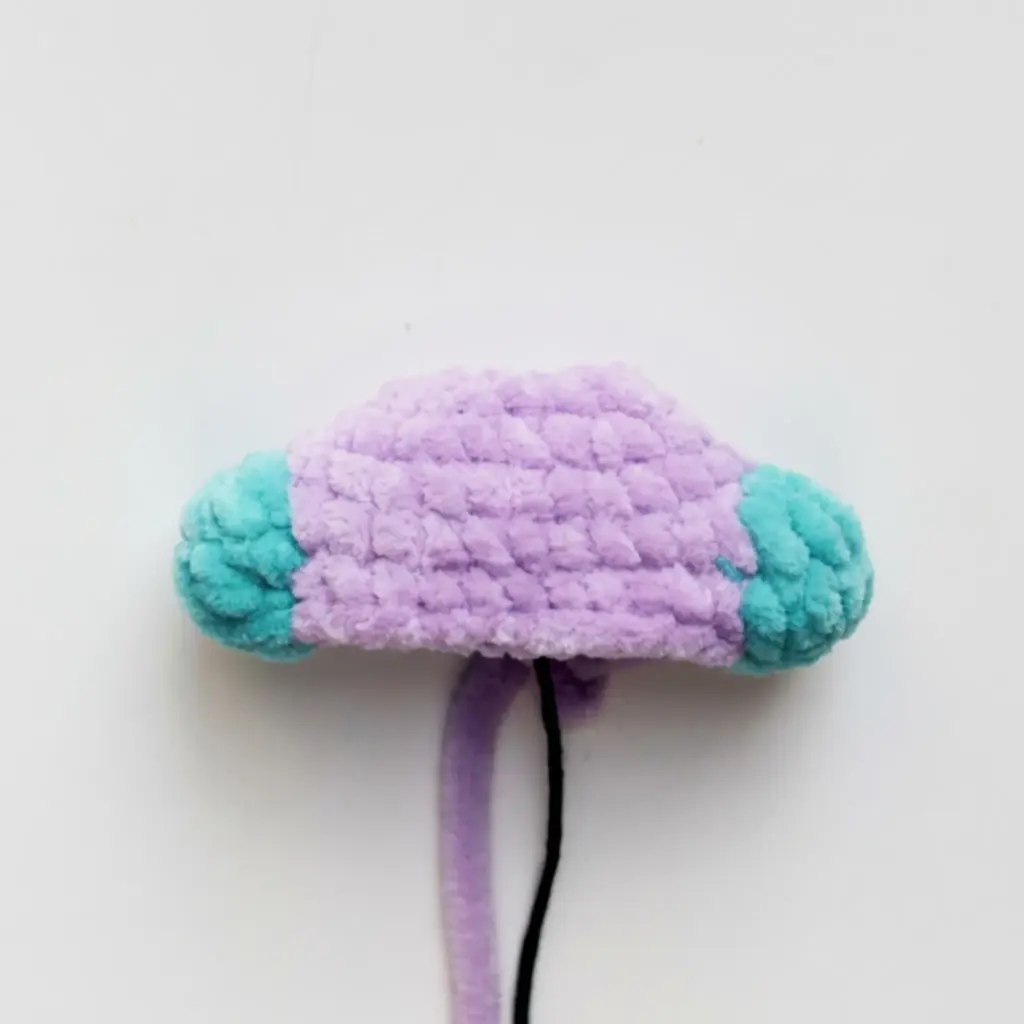
- Rnd 4: 6 sc; change to earmuff color — (3 dc in same st) ×2; 11 sc; change to earmuff color — (3 dc in same st) ×2; 6 sc. (35)
- Rnd 5: 6 sc; earmuff color — (dc3tog) ×2; 11 sc; earmuff color — (dc3tog) ×2; 6 sc. (27) Insert the safety eyes now, between Rounds 5 and 6, spaced 5 sc apart.
- Rnd 6: 6 sc, (3 sc in same st) ×2, 11 sc, (3 sc in same st) ×2, 6 sc. (35) Realign the marker to the center back if it has shifted.
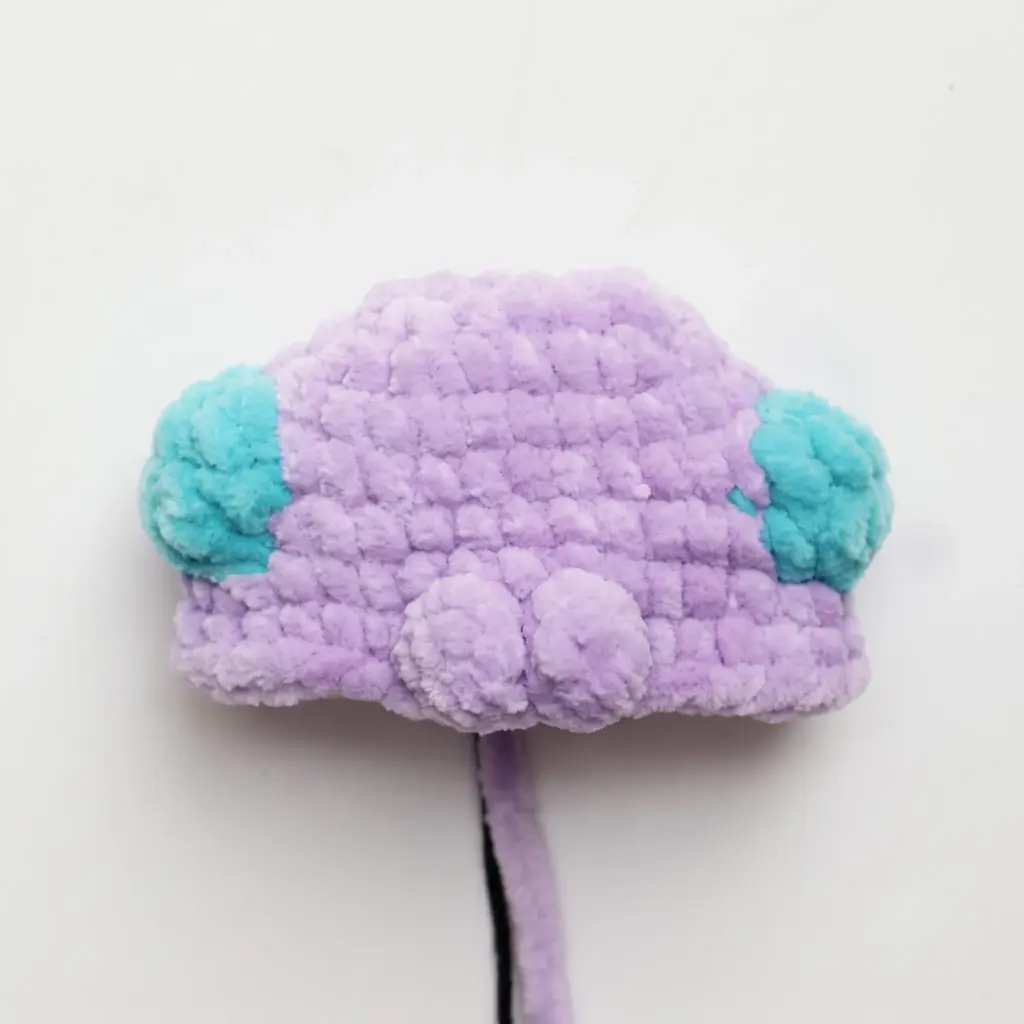
- Rnd 7: 16 sc, Bobble (4-dc bobble), 1 sc, Bobble (4-dc bobble), 16 sc. (35)
- Rnd 8: 5 sc, 4 dec, 4 sc, inc (in the sc between the two bobbles), 4 sc, 4 dec, 5 sc. (28) Insert the safety nose into the muzzle now, and stuff the cheeks firmly.
- Rnd 9: 14 dec. (14)
- Rnd 10: (1 sc, inc) ×7. (21)
- Rnd 11: 1 sc, inc, (2 sc, inc) ×6, 1 sc. (28) Realign the marker again if needed.
- Rnd 12: 7 sc, Flipper (worked into next 2 sts, see below), 10 sc, Flipper (worked into next 2 sts), 7 sc. (28, not counting flipper stitches)
Flipper: Worked into 2 stitches, FLO. Into the 1st st: sl st, ch 5, 1 dtr. Into the 2nd st: 1 dtr, ch 5, sl st.
- Rnd 13: 7 sc; BLO — 2 hdc (worked behind the flipper); 10 sc; BLO — 2 hdc (worked behind the flipper); 7 sc. (28)
- Rnds 14–16: 28 sc. (3 rounds, 28 sts each)
- Rnd 17: 1 sc, dec, (2 sc, dec) ×6, 1 sc. (21)
- Rnd 18: (1 sc, dec) ×7. (14)
- Rnd 19: 7 dec + 1 extra dec. (6) Work sh st as needed to reach the side seam. Fold the piece flat and sc through both layers together, 3 sc. Do not fasten off — continue directly into the tail.
Tail
Ch 5, turn, and work into the same ch: 1 dtr; ch 2, sl st in 2nd ch from hook; 1 dtr; ch 5. Sl st into the next stitch, then ch 5. Into the next (last) stitch: 1 dtr; ch 2, sl st in 2nd ch from hook; 1 dtr; ch 5; sl st into the base stitch. Ch 1, fasten off, and weave the end inside the toy.
Earmuff Headband
Work in earmuff color, holding the toy with the face toward you.
Attach yarn (no knot) at Point 1 — the right side, centered at the base of the earmuff — leaving a 10 cm tail. Ch 11 (your count may vary slightly — try it on for fit) and join with a sl st to Point 2, the left side, centered at the base of the other earmuff, making sure the chain isn’t twisted. Fasten off, leaving a tail. Bring it through to the base where the yarn was first attached, tie the two tails together with a double knot, and weave the ends inside the toy.
Scarf
Work in scarf color yarn. Ch 65–70, then fasten off. Trim the excess tails on both ends and lightly singe them with a lighter to prevent fraying.
Assembly
With fine black thread, embroider the upper eyelids, eyebrows, and a short line under the nose on the muzzle. With fine white thread held double, embroider the whites of the eyes. Using strong fine thread, gather the face: Point 1 and 2 sit between Rounds 8 and 9, spaced 1–2 sc apart; Points 3 and 5 sit at the outer-lower edge of each eye; Points 4 and 6 sit at the inner side of each eye, centered. Follow the cinch path 2 → 3 → 4 → 1 → 2 → 5 → 6 → 1, then tie off with 2–3 knots and weave in the ends. Fold the finished scarf chain in half and set the toy on top of it, centered. Pull the two loose ends on the right through the loop formed on the left, then tighten to seat the scarf snugly around the neck. Weave in all remaining yarn tails, including the ones from the headband and body.
Tips
- Keep your tension snug and even throughout the body — chenille yarn is forgiving, but a looser gauge will let stuffing show through the stitches, especially around the cheeks.
- When you reach the invisible decreases in Rounds 9, 17, and 18, insert your hook into the front loops of the next two stitches only, rather than through both full stitches; it keeps the decreases smooth instead of ridged.
- Stuff the head and cheeks firmly before you close them off — a softly stuffed head tends to look deflated once the safety eyes pull the face into shape, so err on the firmer side there while keeping the body a touch softer for a huggable feel.
- If you swap in a different yarn, stick with a bulky chenille or velvet-style yarn for that same plush texture; a smooth worsted-weight yarn will work structurally but won’t give you the same soft, snuggly finish.
- Finally, when attaching the headband, try it on the toy before you tie off the second end — earmuff placement makes a big difference in the pup’s expression, so a quick fitting check is worth the extra minute.
Frequently Asked Questions
What yarn weight works best for this Sea Pup amigurumi?
A bulky weight chenille or velvet-style yarn, like the one used in this pattern, gives the seal its signature soft, plush texture. You can substitute a different brand as long as it’s a similar weight and fiber, since a smoother yarn will change the finished look and feel.
Can I use a different size of safety eyes?
The pattern is designed for 10.0 mm safety eyes. Using a different size will change the proportions of the face. If you do substitute, you may need to adjust the spacing and the face gathering technique to fit the new eye size.
How do I make the invisible decrease?
To make an invisible decrease (dec), insert your hook into the front loop only of the next two stitches. Yarn over and pull through both loops, then yarn over and pull through the two loops on your hook. This creates a nearly invisible stitch that is smoother than a standard decrease.
My chenille yarn is splitting. What can I do?
Chenille yarn can be prone to splitting. Using a slightly larger hook than recommended can help, as can working more slowly and deliberately. A sharp yarn needle can also help when weaving in ends. If the splitting is severe, try a different brand of chenille yarn.
How do I attach the scarf so it stays on?
The scarf is attached by folding it in half, placing the toy on top, and pulling the loose ends through the loop. This creates a knot that sits snugly around the neck. For a more permanent attachment, you can sew the scarf in place with a few small stitches.
Can I make this pattern without the face gathering?
The face gathering is what gives the Sea Pup its rounded, expressive cheeks. While you could skip it, the face will be much flatter and less dimensional. If you choose to omit it, you may want to add extra stuffing to the cheeks to help them keep their shape.
Pin This Crochet Pattern!