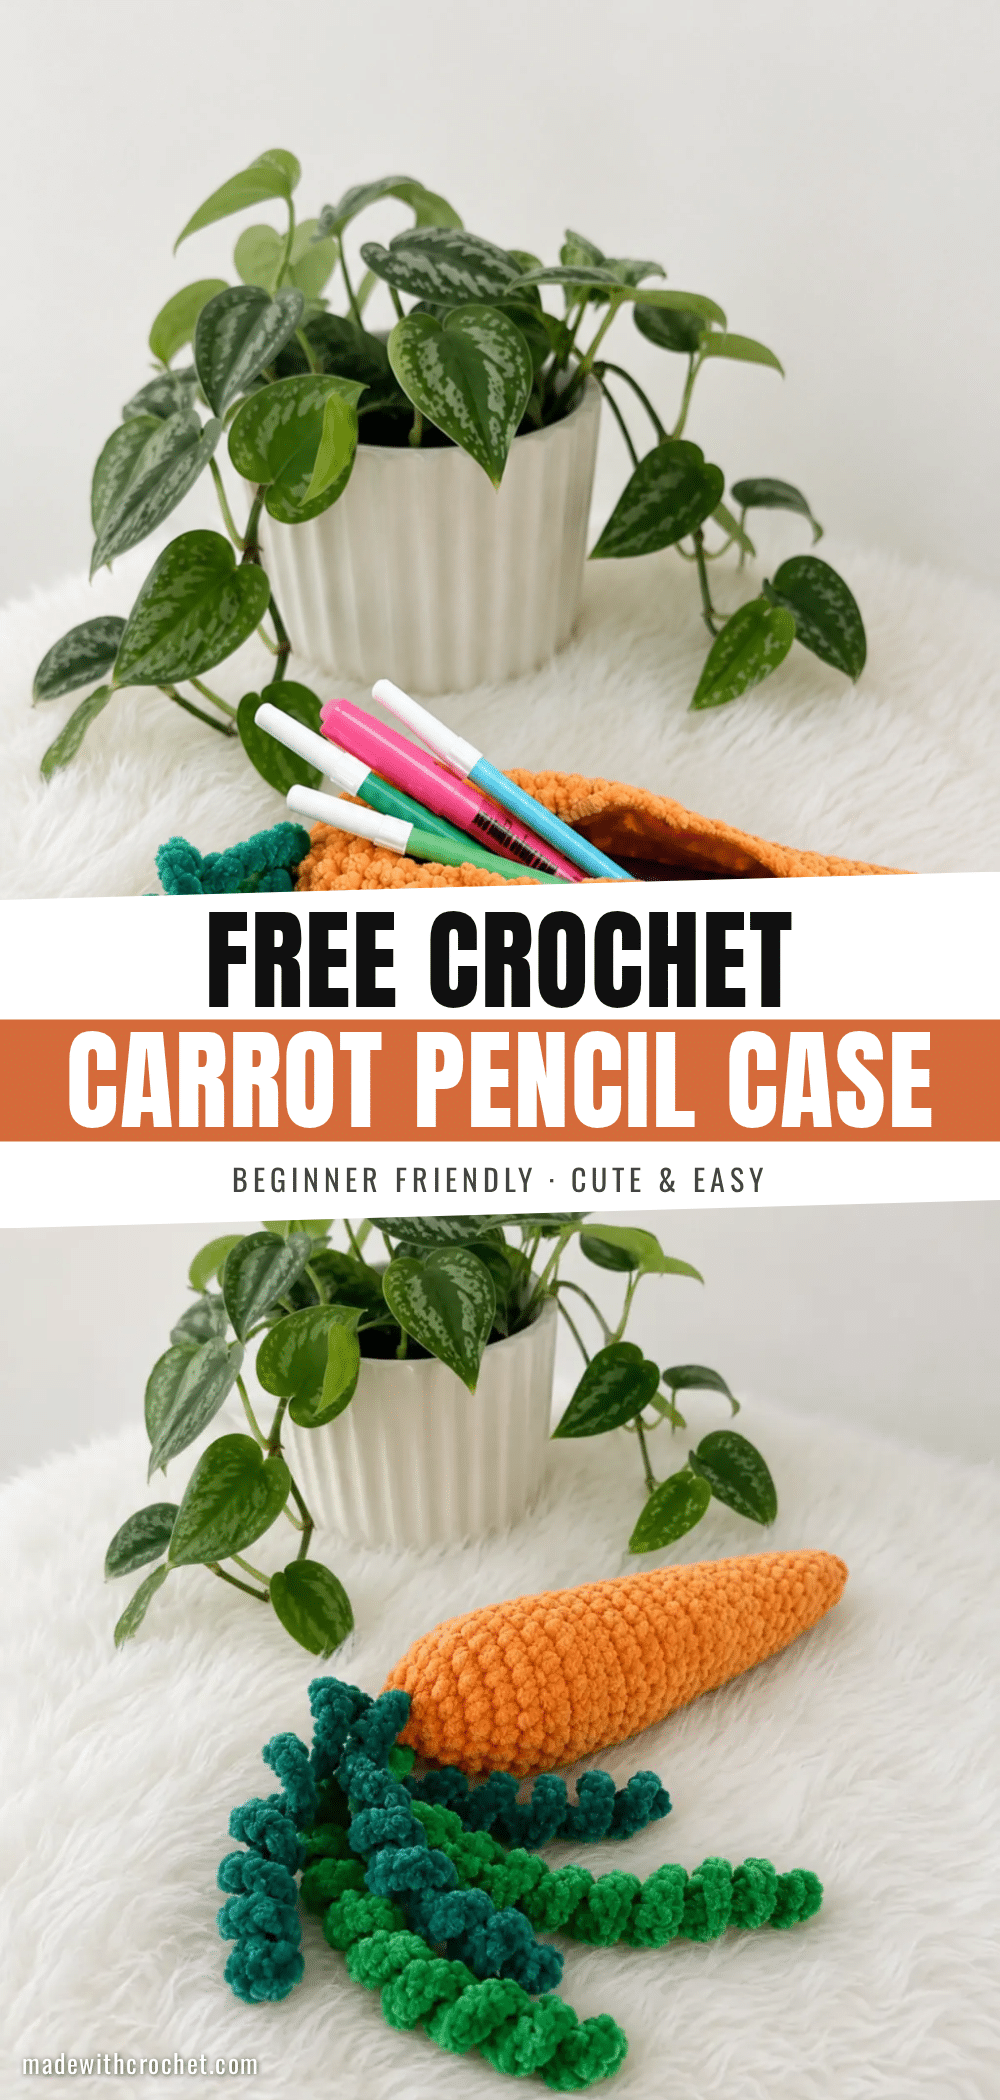
If you’ve ever started a crochet project only to worry that the shaping will look bumpy or that a zipper will be too tricky to sew in, you’re not alone. Those concerns are common, but this playful carrot pencil case pattern is designed to put them to rest. With a soft, velvety texture and a clever construction that skips stuffing entirely, this project stays approachable from the first chain to the final stitch. Whether you’re making it for a child’s school supplies or your own desk, you’ll find that the combination of simple stitches and a functional zipper makes this a rewarding one-afternoon make.
Maker Notes
What makes this carrot pencil case so special is its dual personality: it looks like a charming amigurumi vegetable, but it functions as a fully zippered pouch. The plush velvet-style yarn gives the carrot body a wonderfully tactile, bumpy texture that feels soft in the hand, while the curling green stems add movement and a playful garden-fresh vibe. Because the pattern uses a worsted weight yarn and a simple color palette, you can easily customize the greens to match your favorite shades or use up scraps. This is a great project for practicing invisible decreases and working with plush yarn, and the finished piece makes a thoughtful handmade gift for anyone who loves a little whimsy in their everyday items.
Project Overview
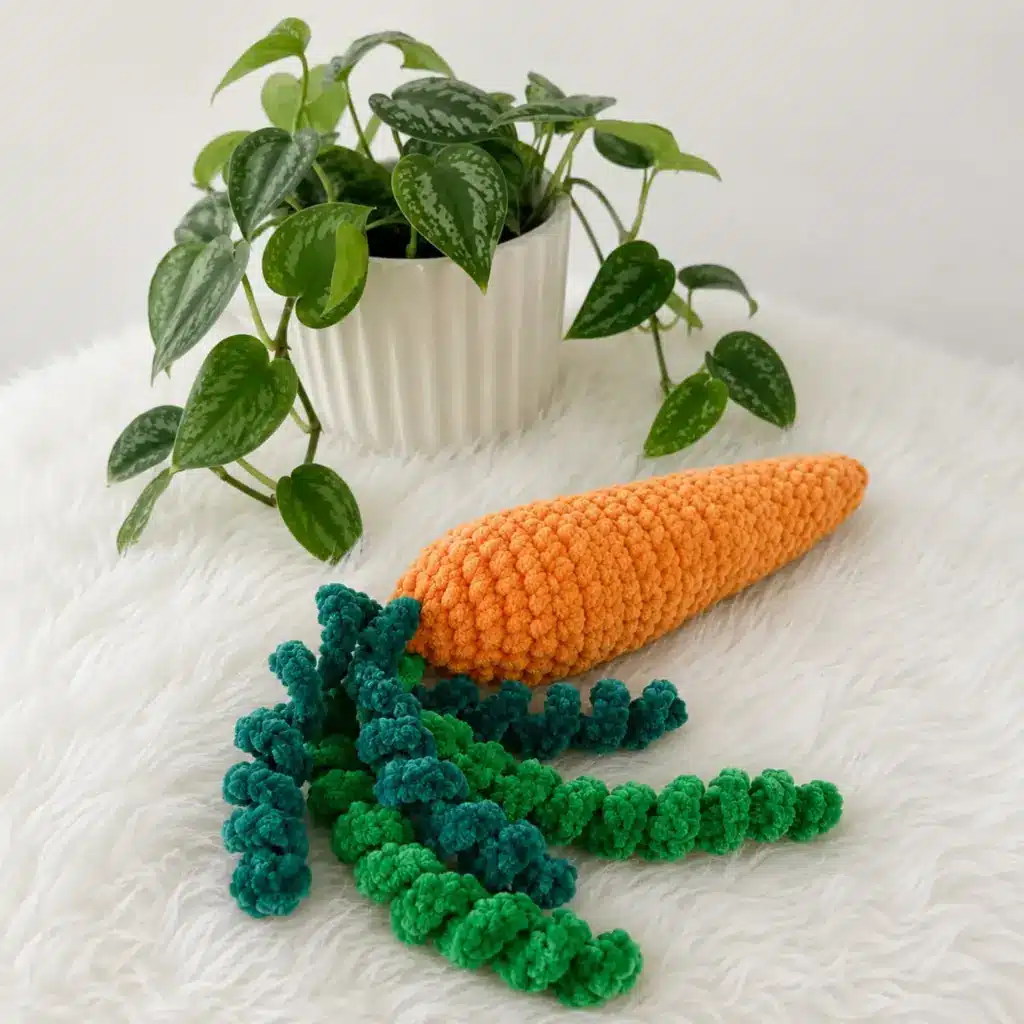
This crochet carrot pencil case pattern is rated beginner-to-intermediate. It combines flat turned rows and continuous joined rounds to create a tapered, unstuffed pouch. The stems are worked flat as long chains with two single crochets in every stitch, which naturally creates their signature curly texture. A 15 cm (6″) zipper is hand-sewn into the opening at the finishing stage, so you’ll leave that seam open until assembly.
Materials
- Yarn: Worsted weight plush/velvet-style yarn in orange (for the carrot body) and dark green (for three stems)
- Yarn: Worsted weight velvet-style yarn in a lighter grass green (for two stems) — any green worsted-weight yarn can be substituted, or all five stems can be made in a single green
- Hook: E-4 (3.5 mm)
- 15 cm (6″) zipper
- Yarn needle / tapestry needle, plus a sewing needle and matching thread
- Small scrap of cotton fabric
- Fabric glue
- Scissors
- Stitch marker (optional, to track the start of each round)
Abbreviations Used
- ch — Chain
- dec — Decrease (invisible decrease)
- sc — Single Crochet
- st(s) — Stitch(es)
Pattern Notes
- This pattern is written in US crochet terminology.
- The carrot body is worked in a combination of flat turned rows and continuous joined rounds — each section notes exactly where the transition happens.
- Gauge is not critical for this project since it’s a soft, unstuffed pouch rather than a fitted amigurumi piece.
- Stitch count is given at the end of each round or row in parentheses: (##).
- This carrot is not stuffed — it stays soft and flat enough to function as a pencil case, so skip any urge to add fiberfill.
- The stems are worked flat as long chains with two single crochets in every stitch, which creates their signature curly texture.
- A zipper is hand-sewn into the opening at the finishing stage, so leave that seam open until you reach the Assembly section.
Pattern Instructions
Dark Green Stems (make 3)
Chain 30. Work 2 sc in each ch across. Fasten off, leaving a long tail for sewing. (60)
Light Green Stems (make 2)
Chain 45. Work 2 sc in each ch across. Fasten off, leaving a long tail for sewing. (90)
Carrot Body — Tip Section
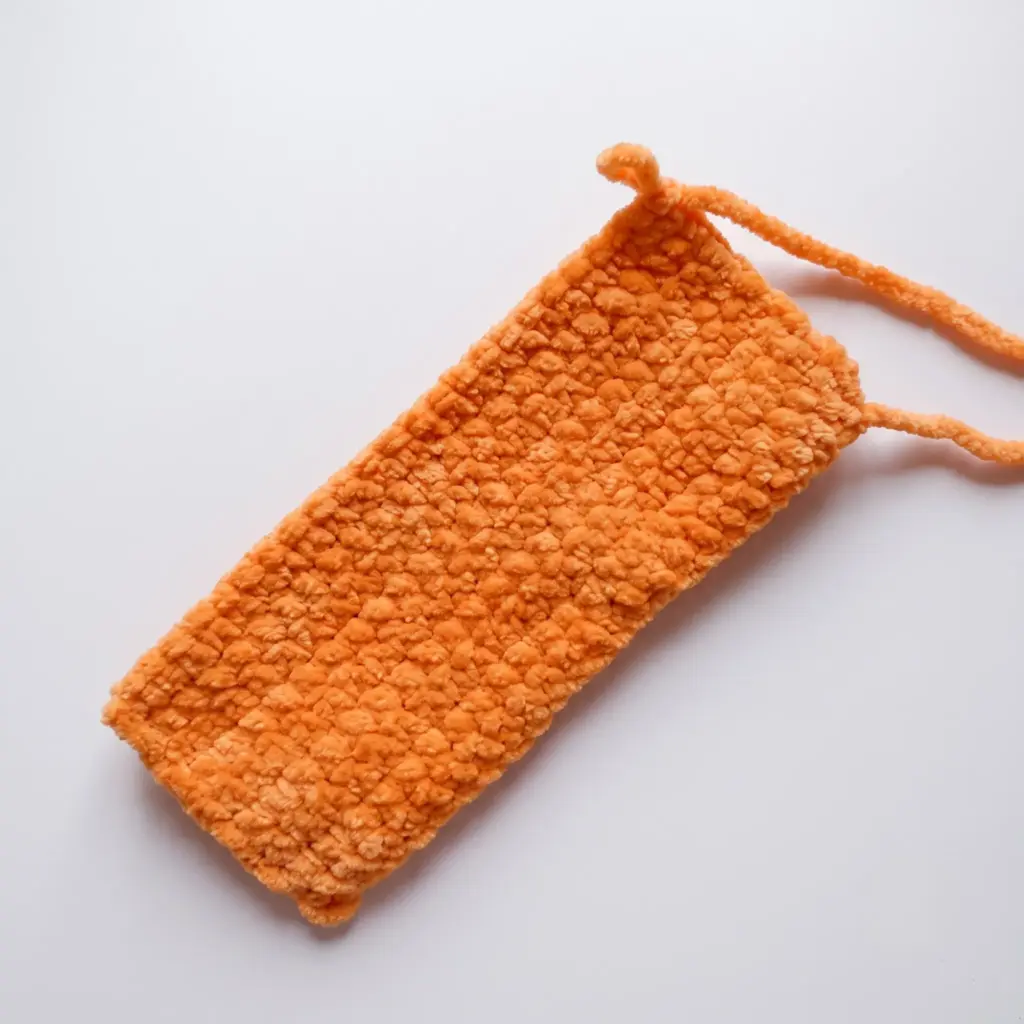
Row 1: Chain 25. Starting in the 2nd ch from hook, 24 sc. (24)
Rows 2–10: 24 sc. (24)
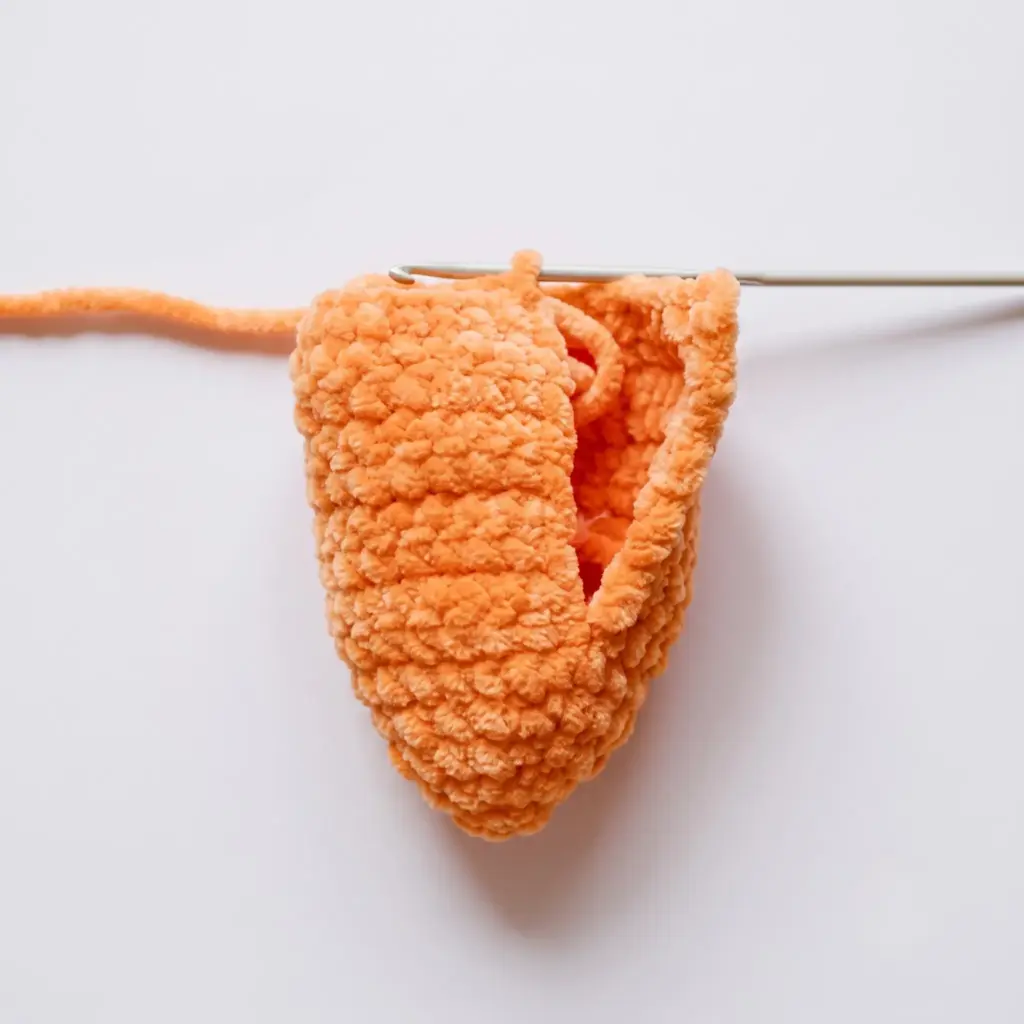
Rnd 11: Join to work in continuous rounds from here forward. 24 sc. (24)
Rnd 12: 2 sc, dec repeat around. (18)
Rnd 13: 18 sc. (18)
Rnd 14: 1 sc, dec repeat around. (12)
Rnd 15: 6 dec. Fasten off and weave in the end.
Carrot Body — Opening Section
Attach yarn to the opposite (foundation chain) edge of the tip section piece to begin this half.
Row 1: 24 sc. (24)
Row 2: 10 sc, dec repeat twice. (22)
Row 3: 22 sc. (22)
Row 4: 9 sc, dec repeat twice. (20)
Row 5: 20 sc. (20)
Row 6: 8 sc, dec repeat twice. (18)
Row 7: 18 sc. (18)
Rnd 8: Join to work in continuous rounds from here forward. 18 sc. (18)
Rnd 9: 18 sc. (18)
Rnd 10: 7 sc, dec repeat twice. (16)
Rnd 11: 6 sc, dec repeat twice. (14)
Rnd 12: 5 sc, dec repeat twice. (12)
Rnd 13: 4 sc, dec repeat twice. (10)
Rnd 14: 3 sc, dec repeat twice. (8)
Rnd 15: 4 dec. Fasten off, leaving a long tail for sewing.
Assembly
Sew or tie the three Dark Green Stems and two Light Green Stems to the wide end of the Carrot Body, arranging them so they fan out naturally like real carrot greens. Cut two circles from your cotton fabric scrap, one larger and one smaller. Glue the larger circle over the stem attachment point at the wide end, covering the inside seam where the stems connect. Glue the smaller circle over the point at the narrow tip. This step not only tidies up the interior — it also reinforces both ends against wear from repeated pencil use. Using a sewing needle and thread that matches your carrot color, hand-sew the 15 cm (6″) zipper into the opening using a backstitch for a secure, even seam. Weave in any remaining yarn tails from the stems and body sections.
Tips & Tricks
- Getting the stems to curl properly comes down to working 2 sc into every single chain stitch without skipping any — that doubling is what forces the strip to ruffle and coil naturally, so resist the temptation to speed through this part.
- When you reach the decrease rounds on the carrot body, work your invisible decreases through the front loops only of the next two stitches; it keeps the surface smooth and hides the shaping almost completely, which matters since this piece has no stuffing to disguise bumpy transitions.
- If your plush or velvet-style yarn feels slippery in your hands, switch to a hook one size smaller than usual — it tightens your tension just enough to keep the fabric dense and structured.
- Substituting a different yarn weight is fine for the stems since they’re just decorative, but keep the carrot body itself in a true worsted weight, or your row and round counts won’t produce the right proportions.
- Finally, when sewing the zipper, pin it in place first and baste a few anchor stitches before committing to the full backstitch seam — plush yarn hides pin holes easily, and this small step prevents a crooked zipper line.
Frequently Asked Questions
Do I need to stuff the carrot pencil case?
No, this pattern is intentionally left unstuffed. Skipping the fiberfill keeps the case soft, flexible, and roomy enough to hold pens and pencils comfortably.
Can I use a different yarn weight for this pattern?
The carrot body works best in worsted weight yarn to match the given stitch and row counts. The stems are more forgiving since they are purely decorative, so you can substitute a different green yarn weight there without affecting the finished size.
Why does the pattern switch between rows and rounds?
Each half of the carrot body starts as flat turned rows to build a tapered shape, then joins into continuous rounds once the piece is wide enough to close into a tube. This transition point is called out clearly at the start of each relevant round.
What is the fabric circle step for?
The two fabric circles are glued inside the carrot at the tip and stem-attachment points. They cover the less tidy interior seams and add reinforcement, which helps the pencil case hold up longer against pencil tips poking through.
Can I make all five stems in the same color?
Yes, absolutely. The pattern notes that any green worsted-weight yarn can be substituted, or all five stems can be made in a single green. The choice is yours.
Is this pattern suitable for a beginner?
Yes, if you are comfortable with basic single crochet, simple increases and decreases, and working in both rows and rounds. The zipper sewing is the most advanced step, but the tips in this pattern make it manageable.
Pin This Crochet Pattern!