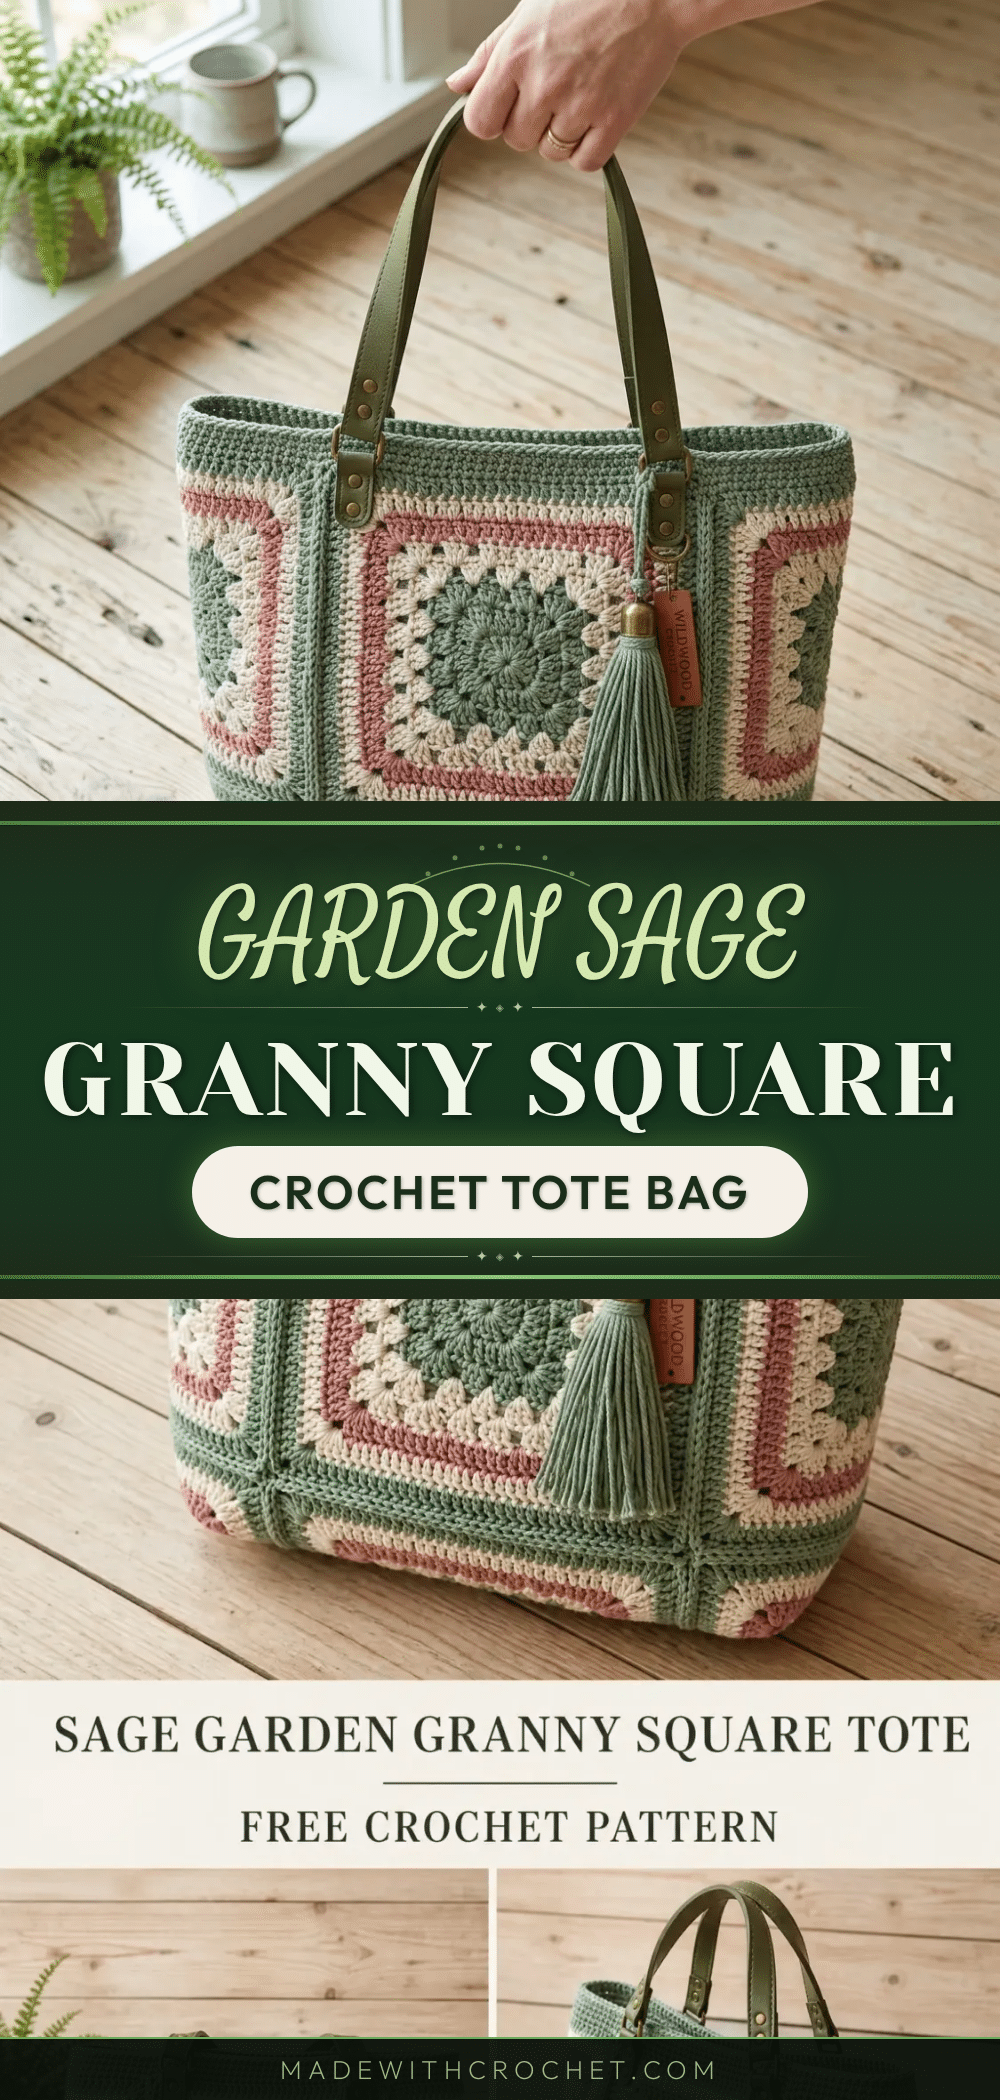
I have my yarn spread out on the table, hook in hand, and the first granny square is just beginning to take shape. There’s something special about that moment when a project starts to come together, and this tote is one of those patterns that makes every stitch feel worthwhile. The soft sage green, dusty rose, and cream are already looking beautiful together, and I can already picture the finished bag with its leather handles. If you love granny squares but want something a little more structured and refined, this is the project for you.
Why This Project Works
This tote strikes a perfect balance between classic crochet charm and modern practicality. The combination of granny squares and solid half double crochet panels creates a bag that holds its shape beautifully without being stiff. The color palette is sophisticated and versatile, making it suitable for everything from a trip to the farmer’s market to a day at the office. The construction is clever too, with separate front and back panels that are joined to a sturdy base and side gussets. It’s a pattern that feels rewarding to make and even more rewarding to carry.
Project Overview
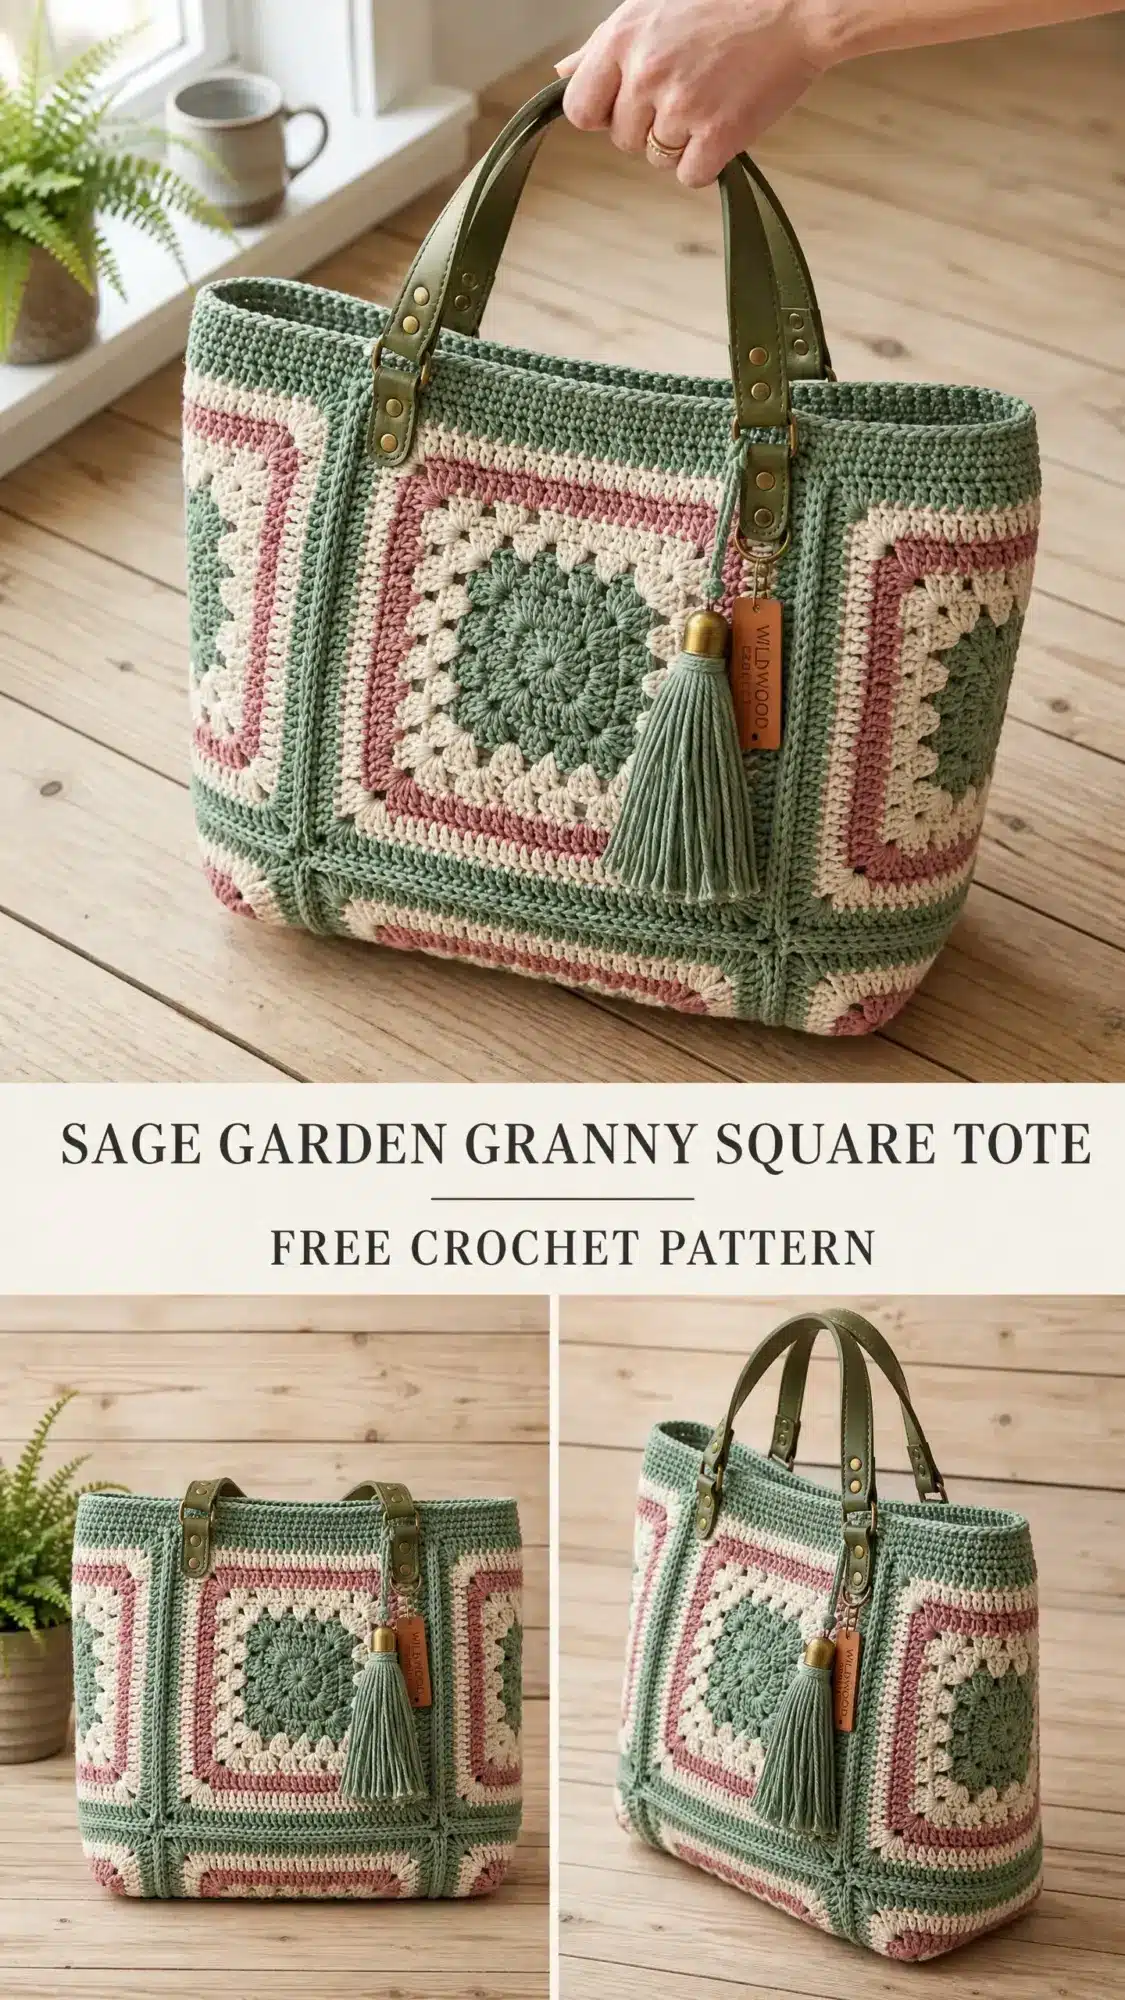
The Sage Garden Granny Square Tote combines traditional granny square motifs with solid half double crochet panels to create a bag that holds its shape beautifully. The construction method is clever. You work the decorative front and back panels separately from granny squares and half triangles, then attach them to a sturdy base and side gussets.
Skill level: Advanced beginner to intermediate. You should be comfortable reading multi-round patterns, working granny squares, joining motifs, and seaming pieces together.
Time estimate: Plan for 12 to 18 hours if you have experience with motif work. Newer crocheters should allow 20 to 25 hours.
Materials
Yarn
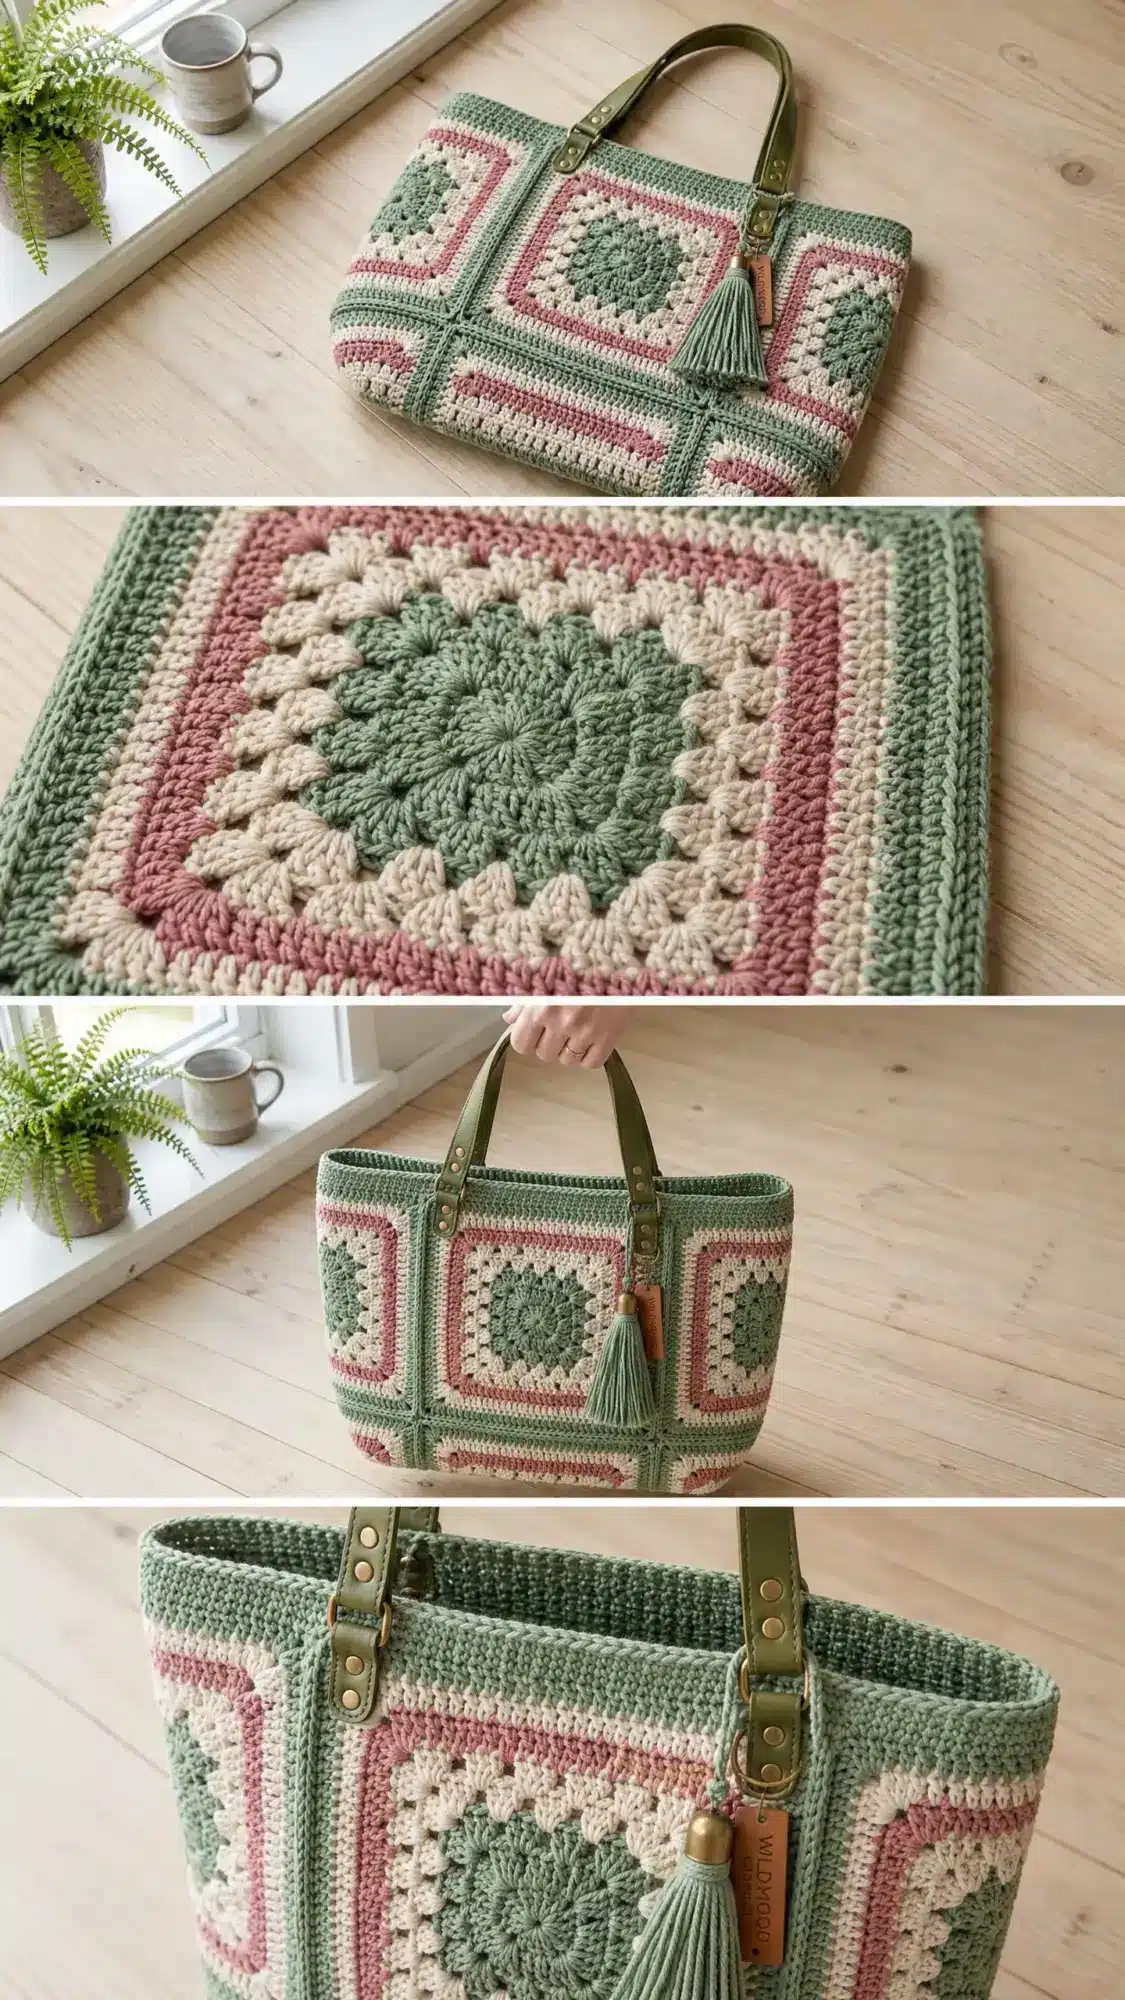
This pattern uses DK weight yarn in three colors. A cotton or cotton blend works best for structure and stitch definition.
- Color A (Sage Green): 310 yards / 284 meters
- Color B (Dusty Rose): 180 yards / 165 meters
- Color C (Cream/Natural): 220 yards / 201 meters
- Total yardage: approximately 710 yards / 649 meters
Recommended yarns: Lion Brand 24/7 Cotton (2 balls Color A, 1 ball Color B, 2 balls Color C); Paintbox Yarns Simply DK (3 balls Color A, 2 balls Color B, 2 balls Color C); Drops Safran (2 balls Color A, 2 balls Color B, 2 balls Color C). Avoid fuzzy or halo yarns. They obscure the lovely granny square structure.
Hooks
- US Size G-6 / 4.0 mm for all granny motifs and bag body
- US Size F-5 / 3.75 mm for the top border only
Notions
- Yarn needle with blunt tip
- Scissors
- 6 to 8 locking stitch markers
- Blocking mats and rust-proof pins
- Spray bottle with water
Hardware and Embellishments
- 1 pair olive green vegan leather or genuine leather bag handles, 22 to 24 inches total length, with antique brass D-rings or rivets
- 4 antique brass Chicago screws or rivets, 0.25 inch post
- 1 antique brass lobster clasp, 0.75 inch
- 1 small leather hang tag (optional)
Optional
- Plastic canvas or firm craft foam for base insert, cut to 14.5 inches x 4.5 inches
- Woven cotton lining fabric, 32 inches x 28 inches
Gauge and Finished Size
Gauge
Using G-6 / 4.0 mm hook and DK weight cotton:
- 1 large granny square (through Round 7) = 7 inches x 7 inches / 18 cm x 18 cm after blocking
- For solid hdc fabric: 16 hdc x 12 rows = 4 inches x 4 inches / 10 cm x 10 cm
Gauge matters here because the motif size controls your final bag dimensions. Block your gauge square before starting.
Finished Size
- Width: 15 inches / 38 cm
- Height: 11.5 inches / 29 cm (body only)
- Depth: 5 inches / 12.5 cm
- Handle drop: 9 inches / 23 cm
Abbreviations
- ch: chain
- sl st: slip stitch (insert hook, yarn over, pull through both loops)
- sc: single crochet
- hdc: half double crochet
- dc: double crochet (yarn over, insert hook, pull up loop, yarn over, pull through 2 loops twice)
- sp: space
- ch-sp: chain space
- sk: skip
- st(s): stitch(es)
- RS: right side
- WS: wrong side
- rep: repeat
- MR: magic ring (adjustable starting loop)
- PM: place marker
Pattern Notes
The bag uses 4 large granny squares and 4 half-triangles joined into front and back panels. A solid hdc base and two side gussets complete the structure.
Color sequence for granny squares:
- Round 1: Color A (Sage)
- Round 2: Color C (Cream)
- Round 3: Color B (Dusty Rose)
- Round 4: Color C (Cream)
- Round 5: Color A (Sage)
- Round 6: Color B (Dusty Rose)
- Round 7: Color A (Sage)
Fasten off and change color after every round.
Pattern Instructions
Section 1: Large Granny Square (Make 4)
Using Color A and G-6 hook, make a magic ring.
Round 1 (Color A): Ch 3 (counts as first dc), work 2 dc into ring, ch 2, (3 dc into ring, ch 2) 3 times, sl st to top of beg ch-3. Fasten off. (4 clusters, 4 ch-2 corner spaces)
Round 2 (Color C): Join Color C with sl st into any ch-2 corner sp. Ch 3, 2 dc into same sp, ch 2, 3 dc into same sp (corner made), ch 1, (3 dc, ch 2, 3 dc into next ch-2 sp, ch 1) 3 times, sl st to top of beg ch-3. Fasten off. (8 clusters, 4 ch-2 corner sps, 4 ch-1 side sps)
Round 3 (Color B): Join Color B with sl st into any ch-2 corner sp. Ch 3, 2 dc into same sp, ch 2, 3 dc into same sp, ch 1, 3 dc into ch-1 side sp, ch 1, (3 dc, ch 2, 3 dc into next ch-2 corner sp, ch 1, 3 dc into ch-1 side sp, ch 1) 3 times, sl st to top of beg ch-3. Fasten off. (12 clusters, 4 ch-2 corner sps, 8 ch-1 side sps)
Round 4 (Color C): Join Color C into any ch-2 corner sp. Ch 3, 2 dc into same sp, ch 2, 3 dc into same sp, (ch 1, 3 dc into next ch-1 sp) twice, ch 1, (3 dc, ch 2, 3 dc into ch-2 corner sp, (ch 1, 3 dc into next ch-1 sp) twice, ch 1) 3 times, sl st to top of beg ch-3. Fasten off. (16 clusters, 4 ch-2 corner sps, 12 ch-1 side sps)
Round 5 (Color A): Join Color A into any ch-2 corner sp. Ch 3, 2 dc into same sp, ch 2, 3 dc into same sp, (ch 1, 3 dc into next ch-1 sp) 3 times, ch 1, (3 dc, ch 2, 3 dc into ch-2 corner sp, (ch 1, 3 dc into next ch-1 sp) 3 times, ch 1) 3 times, sl st to top of beg ch-3. Fasten off. (20 clusters, 4 ch-2 corner sps, 16 ch-1 side sps)
Round 6 (Color B): Join Color B into any ch-2 corner sp. Ch 3, 2 dc into same sp, ch 2, 3 dc into same sp, (ch 1, 3 dc into next ch-1 sp) 4 times, ch 1, (3 dc, ch 2, 3 dc into ch-2 corner sp, (ch 1, 3 dc into next ch-1 sp) 4 times, ch 1) 3 times, sl st to top of beg ch-3. Fasten off. (24 clusters, 4 ch-2 corner sps, 20 ch-1 side sps)
Round 7 (Color A): Join Color A into any ch-2 corner sp. Ch 3, 2 dc into same sp, ch 2, 3 dc into same sp, (ch 1, 3 dc into next ch-1 sp) 5 times, ch 1, (3 dc, ch 2, 3 dc into ch-2 corner sp, (ch 1, 3 dc into next ch-1 sp) 5 times, ch 1) 3 times, sl st to top of beg ch-3. Fasten off. (28 clusters, 4 ch-2 corner sps, 24 ch-1 side sps)
Checkpoint: Each blocked square should measure exactly 7 inches x 7 inches.
Section 2: Half-Granny Triangles (Make 4)
These fill the side corners of each panel. Using Color A and G-6 hook:
Foundation: Ch 6.
Row 1 (WS, Color A): In 4th ch from hook: (3 dc, ch 2, 3 dc) for corner, ch 1, 3 dc into last ch. Turn. Fasten off. (2 clusters, 1 ch-2 sp, 1 ch-1 sp)
Row 2 (RS, Color C): Join Color C to top of turning ch. Ch 3, 2 dc into same st, ch 1, (3 dc, ch 2, 3 dc) into ch-2 sp, ch 1, 3 dc into top of ch-3. Turn. Fasten off. (4 clusters, 1 ch-2 sp, 2 ch-1 sps)
Row 3 (WS, Color B): Join Color B to top of ch-3. Ch 3, 2 dc into same st, ch 1, 3 dc into ch-1 sp, ch 1, (3 dc, ch 2, 3 dc) into ch-2 sp, ch 1, 3 dc into ch-1 sp, ch 1, 3 dc into top of ch-3. Turn. Fasten off. (6 clusters, 1 ch-2 sp, 4 ch-1 sps)
Row 4 (RS, Color C): Join Color C to top of ch-3. Ch 3, 2 dc into same st, (ch 1, 3 dc into next ch-1 sp) twice, ch 1, (3 dc, ch 2, 3 dc) into ch-2 sp, (ch 1, 3 dc into next ch-1 sp) twice, ch 1, 3 dc into top of ch-3. Turn. Fasten off. (8 clusters, 1 ch-2 sp, 6 ch-1 sps)
Row 5 (WS, Color A): Join Color A to top of ch-3. Ch 3, 2 dc into same st, (ch 1, 3 dc into next ch-1 sp) 3 times, ch 1, (3 dc, ch 2, 3 dc) into ch-2 sp, (ch 1, 3 dc into next ch-1 sp) 3 times, ch 1, 3 dc into top of ch-3. Turn. Fasten off. (10 clusters, 1 ch-2 sp, 8 ch-1 sps)
Row 6 (RS, Color B): Join Color B to top of ch-3. Ch 3, 2 dc into same st, (ch 1, 3 dc into next ch-1 sp) 4 times, ch 1, (3 dc, ch 2, 3 dc) into ch-2 sp, (ch 1, 3 dc into next ch-1 sp) 4 times, ch 1, 3 dc into top of ch-3. Turn. Fasten off. (12 clusters, 1 ch-2 sp, 10 ch-1 sps)
Row 7 (WS, Color A): Join Color A to top of ch-3. Ch 3, 2 dc into same st, (ch 1, 3 dc into next ch-1 sp) 5 times, ch 1, (3 dc, ch 2, 3 dc) into ch-2 sp, (ch 1, 3 dc into next ch-1 sp) 5 times, ch 1, 3 dc into top of ch-3. Fasten off. (14 clusters, 1 ch-2 sp, 12 ch-1 sps)
Section 3: Assembling the Panels
Layout for each panel: One half-triangle on the left, one large granny square in the center, one half-triangle on the right. All pieces sit side by side horizontally with top and bottom edges aligned.
Use the flat join method or sc through both layers to attach the vertical edge of each half-triangle to the corresponding vertical edge of the large square.
Flat Join: This creates an invisible seam between motifs. Instead of chaining, insert your hook into the corresponding chain space on the adjacent finished motif. Draw up a loop and pull it through the loop on your hook. Continue working your current motif.
Panel Strip Border
After joining, work a border around the entire perimeter of each panel.
Border Rounds 1 to 3 (Color B): Join Color B. Work 1 sc into each dc, 1 sc into each ch-1 sp, 2 sc into each ch-2 corner sp. Work (sc, ch 1, sc) into each outer corner. Continue for 3 rounds, maintaining corners.
Border Rounds 4 to 5 (Color A): Switch to Color A. Work 2 rounds sc, maintaining corners.
Fasten off both panels.
Checkpoint: Each panel should measure approximately 15 inches wide x 8 inches tall.
Section 4: Base Rectangle
Using Color A and G-6 hook:
Ch 21.
Row 1: Hdc in 2nd ch from hook and in each ch across. Turn. (20 hdc)
Rows 2 to 36: Ch 2, hdc in each st across. Turn. (20 hdc per row)
Fasten off after Row 36, leaving a 36-inch sewing tail.
Section 5: Side Gusset Panels (Make 2)
Using Color A and G-6 hook:
Ch 21.
Row 1: Hdc in 2nd ch from hook and in each ch across. Turn. (20 hdc)
Rows 2 to 36: Ch 2, hdc in each st across. Turn. (20 hdc per row)
Fasten off after Row 36, leaving a 36-inch sewing tail.
Checkpoint: Each gusset should measure 5 inches wide x 11.5 inches tall.
Section 6: Assembling the Bag Body
Step 1: Hold front panel and base rectangle with RS together. Sc through both layers along the bottom edge. (Approximately 60 sc)
Step 2: Repeat on the opposite long edge, attaching the back panel.
Step 3: Attach side gussets. Sc the short bottom edge of each gusset to the short edge of the base. Then sc up each long edge to join the front and back panels.
Step 4: Reinforce all corners with 2 to 3 extra sl sts.
Turn bag RS out.
Section 7: Top Border
Using F-5 / 3.75 mm hook and Color A, work 1 round of sc around the top edge of the bag, working through both layers of the front and back panels and the gussets. Fasten off.
Handle Placement
Mark positions 4 inches in from each upper corner on both front and back. Thread handle ends through the border at marked positions. Secure with Chicago screws or rivets.
Tassel Loop
Using Color A, ch 15. Sl st to form a loop. Attach to the center of the front panel border with a lobster clasp.
Section 8: Tassel
Using Color B, wrap yarn around a 4-inch piece of cardboard 20 times. Tie tightly at one end, cut the other end, and trim evenly. Attach to the tassel loop.
Finishing and Blocking
Weave in all ends securely. Wet block by submerging the bag in cool water for 10 minutes, then pressing out excess moisture. Lay flat to dry, shaping to finished dimensions.
If using a base insert, cut plastic canvas to 14.5 inches x 4.5 inches and place inside the bag.
For optional lining, cut fabric to 32 inches x 28 inches, sew into a bag shape, and hand stitch to the inside of the top border.
Care Instructions
Hand wash in cool water with gentle detergent. Do not wring. Lay flat to dry. Do not bleach or tumble dry.
Tips
- Block each granny square before assembling to ensure consistent sizing.
- Use stitch markers to hold the half-triangles in place while joining to the large squares.
- Reinforce the corners of the bag with extra slip stitches for added durability.
- If you prefer a softer bag, skip the base insert and lining.
FAQs
Can I use a different yarn weight for this pattern?
This pattern is designed for DK weight yarn. Using a different weight will change the gauge and final size of the bag. If you substitute yarn, be sure to check your gauge first.
How do I adjust the size of the tote?
To make a larger bag, work additional rounds on the granny squares and add more rows to the base and gussets. Keep the proportions consistent for a balanced shape.
What is the flat join method?
The flat join method creates an invisible seam between motifs. Instead of chaining, you insert your hook into the corresponding chain space on the adjacent finished motif, draw up a loop, and pull it through the loop on your hook.
Can I skip the lining and base insert?
Yes, the bag will still hold its shape without them. The lining and base insert add structure and help prevent items from poking through the granny square gaps.
How do I attach the leather handles?
Mark the handle positions 4 inches in from each upper corner on both the front and back panels. Thread the handle ends through the top border at these marks and secure with Chicago screws or rivets.
What if my gauge is off?
If your gauge is off, the final bag dimensions will change. Adjust your hook size to match the gauge given in the pattern. Blocking your gauge square before starting is essential.
Pin This Crochet Pattern!