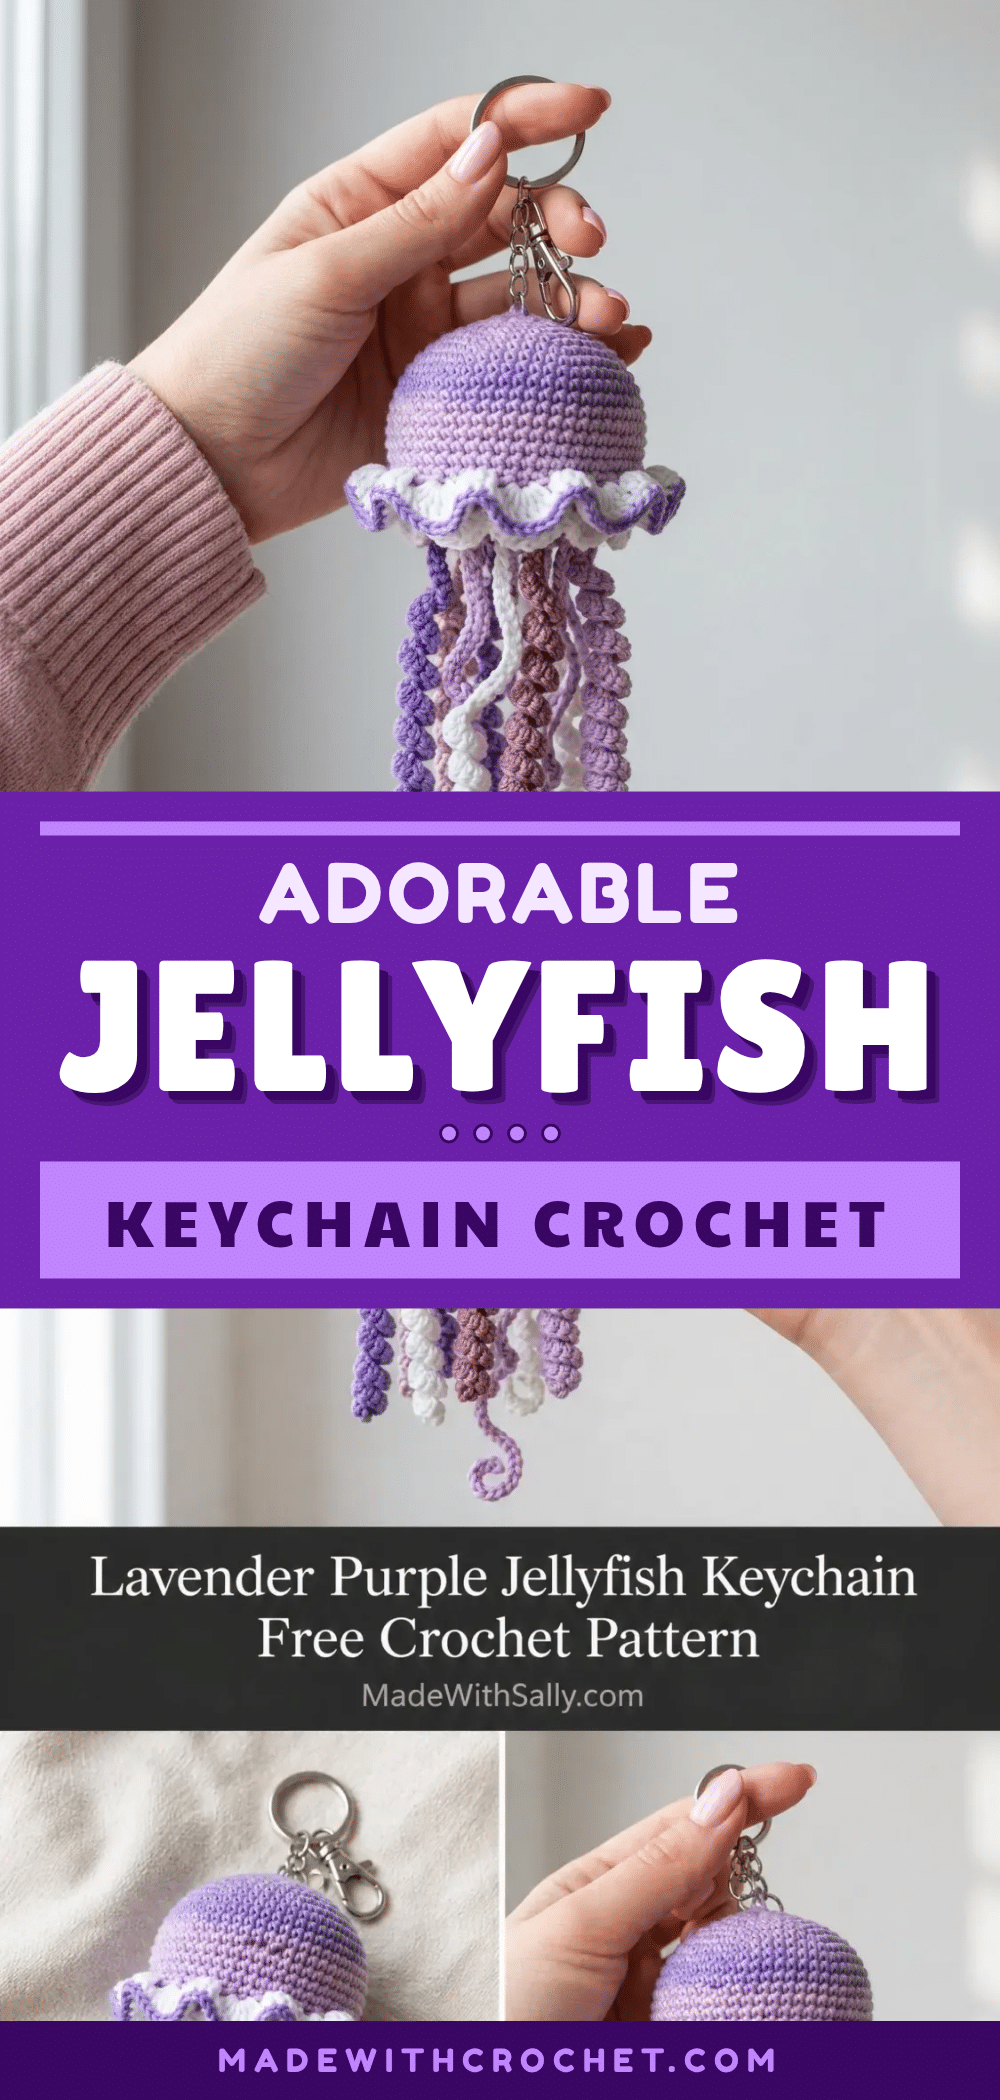
I remember the exact moment I chose this lavender. It was a quiet evening, and I was sorting through a stash bin of mini skeins, looking for a project that felt both calming and intentional. The soft, dusty purple of this particular DK weight yarn caught the light, and I knew it was perfect. It wasn’t just a color; it was the color for a tiny, whimsical jellyfish that could live on a keychain. The choice of a gentle lavender, paired with crisp white and muted mauve, transforms a simple amigurumi into a piece of personal, portable art.
Yarn and Color Notes
The beauty of this pattern lies in its palette. The soft lavender (Color A) forms the jellyfish’s bell, creating a gentle focal point. The crisp white (Color B) for the ruffle adds a touch of elegance, while the medium purple (Color C), mauve (Color D), and pale lilac (Color E) for the tentacles create a harmonious, ocean-inspired gradient. This is an excellent stash-buster project, perfect for those mini skeins or yarn packs you’ve been saving. The combination of colors makes the finished keychain feel cohesive and thoughtfully designed, a small treasure you’ll be proud to show off.
Project Overview
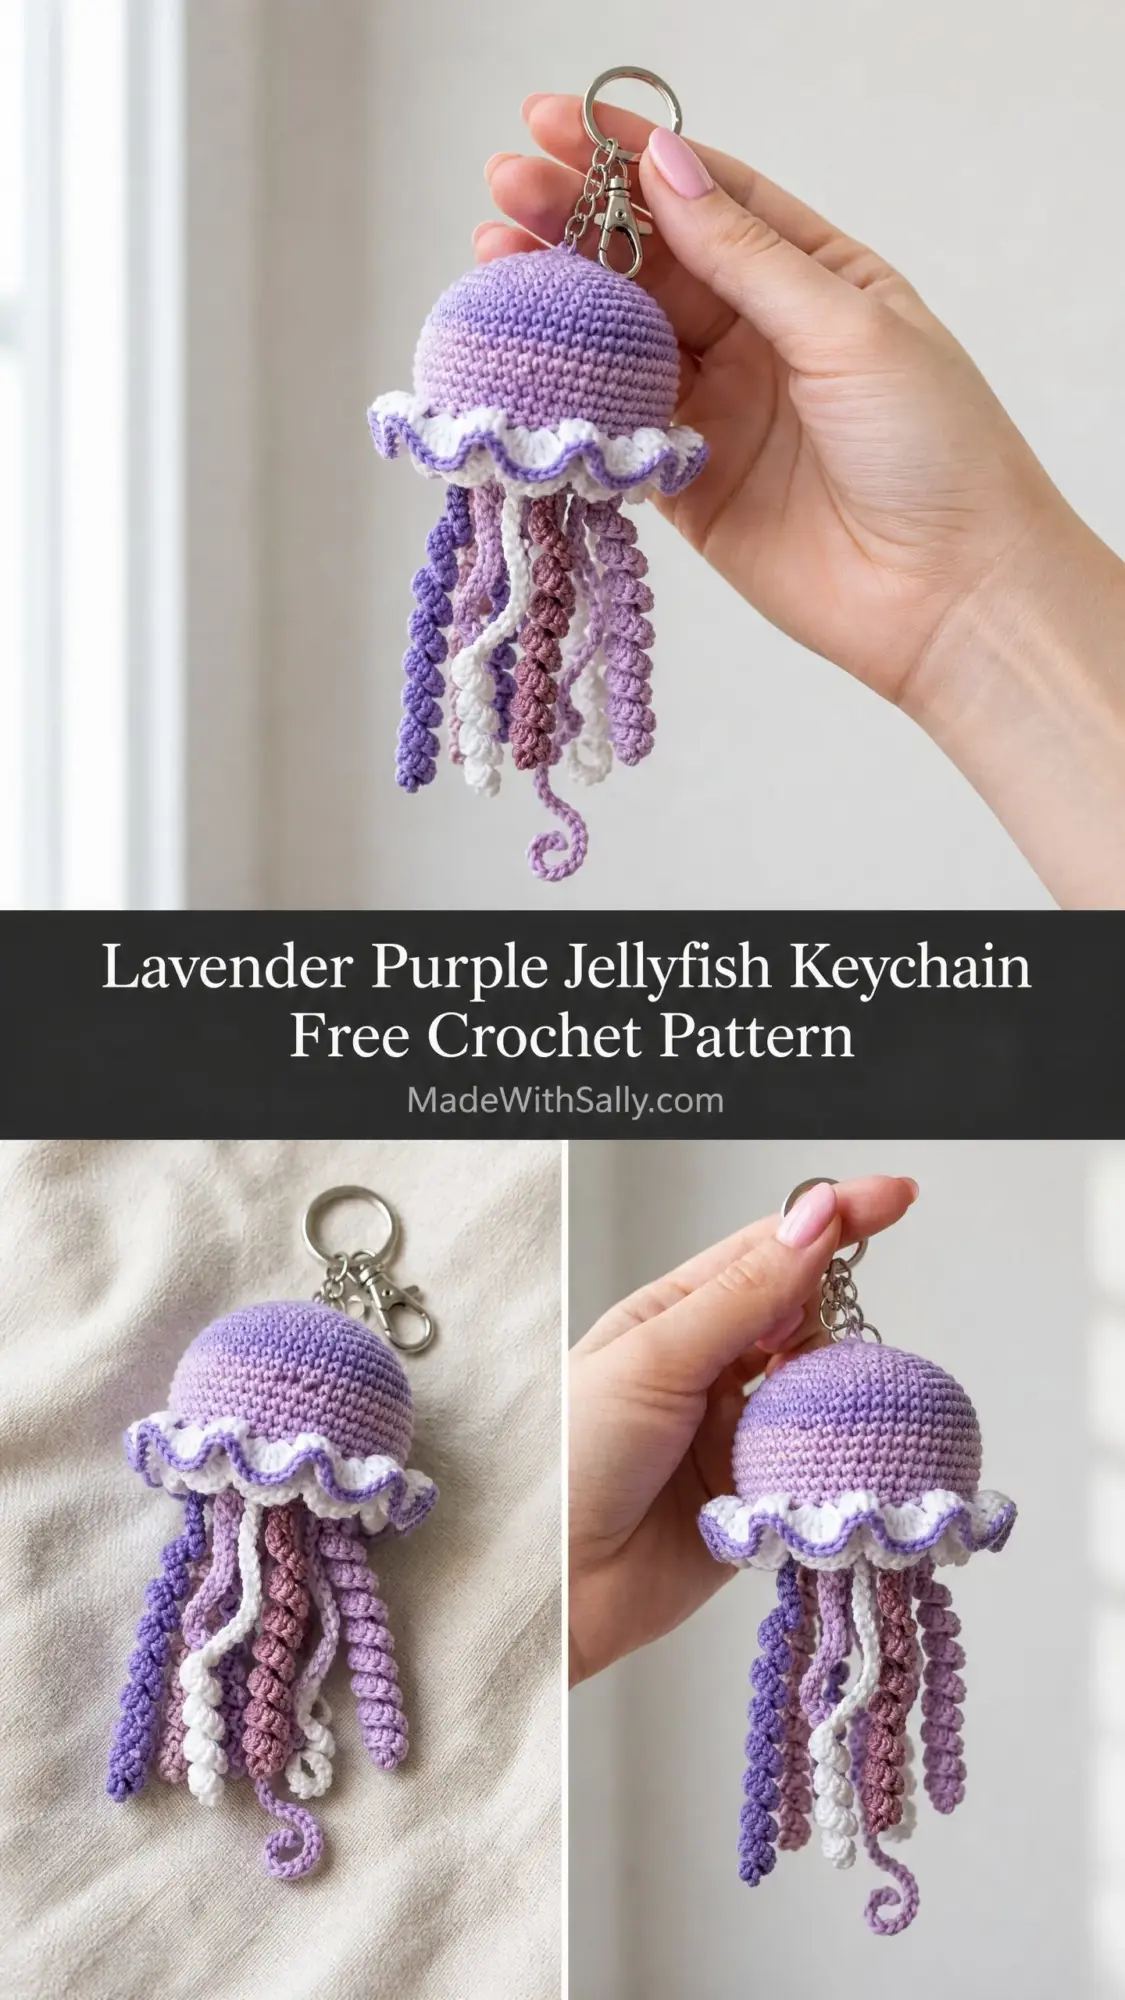
This little sea creature makes the perfect bag charm, zipper pull, or keychain accessory. The finished piece measures approximately 2.5 inches across the bell and 5.5 to 6 inches total length, including the dreamy tentacles. It is small enough to be practical but detailed enough to make people ask, “Did you make that?” Construction is straightforward: make the bell first, add the ruffle collar directly onto the bell, create the tentacles separately, then attach everything together. No complicated assembly, no confusing joins.
Materials
- Yarn (DK or Fingering Weight):
- Color A: Light Purple or Lavender, approximately 25 yards
- Color B: White, approximately 10 yards
- Color C: Medium Purple or Violet, approximately 15 yards
- Color D: Mauve or Dusty Rose, approximately 10 yards
- Color E: Pale Lilac or Light Mauve, approximately 8 yards
- Hook: US size D/3 (3.25 mm) crochet hook
- Notions:
- Polyester fiberfill stuffing, small amount
- Yarn needle for weaving ends
- Scissors
- Stitch marker, locking type preferred
- One keychain ring with lobster clasp, silver tone
- One small split ring or jump ring, 8 mm (optional but recommended)
Gauge and Finished Size
Gauge: 7 single crochet stitches = 1 inch / 2.5 cm; 7 rows or rounds = 1 inch / 2.5 cm. Work a quick gauge swatch by making a magic ring, working 6 single crochet into the ring, then continuing in continuous rounds with increases until you reach approximately 24 stitches. Measure across the flat circle. Adjust your hook size up or down until your gauge matches. Gauge matters here because it affects both size and appearance. If your stitches are too loose, the stuffing will show through gaps in the fabric. If they are too tight, you will struggle to insert your hook.
Finished Size: The bell measures approximately 2.5 inches across. The total length from the top of the bell to the bottom of the tentacles is approximately 5.5 to 6 inches.
Abbreviations
- ch = chain
- sl st = slip stitch
- sc = single crochet
- sc2tog = single crochet two together (invisible decrease)
- inc = increase (work 2 sc into the same stitch)
- MR = magic ring
- st/sts = stitch/stitches
- rnd = round
- rep = repeat
- BLO = back loop only
- FLO = front loop only
Pattern Notes
- The bell is worked in continuous rounds, which means you spiral upward without joining at the end of each round. Use a stitch marker in the first stitch and move it up as you go.
- Do not chain 1 at the start of rounds unless the pattern specifically tells you to.
- Keep the right side of the fabric facing outward throughout. The visible V of each single crochet should face you.
- The keychain loop forms at the crown of the bell during construction. Do not skip this step before stuffing or you will need to add it later with more difficulty.
- Leave a 6-inch yarn tail when fastening off for sewing. Leave a 10-inch tail for attaching tentacles.
- Stuff the bell firmly but not so tight that the fabric distorts. Think stress ball: solid but with slight give.
Pattern Instructions
Part One: The Bell (Color A, Lavender)
Round 1: Make a magic ring. Work 6 sc into the ring. Pull the ring closed. (6 sc)
Round 2: Inc in each stitch around. (12 sc)
Round 3: (Sc in next st, inc in next st) repeat 6 times. (18 sc)
Round 4: (Sc in next 2 sts, inc in next st) repeat 6 times. (24 sc)
Round 5: (Sc in next 3 sts, inc in next st) repeat 6 times. (30 sc)
Round 6: (Sc in next 4 sts, inc in next st) repeat 6 times. (36 sc)
Round 7: (Sc in next 5 sts, inc in next st) repeat 6 times. (42 sc)
Round 8: Sc in each st around. (42 sc)
Round 9: Sc in each st around. (42 sc)
Round 10: Sc in each st around. (42 sc)
Round 11: Sc in each st around. (42 sc)
Checkpoint: Your bell should measure approximately 2.5 inches across at the widest point. It should look like a domed hemisphere with the open edge facing downward.
Round 12: (Sc in next 5 sts, sc2tog) repeat 6 times. (36 sc)
Round 13: (Sc in next 4 sts, sc2tog) repeat 6 times. (30 sc)
Round 14: (Sc in next 3 sts, sc2tog) repeat 6 times. (24 sc)
Important: Before continuing, insert stuffing into the bell. Fill firmly and evenly, pushing fiberfill into the dome. Do not close the bottom yet.
Round 15: (Sc in next 2 sts, sc2tog) repeat 6 times. (18 sc)
Round 16: (Sc in next st, sc2tog) repeat 6 times. (12 sc)
Round 17: Sc2tog around. (6 sc)
Fasten off, leaving a 6-inch tail. Weave the tail through the front loops of the remaining 6 stitches and pull tight to close the hole. Weave in the end securely.
Creating the Keychain Loop
Before you begin Round 1, create your keychain loop. Cut a 6-inch length of Color A yarn. Fold it in half to form a loop. Insert the loop through the center of your magic ring from front to back. Bring the two tails of the yarn through the loop and pull tight to secure the loop to the ring. You will crochet over these tails as you work the first few rounds, securing them in place. After a few rounds, you can trim the tails close to the work.
Part Two: The Collar Ruffle (Color B, White)
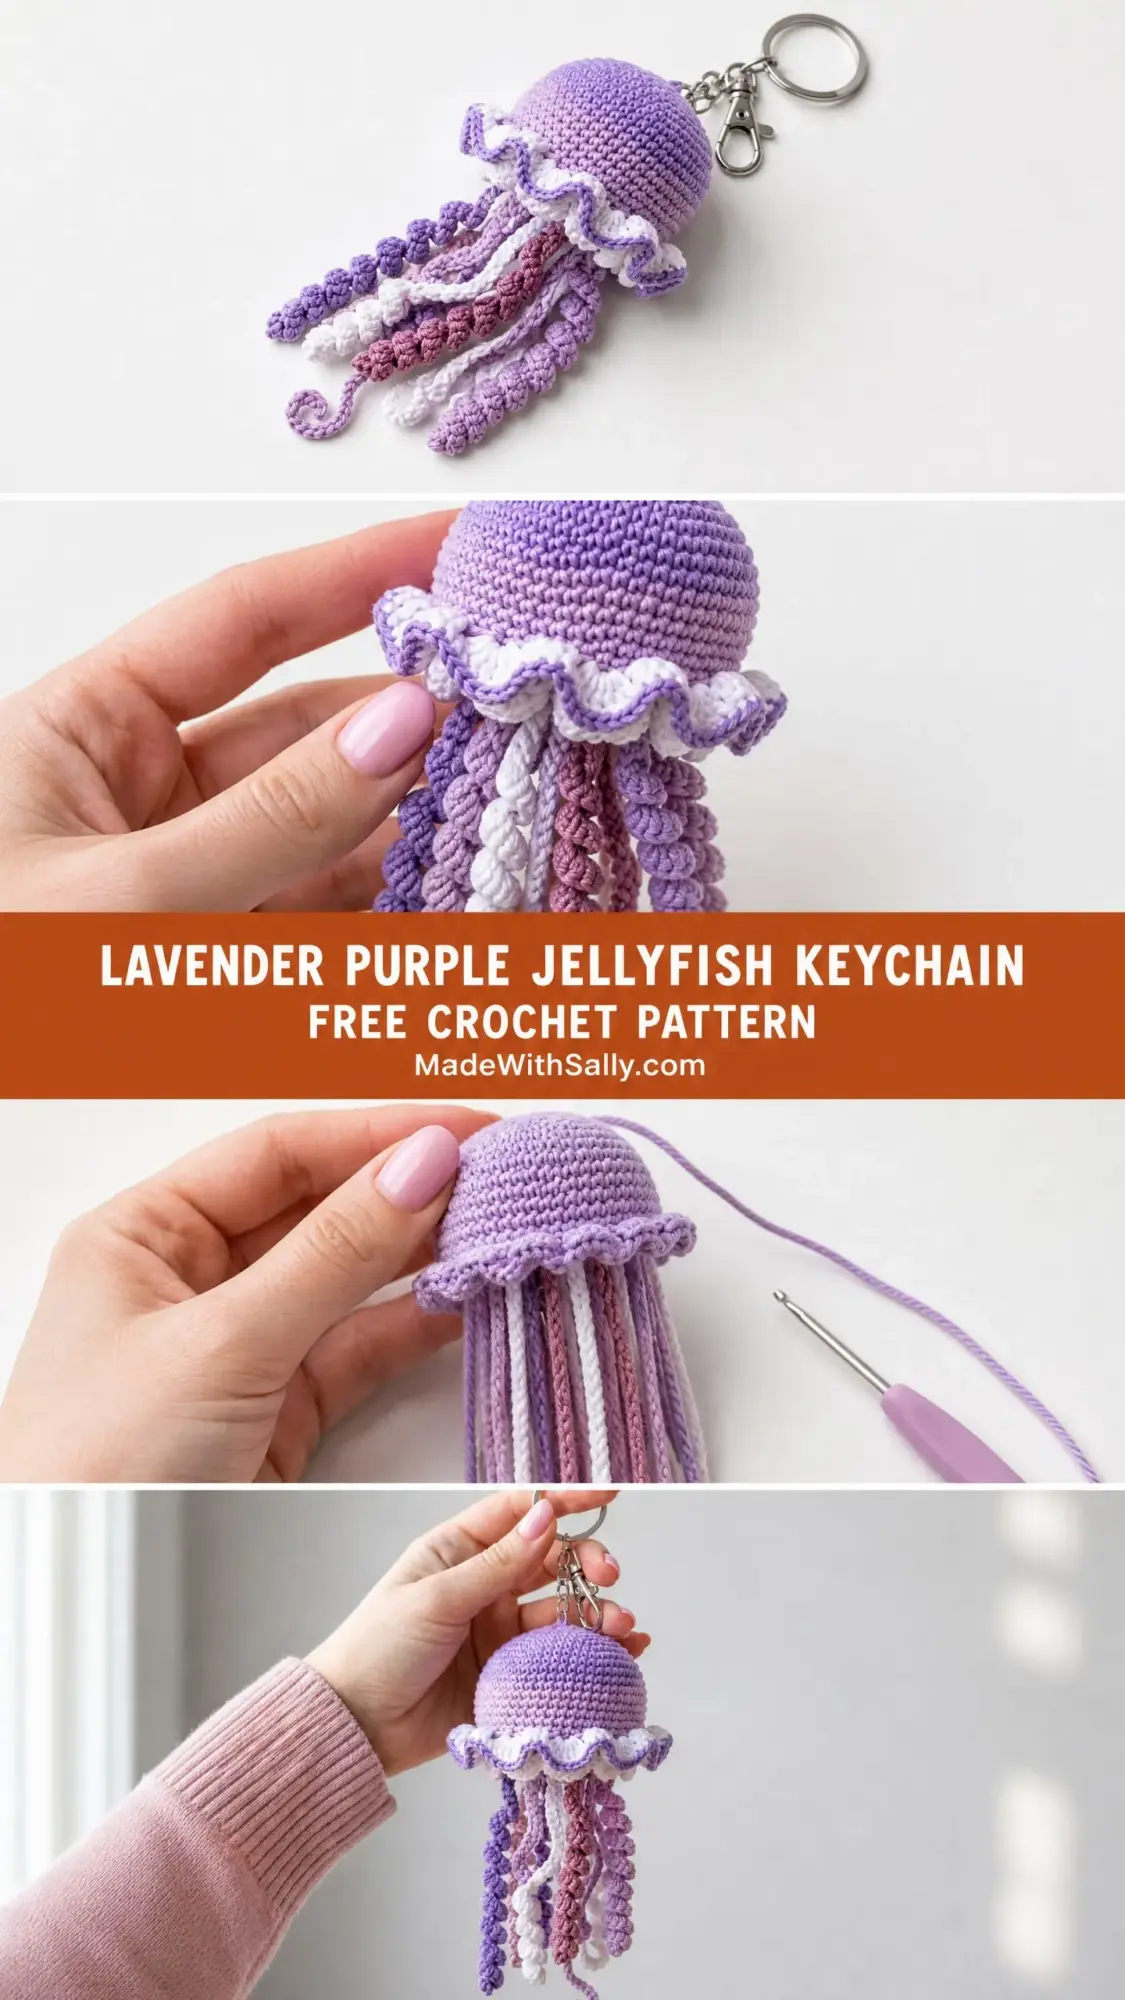
With the right side of the bell facing you and the open edge (the bottom of the bell) pointing up, join Color B with a sl st to any stitch on Round 11.
Ruffle Round: (Sl st in next st, ch 2, work 3 sc in the same st, ch 2, sl st in the same st) repeat around. Join with a sl st to the first sl st of the round. Fasten off and weave in ends.
Part Three: Making the Tentacles
You will make 5 tentacles, one in each of Colors C, D, and E, and two in Color C. Each tentacle is worked in a spiral.
Tentacle (make 5): Using the specified color, ch 30. Work 3 sc into the 2nd ch from the hook and into each ch across. Fasten off, leaving a 10-inch tail for sewing.
Part Four: Attaching the Tentacles
Using the 10-inch tails, sew the tentacles to the inside of the bell’s opening (the bottom). Space them evenly around the edge. Weave in all ends securely.
Assembly
This project does not require wet blocking. The stuffing holds the three-dimensional shape on its own. If your ruffle is not lying as open and free as you want, lightly mist with water, use your fingers to open each petal outward, then let it air dry before handling.
Weave all ends securely, running each tail in two directions through the wrong side before trimming. For cotton yarn, a small dab of fabric glue at knot points inside the bell adds extra security.
Care instructions: Hand wash in cool water with mild soap. Do not wring or twist. Gently squeeze out excess water and reshape by hand. Lay flat or hang to dry away from direct sunlight and heat. Do not machine wash.
If tentacles tangle during use, hold the bell and let the tentacles hang freely. They will separate under their own weight. A gentle shake resolves most tangling.
Tips
- For a larger jellyfish: Work 2 to 3 additional even rounds between Rounds 11 and 12. Add 6 stitches to each tentacle starting chain. The ruffle stays on the last even round before decreasing.
- For a smaller jellyfish: Stop increasing after Round 5 (30 stitches) instead of Round 7 (42 stitches). Work 3 even rounds, then begin decreasing. Subtract 4 to 6 chains from each tentacle.
- For different yarn weights: Use fingering weight and a US B/1 (2.25 mm) hook for a tiny 1.5-inch charm bracelet size. Use worsted weight and a US G/6 (4.0 mm) hook for a larger 4-inch bag charm.
Frequently Asked Questions
What is the best yarn for this project?
DK or fingering weight yarn works best. Lion Brand Bonbons, Paintbox Yarns Simply DK, and Scheepjes Catona are all excellent choices. Avoid bulky or highly textured yarns as they will obscure the stitch definition and distort the ruffle.
Can I use a different hook size?
Yes, but you must match the gauge. If your stitches are too loose, the stuffing will show. If they are too tight, it will be difficult to insert your hook. Adjust your hook size as needed to achieve 7 single crochet stitches per inch.
How do I prevent the tentacles from tangling?
If the tentacles tangle, simply hold the bell and let them hang freely. They will separate under their own weight. A gentle shake usually resolves most tangling.
Can I make this without a keychain ring?
Absolutely. You can skip the keychain loop and use the jellyfish as a standalone amigurumi, a bag charm, or a decorative ornament.
How do I make the invisible decrease (sc2tog)?
Insert your hook into the front loop only of the next stitch. Without pulling through, insert your hook into the front loop only of the following stitch. Yarn over, pull through both loops (2 loops remain). Yarn over, pull through both remaining loops. This creates a tighter, less visible decrease.
My ruffle isn’t lying flat. What should I do?
Lightly mist the ruffle with water, use your fingers to open each petal outward, and let it air dry. This should help the ruffle lay as intended.
Pin This Crochet Pattern!