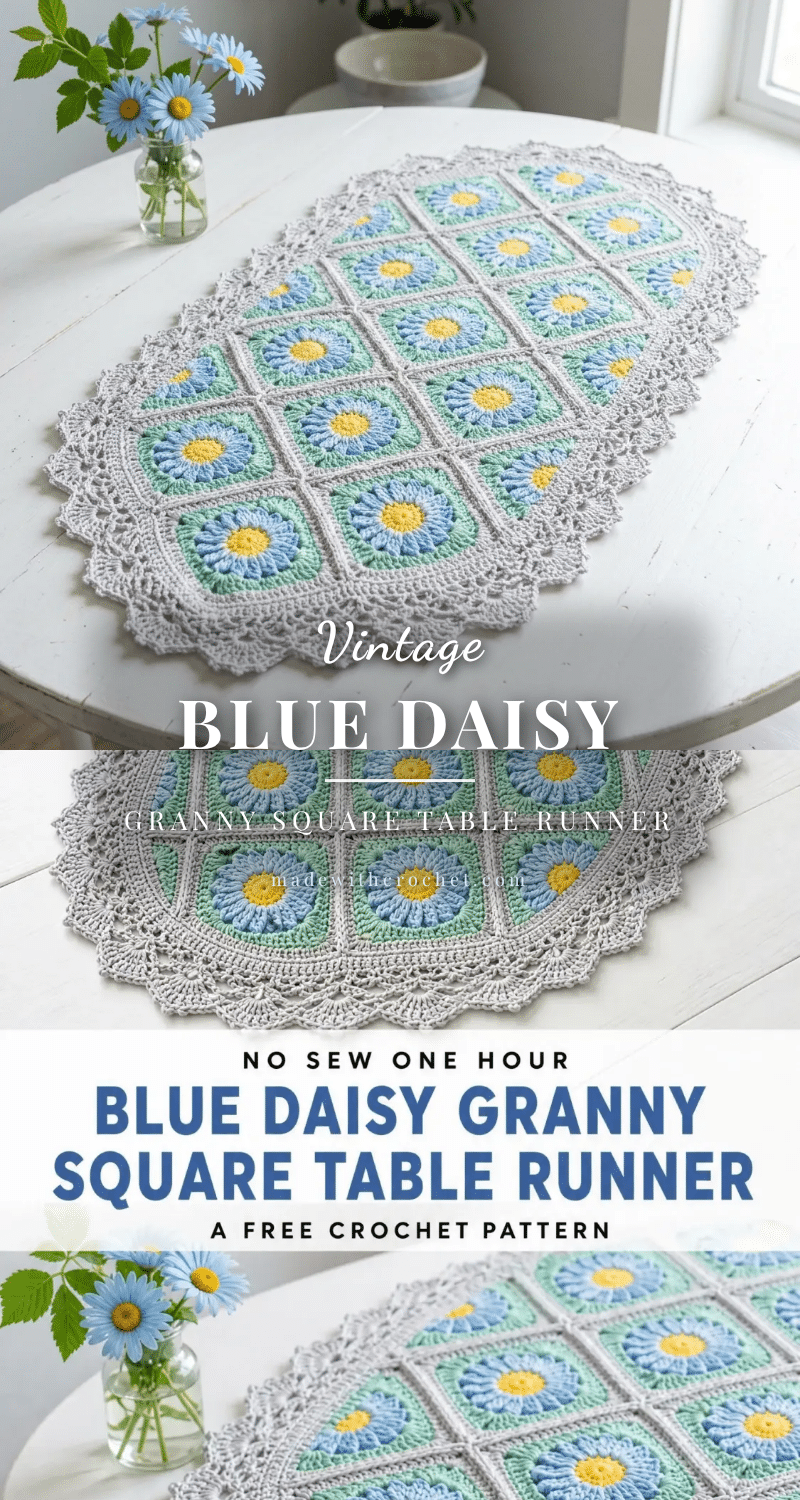
Have you ever started a granny square project only to worry that your squares won’t match up at the end? That’s a common concern, but this Blue Daisy Granny Square Table Runner is designed to ease those fears. With a clear gauge and a flat slip stitch join that creates satisfying grid lines, this project feels approachable even for intermediate crocheters. The fifteen cheerful daisy squares come together into a stunning oval centerpiece with an elegant lace border.
Maker Notes
This pattern is a wonderful way to use that sport weight cotton you’ve been saving. The color combination—bright yellow centers, soft blue petals, mint green framing, and light gray borders—feels fresh and perfect for spring and summer tables. The lace edging transforms a simple grid into something organic, with extra shells at the short ends creating a gently curved oval silhouette. At approximately 14 inches wide by 24 inches long after blocking, it fits beautifully on dining tables, console tables, or dressers.
Project Overview
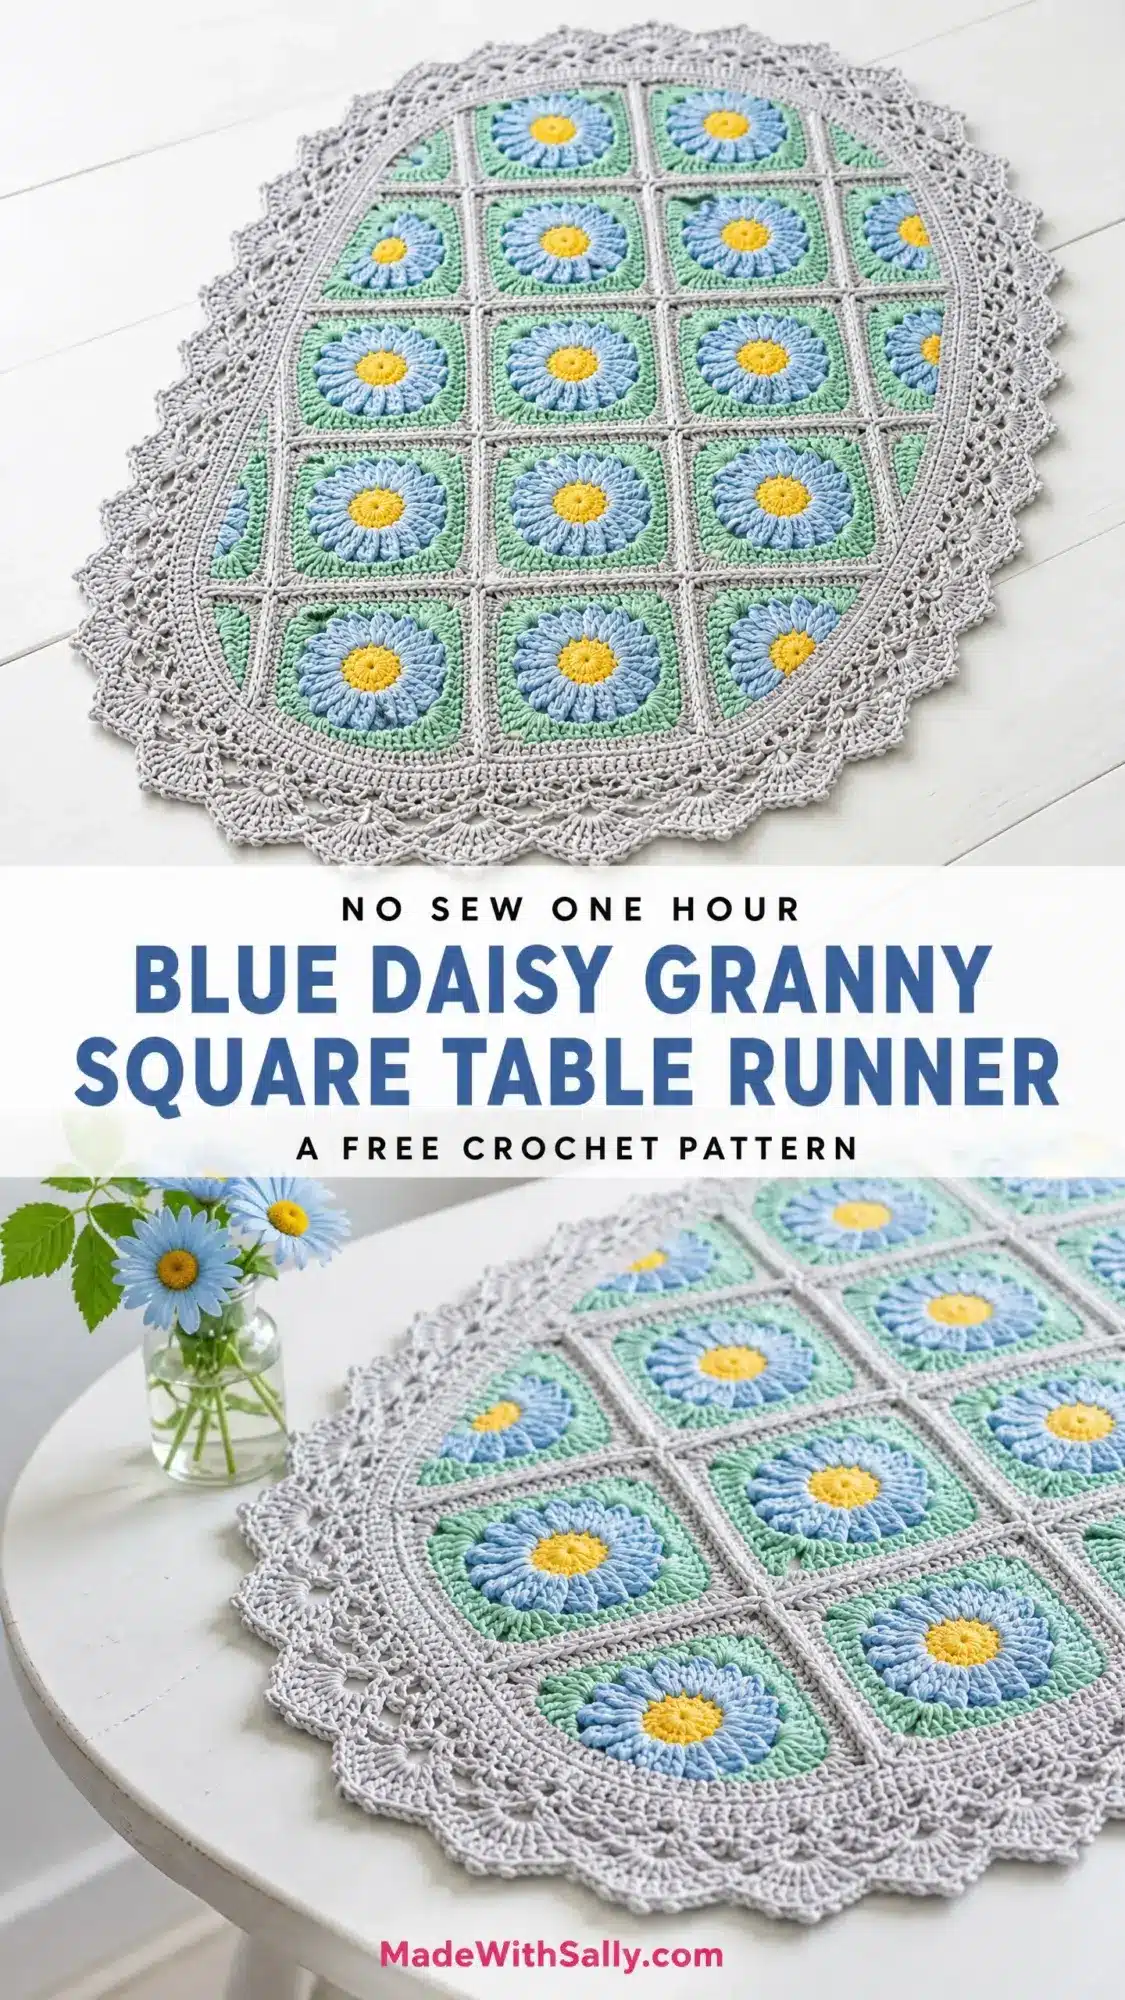
This Blue Daisy Granny Square Table Runner combines fifteen flower motifs into a stunning centerpiece. You’ll work individual daisy squares from the center out, creating dimensional petal clusters that pop against the mint green and gray framing. The flat join method creates visible grid lines, and the lace border gently rounds into an oval shape at the ends.
Materials
- Yarn: Sport weight yarn (CYCA #2 / Fine), 100% cotton or cotton blend, approximately 800 yards total
- Color A (Yellow): approximately 80 yards for daisy centers
- Color B (Blue): approximately 300 yards for petals
- Color C (Mint Green): approximately 150 yards for the square transition round
- Color D (Light Gray): approximately 270 yards for outer frames and all edging
- Hook: US B-1 / 2.25 mm or US C-2 / 2.75 mm. Adjust to achieve gauge.
- Notions: Yarn needle for weaving ends, scissors, blocking mats and rust-proof pins, stitch markers (optional but helpful for lace edging), spray bottle with water for wet blocking
Gauge and Finished Size
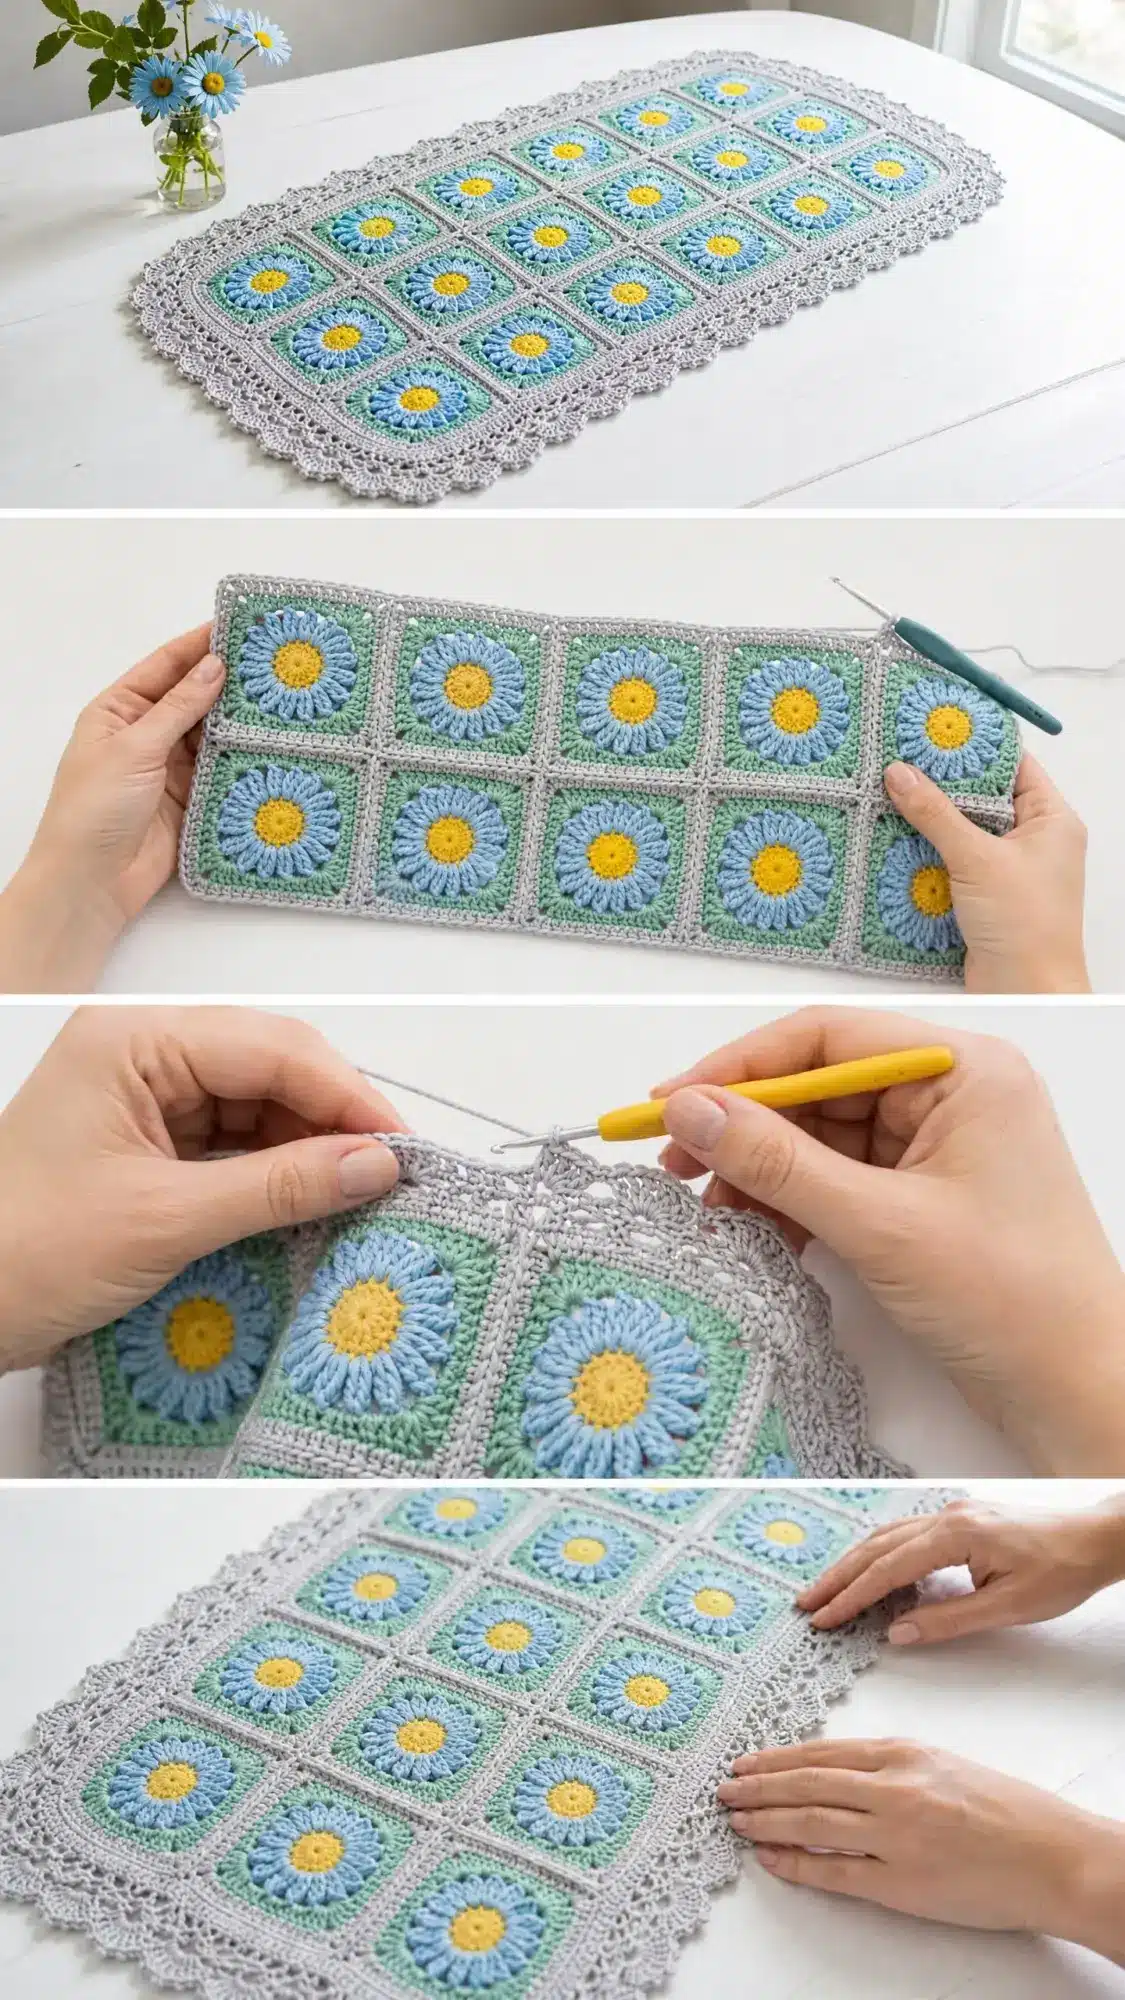
Gauge: With recommended hook: 18 dc = 4 inches (10 cm) measured over a flat double crochet (dc) swatch, blocked. 1 completed granny square through Round 4 should measure approximately 3.75 inches by 3.75 inches after joining and blocking. Gauge matters here. If your squares are larger than 3.75 inches, go down a hook size. If they’re smaller, go up a hook size. Fifteen squares at correct gauge in a 3 by 5 grid produce the stated finished dimensions.
Finished Size: Approximately 14 inches wide by 24 inches long after blocking.
Skill Level
Skill Level: Intermediate. This pattern requires comfort with working in the round, understanding granny square construction, joining motifs, and executing a multi-round lace edging. The daisy petal technique involves working cluster stitches around a center ring. Beginners should practice this special stitch before starting the full project.
Time Estimate: 18 to 26 hours total. Individual granny squares take approximately 30 to 45 minutes each once you’re familiar with the technique. Assembly and edging add roughly 5 to 8 hours.
Abbreviations
- ch = chain
- sl st = slip stitch
- sc = single crochet
- hdc = half double crochet
- dc = double crochet
- tr = treble crochet
- ch-sp = chain space
- sk = skip
- yo = yarn over
- RS = right side
- WS = wrong side
- DPC = Daisy Petal Cluster
- 3dc-cl = 3-Double Crochet Cluster
- JSS = Joining Slip Stitch
Pattern Notes
- Each granny square is worked entirely in the round, beginning with a magic ring or a foundation chain ring.
- All rounds are worked with the right side facing unless stated otherwise. Do not turn work between rounds of a single granny square.
- Color changes happen at the joining slip stitch at the end of each round. Fasten off the current color and join the new color with a standing stitch or a slip stitch join.
- Make 15 identical granny squares. They’re arranged in a 3 wide by 5 long grid.
- Squares are joined using the flat slip stitch join method on Round 5 (the gray joining round).
- Weave in ends as you complete each square. Do not leave this to the end because the number of color changes will be overwhelming.
- If you prefer a foundation chain ring instead of a magic ring, ch 4 and sl st to the first ch to form the ring, then work Round 1 into the ring.
Pattern Instructions
Granny Square Instructions (Make 15)
Each square uses Color A (Yellow) for Round 1, Color B (Blue) for Rounds 2 and 3, Color C (Mint Green) for Round 4, and Color D (Gray) for the outer granny square frame.
Round 1 (Color A, Yellow): Make a magic ring. Ch 1 (does not count as a stitch). Work 12 dc into the ring. Sl st to the first dc to close. Fasten off Color A. (12 dc)
Round 2 (Color B, Blue): Join Color B with a standing stitch or sl st to any dc. Ch 1 (does not count as a stitch). Work 1 DPC into the same stitch. Ch 2. *Work 1 DPC into the next dc. Ch 2. Repeat from * around. Sl st to the first DPC to close. (12 DPC, 12 ch-2 spaces)
Round 3 (Color B, Blue): Sl st into the next ch-2 space. Ch 3 (counts as 1 dc). Work 2 dc into the same ch-2 space. Ch 1. *Work 3 dc into the next ch-2 space. Ch 1. Repeat from * around. Sl st to the top of the beginning ch-3 to close. Fasten off Color B. (12 groups of 3 dc, 12 ch-1 spaces)
Round 4 (Color C, Mint Green): Join Color C with a standing stitch or sl st to any ch-1 space. Ch 3 (counts as 1 dc). Work 2 dc into the same ch-1 space. Ch 1. *Work 3 dc into the next ch-1 space. Ch 1. Repeat from * around. Sl st to the top of the beginning ch-3 to close. Fasten off Color C. (12 groups of 3 dc, 12 ch-1 spaces)
Round 5 (Color D, Gray): Join Color D with a standing stitch or sl st to any ch-1 space. Ch 3 (counts as 1 dc). Work 2 dc into the same ch-1 space. Ch 2. (This forms the first corner.) *Work 3 dc into the next ch-1 space. Ch 1. Repeat from * twice more. Work 3 dc into the next ch-1 space. Ch 2. (This forms the next corner.) Repeat from * around, working 3 dc into each ch-1 space with ch-1 between groups, and ch-2 at each corner. Sl st to the top of the beginning ch-3 to close. Fasten off Color D. (4 corners, 3 groups of 3 dc on each side, ch-1 spaces between groups)
Assembly
Flat Slip Stitch Join Method: Used to join squares flat. Insert hook through the corresponding stitch of the adjacent square (working through both loops), draw up a loop, and complete as a slip stitch.
Join Order:
- Arrange the 15 squares in a 3-column by 5-row grid on a flat surface with right sides facing up. The grain of each square (corner ch-2 spaces pointing to the 4 compass points) should align uniformly across all squares.
- Hold 2 squares with wrong sides together so right sides face outward.
- Working through both layers simultaneously, join Color D to the corner ch-2 space of both squares.
- Along the shared edge, sl st through corresponding stitches of both squares as follows: Sl st into corner ch-2 sp of both squares. Sl st into each dc across (9 dc per side). Sl st into the next corner ch-2 sp of both squares.
- This creates a visible flat seam ridge on the right side of the work, forming the grid lines seen in the finished runner.
- Step 1: Join the 3 squares of Row 1 together along their shared vertical seams. You’ll make 2 vertical seam joins in Row 1.
- Step 2: Repeat for Rows 2, 3, 4, and 5. (2 joins per row x 5 rows = 10 vertical joins total.)
- Step 3: Join Row 1 to Row 2 along the shared horizontal seam (full width of 3 squares). When you reach an intersection where a horizontal and vertical seam meet, sl st through the junction point and continue.
- Step 4: Continue joining Row 2 to Row 3, Row 3 to Row 4, and Row 4 to Row 5. (4 horizontal joins total.)
- Total joins: 14 seam joins.
- At each 4-way intersection where 4 corners meet, insert the hook through all 4 corner ch-2 spaces simultaneously and work 1 sl st to anchor them. This prevents holes at the intersections.
- Stitch count along each joined edge: 11 sl sts per shared edge (1 sl st at each corner ch-2 sp + 9 sl sts across the dc stitches)
Checkpoint: After all joins the assembled runner should measure approximately 11.25 inches wide by 18.75 inches long before edging. Lay the runner flat and confirm all squares lie without puckering or rippling.
Lace Edging
Edging Round 1 (Color D, Gray, Right Side Facing): Join Color D with a sl st to any corner ch-2 space. Work a shell stitch (5 dc) into the same corner space. *Work 1 sc into the next ch-1 space. Work 1 hdc into the next ch-1 space. Work 1 dc into the next ch-1 space. Work 1 tr into the next ch-1 space. Work 1 dc into the next ch-1 space. Work 1 hdc into the next ch-1 space. Work 1 sc into the next ch-1 space. Work a shell stitch (5 dc) into the next corner ch-2 space. Repeat from * around, adjusting at the short ends to create the oval shape. Sl st to the first dc of the first shell to close.
Edging Round 2 (Color D, Gray, Right Side Facing): Ch 1. Work 1 sc into the same stitch. *Ch 3, sk 1 dc, work 1 sc into the next dc. Repeat from * around, working ch-3 loops across the sides and adjusting at the short ends. Sl st to the first sc to close.
Edging Round 3 (Color D, Gray, Right Side Facing): Sl st into the next ch-3 loop. Ch 3 (counts as 1 dc). Work 2 dc into the same loop. *Work 3 dc into the next ch-3 loop. Repeat from * around. Sl st to the top of the beginning ch-3 to close.
Edging Round 4 (Color D, Gray, Right Side Facing): Ch 1. Work 1 sc into the same stitch. *Ch 3, sk 2 dc, work 1 sc into the next dc. Repeat from * around. Sl st to the first sc to close. Fasten off Color D.
Finishing and Blocking
Blocking this runner is strongly recommended. It will dramatically improve the appearance of the lace edging and the uniformity of the granny squares.
- Weave in all remaining ends securely on the wrong side of the work.
- Fill a basin with cool water and mild wool wash or plain water.
- Submerge the runner completely and gently press out air. Do not wring or twist.
- Lift the runner from the water and gently press between two clean towels to remove excess moisture.
- Lay the runner on blocking mats wrong side up.
- Pin the runner to its finished dimensions: 14 inches wide, 24 inches long. Use pins placed every 0.5 inch along the scallop edges, pinning each scallop peak outward to open the lace.
- At the short oval ends, use additional pins in a gentle curve to establish the rounded shape.
- Allow to dry completely before removing pins. Drying time is typically 12 to 24 hours depending on humidity and ventilation.
Tips
- To make the runner longer: Add squares in multiples of 1 row (3 additional squares per row added). Each additional row adds approximately 3.75 inches to the length before edging. Increase Color B and Color D yardage by approximately 80 yards per additional row.
- To make the runner wider: Add squares in multiples of 1 column (5 additional squares per column added). Each additional column adds approximately 3.75 inches to the width. Increase Color B and Color D yardage by approximately 65 yards per additional column.
- To make a round doily version: Arrange squares in a 3 by 3 grid (9 squares total) and work the edging with extra corner shells at all 4 corners. Total yardage approximately 540 yards.
- To adjust overall size without changing grid dimensions: Change yarn weight. Using DK weight yarn at corresponding gauge will produce a runner approximately 20% larger. Using fingering/4-ply weight at gauge will produce a runner approximately 15 to 20% smaller.
Care Instructions
Hand wash in cool water with mild detergent. If using 100% cotton yarn, machine wash on the delicate cycle in a mesh laundry bag. Do not use hot water as this can cause cotton to shrink. Lay flat to dry. Do not tumble dry. Press with a cool iron through a damp pressing cloth if needed to restore the flat blocked shape after washing.
FAQs
Can I use a different yarn weight for this pattern?
Yes, but it will change the finished size. Using DK weight yarn at corresponding gauge will produce a runner approximately 20% larger, while fingering/4-ply weight will produce a runner approximately 15 to 20% smaller. Adjust your hook size to maintain the correct gauge for your chosen yarn.
How do I prevent holes at the intersections where four squares meet?
When you reach a 4-way intersection where 4 corners meet, insert the hook through all 4 corner ch-2 spaces simultaneously and work 1 sl st to anchor them. This prevents holes at the intersections and creates a clean, flat join.
Can I make this runner longer or wider?
Absolutely. To make it longer, add squares in multiples of 1 row (3 additional squares per row). Each additional row adds approximately 3.75 inches to the length. To make it wider, add squares in multiples of 1 column (5 additional squares per column). Each additional column adds approximately 3.75 inches to the width.
What if my gauge is off?
Gauge matters for this project. If your squares are larger than 3.75 inches, go down a hook size. If they’re smaller, go up a hook size. Fifteen squares at correct gauge in a 3 by 5 grid produce the stated finished dimensions.
How do I care for the finished table runner?
Hand wash in cool water with mild detergent. If using 100% cotton yarn, machine wash on the delicate cycle in a mesh laundry bag. Do not use hot water as this can cause cotton to shrink. Lay flat to dry. Do not tumble dry. Press with a cool iron through a damp pressing cloth if needed to restore the flat blocked shape after washing.
Is this pattern suitable for beginners?
This pattern is rated intermediate. You need to be comfortable working in the round, understanding granny square construction, joining motifs, and executing a multi-round lace edging. The daisy petal technique involves working cluster stitches around a center ring. Beginners should practice the special stitches before starting the full project.
Pin This Crochet Pattern!