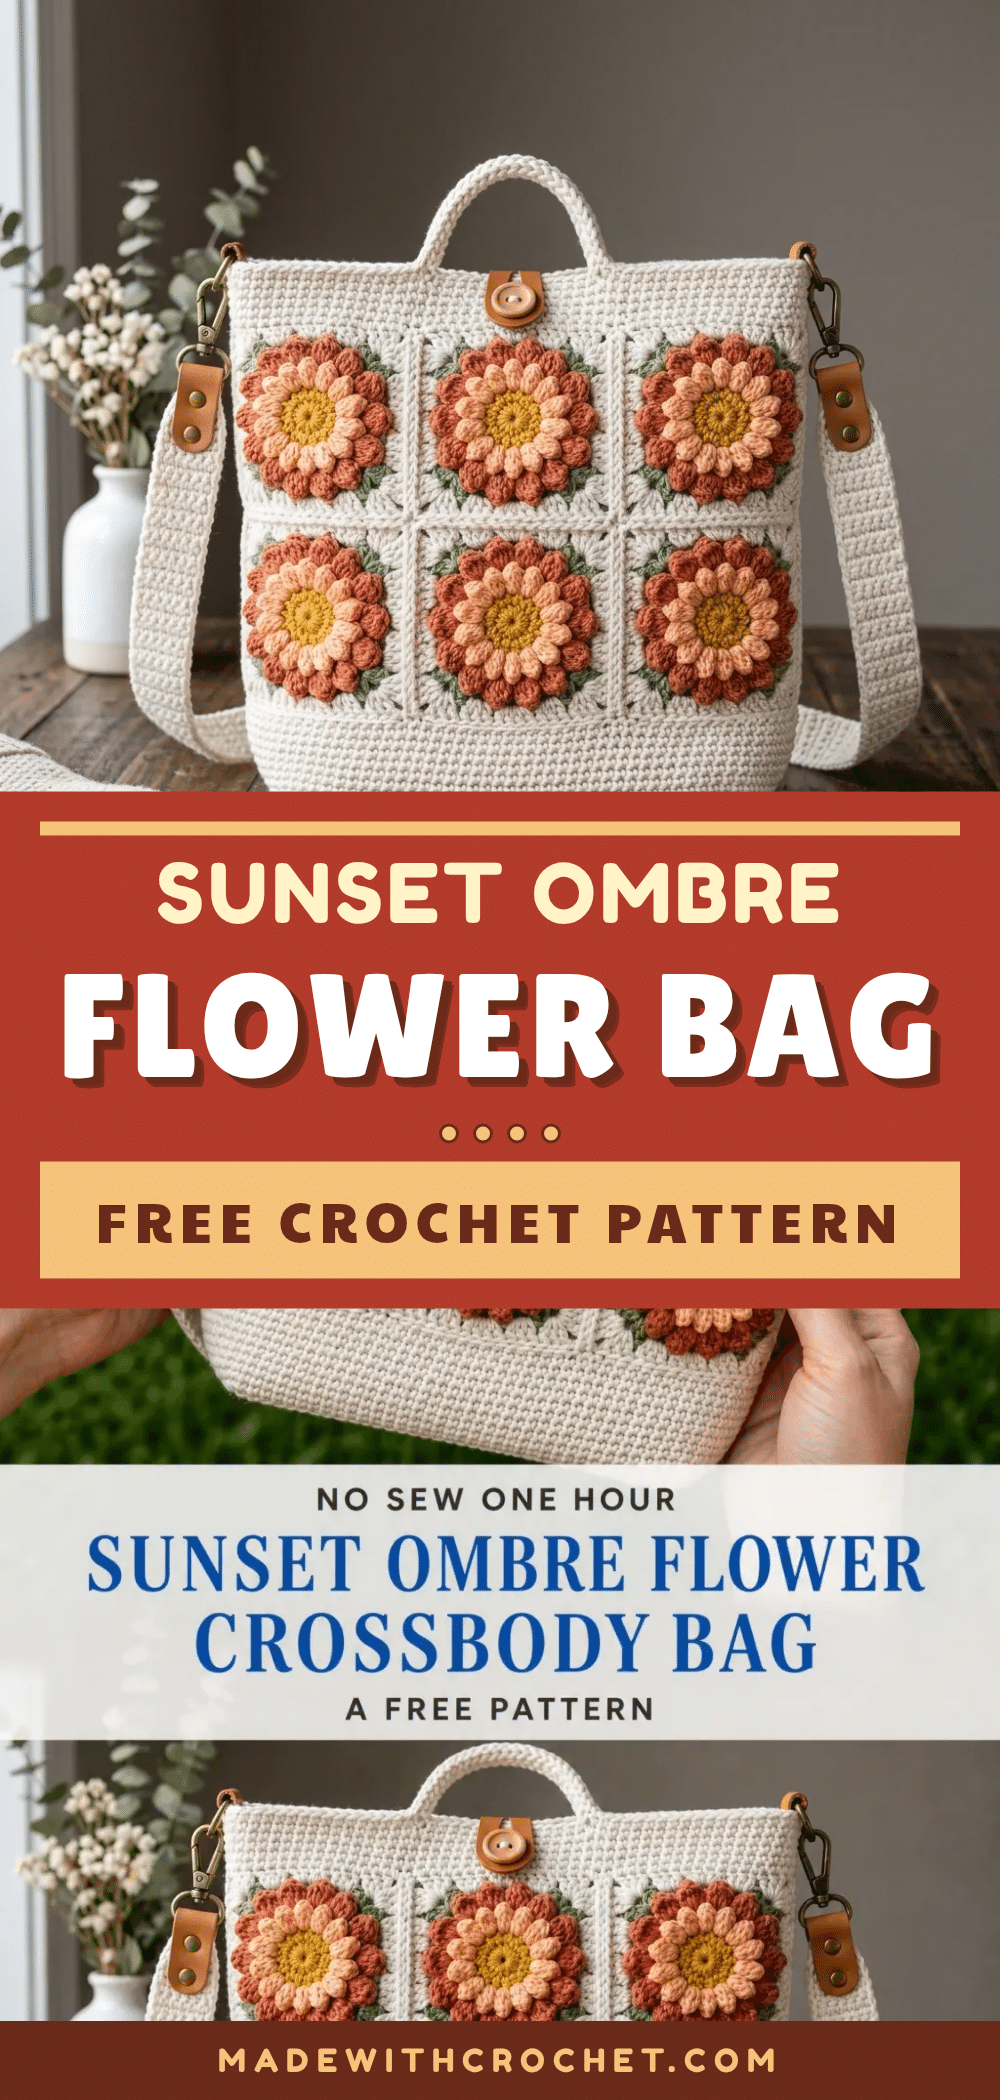
This Sunset Ombre Flower Crossbody Bag is the kind of project that feels like a real accomplishment when you’re done. Yes, it takes time. Yes, those puff stitch petals require patience. But every single person who sees you carrying this bag is going to ask where you got it. And you get to say, “I made it.” The warm color palette feels like a summer sunset captured in yarn, with mustard yellow centers blending into peachy salmon, then terracotta rust at the outer petals. Each flower sits in its own granny square frame with sweet sage green corner accents. Whether you’re heading to the farmers market or meeting friends for brunch, this bag makes a statement while actually being useful.
Why the Finished Piece Stands Out
This bag is a true conversation starter. The dimensional puff stitch flowers create a stunning texture that catches the light and draws the eye, while the structured single crochet body gives it a professional, polished shape. The two-in-one design—a vibrant floral front and a neutral cream back—means you can flip it for a more understated look. It’s the perfect blend of boho charm and everyday practicality, and it makes a fantastic gift for anyone who loves handmade accessories.
Project Overview
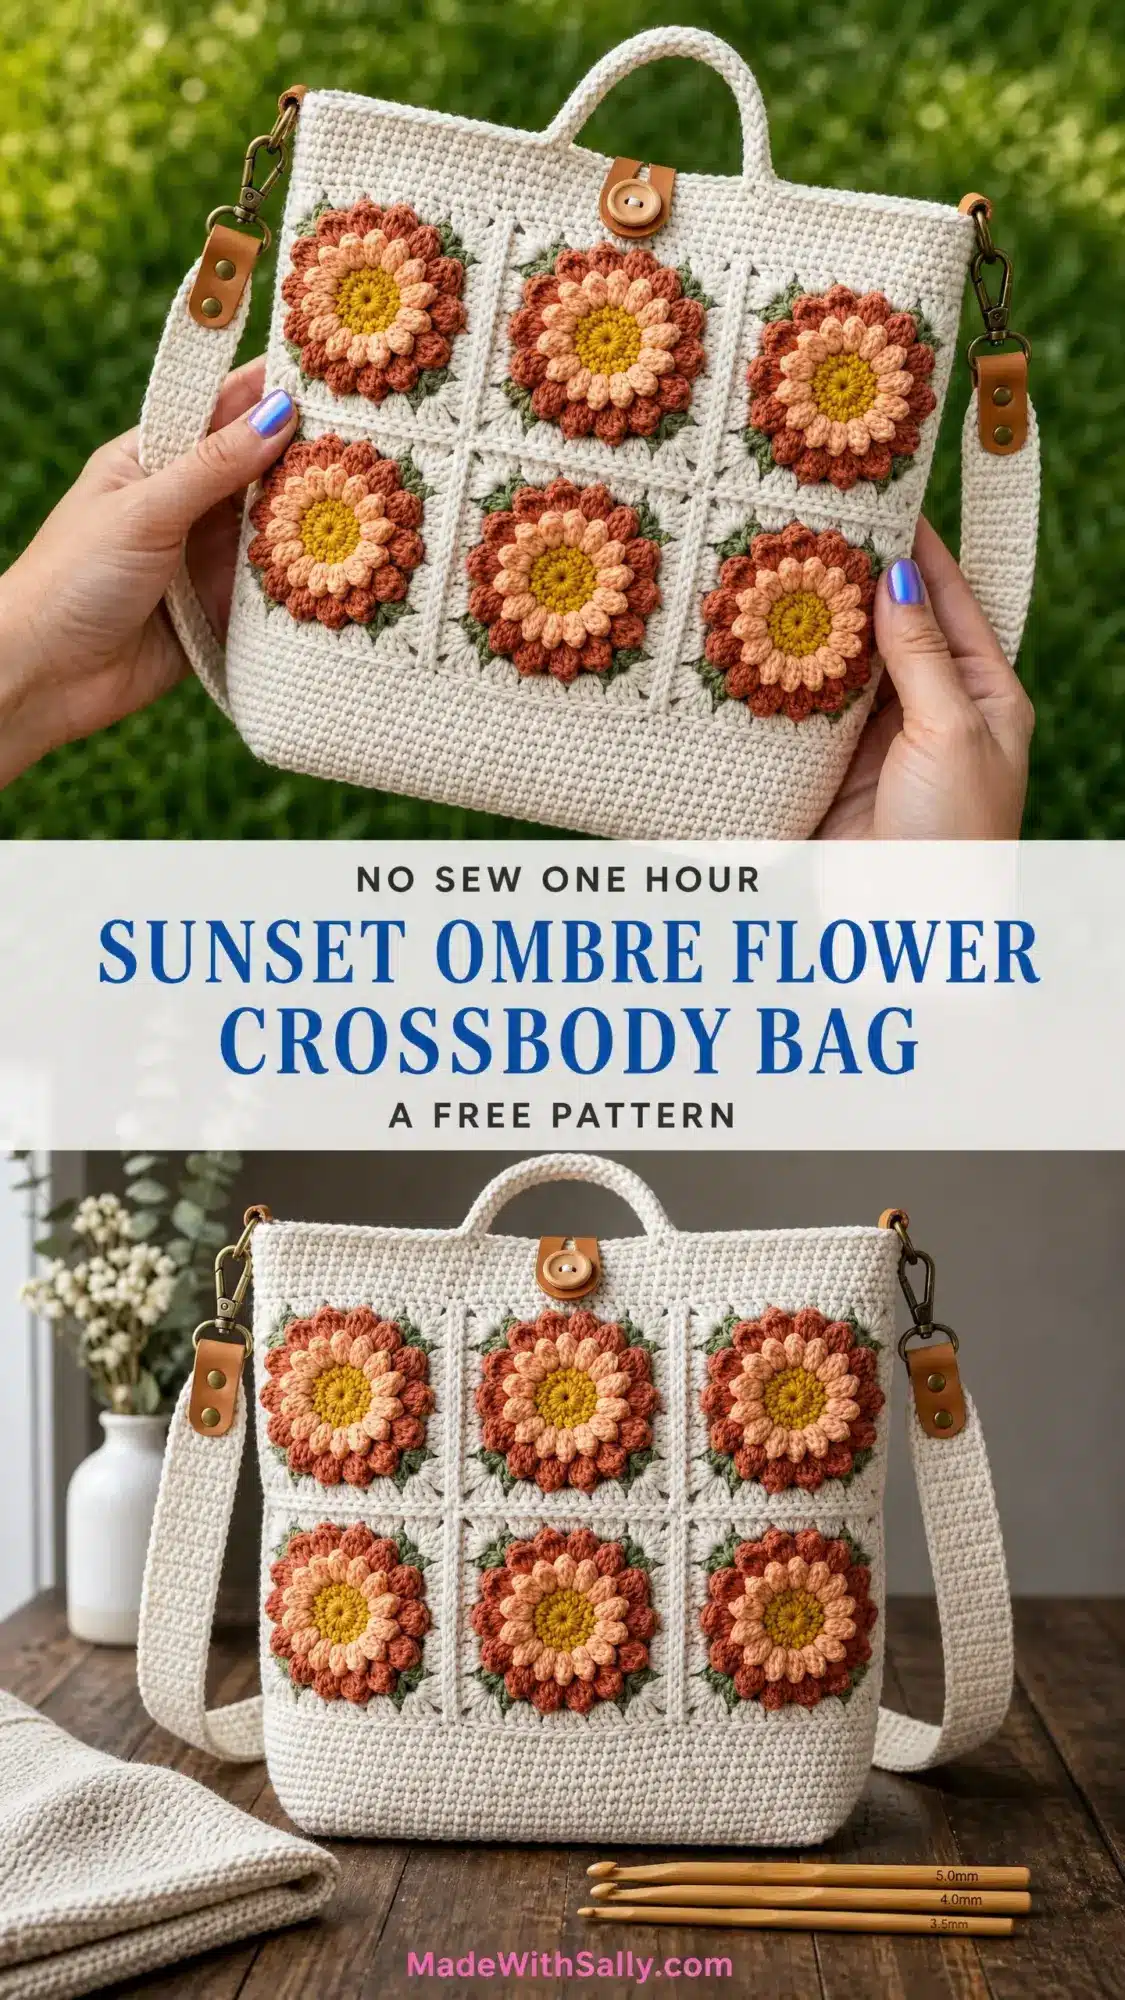
This structured crossbody bag features six oversized dimensional sunflower granny squares arranged in a 3×2 layout on the front panel. The flowers use a layered puff stitch petal technique that creates beautiful raised petals. The body is worked in tight single crochet for firmness, giving the bag its boxy, structured shape. The back panel stays plain cream, which means you essentially get two looks in one bag. Finished measurements are approximately 11 inches wide by 12 inches tall by 3.5 inches deep. The strap adjusts from about 22 to 48 inches, so you can wear it crossbody or shorten it for a shoulder bag. Skill level is Intermediate to Advanced. Plan for 20 to 30 hours total.
Materials
Yarn
- Main Color (MC): Cream or off-white, approximately 550 yards, 100% cotton or cotton-blend DK weight
- Color A (CA): Mustard yellow, approximately 60 yards, same weight and fiber
- Color B (CB): Peachy salmon, approximately 90 yards, same weight and fiber
- Color C (CC): Terracotta rust, approximately 90 yards, same weight and fiber
- Color D (CD): Sage green, approximately 30 yards, same weight and fiber
Recommended Yarn Brands
- Paintbox Yarns Simply DK (100% acrylic, 137 yd per 50 g skein)
- Lion Brand 24/7 Cotton DK (100% mercerized cotton, 186 yd per 100 g ball)
- We Are Knitters The Petite Wool (100% Peruvian wool, 153 yd per 50 g skein)
Hooks
- US size E-4 (3.5 mm) for the body panels
- US size F-5 (3.75 mm) for the flower squares
Notions
- Tapestry needle
- 6 stitch markers
- One wood or leather-wrapped button, approximately 1 inch diameter
- Two swivel lobster claw clasps, antique brass, 1 inch
- Two D-rings or rectangular rings, antique brass, 1 inch
- Two leather or faux-leather strap tabs, pre-punched, approximately 3 inches long
- One adjustable crossbody strap in tan leather or faux leather, 1 inch wide, 48 inches maximum length
- Sharp-tip sewing needle and waxed upholstery thread
- Optional: fabric lining and iron-on interfacing
Gauge and Finished Size
Body gauge (E-4 hook, MC, single crochet flat): 20 stitches x 24 rows = 4 inches x 4 inches
Flower square gauge (F-5 hook): Each completed flower granny square measures approximately 3.5 inches x 3.5 inches before seaming
Always check gauge before beginning. If your swatch is too large, go down one hook size. Too small? Go up one hook size.
Finished size: Approximately 11 inches wide by 12 inches tall by 3.5 inches deep.
Abbreviations
- ch: chain
- sl st: slip stitch
- sc: single crochet
- hdc: half double crochet
- dc: double crochet
- tr: treble crochet
- ps: puff stitch
- sp: space
- st(s): stitch(es)
- rep: repeat
- beg: beginning
- RS: right side
- WS: wrong side
- sk: skip
- pm: place marker
- yo: yarn over
- rnd: round
- sc2tog: single crochet two together
Pattern Notes
- The bag body is worked in joined rounds using single crochet for a dense, structured fabric. Join each round with a slip stitch, then chain 1 before beginning the next round. The chain 1 does NOT count as a stitch throughout this pattern.
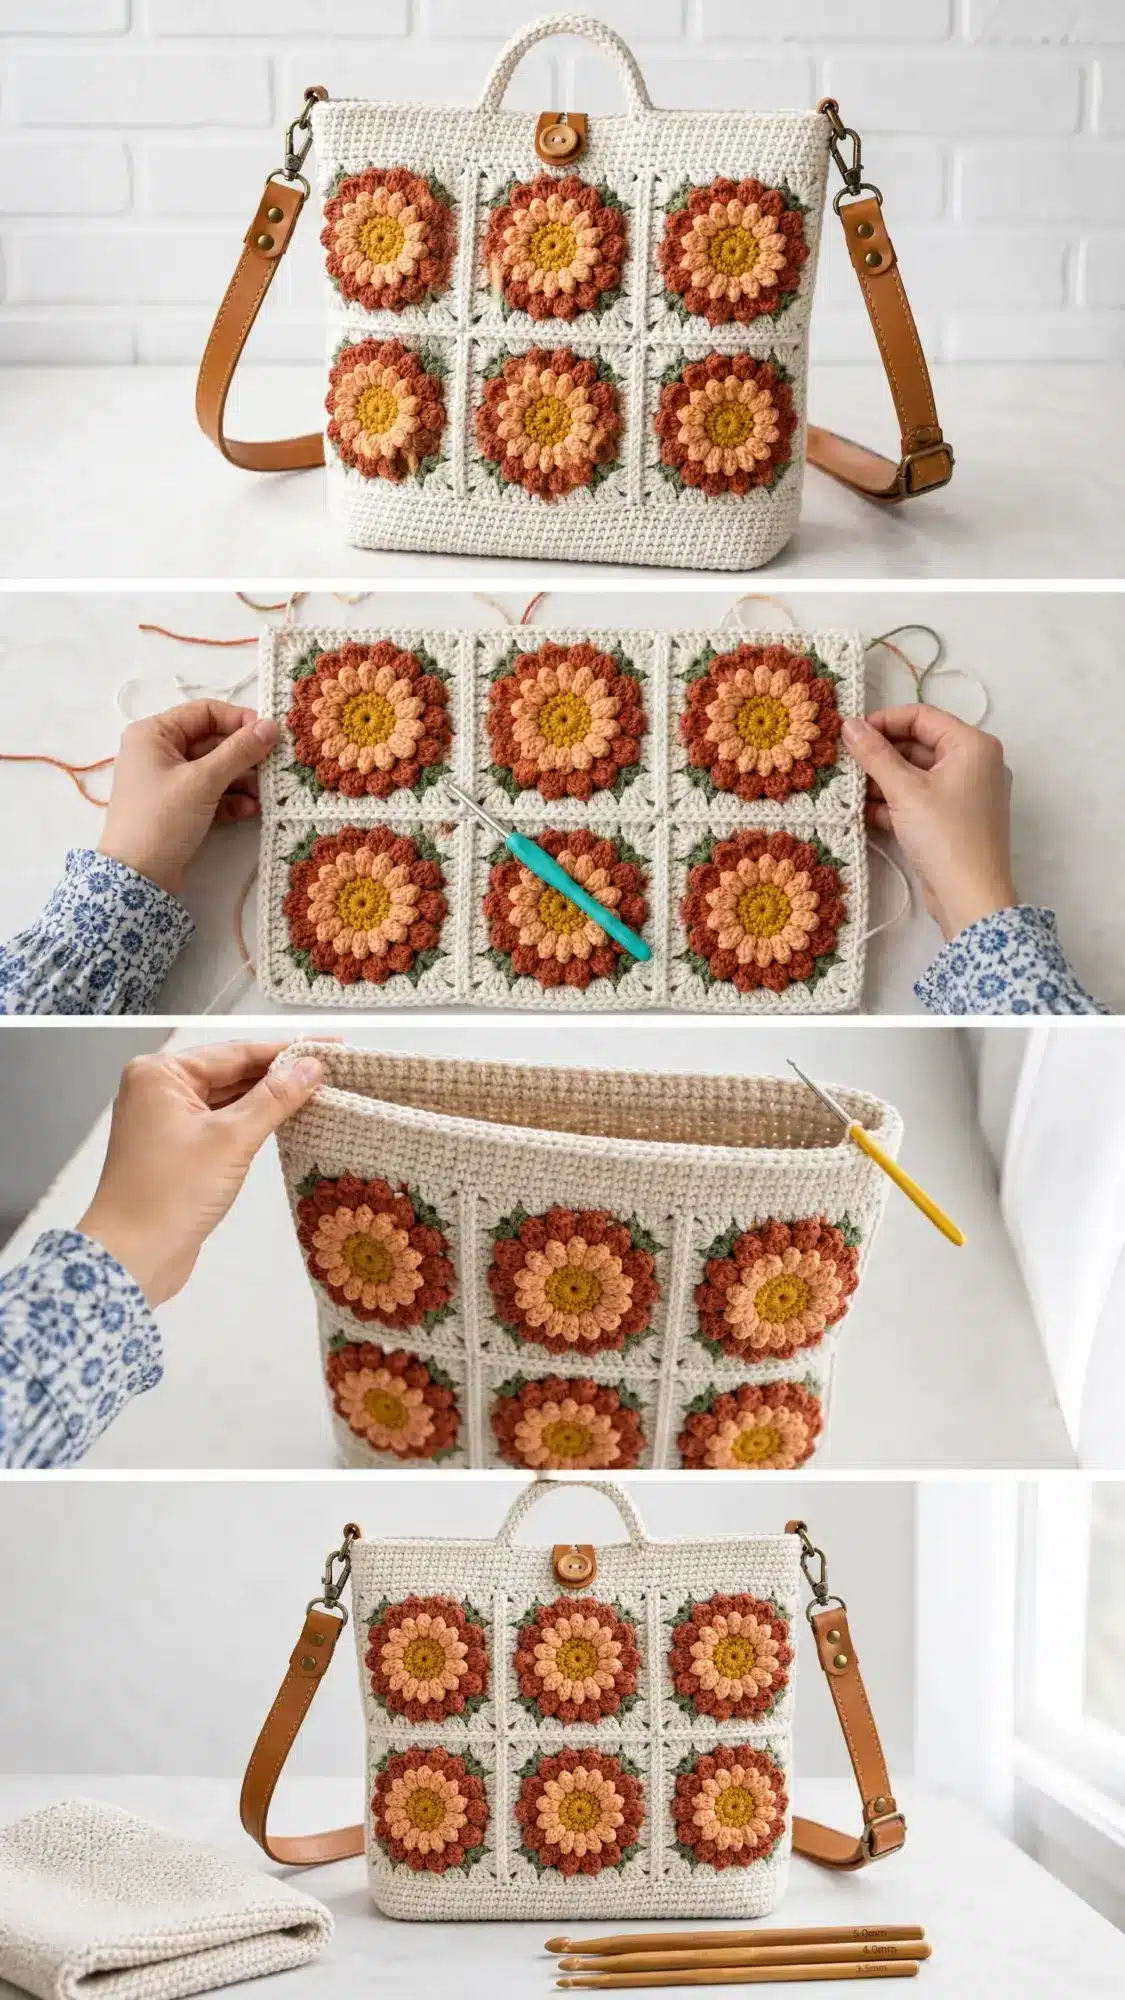
- All six flower granny squares are worked separately, joined into a 3×2 grid panel, then the completed panel is seamed onto the bag front.
- The front and back panels of the bag are worked as a single piece in the round from the base. There is no seaming of side seams.
- Stitch markers are important in this pattern. Mark the four corner stitches of the base and the beginning of each round in the walls.
Special Stitches
Puff Stitch (ps)
- Yarn over, insert hook into the indicated stitch or space.
- Yarn over, pull up a loop to approximately 0.5 inch in height. You now have 3 loops on your hook.
- Yarn over, insert hook into the SAME stitch or space again.
- Yarn over, pull up a loop to the same height. You now have 5 loops on your hook.
- Yarn over, insert hook into the SAME stitch or space a third time.
- Yarn over, pull up a loop to the same height. You now have 7 loops on your hook.
- Yarn over, draw through all 7 loops on the hook. One loop remains.
- Ch 1 to close and secure the puff. This closing chain does NOT count as a stitch.
Standing Single Crochet
- Make a slip knot with the new color and place it on the hook.
- Insert hook into the indicated stitch.
- Yarn over, pull up a loop. Yarn over, draw through both loops.
Flat Slip Stitch Seam
- Hold two pieces with right sides together.
- Working through both layers simultaneously, insert hook through the back loops of both pieces at the same time.
- Slip stitch across. Fasten off.
Pattern Instructions
Section 1: Bag Base
Using MC and E-4 hook, ch 57.
Row 1 (RS): Sc in 2nd ch from hook and in each ch across. Turn. (56 sc)
Rows 2-17: Ch 1, sc in each st across. Turn. (56 sc)
Do not turn after Row 17. Do not fasten off. The base should measure approximately 11 inches wide and 3.5 inches tall.
Section 2: Bag Walls (Worked in the Round)
Setup Round: Working along the right edge of the base rectangle, sc evenly down the row ends: sc in each of the 17 row-end edges. Place marker A. Then sc in each of the 56 foundation chain stitches along the bottom edge. Place marker B. Then sc evenly up the left edge: sc in each of the 17 row-end edges. Place marker C. Then sc in each of the 56 sts across the top of the last row. Place marker D. At each of the four corners, work 2 sc into the corner junction. Join with sl st to first sc. (150 sc)
Rounds 1-3: Ch 1. Sc in each st around, working 2 sc in each of the 4 marked corner stitches. Join with sl st to first sc.
Section 3: Top Edge and Handle Attachment
Top Edge Round 1: Ch 1. Sc in each st around. Join with sl st. (162 sc)
Top Edge Round 2: Sl st in each st around. Join with sl st. Fasten off. Weave in end.
Handle Loop
Using MC and E-4 hook, ch 21. Sl st in 2nd ch from hook and in each ch across. (20 sl sts) Fasten off, leaving a 12-inch tail. Fold the cord in half to form a loop. Position the folded midpoint at the center top of the bag front panel. Using the tail ends, sew through the base of the loop and through the top edge of the bag approximately 5 times in each direction to secure.
Button Closure
Attach the button to the front panel, centered below the handle loop, using the sharp-tip sewing needle and waxed upholstery thread.
Section 4: Flower Granny Squares (Make 6)
Layer 1: Flower Center (CA, Mustard Yellow)
Using F-5 hook and CA, make a magic ring.
Rnd 1: Ch 1 (does not count as st). Work 8 sc into the ring. Join with sl st to first sc. (8 sc)
Rnd 2: Ch 1. 2 sc in each st around. Join with sl st to first sc. (16 sc) Fasten off CA.
Layer 2: Inner Petals (CA and CB)
Join CB with a standing sc in any st of Rnd 2.
Rnd 3: (Ch 3, ps in next st, ch 3, sl st in next st) rep around. (8 petals) Fasten off CB.
Layer 3: Mid Petals (CB, Peachy Salmon)
Join CC with a standing sc in the space between two petals of Rnd 3.
Rnd 4: (Ch 4, ps in next space between petals, ch 4, sl st in same space) rep around. (8 petals) Fasten off CC.
Layer 4: Outer Petals (CC, Terracotta Rust)
Join MC with a standing sc in the space between two petals of Rnd 4.
Rnd 5: (Ch 5, ps in next space between petals, ch 5, sl st in same space) rep around. (8 petals) Fasten off CC.
Layer 5: Granny Square Surround (MC with CD Corners)
Join MC with a standing sc in any space between outer petals.
Rnd 6: Ch 3 (counts as first dc), (2 dc, ch 2, 3 dc) in same space for corner. (3 dc in next space between petals) 3 times. (3 dc, ch 2, 3 dc) in next space for corner. Rep around. Join with sl st to top of beg ch-3. Fasten off MC.
Rnd 7: Join CD with a standing sc in any corner ch-2 sp. (2 sc, ch 2, 2 sc) in same corner. Sc in each dc across to next corner. Rep around. Join with sl st to first sc. Fasten off CD. Weave in ends.
Section 5: Joining the Flower Panel
Arrange the 6 squares in a 3-column by 2-row grid, all oriented the same direction.
Row 1: Join Square 1 to Square 2 using the flat slip stitch seam method. Then join Square 2 to Square 3.
Row 2: Join Square 4 to Square 5, then Square 5 to Square 6.
Join Row 1 to Row 2 along the shared horizontal edge. The completed panel measures approximately 10.5 inches wide by 7 inches tall.
Section 6: Attaching the Flower Panel to the Bag
Center the joined flower panel on the front face, placing it approximately 1.5 inches up from the base of the bag. The panel should be horizontally centered with approximately 0.75 inches of cream body visible on each side. Using MC and a tapestry needle, whipstitch around all four edges of the flower panel, sewing through the outermost chain spaces of the granny border and catching the single crochet stitches of the bag front with each stitch.
Section 7: Strap Hardware Attachment
Sew one leather strap tab to each side seam of the bag, approximately 1 inch down from the top edge. Attach a D-ring to each tab. Attach a swivel lobster claw clasp to each D-ring. Attach the adjustable crossbody strap to the lobster claw clasps.
Assembly
- Weave in all yarn ends securely, working the tail in two opposite directions for at least 1 inch each way.
- Wet blocking is strongly recommended. Soak the completed bag in cool water with a drop of wool wash for 20 minutes. Gently squeeze out excess water without wringing. Roll in a towel to remove moisture.
- Use a bag insert or crumpled tissue paper to stuff the bag to its finished dimensions. Pin the base corners square. Allow to dry completely for 24 to 48 hours before attaching hardware.
Tips
- Practice the puff stitch on a swatch first. Keep your tension relaxed and loops tall so petals stand away from the fabric.
- Don’t skip the blocking. It really does make a difference in the final shape and stitch definition.
- Cotton or cotton blend yarns work best for bags because they hold their shape under the weight of daily contents and resist stretching at the strap attachment points.
- Use stitch markers to keep track of the four corner stitches of the base and the beginning of each round in the walls.
Care Instructions
- For cotton: Hand wash in cool water with gentle detergent. Reshape and stuff while damp. Air dry flat.
- For wool: Hand wash in cool water with wool-safe detergent. Do not agitate. Air dry flat.
- For acrylic: Machine wash on gentle cycle in a mesh bag, cold water. Lay flat to dry.
- The leather hardware should be wiped with a damp cloth only. Condition periodically. Store the bag stuffed with tissue paper to maintain its shape.
FAQs
What skill level is needed for this pattern?
This pattern is rated Intermediate to Advanced. You should be comfortable with single crochet in the round, working granny squares, and executing puff stitches.
Can I use a different yarn weight?
This pattern is designed for DK weight yarn. Using a different weight will change the gauge and finished size of the bag.
How long does it take to make this bag?
Plan for 20 to 30 hours total. The six flower squares take the longest, averaging 2 to 3 hours each. The body and finishing add another 8 to 10 hours.
Can I adjust the strap length?
Yes, the strap is adjustable from about 22 to 48 inches, so you can wear it crossbody or shorten it for a shoulder bag.
How do I clean the bag?
Care instructions depend on your yarn choice. Cotton and wool should be hand washed in cool water and air dried flat. Acrylic can be machine washed on gentle in a mesh bag. Leather hardware should be wiped with a damp cloth only.
What if my puff stitches are too tight?
Keep your tension relaxed and pull up loops to about 0.5 inch in height. Practice on a swatch first to get comfortable with the motion.
Pin This Crochet Pattern!