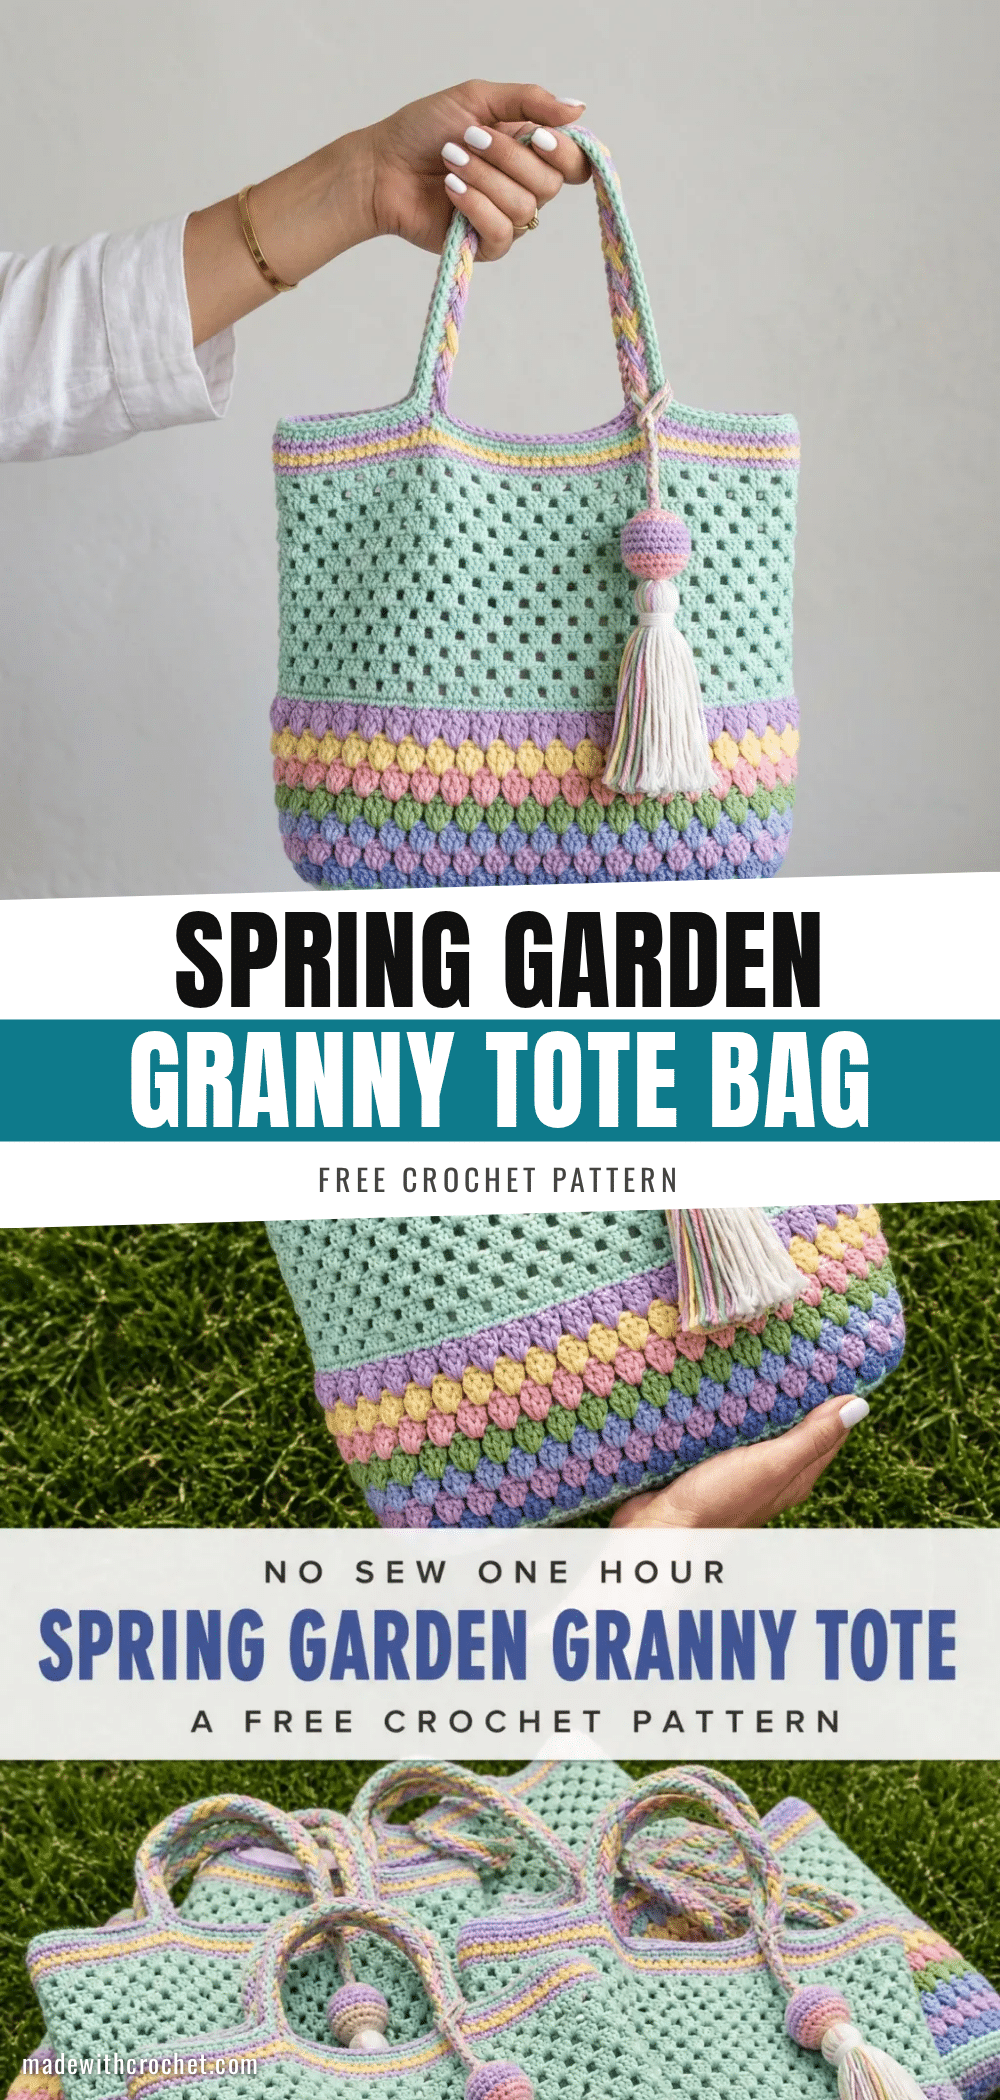
Spring is in the air, and there’s no better way to celebrate than with a fresh, handmade accessory that’s as practical as it is pretty. The Spring Garden Granny Tote Bag is the perfect project for the season, whether you’re heading to the farmers market, packing for a picnic, or just want a cheerful bag for everyday errands. This pattern combines classic granny mesh with a colorful puff stitch border, creating a bag that’s sturdy, roomy, and guaranteed to earn compliments. It’s a delightful way to welcome warmer weather and add a touch of handmade charm to your wardrobe.
Seasonal Styling Ideas
This tote is a celebration of spring colors. The mint green main body provides a soft, neutral backdrop that lets the lavender, yellow, pink, and periwinkle accents pop. For a truly seasonal look, consider using pastel shades that mirror blooming gardens—think soft lilacs, butter yellows, and blush pinks. The open granny mesh is perfect for showing off a colorful fabric lining or a reusable produce bag peeking through. This bag is also a wonderful gift for Mother’s Day, a spring birthday, or as a thoughtful handmade present for a friend who loves gardening or farmers markets.
Project Overview
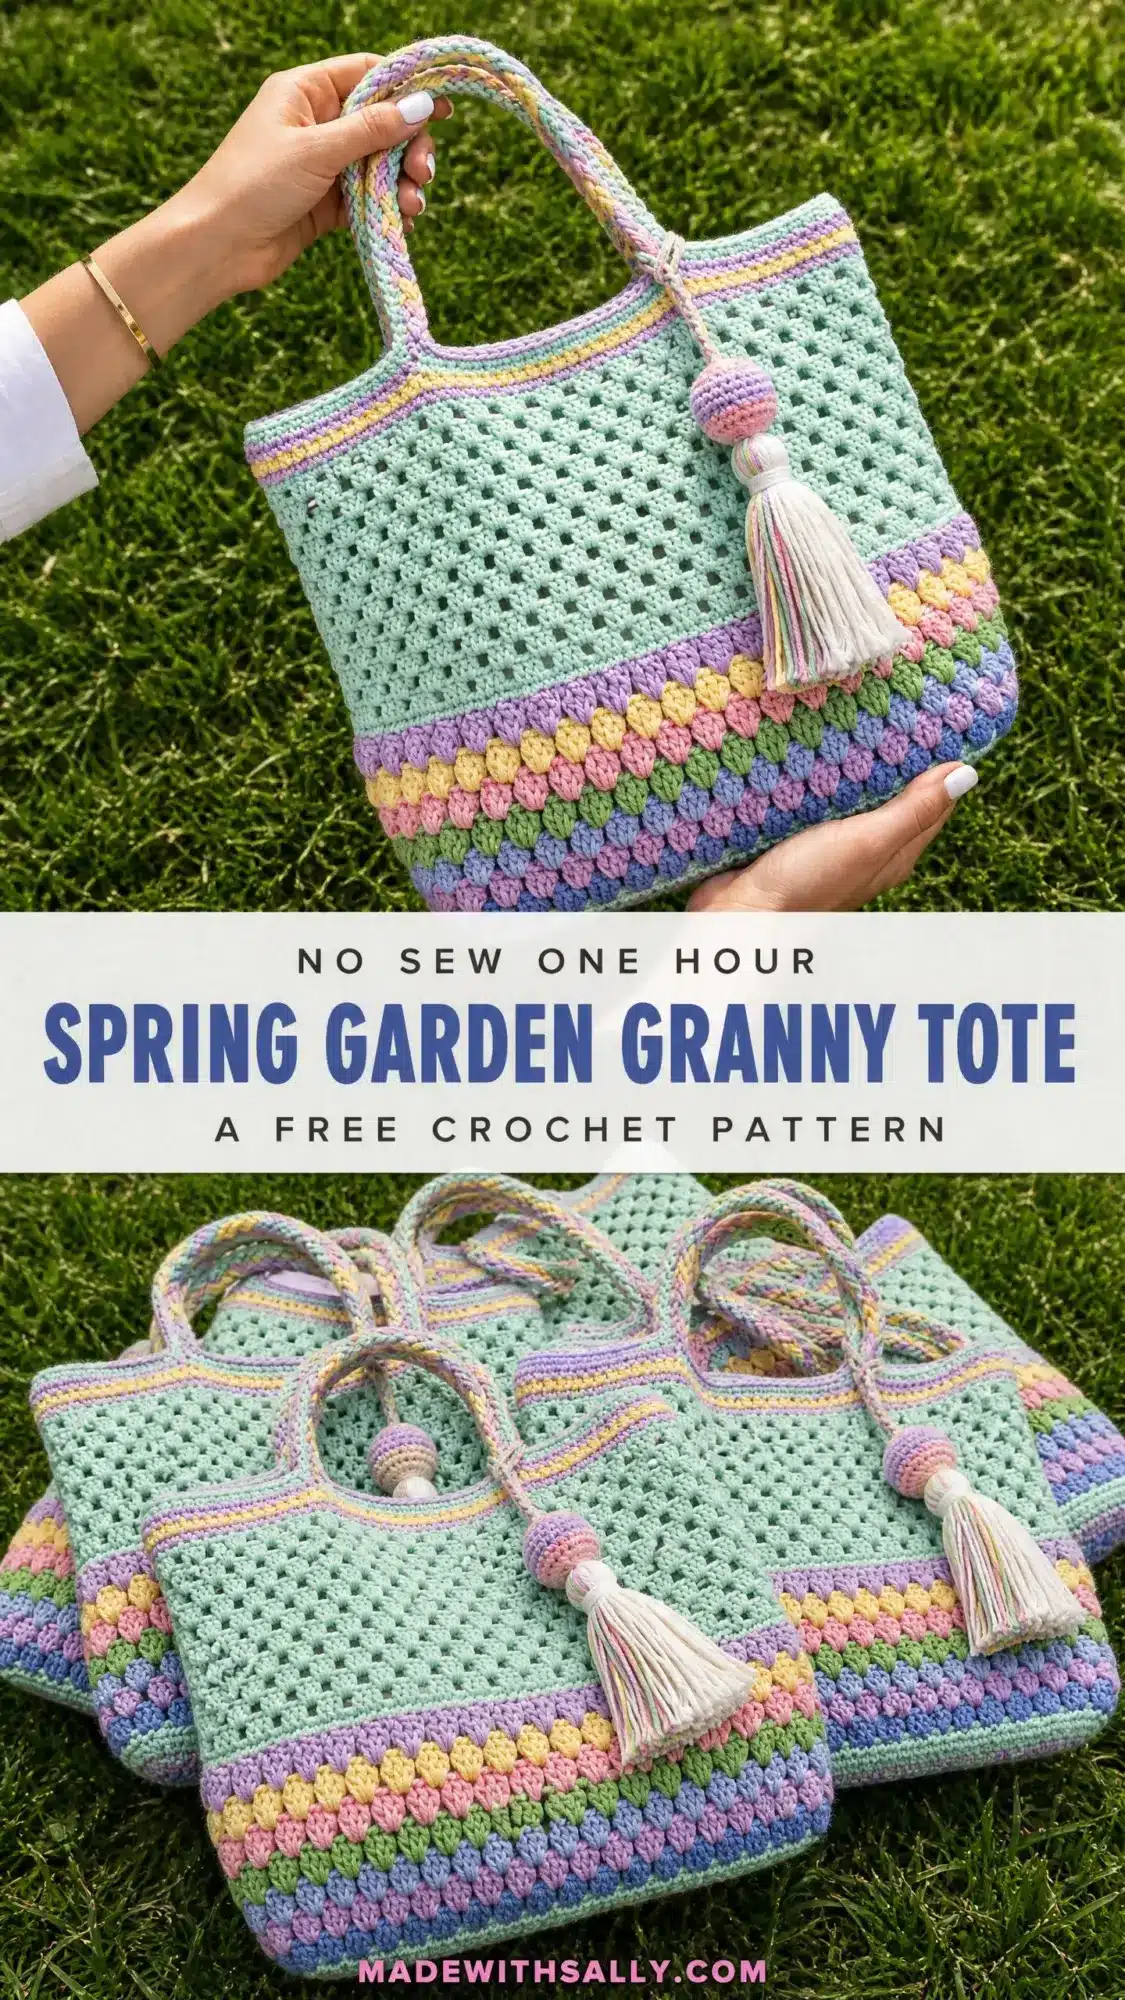
This intermediate-level crochet pattern creates a structured tote with a flat bottom that stands on its own. The construction is clever and logical: you start with a flat rectangular base, work the walls in the round using an open granny mesh, then finish with bands of cheerful puff stitches and colorful stripes. The braided handles give it a handmade artisan look, and the optional crocheted bead tassel adds the perfect finishing touch. The finished bag measures approximately 13 inches wide by 13.5 inches tall (not including handles), with a base of roughly 13 inches by 4.5 inches. Plan for about 15 to 22 hours to complete this project.
Materials
Yarn
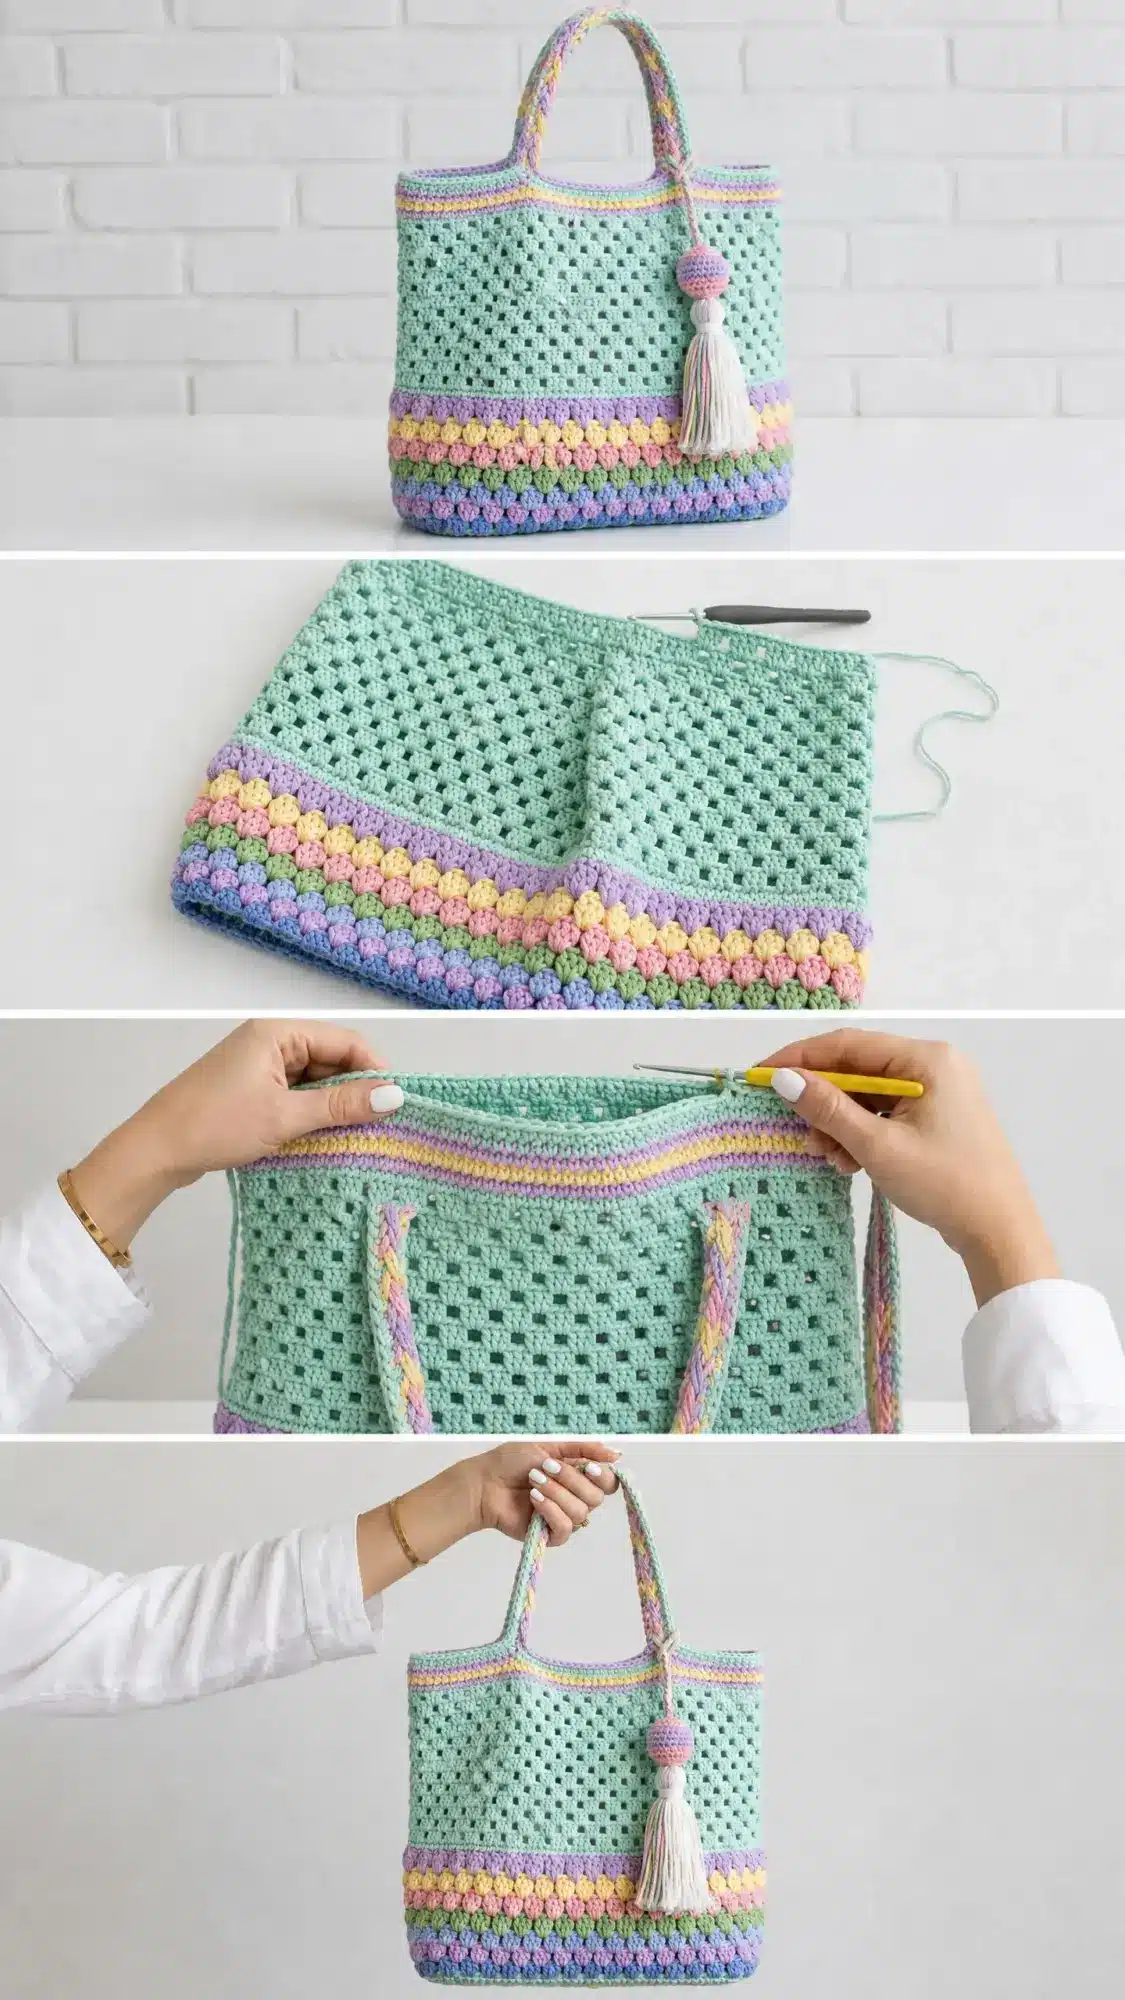
You will need worsted weight cotton yarn in the following colors and approximate yardages:
- Color A, Mint Green: 400 yards (366 meters)
- Color B, Lavender Purple: 80 yards (73 meters)
- Color C, Yellow: 60 yards (55 meters)
- Color D, Soft Pink: 60 yards (55 meters)
- Color E, Green (medium): 45 yards (41 meters)
- Color F, Periwinkle Blue: 45 yards (41 meters)
- Color G, Light Pink or Blush: 30 yards (27 meters) for the crocheted bead and tassel cap
- Color H, Natural Off White or Cream: 80 yards (73 meters) for the tassel fringe
- Multicolor or Rainbow strand (optional): 20 yards (18 meters) for the top stripe band
Great yarn options include Lion Brand 24/7 Cotton, Paintbox Yarns Simply DK Cotton, or WeCrochet Dishie. Any smooth worsted weight cotton that achieves gauge will work beautifully. Avoid fuzzy or textured yarns for best stitch definition.
Hook and Notions
- US Size J/10 (6.0 mm) crochet hook for the main body
- US Size I/9 (5.5 mm) crochet hook for handles (optional, creates tighter tension)
- Yarn needle for weaving ends
- Scissors
- 4 to 6 stitch markers
- Optional: fabric lining, sewing needle and thread, magnetic snap closure
Gauge and Finished Size
Gauge: With Color A and your J/10 hook working the granny mesh panel: 3 granny clusters (each cluster equals 3 double crochets) and 3 chain 1 spaces should equal approximately 3.5 inches (9 cm) wide. Three rows of granny mesh should measure about 2.5 inches (6.4 cm) tall. For single crochet stripe rows: 14 single crochets equal 4 inches (10 cm), and 16 rows of single crochet equal 4 inches (10 cm). Make a small swatch before starting. If your gauge runs large, try going down a hook size. If it runs small, go up a size.
Finished Size: Approximately 13 inches wide by 13.5 inches tall, not including handles. The base measures roughly 13 inches by 4.5 inches.
Abbreviations
- ch = chain
- sl st = slip stitch
- sc = single crochet
- dc = double crochet
- hdc = half double crochet
- ps = puff stitch
- sp = space
- ch-sp = chain space
- st = stitch
- sts = stitches
- rep = repeat
- rnd = round
- RS = right side
- WS = wrong side
- beg = beginning
- sk = skip
- yo = yarn over
Pattern Notes
- This pattern is worked from the bottom up, starting with a flat base and then working in the round for the body.
- Use stitch markers generously to mark corners and the beginning of rounds.
- Count your stitches at checkpoints to avoid having to frog later.
- Practice puff stitches on a small swatch first to get consistent tension.
- Don’t pull your color changes too tight to prevent puckering.
- Block the bag body before attaching handles for best results.
Special Stitches
Granny Cluster
Yarn over, insert hook into the designated chain space, yarn over and pull up a loop, yarn over and pull through two loops on hook. That’s one double crochet. Keeping your hook in the same space, work two more double crochets into that same chain space. You now have three double crochets worked into one space. This group of three is one granny cluster.
Chain 1 Granny Mesh
Work one granny cluster into a chain space, chain 1, skip the next cluster or space, work one granny cluster into the next chain space, chain 1. Repeat across or around.
Puff Stitch
Yarn over, insert hook into the stitch, yarn over and pull up a loop to the height of a double crochet. Without removing your hook, yarn over and insert into the same stitch again, yarn over and pull up another loop. Repeat one more time so you have seven loops on your hook. Yarn over and pull through all seven loops. Chain 1 to close and secure the puff.
Standing Single Crochet
Make a slip knot with your new yarn color. Insert hook into the designated stitch, pull up a loop (two loops on hook), yarn over and pull through both loops.
Pattern Instructions
Section 1: The Base
The base is worked flat in rows of single crochet to create a firm rectangular foundation. With Color A and your J hook, chain 47.
Row 1 (RS): Single crochet in 2nd chain from hook and in each chain across. Turn. (46 sc)
Rows 2 through 16: Chain 1, single crochet in each stitch across. Turn. (46 sc)
After Row 16, do not turn and do not fasten off.
Checkpoint: Your base should measure approximately 13 inches wide by 4.5 inches tall. It should be a firm rectangle.
Section 2: Join for Working in the Round
Without turning, rotate your work so you’re working along the long edge. You’ll now pick up stitches along all four sides of the rectangle to begin working the walls in the round.
Set up Round (sc edging): Still with Color A, chain 1. Place a stitch marker at this first corner. Work 16 single crochets evenly along the short right side edge of the base (1 sc per row end, 16 rows). Place stitch marker at second corner. Work 46 single crochets across the top edge of the base into the starting chain. Place stitch marker at third corner. Work 16 single crochets evenly along the short left side edge. Place stitch marker at fourth corner. Work 46 single crochets across the bottom of Row 16. Join with slip stitch to first single crochet of this round. (124 sc total: 46 + 16 + 46 + 16)
Checkpoint: You now have 124 single crochets around the perimeter with 4 marked corners. The bag is now worked in the round with the right side facing out.
Section 3: Granny Mesh Body
This is where the magic happens. The granny mesh creates that beautiful open texture.
Round 1 of Mesh (Color A): Chain 3 (counts as first double crochet of first cluster here and throughout mesh section). Work 2 more double crochets into same corner stitch (first cluster made). Chain 2 (corner). Skip 1 stitch. Work 3 dc cluster into next stitch, chain 1, skip 2 stitches repeat 14 more times along front (15 clusters total along front). At corner stitch: work 3 dc cluster, chain 2. Skip 1 stitch. Work 3 dc cluster into next stitch, chain 1, skip 2 stitches repeat 4 more times along side (5 clusters total along side). At corner stitch: work 3 dc cluster, chain 2. Skip 1 stitch. Work 3 dc cluster into next stitch, chain 1, skip 2 stitches repeat 14 more times along back (15 clusters total). At corner stitch: work 3 dc cluster, chain 2. Skip 1 stitch. Work 3 dc cluster into next stitch, chain 1, skip 2 stitches repeat 4 more times along remaining side (5 clusters total). Join with slip stitch to top of beginning chain 3. (40 clusters, 4 ch-2 corner spaces)
Round 2 of Mesh (Color A): Slip stitch into next 2 double crochets and into chain 2 corner space. Chain 3, 2 double crochets into same corner space (cluster). Chain 2 (corner). Work 3 dc cluster into next chain 1 space, chain 1 repeat 15 times (15 clusters along front). Cluster into corner space, chain 2. Work 3 dc cluster into next chain 1 space, chain 1 repeat 5 times (5 clusters along side). Cluster into corner space, chain 2. Work 3 dc cluster into next chain 1 space, chain 1 repeat 15 times (15 clusters along back). Cluster into corner space, chain 2. Work 3 dc cluster into next chain 1 space, chain 1 repeat 5 times (5 clusters along remaining side). Join with slip stitch to top of beginning chain 3. (40 clusters, 4 ch-2 corner spaces)
Rounds 3 through 16 of Mesh (Color A): Repeat Round 2 exactly for all remaining mesh rounds. (40 clusters, 4 ch-2 corner spaces per round)
Checkpoint: After completing all 16 mesh rounds, the body should measure approximately 13 inches tall from base to top. The open grid texture should look even and consistent.
Section 4: Top Stripe Band
This section is worked in single crochet rounds, changing colors to create stripes. Follow your desired color sequence or the one provided in the original pattern.
Section 5: Puff Stitch Border
This creates the rounded bobble texture at the bottom of the bag. Work puff stitches into the designated stitches around the base of the bag body.
Section 6: Handle Construction
Each handle is a braided rope attached at 4 points on the top edge.
To make one handle: Cut 18 strands of Color A (or a mix of Colors A, B, and C for a pastel braided effect), each strand measuring 60 inches long. Divide into 3 groups of 6 strands each. Fold all strands in half so each working group is now 30 inches long and doubled. Braid tightly and evenly for the full working length. Knot at each end to secure. Trim ends neatly. Each finished handle should be approximately 22 to 24 inches long when braided, which gives a comfortable shoulder carry drop of approximately 11 to 12 inches when attached. Make 2 handles.
Handle Attachment: Position the first handle on the front and back of the bag, centered on each panel. Place attachment points approximately 3.5 inches from each side edge. Thread yarn needle with a length of Color A. Fold the knotted end of the handle over the top edge of the bag by approximately 1 inch. Whipstitch the folded end firmly to the inside of the bag at the attachment point, going through multiple layers at least 10 to 12 times. Reinforce with a second pass. Repeat for all 4 attachment points. For additional stability, work a row of single crochet directly over the attachment point on the inside, encasing the handle end in crochet.
Section 7: Crocheted Bead and Tassel (Optional)
This decorative element adds a lovely finishing touch. Follow the original pattern instructions for creating the crocheted bead and tassel using Colors G and H.
Assembly
Weave in all yarn ends thoroughly using a yarn needle. Work tails back through at least 1 to 2 inches of stitches in two directions to prevent unraveling. Wet blocking is recommended for cotton yarns. Submerge the finished bag in cool water, gently squeeze out excess water without wringing, then reshape on a flat surface to the finished dimensions. Use blocking mats and pins to hold the walls straight and the base flat while drying. Allow to dry completely before handling.
Tips
- Size Customization: To make the bag wider, add stitches to the starting chain in multiples of 3. Each additional 6 chains adds approximately 1.5 inches of width. To make the bag taller, add more mesh rounds. Two additional mesh rounds add approximately 1.25 inches of height. To make the bag shorter, reduce the number of mesh rounds (minimum recommended is 10).
- Use stitch markers generously to mark corners and the beginning of rounds.
- Count your stitches at checkpoints to save time and frustration.
- Practice your puff stitches first on a small swatch to get consistent tension.
- Don’t pull your color changes too tight to avoid puckering.
- Block before attaching handles to ensure everything is squared up properly.
- Care Instructions: Machine wash on a gentle cycle in cool water, or hand wash. Lay flat to dry. Do not tumble dry, iron, or bleach. Cotton yarns may be lightly steamed with a garment steamer held at a distance if the bag loses its shape after use.
Frequently Asked Questions
What skill level is this pattern?
This pattern is rated as intermediate. If you have experience with basic stitches, working in the round, and following a pattern, you should be able to complete it successfully.
Can I use a different type of yarn?
Yes, but a smooth worsted weight cotton yarn is recommended for best stitch definition and structure. Avoid fuzzy or textured yarns as they can obscure the granny mesh pattern.
How long does it take to make this bag?
Most makers report that this project takes between 15 and 22 hours to complete, depending on your crochet speed and experience.
Can I make the bag larger or smaller?
Absolutely. To adjust the width, add or subtract chains in multiples of 3 from the starting chain. To adjust the height, add or subtract mesh rounds. See the Tips section for more details.
How do I attach the handles securely?
Whipstitch the folded handle ends firmly to the inside of the bag, going through multiple layers at least 10 to 12 times. For extra stability, work a row of single crochet over the attachment point on the inside.
Is the bag machine washable?
Yes, you can machine wash it on a gentle cycle in cool water, or hand wash. Always lay flat to dry and avoid using a tumble dryer, iron, or bleach.
Pin This Crochet Pattern!