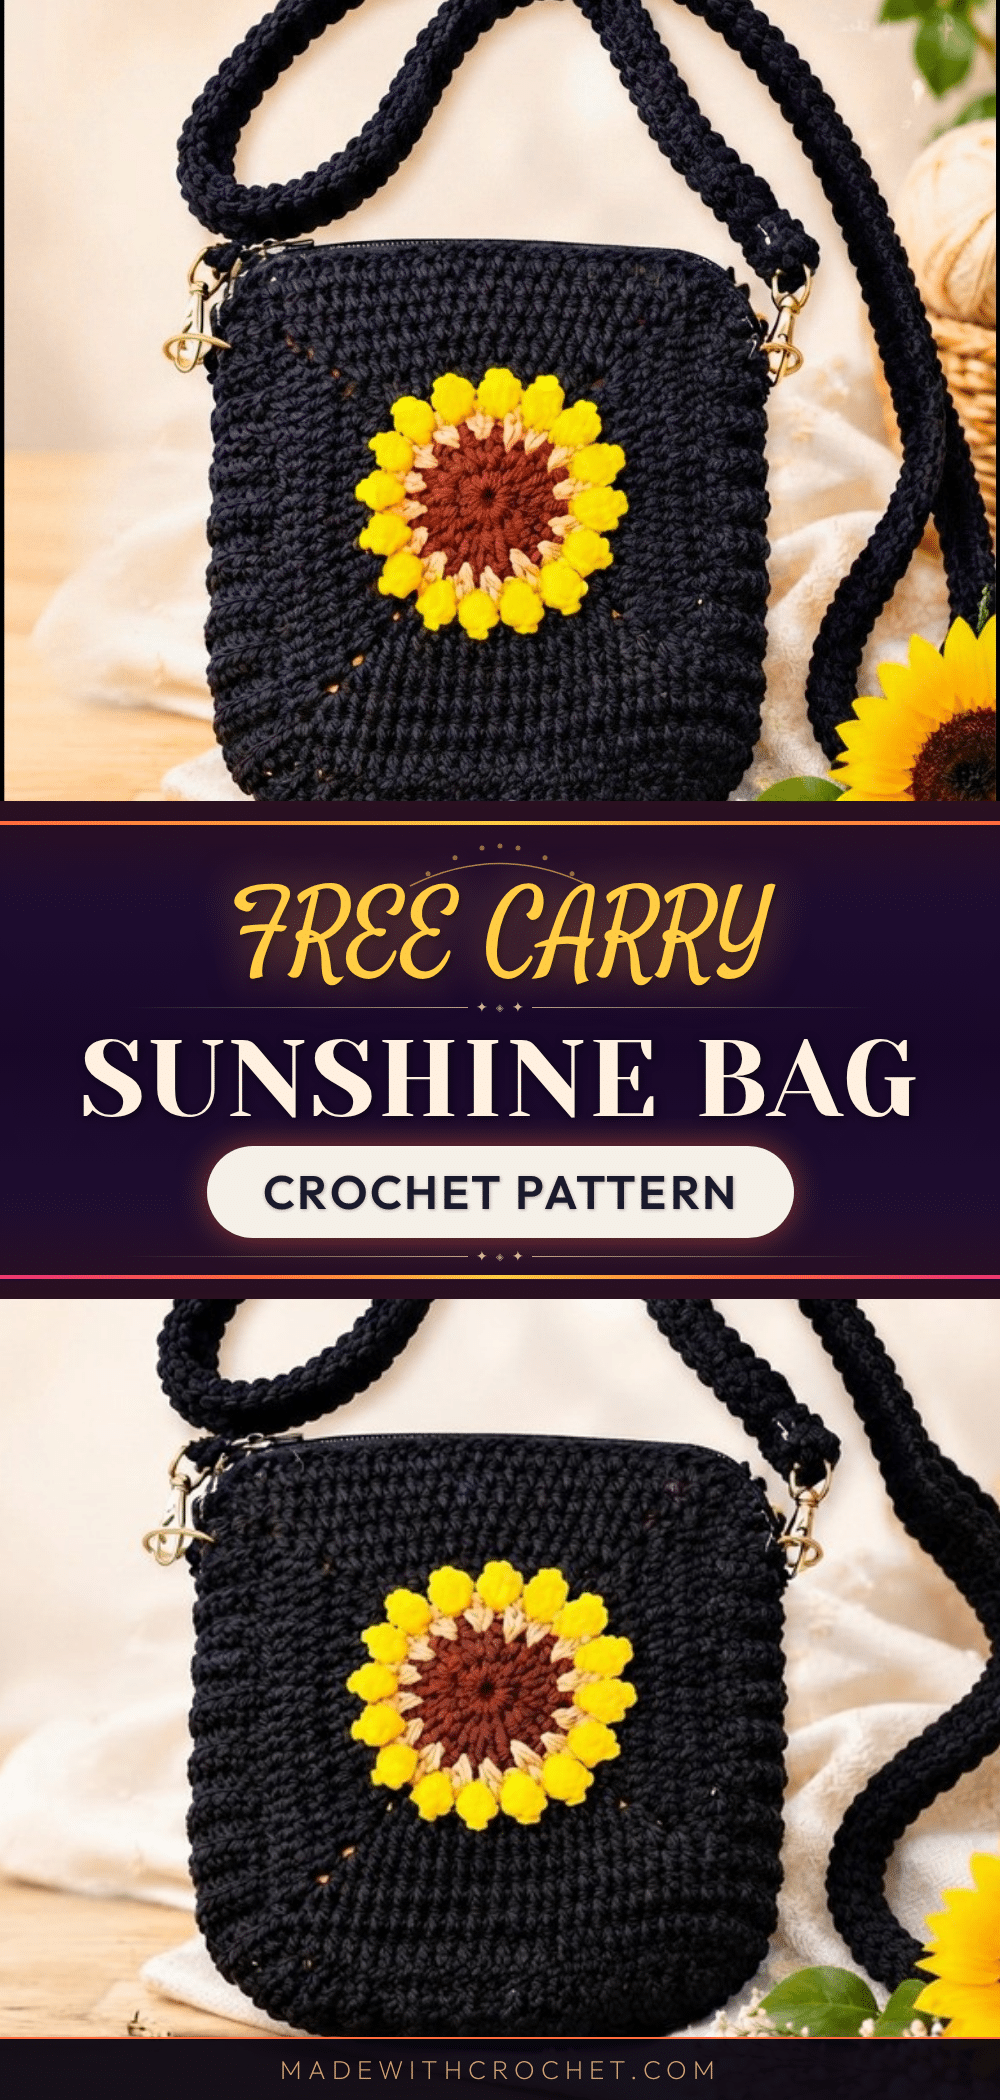
There’s something about choosing the perfect yellow that feels like bottling a sunny day. For this bag, the yarn decision started in my stash with a soft, butter-yellow worsted weight that just begged to become flower petals. Pairing it with a crisp white for the inner layer and a fresh sage green for the base felt like capturing a garden in full bloom. The texture of the yarn—not too stiff, not too soft—promised a bag that would hold its shape while still feeling cozy to carry.
Yarn and Color Notes
This pattern truly shines with intentional color choices. The three-color palette isn’t just decorative; it defines the sunflower motif. A solid, light-blocking base color (like green) grounds the piece, while the white inner petals create contrast before the yellow outer petals take center stage. Worsted weight yarn in a cotton or cotton-acrylic blend works beautifully, offering stitch definition and durability. Don’t be afraid to swap colors to match your wardrobe—a navy base with cream and mustard petals would be stunning for a more subdued look.
Project Overview
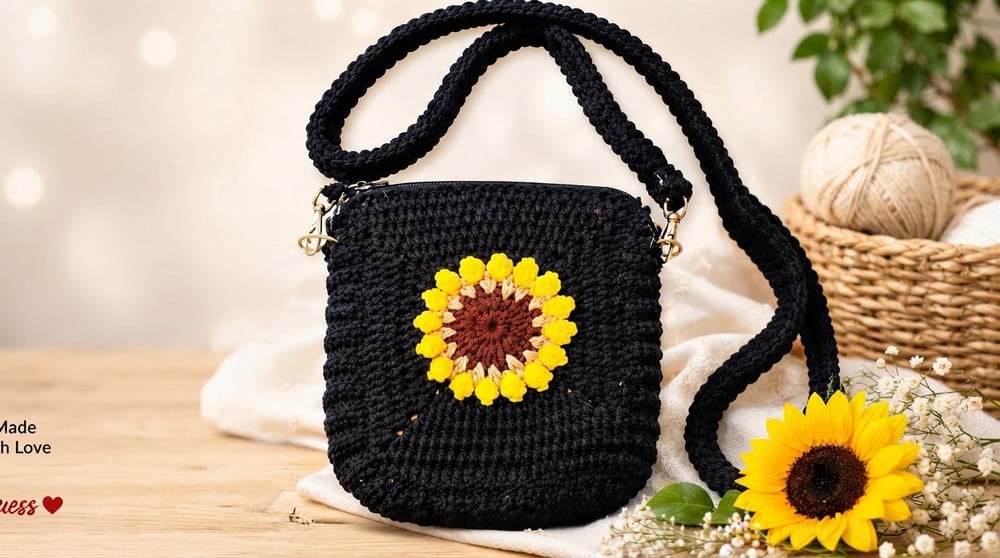
This comprehensive crochet tutorial walks you through making a charming sunflower-themed bag. The bag is constructed starting with a circular sunflower center, building layered petals, and transitioning into a square shape to form the bag panels. Two panels are joined with a sturdy crocheted strap, resulting in a unique, floral-inspired accessory. The pattern combines various crochet techniques such as magic rings, double crochets, triple crochets, color changes, and strategic shaping to create both a decorative and functional piece.
Pattern Highlights
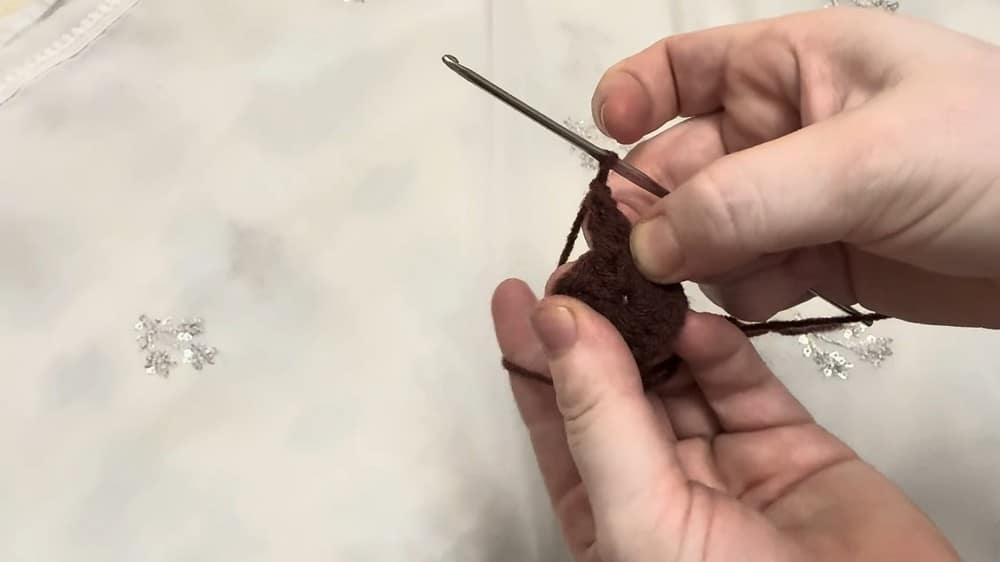
- Sunflower Center: Worked from a magic ring with rounds of double crochets forming a tight circular base.
- Flower Petals: Two layers of petals created using triple crochet and cluster stitches in contrasting colors.
- Shape Transition: Circle to square shaping achieved with specially placed triple crochet clusters and chain gaps forming corners and sides.
- Edging and Border: Double crochets and chain loops fill gaps, softening the square form and adding decorative edges.
- Bag Assembly: Two identical sunflower panels connected with a crocheted strap for a fully functional bag.
Materials
- Worsted weight yarn in three colors: Base color (e.g., green), White (for inner petals), Yellow (for outer petals)
- Crochet hook (3.5 – 4.5 mm)
- Yarn needle
- Scissors
- Stitch markers (optional)
Gauge and Finished Size
- Finished Size: Each panel measures approximately 20 cm (8 inches) square. Strap length customizable; sample uses 7-chains wide strap. Final bag size depends on strap length and seam allowances.
- Gauge: Not specified in the source pattern. Use the recommended hook size and adjust as needed to achieve a firm fabric that holds its shape.
Abbreviations
- ch: Chain
- sc: Single Crochet
- dc: Double Crochet
- tr: Triple Crochet
- sl st: Slip Stitch
Pattern Notes
- Use a 3.5 mm to 4.5 mm crochet hook to match your yarn weight.
- Change yarn colors neatly when instructed.
- Maintain even tension throughout to keep shapes consistent.
- Use stitch markers if needed to locate corners and round starts.
- Blocking panels before assembly is recommended for better shaping.
- Skill Level: Beginner to Intermediate – This pattern requires understanding of basic crochet stitches, working in rounds, and simple shaping techniques.
Special Stitches
- Triple Crochet Cluster: Group of 3 triple crochets worked in one space, forming petals and corners.
- Corner Formation: Use 3-triple crochet clusters separated by 3 chains to create right-angled corners.
Pattern Instructions
1. Base – The Sunflower Center (Circular)
Start: Make a magic ring.
- Round 1: Chain 3 (counts as first dc). Work 16 double crochets (dc) into the magic ring. Pull ring tight. Join with a slip stitch (sl st) in the top of the starting chain 3.
- Round 2: Chain 3 (counts as first dc). In every stitch of the previous row, work 2 double crochets (dc) (increasing stitch count). Finish round with a chain stitch. Join with a slip stitch.
2. Creating the Flower Petals
Inner Petals (Second Layer)
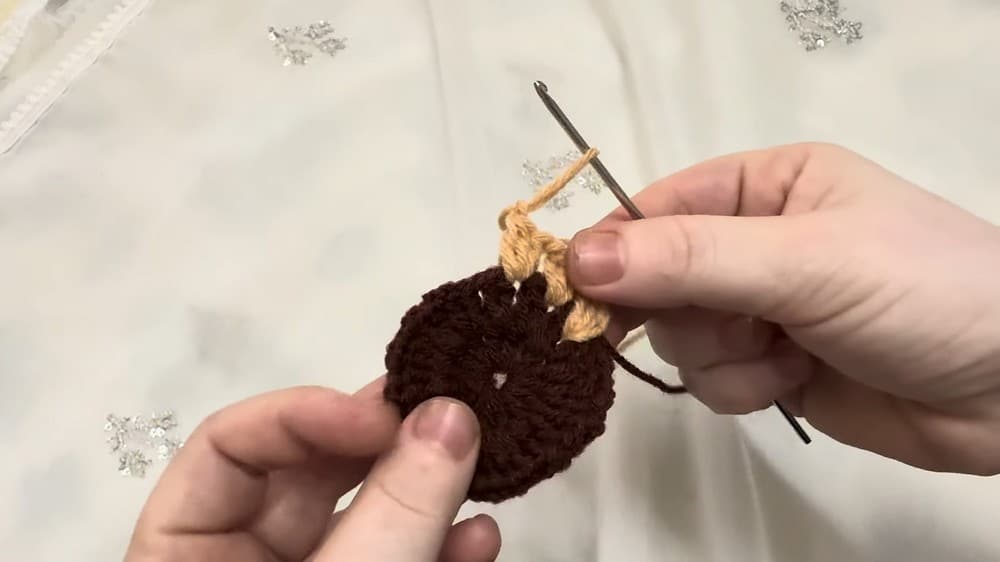
- Change yarn to white (or preferred inner petal color).
- Chain 2 (not a stitch but to lift).
- Into each chain space from the previous round: Work triple crochets (tr) (number based on space size) to form petal shapes. Work evenly all around the circle.
Outer Petals (Third Layer)
- Switch yarn to yellow (classic sunflower color).
- Chain 2 (lift).
- Into each chain space, work a cluster of 4 triple crochets (4 tr cluster) to create full petals. Continue evenly around to form a sunny floral edge.
3. Shaping into a Square
Corner Formation
- At four evenly spaced points around the circle: Work two sets of 3 triple crochet clusters (3-tr clusters) separated by 3 chains to create corners. These clusters form the square’s corners with chain spaces acting as angle gaps.
Filling the Sides
- Between corner clusters, work: Three triple crochet clusters (3-tr clusters) evenly spaced, filling the sides. This shapes the circle gradually into a square.
4. Final Edging & Assembly
Border
- Fill in gaps and smooth the edges with: Double crochets (dc) around the square.
- At each corner, work: 2 double crochets (dc), Chain 3 (ch 3), 2 double crochets (dc). Join rounds neatly with a slip stitch.
Making Panels
- Repeat the above steps completely to make two identical square panels for front and back of the bag.
Making the Strap
- Chain 7 stitches for desired strap width.
- Work single crochet (sc) stitches into each chain across for the strap. Adjust length as desired.
Assembly
- Using a yarn needle, sew the two panels together on three sides leaving the top open (or close as preferred).
- Attach the strap ends securely to the top corners of the bag panels.
- Weave in all yarn tails securely.
Tips
- Light blocking before sewing can help keep the square shape of the panels.
- Use stitch markers to keep track of corner placements during the circle-to-square transition.
- For a sturdier bag, consider using a smaller hook within the recommended range to create a tighter fabric.
FAQs
Can I use a different yarn weight for this pattern?
Yes, but you will need to adjust your hook size accordingly and be aware that the finished size of the panels will change. A lighter yarn will produce a smaller, more delicate bag, while a bulky yarn will create a larger, stiffer one.
How do I keep my tension even when changing colors?
Carry the unused yarn loosely along the back of your work, or cut and rejoin at each color change for a neater finish. Practice on a small swatch to get a feel for the tension needed.
What is the best way to block the sunflower panels?
Lightly wet or steam block the panels, pinning them to the correct square shape on a blocking mat. Allow them to dry completely before sewing them together. This helps the corners set properly.
Can I make the strap longer or shorter?
Absolutely. The strap length is fully customizable. Simply crochet the single crochet rows until the strap reaches your desired length, whether for a shoulder bag or a crossbody style.
How do I make the bag more sturdy?
Consider lining the finished bag with fabric. This will add structure and prevent small items from slipping through any gaps in the stitches. You can also use a slightly smaller hook for a denser fabric.
What if my circle doesn’t turn into a perfect square?
This is common. Ensure your corner clusters and chain spaces are evenly spaced. Blocking after finishing the panel will help correct minor shape issues and create crisp corners.
Pin This Crochet Pattern!