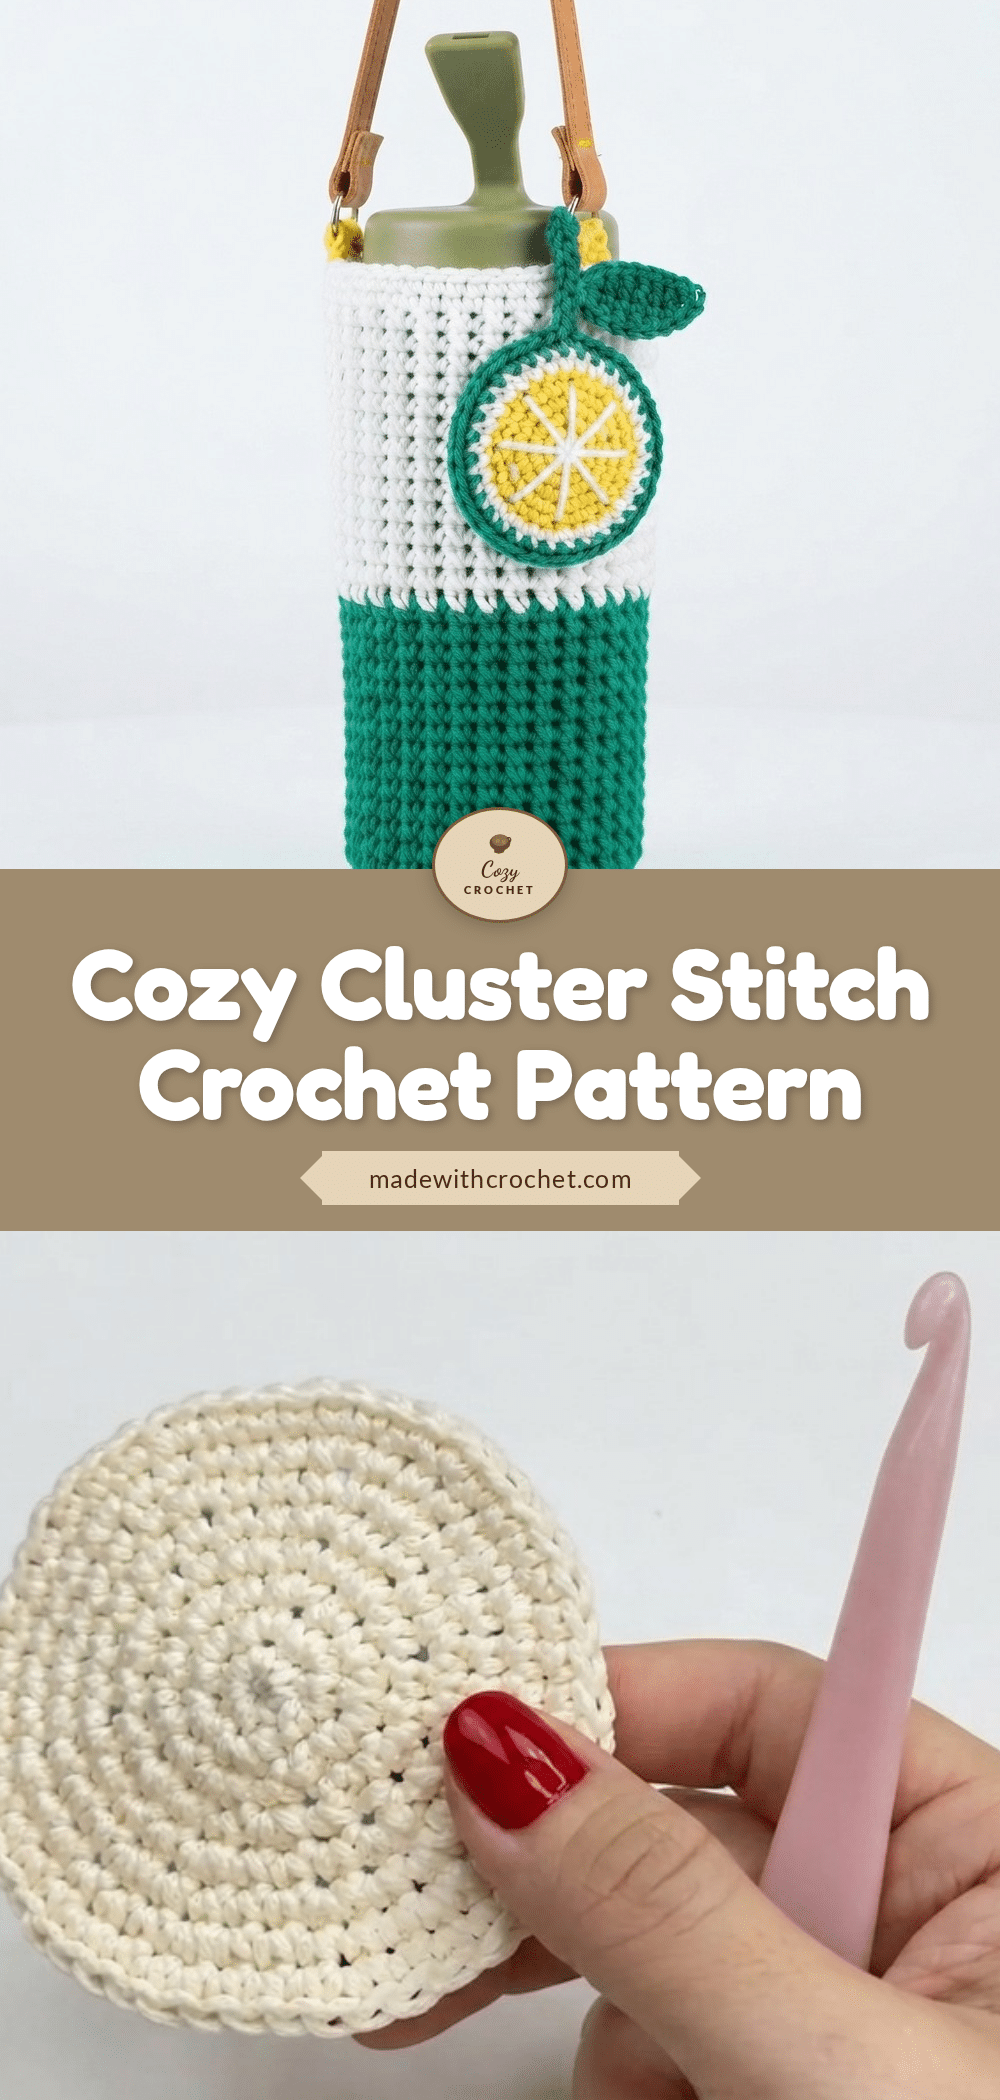
Looking for a thoughtful handmade gift that’s both stylish and practical? This chunky cluster stitch crochet pattern creates a beautifully textured fabric that’s perfect for water bottle holders, market bags, or sturdy storage baskets. The raised, geometric clusters give your project a modern, artisan look that stands out at craft fairs or on your own coffee table. Because the pattern is worked in joined rounds with a simple two-stitch cluster repeat, it’s easy to customize the height and width to fit exactly what you need—making it an ideal choice for personalized presents or your own everyday carry.
Gift and Use Ideas
This pattern’s robust texture and clean lines make it incredibly versatile. Use it to create a set of matching water bottle holders for friends, a chic market tote for yourself, or a set of nested fabric baskets for home organization. The neutral look of textile yarn pairs beautifully with any décor, while the sturdy fabric means your handmade items will hold up to daily use. Consider adding a leather or fabric handle for a polished finish, or work in color blocks for a striped effect that matches a recipient’s favorite palette.
Project Overview
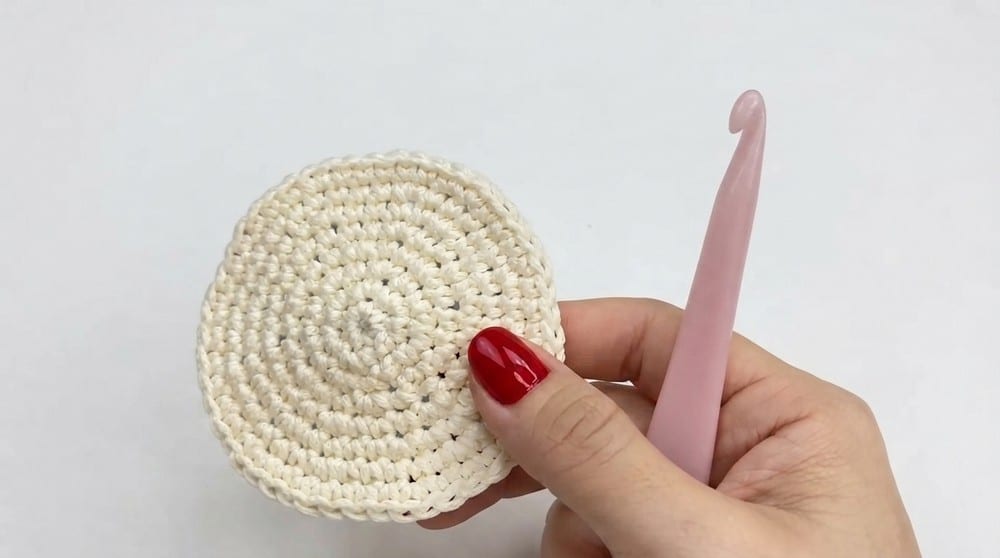
This pattern introduces a decorative cluster stitch worked in joined rounds, ideal for adding a textured, airy look to projects like water bottle holders, tote bags, or sturdy fabric baskets. The method uses a simple two-stitch cluster with chain-1 spacing to create a pattern that is both beautiful and robust, perfect for textile yarns and functional items.
Materials
- Yarn: 2mm textile yarn (or similar robust cotton/polyester yarn)
- Crochet Hook: 2.5mm, 3.0mm, or 3.5mm (choose for your comfort and yarn thickness)
- Scissors
- Tapestry Needle: For weaving in ends
Gauge and Finished Size
Gauge: Not critical—priority is a firm, even fabric so the bag can bear weight. Pattern Repeat: Cluster st, ch-1 across every round.
Finished Size: This pattern does not dictate size; work to fit your bottle, jar, or bag requirement. Example: For a water bottle holder, a base diameter of 7–8cm (2.75–3.25″) may suit, with sides built up to 18–20cm (7–8″). Cluster Pattern Repeat: One cluster (with ch-1) spans roughly 1.2–1.5cm (about half an inch) across, depending on yarn.
Abbreviations
- ch – Chain
- sl st – Slip Stitch
- st(s) – Stitch(es)
- bl – Back Loop
- rep – Repeat
Pattern Notes
- Ideal Yarn: This pattern is demonstrated using 2mm textile yarn, but you can substitute any sturdy yarn suitable for bag projects.
- Hook Size: Pick the hook size that matches your yarn—looser for drape, tighter for more structure.
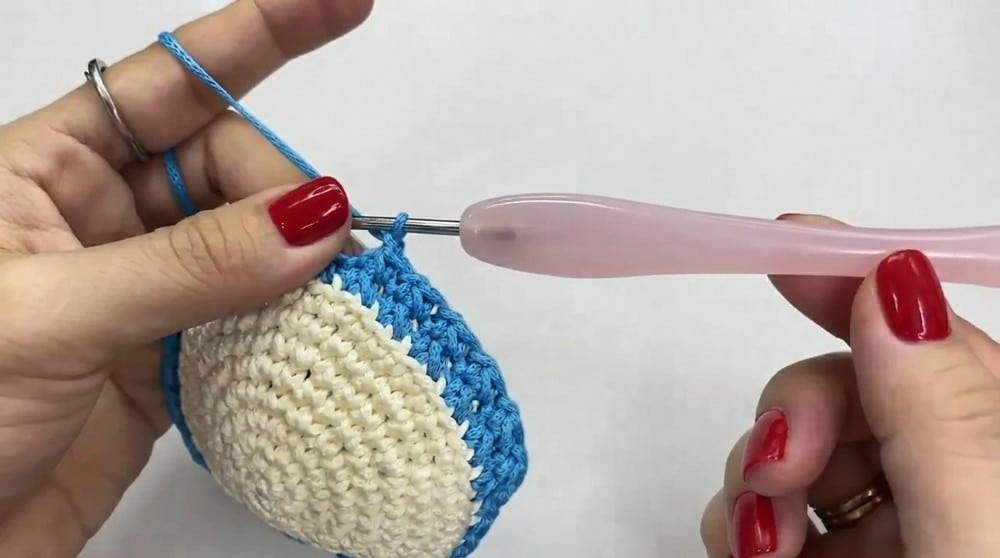
- Color Changes: You can switch colors as desired at the beginning of any round for a striped or color-blocked effect.
- Foundation Base: It is assumed you’ve already made your base, whether oval, circular, or rectangular. This pattern is for the sides.
- Customization: Adjust the height by working more or fewer rounds.
- Skill Level: Advanced Beginner / Intermediate. Familiarity with slip stitches, chain spaces, and reading your stitches will be very helpful.
Special Stitches
Cluster Stitch (2-st cluster): Insert hook into indicated stitch, yarn over and pull up a loop (2 loops on hook). Insert hook into the next indicated stitch, yarn over and pull up a loop (3 loops on hook). Yarn over and pull through all 3 loops on hook. Always chain 1 after each completed cluster stitch.
Pattern Instructions
Foundation and Setup
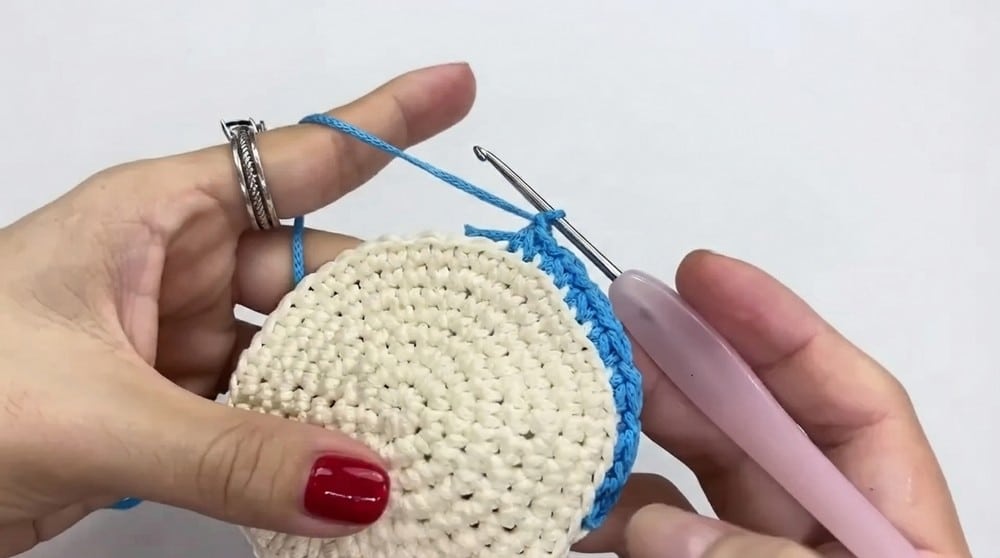
Complete the base of your project (oval, round, rectangle as needed). Switch to your desired color if making a color change. Join yarn at the edge of the base. Ch 1 to begin the side pattern.
Row 1: First Round of Cluster Stitches
Work into the BACK LOOP ONLY (bl) of each stitch around the edge of the base:
[Cluster Stitch]: Insert hook into the next st (bl only), yarn over, pull up a loop. Insert into the following st (bl only), yarn over, pull up a loop (3 loops on hook). Yarn over and pull through all 3 loops. Ch 1.
Repeat cluster stitch followed by ch 1 all the way around the base. At the end of the round, join with a sl st to the first cluster stitch.
Row 2 and All Subsequent Rows: Establish the Cluster Pattern
Ch 1 to begin a new round.
First Cluster of Row: Insert hook into same hole as the ch-1 just made, yarn over, pull up a loop. Insert hook into the next ch-1 space (from previous round), yarn over, pull up a loop (3 loops on hook). Yarn over, pull through all 3 loops. Ch 1.
Continue Around: Insert hook into the large space just used by your last cluster (the same one your previous cluster ended in), pull up a loop. Insert into the next ch-1 space, pull up a loop (3 loops on hook). Yarn over, pull through all 3 loops. Ch 1.
Repeat this pattern: cluster stitch → ch 1.
End of Each Round: Join with a sl st to the starting cluster stitch or the ch-1 at the beginning of the round. Ensure the pattern aligns with round edges.
Continue in Pattern: Work as many rounds as needed to achieve the required height for your bag or bottle holder.
Assembly
Once the desired height is reached, fasten off your yarn and weave in all loose ends securely with a tapestry needle. If you wish to add a handle, edging, or reinforcement, do so according to your project’s purpose. Your finished item will have a beautifully textured, geometric look ideal for modern, functional accessories.
Tips
- For a stiffer fabric that holds its shape well, use the smaller hook size (2.5mm) with your chosen yarn.
- If you want a softer, drapier bag, opt for the larger hook (3.5mm).
- Mark the first stitch of each round with a stitch marker to keep your pattern aligned.
- When working into the ch-1 spaces, be sure to insert your hook under the entire chain, not just one loop, for a more secure stitch.
FAQs
Can I use a different yarn weight for this pattern?
Yes, you can substitute any sturdy yarn suitable for bag projects. Just adjust your hook size to match the yarn thickness, and be aware that the finished size and gauge will change accordingly.
How do I make the bag taller or shorter?
Simply work more or fewer rounds of the cluster pattern. The pattern repeat is consistent, so you can easily customize the height to fit your bottle or project needs.
Do I need to make a specific base shape first?
No, this pattern is designed to work with any base shape—oval, circular, or rectangular. The first round of clusters is worked into the back loop only of the base edge.
Can I change colors in the middle of the project?
Absolutely. You can switch colors at the beginning of any round for a striped or color-blocked effect. Simply join the new color with a slip stitch at the start of a round.
How do I add a handle to my finished bag?
After fastening off and weaving in ends, you can sew or crochet a handle onto the top edge. Options include a simple chain strap, a fabric strap, or a leather handle attached with stitches or rivets.
Why is my fabric curling or not lying flat?
This is common with cluster stitches worked in the round. Ensure you are working into the correct ch-1 spaces and not skipping any. If curling persists, try using a slightly larger hook size for a looser fabric.
Pin This Crochet Pattern!