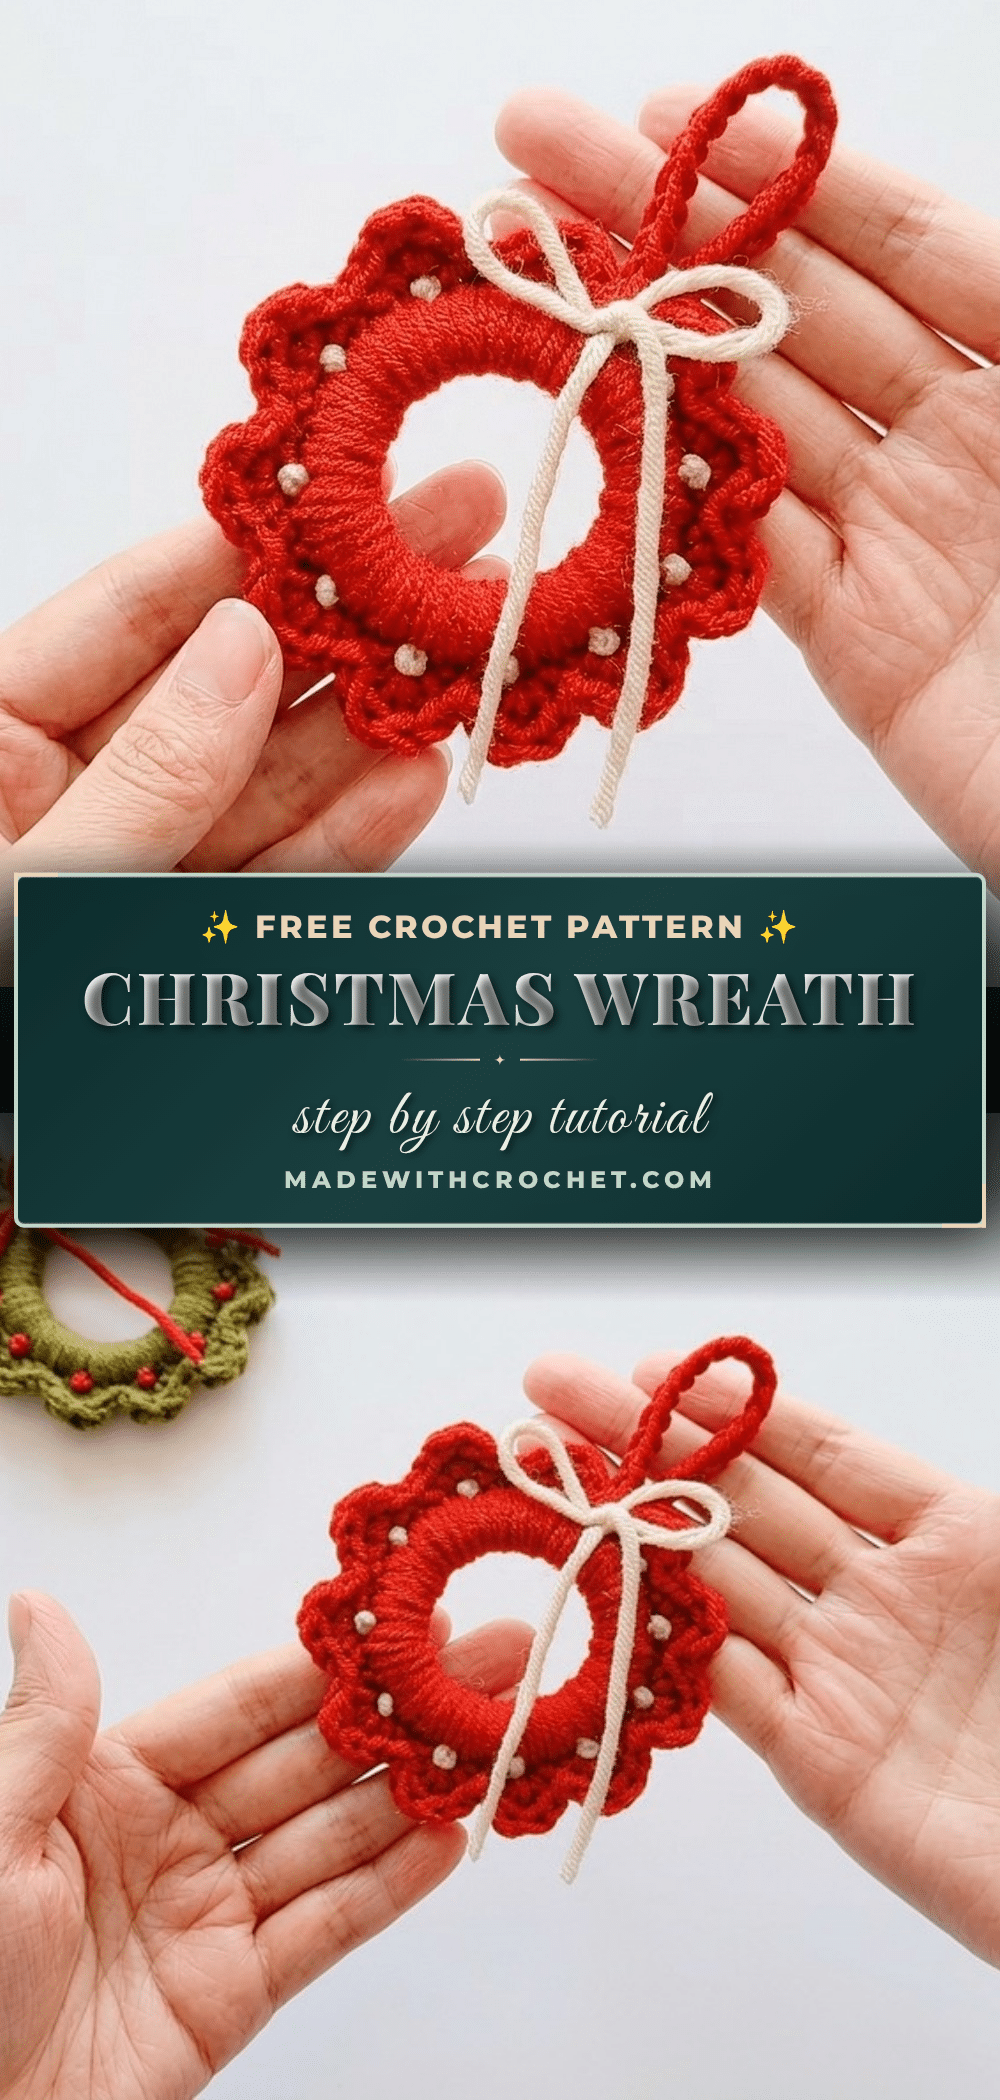
You’ll love how this crochet Christmas wreath turns out—it’s cute, giftable, and display-worthy all at once. The plush, layered texture mimics real evergreen boughs, and the circular form holds up beautifully on your door or wall. Whether you’re making it for your own home or as a heartfelt gift, this pattern delivers a cozy, festive charm that feels both personal and polished.
Why the Finished Piece Stands Out
What makes this wreath special is the clever combination of finger weaving and basic crochet stitches. The looped base creates a soft, dimensional foundation, while the repeating stitch pattern adds a rich, textured look. The hand-sewn knot embellishments and small bow give it a handmade touch that’s both elegant and whimsical. Plus, you can easily customize the colors to match your holiday decor—go classic with greens and reds, or try metallics or pastels for a fresh twist.
Project Overview
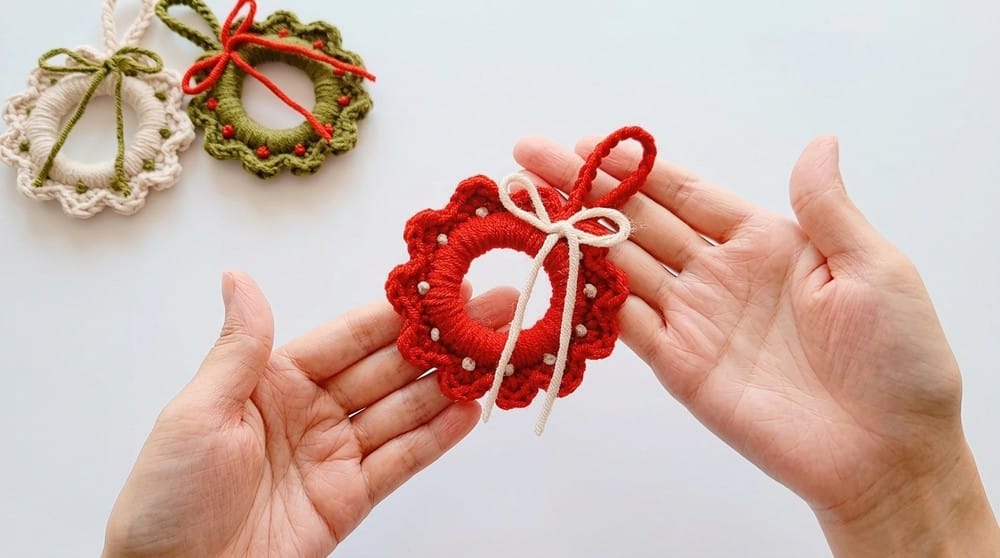
This pattern guides you through creating a circular loop base using finger weaving, then working single crochet, double crochet, and slip stitches around it in rounds. You’ll add a hanging cord, hand-sewn knot embellishments, and a small decorative bow. The result is a soft, textured wreath that’s perfect for doors, walls, or holiday tablescapes.
Materials
- Medium weight yarn for wreath base (any color you like)
- Beige thread (or contrasting color) for embellishments
- Crochet hook (4.0 – 5.0 mm recommended)
- Yarn needle for sewing and weaving ends
- Scissors
Gauge and Finished Size
Finished Size: Approximately 20–25 cm (8–10 inches) in diameter, depending on your yarn and wrapping tightness.
Gauge: Not specified in the source. Final size depends on your wrapping tension and yarn thickness.
Abbreviations
- ch – Chain
- sc – Single Crochet
- dc – Double Crochet
- sl st – Slip Stitch
Pattern Notes
- Keep your wrapping loose for a smooth circular base.
- Total stitches worked should be a multiple of 4 to ensure an even, repeating pattern around the wreath.
- Embellishment stitches are sewn by hand for a personal touch.
- Final wreath size depends on your wrapping tension and yarn thickness.
- Use a yarn needle and scissors for neat finishing.
Pattern Instructions
Step 1: Create the Loop Base
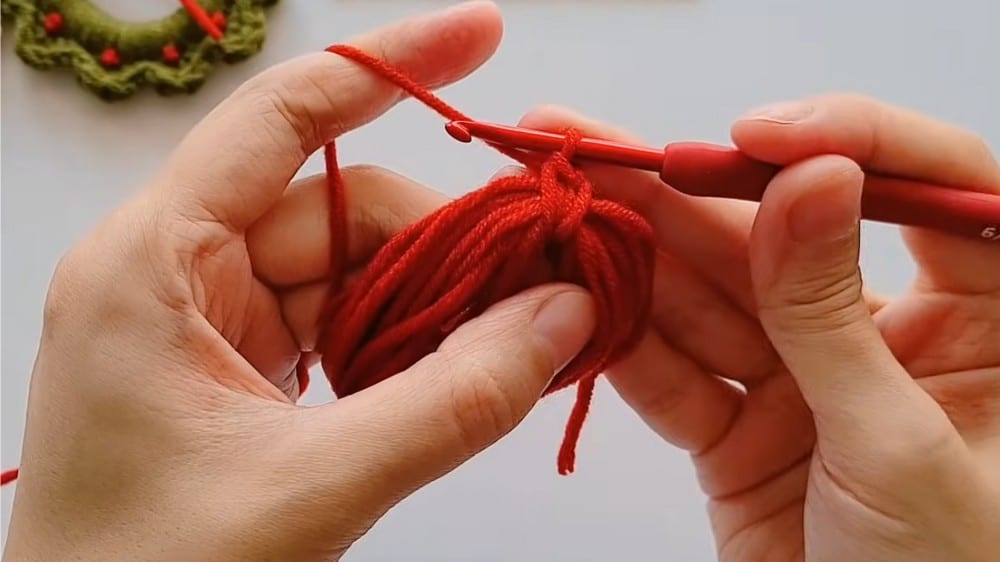
Wrap the yarn 20 times around your finger loosely to create loops. Continue the yarn inside the loop, keeping the loops loose but secure. Slip one stitch onto your crochet hook to begin working around the loops.
Step 2: Join and Prepare for Crocheting Round 1
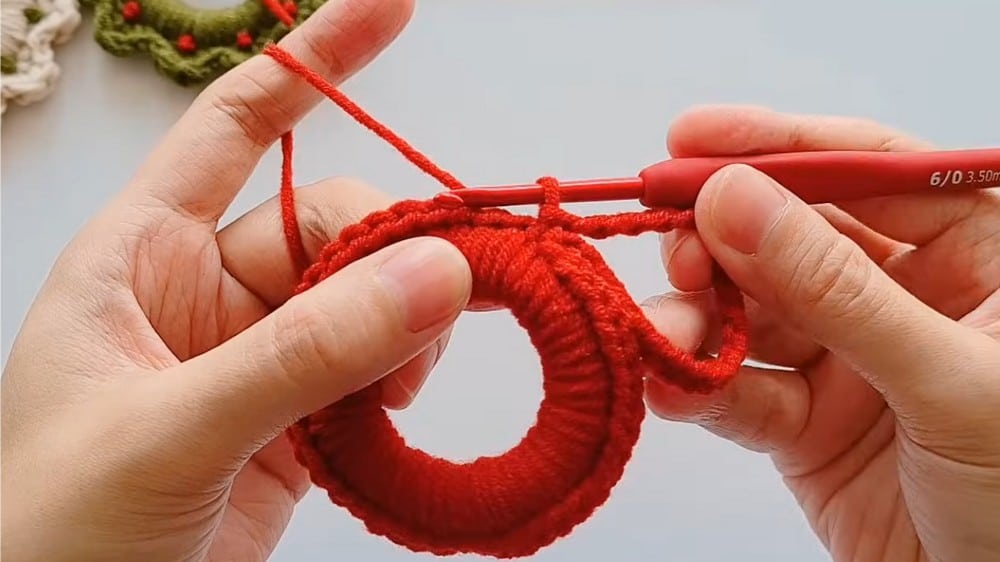
Ensure the loops are not twisted and join the first and last chain with a slip stitch (sl st) to form a ring. Remember: the number of stitches must be a multiple of 4 for the stitch pattern to fit evenly.
Step 3: Round 1 – Single Crochet Stitch Around Loops
Chain 1 (does not count as stitch). Work 1 single crochet (sc) into each loop around the ring. Total stitches this round = number of loops (e.g., 20 stitches).
Step 4: Create the Hanging Cord Base
After finishing Round 1, weave a hanging cord by locking 20 stitches (or same number as your base loops). Attach yarn at the starting point with a slip stitch (sl st).
Step 5: Round 2 – Pattern Stitch Formation
This pattern repeats in groups of 4 stitches.
- Skip 1 stitch.
- In the next stitch: Work 1 single crochet (sc), work 2 double crochets (dc) in the same stitch (cluster), work 1 single crochet (sc) immediately after the double crochets.
- Skip 1 stitch.
- Work 1 slip stitch (sl st) in the next stitch.
- Repeat this group until the round is complete.
Step 6: Repeat the Stitch Pattern
Continue repeating the pattern described in Step 5 (groups of 4 stitches) around the wreath for the second loop round. Make sure your stitch count remains consistent.
Step 7: Finishing the Second Round
After completing the second round, cut the yarn. Weave the yarn ends securely into the back of the work to hide them.
Step 8: Adding Embellishments with Knot Stitches
Take a piece of beige thread (or contrasting color). Thread a yarn needle and insert it into the starting end of the wreath base. Pass the needle through the center of the first stitch group on the wreath (middle of cluster). Tie a small knot stitch securely. Continue by threading the needle through the centers of each consecutive stitch group, tying knot stitches evenly across the wreath. Repeat until you have embellished all the stitch groups.
Step 9: Final Decorative Touch – The Bow
Tie a small bow from yarn or ribbon. Attach it firmly to your wreath in the position you prefer (top or side).
Assembly
- Ensure the loops are not twisted and join the first and last chain with a slip stitch (sl st) to form a ring. Remember: the number of stitches must be a multiple of 4 for the stitch pattern to fit evenly.
- After completing the second round, cut the yarn. Weave the yarn ends securely into the back of the work to hide them.
Once complete, your wreath will measure approximately 20–25 cm (8–10 inches) in diameter. Use the crocheted hanging cord to place it easily on doors, walls, or windows.
Tips
- Keep your wrapping loose for a smooth circular base.
- Use a yarn needle and scissors for neat finishing.
- Embellishment stitches are sewn by hand for a personal touch.
FAQs
Can I use a different yarn weight for this wreath?
Yes, but keep in mind that the finished size and texture will change. Medium weight yarn is recommended for the best results.
How do I make the wreath larger or smaller?
Adjust the number of loops in the base (Step 1) and ensure the total stitches remain a multiple of 4. Your wrapping tension also affects the final size.
What if my stitch count isn’t a multiple of 4?
The pattern requires a multiple of 4 for the stitch repeats to fit evenly. If your count is off, adjust by adding or skipping stitches in Round 1.
Can I skip the finger weaving and use a different base?
The finger weaving creates the unique looped foundation. If you prefer, you can try a magic ring or chain ring, but the texture may differ.
How do I attach the bow securely?
Use the same yarn or thread to sew the bow directly onto the wreath, stitching through the back of the bow and into the wreath base. Tie a knot and weave in the ends.
Is this pattern suitable for a complete beginner?
It’s rated Beginner to Intermediate. If you know basic stitches (ch, sc, dc, sl st) and are comfortable with finger weaving, you can complete this project with patience.
Pin This Crochet Pattern!