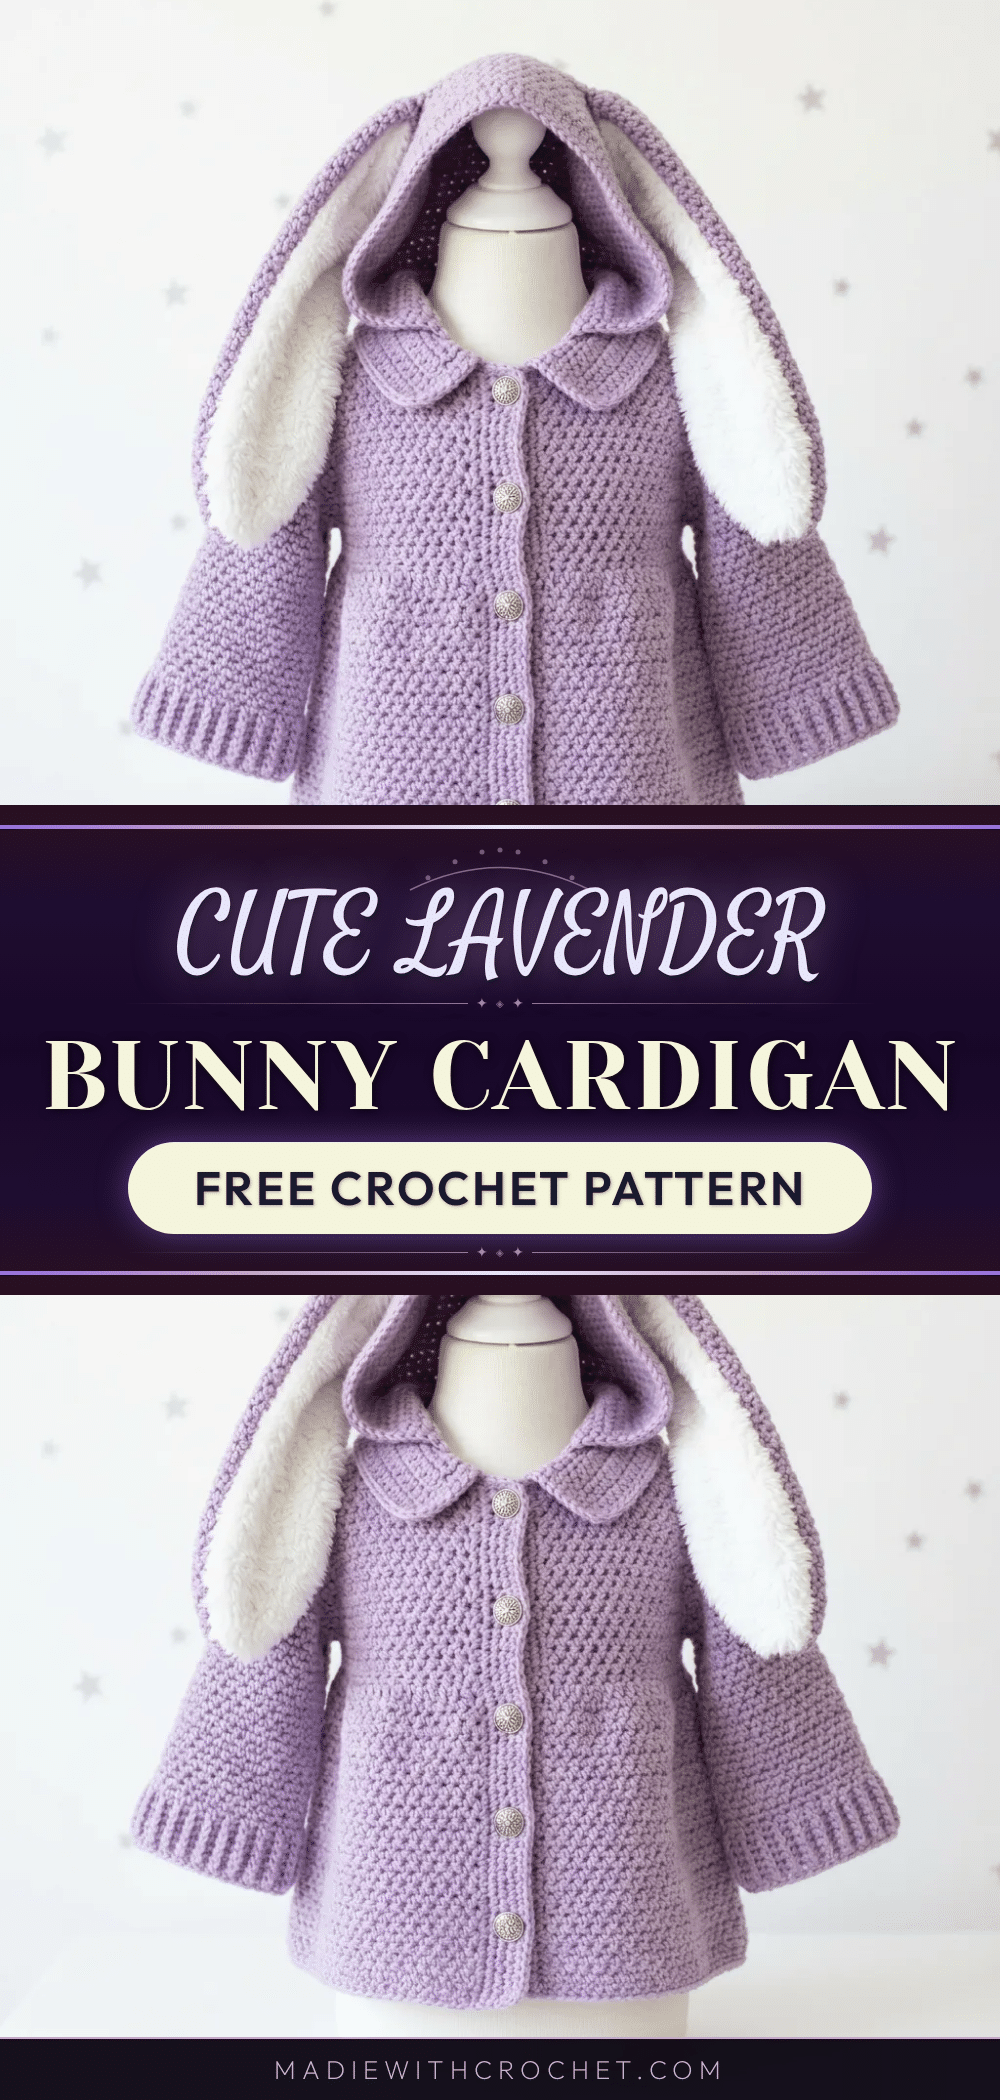
Have you ever started a garment project only to realize halfway through that your tension is slightly off, or that you are unsure how to read the stitch counts? It is a very common worry for crocheters, especially when tackling a top-down cardigan. The good news is that this Lavender Lop Ear Bunny Cardigan is designed to be forgiving and clear. The instructions break down complex-looking elements into manageable steps, and the stitch patterns are repetitive and easy to memorize. You can absolutely make this heirloom-quality piece even if you are still building your confidence with measurements and seams.
Maker Notes
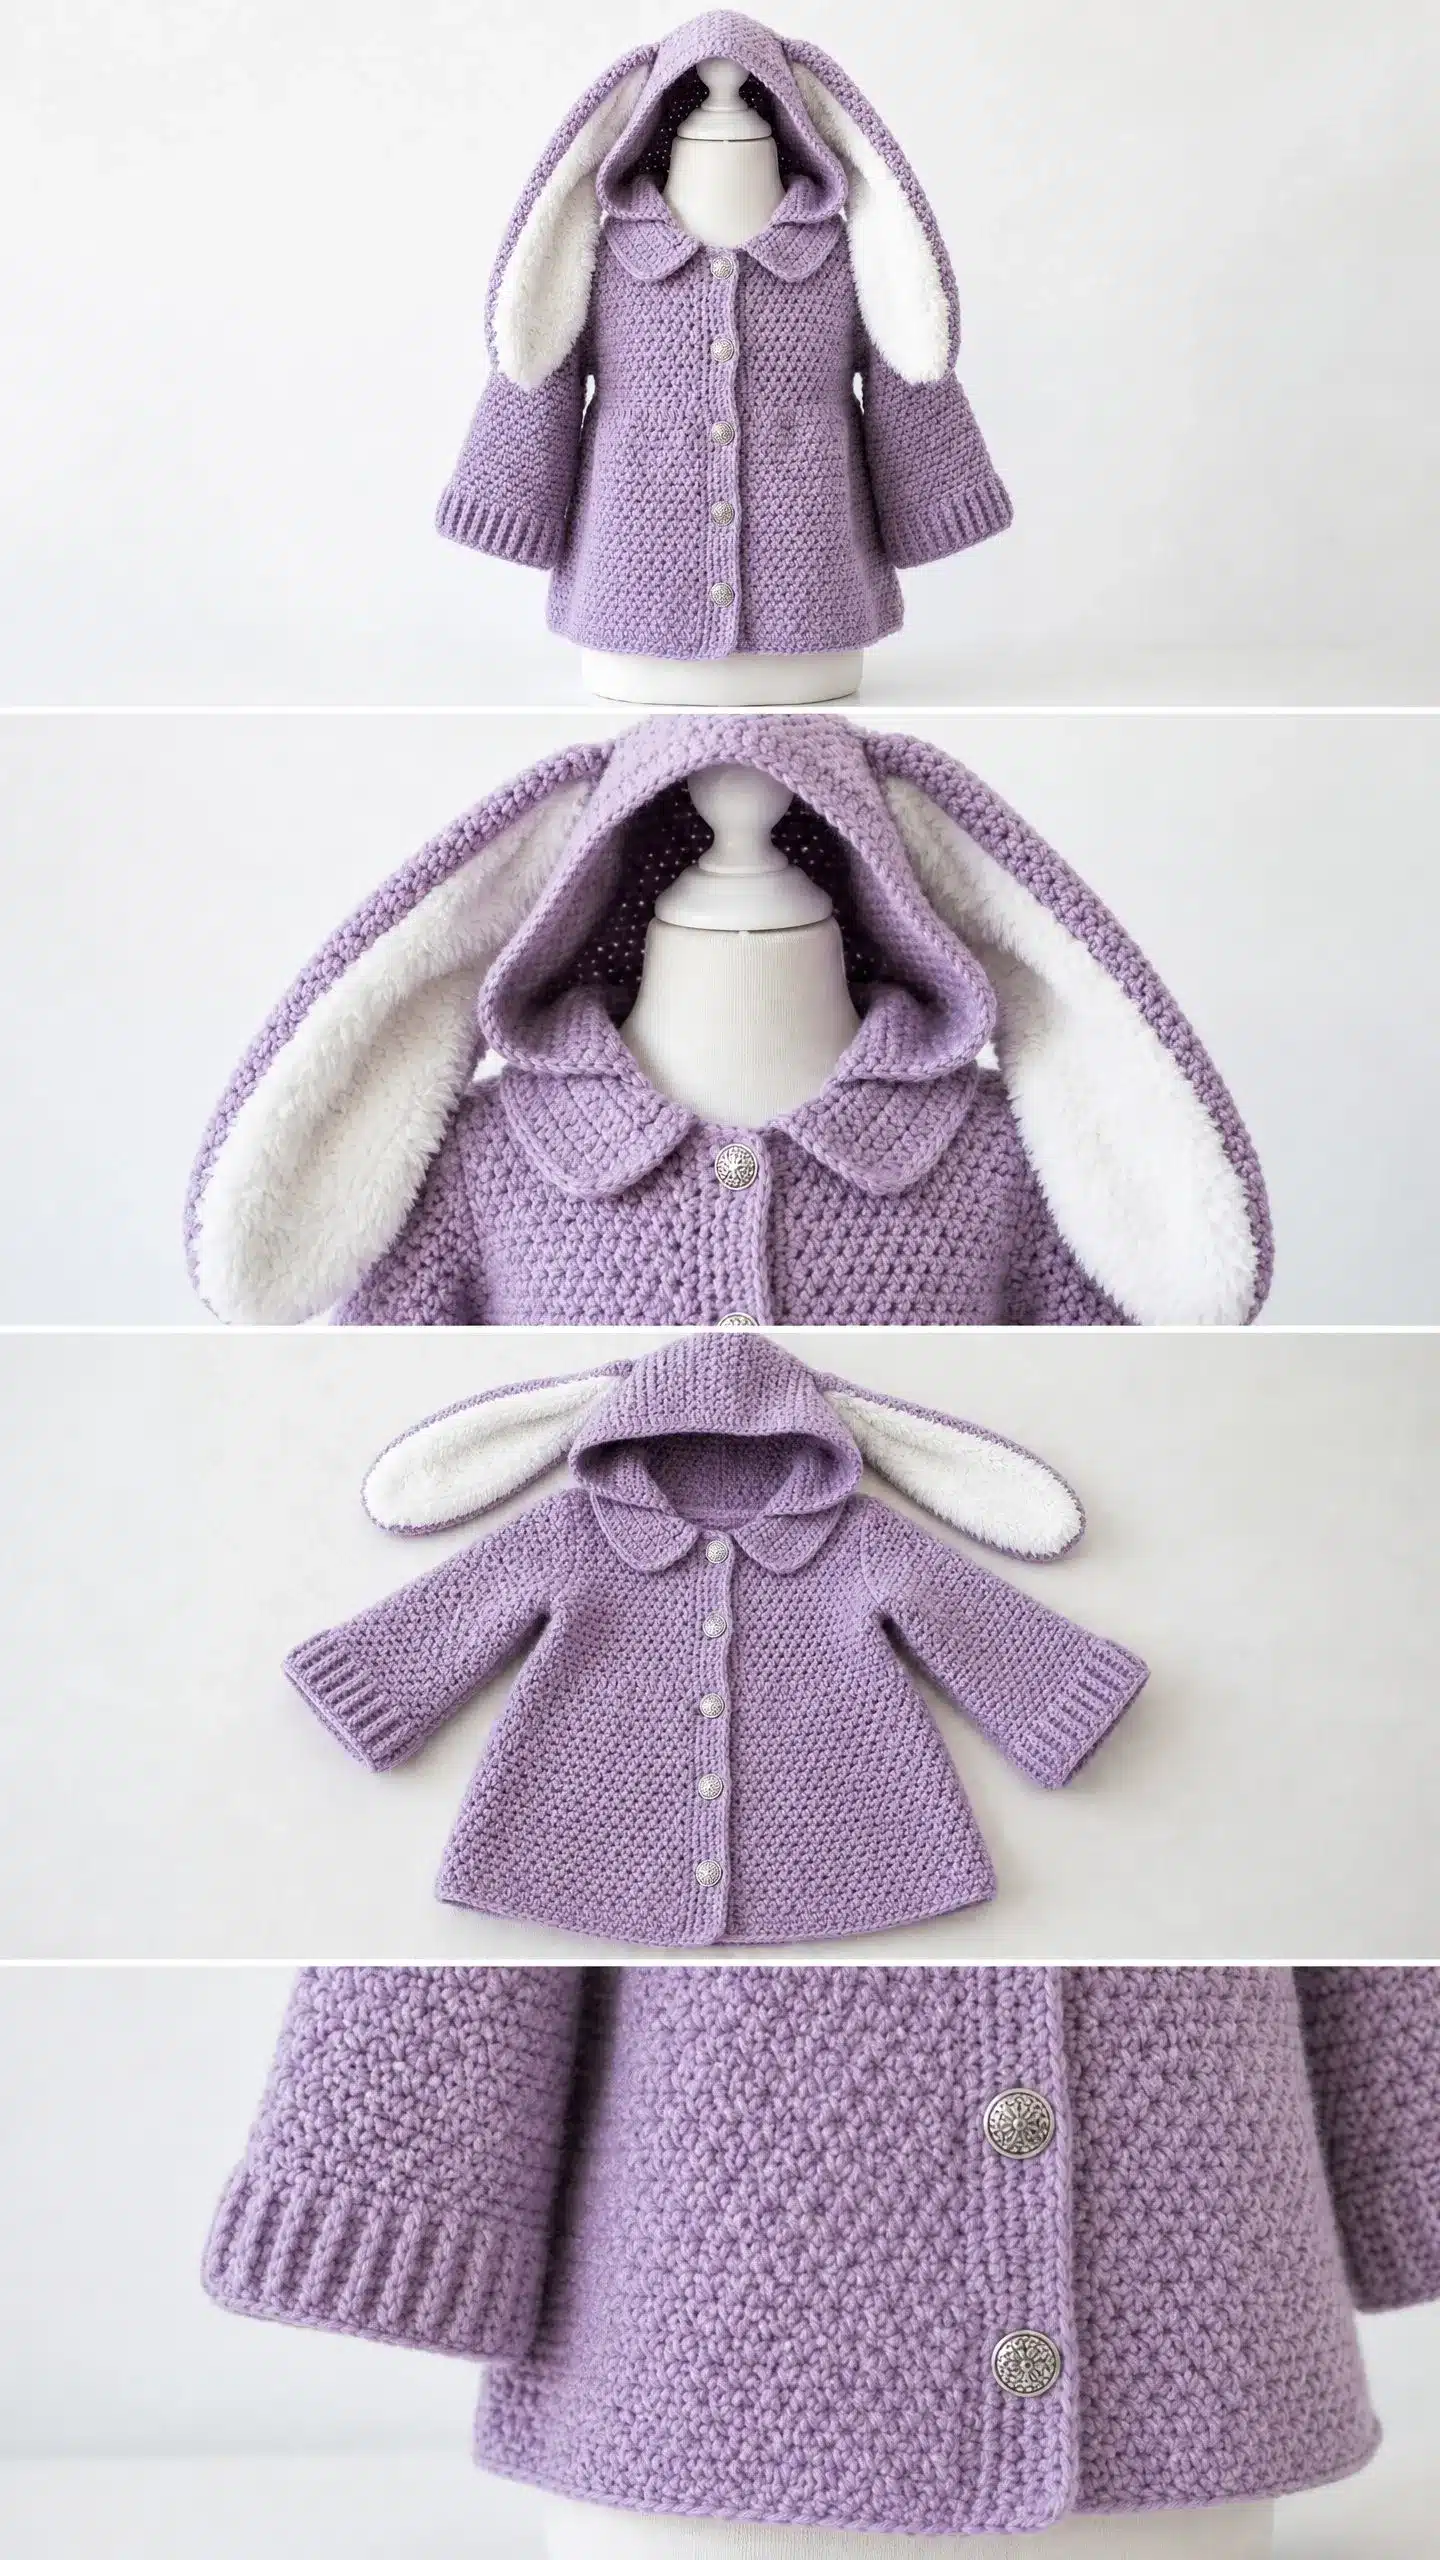
There is something undeniably magical about a cardigan that transforms a toddler into a cuddly bunny. The design relies on the contrast between the structured, woven look of the main body and the soft, plush texture of the ear linings. I chose a soft lavender for the main color to keep it gender-neutral and sweet, but this pattern works beautifully with any pastel or primary color you prefer. The “lop ear” design is particularly charming because the ears are worked flat and then folded, giving them a natural, relaxed drape that sits perfectly on the hood. When you see the finished piece with the Peter Pan collar and those decorative silver buttons, you will understand why this is such a crowd-pleaser for Easter, baby showers, or just a cozy spring day.
Project Overview
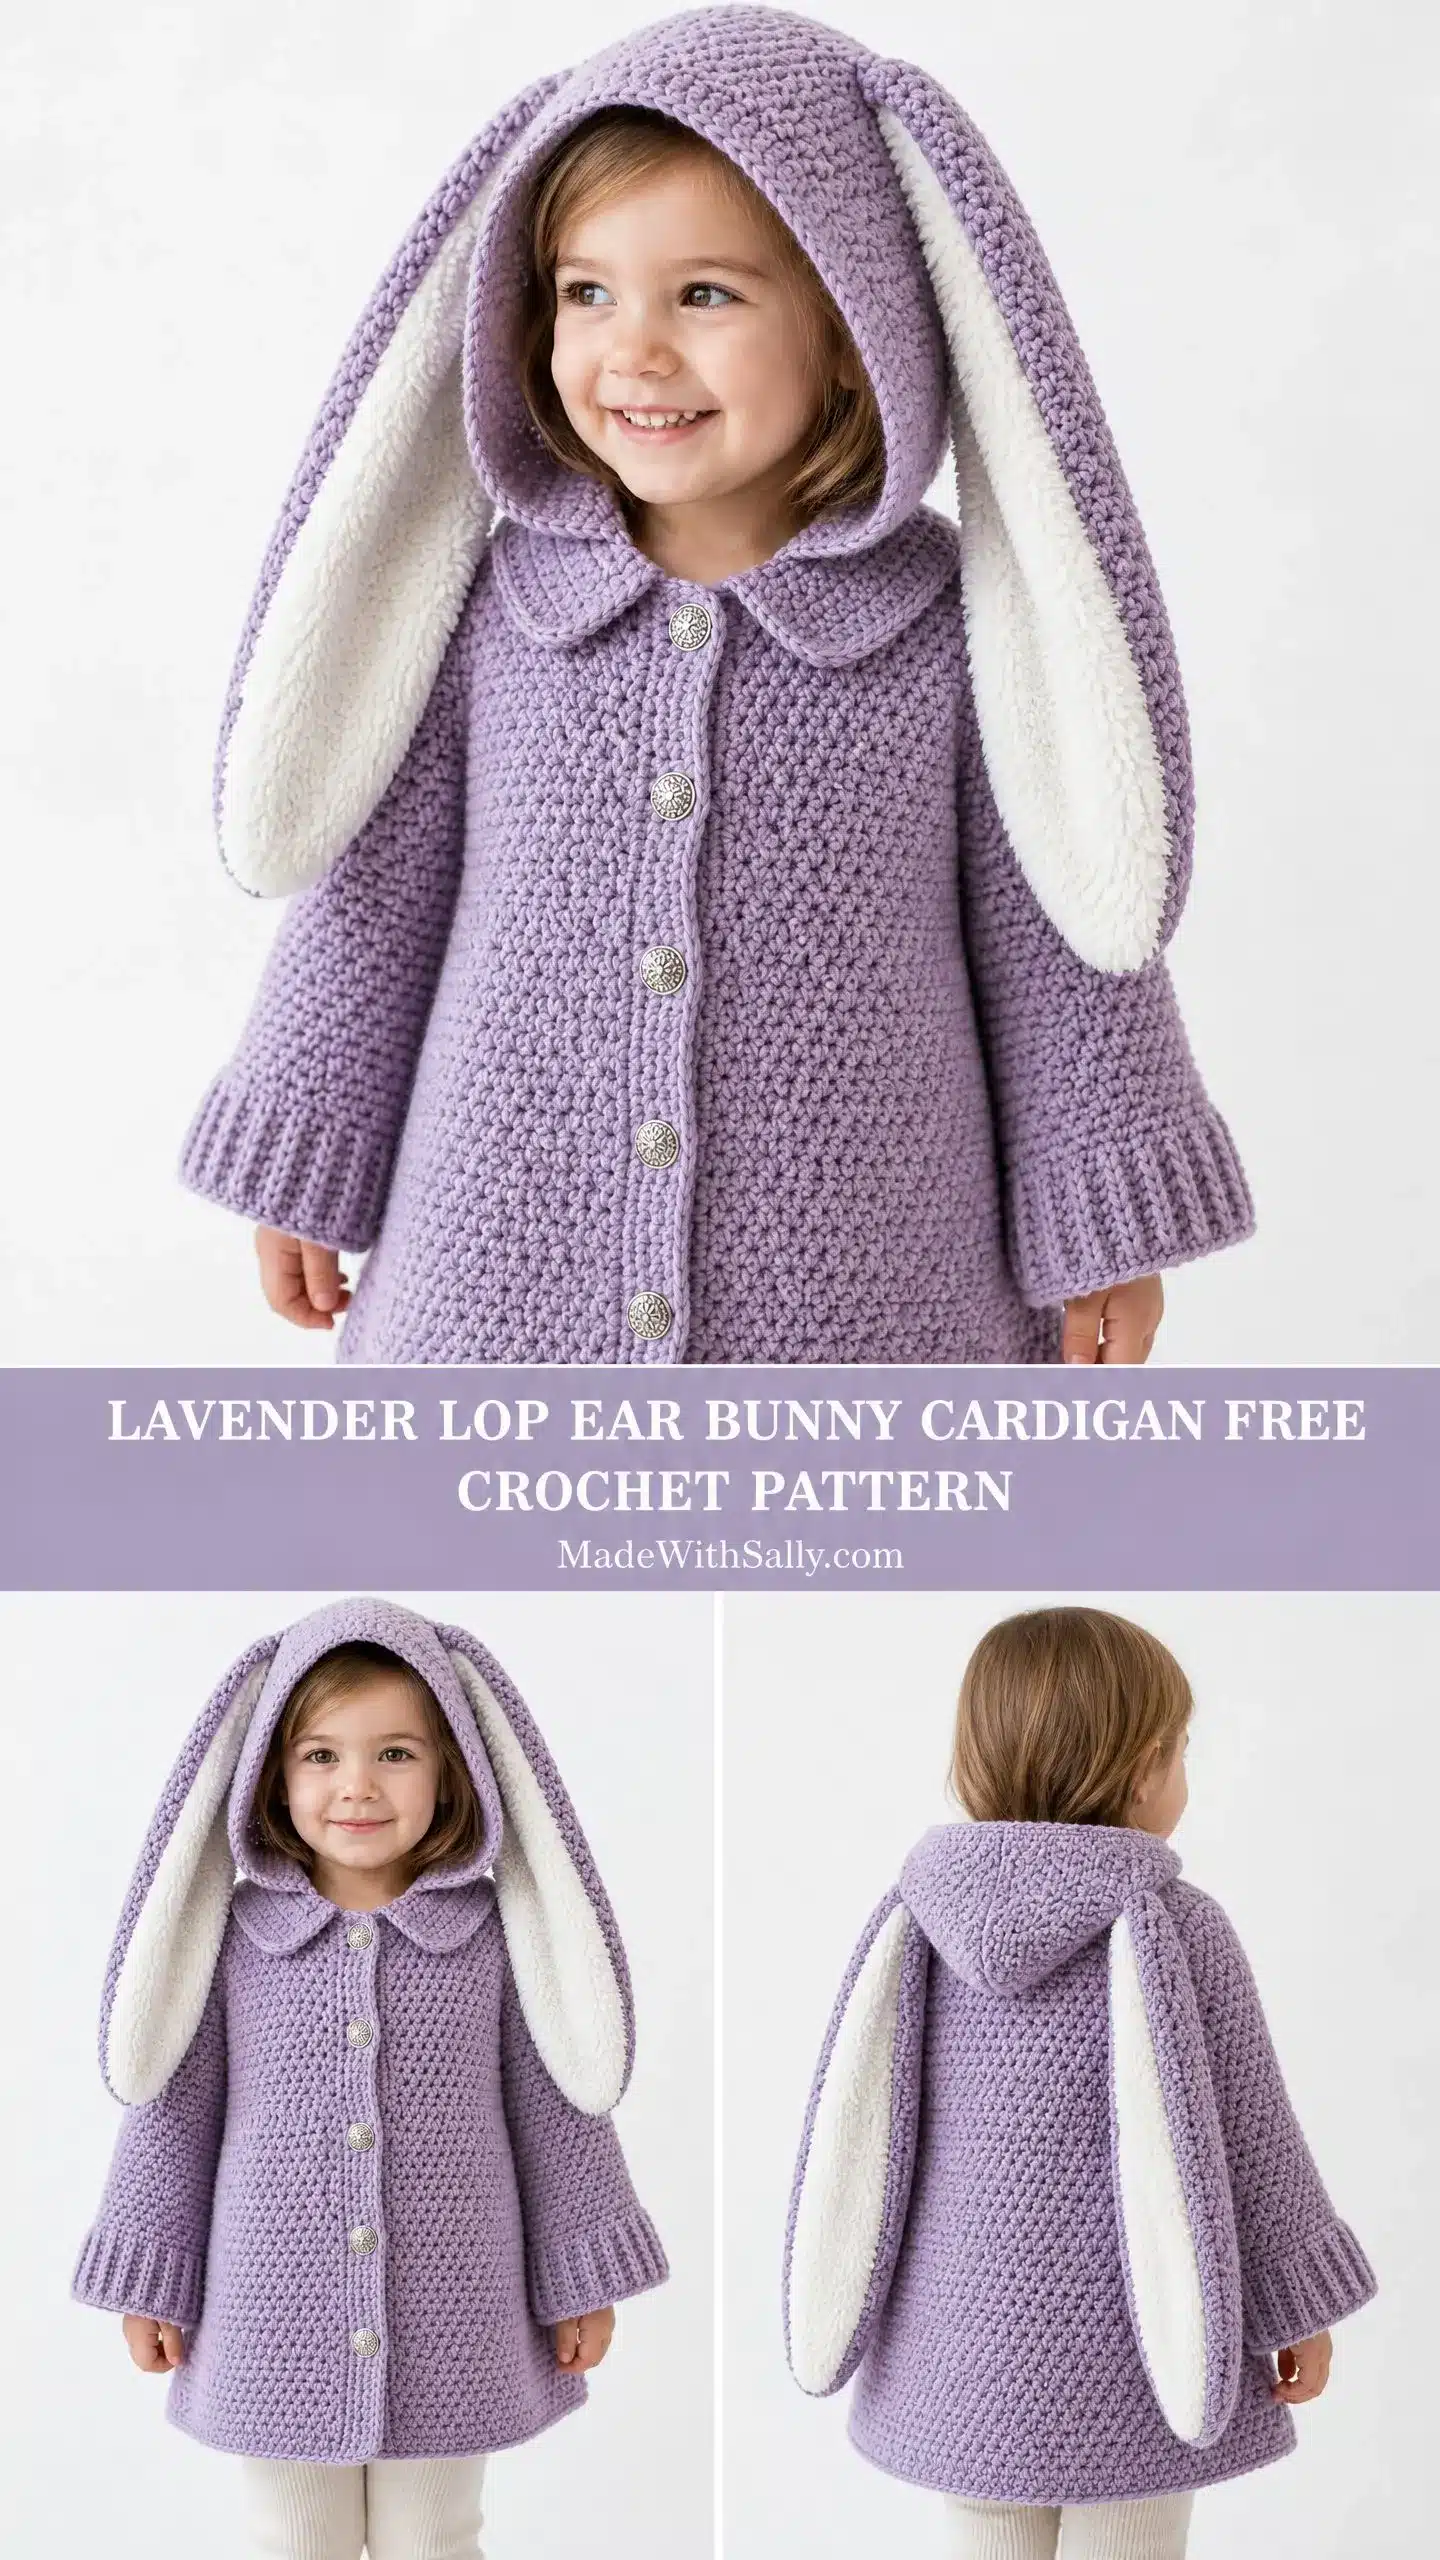
This cardigan is designed for toddlers and young children, with sizes ranging from 12-18 months up to 4T. The construction moves from the top down, which means you start at the neckline and work your way to the hem. You will work the yoke first, then separate the sleeves onto holders, complete the body, and add all the fun embellishments last. The main texture throughout the body comes from an offset half double crochet (OHdc) stitch that creates a subtle woven or basketweave look. It sounds fancy, but it is just a simple variation of a stitch you probably already know.
Skill Level and Time
Skill Level: Intermediate. You should be comfortable working in rows and rounds, following stitch counts carefully, and sewing seams neatly. Nothing here requires advanced techniques, just attention to detail.
Time Estimate: Approximately 14 to 20 hours total, including all finishing.
Finished Measurements
The pattern is written for size 2T with changes for other sizes noted in parentheses in this format: 12-18 months (2T, 3T, 4T). When only one number appears, it applies to all sizes.
- 12-18 months: Chest 20 in / 51 cm, Length 13 in / 33 cm, Sleeve 7 in / 18 cm
- 2T: Chest 22 in / 56 cm, Length 14.5 in / 37 cm, Sleeve 8 in / 20 cm
- 3T: Chest 24 in / 61 cm, Length 15.5 in / 39 cm, Sleeve 8.5 in / 22 cm
- 4T: Chest 25.5 in / 65 cm, Length 16.5 in / 42 cm, Sleeve 9 in / 23 cm
The garment is designed with approximately 1.5 to 2 inches of positive ease at the chest for a comfortable, roomy fit.
Materials Needed
Yarn
- Main Color (MC): Worsted weight yarn (weight category 4), approximately 600 (700, 800, 900) yards in soft lavender.
- Contrast Color (CC): White or cream bulky-weight plush or bouclé yarn, approximately 80 (90, 100, 110) yards for ear linings. You can also substitute white sherpa or minky fabric cut to shape and hand-sewn in place.
Yarn Suggestions
- Lion Brand Vanna’s Choice in Dusty Purple works beautifully with excellent stitch definition.
- Paintbox Yarns Simply DK held double creates a softer hand.
- WeCrochet Wool of the Andes Worsted in Clarity Heather or Amethyst Heather for an heirloom quality result.
Hooks
- US size J-10 / 6.0 mm for main body.
- US size I-9 / 5.5 mm for ribbed cuffs and collar.
Notions
- Yarn needle for seaming.
- Stitch markers, at least 6.
- Five decorative silver shank buttons, approximately 5/8 in / 16 mm diameter.
- Sewing needle and matching thread for buttons.
- Optional: small amount of white felt or sherpa fabric for ear linings if not using CC yarn.
Gauge
Getting gauge right is mandatory for this garment. Even half a stitch per inch difference will significantly affect the chest measurement over 100+ stitches. Make and measure a 6-inch swatch before beginning. Trust me on this one!
- With MC and J-10 / 6.0 mm hook in offset half double crochet stitch pattern: 14 stitches and 12 rows = 4 inches / 10 cm, blocked.
- With MC and I-9 / 5.5 mm hook in back-loop-only single crochet ribbing: 16 stitches and 18 rows = 4 inches / 10 cm.
Abbreviations
Let me define every abbreviation you will encounter. If you are newer to crochet, bookmark this section.
- beg = beginning
- BLO = back loop only (working into just the back loop of the stitch instead of both loops)
- ch = chain (the foundation stitch that creates a string of loops)
- ch-sp = chain space
- dc = double crochet (yarn over, insert hook, pull up loop, yarn over and pull through 2 loops twice)
- hdc = half double crochet (yarn over, insert hook, pull up loop, yarn over and pull through all 3 loops)
- hdc2tog = half double crochet 2 together, a decrease stitch
- inc = increase (2 stitches worked in same stitch)
- MC = main color
- CC = contrast color
- pm = place marker
- rem = remaining
- rep = repeat
- rnd = round
- RS = right side (the public-facing side of your work)
- sc = single crochet (insert hook, pull up loop, yarn over and pull through both loops)
- sc2tog = single crochet 2 together, a decrease
- sk = skip
- sl st = slip stitch
- sm = slip marker
- sp = space
- st(s) = stitch(es)
- t-ch = turning chain
- tog = together
- WS = wrong side (the inside of your work)
- yo = yarn over
Special Stitches Explained
Offset Half Double Crochet (OHdc)
This stitch creates the beautiful woven texture you see throughout the cardigan body and hood. Instead of inserting your hook into the top two loops of the stitch below, you insert it into the gap between stitch posts.
- Foundation Row: Chain the required number plus 1. Work 1 hdc in 3rd chain from hook and in each chain across. Turn.
- All Following Rows: Ch 1 (this does not count as a stitch throughout the entire pattern). Insert hook into the gap between the current stitch post and the next stitch post. Yarn over, pull up a loop, yarn over, pull through all 3 loops. Work across to the last stitch, then insert hook under both loops of the last stitch to maintain a clean edge. Turn. The turning chain of ch 1 is never counted as a stitch. Always work your first stitch into the first stitch at the base of the chain.
Back-Loop-Only Single Crochet Rib (BLO-sc rib)
This creates the stretchy vertical ribbing used for the cuffs.
- Chain the required number. Work 1 sc in 2nd chain from hook and in each chain across. Turn.
- All Following Rows: Ch 1, work 1 sc in BLO of each stitch across. Turn.
Hdc2tog (Half Double Crochet 2 Together)
This is your decrease stitch.
- Yarn over, insert hook into next stitch, yarn over, pull up a loop (3 loops on hook).
- Yarn over, insert hook into following stitch, yarn over, pull up a loop (5 loops on hook).
- Yarn over, pull through all 5 loops. You have decreased by 1 stitch.
Sc2tog (Single Crochet 2 Together)
- Insert hook into next stitch, yarn over, pull up a loop.
- Insert hook into following stitch, yarn over, pull up a loop.
- Yarn over, pull through all 3 loops. One stitch decreased.
Pattern Notes Before You Begin
- The cardigan is worked from the top down with the button band integrated along the front opening.
- The body is NOT worked in the round. It stays flat and open at the center front throughout.
- Turning chains do not count as stitches anywhere in this pattern.
- Stitch counts appear in parentheses at the end of each row or round.
- Buttonholes are worked on the left front during the yoke phase.
- The hood is worked separately, seamed at the back, then joined to the neckline.
- The ears are worked flat in two layers, joined, and attached to the hood.
- Always join new yarn at the beginning of a RS row.
Step-by-Step Crochet Pattern Instructions
Yoke
The yoke is worked flat from the neckline down. Raglan increases are placed at 4 points to define two fronts, two sleeves, and one back.
With MC and J-10 hook, chain 43 (47, 51, 55) .
Setup Row (RS): Ch 1, work 1 hdc in 3rd chain from hook and in each chain across. Turn. Stitch count: 41 (45, 49, 53) hdc
Place markers to define raglan sections: Right Front: stitches 1 through 6 (7, 8, 9). Place Marker A.
Buttonhole Row
Buttonholes are worked on the left front during the yoke phase.
Sleeve Separation
Sleeves are separated from the body to allow the torso to continue growing downward.
Body
Continue working body flat in OHdc stitch pattern. Work 4 plain rows after separation.
A-line Flare Increase Row: Work to center of right side seam position, work 2 OHdc into one gap, continue to center of left side seam position, work 2 OHdc into one gap. Turn. 2 sts increased.
Repeat A-line Flare Increase Row every 4th row, 4 (5, 5, 6) times total.
Final body stitch counts: Work plain rows until body measures 8 (9, 9.5, 10) inches from underarm.
Body Hem: Switch to I-9 hook. Work 3 rows of BLO single crochet across all body stitches. Fasten off.
Sleeves
Sleeves are worked separately or joined as per the full pattern instructions.
Hood
The hood is worked separately, seamed at the back, then joined to the neckline.
Ears (Make 2)
Each ear has one MC panel and one CC panel.
Outer Ear (MC): With MC and J-10 hook, chain 13 (13, 15, 15).
Ear Row 1: Ch 1, work 1 OHdc in 3rd chain from hook and each chain across. Turn. 11 (11, 13, 13) sts.
Rows 2 through 6: Work plain OHdc. Turn.
Row 7 (Decrease Row): Ch 1, hdc2tog, work OHdc to last 2 sts, hdc2tog. Turn. 9 (9, 11, 11) sts.
Rows 8 through 10: Work plain OHdc.
Row 11 (Decrease Row): Ch 1, hdc2tog, work OHdc to last 2 sts, hdc2tog. Turn. 7 (7, 9, 9) sts.
Continue until ear measures 10 (10, 11, 11) inches from beginning.
Inner Ear (CC): With CC and J-10 hook, chain 11 (11, 13, 13).
Work in sc, following the same decrease schedule but starting with 9 (9, 11, 11) sts and decreasing to 5 (5, 7, 7) sts.
Joining Ears: Place inner ear centrally on WS of outer ear. Whipstitch around all edges, leaving bottom open.
Ear Attachment: Fold bottom 1 inch of each ear to create a pleat. Position ears approximately 2.5 (2.5, 3, 3) inches apart at the hood crown. Stitch securely.
Peter Pan Collar
The collar is added to frame the neckline.
Front Button Band
The button band is integrated along the front opening.
Assembly
Weave in all ends securely. Fill any gaps at sleeve underarm joins using a figure-eight closure. Wet blocking is strongly recommended. Soak in cool water for 20 minutes, gently press out water, lay flat on blocking mat, pin to finished measurements, and allow to dry 12 to 24 hours. For pure acrylic, steam block by holding a steam iron 0.5 to 1 inch above the surface. Never press directly onto acrylic.
Care Instructions
- For acrylic yarn: Machine wash cold on gentle cycle, tumble dry low.
- For wool or wool blend: Hand wash in cool water with wool wash. Reshape and dry flat.
- Store folded to prevent shoulder stretching.
Tips
I really hope you love making this Lavender Lop Ear Bunny Cardigan as much as I loved designing it! If this pattern is on your to-do list, go ahead and pin it to your crochet board so you can find it when you are ready to cast on. And please, if you make one, drop a comment below or tag me on social media. I would absolutely love to see your version of this sweet little bunny coat!
FAQs
Can I use a different yarn weight?
While the pattern is designed for worsted weight (MC) and bulky plush (CC), you can substitute yarns. However, changing the weight will alter the gauge and finished size significantly. If you change yarn, you must make a gauge swatch and adjust hook sizes accordingly.
How do I fix gaps between the sleeve and body?
It is common to have small gaps at the underarm when separating sleeves. The pattern recommends using a figure-eight closure with a yarn needle to weave the yarn through the stitches on either side of the gap to close it neatly.
What if I don’t have plush yarn for the ears?
You can substitute white sherpa or minky fabric cut to the shape of the inner ear. Simply hand-sew the fabric to the back of the outer ear panel using a whipstitch.
Is the hood attached before or after blocking?
It is generally best to assemble the garment fully, including attaching the hood and ears, before wet blocking. This allows you to pin the entire piece to the correct dimensions while it dries.
How many buttons do I need?
The pattern calls for five decorative silver shank buttons, approximately 5/8 in / 16 mm in diameter. These are placed along the front button band.
Pin This Crochet Pattern!