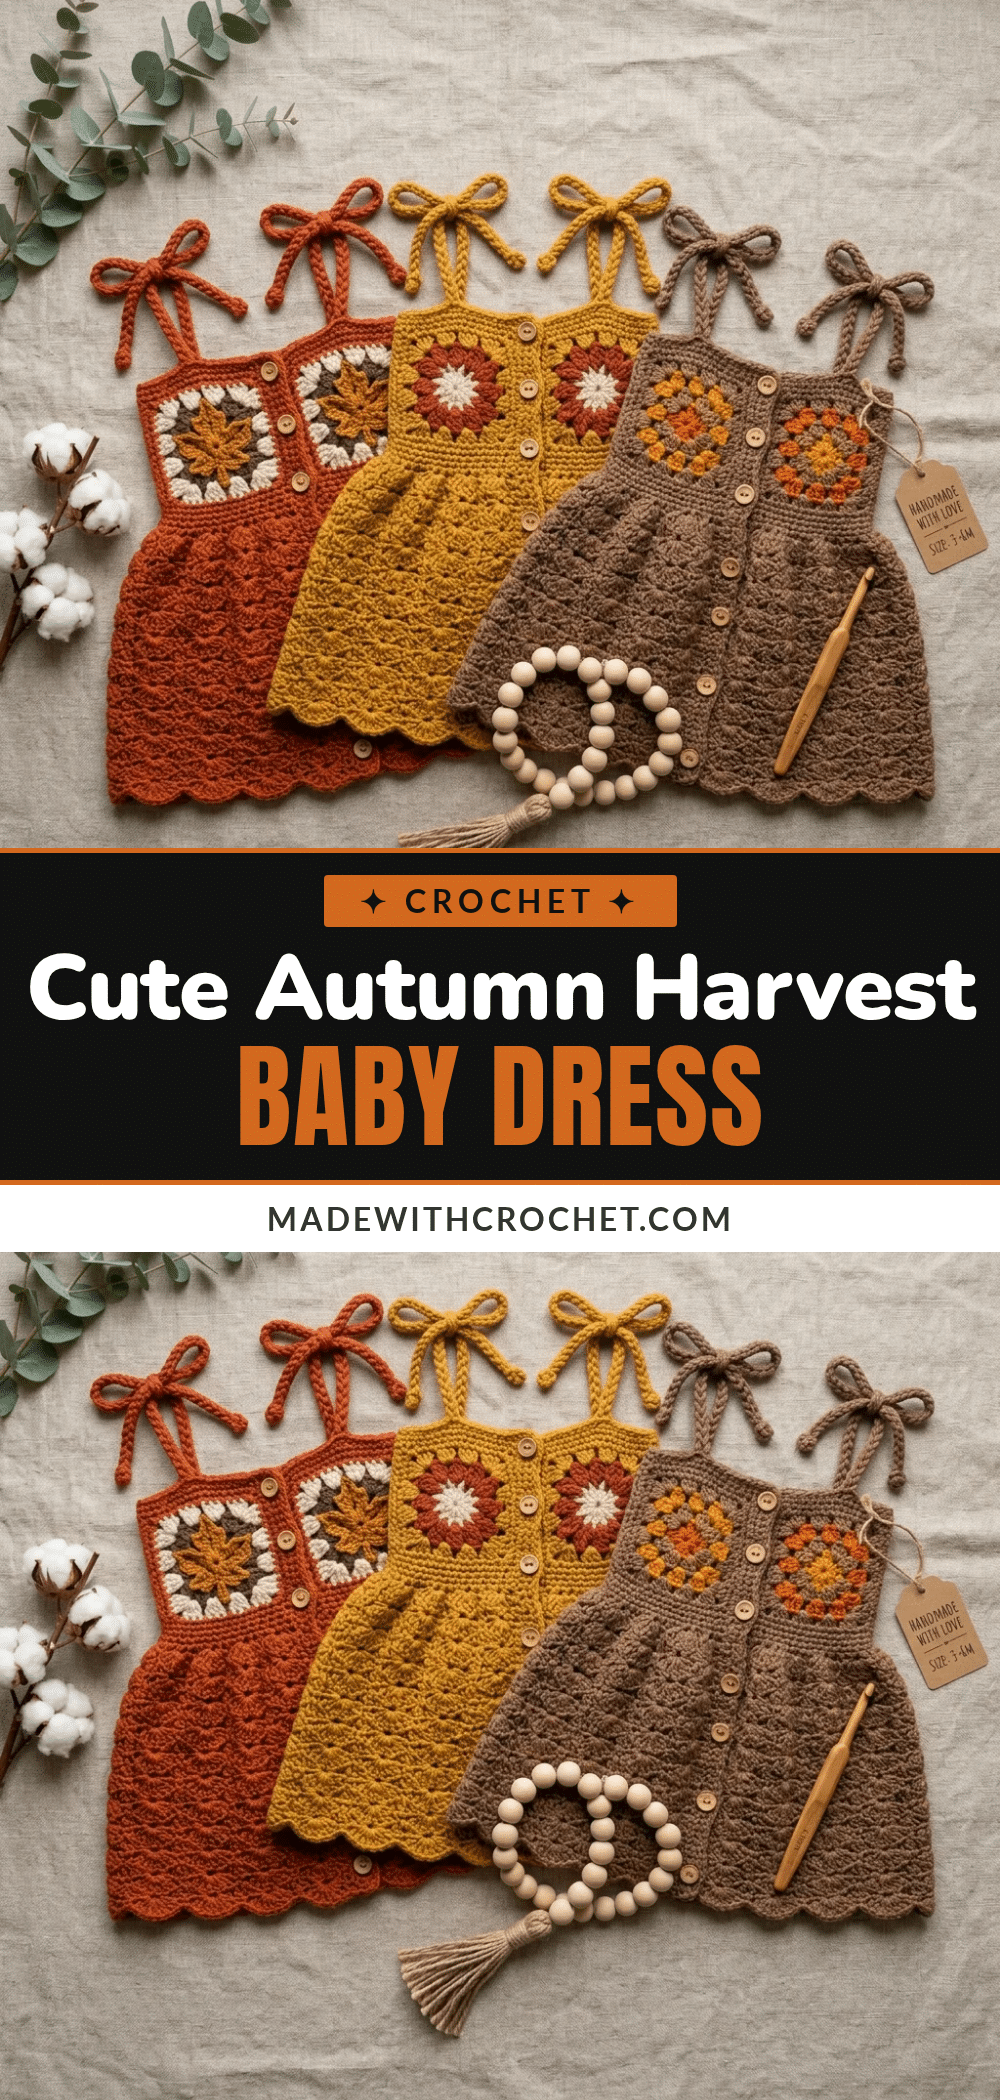
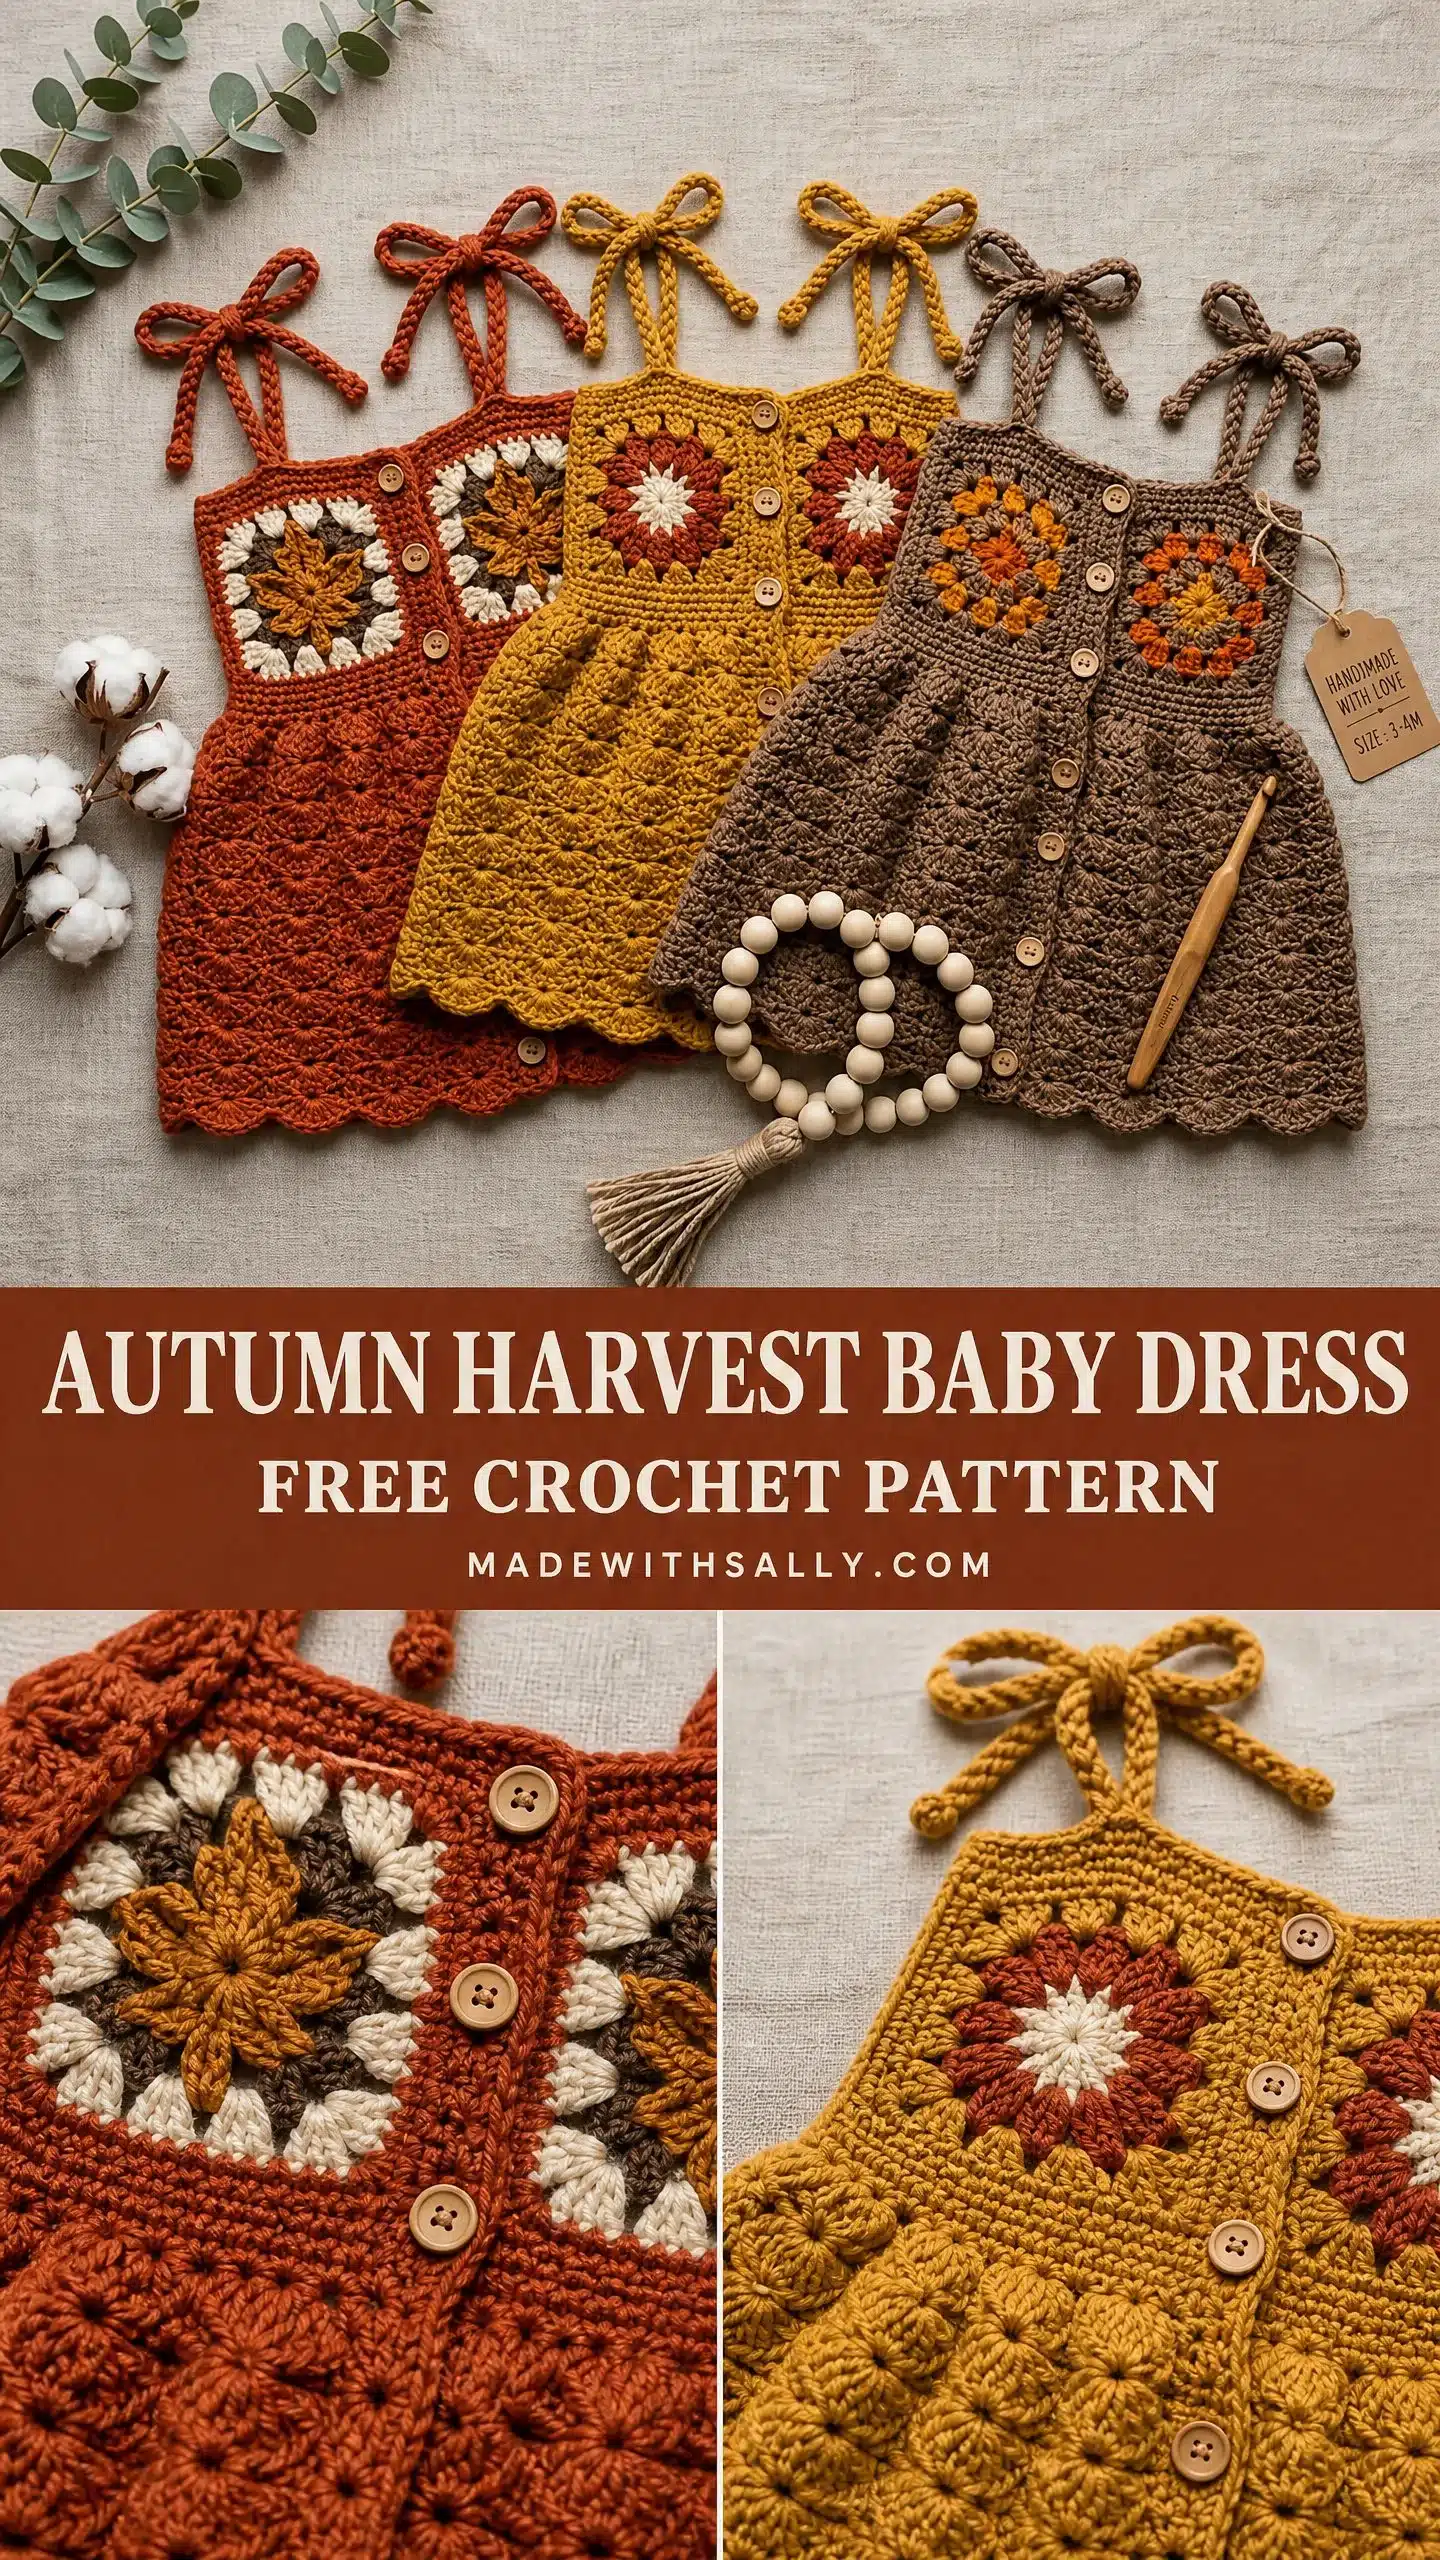
There is something undeniably magical about holding a finished crochet garment that perfectly captures a season. The Charming Autumn Harvest Baby Dress is that perfect blend of cute, useful, and display-worthy. It is tidy enough for a baby shower gift yet has enough vintage charm to be cherished for years. The combination of structured granny square motifs and a flowing shell stitch skirt creates a piece that is as practical as it is adorable, making it a standout addition to any handmade wardrobe.
Why the Finished Piece Stands Out
What makes this dress truly special is how it balances complexity with wearability. The bodice features two distinct granny square motifs that provide a handmade, heirloom quality without requiring you to piece together dozens of tiny squares. These motifs act as the focal point, drawing the eye to the chest area while keeping the construction manageable. The skirt, worked in a beautiful shell stitch, offers natural flare and texture that photographs beautifully. Combined with adjustable tie straps, this dress is not just a photo prop; it is a functional garment that grows with the baby, making it a thoughtful and practical gift for autumn adventures.
Project Overview
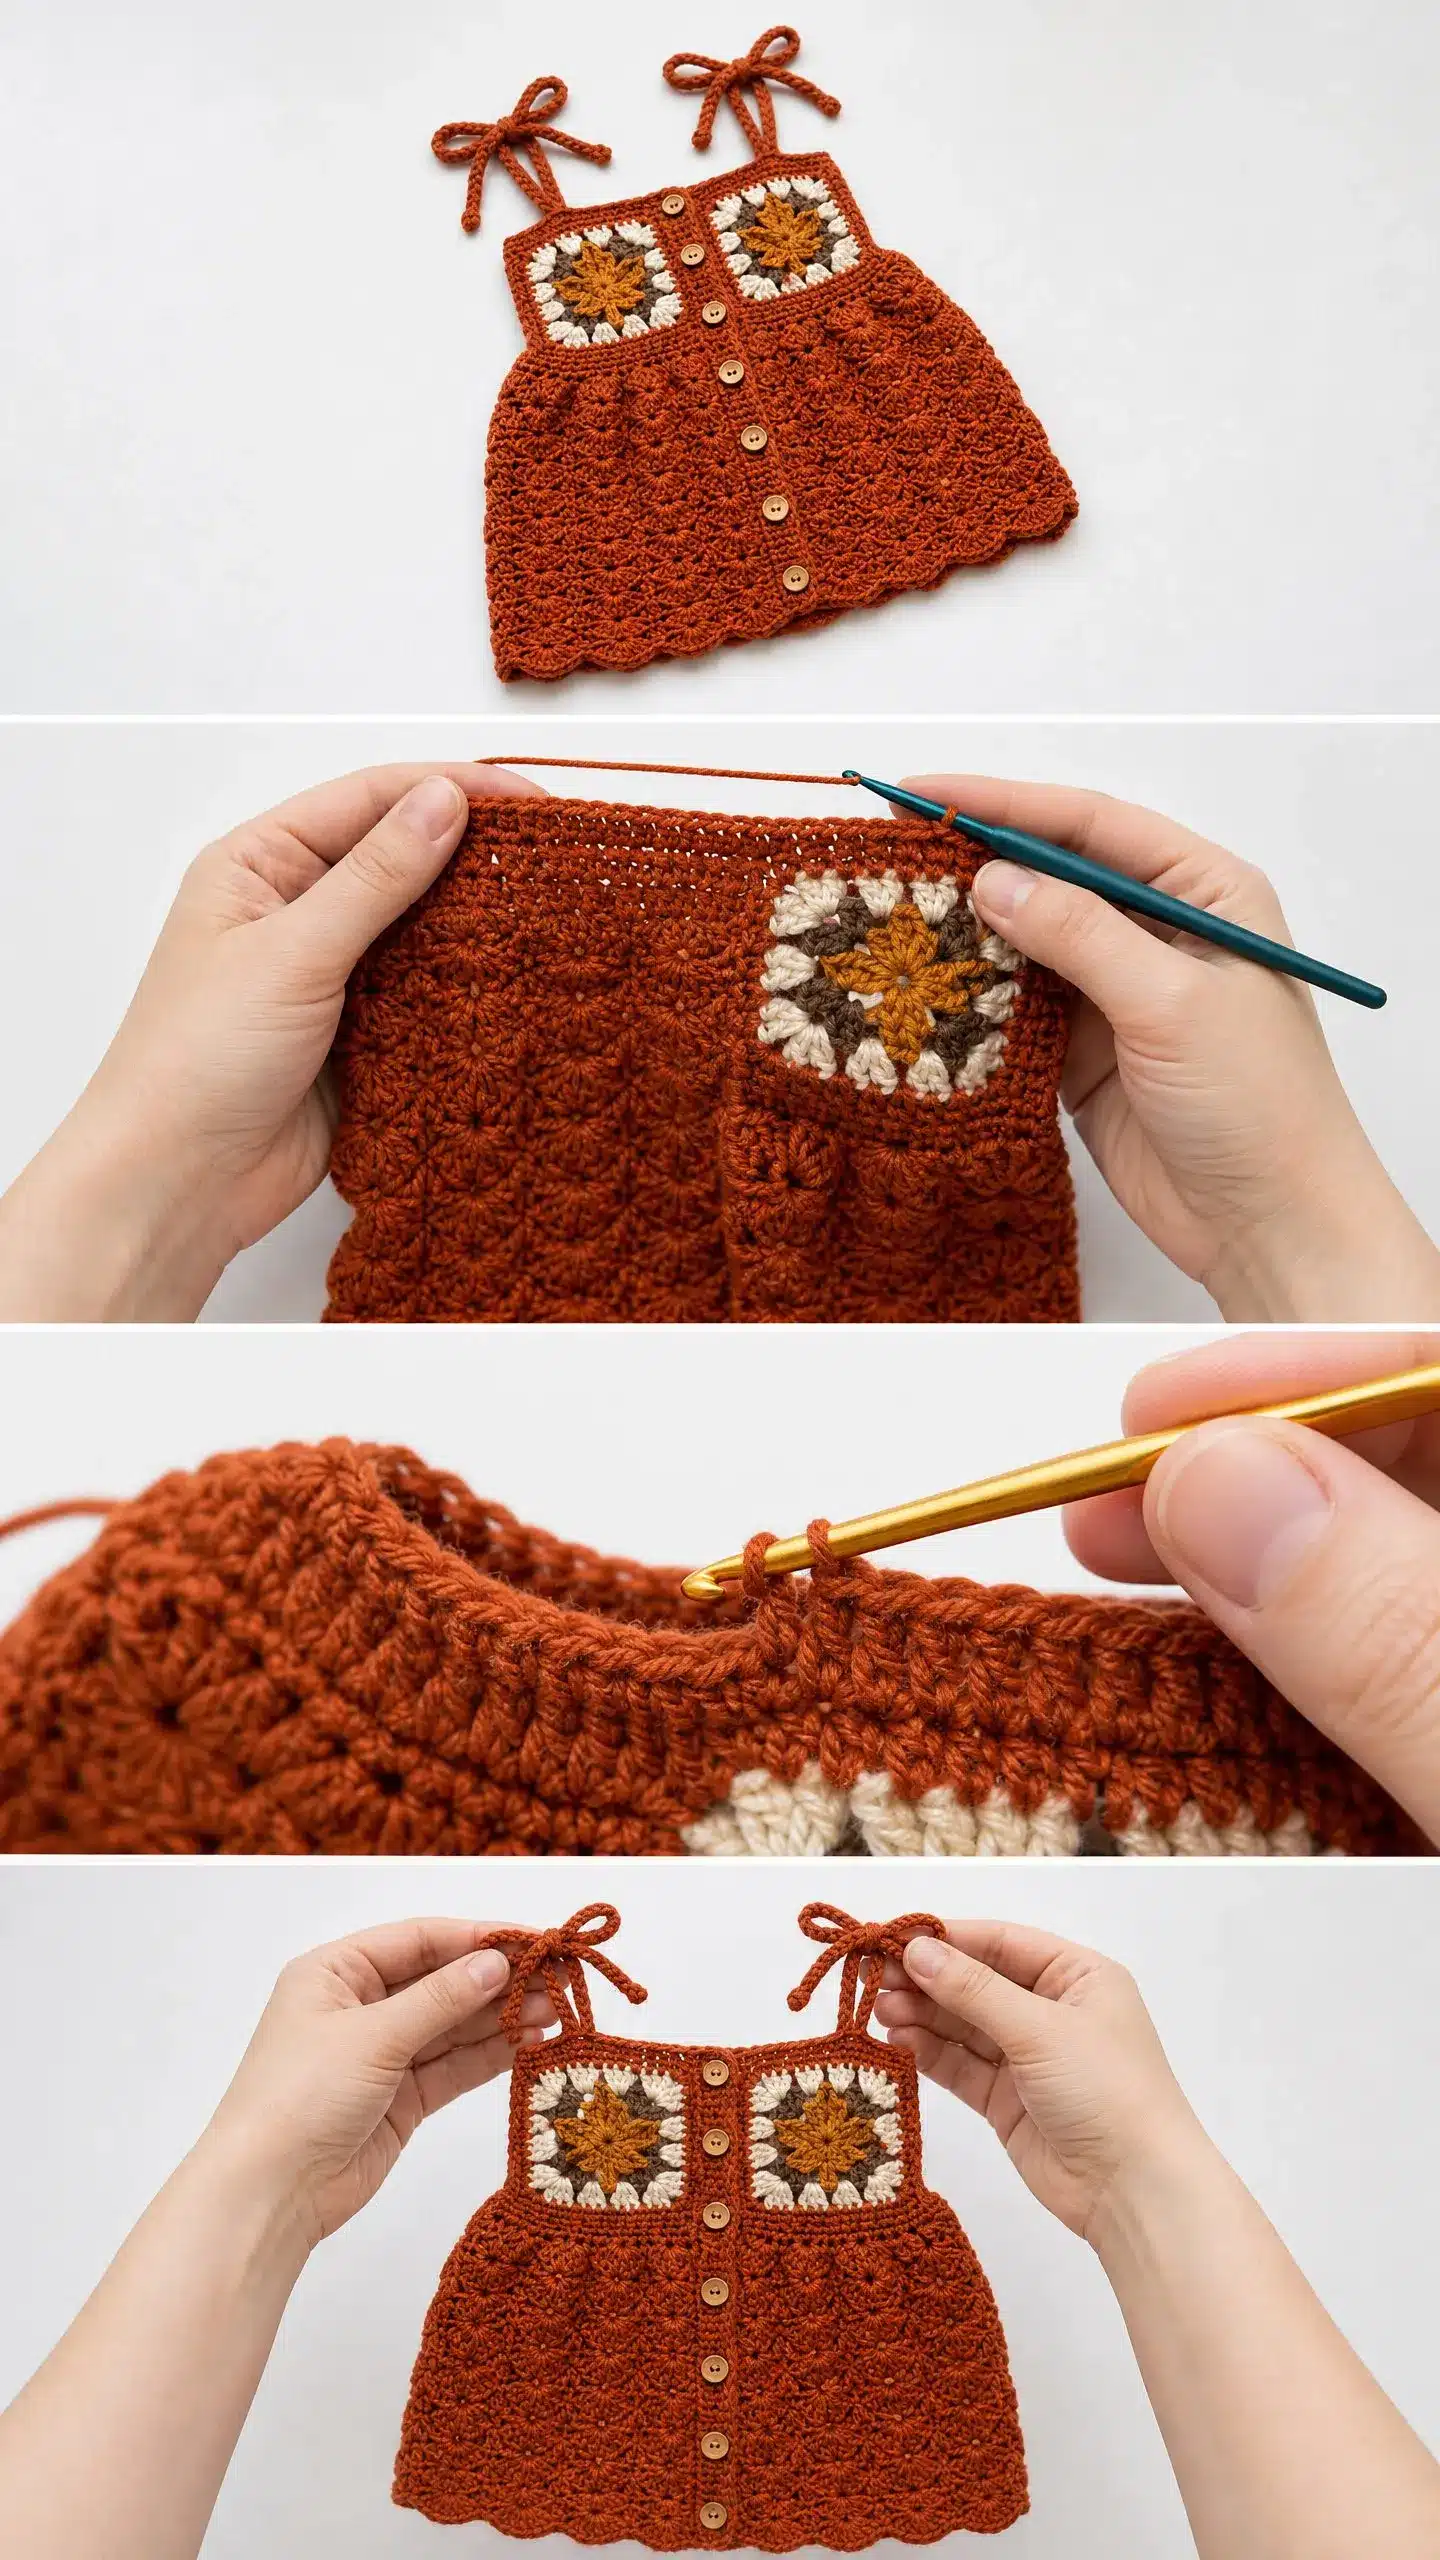
This wearable project is designed for babies aged 3 to 6 months. It features a flat-knit bodice with decorative granny square accents, a shell-stitch skirt, and adjustable shoulder ties. The pattern is rated intermediate, primarily due to managing multiple construction phases and maintaining consistent gauge across different stitch patterns. However, if you are a confident beginner who can work single crochet, double crochet, and basic granny squares, you have all the skills needed. Expect to spend 8 to 12 hours on this project from start to finish.
Materials
Yarn Requirements
- Main Color (MC): Approximately 220 yards of worsted weight yarn in mustard gold.
- Contrast Color A (CA): Approximately 40 yards of worsted weight yarn in burnt orange.
- Contrast Color B (CB): Approximately 15 yards of worsted weight yarn in cream.
The sample shown uses a warm mustard gold as the primary color, but the pattern works beautifully in rust orange or mocha brown versions. Pick whatever speaks to your autumn heart. Whatever you choose, stick with smooth yarns. Fuzzy or hairy fibers will obscure your beautiful granny square detail.
Recommended Yarn Options
- Lion Brand Heartland: 100% acrylic, machine washable, with excellent stitch definition for both granny squares and shell patterns.
- Paintbox Yarns Simply DK: Held double to give a softer hand while maintaining the weight needed for structure.
- We Are Knitters The Wool: Creates a luxury version with incredible drape (requires hand washing).
Notions
- US size H-8 / 5.0 mm crochet hook, or size needed to obtain gauge.
- Tapestry needle.
- 5 to 6 small wooden buttons, approximately 0.5 inch / 12 mm diameter.
- At least 4 stitch markers.
- Scissors.
- Rust-proof pins for blocking.
Gauge and Finished Size
Gauge matters here because the bodice needs to fit properly around a tiny chest. If your gauge is off by even one stitch per inch, your finished chest measurement will be noticeably different. A quick 4-inch swatch takes 15 minutes and saves hours of frustration.
Gauge Measurements
- In single crochet with H-8 hook: 16 stitches = 4 inches / 10 cm; 18 rows = 4 inches / 10 cm.
- In shell stitch pattern: One full shell repeat (6 stitches) = approximately 1.5 inches / 3.8 cm wide; 2 shell rows = approximately 1 inch / 2.5 cm tall.
- Completed granny square motif: Approximately 3 inches / 7.5 cm square after light blocking.
Finished Measurements
- Size: 3 to 6 months.
- Chest circumference: Approximately 16 inches / 40.5 cm.
- Total dress length: Approximately 13 inches / 33 cm (shoulder strap base to hem).
- Bodice length: Approximately 5.5 inches / 14 cm (armhole base to waist).
- Skirt length: Approximately 5.5 inches / 14 cm (waist to hem before scallop).
- Scallop edging: Adds approximately 0.75 inch / 2 cm to total length.
Abbreviations
Let me define every stitch and term before we begin. If you’re newer to crochet, bookmark this section for easy reference.
- ch: Chain. Wrap yarn over hook, pull through loop on hook.
- sl st: Slip stitch. Insert hook, yarn over, pull through both the work and the loop on your hook in one motion.
- sc: Single crochet. Insert hook, yarn over, pull up a loop (2 loops on hook), yarn over, pull through both loops.
- dc: Double crochet. Yarn over, insert hook, yarn over, pull up a loop (3 loops on hook), yarn over, pull through 2 loops, yarn over, pull through remaining 2 loops.
- ch-sp: Chain space. The gap created by chains in a previous row or round.
- sk: Skip. Pass over the indicated stitch without working into it.
- st(s): Stitch(es).
- RS: Right side. The outside of your finished garment.
- WS: Wrong side. The inside of your finished garment.
- MC: Main color.
- CA: Contrast color A.
- CB: Contrast color B.
Pattern Notes
This pattern is rated intermediate, but don’t let that scare you off if you’re a confident beginner. The “intermediate” rating comes from managing multiple construction phases and maintaining consistent gauge across different stitch patterns. The construction breaks down into manageable sections: two small granny square motifs, a simple single crochet bodice worked flat, and a shell stitch skirt worked in rounds.
Pattern Instructions
Section One: Granny Square Motifs (Make 2)
These small squares become the decorative focal point on your bodice front. Block each motif to approximately 3 inches square before continuing.
Round 1 (CB, cream)
Make a magic ring or chain 4 and slip stitch to join. Chain 3 (this counts as your first double crochet), work 2 double crochets in ring, chain 2. Work 3 double crochets in ring, chain 2. Repeat from * 3 more times. Slip stitch to top of beginning chain-3 to join. (4 clusters of 3 dc, 4 ch-2 corner spaces)
Round 2 (CA, burnt orange)
Slip stitch to corner chain-2 space. Chain 3 (counts as dc), 2 double crochets in same space, chain 2, 3 double crochets in same space (corner made), chain 1. Work (3 dc, ch 2, 3 dc) in next corner space, chain 1. Repeat from * around all 4 corners. Slip stitch to top of beginning chain-3. (8 clusters of 3 dc, 4 ch-2 corner spaces, 4 ch-1 side spaces)
Round 3 (MC, mustard gold)
Slip stitch to corner chain-2 space. Chain 3, 2 double crochets in same space, chain 2, 3 double crochets in same space (corner made), chain 1, 3 double crochets in chain-1 side space, chain 1. Work (3 dc, ch 2, 3 dc) in next corner chain-2 space, chain 1, 3 dc in chain-1 side space, chain 1. Repeat from * around all 4 corners. Slip stitch to top of beginning chain-3. Fasten off and weave in ends. (12 clusters of 3 dc, 4 ch-2 corner spaces)
Section Two: Bodice
The bodice is worked flat in rows of single crochet, with front and back panels made separately and then seamed.
Bodice Front Panel
Using MC, chain 33.
Row 1 (RS): Single crochet in 2nd chain from hook and in each chain across. Turn. (32 sc)
Rows 2 through 20: Chain 1, single crochet in each stitch across. Turn. (32 sc)
Do not turn after Row 20. Do not fasten off.
Checkpoint: Your front panel should measure approximately 8 inches wide and 4.5 inches tall.
Bodice Back Panel
Using MC, chain 33.
Work Rows 1 through 20 exactly as the front panel. Fasten off after Row 20, leaving an 18-inch tail for seaming.
Joining the Bodice Panels
Place front and back panels with right sides facing outward (wrong sides together). Using the long tail and a tapestry needle, whipstitch the side edges together, leaving the top 8 rows open on each side for armholes. You’re seaming Rows 9 through 20 on each side, closing the side seams below the armhole opening. After seaming, your bodice forms a tube that’s closed at the sides below the armhole and open at top and bottom.
Section Three: Skirt
Attach yarn to the bottom edge of the bodice tube. Work in rounds.
Setup Round
Work evenly around the bottom edge of the bodice. Ensure stitches are distributed evenly to prepare for the shell pattern.
Round 1 (Increase Round)
Work increases as needed to establish the base width for the skirt. Follow the pattern’s specific increase schedule to ensure the skirt lays flat.
Round 2 (Begin Shell Pattern)
Begin working the shell stitch pattern established in the special stitches section.
Round 3
Continue the shell pattern. Work shells into the chain spaces of the previous round.
Round 4
Continue the shell pattern.
Rounds 5 through 12
Continue working the shell stitch pattern in rounds until the skirt reaches the desired length (approximately 5.5 inches from waist).
Scallop Hem Edging
This creates the pretty pointed hem:
- Join yarn with a slip stitch.
- Chain 1, single crochet in same stitch.
- Skip 2 stitches, work 5 double crochets in next stitch (shell).
- Skip 2 stitches, single crochet in next stitch.
- Repeat steps 3 and 4 around.
Section Four: Shoulder Straps (Make 2)
These are simply long chains with slip stitch reinforcement. Chain a length sufficient to tie in bows at the shoulders. Reinforce with slip stitches along the chain for durability.
Section Five: Finishing
Attaching Granny Square Motifs to Bodice Front
Position the two blocked granny square motifs on the bodice front panel. Sew them securely in place using a tapestry needle and matching yarn.
Button Band and Buttonholes
Create the button band on the center front right side (as worn) and the buttonhole band on the center front left side. Sew 5 to 6 small wooden buttons firmly to the button band.
Blocking Your Finished Dress
Block the granny squares before attaching them. Lightly block the finished dress to even out stitches.
Size Customization
Adjust the number of rows in the bodice or rounds in the skirt to fit different sizes, keeping gauge in mind.
Care Instructions
- For acrylic yarn: Machine wash cold on gentle cycle. Tumble dry on low or lay flat to dry.
- For wool yarn: Hand wash in cool water with wool-safe soap. Press out water gently. Lay flat to dry.
- Avoid hanging the finished dress on a hanger for long-term storage, as the yarn weight may stretch the shoulder strap attachment points.
Tips
- Take your time with the granny squares. These are the star of the show. Block them carefully so they’re perfectly square before attaching.
- Mark your shell pattern rounds. Place a stitch marker at the beginning of each round so you always know where you started.
- Don’t stress about perfect button placement. As long as they align with your buttonholes, you’re golden.
- Steam those bows. A light steam helps the shoulder tie bows hold their shape for photos.
- I hope you love making this autumn baby dress as much as I loved putting together this tutorial for you. There is something so satisfying about creating a complete little garment, especially one with such beautiful vintage charm.
- If you make this dress, I would absolutely love to see it! Tag me on Instagram or share your finished project on Facebook. Seeing your creations in different color combinations always makes my day.
- This pattern is definitely one to save for later. Pin it to your crochet boards so you can find it when you’re ready to start, and please drop a comment below if you make one.
FAQs
What is the best yarn to use for this dress?
Lion Brand Heartland is highly recommended for its stitch definition and machine-washable properties. Paintbox Yarns Simply DK held double is a great option for a softer hand, while We Are Knitters The Wool offers a luxury drape for hand-washable garments.
How do I ensure the bodice fits correctly?
Gauge is critical for the bodice. Swatch in single crochet with your H-8 hook to ensure you have 16 stitches and 18 rows per 4 inches. Even a one-stitch difference per inch can alter the chest measurement significantly.
Can I make this dress for a newborn?
The pattern is sized for 3 to 6 months. To make it for a newborn, you would need to reduce the chain count for the bodice panels and decrease the number of rounds in the skirt, adjusting the gauge accordingly.
How do I block the granny squares?
Pin each granny square to a blocking mat, gently stretching the edges to ensure they are perfectly square and measuring approximately 3 inches. Use steam or wet blocking depending on your yarn fiber content.
What should I do if my shell stitch looks uneven?
Ensure you are working into the correct chain spaces from the previous round. Use a stitch marker to keep track of the beginning of each round. Consistent tension while working the 5 double crochets for each shell will also help maintain even texture.
Pin This Crochet Pattern!