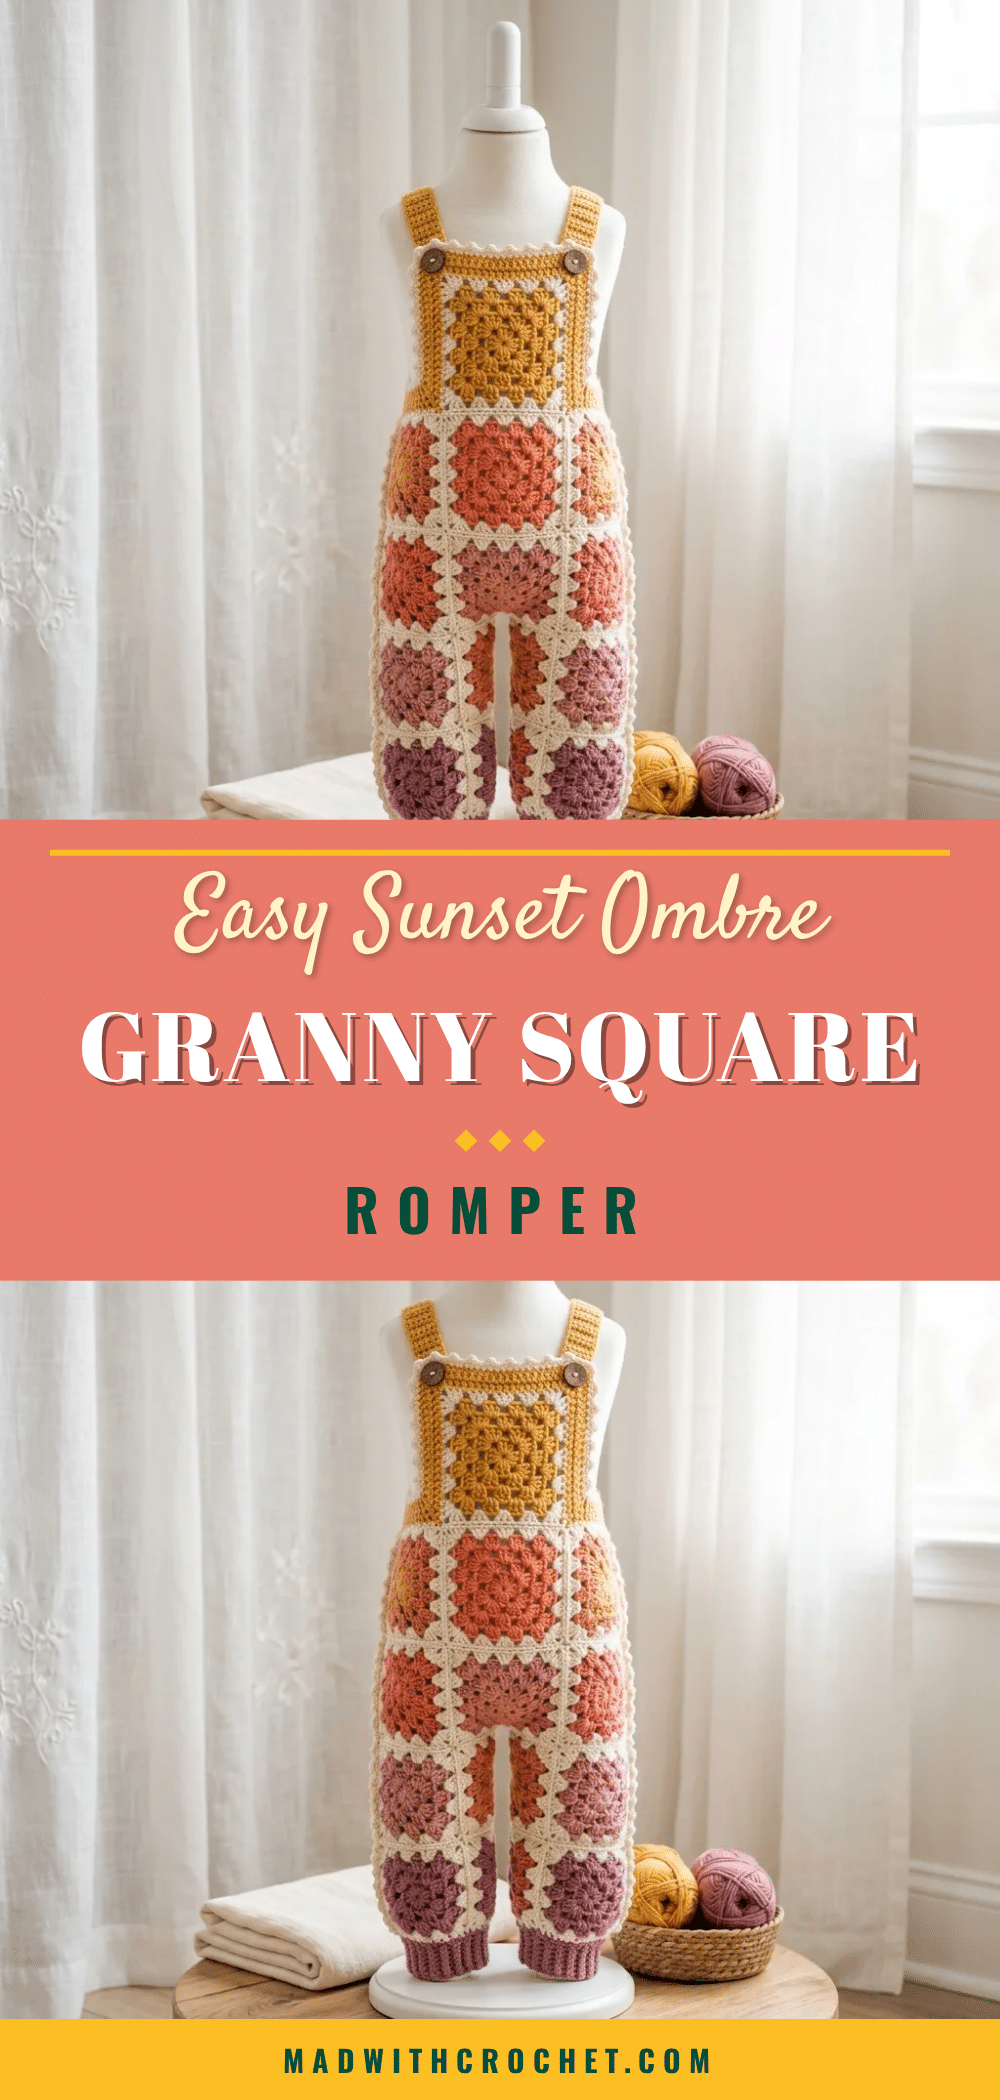
There is something undeniably magical about watching a sunset melt into the horizon, and now you can capture that warm, earthy gradient in a handmade garment. This Sunset Ombre Granny Square Baby Romper is designed to bring that cozy, vintage-inspired aesthetic to your little one’s wardrobe. It combines the nostalgic patchwork feel of seventies overalls with a modern color story that photographs beautifully. Whether you are preparing for a spring arrival or looking for a unique handmade gift, this pattern offers a satisfying project that results in a durable, stylish piece of babywear.
Seasonal Styling Ideas
The ombre color progression in this romper is designed to evoke the warmth of late summer evenings transitioning into autumn. The rich mustard gold at the top flows through warm peaches and dusty corals, finally settling into a soft mauve at the ankles. This makes the romper perfect for seasonal transitions. In warmer weather, it pairs beautifully with a simple white onesie underneath, allowing the cream lattice of the granny squares to stand out. As the weather cools, the cotton blend provides enough coverage to layer over long pants or leggings. The earthy tones also complement natural wood toys and neutral nursery decor, making it a versatile addition to any baby’s collection.
Project Overview
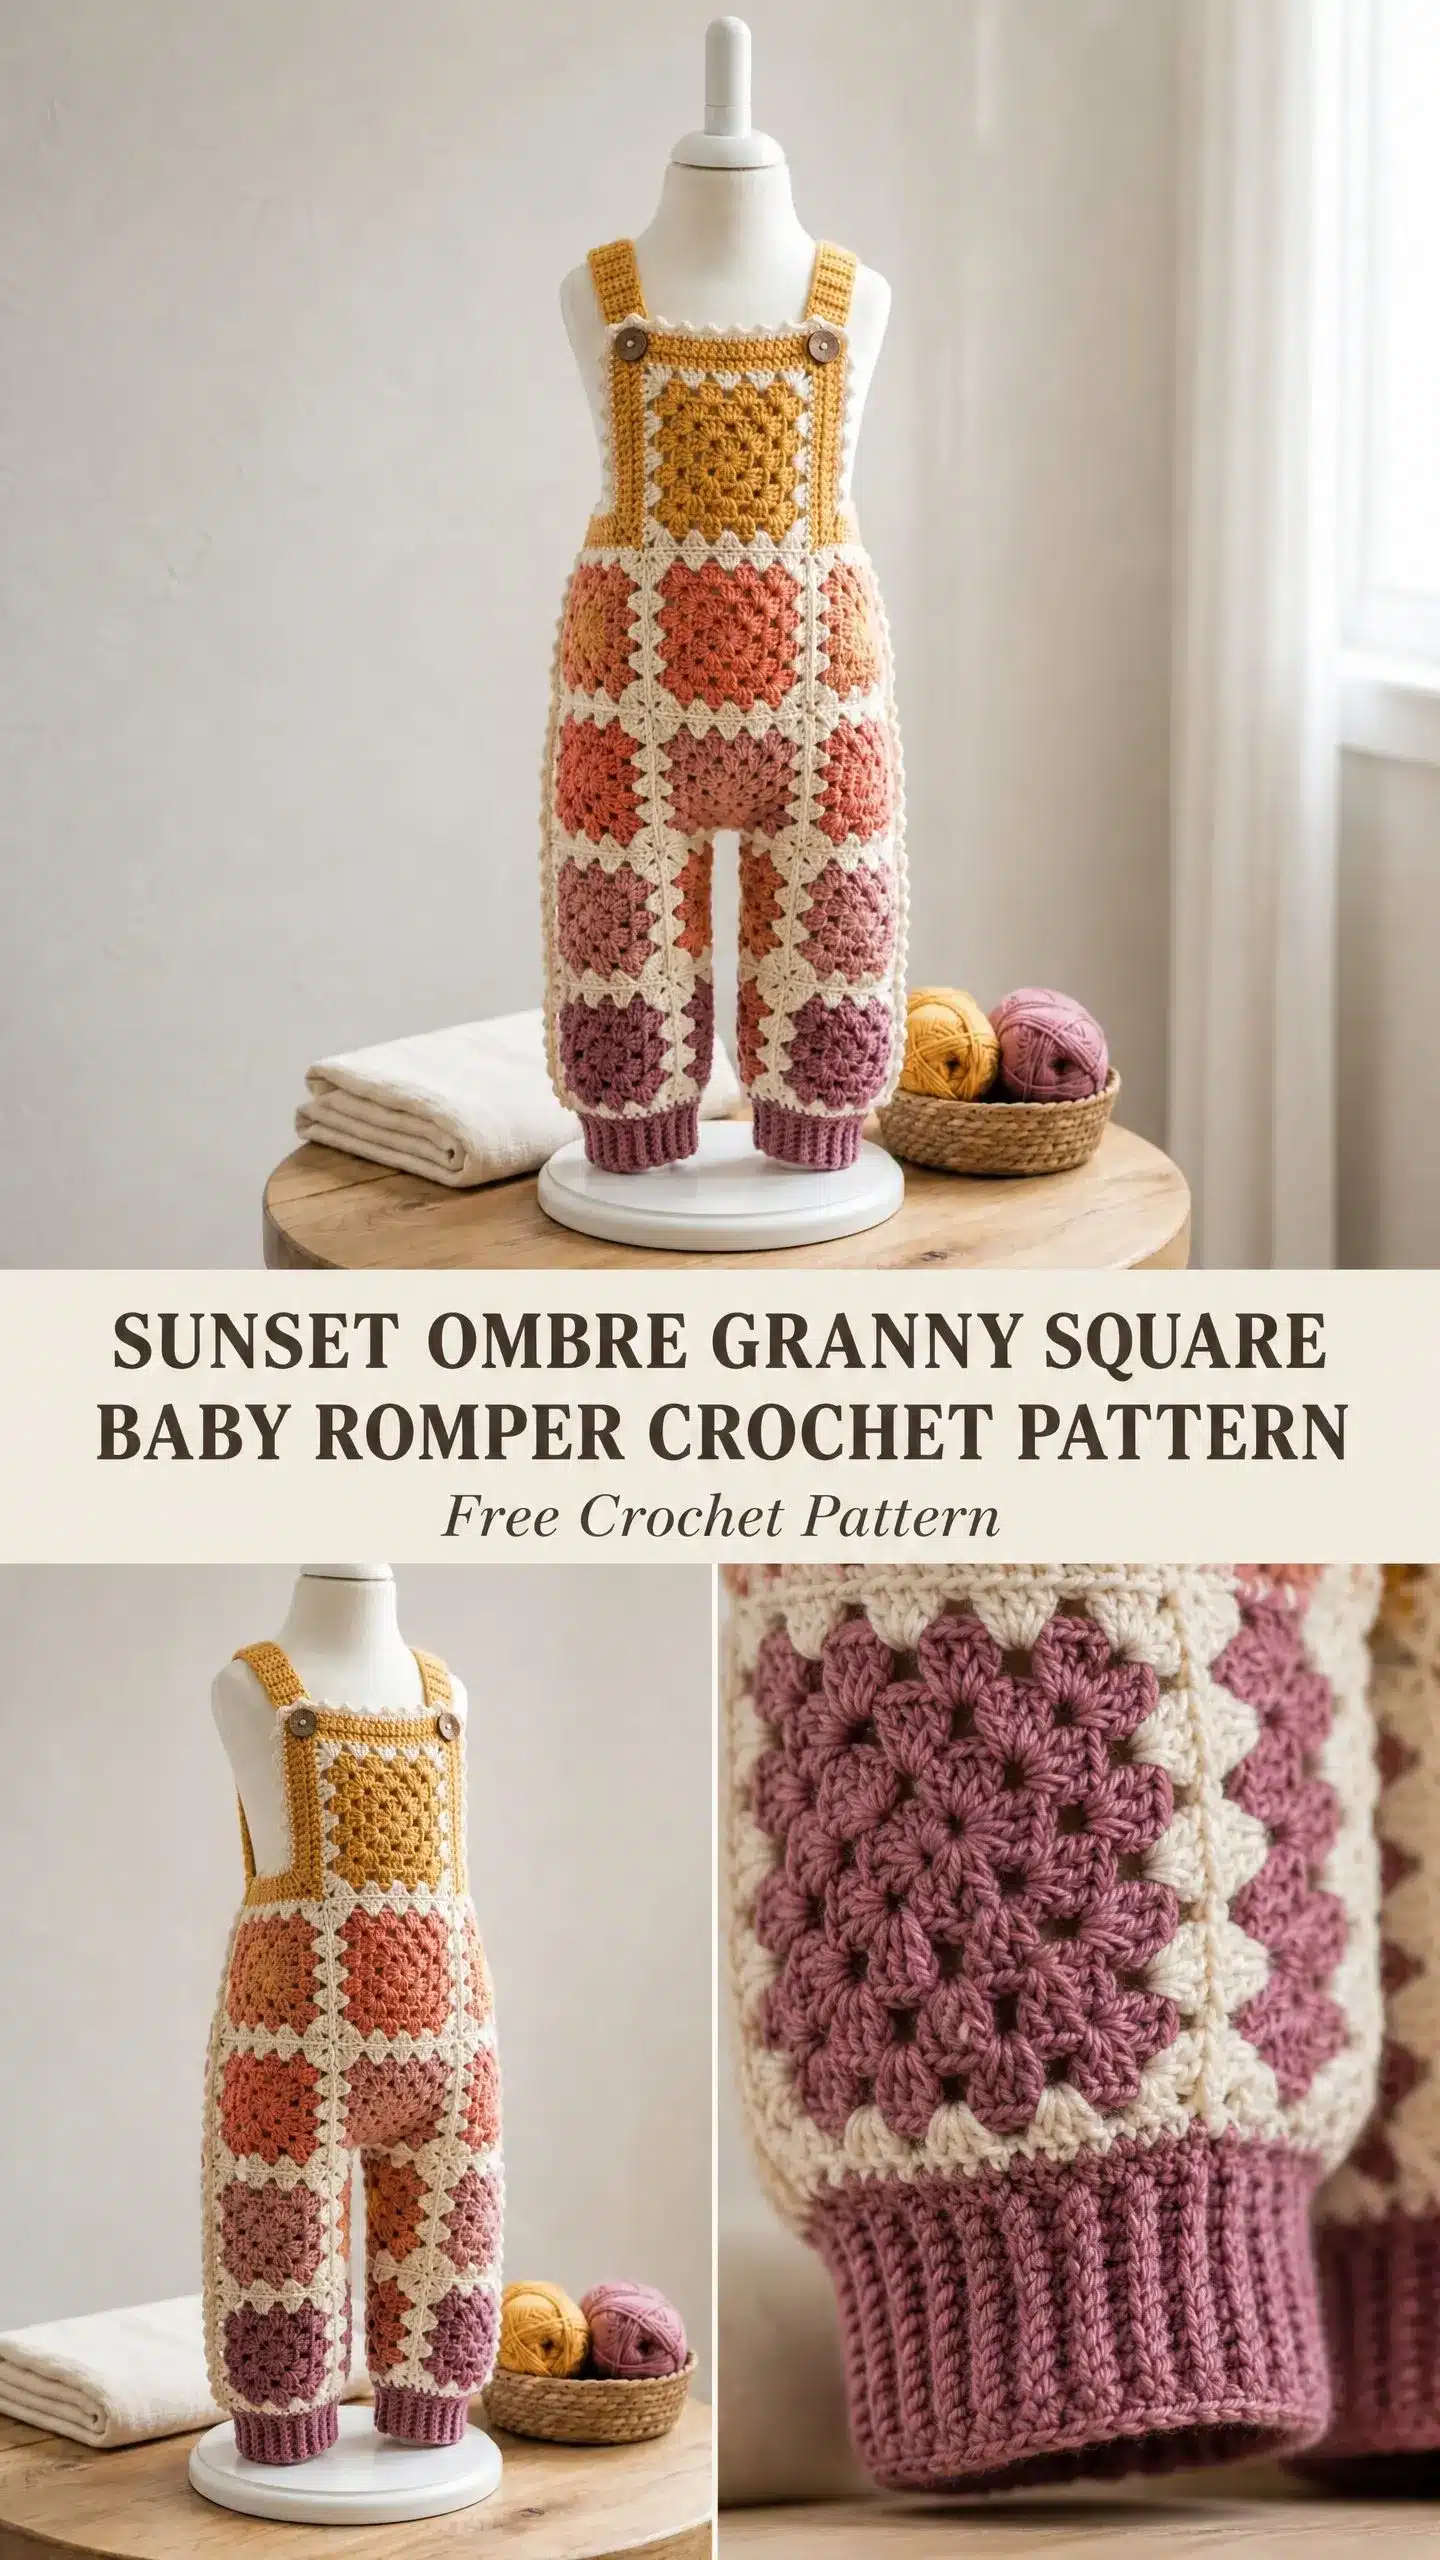
This is an intermediate-level crochet pattern that focuses on the construction of 46 individual granny squares. The design relies on a consistent joining color to create a cohesive “cream lattice” grid that ties the varying center colors together. The construction is straightforward: you will make the squares, join them into front and back panels, and then assemble the body, legs, and straps. There are no complicated decreases or shaping involved, making this an excellent project for crocheters who enjoy repetitive, meditative work and the satisfaction of seeing a large garment come together piece by piece.
Materials
Before you start, gather everything so you can work without interruption. Cotton is ideal for baby garments because it washes well and gives excellent stitch definition. Avoid fuzzy or textured yarns because the granny square structure needs to show clearly.
- Yarn: Worsted weight (CYCA 4), 100 percent cotton or cotton acrylic blend.
- Total Yardage: Approximately 570 yards across six colors.
- Color Breakdown:
- Color A (Mustard Gold): 80 yards
- Color B (Warm Peach/Orange): 90 yards
- Color C (Terracotta/Coral): 90 yards
- Color D (Dusty Rose/Salmon): 90 yards
- Color E (Mauve/Dusty Purple): 90 yards
- Color J (Cream/Off White for joining): 220 yards
- Hooks:
- US Size G-6 / 4.0 mm for squares and body
- US Size F-5 / 3.75 mm for ribbing and straps
- Additional Supplies:
- 2 wooden buttons, approximately 3/4 inch diameter
- Yarn needle for weaving in ends and seaming
- Scissors
- Locking stitch markers
- Rust-proof pins for blocking
Yarn Suggestions: Lion Brand 24/7 Cotton, Paintbox Yarns Simply DK (watch your gauge), or WeCrochet Dishie. Any smooth worsted cotton that matches gauge will work.
Gauge and Finished Size
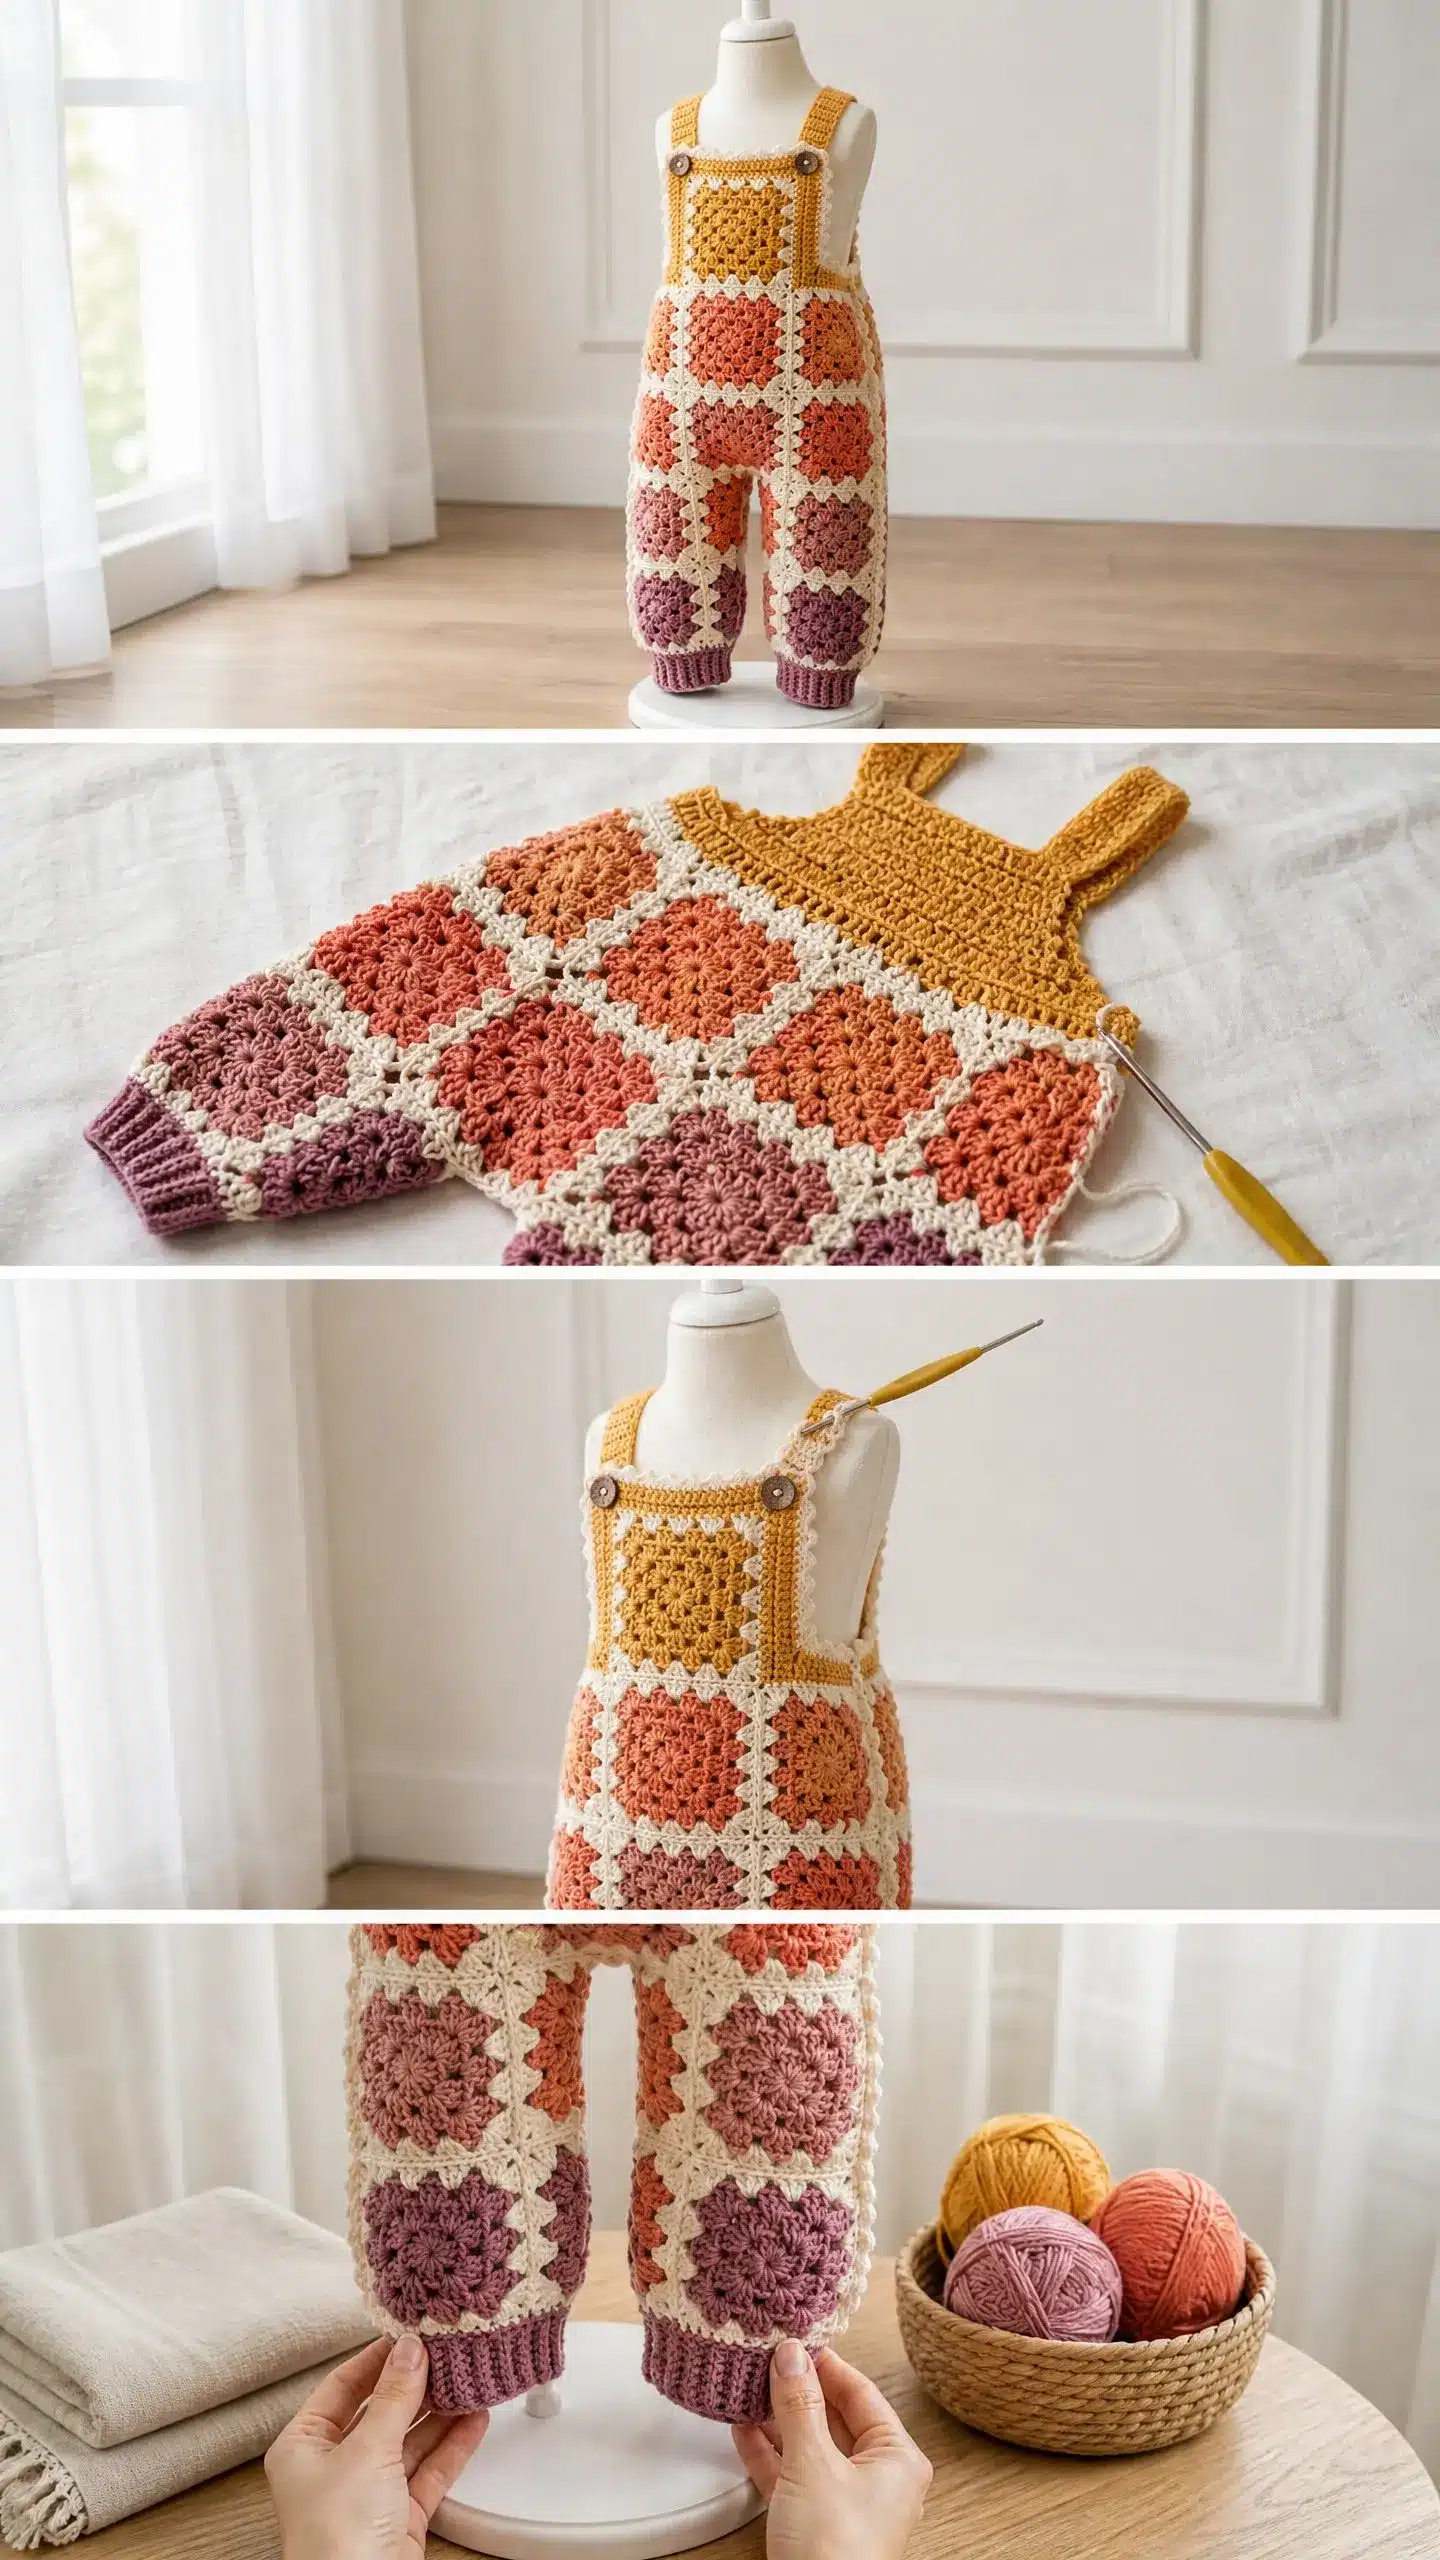
Getting gauge right matters a lot here. With your G-6 / 4.0 mm hook, one completed and blocked granny square should measure 3 inches by 3 inches. In standard double crochet fabric, you should get 16 double crochet stitches and 8 rows over 4 inches.
Please make a test square before you commit to all 46. A square that comes out even a quarter inch off will cause cumulative sizing errors once you join everything together. Adjust your hook size up or down until your blocked square hits that 3 inch mark.
Finished Size: The romper is sized for 12 to 18 months, fitting approximately 22 to 24 inches around the chest. The total length from shoulder to ankle is about 22 inches, with a 9 inch inseam.
Abbreviations
Let me walk you through every abbreviation used in this pattern so nothing catches you off guard.
- ch = chain. Wrap yarn over hook, pull through loop on hook. This is your foundation stitch.
- sl st = slip stitch. Insert hook, yarn over, pull through stitch and loop on hook in one motion. Used for joining rounds.
- sc = single crochet. Insert hook, yarn over, pull up loop (2 loops on hook), yarn over, pull through both loops.
- dc = double crochet. Yarn over, insert hook, yarn over, pull up loop (3 loops on hook), yarn over, pull through 2 loops, yarn over, pull through remaining 2 loops.
- ch-sp = chain space. The gap created by chains in a previous row or round.
- BLO = back loop only. Work into only the back loop of the stitch instead of both loops.
- RS = right side. The side facing outward when worn.
- WS = wrong side. The inside of the garment.
- rnd = round
- rep = repeat
- sk = skip
- st(s) = stitch(es)
- sp = space
- t-ch = turning chain
- yo = yarn over
Pattern Notes
The magic of this design is in its simplicity. Every single square is made the same way. You just change the center color depending on where it sits in the layout. The joining color stays consistent throughout, which creates that beautiful cream grid you see running through the finished romper. I recommend making all your squares first, blocking them, and laying them out in the ombre gradient before you start joining. This lets you see the color flow and make any adjustments before anything is permanent.
Special Stitch: The Granny Square Cluster
This is the building block of every square in the romper. Here is exactly how to work it:
- Yarn over, insert hook into the designated stitch or space
- Yarn over, pull up a loop (3 loops on hook)
- Yarn over, pull through 2 loops (2 loops on hook)
- Repeat steps 1 through 3 two more times into the same stitch or space (4 loops on hook)
- Yarn over, pull through all 4 loops on hook
You have just made one 3-dc cluster. Throughout this pattern, when I say “3 dc” worked into a space, this is what I mean.
Pattern Instructions
How Many Squares to Make
You need 46 granny squares total, broken down by color:
- 4 squares with Color A center (mustard, for bib and top row)
- 10 squares with Color B center (peach/orange, upper body)
- 12 squares with Color C center (terracotta/coral, mid body)
- 12 squares with Color D center (dusty rose, lower body and upper legs)
- 8 squares with Color E center (mauve/purple, ankles)
The Basic Granny Square Pattern
Every square follows the same construction. Only the center color changes.
With your center color (A, B, C, D, or E): Make a magic ring. Alternatively, ch 4 and join with sl st to form a ring.
Round 1 (center color): Ch 3 (counts as first dc), work 2 dc into ring, ch 2, (3 dc into ring, ch 2) 3 times, sl st to top of beg ch-3 to join. Fasten off center color. (Four 3-dc clusters, four ch-2 corner spaces)
Round 2 (center color): Join center color with sl st into any corner ch-2 sp. Ch 3 (counts as first dc), 2 dc in same sp, ch 2, 3 dc in same sp (first corner made), ch 1, skip 3 dc, (3 dc, ch 2, 3 dc) in next ch-2 sp (corner), ch 1, skip 3 dc, rep from ( to ) 2 more times, sl st to top of beg ch-3. Fasten off center color. (Eight 3-dc clusters, four ch-2 corner spaces, four ch-1 side spaces)
Round 3 (Color J, Cream): Join Color J with sl st into any corner ch-2 sp. Ch 3 (counts as first dc), 2 dc in same sp, ch 2, 3 dc in same sp (corner), ch 1, 3 dc in next ch-1 sp, ch 1, (3 dc, ch 2, 3 dc) in corner ch-2 sp, ch 1, 3 dc in next ch-1 sp, ch 1, rep from ( to ) 2 more times, sl st to top of beg ch-3. Fasten off Color J. (Twelve 3-dc clusters, four ch-2 corner spaces, eight ch-1 side spaces)
Weave in all ends. Block each square to exactly 3 inches by 3 inches.
Square Layout and Color Placement
Before joining, lay everything out so you can see the full picture.
Front Panel (reading top to bottom):
- Row 1 (Bib): 1 square, Color A center, centered at top
- Row 2 (Upper body): 4 squares across, Color A centers
- Row 3 (Mid upper body): 4 squares across, Color B centers
- Row 4 (Mid body): 4 squares across, Color C centers
- Row 5 (Lower body): 4 squares across, Color D centers
Total front panel: 17 squares
Back Panel (reading top to bottom):
- Row 1 (Upper back): 4 squares across, Color B centers
- Row 2 (Mid back): 4 squares across, Color C centers
- Row 3 (Lower back): 4 squares across, Color D centers
Total back panel: 12 squares
The back panel is shorter because it has no bib. The back top edge aligns with the front bod.
Joining the Squares
Use Color J (Cream) and your yarn needle. Hold two squares with right sides facing outward. Whipstitch or mattress stitch through the outermost loops of corresponding stitches, aligning the ch-1 side spaces and ch-2 corner spaces carefully.
Join squares horizontally within each row first to form strips. Then join the strips vertically to complete your panels.
After joining, your front body panel (not counting the bib square) should measure approximately 12 inches wide by 12 inches tall.
Bib Construction
The bib is formed by the single Color A square at the top of the front panel. Ensure this square is securely joined to the row below it to provide stability for the shoulder straps.
Shoulder Straps
Using your US Size F-5 / 3.75 mm hook, crochet the shoulder straps to the desired length. Attach strap ends to the back waistband edge with reinforced stitching. Sew buttons onto strap ends securely.
Assembling the Body and Legs
With right sides facing out, fold the front and back panels so their side edges meet. Align the lower edges. Remember the front panel is taller due to the bib.
Seam the left side edge of front to left side edge of back, inserting the side fill in squares as you go. Repeat for the right side.
Your body now forms a tube with the lower edge open for legs.
Fold each leg panel in half lengthwise to form a tube. Seam the long edge closed.
Attach each leg tube to the lower edge of the body at the appropriate opening. Seam the crotch gusset square at the center to close the gap between legs.
Ankle Cuffs
Using your US Size F-5 / 3.75 mm hook, crochet ribbed cuffs for the ankles. Attach them to the bottom of the leg tubes using the back loop only (BLO) method for a snug fit.
Finishing and Blocking
Weave in all remaining ends on the wrong side. Fill a basin with cool water and a small amount of gentle wool wash. Soak the completed romper for 15 to 20 minutes.
Remove without wringing. Press gently between clean towels to remove excess moisture. Lay flat on a blocking mat and pin each square into shape, aligning the cream lattice lines. Allow to dry completely, at least 24 hours.
Assembly
The assembly process involves joining the pre-made squares into panels, constructing the leg tubes, and seaming the body together. Ensure that the side seams are strong and that the crotch gusset is securely attached to prevent gaping. The shoulder straps should be attached with reinforced stitching to withstand the weight of the garment and frequent use.
Tips
Patience is key with this project. Because you are making 46 individual squares, it is easy to lose count or mix up colors. Use locking stitch markers to keep track of your progress and ensure you are using the correct color for each row of the layout. Blocking is not just for aesthetics; it ensures that all squares are uniform in size, which makes the joining process much smoother and the final garment lie flat.
FAQs
Can I use acrylic yarn instead of cotton?
Yes, you can use a cotton-acrylic blend, but pure cotton is recommended for baby garments because it washes well and provides better stitch definition for the granny square pattern.
How do I adjust the size for a smaller baby?
You can reduce the number of squares in the body rows. For a 6-9 month size, you might reduce the body rows to 3 squares wide instead of 4, and shorten the length of the leg tubes and body panels accordingly.
What if my squares are not exactly 3 inches?
It is crucial to block your squares to 3 inches. If they are slightly larger or smaller, the cumulative error will affect the fit of the romper. Adjust your hook size if necessary to hit the gauge.
How do I wash the finished romper?
Machine wash cold on a gentle cycle. Lay flat to dry. Do not tumble dry, iron, or dry clean. Reshape while damp if needed.
Are the buttons safe for babies?
Always check button attachments before each use. Ensure they are sewn on securely to prevent choking hazards. Consider using snap fasteners if you are concerned about button security.
Pin This Crochet Pattern!