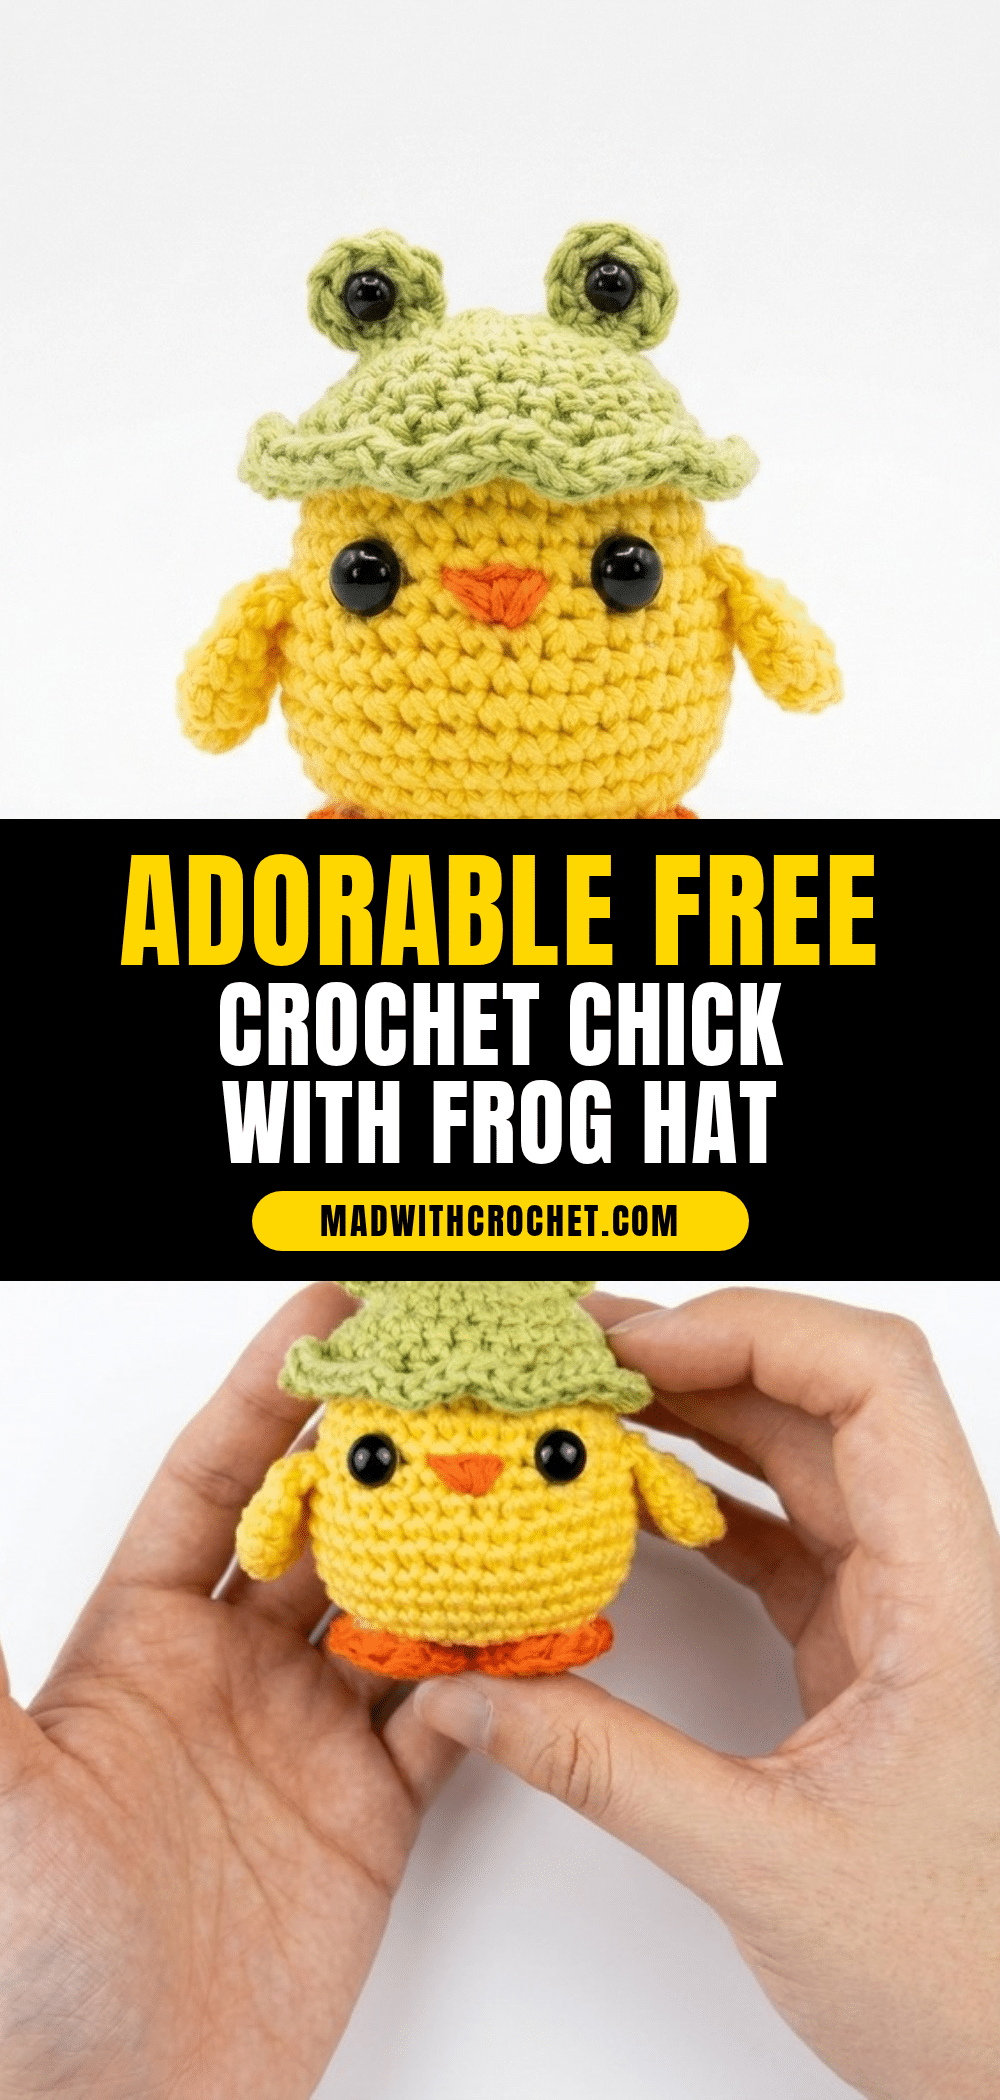
Looking for a cheerful handmade gift that brings a smile to anyone’s face? This adorable Crochet Chick with Frog Hat is the perfect springtime creation to brighten a nursery, decorate a child’s desk, or add a playful accent to your own home. Its compact size and soft texture make it an ideal market-table item or a thoughtful present for friends and family who appreciate unique, handcrafted details. With a simple construction and customizable colors, you can create a whole flock of uniquely dressed chicks to suit any occasion.
Our Touch: Gift and Use Ideas
This project is more than just a cute decoration; it is a versatile piece that fits seamlessly into various settings. The soft yellow body paired with a vibrant green frog hat creates a striking contrast that catches the eye. Because the hat can be attached securely or lightly glued for easy removal, this amigurumi is perfect for interactive play or as a collectible display piece. Consider swapping the green yarn for pastel shades to create a spring-themed set for Easter baskets, or use darker tones for a whimsical Halloween chick. The sturdy construction ensures it holds up well to handling, making it a durable keepsake that can be passed down or gifted with confidence.
Project Overview
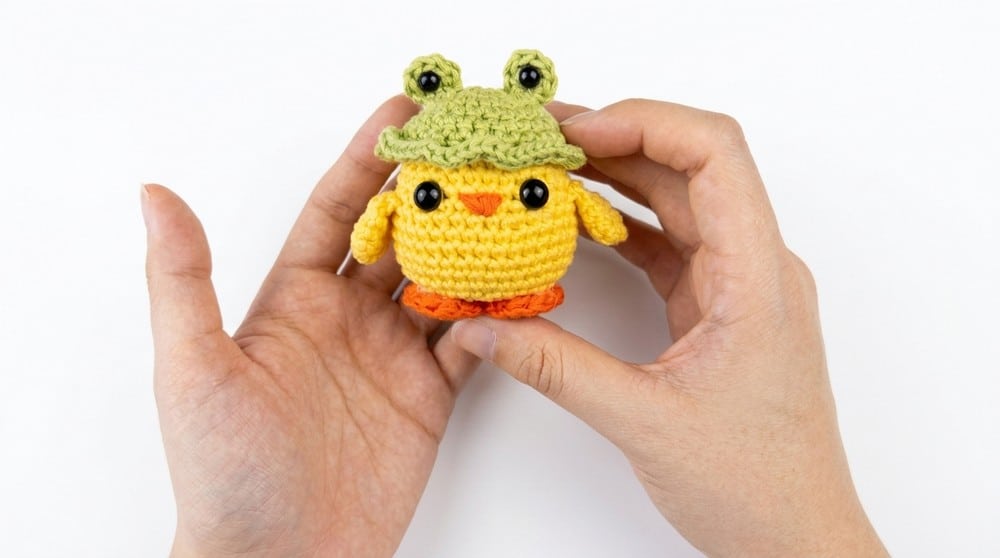
This amigurumi pattern guides you through creating a soft, round chick with stitched-on wings and feet. The project features a whimsical frog hat that can be customized with various colors and embellishments. It is designed to be a fun, accessible project that adds brightness to any room.
Project Details
- Project Type: Amigurumi
- Difficulty: Beginner to Lower Intermediate
- Techniques: Basic stitches (sc, hdc, inc, dec), magic ring, working in a spiral, simple sewing for assembly.
- Customization: Highly customizable. Experiment with hat and foot colors for a flock of uniquely dressed chicks. The hat base can be adapted for other accessories like strawberries or leaves.
Materials
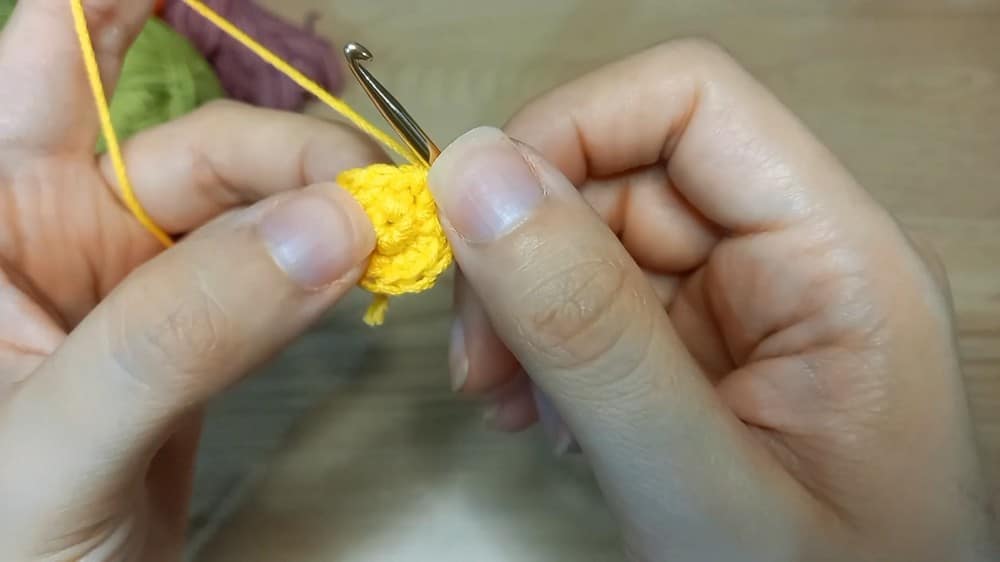
- Yarn:
- Yellow: Mercerized cotton ~2mm thick (for chick’s body and wings)
- Orange: (for beak and feet; alternative shades like beige or brown also work)
- Green: (for frog hat; any color can be used for other hat variations)
- Pink and black: (optional, for facial accents or extra hat details)
- Crochet Hook: Size 3.0 mm
- Stuffing: Polyester fiberfill
- Safety Eyes:
- 2 small eyes (for frog hat, e.g., 5-6mm)
- 2 slightly larger eyes (for chick, e.g., 8mm)
- Tools: Yarn needle (for assembly and weaving in), Scissors, Craft glue (optional, for securing felt details or tiny plastic eyes)
Gauge and Finished Size
Gauge is not critical for this project. For reference, 10 sc = 2.5 cm with the stated yarn and hook using moderate tension. Final size will vary slightly according to yarn, hook, and tension.
Finished Measurements
- Chick Body: ~7-8 cm (2.75–3″) tall
- Hat: Fits snugly on chick’s head, ~5 cm diameter; adds ~2 cm to height
- Wings: Span about 4 cm each
- Feet: About 2 cm each
- Overall: Completed chick is ~8 cm tall and ~5 cm wide with accessories fitted snugly.
Abbreviations
- MR: Magic ring
- sc: Single crochet
- hdc: Half double crochet
- inc: Increase (2 stitches in same stitch)
- dec: Decrease (see Special Stitches below)
- sl st: Slip stitch
- ch: Chain
- st(s): Stitch(es)
Pattern Notes
- All crochet is worked in the round (spiral method) unless noted. Use a stitch marker to keep track of round beginnings.
- Tight stitches are recommended for best shaping and to keep stuffing unseen.
- Safety eyes and stuffing must be secured and child-safe; swap for embroidery or felt if gifting to toddlers or infants.
- The hat and hat embellishments can be attached as desired: sewn or lightly glued for easy removal or play variation.
Special Stitches
- Invisible decrease (dec): Insert hook into front loop of next 2 sts, yrh, pull through, yrh, pull through both loops on hook.
- Half double crochet (hdc): Yarn over, insert hook, yarn over, pull up loop (3 on hook), yarn over, pull through all 3.
- Magic Ring (MR): Make a loop, crochet into loop, then draw tight to close.
Pattern Instructions
Chick Body
Work in a continuous spiral.
- R1: MR, 6 sc into ring. [6]
- R2: inc in each st (2 sc in each) around. [12]
- R3: (1 sc, inc) x 6. [18]
- R4: (2 sc, inc) x 6. [24]
- R5: (3 sc, inc) x 6. [30]
- R6: (4 sc, inc) x 6. [36]
- R7–R9: sc in each st around. [36 each round]
- R10: (4 sc, inc) x 6. [36] (No stitch count change, maintains round size)
- R11–R15: sc in each st around. [36 each round] (Total: 15 rounds)
- R16: (4 sc, dec) x 6. [30]
- Insert safety eyes between rounds 8 & 9, leaving 5-6 sts between. Secure washers inside.
- R17: (3 sc, dec) x 6. [24]
- Pause to stuff body firmly with fiberfill.
- R18: dec around (next 2 sts together) 12 times. [12] (May be written as (1 sc, dec)x6 if preferred.)
Close: Finish stuffing firmly, being careful not to overfill. Fasten off, leaving a tail. Using yarn needle, weave through outside loops of remaining sts, pull to gather hole closed. Bury yarn tails into body.
Wings (Make 2)
- R1: MR, 6 sc into ring. [6]
- R2: inc in each st around. [12]
- R3: sc in each st around. [12]
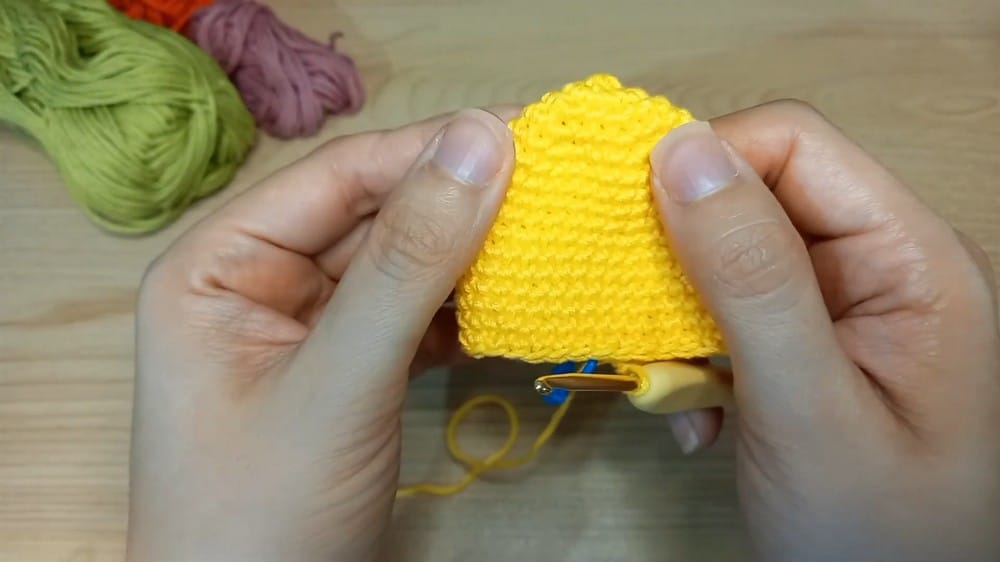
- R4: dec, 4 sc, dec, 4 sc. [10]
Seam: Fold flat (in half); sl st last round closed, working through both front and back at once (across 5 paired “stitches”). Fasten off, leaving tail for sewing. Weave in magic ring tail to secure.
Legs/Feet (Make 2)
With orange (or color of choice):
- R1: MR, 6 hdc into ring. [6]
Close ring: Join to first hdc with sl st. ch 1, and in the next st: (2 hdc) in same stitch (inc), sl st in next. Repeat 2 more times in next sts: ch 1, (2 hdc) in next st, sl st in next. ch 1, (2 hdc) in next st. Sl st to starting point, ch 1, fasten off, leaving a tail to sew. Weave in end.
Frog Hat
Base: With green:
- R1: MR, 12 hdc in ring. [12]
- R2: inc in each st (2 hdc in each). [24]
- R3: hdc in each st around. [24]
- R4: (2 hdc, inc) x 8. [32]
- R5: hdc in each st around. [32]
- R6: (Work FL only, for a turned-up edge) inc in every st around (2 hdc in each FL only). [64]
Fasten off, weave in, and shape crown.
Frog Eyes (Make 2)
With green: MR, 6 hdc. Join with sl st, ch 1, fasten off and leave a long tail for sewing. Place a small safety eye or embroider/paste felt pupil in center.
Assembly
- Attach wings: Fold flower side, place wings just below horizontal at round 9–10, sew edges to body with excess yarn.
- Attach feet: Pin at bottom of chick, making sure toes point forward. Sew using yarn tails.
- Attach hat: Place on head to check fit, lightly glue or sew around the edge for removable hat, or attach firmly.
- Attach frog eyes: Sew or glue at top of hat, equally spaced, between rounds 2 and 3. Secure safety eyes or embroider.
- Beak: With orange, embroider a small triangle between chick’s eyes.
- Finishing: Weave in all ends. Add a touch of blush with embroidery or gentle powder for cheeks.
Tips
- Color Variations: The project is highly customizable. Try various leg and hat colors to create a flock of uniquely dressed chicks.
- Child Safety: If making this for a toddler or infant, avoid using safety eyes. Instead, embroider the eyes and beak using yarn or felt to ensure the toy is completely safe.
- Stitch Tension: Keep your stitches tight to prevent the fiberfill from showing through, ensuring a professional finish.
- Hat Versatility: The hat base can be adapted for other accessories. Use the same technique to create strawberry, leaf, or other themed hats for different seasons.
FAQs
Can I make this chick for a baby?
Yes, but for safety reasons, it is recommended to embroider the eyes and beak instead of using plastic safety eyes, especially for children under three years old.
What type of yarn is best for this pattern?
The pattern suggests mercerized cotton ~2mm thick for a smooth finish, but any worsted weight yarn will work. Just ensure you use the appropriate hook size to maintain tight stitches.
How do I make the hat removable?
When attaching the hat, you can lightly glue or sew around the edge with a few loose stitches. This allows the hat to be taken off for washing or play variation.
Can I change the color of the chick?
Absolutely. While yellow is traditional, you can use white, pink, or any pastel color for the body to create different variations.
How do I fix a hole that won’t close?
Ensure you are weaving the yarn needle through the outside loops of the final round’s stitches. Pulling firmly should gather the hole closed. If it is still large, you may need to add more decreases in the final round.
Pin This Crochet Pattern!