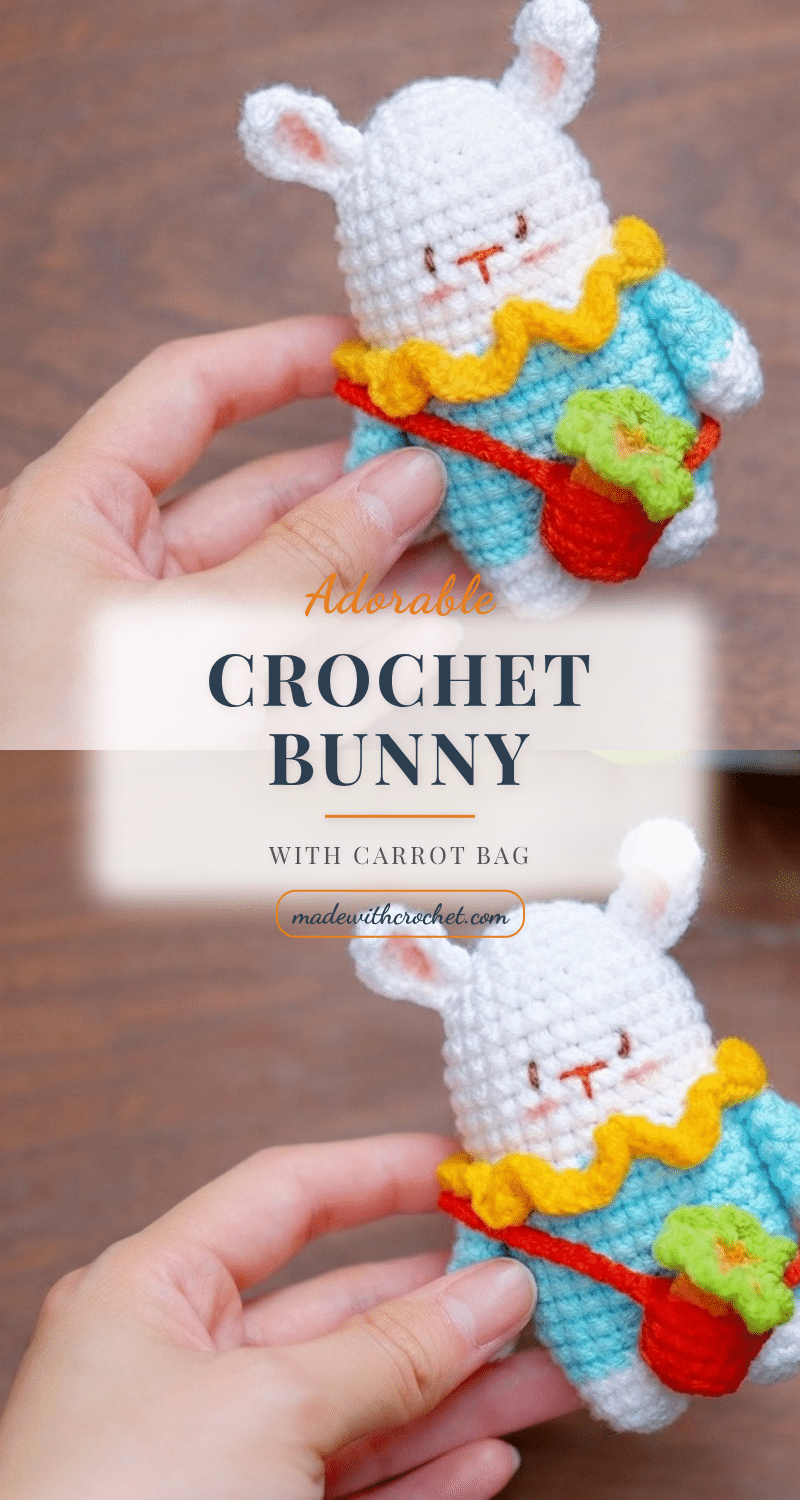
Yarn sits in a soft pile on the table, the hook glinting in the light as you pull the first loop through. The project begins to take shape, round by round, transforming simple strands into something tangible and warm. There is a quiet satisfaction in this moment—the hum of the hook, the rhythm of the stitches, and the promise of a finished piece that holds a little bit of your time and care. This adorable crochet bunny with a carrot bag is that perfect project: small enough to finish in a weekend, but detailed enough to feel like a genuine accomplishment.
Why This Project Works
This pattern strikes a delightful balance between structural integrity and whimsical charm. The bunny’s design relies on classic amigurumi techniques—working in continuous rounds and using decreases to create a plump, rounded silhouette—but the inclusion of the carrot bag elevates it from a standard plush to a character piece. The yellow ruffle at the neck adds a textural contrast that mimics fur, while the tiny carrot bag introduces a pop of vibrant color that draws the eye. It is a project that rewards patience; the small scale means you can focus on tight, even stitches, ensuring the stuffing stays hidden and the shape remains crisp. Whether intended as a spring decoration, a gift for a child, or a collectible addition to your shelf, the handmade quality shines through in every detail.
Project Overview
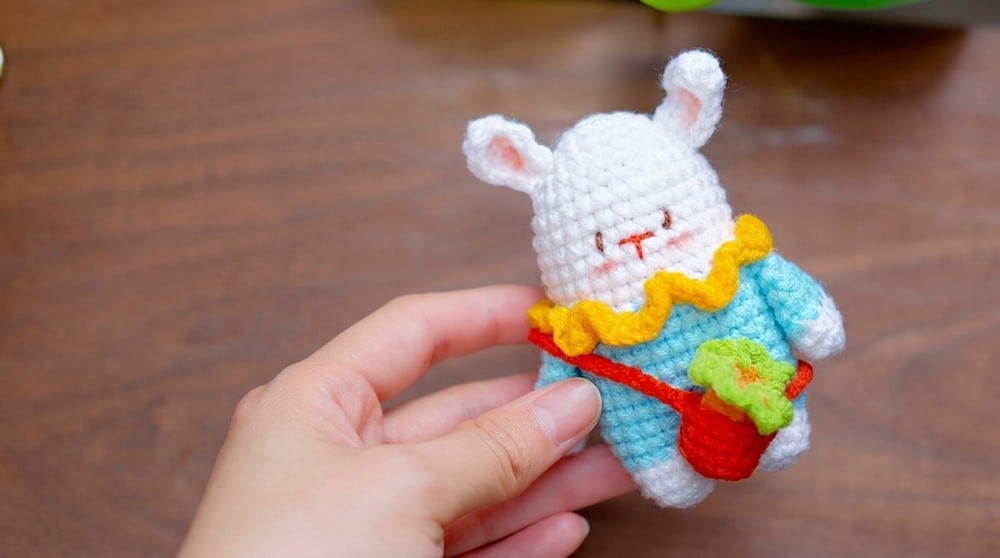
This amigurumi pattern guides you through creating a soft, standing bunny accompanied by a miniature carrot bag. The project is designed for makers who are comfortable with basic amigurumi techniques, offering a gentle challenge with its multi-part assembly and color changes. The final piece is compact and portable, making it an ideal gift or a sweet accent for a nursery or spring-themed display.
Materials
- Yarn:
- Bunny Body: White, cream, or pastel colors.
- Bag & Carrots: Orange and green.
- Facial Details & Blush: Red, brown, yellow, and pink/peach.
- Crochet Hook: 2.5 – 3.0 mm (Select a hook size that keeps stitches tight to prevent stuffing from showing).
- Stuffing: Cotton or polyester fiberfill.
- Tools: Yarn needle for sewing and embroidery, scissors, and stitch markers.
Gauge and Finished Size
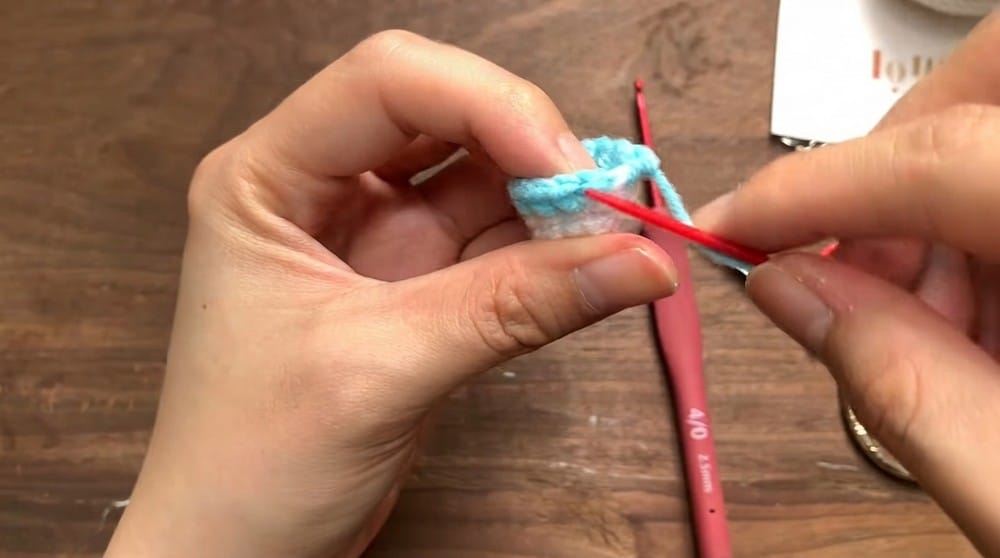
Gauge is not critical for this pattern, but it is essential to use a hook small enough to keep the stuffing from showing through the stitches. For reference, 8 rounds of single crochet should equal approximately 3 cm in diameter.
Finished Measurements:
- Bunny Height: Approx. 10–12 cm (4–5 inches).
- Bag Diameter: Approx. 3–4 cm.
- Carrot Length: Approx. 2 cm (scaled for the bag).
Note: Final size may vary slightly depending on yarn weight and hook size.
Abbreviations
- ch: chain
- sc: single crochet
- sl st: slip stitch
- inc: increase (2 sc in st)
- dec: decrease (sc2tog)
- MR: magic ring
- hdc: half double crochet
- dc: double crochet
- st(s): stitch(es)
- V: increase (2 sc in same stitch)
Pattern Notes
- Use stitch markers or note rounds carefully to ensure accurate counting.
- For color changes, switch yarn at the last stitch of the round before the new color.
- Work in continuous rounds unless otherwise stated.
- Stuff parts as you finish, especially the bunny body, to maintain a firm, round shape.
- The carrot and its leaves are worked directly onto the bag and are easily customizable.
Special Stitches
- V stitch: 2 sc in same stitch (increase).
- Magic Ring (MR): Adjustable circle to begin amigurumi.
- Working in Back Loop (BLO): Crochet only in the back loop for added texture.
Pattern Instructions
1. Bunny Legs (Make 2)
Round 1: Create a MR and work 5 sc into ring. Pull tight. [5]
Round 2: Work 5 V stitches (2 sc in each st) for 10 sc. Join with sl st. [10]
Round 3: Ch 1, work 1 sc in each st around. Join with sl st. [10]
Round 4: Change color to white/body color at last st. Ch 1, sc in every st (10 sc), sl st to finish. [10]
Round 5: 5 sc, 1 V stitch, 4 sc (following sequence: 5x, 1v, 4x = 11 sc). Finish and cut yarn. Sew end.
Repeat for the second leg, but DO NOT cut yarn after finishing; you will join the body next.
2. Bunny Body (After Legs)
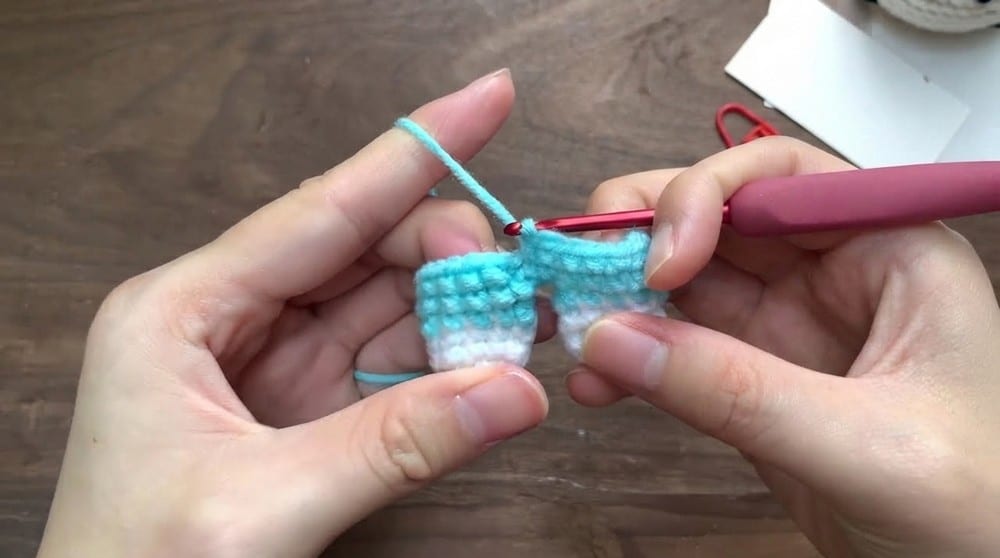
Joining Round: On the second leg, ch 2, join to first leg. Ch 1, sc 11 around first leg, sc 2 into ch-2, sc 11 around second leg, sc 2 into ch-2. (You now have two connected legs.) Total: 28 sc for this round.
Round 2: Sl st and ch 1. 5 sc, 1 V stitch, 12 sc, 1 V stitch, 7 sc to finish. [28]
Rounds 3–8: Sc in each st (28 sc per round). Sl st, ch 1 at round end.
Round 9: Change color to white. Sc in BLO all around (28 sc).
Rounds 10–15: Sc in each st (28 sc per round).
Round 16: 4 groups of 5 sc (5x), each followed by a decrease (dec). Total: 24 sc.
Rounds 17–20: Repeat decrease rounds as above, each round reducing. Stuff body as you go. Finish at the top by sewing closed with a long yarn tail, using a needle.
3. Bunny Neck Fluff (Yellow Ruffle)
With yellow yarn, attach to the neck edge and work 3 sc in each st all the way around. Continue until the entire neck edge is fluffy.
4. Bunny Ears (Make 2)
Ch 6. Starting in the 2nd ch from hook: 1 sc, 1 hdc, 4 dc along chain, 1 hdc in next, 2 sc in last. Turn, work back along the opposite side: 1 hdc, 4 dc, 1 hdc, 2 sc. Shape ear and cut yarn. Sew to head (count 3 rows from top for placement).
5. Bunny Arms (Make 2)
Round 1: MR, 6 sc. [6]
Round 2: 3 XV clusters (sc, inc in next, repeat) for total 9 sc. Join with sl st.
Round 3: Sc in each st for 9 sc.
Round 4: Change color to main body color. Sc in each st for 9 sc.
Round 5: 7 sc, dec (total 8 sc).
Round 6: 6 sc, dec (total 7 sc).
Round 7: Shape arm, sew to body just under ruffle.
6. Bunny Face
Use red yarn for the mouth. Thread and stitch a tiny smile, three rows below the ruffle. Use brown yarn for eyes; embroider small dots or ovals one square away from either side of the mouth. Add blush with pink or peach yarn/thread under the eyes.
7. Carrot Bag
Bag Base: MR, 6 sc. [6]
Round 2: 6 V stitches (inc), 12 sc. Join with sl st.
Rounds 3–4: Sc in BLO for sturdy texture, 12 sc per round.
Round 5: Work 12 sl sts in mouth of bag to reinforce opening.
Handle: Ch 35, sl st to opposite side to form strap.
8. Carrot (Make 1 or More)
Body: MR, 5 sc. Round 2: (sc, inc) repeat for 7 sc. Round 3: Sc in each st for 7 sc.
Leaves: Change to green. Ch 4, sl st to carrot end. Repeat for 3–4 leaves.
Assembly
Sew ears to the top of the head. Attach arms under the ruffle. Hide all yarn ends. Place the carrot(s) into the bag and attach the bag over the bunny’s shoulder. Add blush as desired for extra cuteness. The finished bunny stands about 12 cm tall, and the carrot bag hangs securely.
Tips
- Consistent Tension: Because the gauge is not critical, focus on keeping your tension consistent. Tighter stitches help prevent the stuffing from peeking out.
- Stuffing Strategy: Stuff the legs firmly before joining them to the body. This ensures the bunny stands upright and doesn’t look lopsided.
- Color Changes: When changing colors, pull the new yarn through the last loop of the previous stitch. This creates a clean edge without gaps.
- Customization: Feel free to add extra carrots to the bag or change the bunny’s fur color to match your home decor.
FAQs
What yarn weight is best for this pattern?
The pattern is designed for use with a 2.5–3.0 mm hook, which typically corresponds to DK or light worsted weight yarn. The key is to ensure the yarn is not too bulky, as this will affect the final size and the tightness of the stitches.
Can I make the bunny larger?
Yes, you can scale the pattern up by using a thicker yarn and a larger hook. However, you will need to adjust the stitch counts and round numbers proportionally to maintain the correct shape.
How do I keep the bunny standing up?
Proper stuffing is crucial. Ensure the legs are stuffed firmly and joined securely. The base of the body should be flat and evenly stuffed to provide a stable foundation.
Is this pattern suitable for absolute beginners?
This pattern is recommended for confident beginners or intermediate crocheters. It requires knowledge of working in the round, magic rings, and basic increases and decreases. If you are new to amigurumi, you may want to practice these stitches on a simple sphere first.
How do I attach the carrot bag securely?
Use a yarn needle and a long tail of yarn to sew the bag handle to the bunny’s shoulder. Stitch through the handle loops and into the body stuffing, ensuring the knot is hidden and the bag hangs level.
Pin This Crochet Pattern!