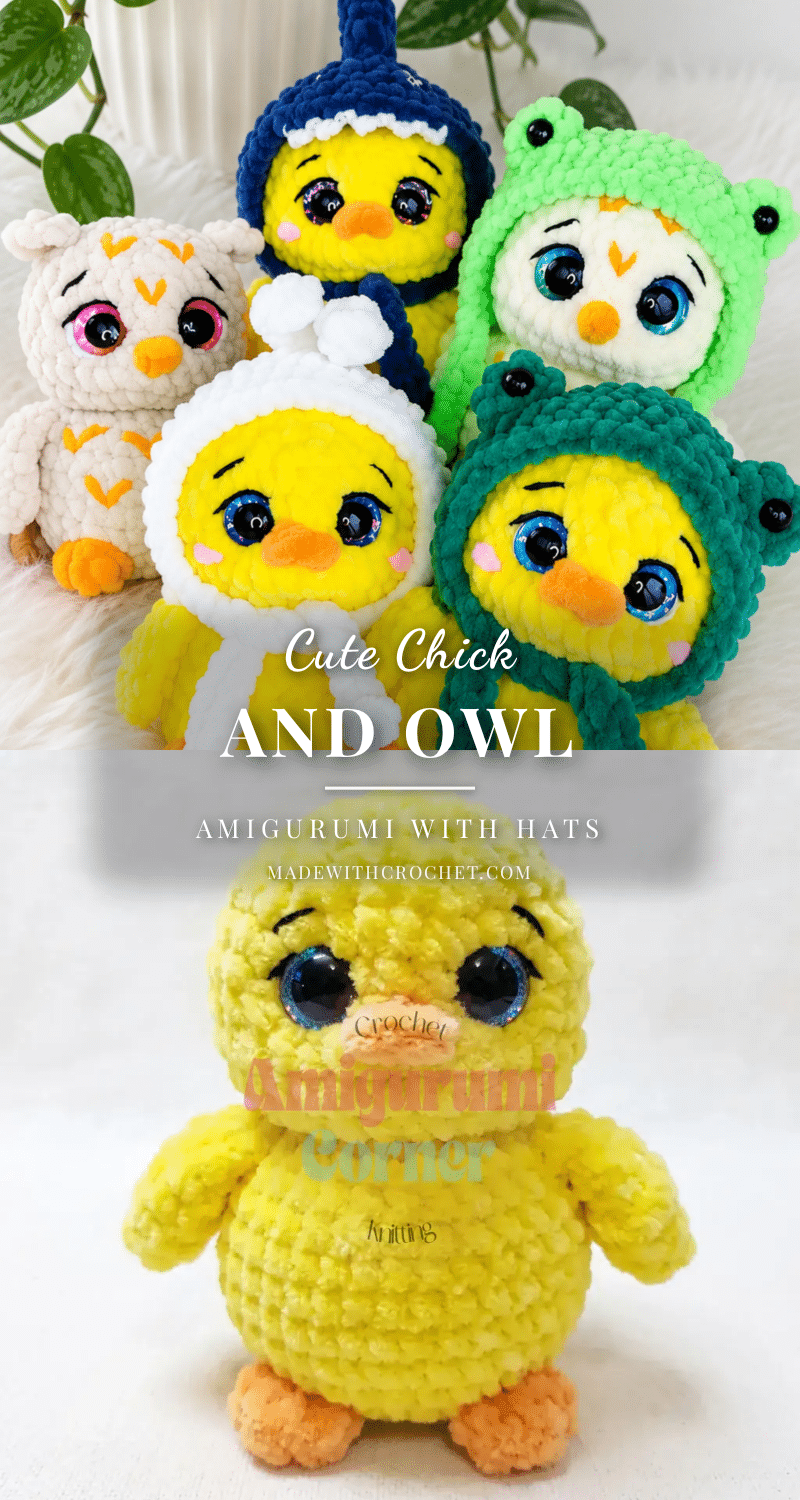
Yarn is on the table, hook is in hand, and the project is just beginning to take shape. There is something deeply satisfying about watching a simple magic ring expand into a defined form, especially when that form belongs to a chick and an owl ready to share a hat. This pattern invites you to create a matching pair of amigurumi friends using a single body structure, allowing you to focus on the unique details that give each character its personality. Whether you are drawn to the bright yellow of the chick or the soft cream of the owl, the process is grounded in the tactile joy of plush yarn and the precision of stitch-by-stitch creation.
Why This Project Works
This project stands out because it offers maximum charm with efficient construction. By sharing the same body, legs, and head pattern, you can crochet both characters using the same muscle memory, switching only the finishing details and accessories to differentiate them. The use of bulky plush or velvet chenille-style yarn is a game-changer; it creates a velvety, high-end look while naturally hiding stitch definition, making it forgiving for makers who want a smooth, professional finish. The inclusion of three interchangeable hats—a frog, a bunny, and a shark—adds a layer of playfulness, allowing you to customize the look of either toy. It is a project that balances the meditative rhythm of spiral crochet with the creative satisfaction of assembly and detailing.
Project Overview
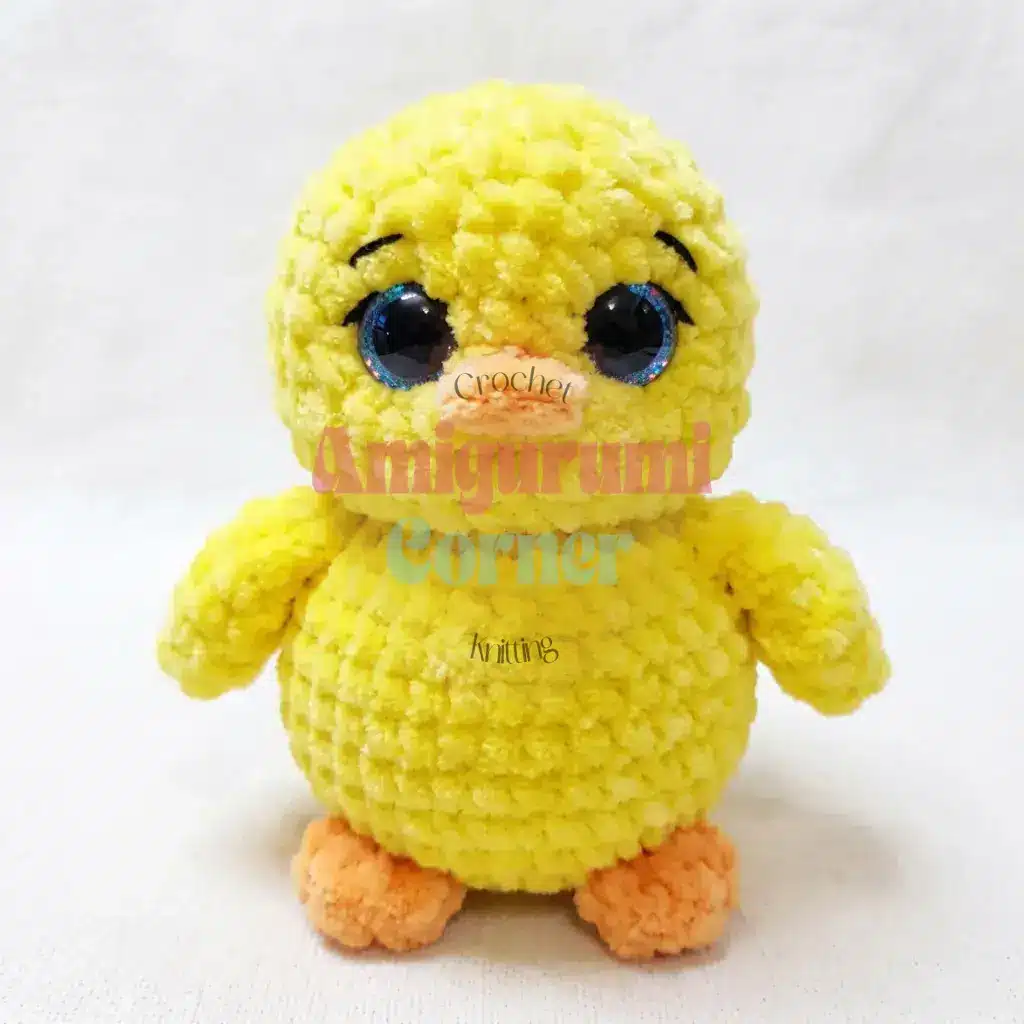
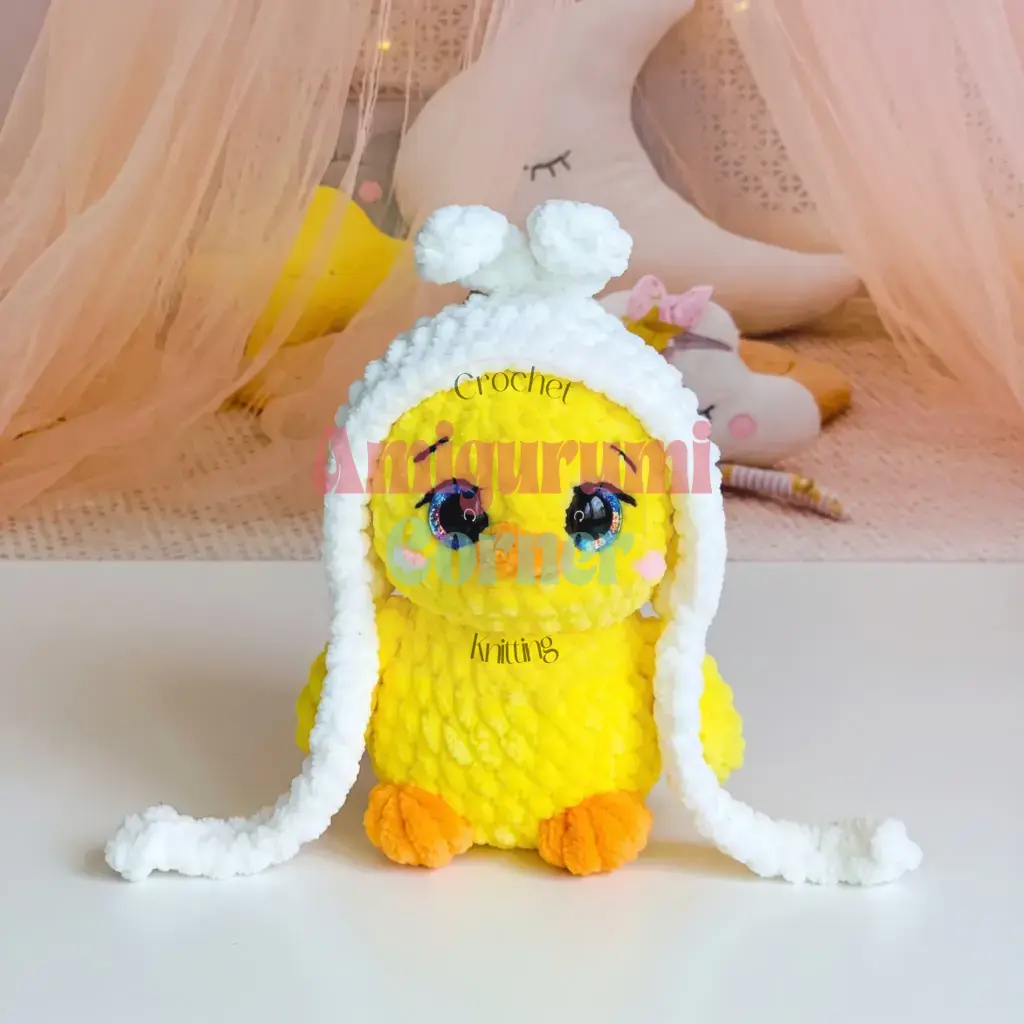
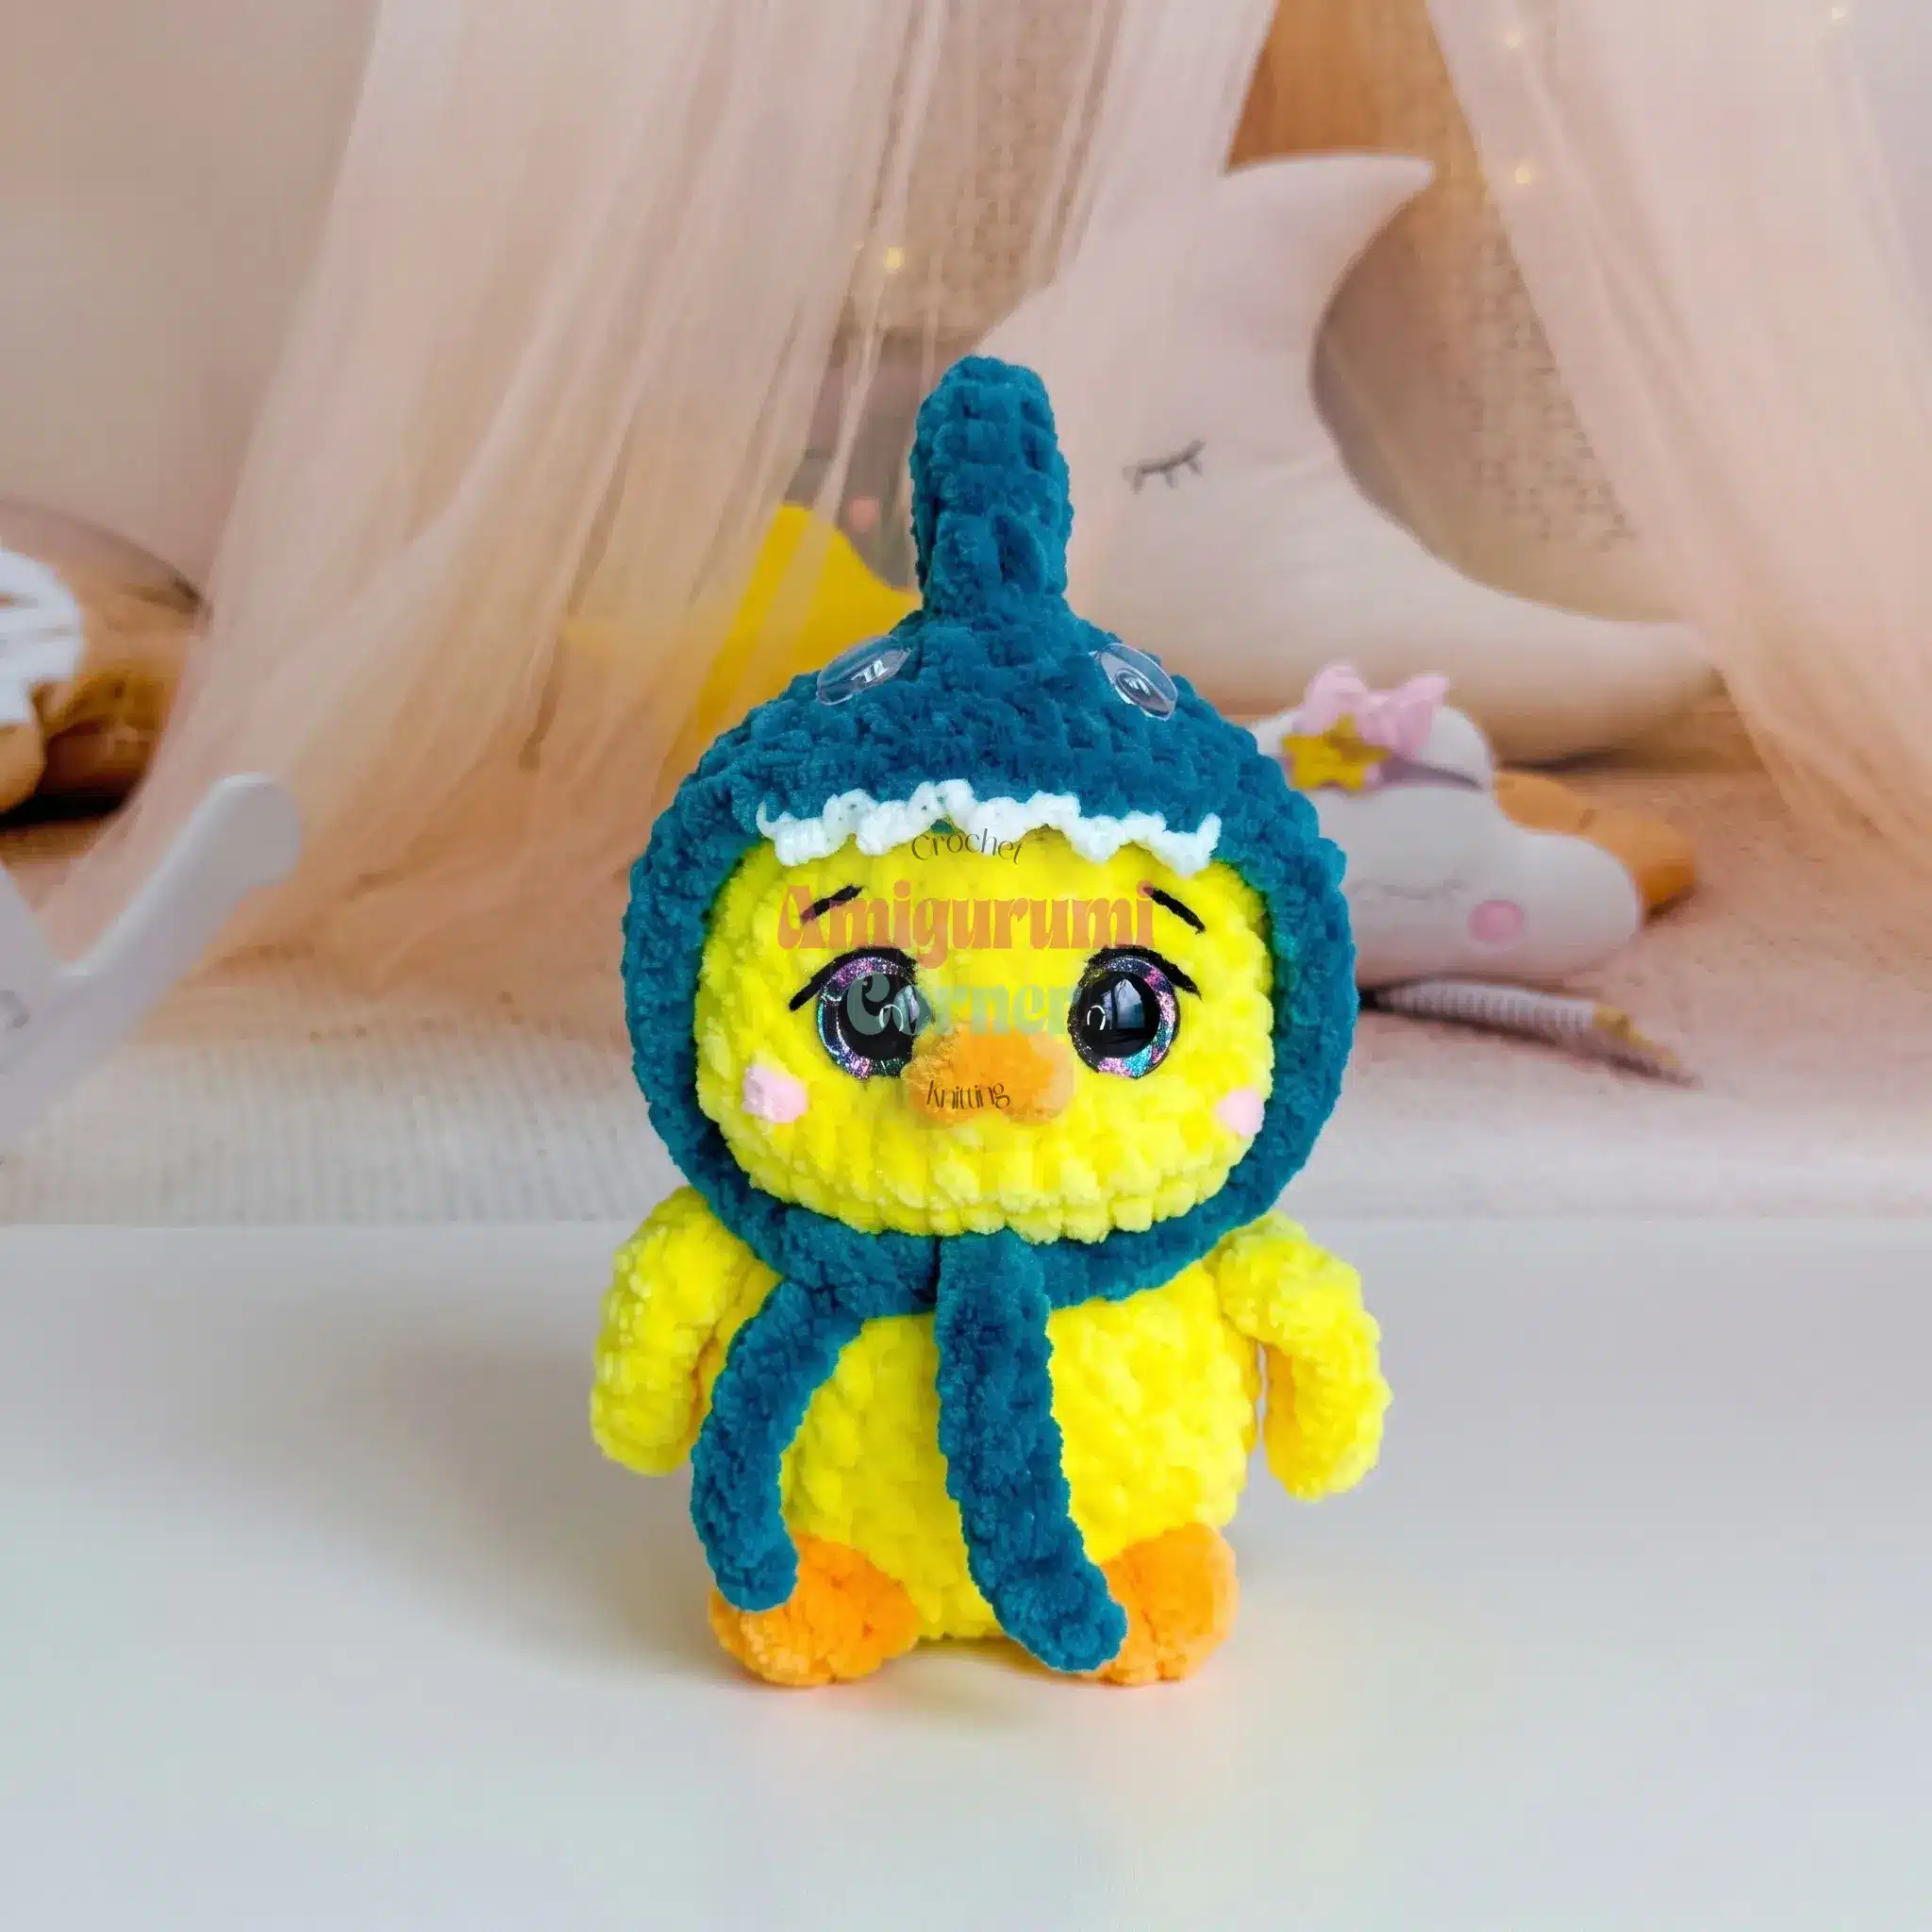
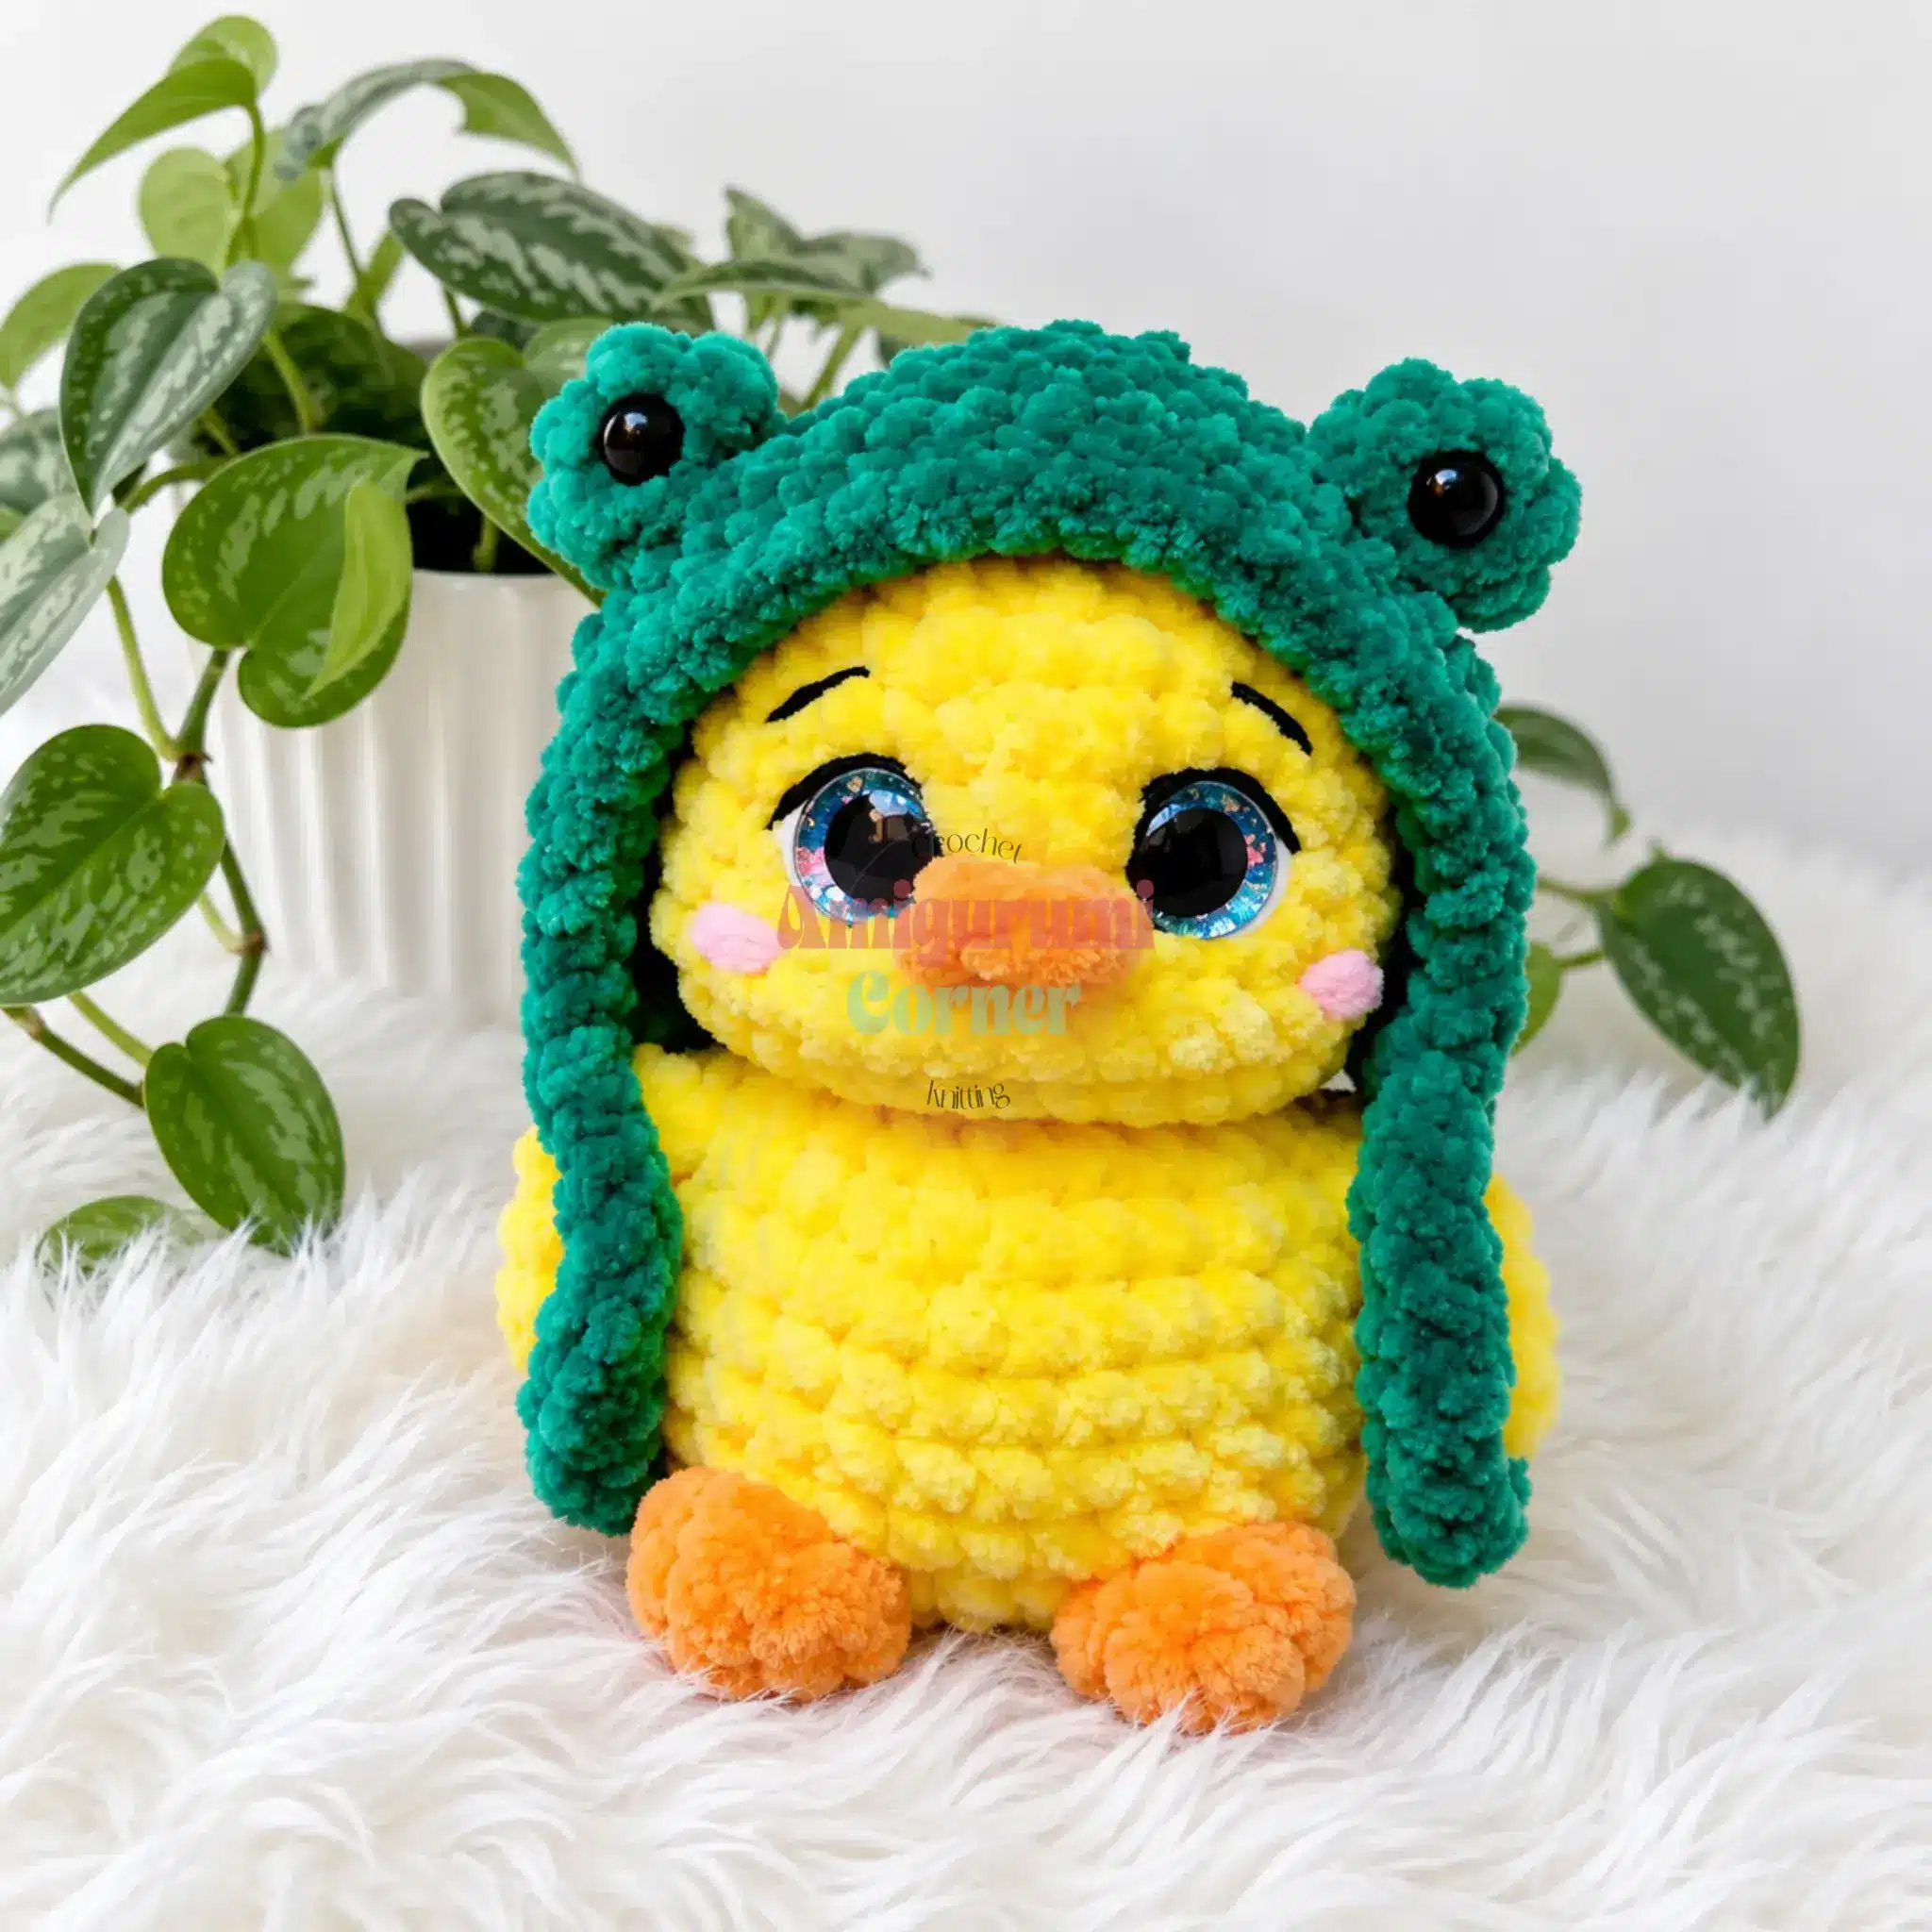
This amigurumi pattern creates a pair of adorable chick and owl toys, each standing approximately 4.5 inches (11–12 cm) tall. The design features a shared body structure with distinct wings, beaks, and facial details. The pattern includes instructions for three separate hats: a frog hat with bobble details, a bunny hat with ears, and a shark hat with a fin and teeth. The project is written in US crochet terminology and is suitable for confident beginners and intermediate makers.
Materials
- Yarn: Bulky (CYC 5) plush or velvet chenille-style yarn (such as Himalaya Dolphin Baby or Wolans Bunny Baby).
- Yellow for the chick body.
- Cream or white for the owl body.
- Orange for the chick’s feet and beak.
- Golden orange for the owl’s feet and beak.
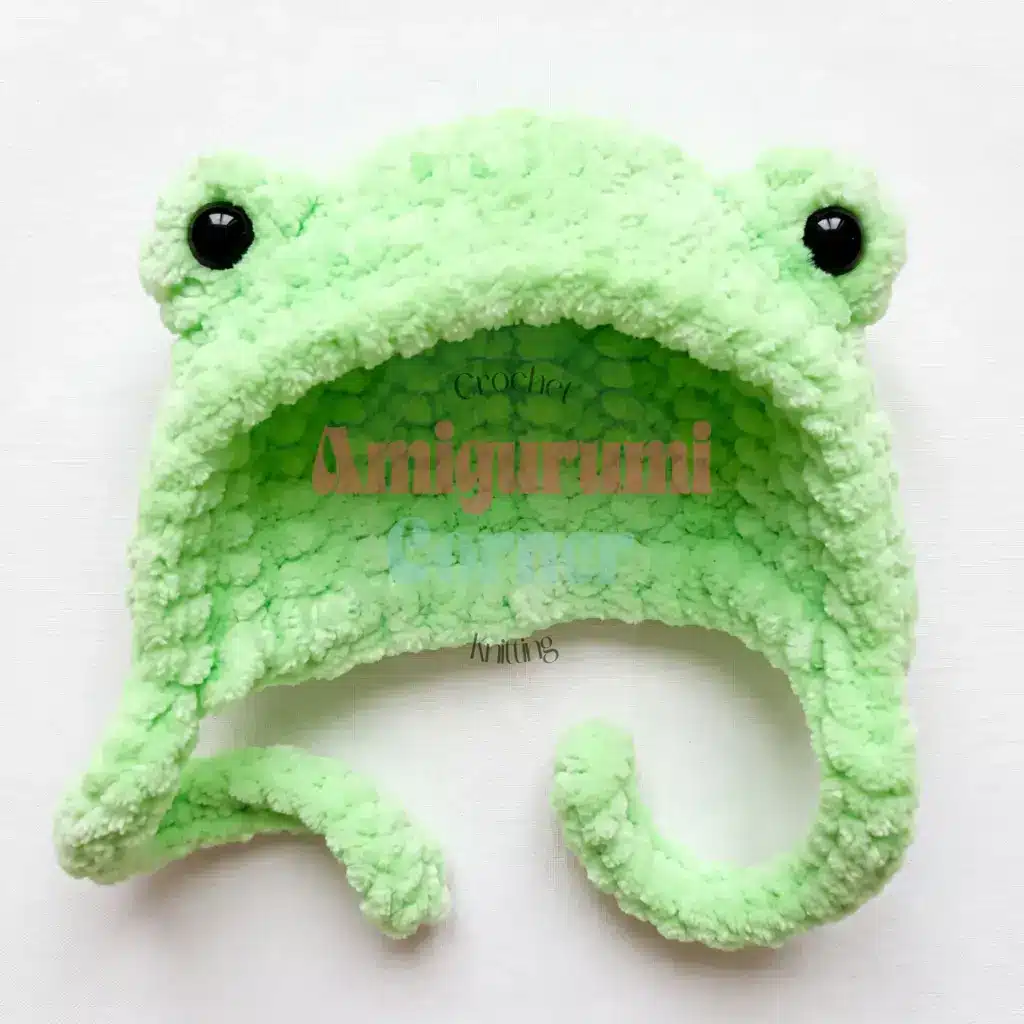
- Green for the frog hat.
- White for the bunny hat.
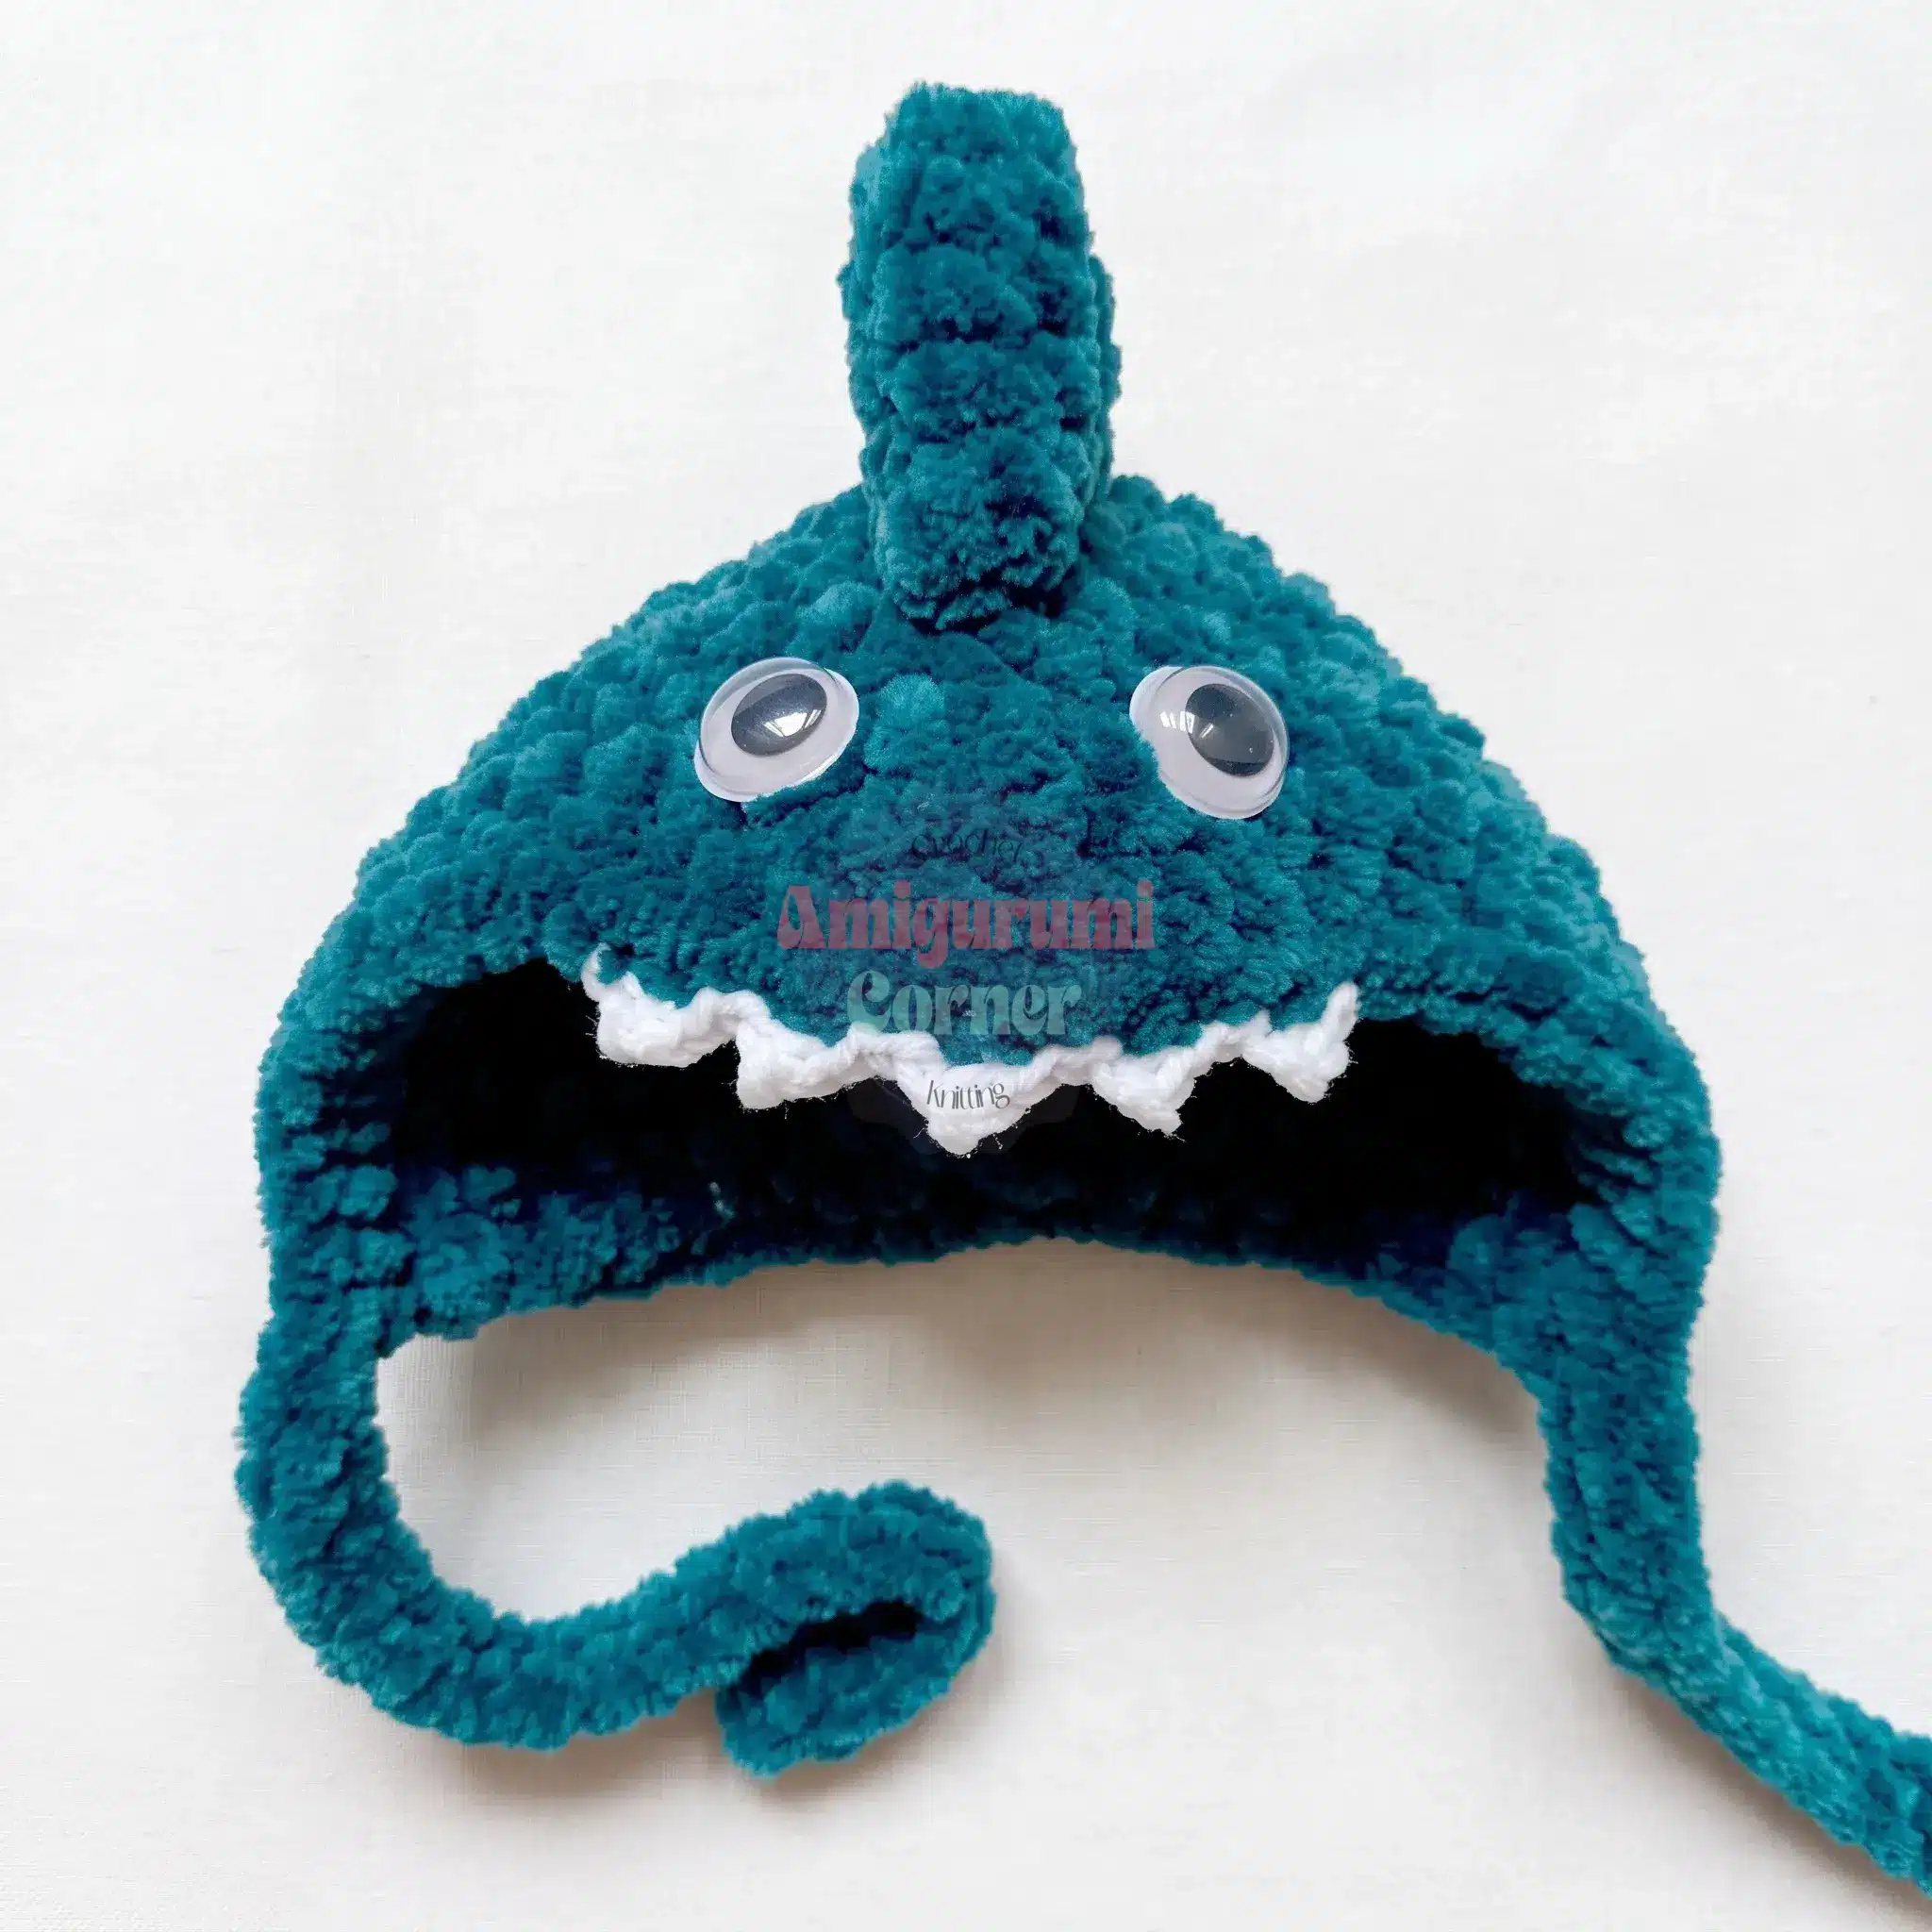
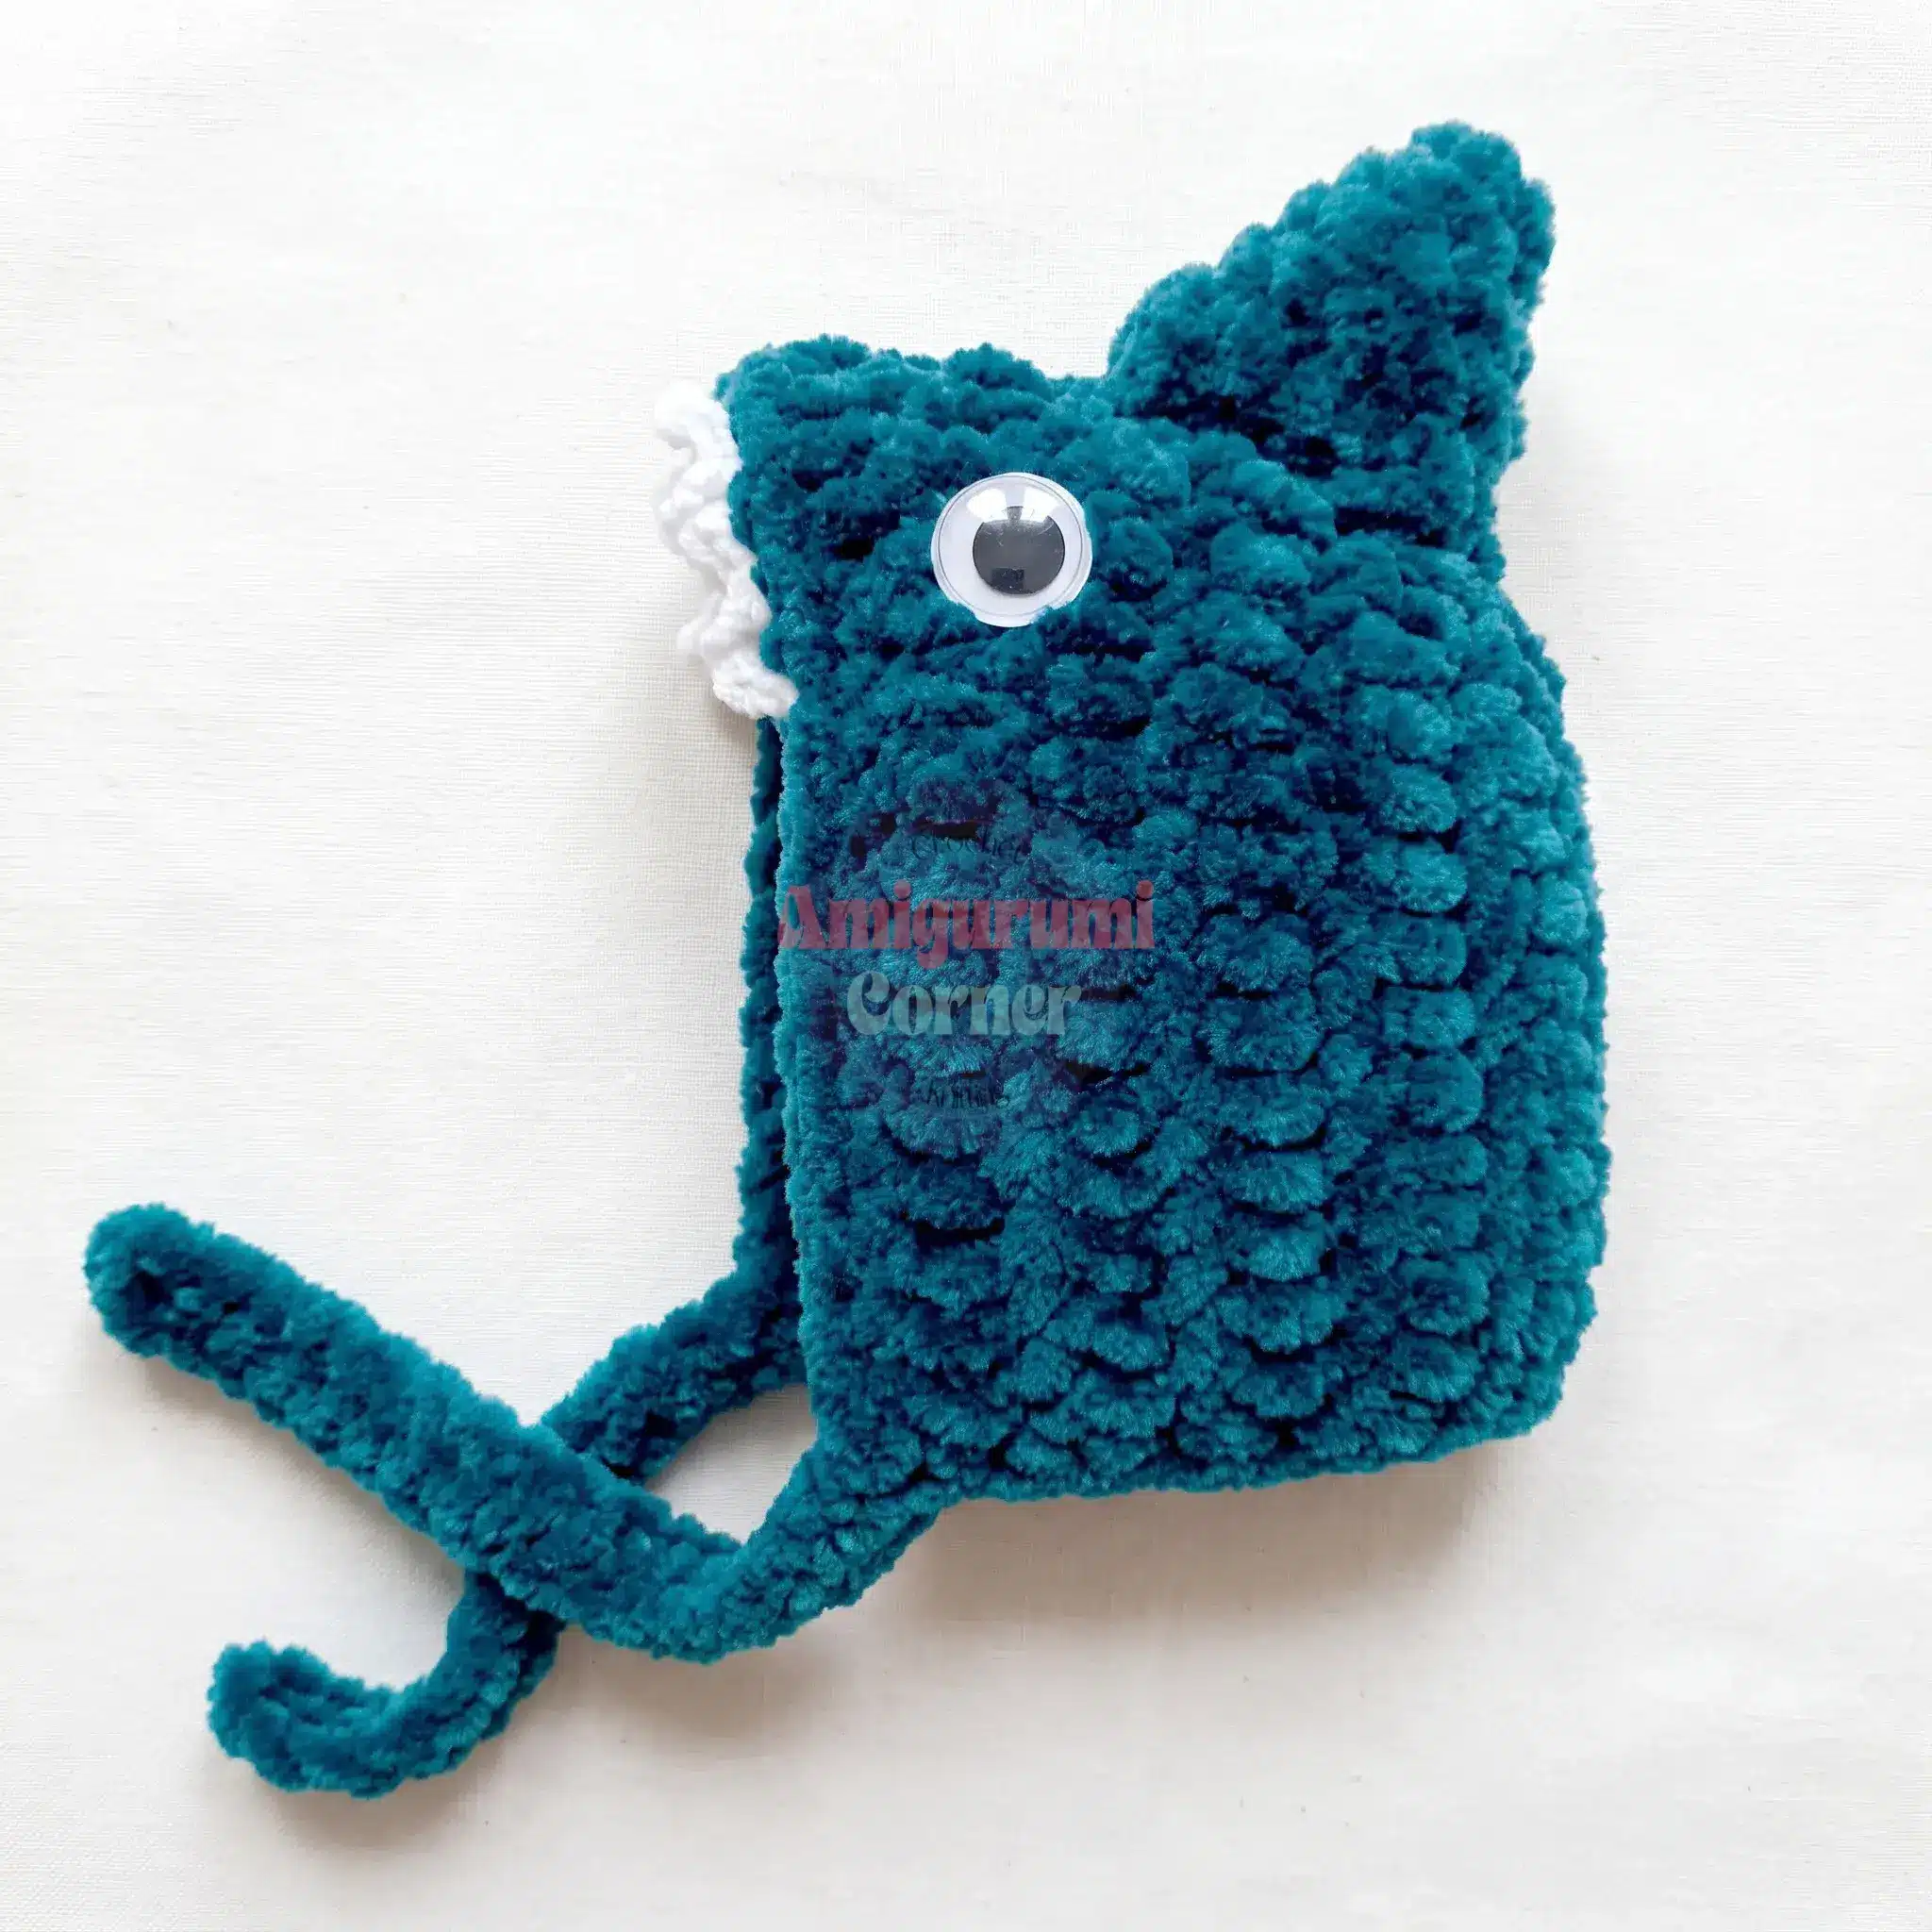
- Teal for the shark hat.
- White for the shark’s teeth.
- Face Yarn: Fingering or sport-weight cotton-blend yarn (such as Yarnart Jeans) for face details.
- Optional Yarn: White fur yarn (such as Wolans Fox or Himalaya Koala) for the chick’s crest.
- Hooks:
- US G-6 (4 mm) for the plush yarn.
- US D-3 (3 mm) for the chick’s beak.
- US B-1 (2 mm) for the shark’s teeth.
- Safety Eyes:
- 14 mm sparkle eyes for the chick (1 pair).
- 16 mm sparkle eyes for the owl (1 pair).
- 8 mm black half-beads for the frog hat (2).
- Glue-on eyes for the shark hat (2).
- Stuffing: Fiberfill (the designer uses fiberfill pellets).
- Threads: Black embroidery thread for eyebrows and lash lines; pink thread for the chick’s cheeks; contrast-color thread for the owl’s chevrons; sewing thread for shaping eyes.
- Tools: Stitch markers, yarn needle, scissors, and craft glue.
Gauge and Finished Size
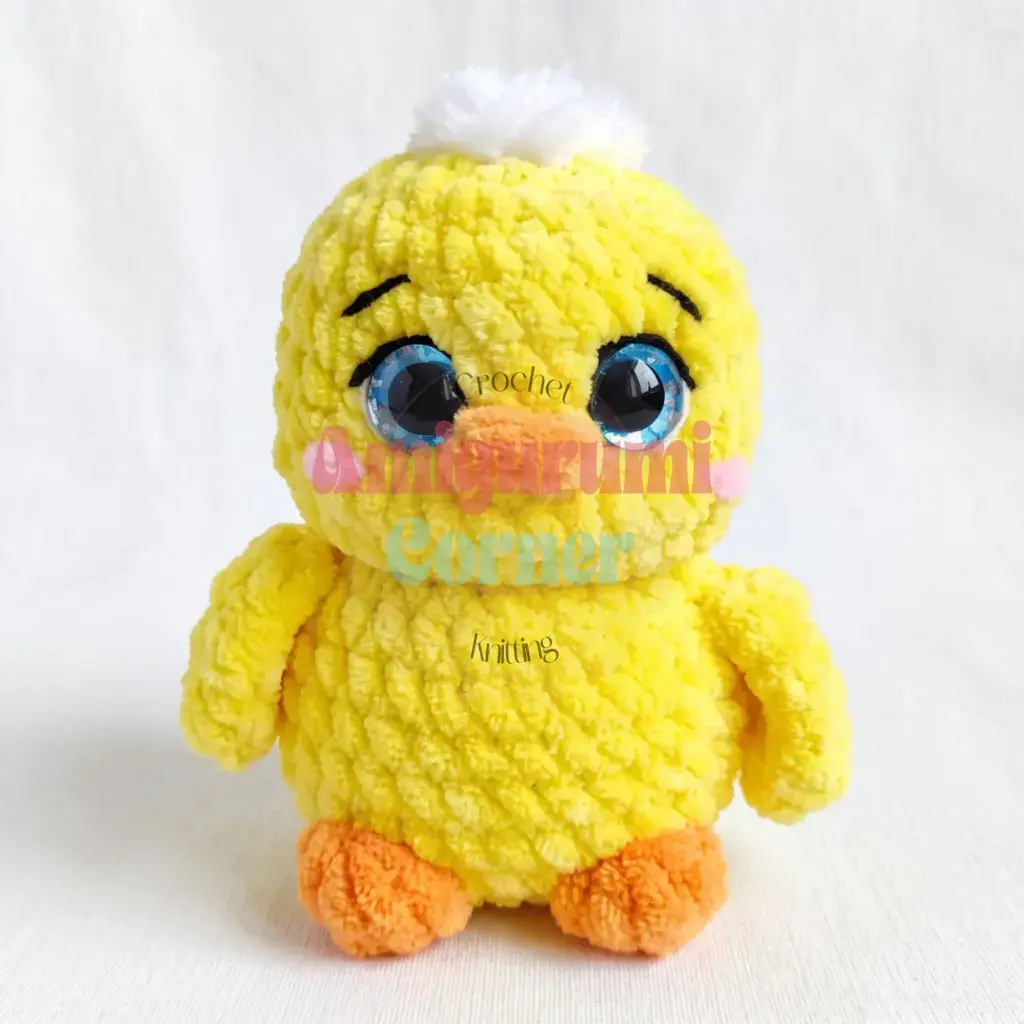
Gauge is not critical for this project. Your finished size will vary slightly depending on the specific yarn brand and your personal tension. Each finished toy stands about 4.5 inches (11–12 cm) tall.
Abbreviations
- BLO — Back Loop Only
- bo — Bobble Stitch (5 tr worked in the same stitch, left unfinished, then closed together at the top)
- ch — Chain
- dc — Double Crochet
- dec — Invisible Decrease
- FLO — Front Loop Only
- hdc — Half Double Crochet
- hdc inc — Half Double Crochet Increase (2 hdc in the same stitch)
- inc — Increase (2 sc in the same stitch)
- MR — Magic Ring
- Rnd — Round
- Row — Row
- sc — Single Crochet
- sl st — Slip Stitch
- st(s) — Stitch(es)
- tr — Treble Crochet
Pattern Notes
- The chick and owl are worked in a continuous spiral with no joining. Mark the first stitch of each round.
- The wings are worked flat and joined in during the body. All three hats are worked in turned rows.
- Stitch count is given at the end of each round or row in parentheses: (##).
- The tail stitches in Rnd 4 and the ear stitches in the owl’s Rnd 19 are not counted.
- Hat Row 11 and the shark fin’s Rnd 5 have no stated count in the original pattern.
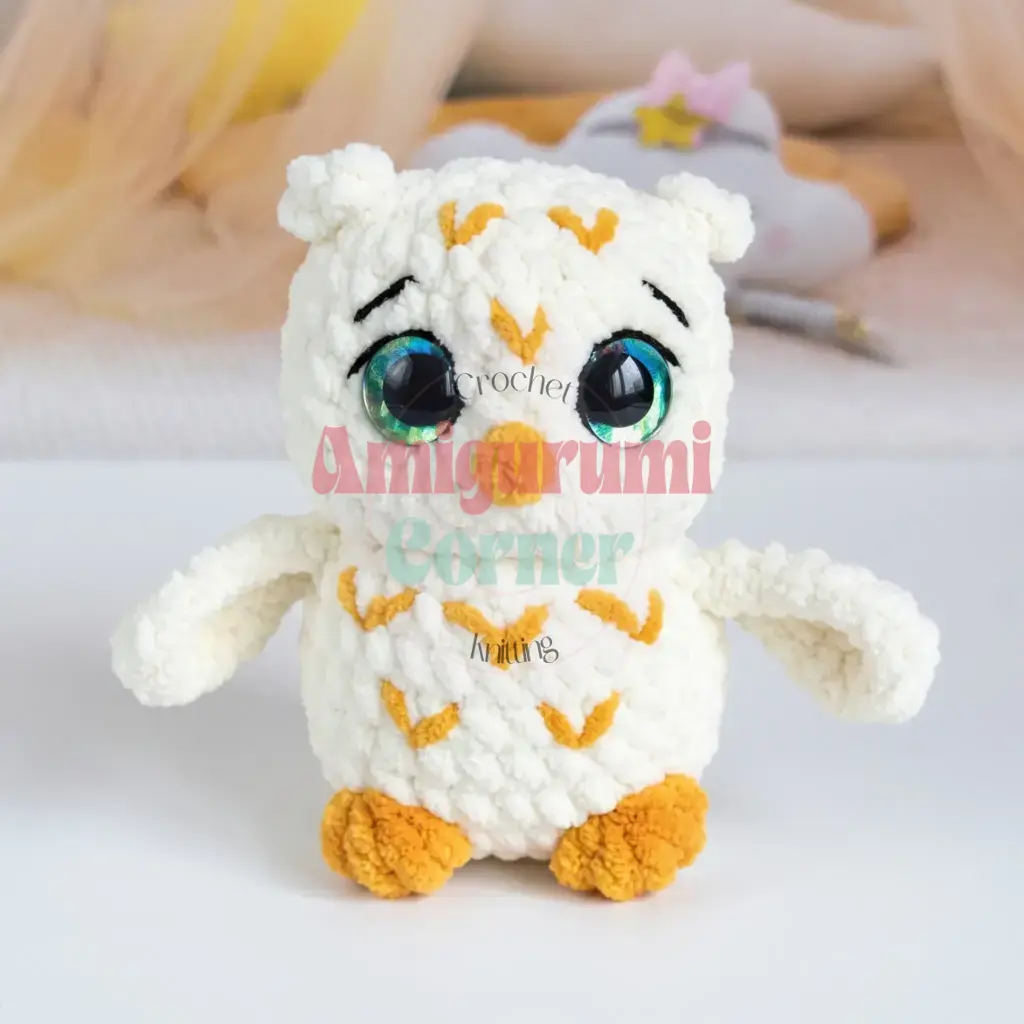
- The chick and owl use the same body, legs, and head pattern. Only Rnd 19 differs, and the wings and finishing details are different.
- Stuff as you go. Place the eyes between Rnds 16 and 17, with 6 sc between the eye posts.
Pattern Instructions
Chick Wing (make 2)
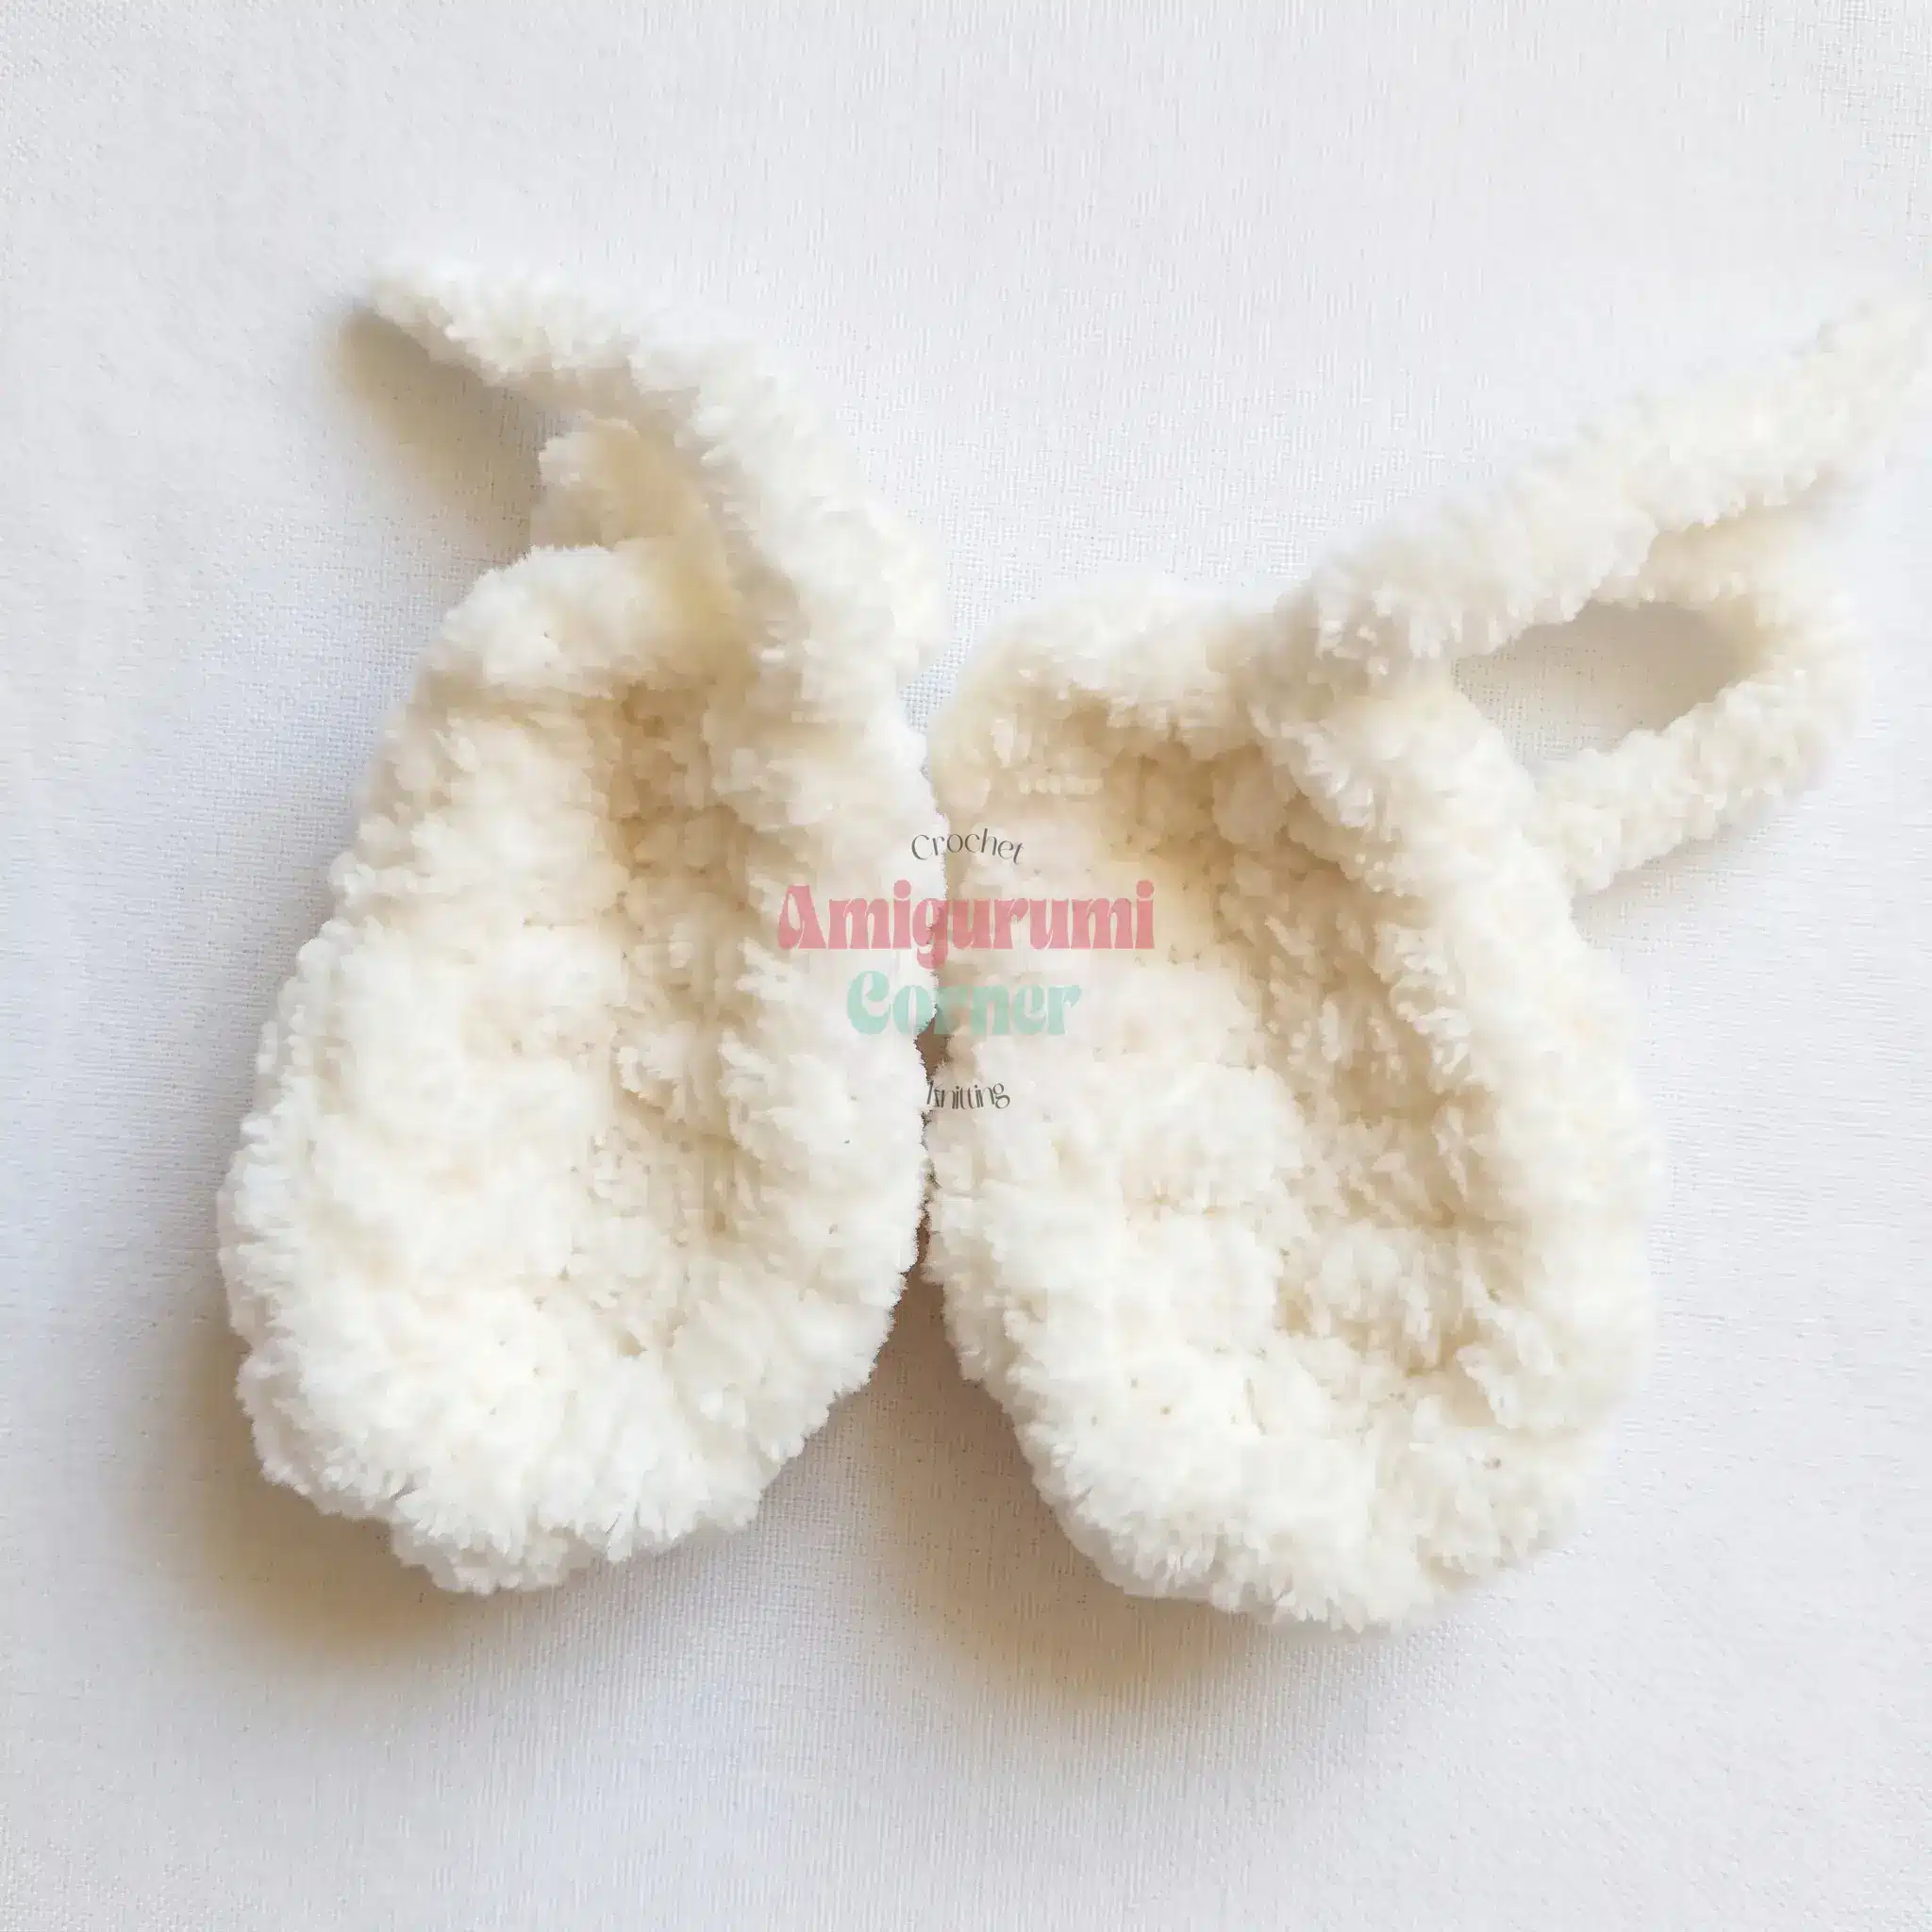
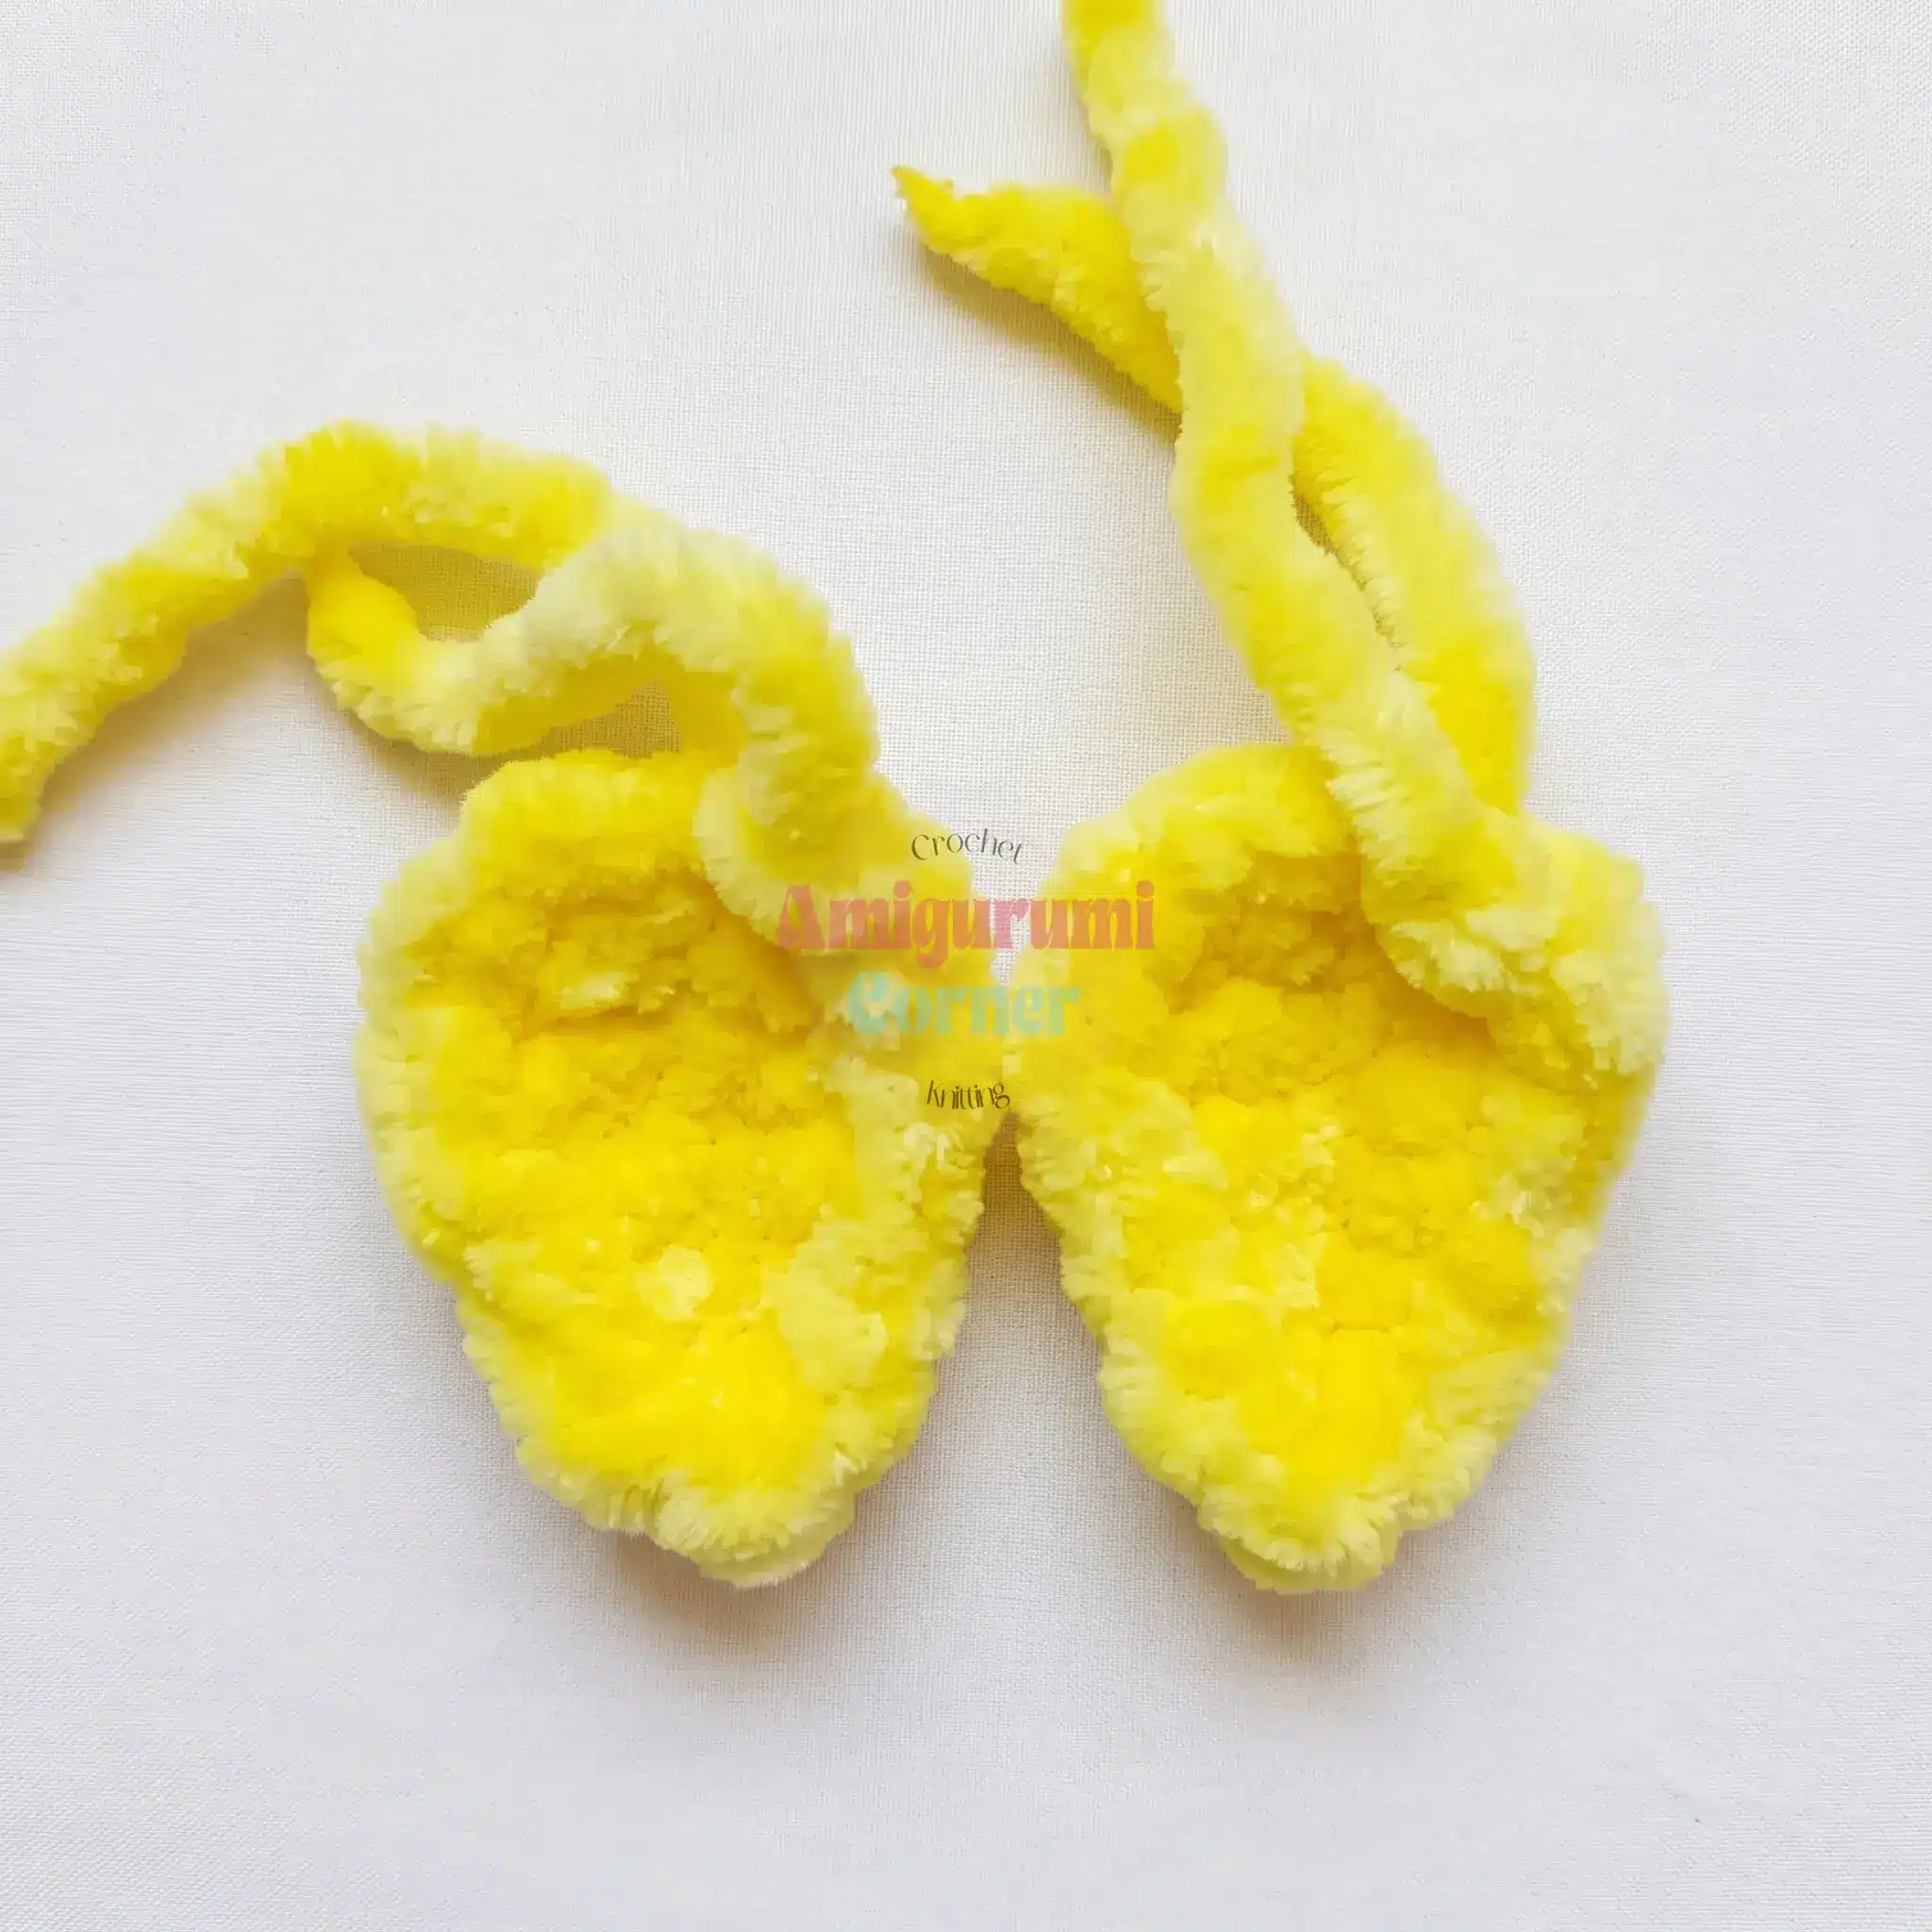
Foundation: Ch 7. Starting in the 3rd ch from hook: 2 dc, 1 hdc, 1 sc, 3 sc in last ch, 1 sc, 1 hdc, 2 dc, sl st. Fasten off, leaving the wing to be worked into the body.
Owl Wing (make 2)
Foundation: Ch 7. Starting in the 2nd ch from hook: 1 sc, 2 hdc, 2 dc, 3 dc in last ch, 2 dc, 2 hdc, 1 sc, sl st. Fasten off, leaving the wing to be worked into the body.
Body, Legs and Head (Chick and Owl)
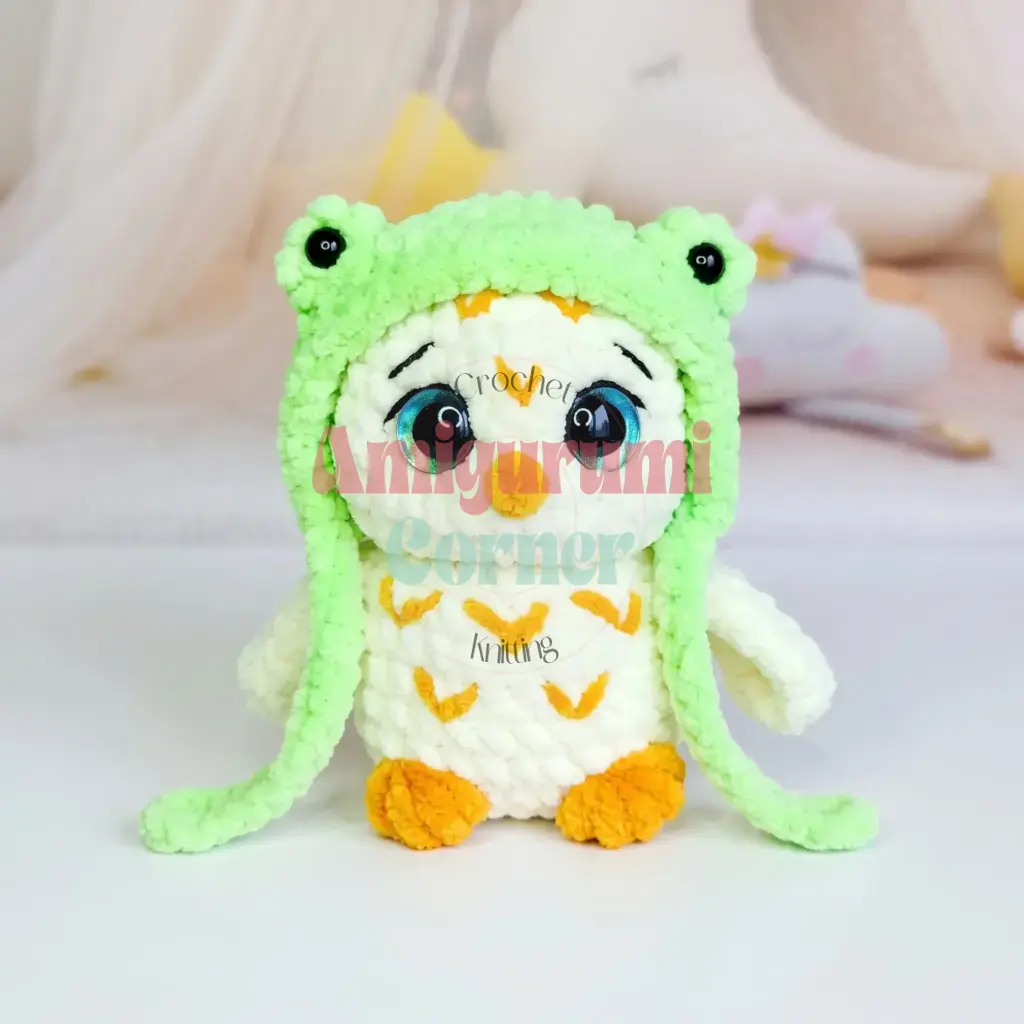
Worked in continuous spiral rounds. Make one chick and one owl using the same rounds.
- Rnd 1: Ch 6. Starting in the 2nd ch from hook: inc, 3 sc, 4 sc in last ch, 3 sc, inc. (14)
- Rnd 2: 2 inc, 3 sc, 4 inc, 3 sc, 2 inc. (22)
- Rnd 3: 1 sc, inc repeat 2 times, 3 sc, 1 sc, inc repeat 4 times, 3 sc, 1 sc, inc repeat 2 times. (30)
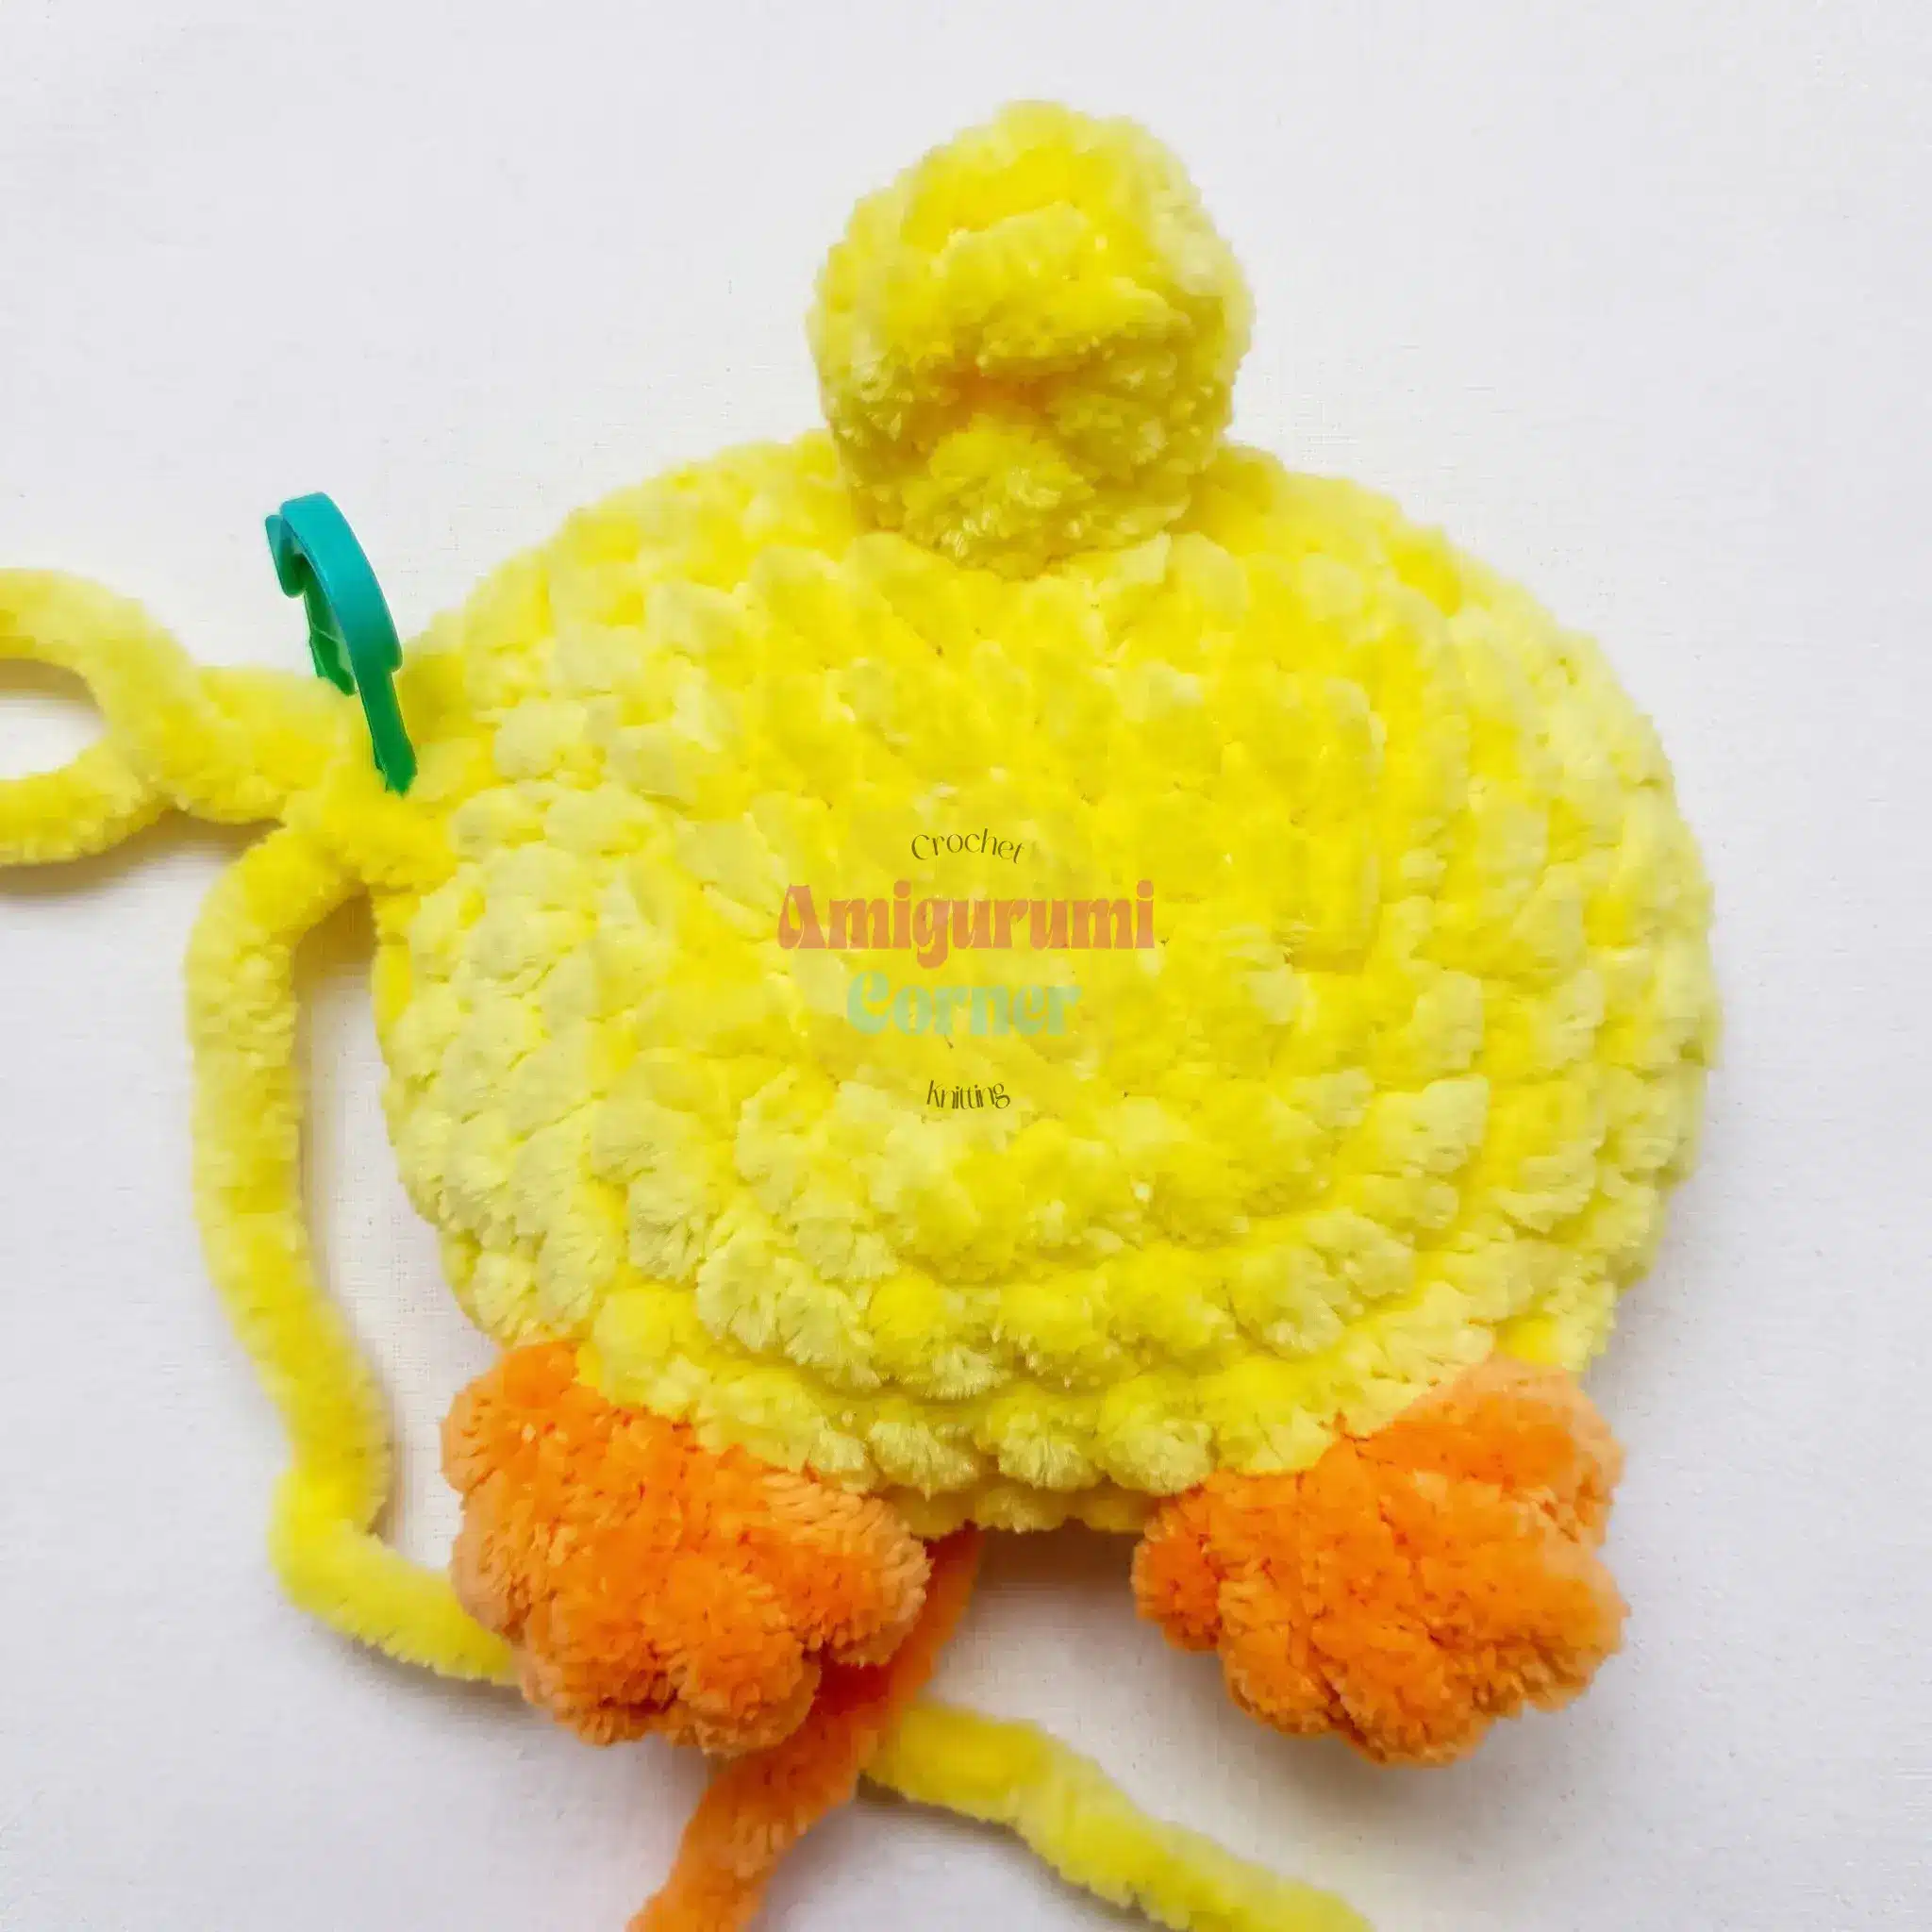
- Rnd 4: 4 sc, foot (5 tr bobble in 1 st), 5 sc, foot (5 tr bobble in 1 st), 12 sc, ch 4, in the 3rd ch from hook: 1 dc, 1 hdc (tail; not counted), 7 sc across the body. (30)
- Feet and tail are worked in the next round. Work the feet in a contrast color and complete every stitch with the body color.
- Rnds 5–8: sc in each st around. (30)
- Rnd 9: Join in the wings. Work 2 sc through both the body stitch and a wing stitch together. Then on the body: 1 sc, dec, 3 sc, dec repeat 2 times. Work 2 sc through both the body and the second wing together. Then on the body: 1 sc, dec, 3 sc, dec repeat 2 times. (24)
- Rnd 10: 2 sc, dec repeat 6 times around. (18)
- Rnd 11: 1 sc, dec repeat 6 times around. (12)
- Rnd 12: FLO, inc in each st around. (24)
- Stuff the toy as you work.
- Rnd 13: 3 sc, hdc inc in each of the next 2 sts, 3 sc, inc, 3 sc, hdc inc in each of the next 2 sts, 3 sc, inc, 2 sc, inc repeat 2 times. (32)
- Rnd 14: sc in each st around. (32)
- Rnd 15: 4 sc, dec, 10 sc, dec, 14 sc. (30)
- Rnds 16–17: sc in each st around. (30)
- Rnd 18: 3 sc, dec repeat 6 times around. (24)
- Insert the eyes between Rnds 16 and 17, with 6 sc between the eye posts.
- The next round differs for the chick and the owl.
- Chick, Rnd 19: 2 sc, dec repeat 6 times around. (18)
- Owl, Rnd 19 (ears): dec, 1 sc, ear (ch 3; in the 2nd ch from hook: 1 sc, 1 dc), 1 sc, dec, 2 sc, dec repeat 2 times, 1 sc, ear (ch 3; in the 2nd ch from hook: 1 sc, 1 dc), 1 sc, dec, 2 sc, dec, 2 sc. (18)
- Rnd 20: 1 sc, dec repeat 6 times around. (12)
- Rnd 21: dec 6 times around. (6)
- Fasten off. For the owl, pull the tail through the remaining sts and close. For the chick with a crest, leave the small ring at the crown open for the crest, as described in the finishing steps.
Frog Hat
Worked in turned rows.
- Row 1: Ch 10. Starting in the 2nd ch from hook: 8 sc, 3 sc in last ch, 8 sc. (19)
- Row 2: Ch 1, turn, 8 sc, 3 inc, 8 sc. (22)
- Row 3: Ch 1, turn, 8 sc, 1 sc, inc repeat 3 times, 8 sc. (25)
- Row 4: Ch 1, turn, 8 sc, 2 sc, inc repeat 3 times, 8 sc. (28)
- Rows 5–8: Ch 1, turn, sc in each st across. (28)
- Row 9: Ch 1, turn, 8 sc, bo (5 tr closed together in 1 st), 10 sc, bo (5 tr closed together in 1 st), 8 sc. (28)
- Row 10: Ch 1, turn, sc in each st across. (28)
- Row 11: Ch 15, 14 sl st along the chain, 28 sc across the hat, ch 15, 14 sl st along the chain. Do not fasten off. Work the edging along the back of the hat: 3 sc, dec repeat 4 times, sl st. Fasten off and secure.
- Glue the 8 mm black half-beads onto the two bobbles.
Bunny Hat
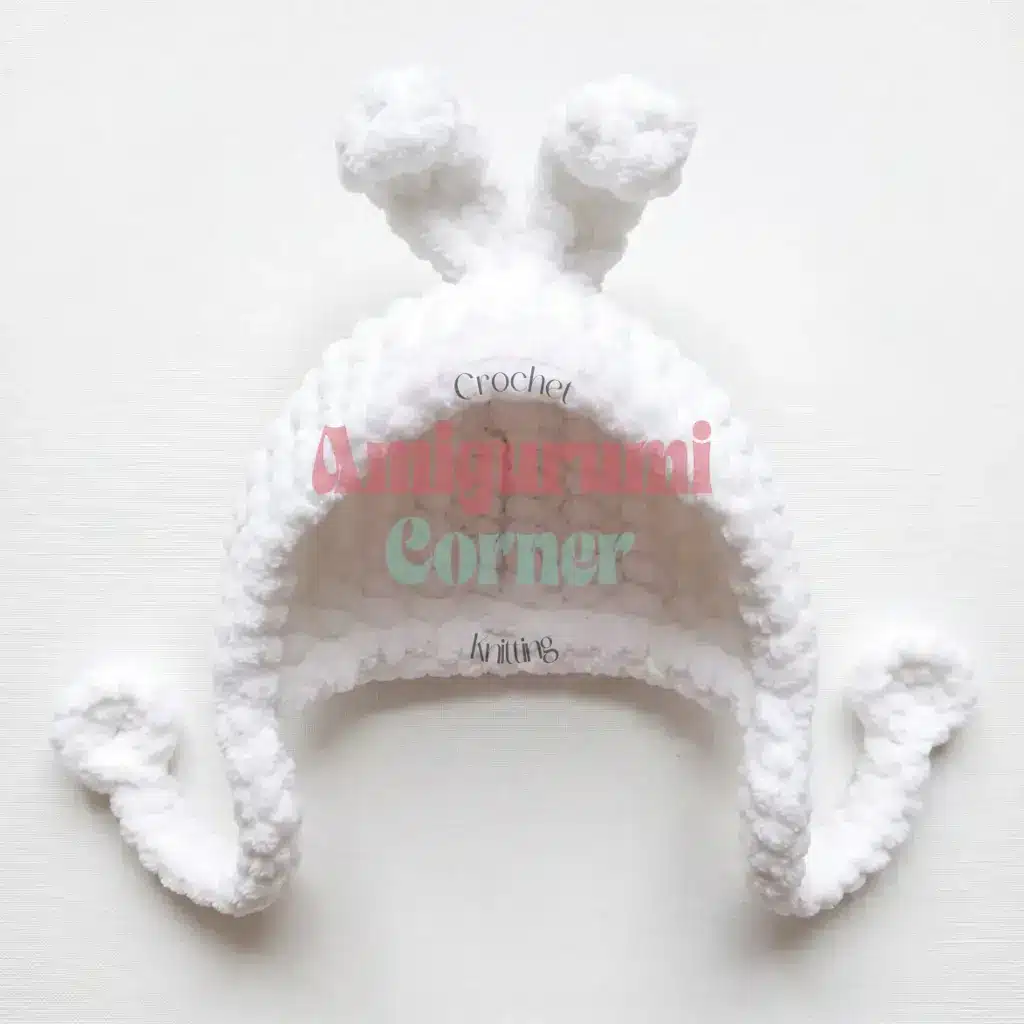
Worked in turned rows.
- Row 1: Ch 10. Starting in the 2nd ch from hook: 8 sc, 3 sc in last ch, 8 sc. (19)
- Row 2: Ch 1, turn, 8 sc, 3 inc, 8 sc. (22)
- Row 3: Ch 1, turn, 8 sc, 1 sc, inc repeat 3 times, 8 sc. (25)
- Row 4: Ch 1, turn, 8 sc, 2 sc, inc repeat 3 times, 8 sc. (28)
- Row 5: Ch 1, turn, sc in each st across. (28)
- Row 6: Ch 1, turn, 13 sc, ear (ch 7; in the 3rd ch from hook: 1 tr, 2 dc, 1 hdc, 1 sc), 1 sc on the hat, ear (ch 7; in the 3rd ch from hook: 1 tr, 2 dc, 1 hdc, 1 sc), 14 sc on the hat. (28)
- Row 7: Ch 1, turn, 14 sc, 1 sc between the ears, 13 sc. (28)
- Rows 8–10: Ch 1, turn, sc in each st across. (28)
- Row 11: Ch 15, 14 sl st along the chain, 28 sc across the hat, ch 15, 14 sl st along the chain. Do not fasten off. Work the edging along the back of the hat: 3 sc, dec repeat 4 times, sl st. Fasten off and secure.
Shark Hat
Worked in turned rows.
- Row 1: Ch 10. Starting in the 2nd ch from hook: 8 sc, 3 sc in last ch, 8 sc. (19)
- Row 2: Ch 1, turn, 8 sc, 3 inc, 8 sc. (22)
- Row 3: Ch 1, turn, 8 sc, 1 sc, inc repeat 3 times, 8 sc. (25)
- Row 4: Ch 1, turn, 8 sc, 2 sc, inc repeat 3 times, 8 sc. (28)
- Rows 5–9: Ch 1, turn, sc in each st across. (28)
- Row 10: Ch 1, turn, 11 sc, 2 hdc, 2 dc, 2 hdc, 11 sc. (28)
- Row 11: Ch 15, 14 sl st along the chain, then across the hat: 11 sc, 2 hdc, hdc inc in each of the next 2 sts, 2 hdc, 11 sc. Ch 15, 14 sl st along the chain. Do not fasten off. Work the edging along the back of the hat: 3 sc, dec repeat 4 times, sl st. Fasten off and secure.
- Glue the glue-on eyes to the hat wherever you like.
Shark Fin
- Rnd 1: 4 sc in MR. (4)
- Rnd 2: 1 sc, inc repeat 2 times. (6)
- Rnd 3: 2 sc, inc repeat 2 times. (8)
- Rnd 4: 3 sc, inc repeat 2 times. (10)
- Rnd 5: 4 sc, hdc inc, 4 sc, sl st.
- Fasten off and sew the fin to the hat.
Shark Teeth
Use the US B-1 (2 mm) hook and work in BLO.
- Find the center 10 sts of the hat opening. You’ll work 5 teeth over them.
- Teeth: Join yarn. Sl st, ch 2, 1 sc in the 2nd ch from hook, sl st in the next st of the hat repeat 5 times.
Assembly
- Insert the eyes between Rnds 16 and 17 of the Body, Legs and Head, with 6 sc between the eye posts.
- Pull the yarn needle through the head to sculpt the eyes.
- Insert the needle under the increase round where the head begins (point 1). Bring it out at the outer side of the first eye (point 2), insert it at the inner side of that same eye (point 3), and bring it out beside your starting point (point 4).
- For the second eye, insert the needle at point 1 again, bring it out at the outer side of the second eye (point 5), insert it at the inner side of that eye (point 6), and bring it out at point 4.
- Pull firmly, tie off the thread, and hide it inside.
- To sink the eyes slightly, insert the needle at the back where the head begins. Bring it out above the first eye, insert it a stitch-width beside that spot, and bring it out at the original insertion point, offset by 1 sc. Repeat for the second eye and tighten lightly.
- Embroider the eyebrows and the eyelash line with black thread.
- For the chick, embroider the cheeks with pink thread.
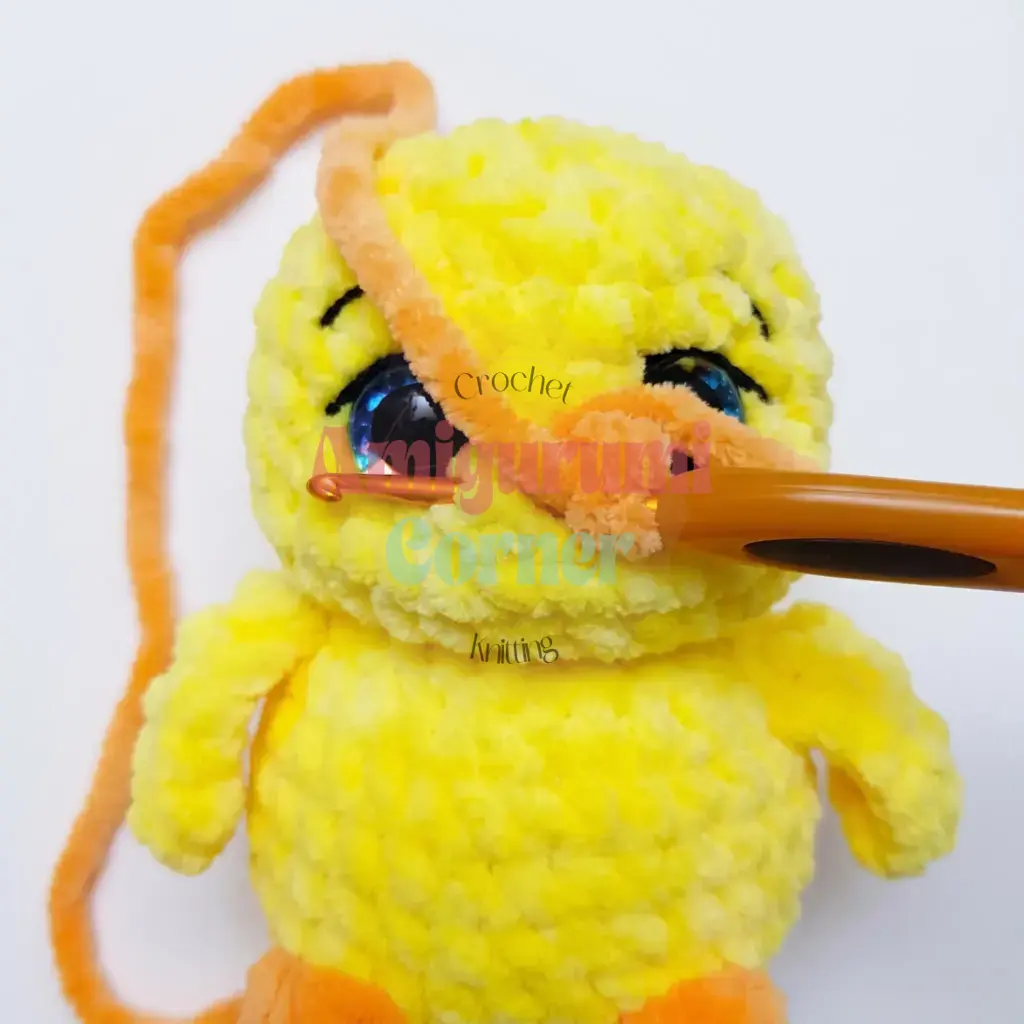
- Chick’s Beak: Use the US D-3 (3 mm) hook and orange yarn. Work over the 2 center sts, inserting the hook horizontally. Insert the hook under the first st, ch 1, hdc in the same st. Under the second st, work 1 hdc, then 1 sc. Fasten off, pull the yarn tightly, tie the two ends together, and hide them inside. Alternatively, you can simply embroider the beak with orange thread.
- Owl’s Beak: Insert the hook vertically instead of horizontally. Join yarn with a sl st, then work 1 hdc in the same st. Fasten off, bring one tail over to the other, tie them together, and hide them inside the toy.
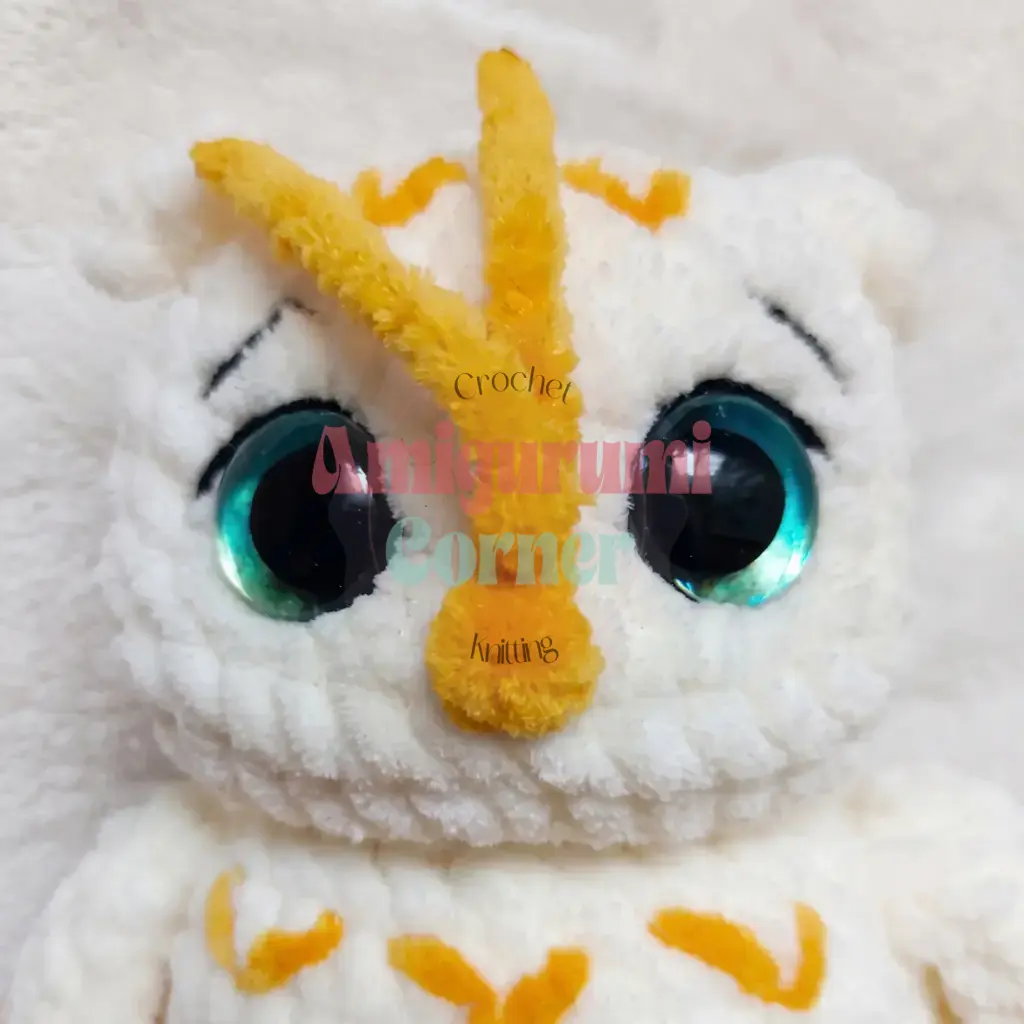
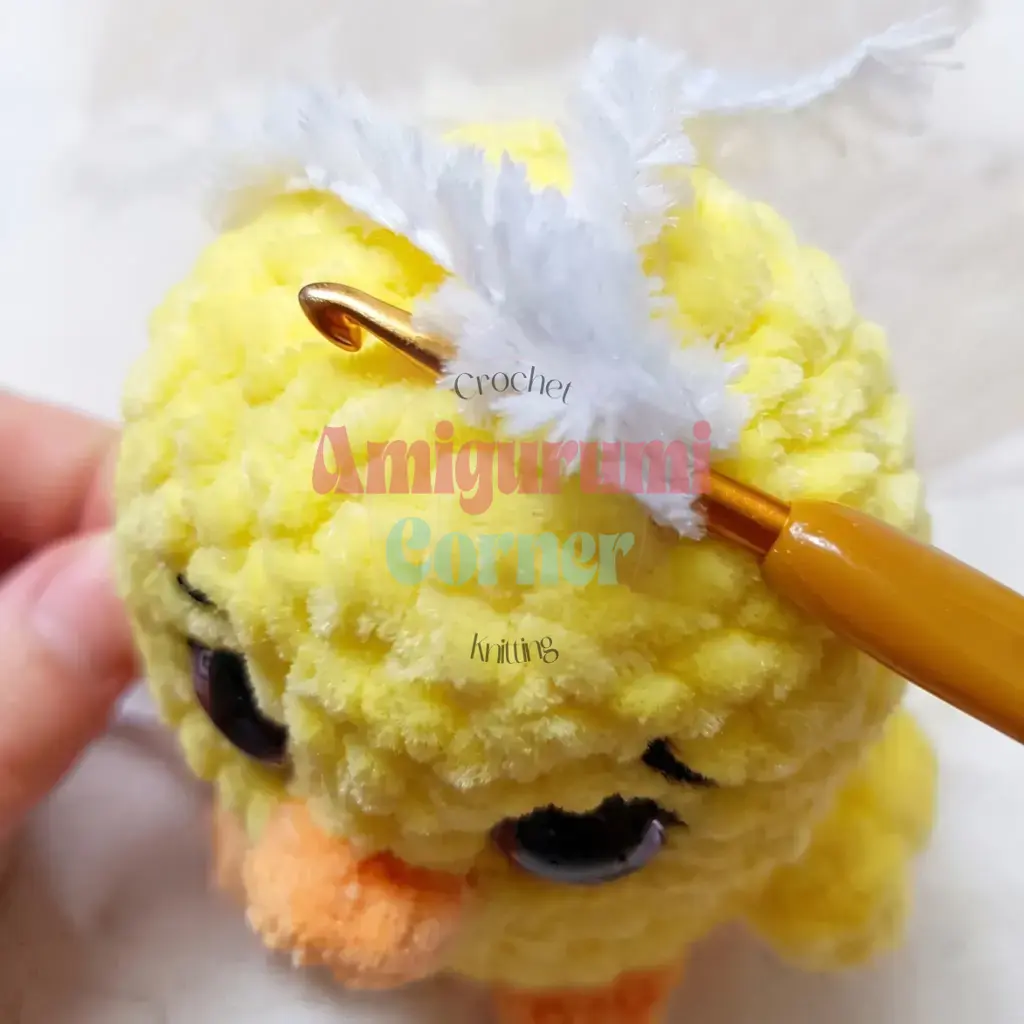
- For the optional chick crest, work into the small ring at the crown left by the final decrease round. Join fur yarn and sc 6 around. Fasten off and secure.
- Embroider chevron (V-shaped) marks on the owl’s head and body with contrast-color thread.
- Slip your chosen hat onto the head and weave in all ends.
Tips
- Plush Yarn Tension: Plush yarn hides stitches. Work with relaxed tension and use stitch markers so you can find your place.
- Counting: Count stitches by feel and always check your total against the number in parentheses.
- Invisible Decrease: Use the invisible decrease. Insert the hook through the front loops of the next two stitches only, then pull up one loop and finish as an sc. This keeps the smooth surface plush yarn needs.
- Stuffing: Stuff as you go. After Rnd 12, the FLO increase round creates a ridge that separates the head from the body. Stuff firmly here so the head sits upright and the shape holds.
- Eye Placement: Test the eyes first. Pin them in place between Rnds 16 and 17, with 6 sc between the posts, before locking the backs. Sparkle eyes give the pair their character, so a quick check saves you from re-doing the placement.
- Yarn Substitutions: Mind your substitutions. Any yarn thicker or thinner than bulky chenille will change the finished size and how the hats fit. If you swap yarn, use a hook that keeps the fabric dense enough to hide the stuffing.
FAQs
Can I use a different yarn than plush or chenille?
Yes, but be aware that the finished size and hat fit will change. If you use a thinner or thicker yarn, adjust your hook size to ensure the fabric remains dense enough to hide the stuffing.
How do I make the chick’s crest?
When finishing the chick’s head, leave the small ring at the crown open instead of closing it completely. Join fur yarn into this ring and sc 6 around to create the crest.
What is the difference between the chick and owl wings?
The wings are worked flat in turned rows before being joined to the body. The chick wing starts with 2 dc in the 3rd chain from the hook, while the owl wing starts with 1 sc in the 2nd chain from the hook.
How do I attach the shark teeth to the hat?
Using a US B-1 (2 mm) hook and working in BLO, join yarn to the center 10 stitches of the hat opening. Work 5 sets of (sl st, ch 2, 1 sc in the 2nd ch from hook, sl st in the next st of the hat) to create the teeth.
Why are the eyes inserted between Rnds 16 and 17?
Placing the eyes between these rounds provides the correct proportion for the face. Ensure there are 6 sc between the eye posts for a balanced look, and pin them in place before locking the backs.
Pin This Crochet Pattern!