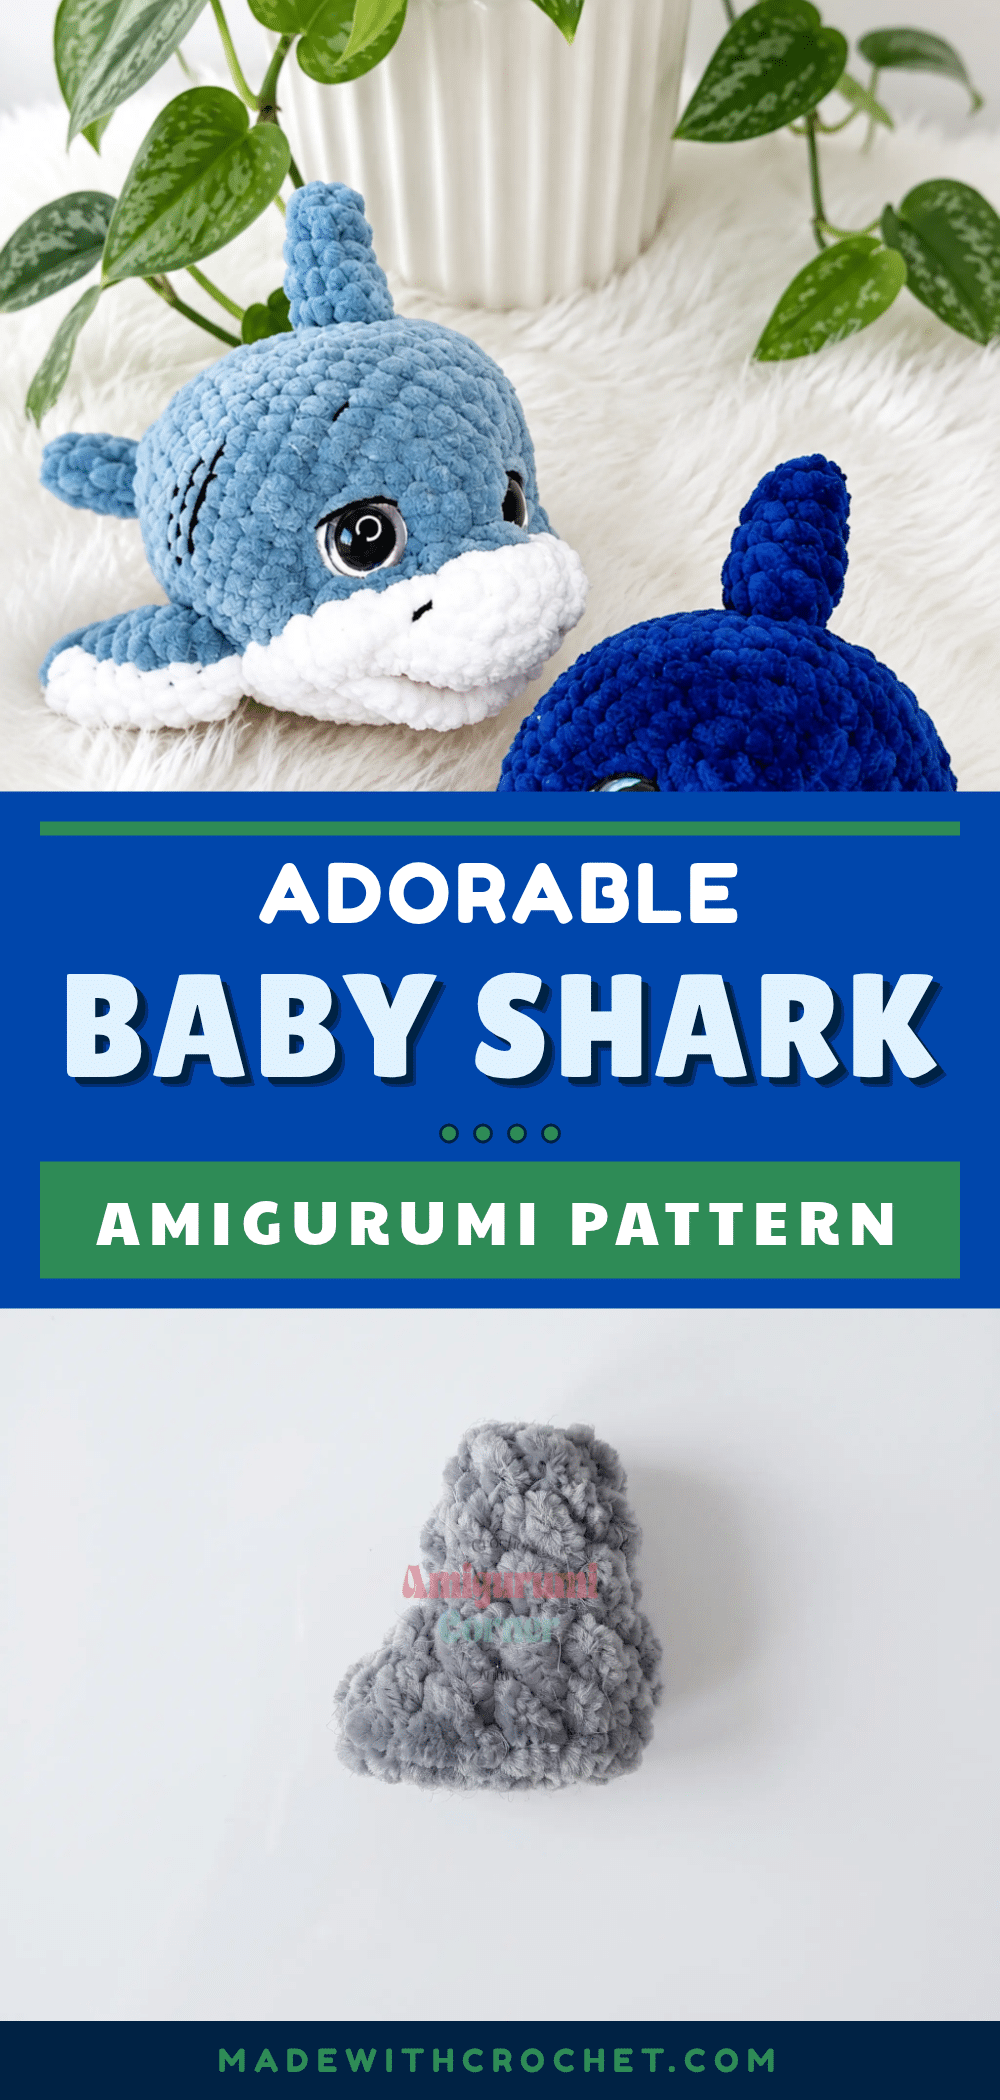
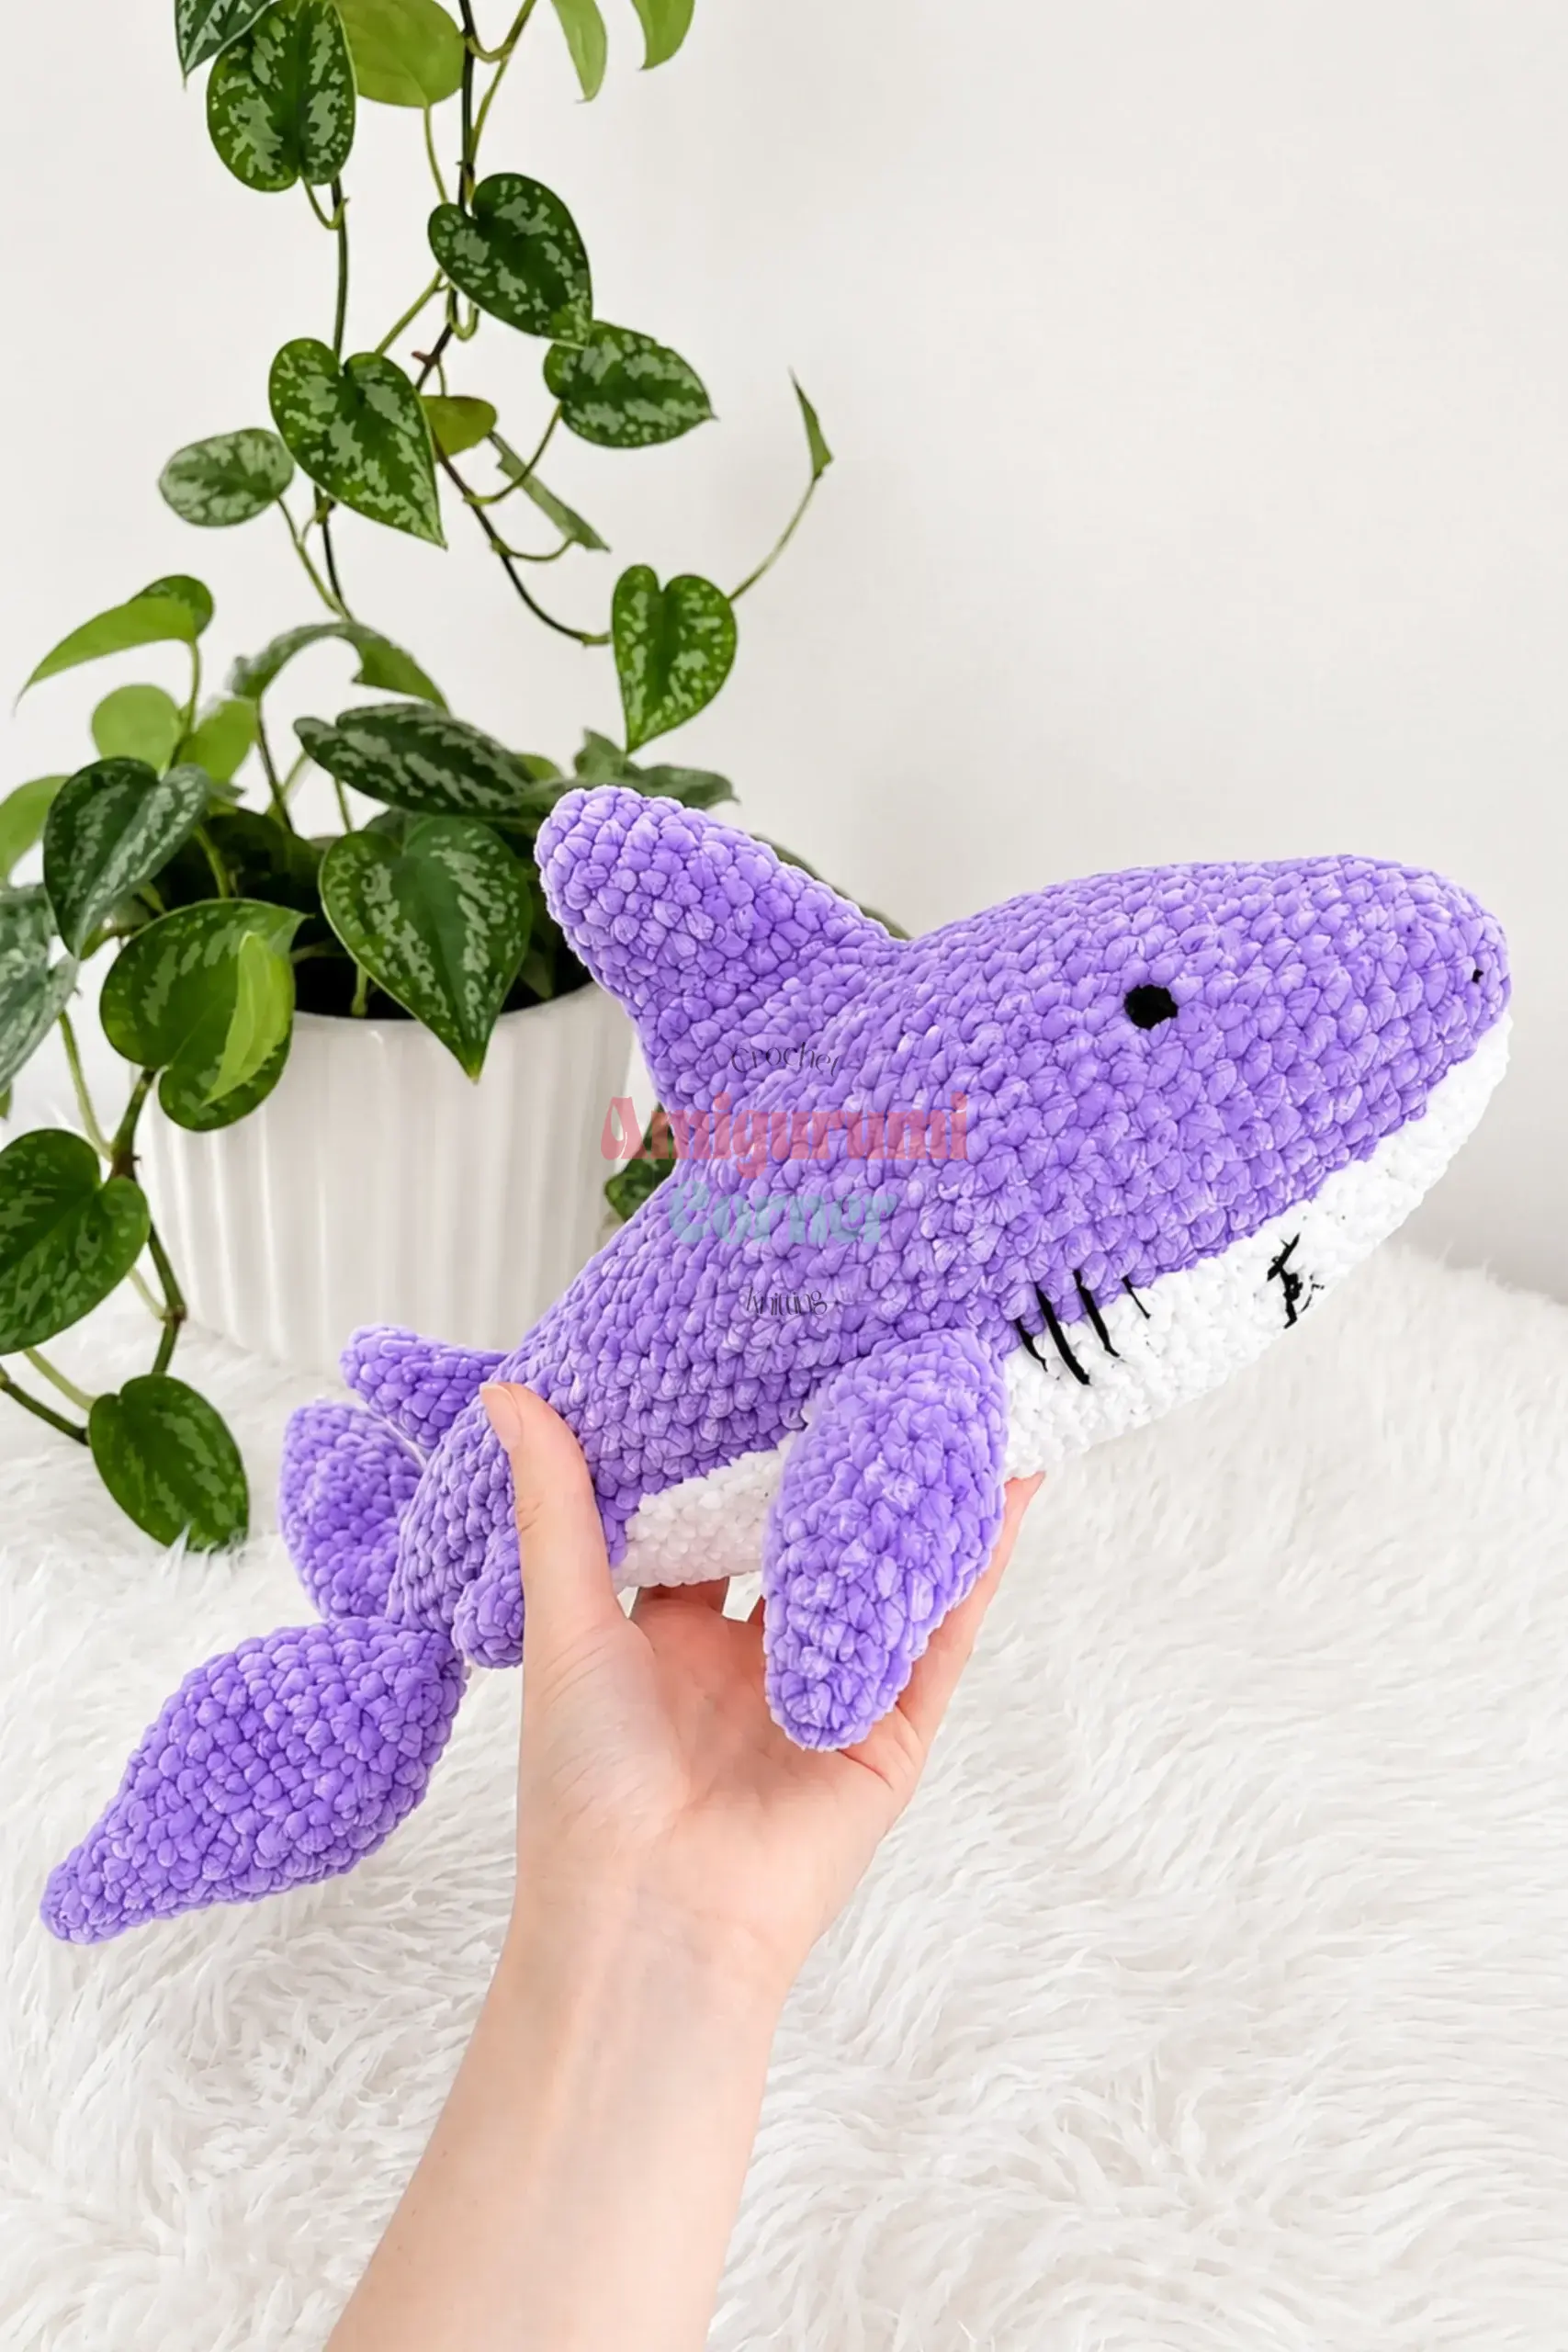
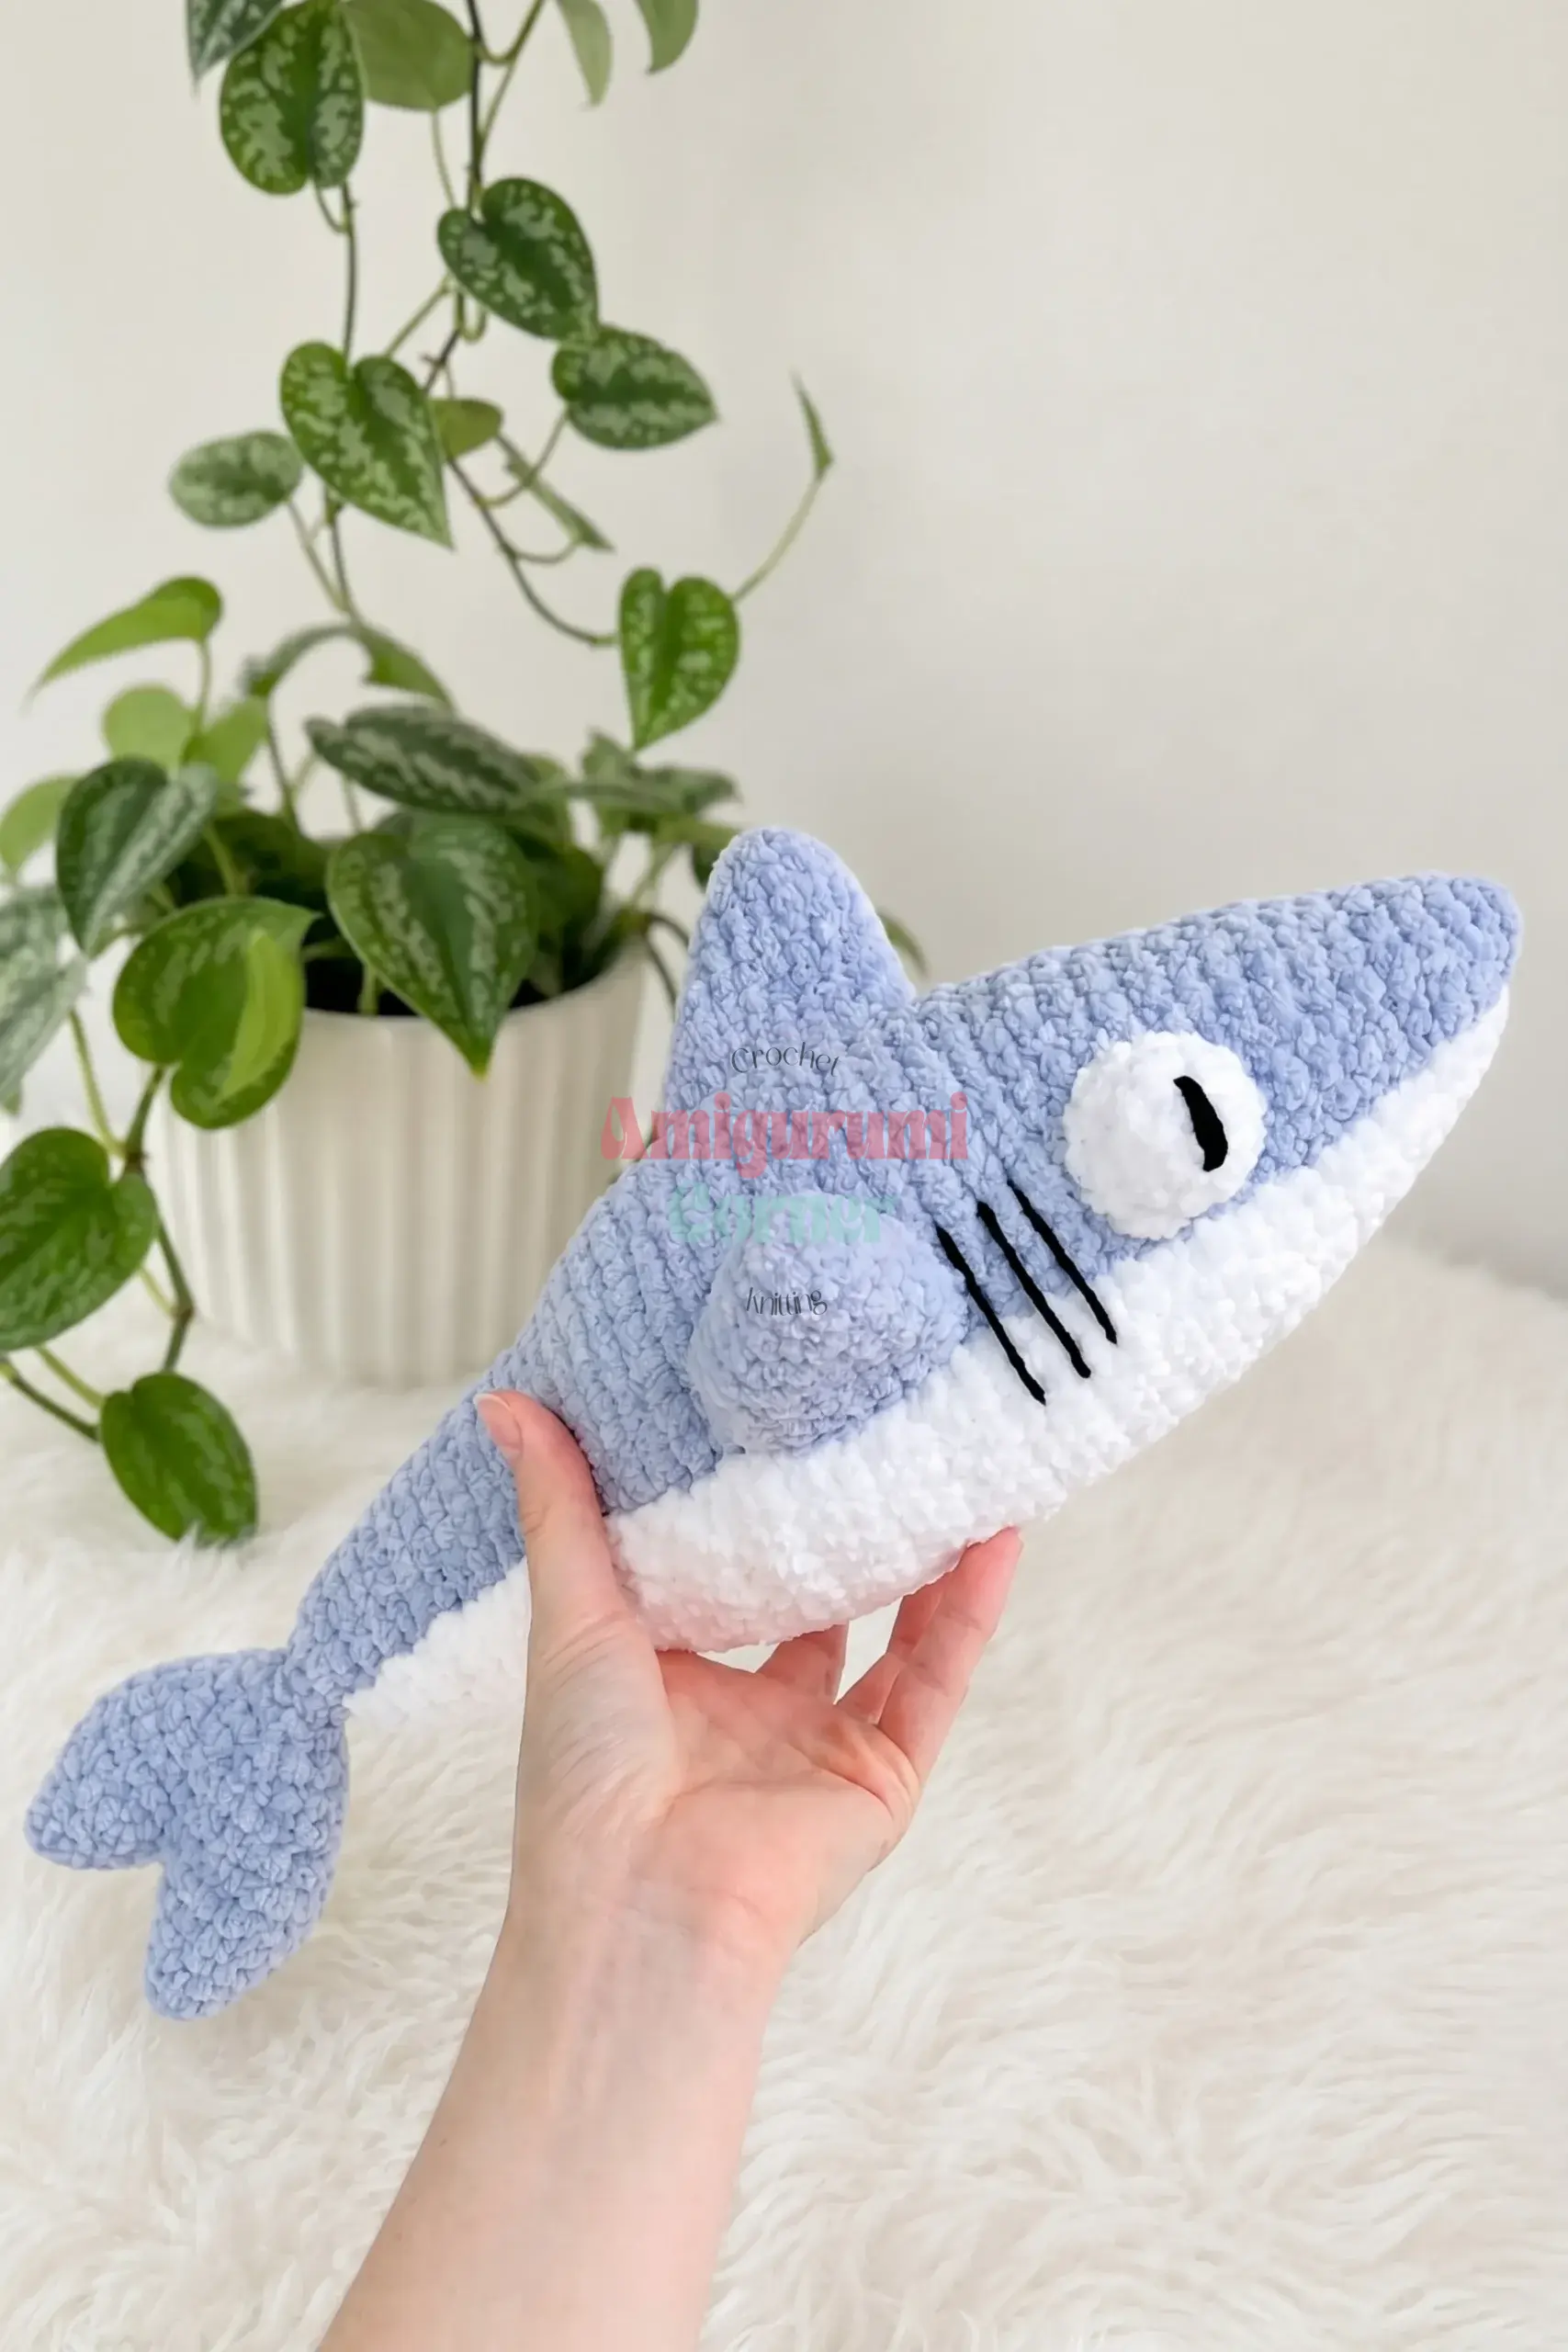
There is something undeniably charming about bringing a tiny, toothy friend to life with yarn. This adorable baby shark amigurumi is the perfect project for anyone looking to add a splash of ocean fun to their home or to gift a handmade treasure to a little one. Whether it is destined to be a shelf companion, a nursery decoration, or a market-table bestseller, this pattern offers a satisfying mix of shaping and character. With its rounded snout and friendly grin, this shark is an approachable project for confident beginners and a quick, satisfying make for experienced makers alike.
Gift and Use Ideas
This amigurumi shark is more than just a toy; it is a versatile handmade object that fits into many corners of daily life. Its compact size—approximately 5.5 to 6.25 inches—makes it an ideal gift for children who love sea creatures, serving as a comforting bedtime buddy or a playful desk companion for adults. The soft, plush texture invites touch, making it a great sensory toy. Additionally, its cheerful appearance makes it a standout item for craft fairs or baby showers, where its unique “toothy” smile is sure to delight recipients. You can also use it as a decorative accent on a bookshelf or a car mirror, adding a pop of color and personality to any space.
Project Overview
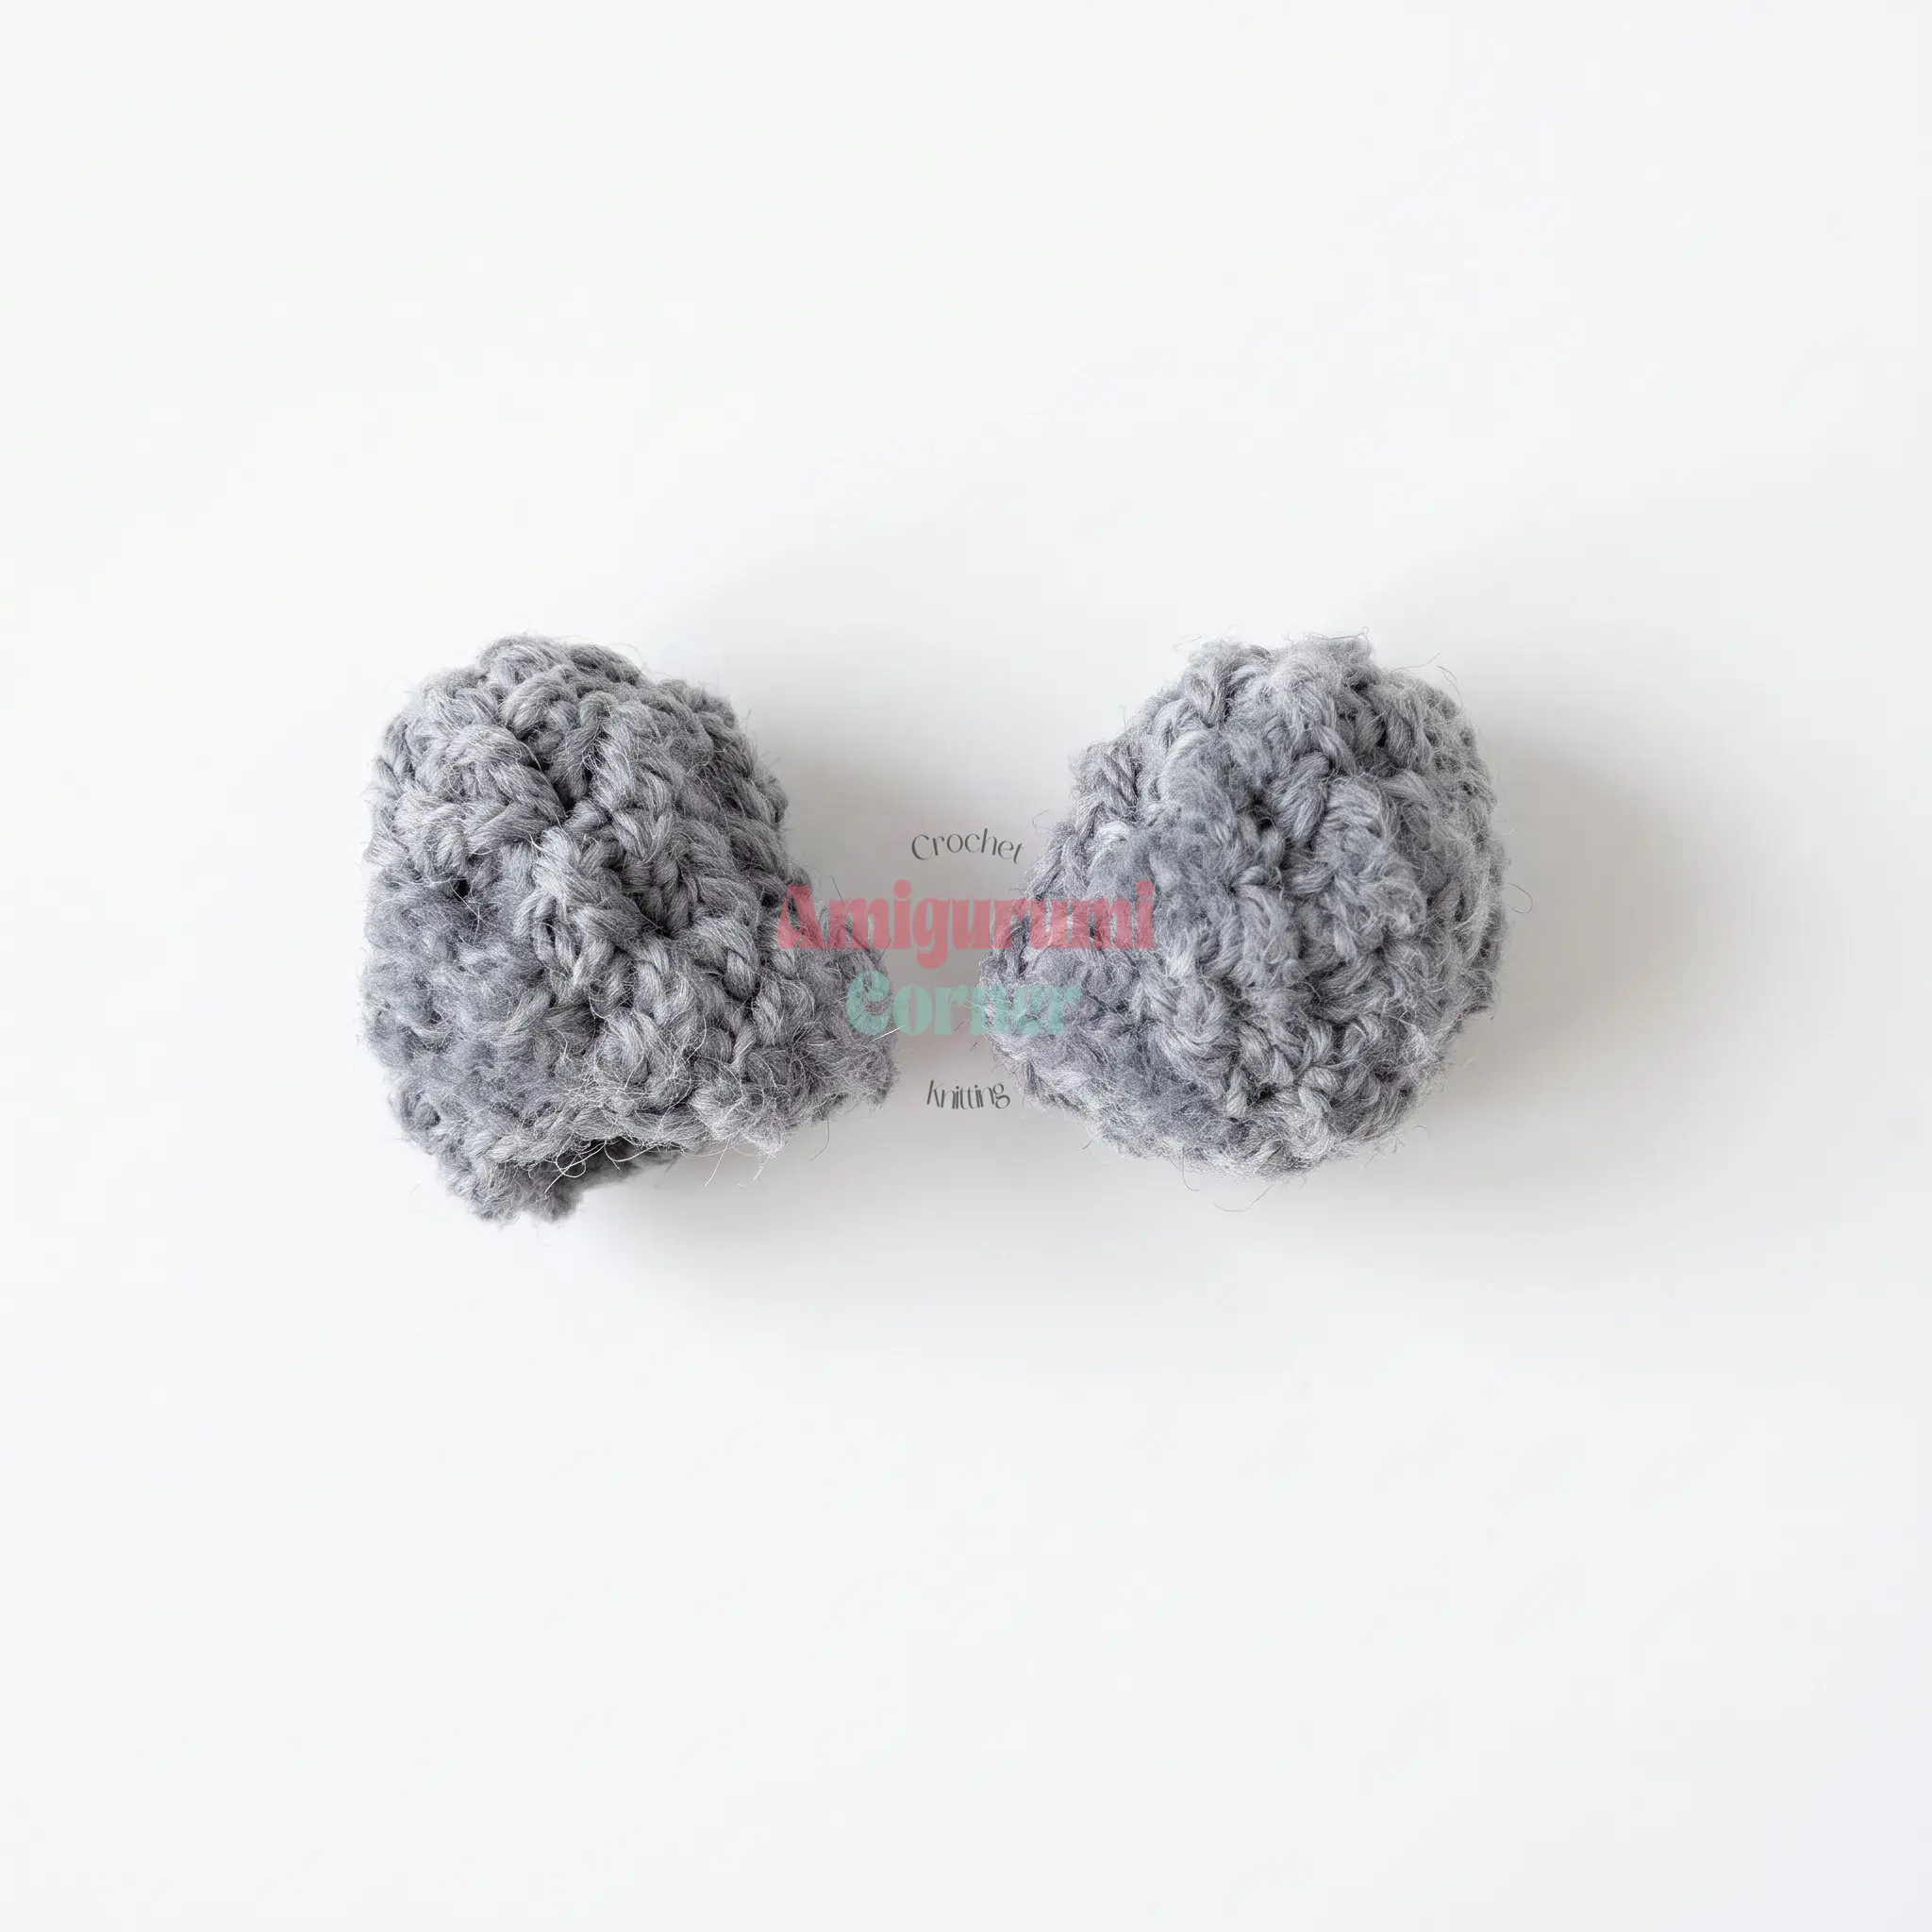
This pattern creates a charming shark amigurumi featuring a rounded snout, a toothy grin, and four stubby fins. The design is written in US crochet terminology and is approachable for confident beginners. The project involves working the head and body in a continuous spiral, creating flat fins and tail pieces, and sewing on a shaped body panel to form the character’s distinctive belly and mouth.
Materials
- Yarn: Medium-weight plush/chenille yarn (approx. 120m/100g per skein — similar to Wolans Bunny Baby or LaVita Velur):
- About 50g in your Main Color
- 15g in White
- A small amount of Pink for the mouth
- Detailing Yarn: A smooth fingering-weight cotton or acrylic yarn in white and black, for embroidering the eye detailing
- Eyes: 1 pair of 18mm safety eyes
- Hook: G-6 (4.00 mm) crochet hook
- Stuffing: Polyester fiberfill stuffing
- Notions: Stitch markers, long yarn/tapestry needle, sturdy sewing thread, and scissors
Gauge and Finished Size
Finished Size: Approximately 14–16 cm (5.5–6.25″) with the recommended materials. Substituting a different yarn weight or hook size will change your finished size and yarn/notion requirements.
Gauge: Gauge isn’t critical for this project — just match your hook and yarn so your stitches are tight enough that stuffing doesn’t peek through.
Abbreviations
- BL — Both Loops
- ch — Chain
- dec — Decrease (invisible decrease)
- FLO — Front Loop Only
- hdc — Half Double Crochet
- inc — Increase (2 sc in same stitch)
- inc hdc — Increase worked in hdc
- MR — Magic Ring
- sc — Single Crochet
- sl st — Slip Stitch
- st(s) — Stitch(es)
Pattern Notes
The fins, tail pieces, and head/body are worked in continuous spirals (no joining slip stitch between rounds) — use a stitch marker to track the beginning of each round. The Body Panel is worked in flat, turning rows. Stitch counts are given at the end of every round or row, in parentheses, like this: (12). A few rounds ask you to keep an increase or decrease sitting exactly at the center of a piece. If your stitch count naturally lines them up, you don’t need to do anything extra — but if they’ve drifted off-center, shift the start of that round by one stitch so the shaping stacks up vertically. That extra “shift” stitch is never counted in the stitch total. All four fins and the tail pieces are left unstuffed and worked through one layer only — they stay flat, not rounded. Place the safety eyes as directed partway through the head/body, and hold off on final gluing/locking until you’re happy with their position from the front.
Pattern Instructions
Top Fin
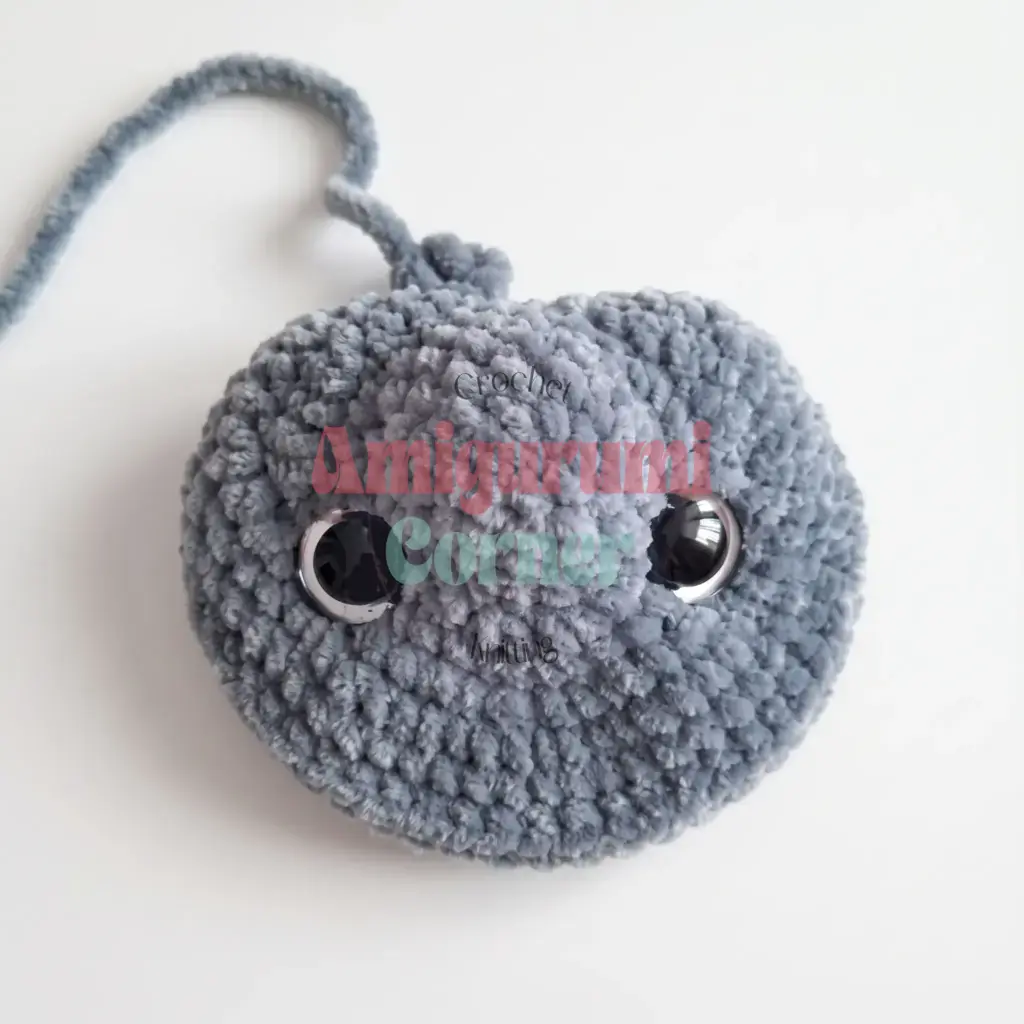
Work in your Main Color. Do not stuff this piece.
Rnd 1: 6 sc in MR. (6)
Rnd 2: sc in each st around. (6)
Rnd 3: 2 sc, inc, inc, 2 sc. (8)
Rnd 4: 3 sc, inc, inc, 3 sc. (10)
Rnd 5: 5 sc, inc, 4 sc. (11)
Rnd 6: 5 sc, inc, 5 sc. (12)
Work through one layer only. Fasten off, leaving a long tail for sewing.
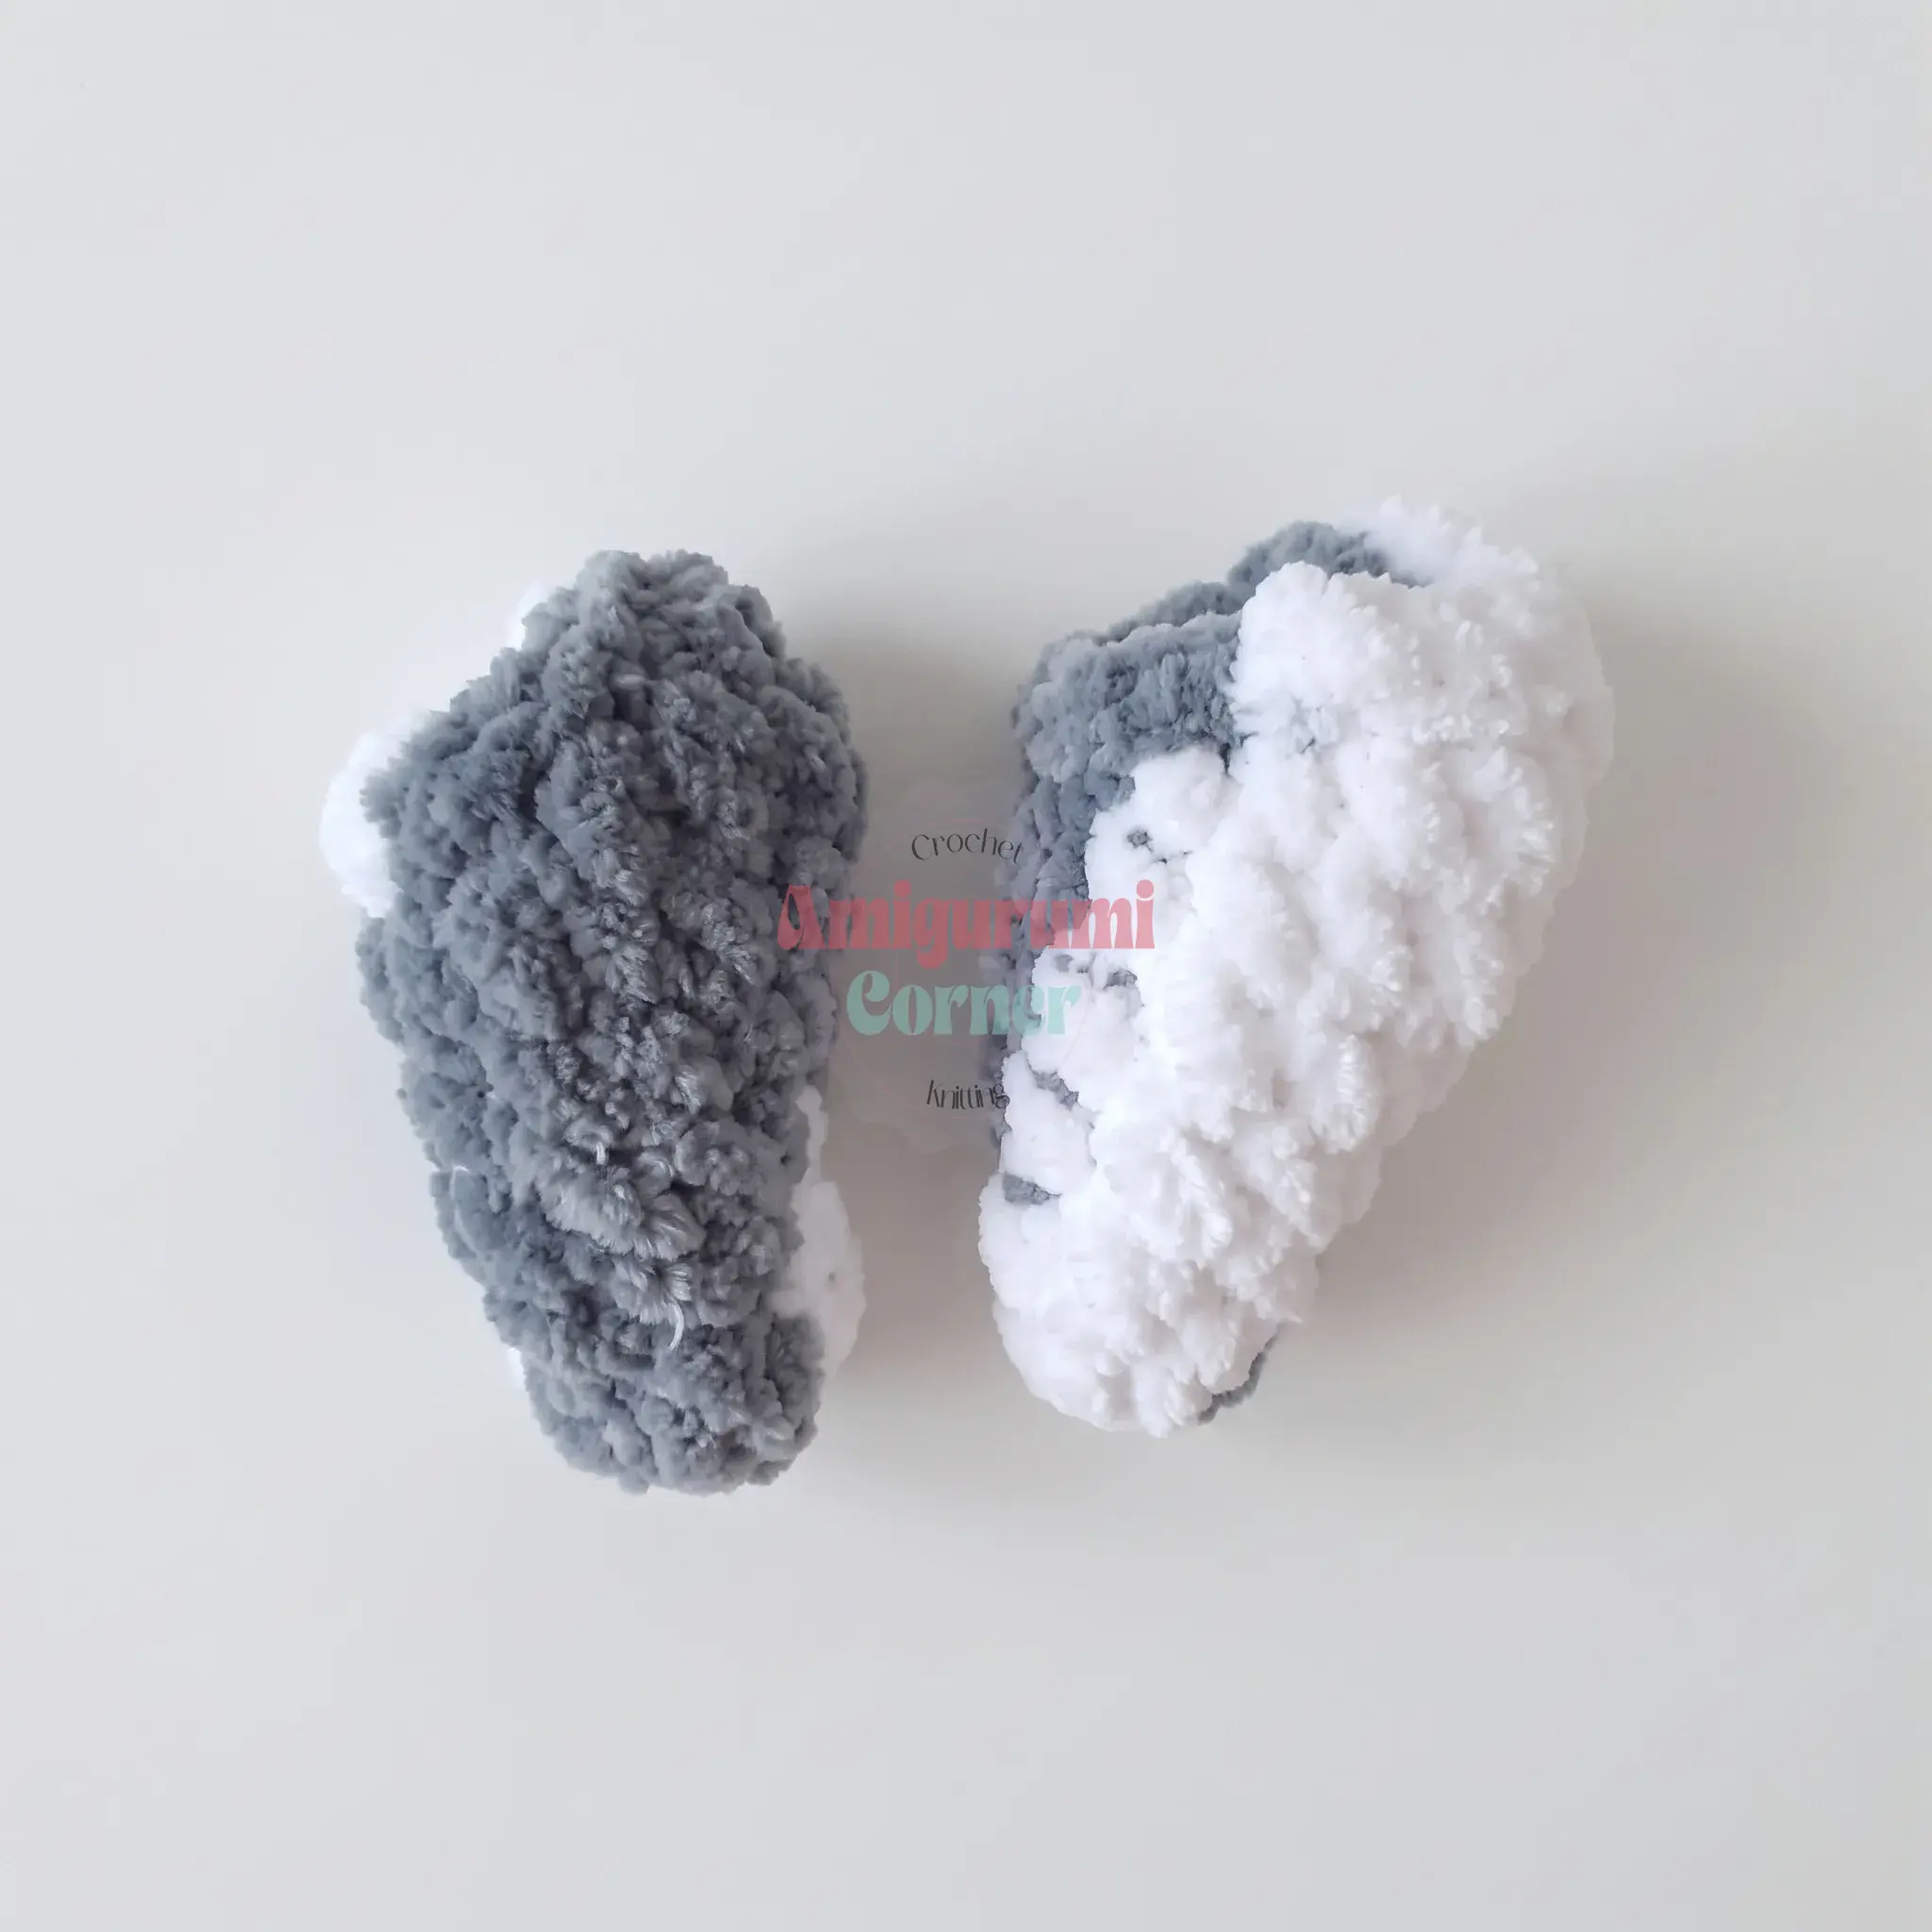
Left Side Fin
Worked in the round with color changes (Main Color and White); change colors by finishing the last stitch of one color with the new color. Chain 2 in Main Color and work into the 2nd chain from the hook.
Rnd 1: MC 3 sc, White 3 sc. (6)
Rnd 2: MC 3 sc, White 3 sc. (6)
Rnd 3: MC 2 sc, inc, White inc, 2 sc. (8)
Rnd 4: MC 3 sc, inc, White inc, 3 sc. (10)
Rnd 5: MC 5 sc, work 1 inc while changing from MC to White partway through the stitch, White 4 sc. (11)
Rnd 6: MC 5 sc, inc, White 5 sc. (12)
Rnd 7: MC 4 sl st, 3 hdc, White 1 hdc, 4 sl st. (12)
Rnd 8: MC 5 sl st, dec hdc, White 5 sl st. (11)
Work through one layer only. Fasten off both colors, leaving tails for sewing.
Right Side Fin
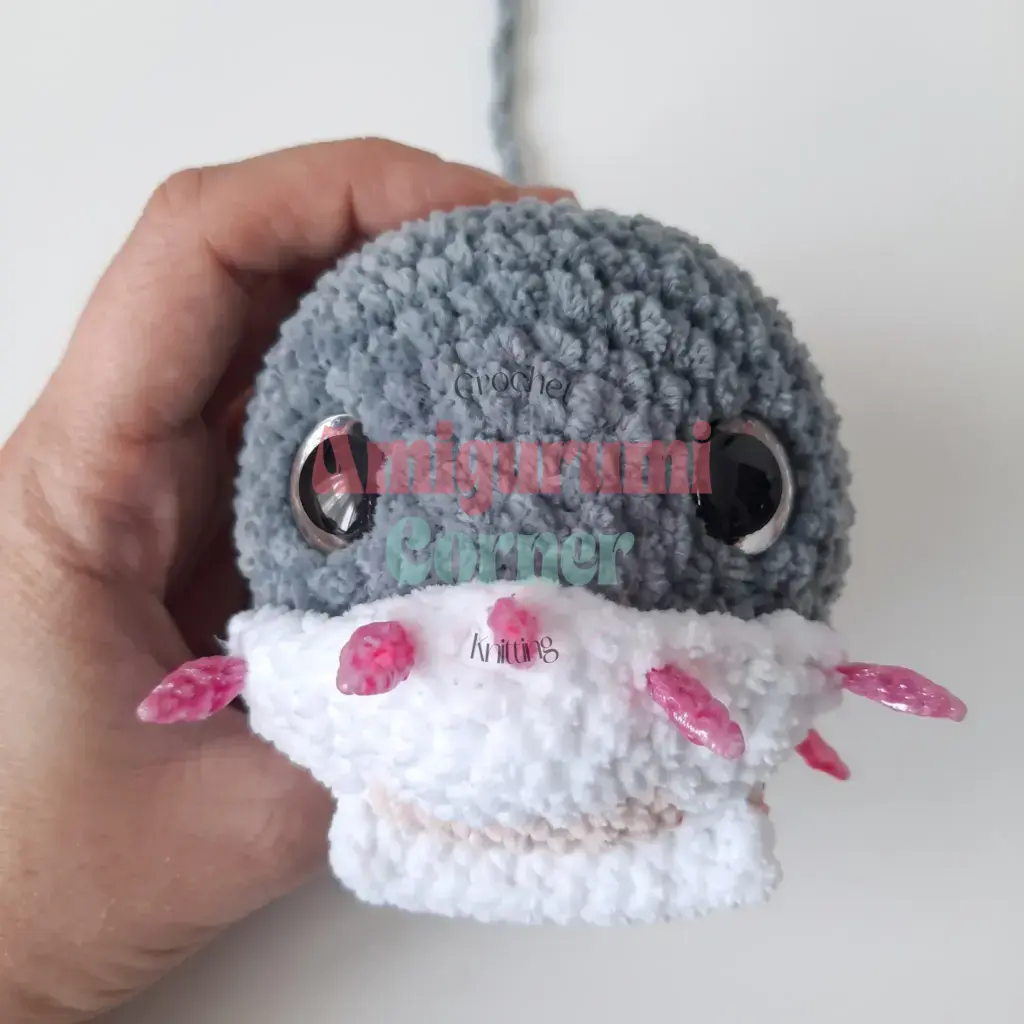
Same setup as the Left Side Fin: chain 2 in Main Color, work into the 2nd chain from the hook.
Rnd 1: MC 3 sc, White 3 sc. (6)
Rnd 2: MC 3 sc, White 3 sc. (6)
Rnd 3: MC inc, 2 sc, White 2 sc, inc. (8)
Rnd 4: MC inc, 3 sc, White 3 sc, inc. (10)
Rnd 5: MC inc, 4 sc, White 5 sc. (11)
Rnd 6: MC inc, 5 sc, White 5 sc. (12)
Work 1 extra sc in White, then move your stitch marker — the round now begins here.
Rnd 7: MC 3 hdc, 3 sl st, White 5 sl st, 1 hdc. (12)
Rnd 8: MC dec hdc, 4 sl st, White 6 sl st. (11)
Work through one layer only. Fasten off, leaving tails for sewing.
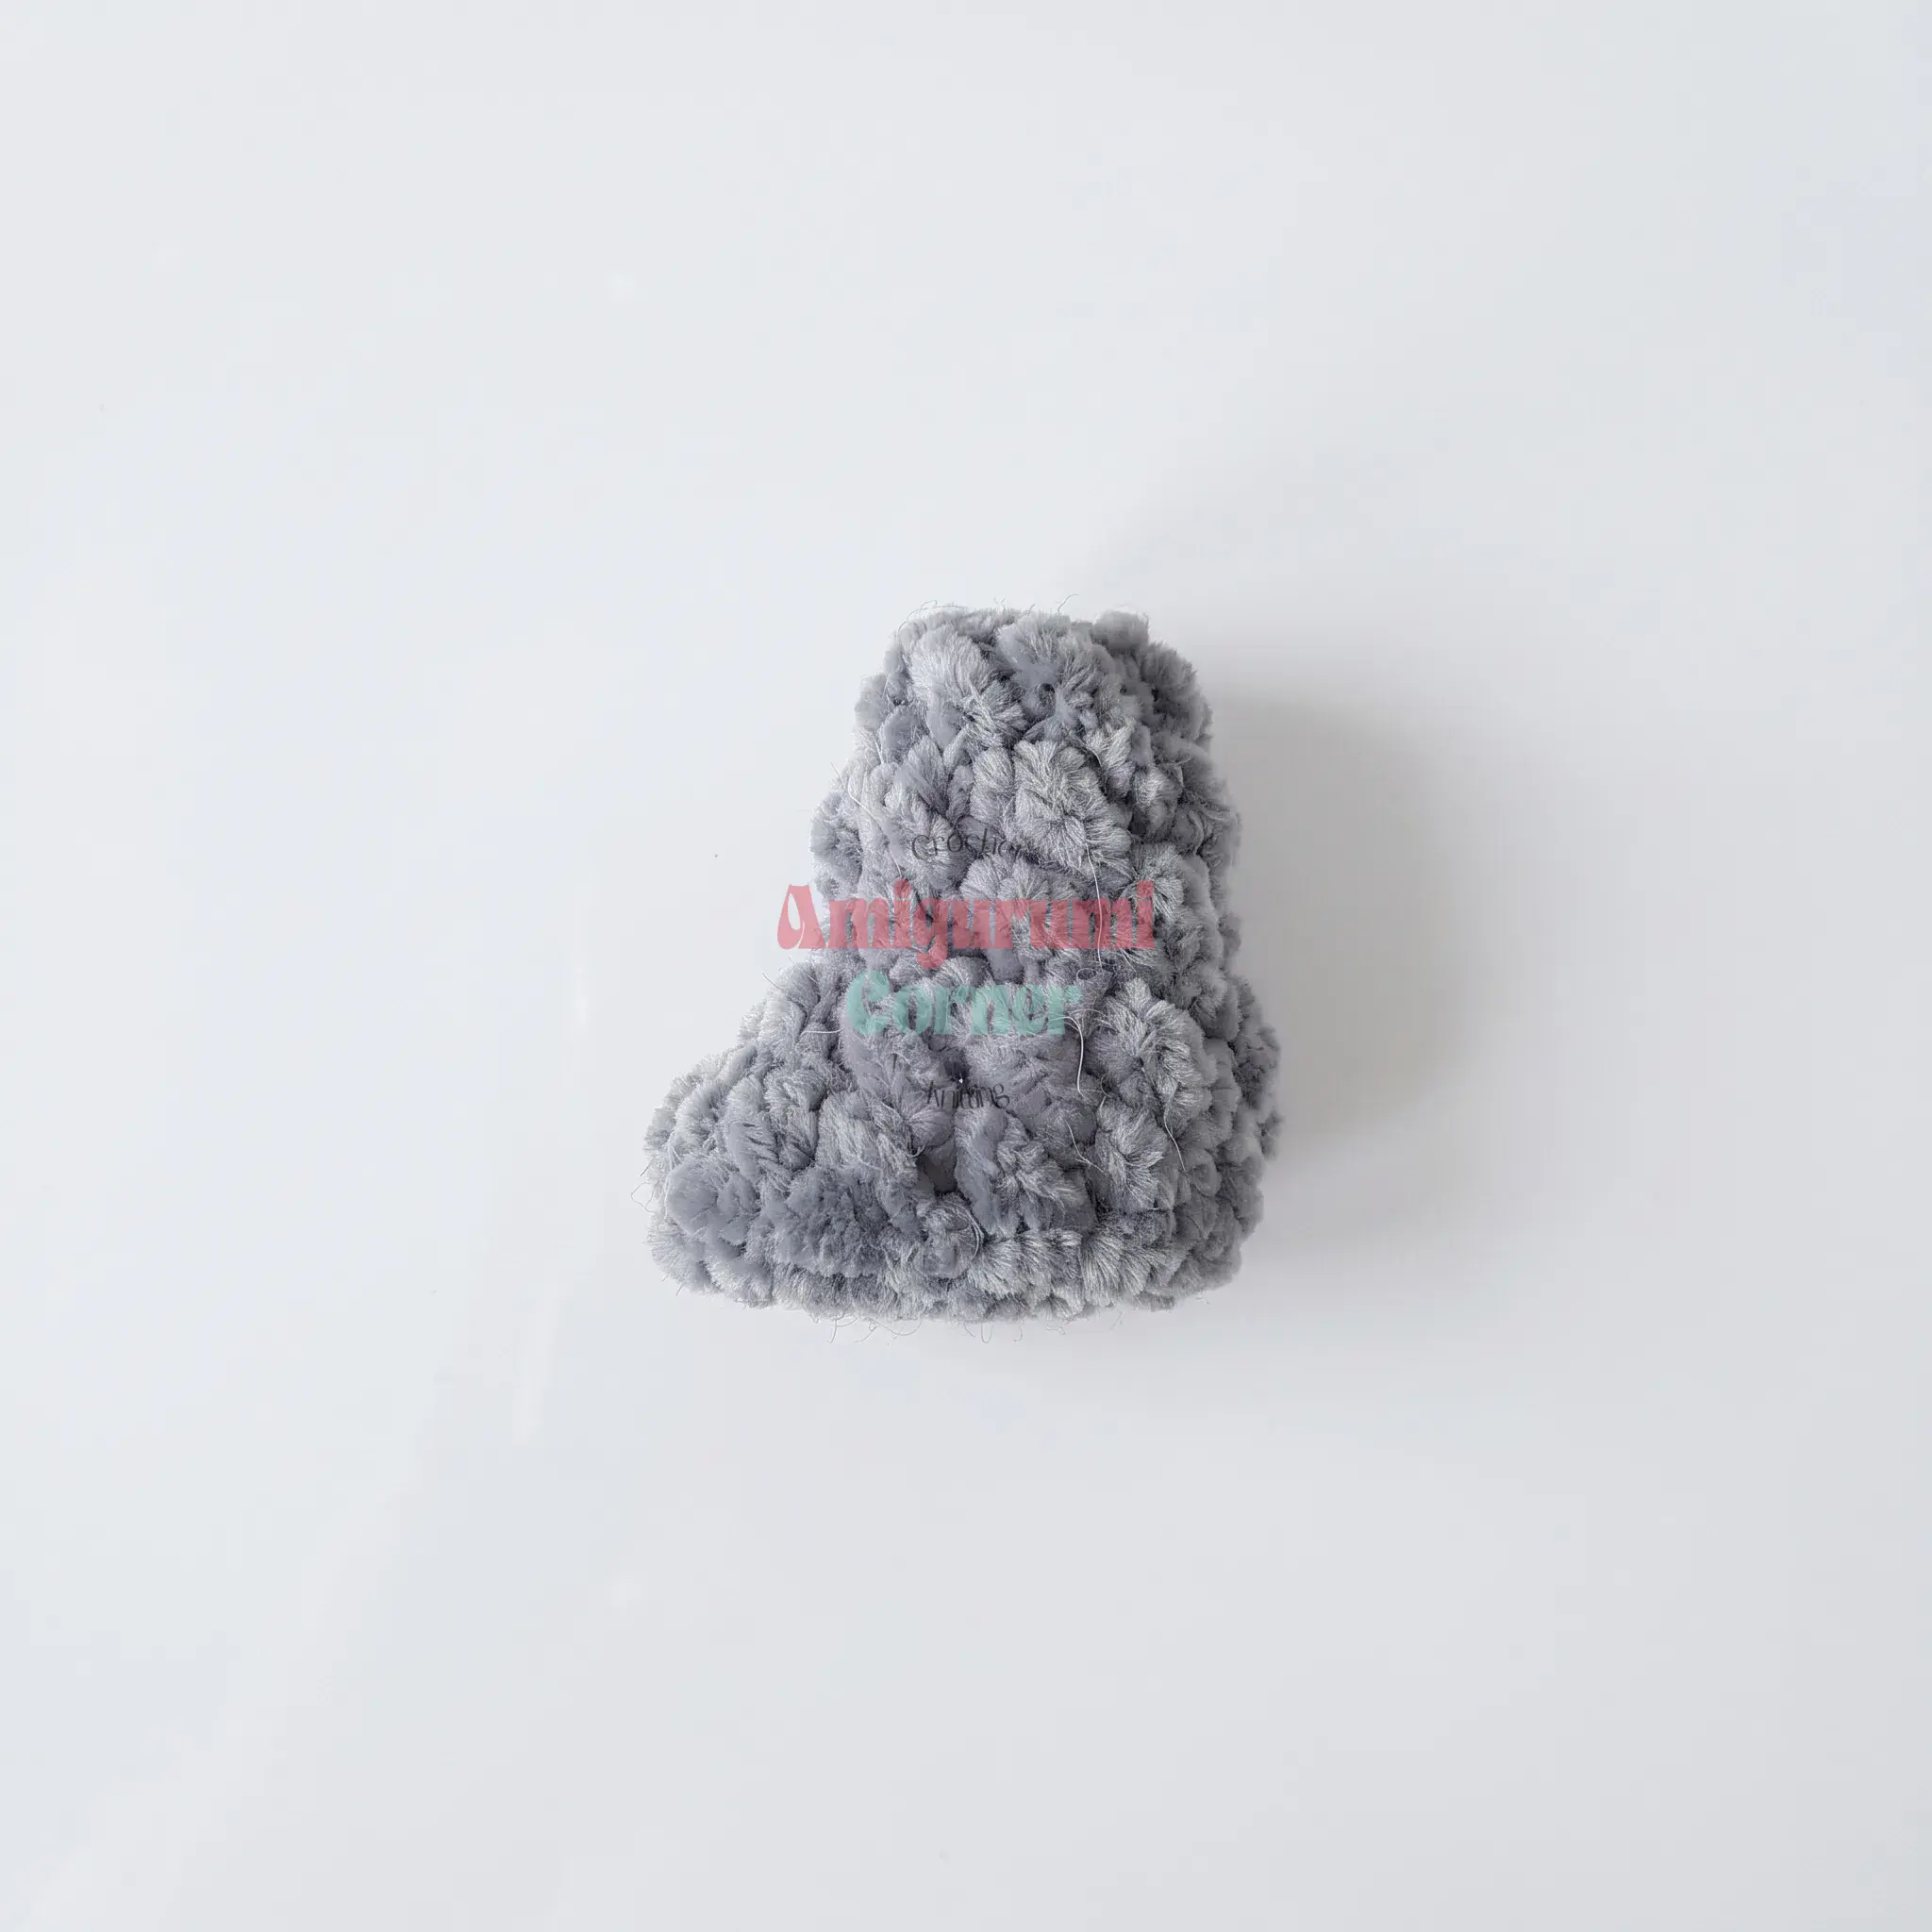
Tail Fins (Make 2)
Make 2 identical pieces in Main Color. Do not stuff.
Rnd 1: 6 sc in MR. (6)
Rnd 2: sc in each st around. (6)
Rnd 3: 2 sc, inc, 3 sc. (7)
Rnd 4: 3 sc, inc, 3 sc. (8)
Work through one layer only. Fasten off, leaving a tail for sewing.
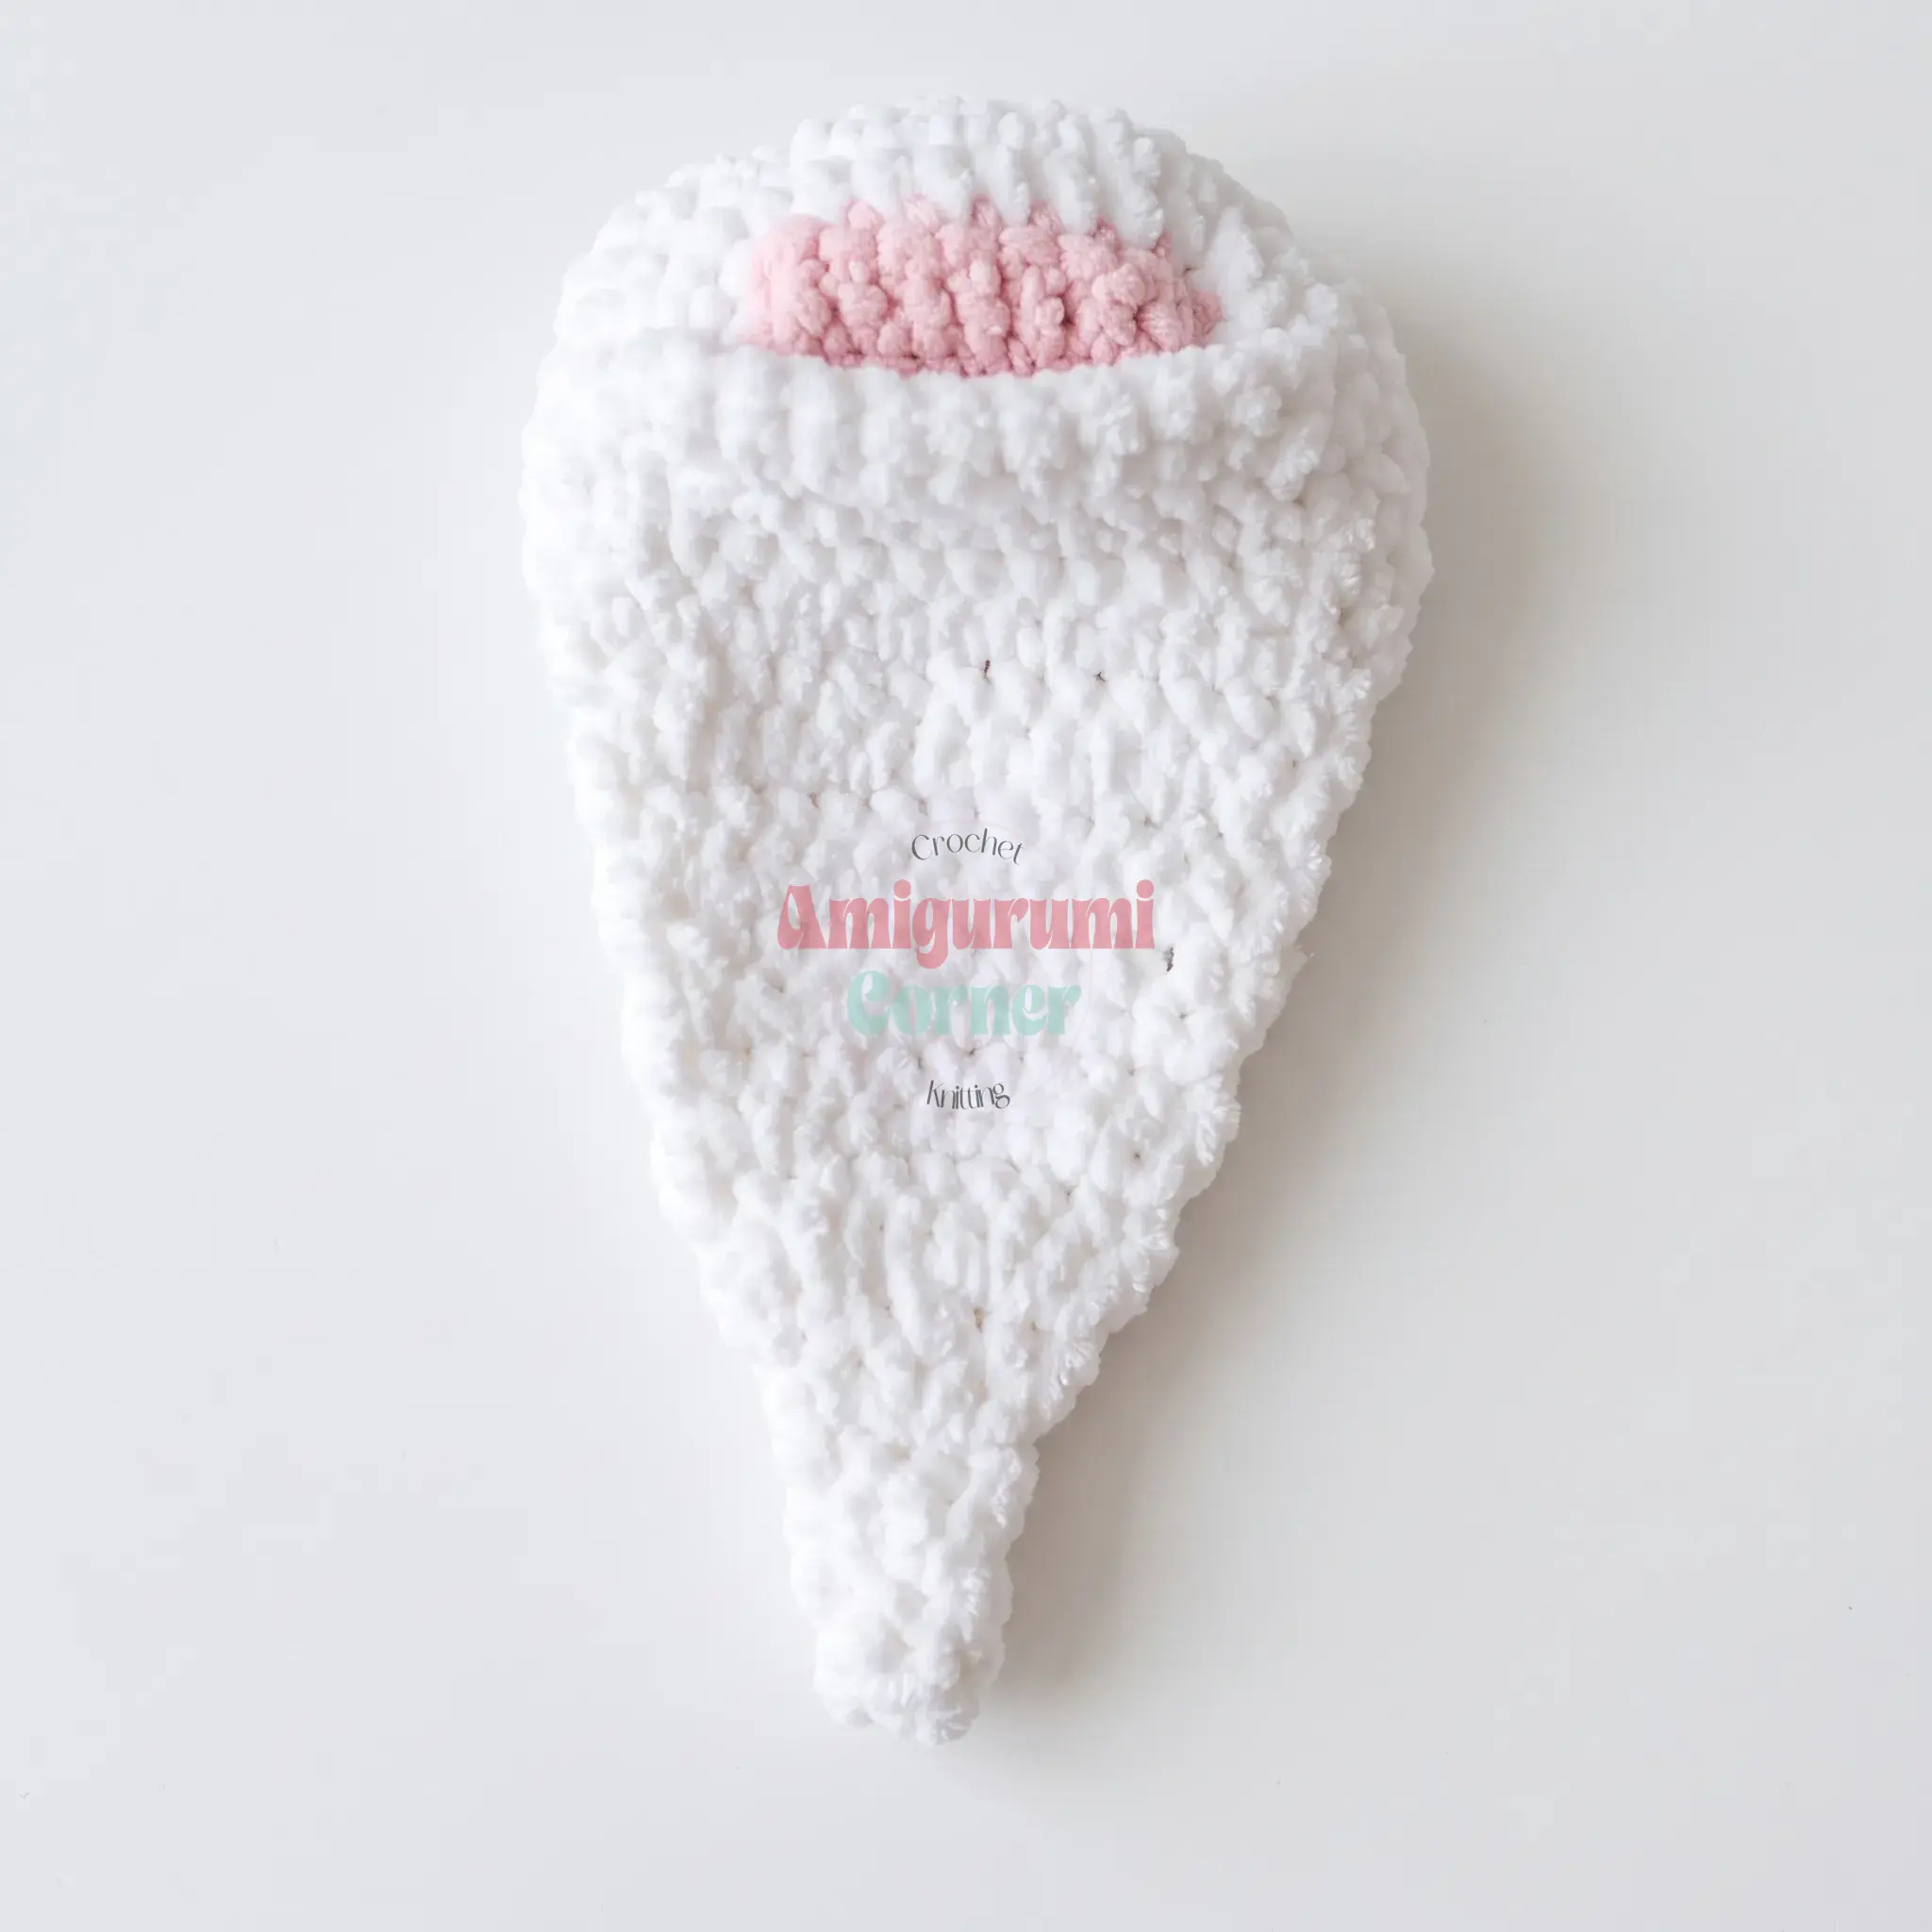
Body Panel
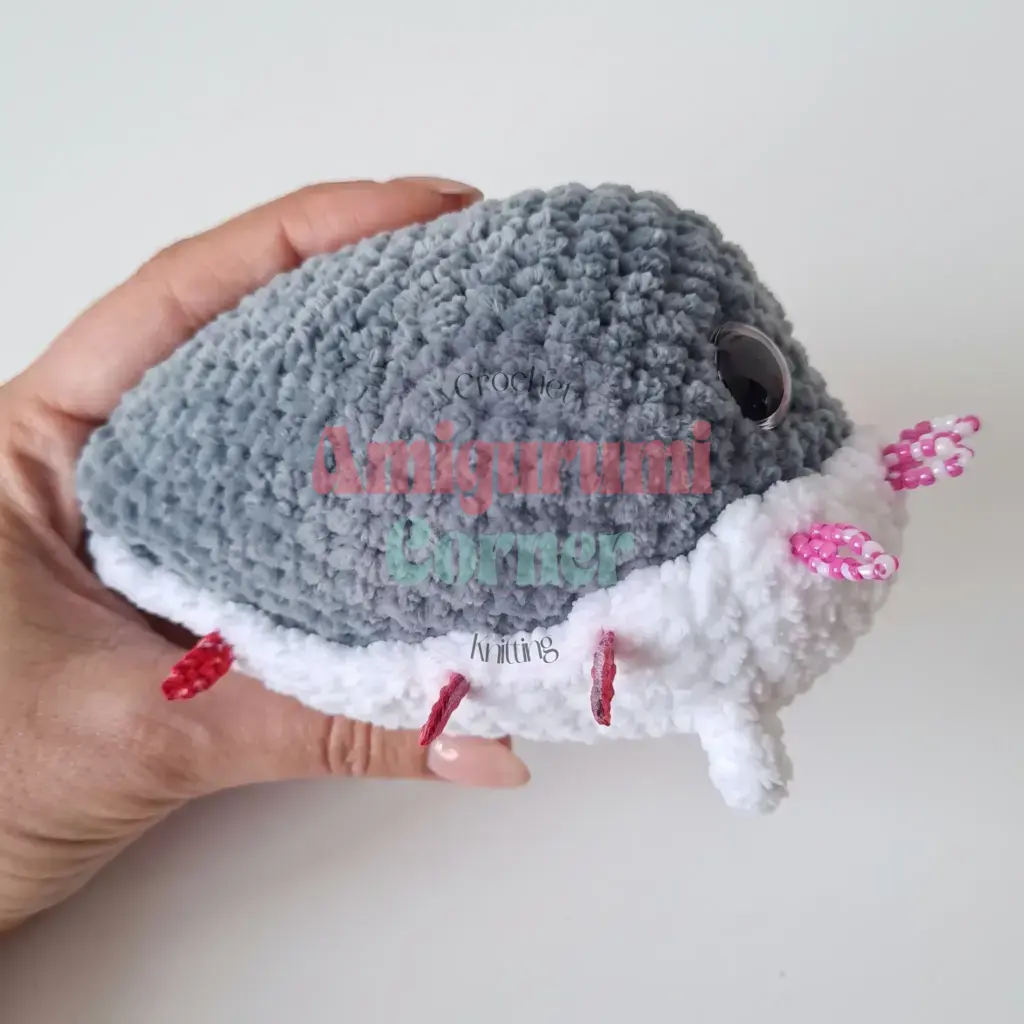
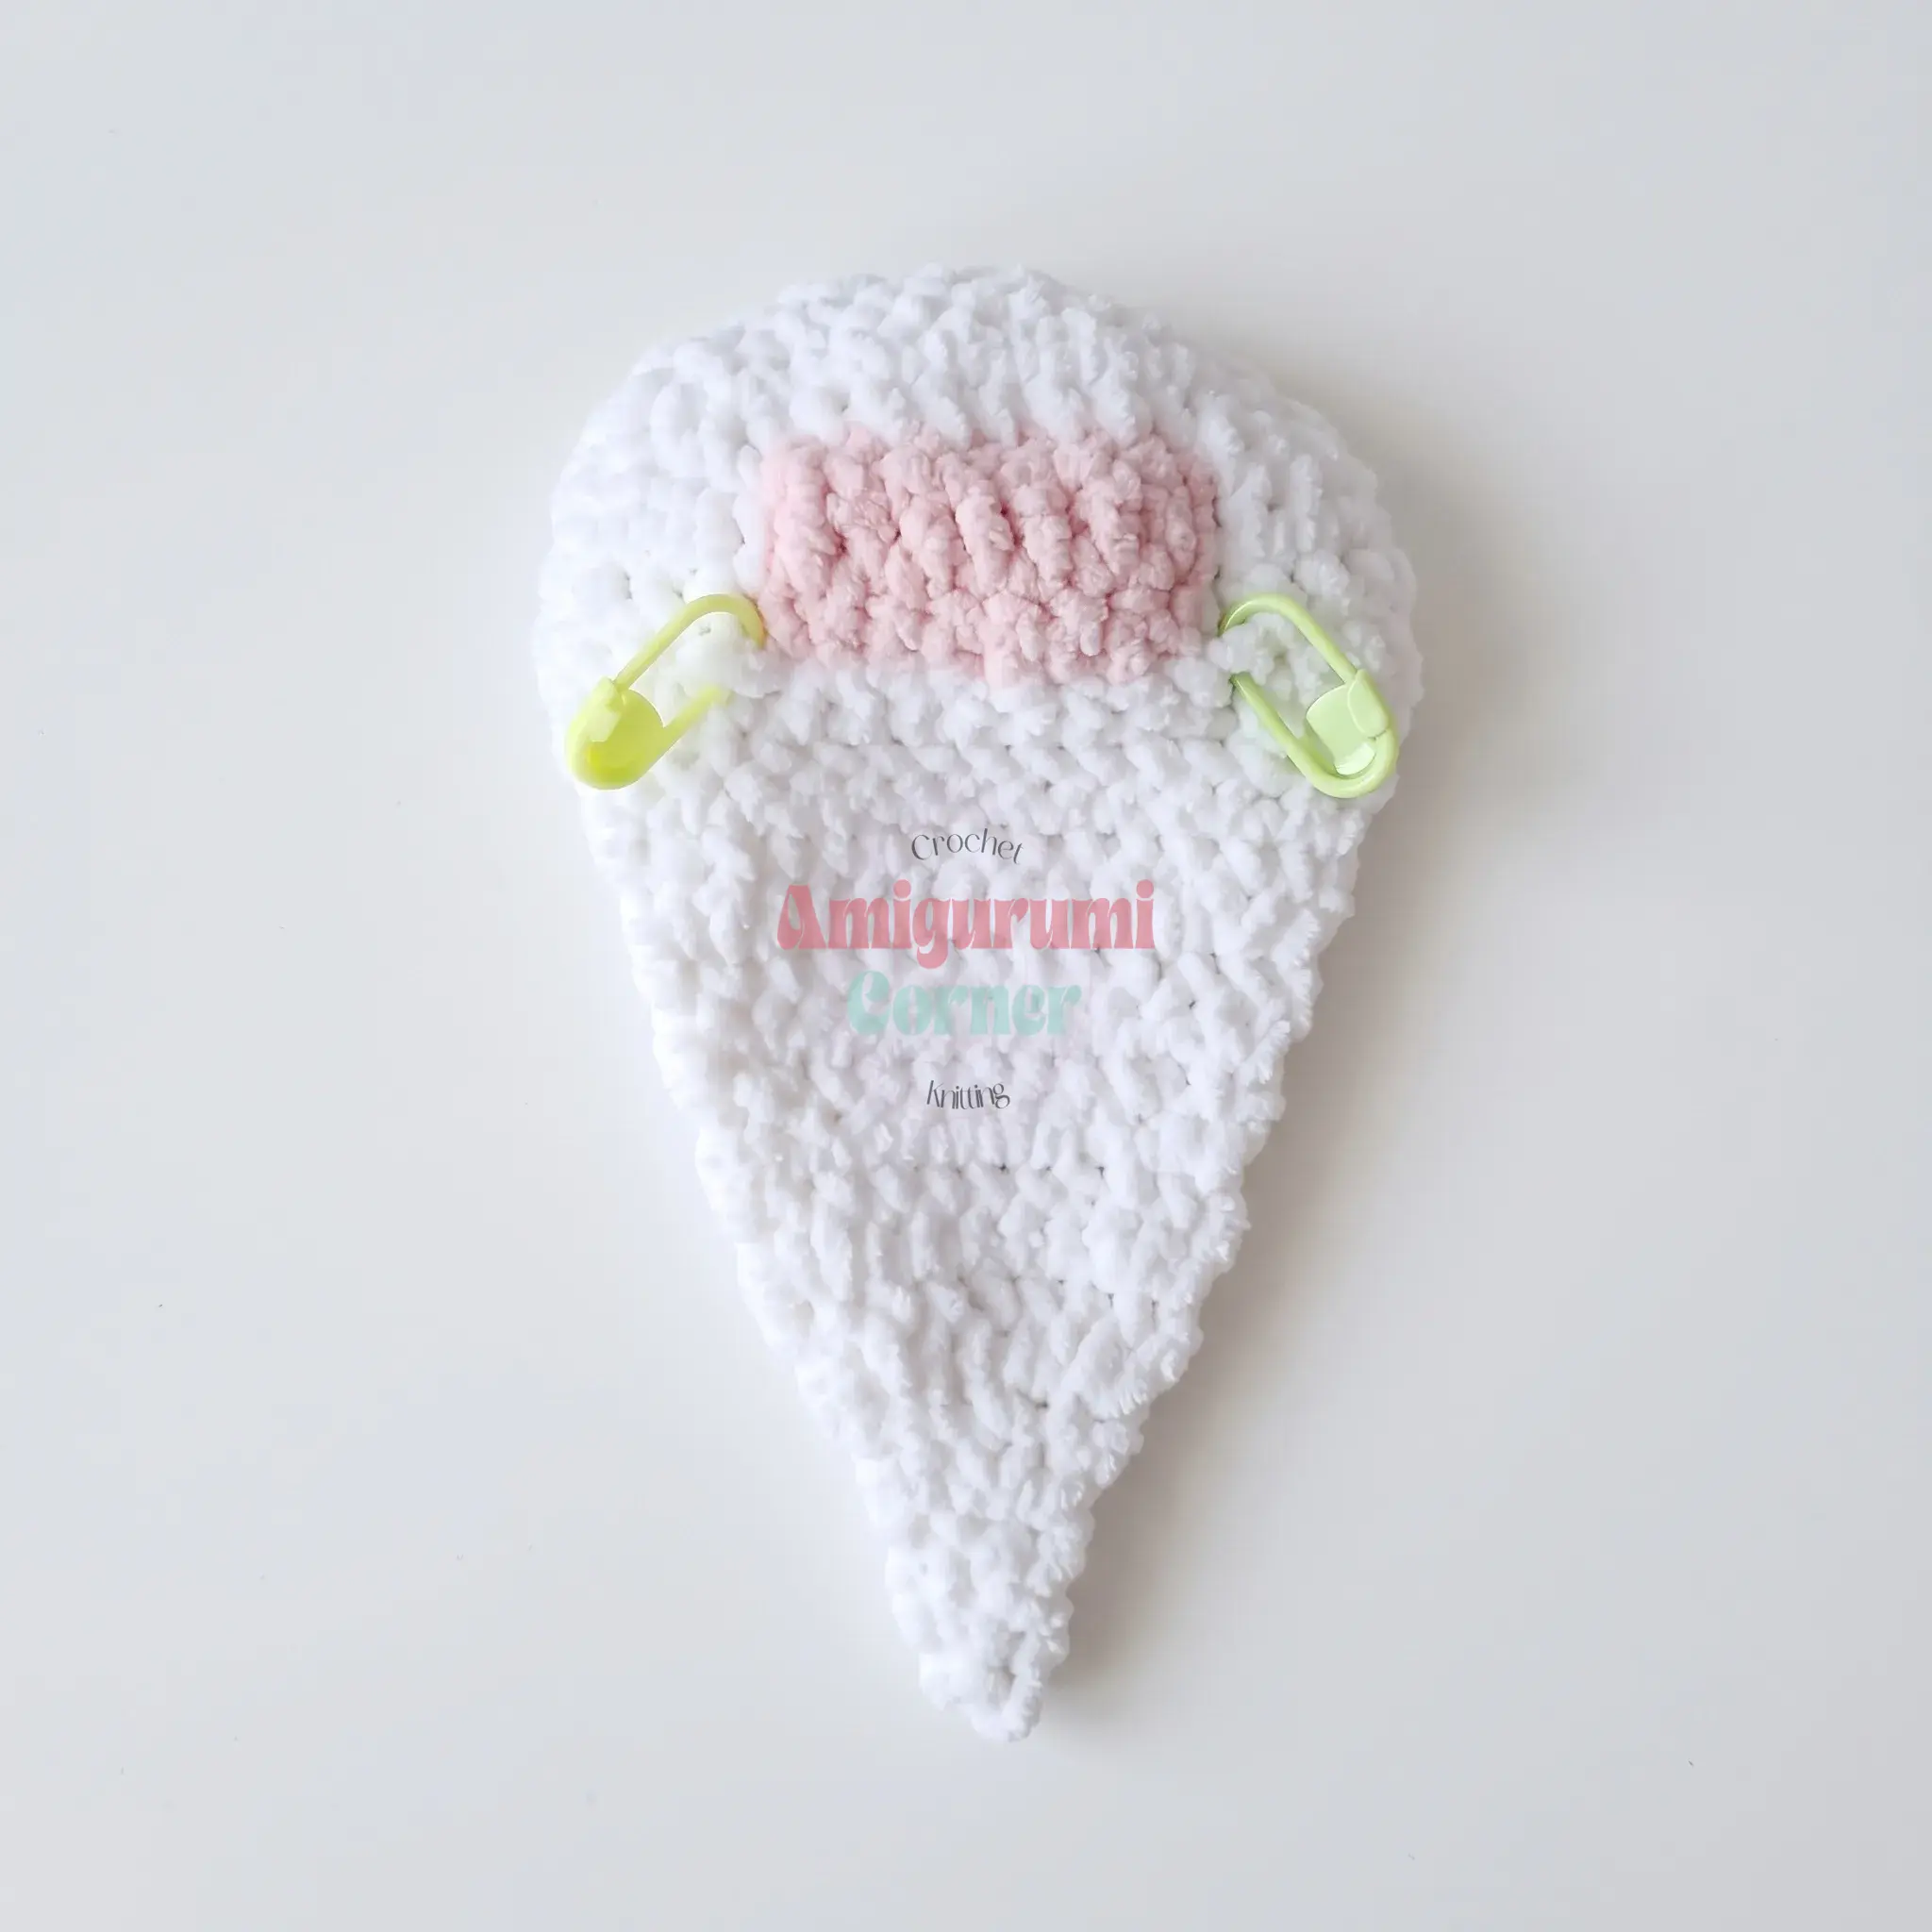
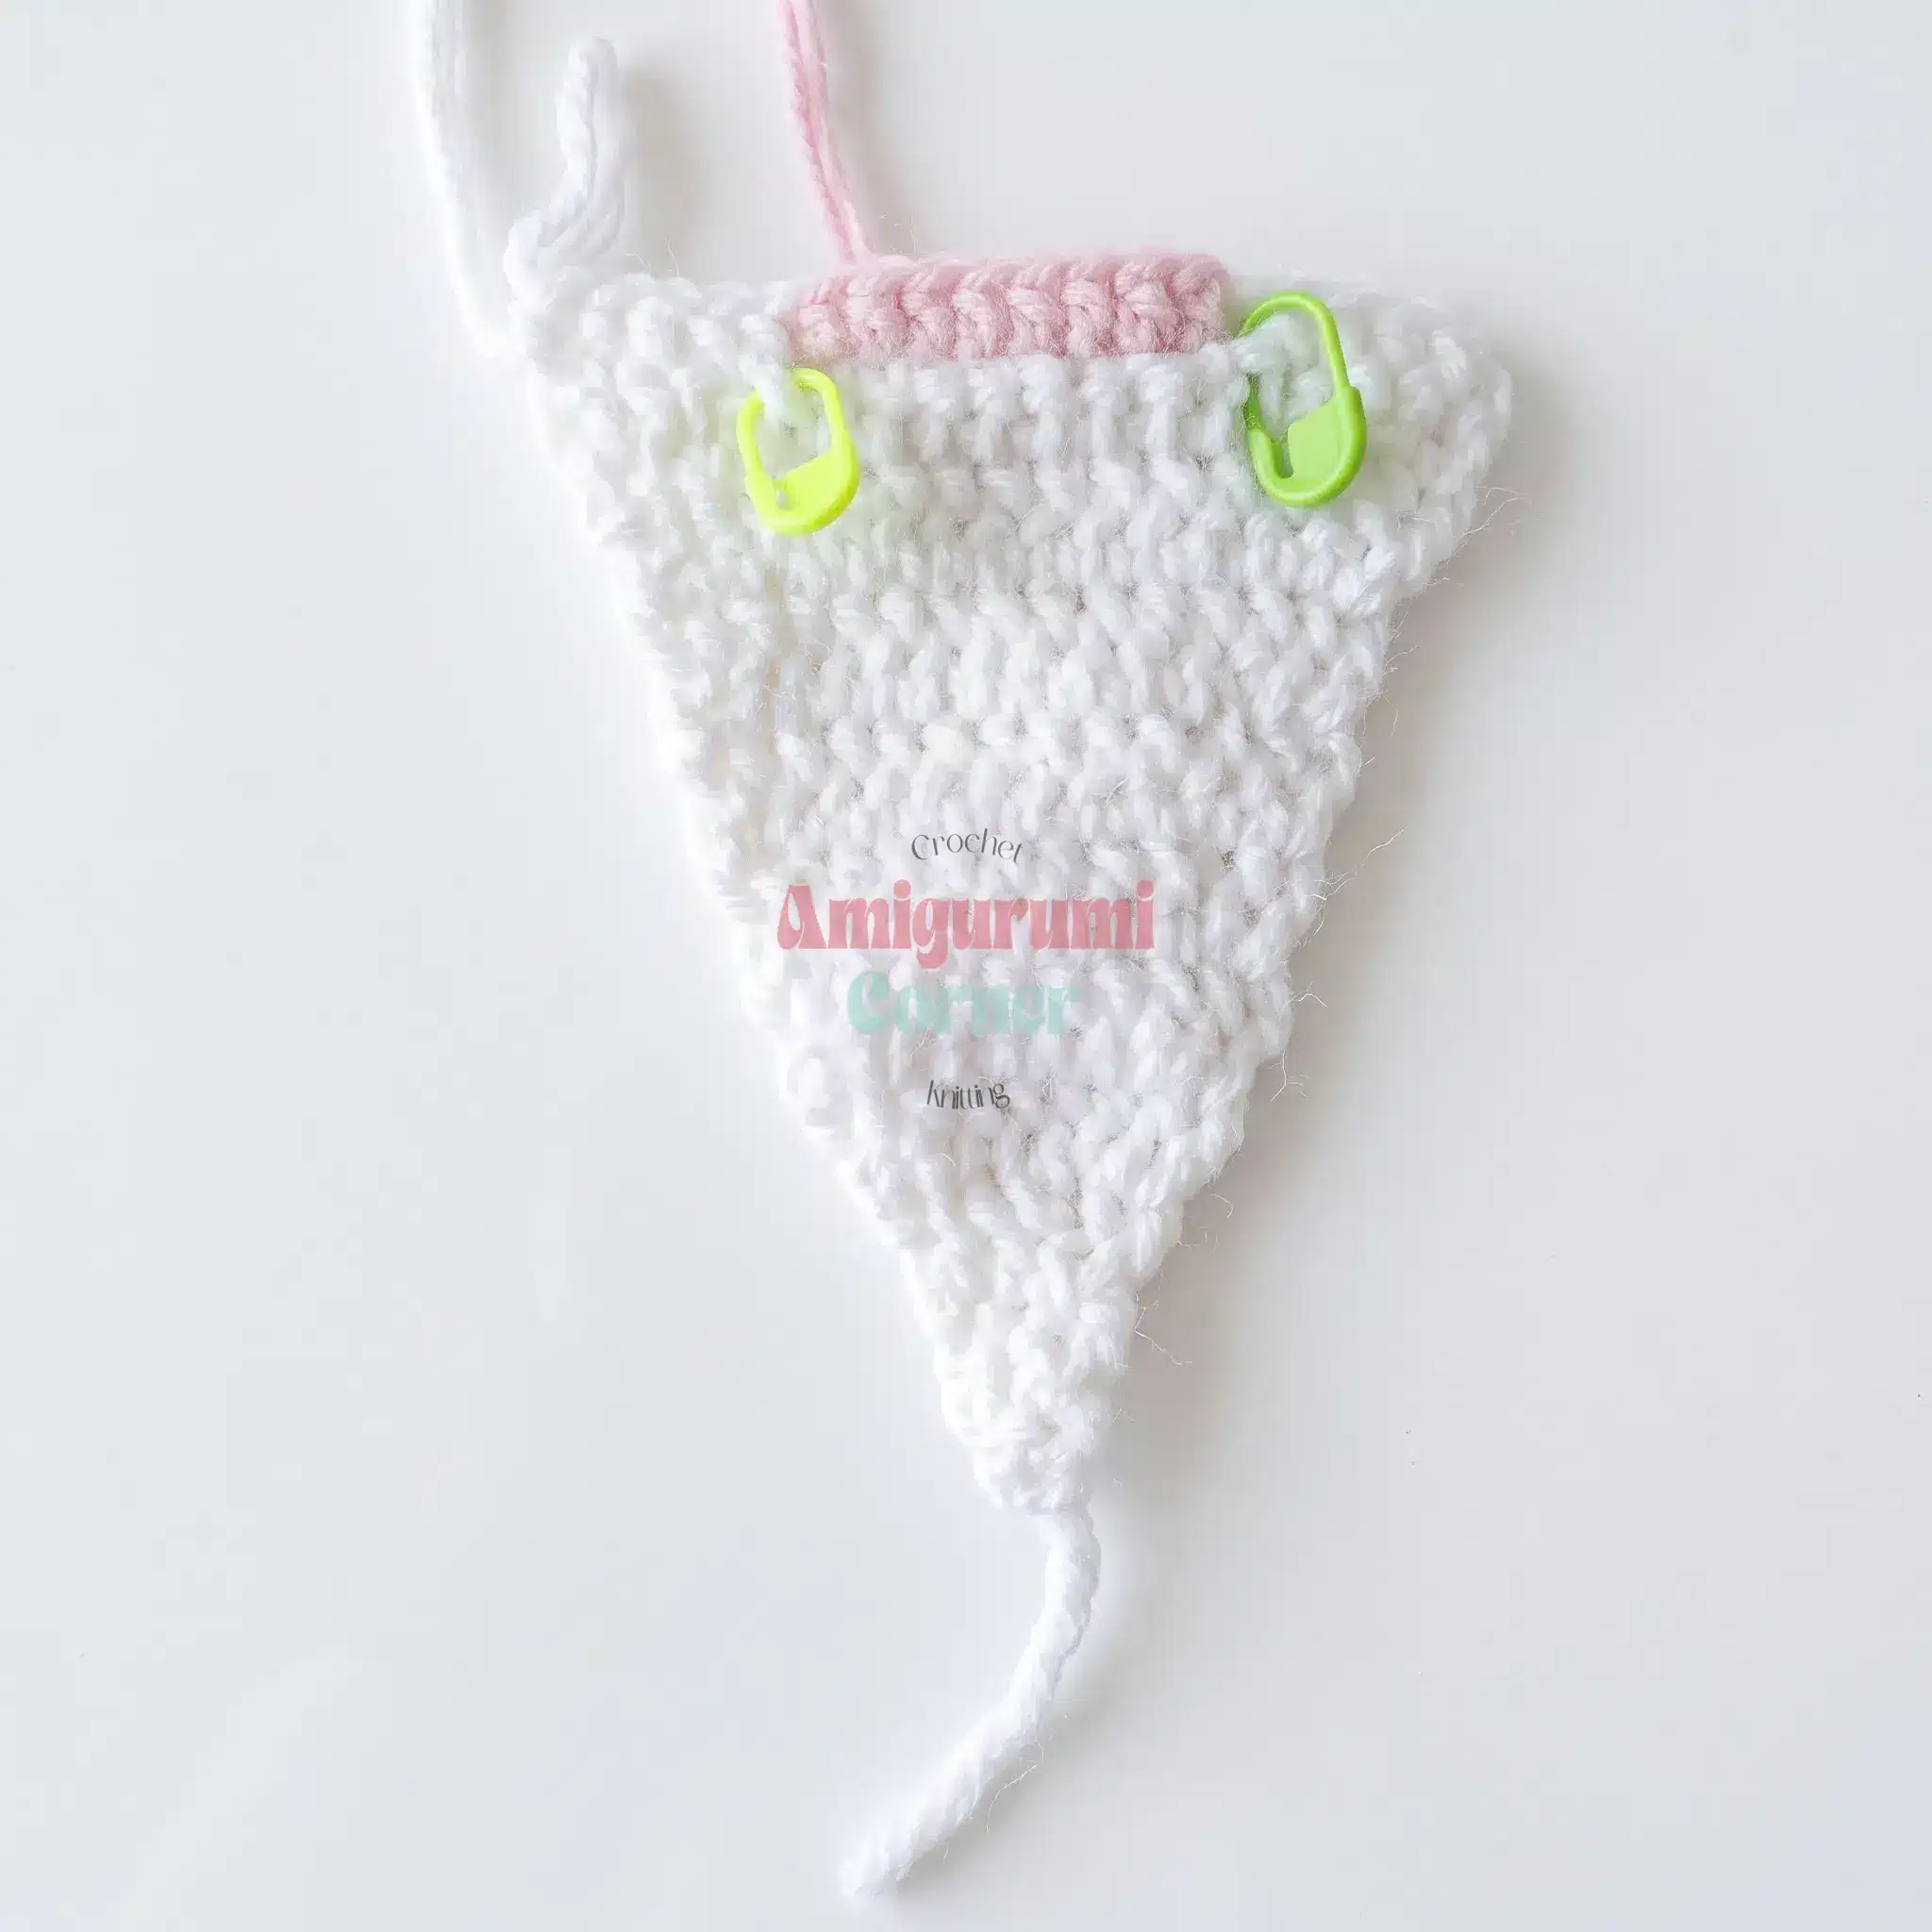
Worked in flat, turning rows, starting in White. Chain 2, work into the 2nd chain from the hook.
Row 1: 2 sc.
Row 2: ch 1, 2 sc. (2)
Row 3: ch 1, 1 sc, inc. (3)
Row 4: ch 1, 3 sc. (3)
Row 5: ch 1, 1 sc, inc, 1 sc. (4)
Row 6: ch 1, 1 sc, inc twice, 1 sc. (6)
Row 7: ch 1, 1 sc, inc, 1 sc repeat twice across. (8)
Row 8: ch 1, sc in each st across. (8)
Row 9: ch 1, 1 sc, inc, 4 sc, inc, 1 sc. (10)
Rows 10–11: ch 1, sc in each st across. (10 sts — both rows)
Row 12: ch 1, 1 sc, inc, 6 sc, inc, 1 sc. (12)
Rows 13–14: ch 1, sc in each st across. (12 sts — both rows)
Row 15: ch 1, 1 sc, inc, 8 sc, inc, 1 sc. (14)
Rows 16–17: ch 1, sc in each st across. (14 sts — both rows)
Row 18: ch 2, 1 hdc, inc hdc, 10 sc, inc hdc, 1 hdc. (16)
Row 19: ch 2, 1 hdc, inc hdc, 12 sc, inc hdc, 1 hdc. (18)
From here, switch to Pink for part of each row; change colors by finishing the last stitch of the old color with the new one. Mark the front-loop stitches left over from Row 20 with stitch markers — you’ll need them for the lower lip later.
Row 20: ch 1, working in Both Loops: White 4 sc; then working in Front Loop Only: White 1 sc; Pink 8 hdc; White 1 sc; then Both Loops: White 4 sc. (18)
After this color change, bring both the white and pink strands to the front of your work before starting the next row.
Row 21: ch 1, White 5 sc; Pink 8 hdc; White 5 sc. (18)
Fasten off pink and continue in white only.
Row 22: ch 2, Both Loops: 1 hdc, dec hdc, 2 sc; Front Loop Only: 8 sc; Both Loops: 2 sc, dec hdc, 1 hdc. (16)
Row 23: ch 1, dec, dec, 8 sc, dec, dec. (12)
Row 24: ch 1, dec, dec, 4 sc, dec, dec. (8)
Row 25: ch 1, dec worked 4 times across. (4)
Row 26: ch 1, dec, dec. (2)
Fasten off and weave in the end.
Lower Lip
Join white yarn to the first Front Loop Only stitch you set aside back in Row 20.
Row 1: working in the Front Loop Only stitches left from Row 20: 10 sc.
Row 2: ch 1, 10 sc.
Fasten off and use your hook to draw the tails through to the wrong side. You’ll sew this lip on after shaping the face later.
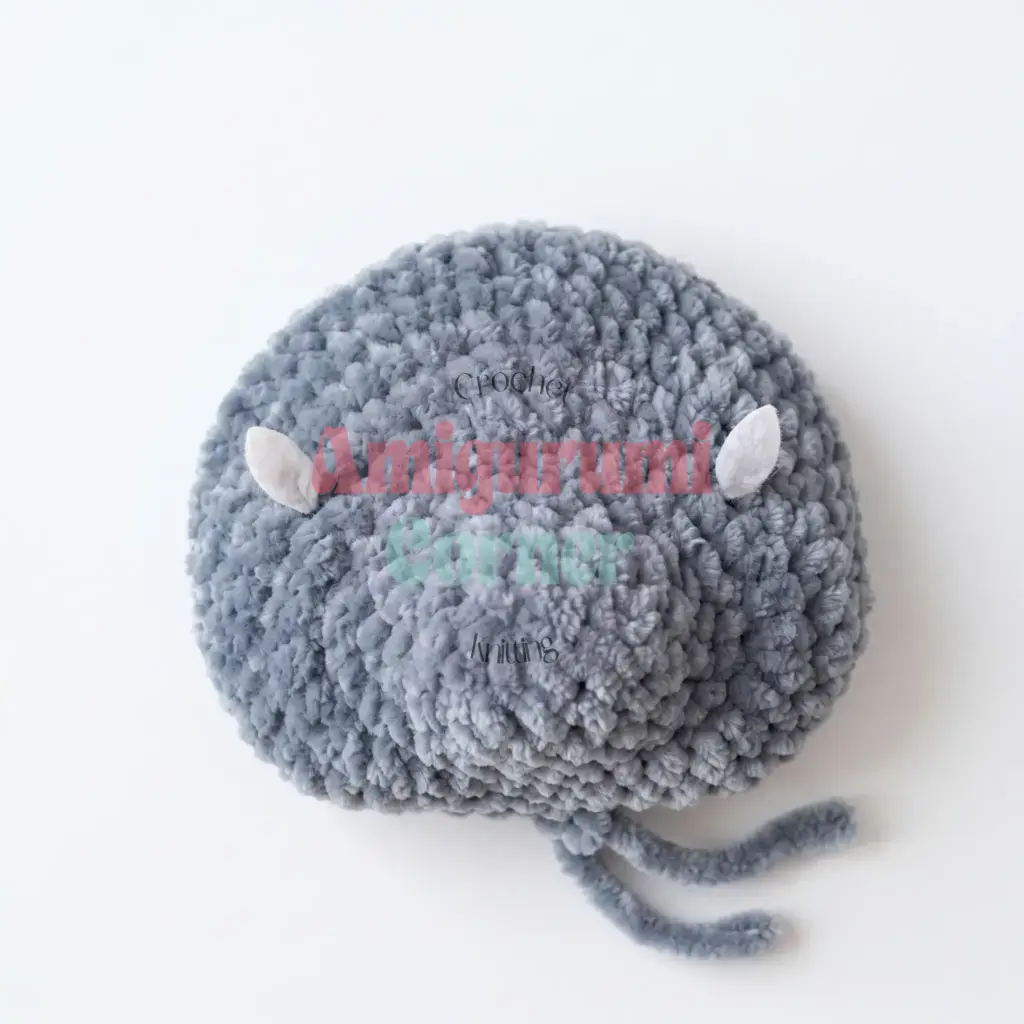
Head & Body
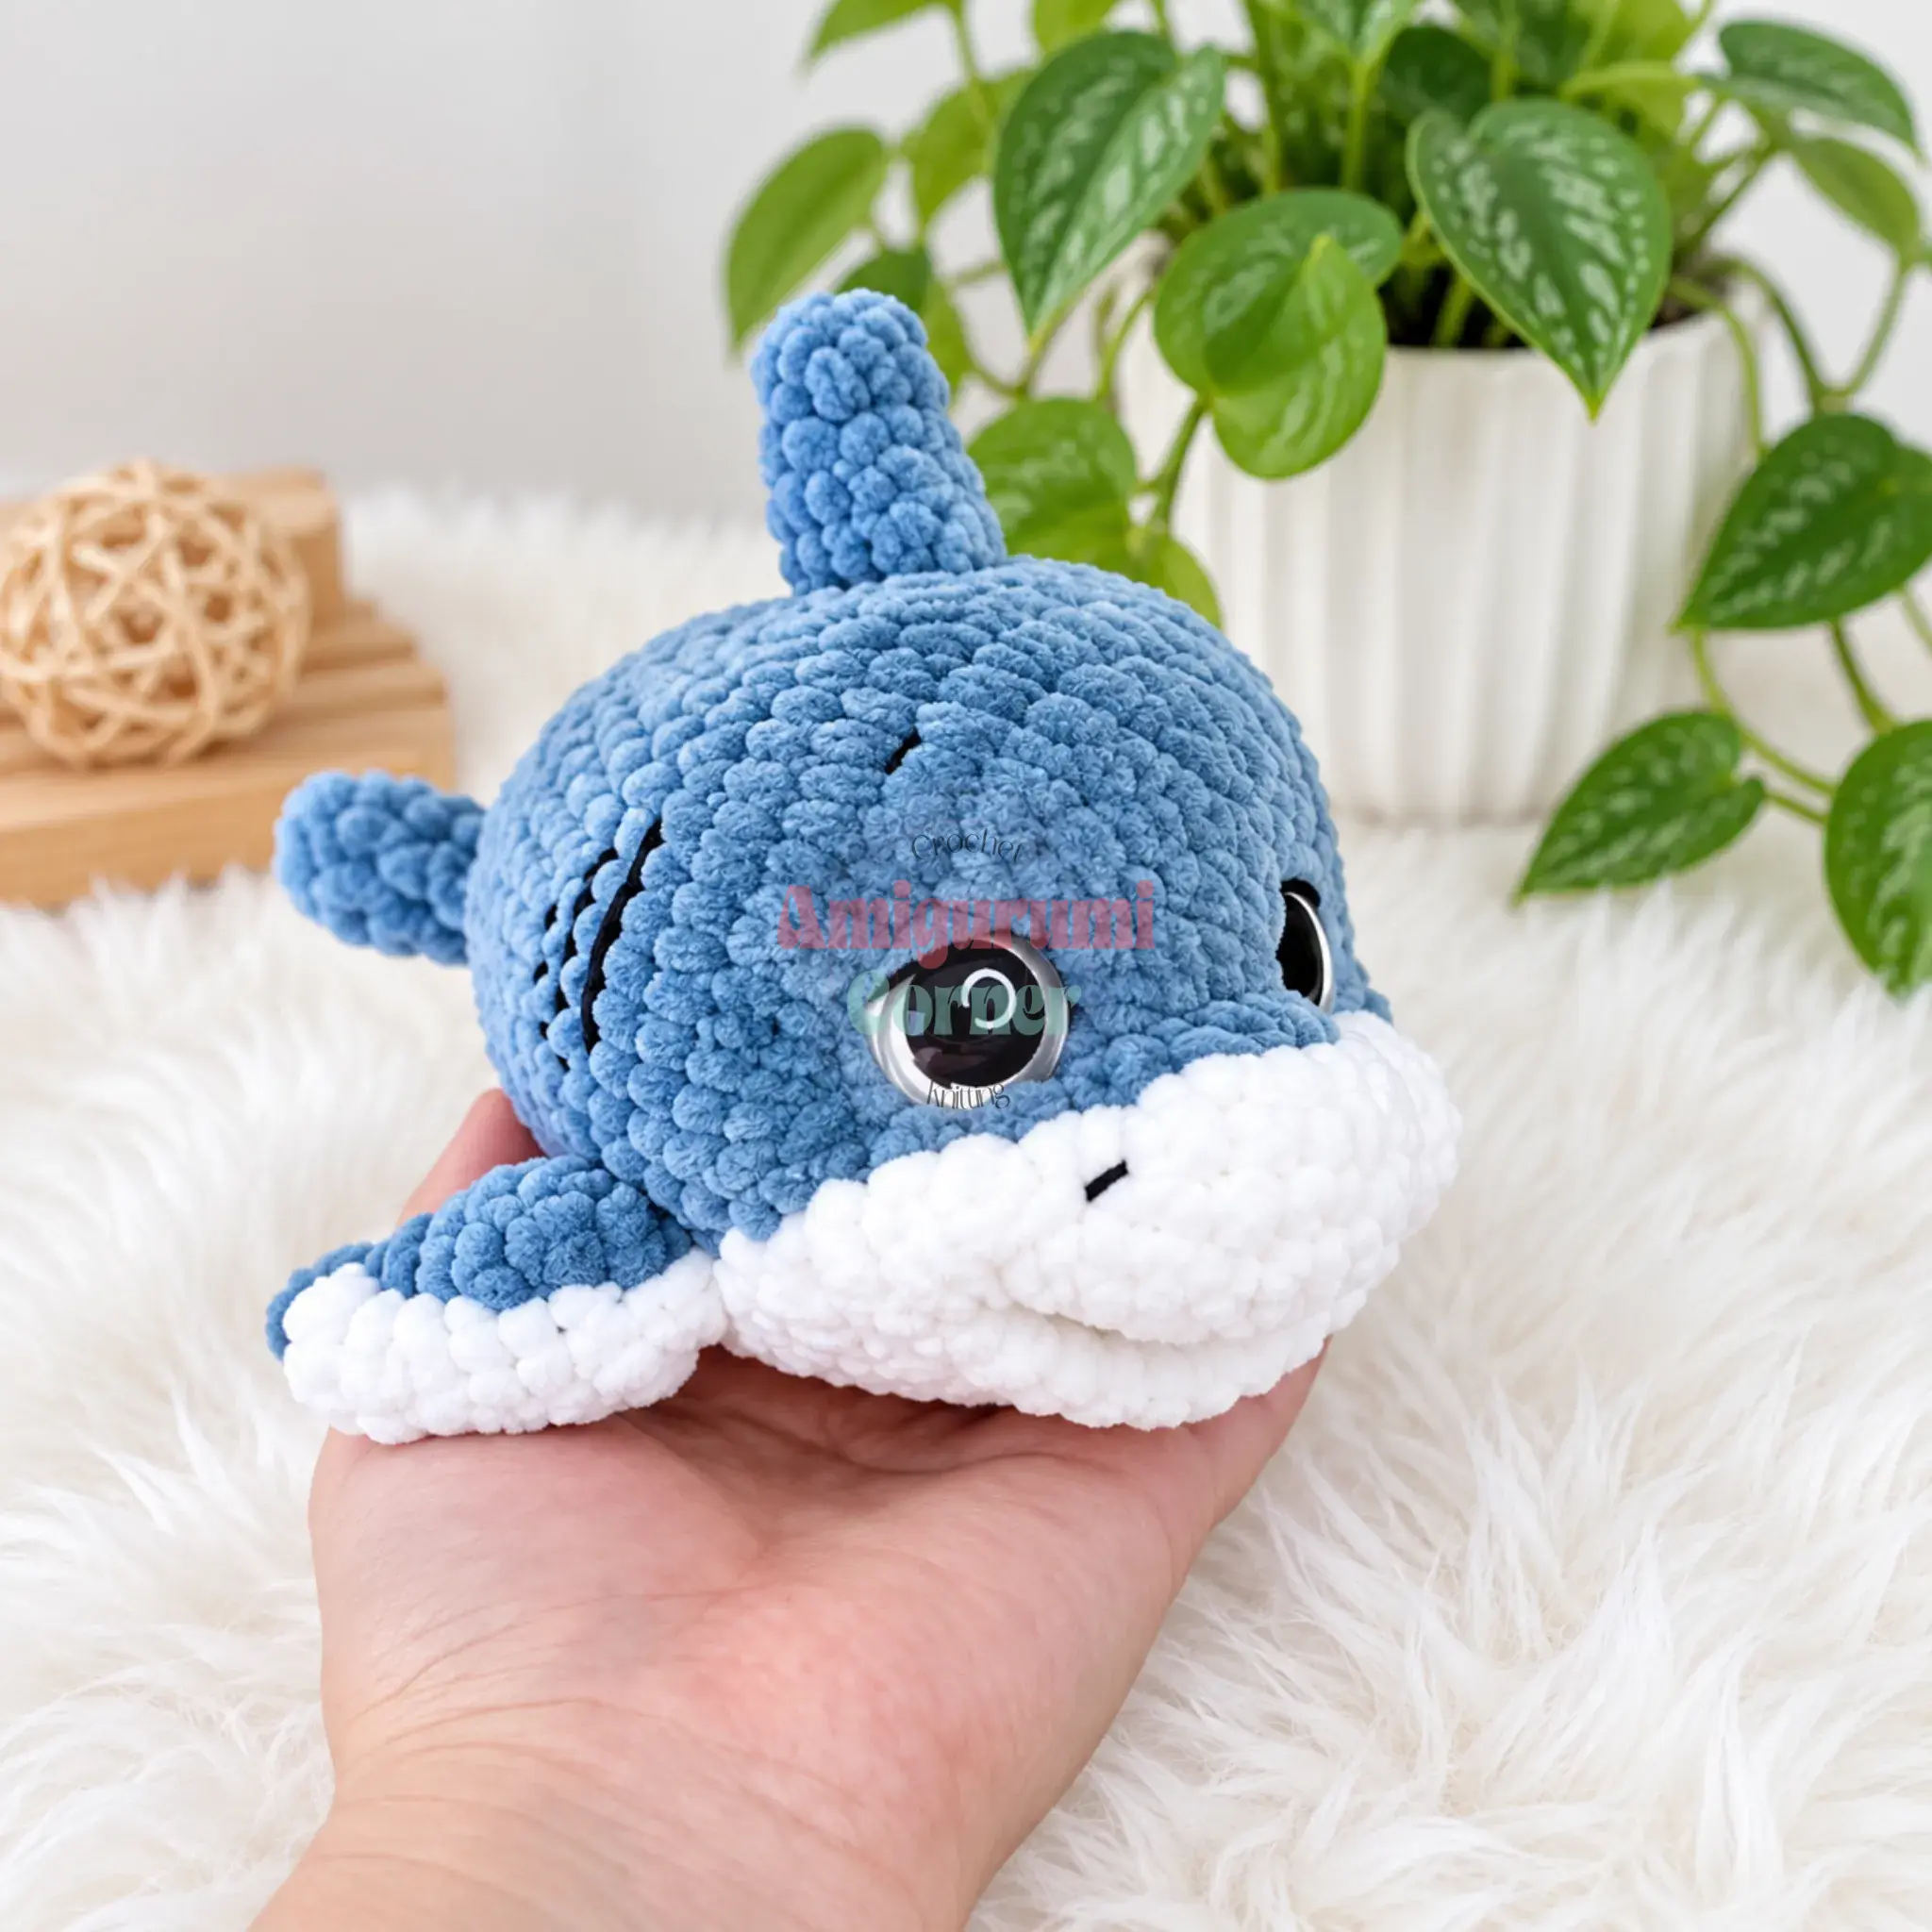
Worked in Main Color, in a continuous spiral. Stuff firmly as you go. Chain 4, starting in the 2nd chain from the hook.
Rnd 1: inc, 1 sc, work 4 sc into the first chain of your starting chain, 1 sc, inc. (10)
Rnd 2: 1 sc, inc, 1 sc, 1 sc, inc repeat twice, 2 sc, inc. (14)
Rnd 3: sc in each st around. (14)
In Round 4, the two increase-hdc stitches should land exactly at the center-top of the head — shift the start of the round by one stitch if you need to line them up.
Rnd 4: double increase (3 sc in the same st), 2 sc, 2 inc hdc, 2 sc, double increase (3 sc in the same st), 6 sc. (20)
Rnd 5: 3 inc, 2 sc, 1 hdc, 2 inc hdc, 1 hdc, 2 sc, 3 inc, 6 sc. (28)
Rnd 6: 1 hdc, inc hdc repeat 3 times, 2 sc, inc, 1 sc, inc repeat twice, 2 sc, inc hdc, 1 hdc repeat 3 times, 6 sc. (38)
Rnd 7: 2 hdc, inc hdc repeat 3 times, 2 sc, inc, 1 sc repeat twice, 2 inc, 1 sc, inc repeat twice, 2 sc, inc hdc, 2 hdc repeat 3 times, 6 sc. (50)
Rnds 8–10: sc in each st around. (50 sts — all 3 rounds)
Place your safety eyes now, between Rounds 6 and 7 — count 14 sc between eye posts along Round 6 to keep them evenly spaced.
In Rounds 11 and 13, the decreases should sit exactly at the center-top of the head — shift the start of the round by one stitch if needed to keep them stacked.
Rnd 11: 13 sc, 2 sc, dec repeat 5 times, 17 sc. (45)
Rnd 12: sc in each st around. (45)
Rnd 13: 11 sc, 2 sc, dec repeat 5 times, 14 sc. (40)
Rnds 14–15: sc in each st around. (40 sts — both rounds)
Rnd 16: 8 sc, dec repeat 4 times around. (36)
Rnds 17–18: sc in each st around. (36 sts — both rounds)
Rnd 19: 4 sc, dec repeat 6 times around. (30)
Rnd 20: sc in each st around. (30)
Begin stuffing the head and body now, packing the muzzle especially firmly.
Rnd 21: 3 sc, dec repeat 6 times around. (24)
Rnd 22: sc in each st around. (24)
Rnd 23: 2 sc, dec repeat 6 times around. (18)
Rnd 24: sc in each st around. (18)
Rnd 25: 1 sc, dec repeat 6 times around. (12)
Add more stuffing to the body. Begin sewing on the Body Panel now — its top edge should sit between the first and second rounds at the top of the muzzle.
Rnds 26–27: sc in each st around. (12 sts — both rounds)
Thread a long yarn needle with sturdy thread and pull it through the head several times around the eyes and muzzle, drawing the yarn snug each time to create soft indents that sculpt the face.
Finish stuffing the body completely before closing it up.
Rnd 28: dec, dec, dec, dec, dec, dec. (6)
Cinch the opening closed, fasten off, and weave the tail into the body. Finish sewing on the Body Panel the rest of the way.
Assembly
With the Head & Body stuffed and closed, position the Top Fin along the center of the back and whipstitch it in place, leaving it unstuffed and flat as directed. Pin the Left Side Fin and Right Side Fin on opposite sides of the body at your desired angle — mirror them carefully so your shark doesn’t look lopsided — and sew each one on using its leftover yarn tail. Attach both Tail Fins to the back end of the body, angling them outward slightly for a natural tail-fin look. If you haven’t already, finish stitching the Body Panel in place along the muzzle and underside, tucking the lower lip snugly against the panel’s shaped edge. Weave in every remaining yarn tail, and use your needle to embroider or attach any final white/black eye detailing from your fingering-weight yarn.
Tips
- Keep your tension on the snug side throughout — amigurumi worked a little tighter than typical crochet keeps your stuffing from showing through the stitches, which matters most on a pale-colored piece like this shark’s belly.
- For a clean invisible decrease, insert your hook into the front loops of the next two stitches only before pulling your yarn through — it draws the stitches together smoothly instead of leaving a visible ridge, which is especially noticeable on the shaping around the muzzle.
- Stuff the muzzle noticeably firmer than the rest of the head — it’s called out for a reason. A softly-stuffed snout will look flat once the Body Panel is sewn over it, so don’t be shy there.
- If you’re substituting yarn, remember that plush or chenille yarns behave differently from smooth acrylics — they’re forgiving of small tension inconsistencies but can obscure very fine stitch definition, so save your smooth fingering-weight yarn for the eye embroidery where precision matters.
- When sewing on the fins, work from the inside of the fin outward and match your sewing stitches to the fin’s own stitch bumps rather than pulling straight through — it keeps the seam nearly invisible against the plush texture.
FAQs
What type of yarn is best for this pattern?
The pattern recommends a medium-weight plush or chenille yarn, such as Wolans Bunny Baby or LaVita Velur, for the main body. For the eye detailing, use a smooth fingering-weight cotton or acrylic yarn.
Do I need to join rounds when working the fins?
No, the fins are worked in continuous spirals without joining slip stitches between rounds. Just use a stitch marker to keep track of the beginning of each round.
How do I ensure the shark’s face looks symmetrical?
Pay attention to the instructions regarding shifting the start of rounds by one stitch if increases or decreases drift off-center. Additionally, stuffing the muzzle firmly and pulling the sculpting thread snugly around the eyes and muzzle will help create a defined, symmetrical shape.
Can I use a different hook size?
You can substitute hook sizes, but be aware that this will change the finished size of the shark and the amount of yarn required. Ensure your stitches remain tight enough to prevent stuffing from showing through.
Why are the fins left unstuffed?
The fins and tail pieces are worked through one layer only and left unstuffed to keep them flat, which is essential for the correct appearance and attachment of these features.
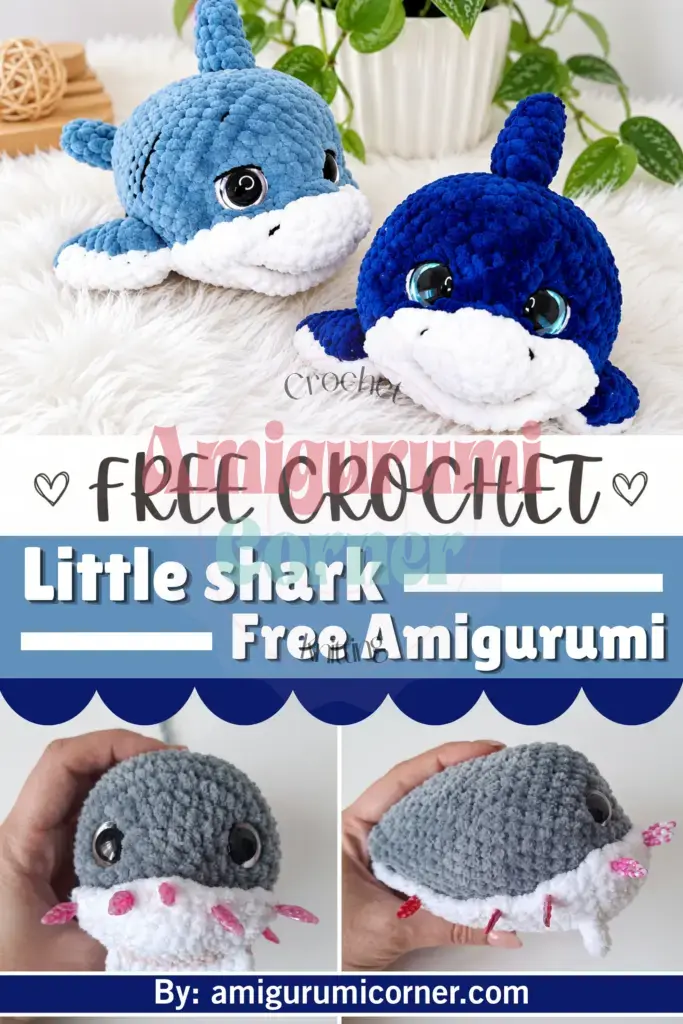
Pin This Crochet Pattern!