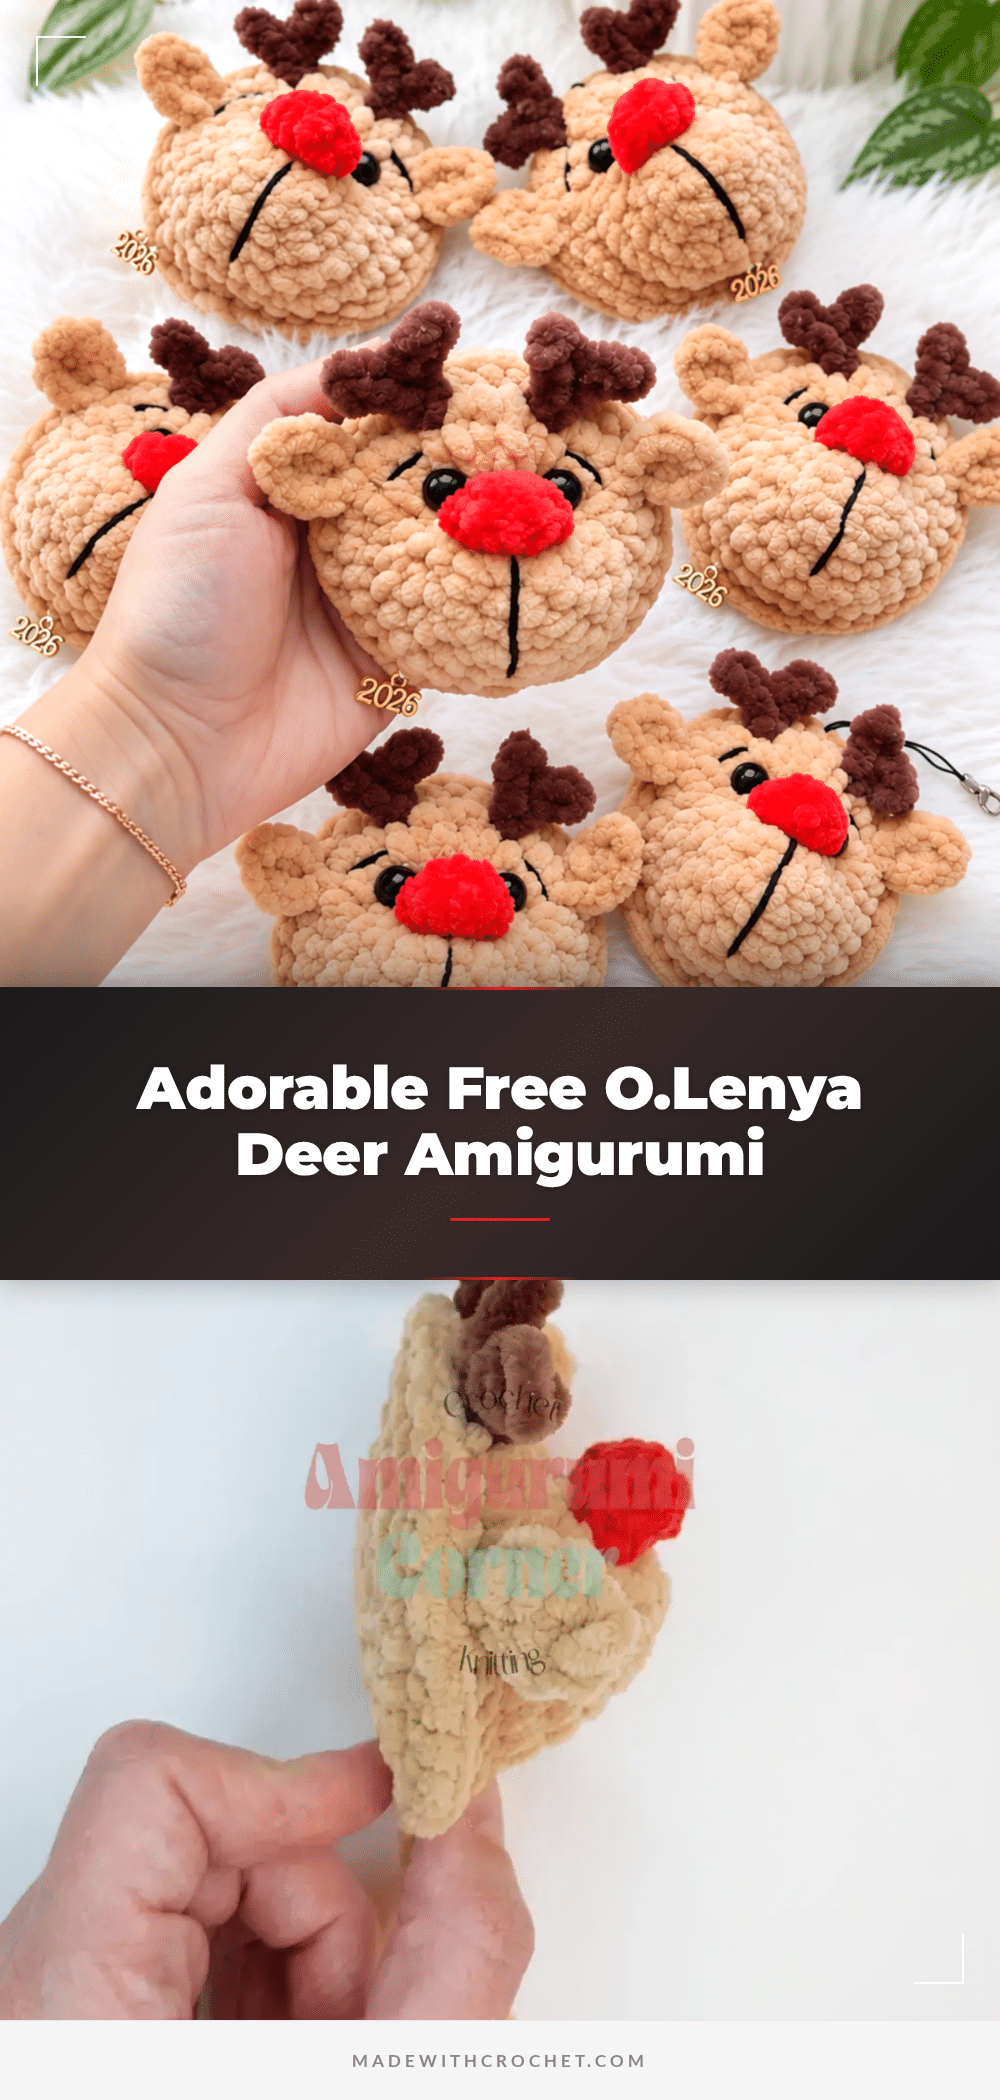
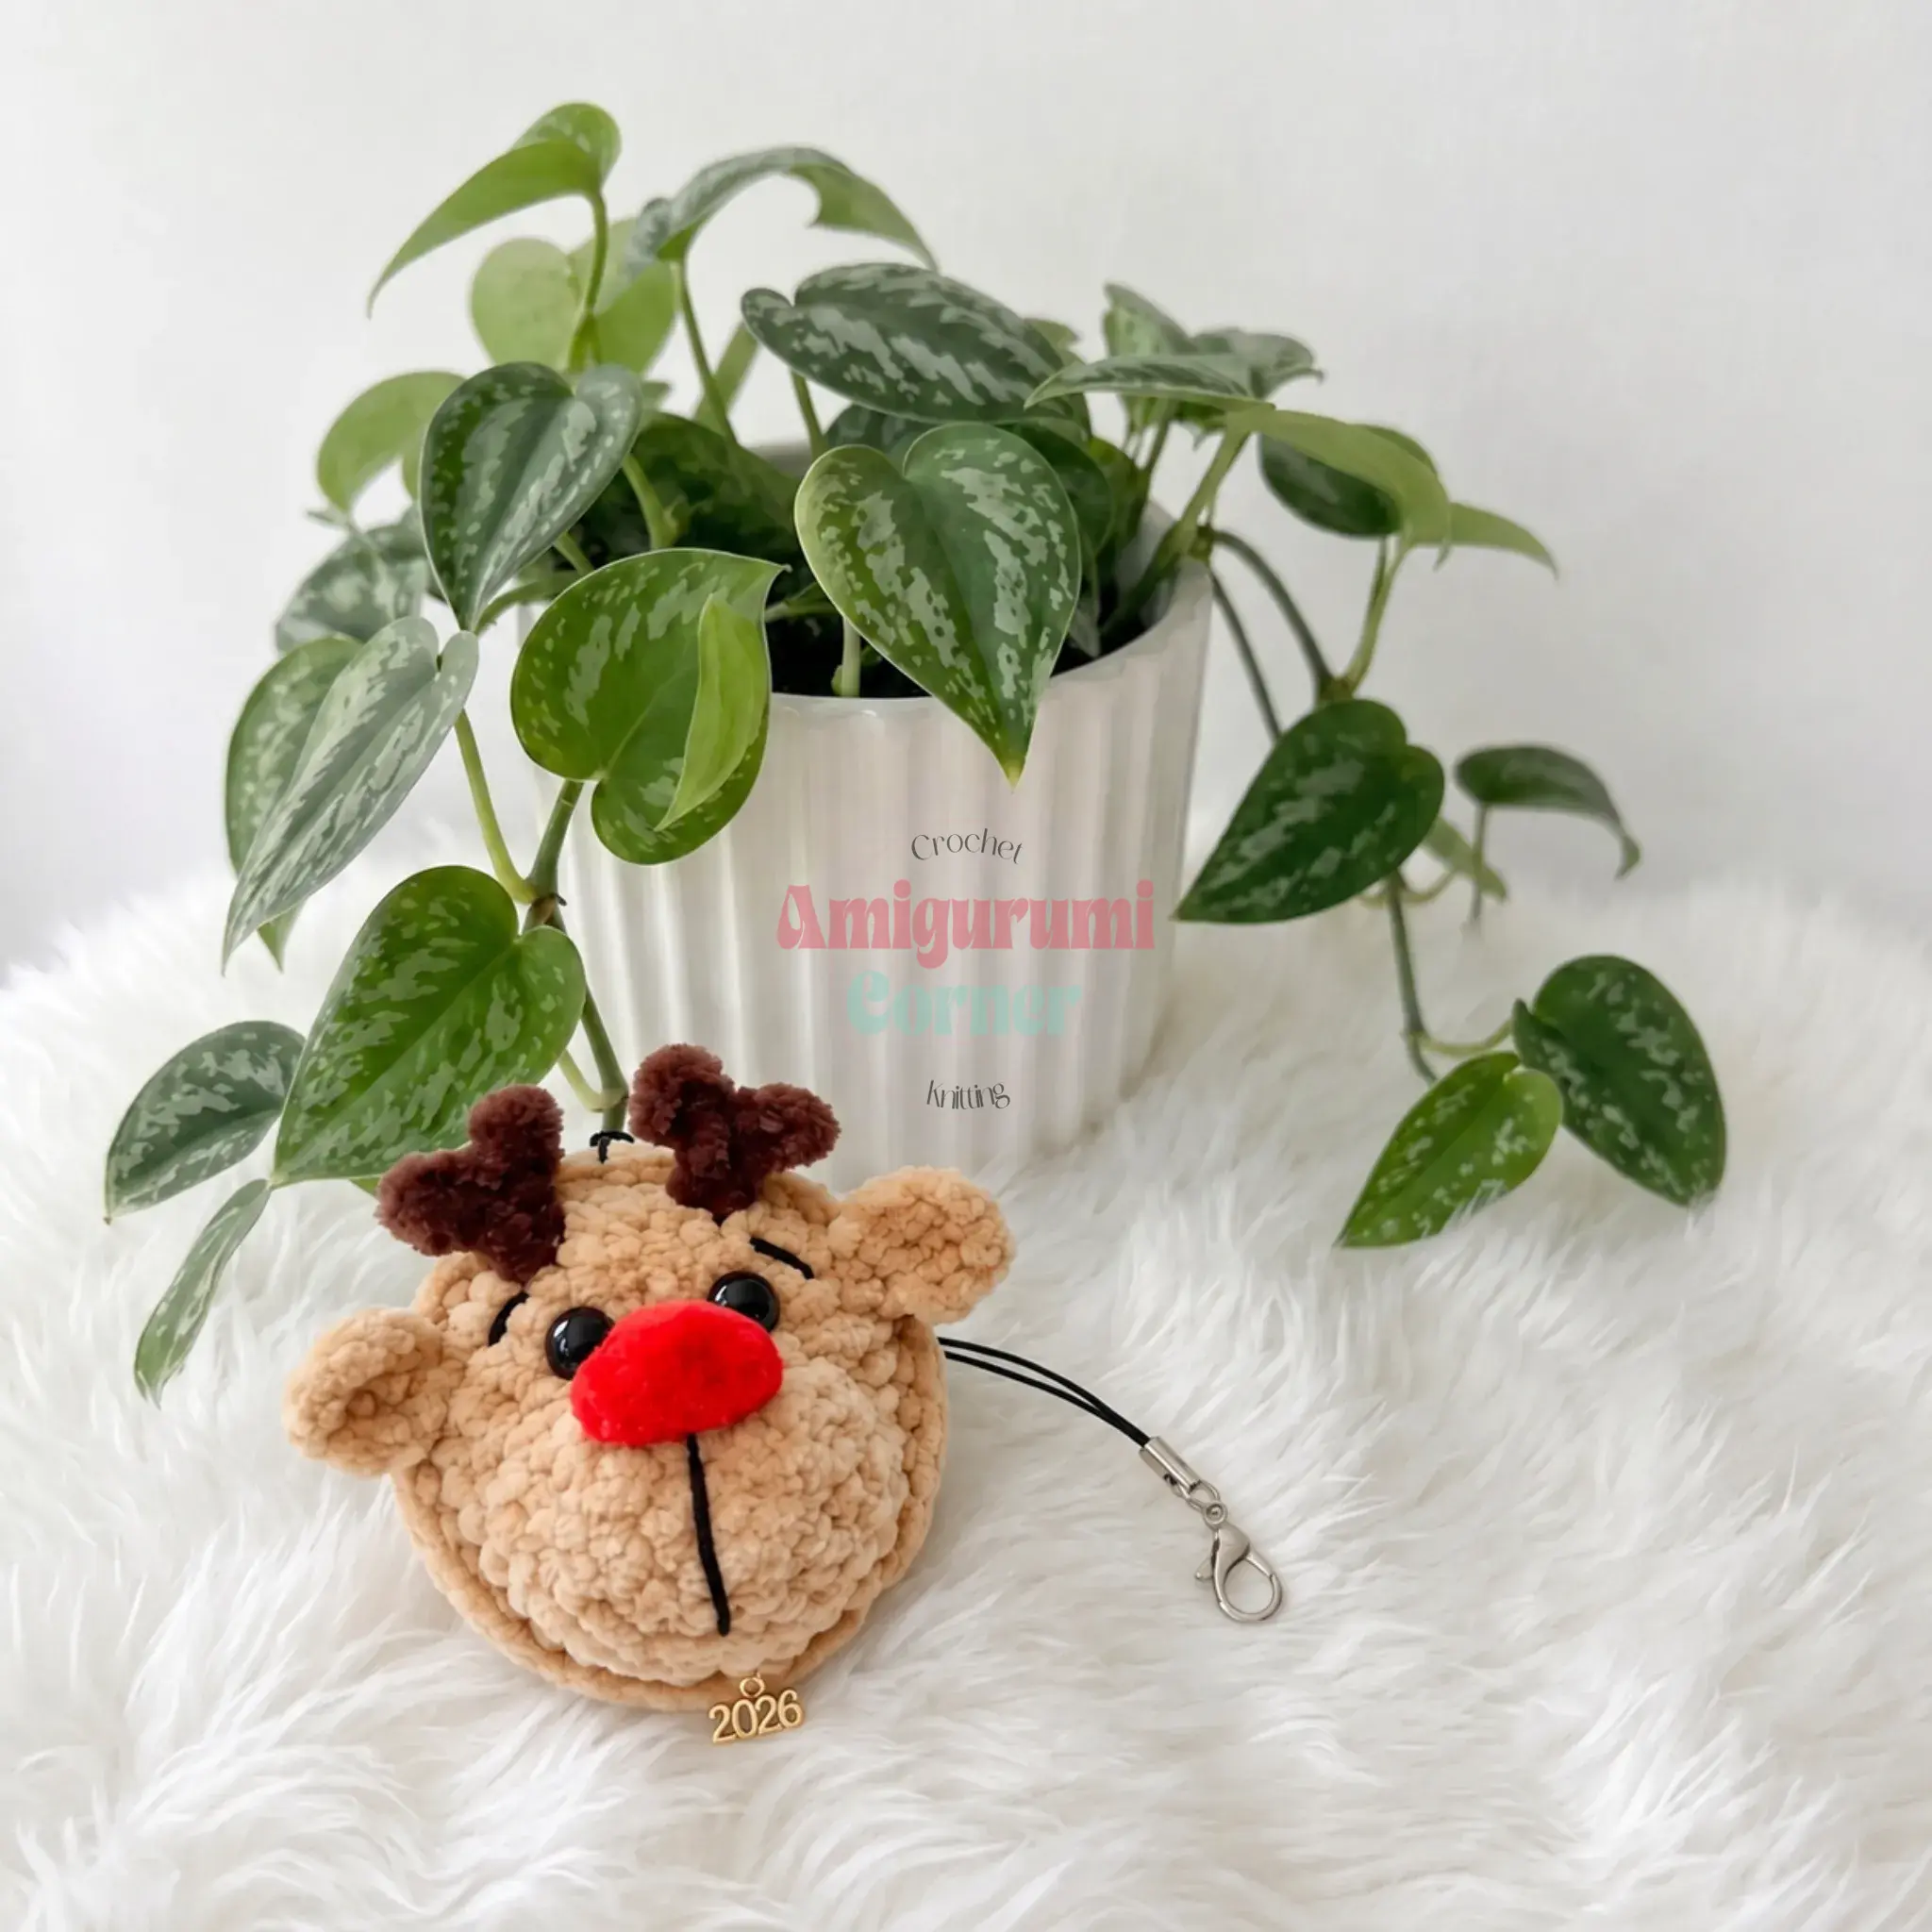
It is incredibly common for beginners to panic when they realize their amigurumi isn’t turning out perfectly round, or to worry that they’ve missed a stitch somewhere in the middle of a round. With a pattern like O.Lenya, that fear is understandable because the face is the focal point, and a lopsided ear or eye can throw off the whole look. However, this project is designed to be forgiving. The plush texture of velvet yarn hides minor tension inconsistencies, and the shaping is straightforward enough that you can build confidence without needing advanced techniques. Let’s get started on bringing this little deer to life.
Maker Notes
O.Lenya is designed to be a pocket-sized companion, measuring roughly 8x10cm. The choice of plush or velvet yarn is key here; it gives the deer that irresistible soft-toy texture while naturally concealing small gaps in your stitches. Because the yarn is dense, you won’t need to obsess over perfect gauge, but you do need to ensure your tension is snug enough that the stuffing doesn’t peek through. This pattern is a wonderful introduction to mid-round assembly, where you attach ears and build horns while working the main piece. It feels like magic when you realize you are creating a three-dimensional face in a single round.
Project Overview
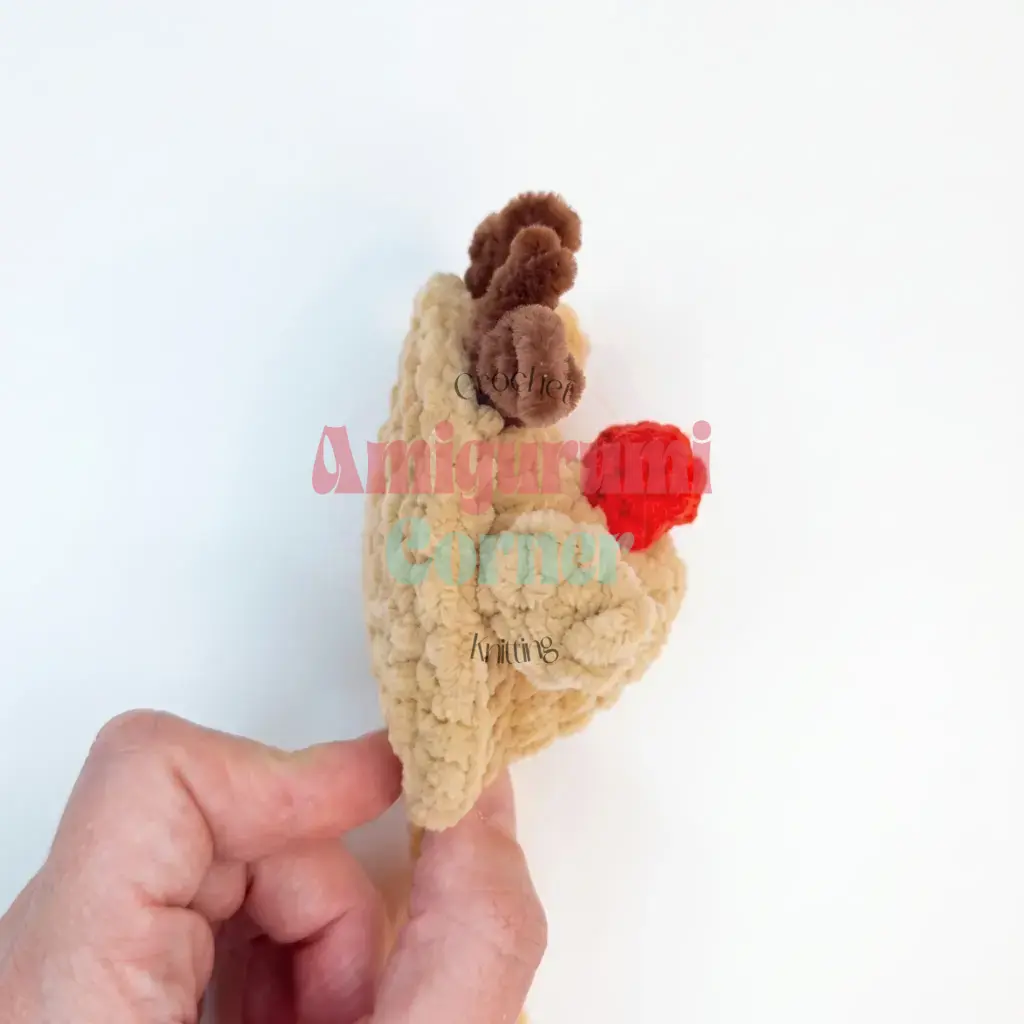
This amigurumi deer pattern is written in US crochet terminology and worked in continuous spiral rounds. It requires just four small crocheted pieces plus some embroidery for the facial features. The skill level is accessible for those who know basic stitches, making it a quick project for experienced makers and a confident next step for beginners.
Materials
- Yarn: Plush/velvet yarn (approx. 100g/120m weight) in three colors:
- Brown (main color) — approx. 17g
- Red — approx. 1g
- Dark brown — approx. 1g
- Hook: US G/6 (4mm)
- Eyes: Black safety eyes, 10mm, no shank/post
- Stuffing: Polyester fiberfill
- Embroidery: Black cotton yarn (fine sport/DK-weight cotton works well)
- Tools: Stitch markers (several colors helpful for tracking), yarn/tapestry needle, scissors
- Optional: Fabric glue (for extra hold on safety eyes), small magnet or cord/ribbon (for keychain/ornament use)
Gauge and Finished Size
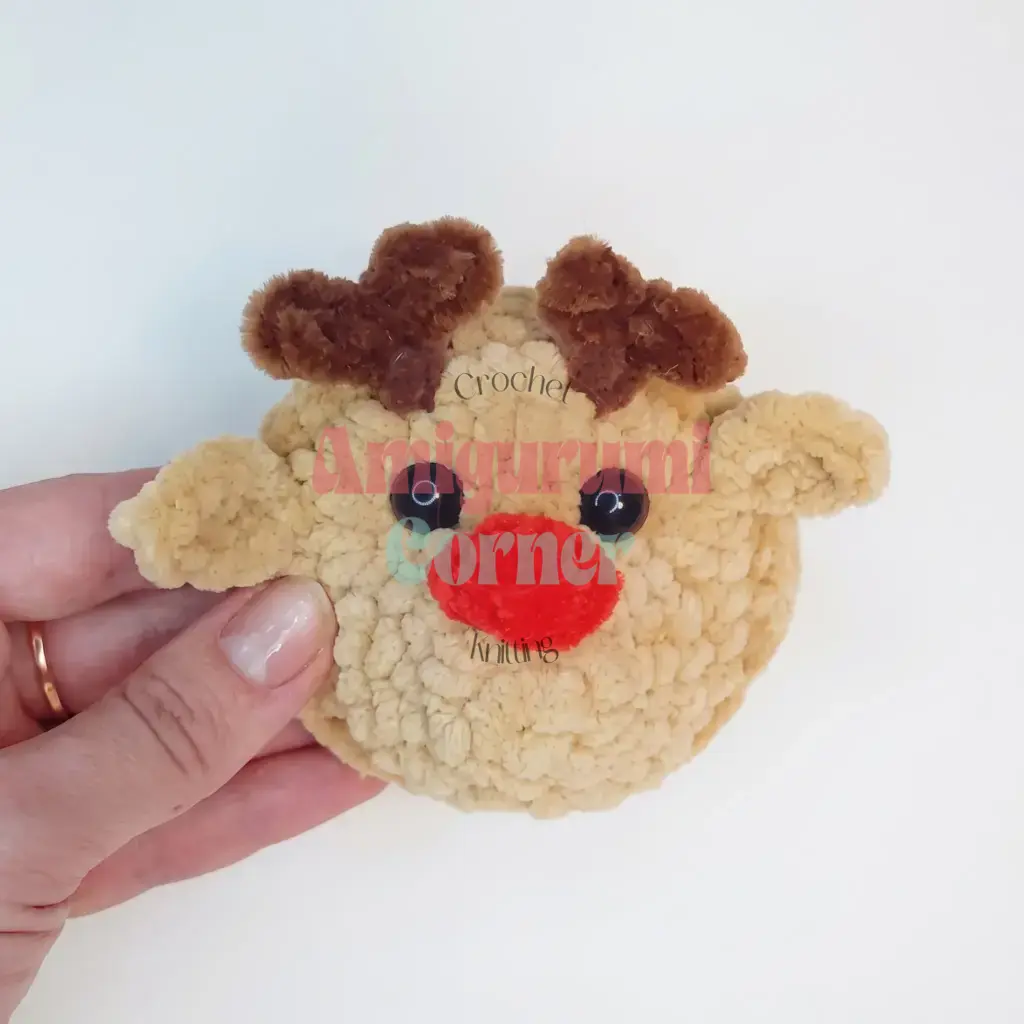
Gauge isn’t critical here; just make sure your fabric is tight enough that stuffing doesn’t peek through. The finished deer measures roughly 8x10cm (about 3x4in) with the materials listed above — your result may run slightly larger or smaller depending on your yarn and tension.
Abbreviations
- ch — Chain
- hdc — Half Double Crochet
- inc — Increase (2 sc in same st)
- mr — Magic Ring
- sc — Single Crochet
- sl st — Slip Stitch
Pattern Notes
- Worked in continuous spiral rounds — do not join or turn unless a step tells you to.
- Stitch counts are given at the end of each round in parentheses, like this: (12).
- Watch for symmetry as you go, especially when placing the ears, horns, and eyes — small adjustments now save you from a lopsided face later.
Pattern Instructions
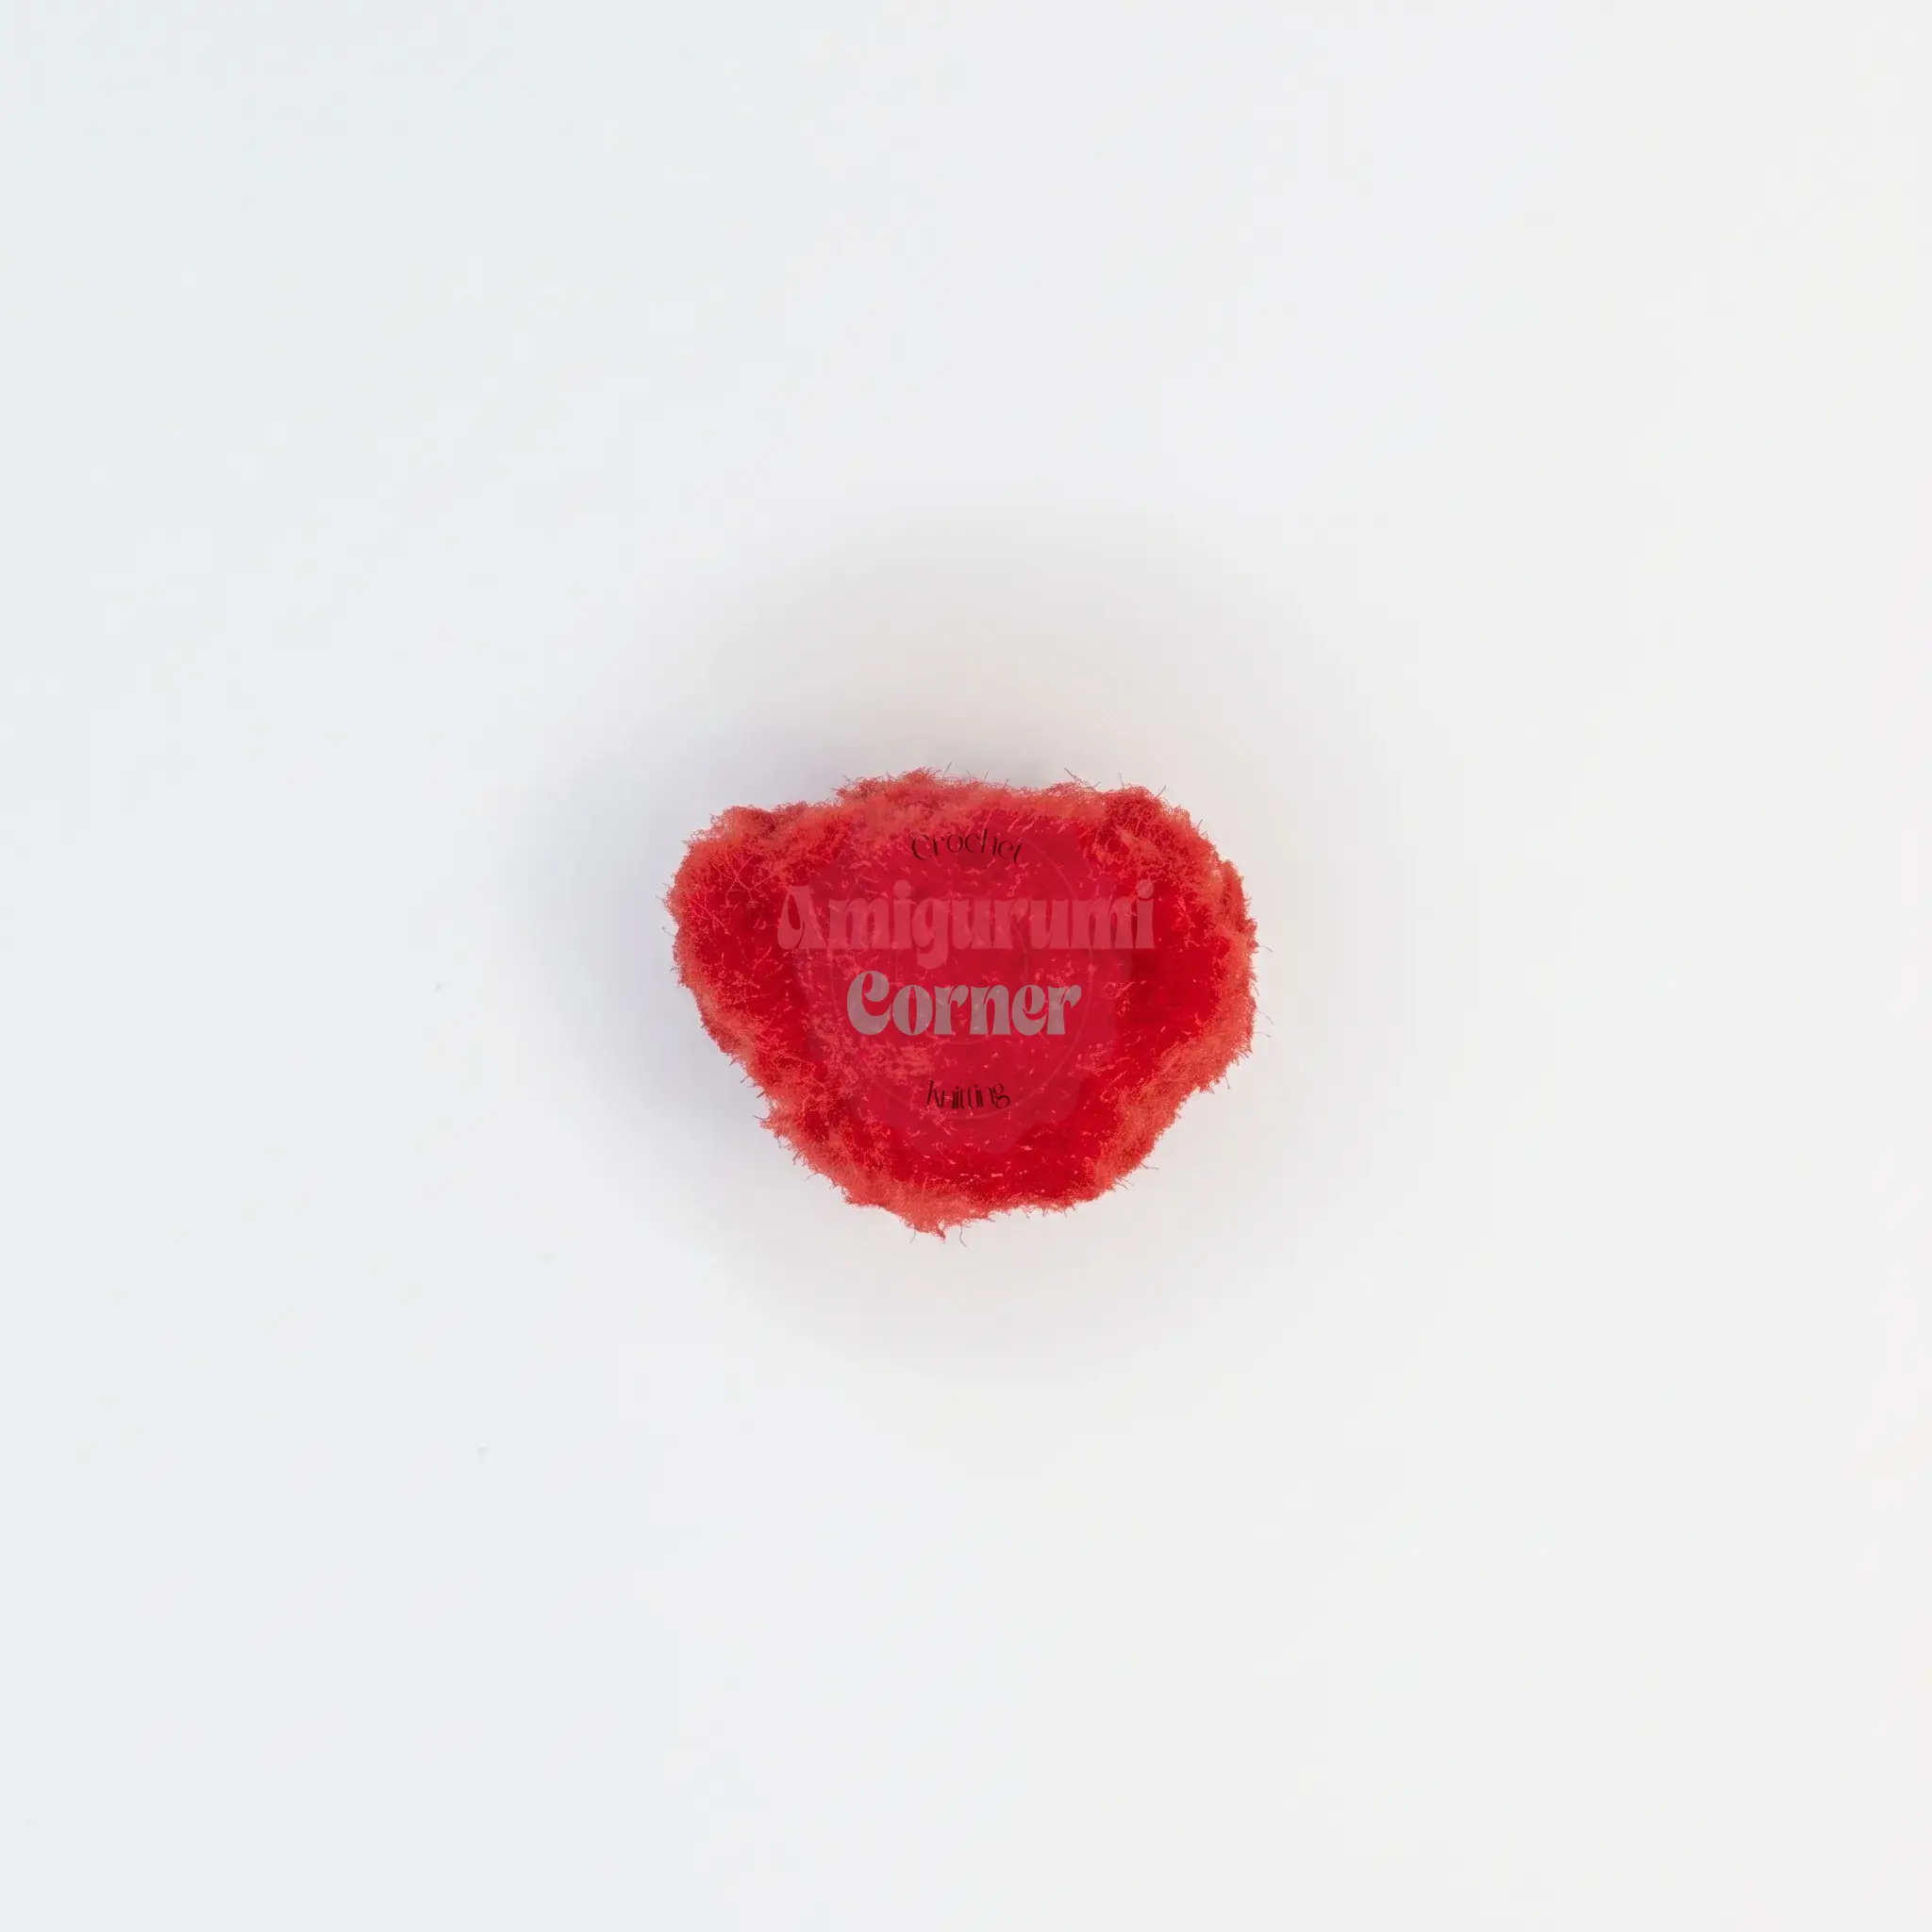
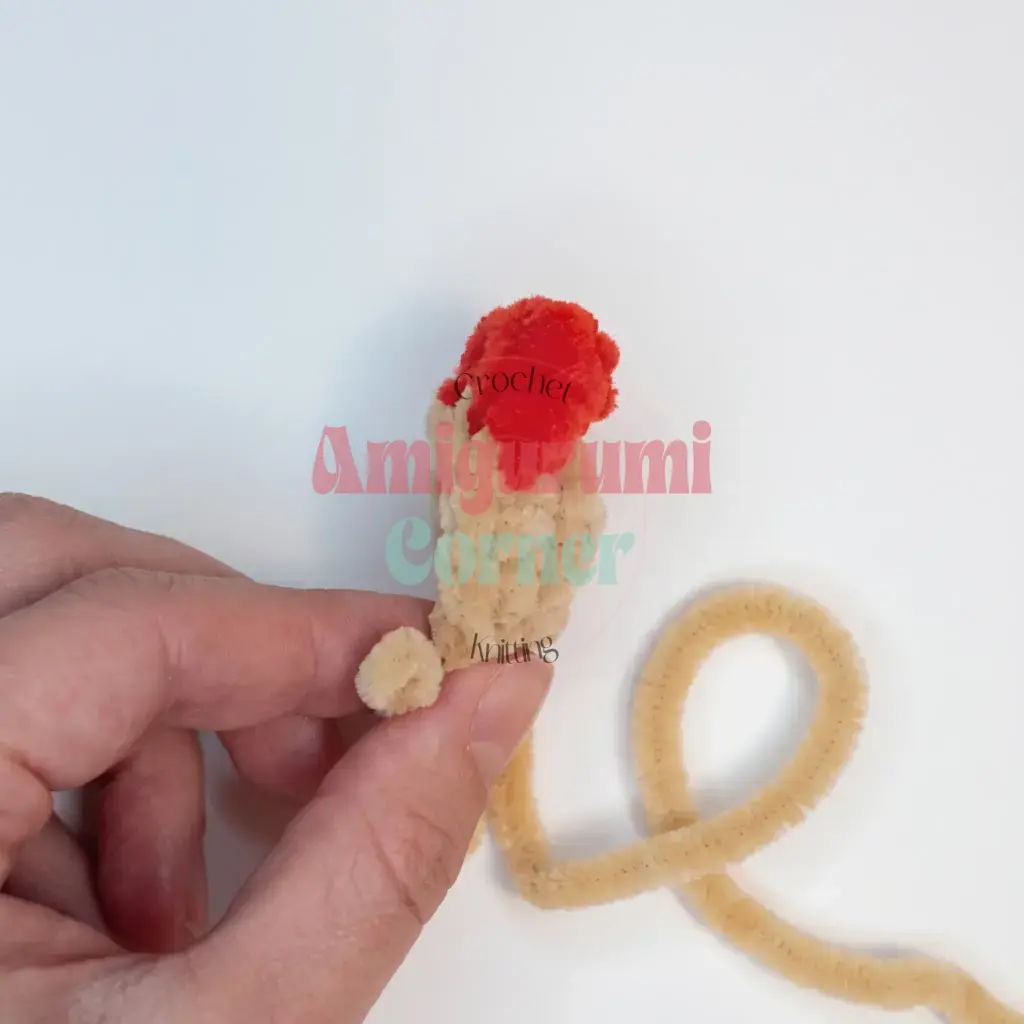
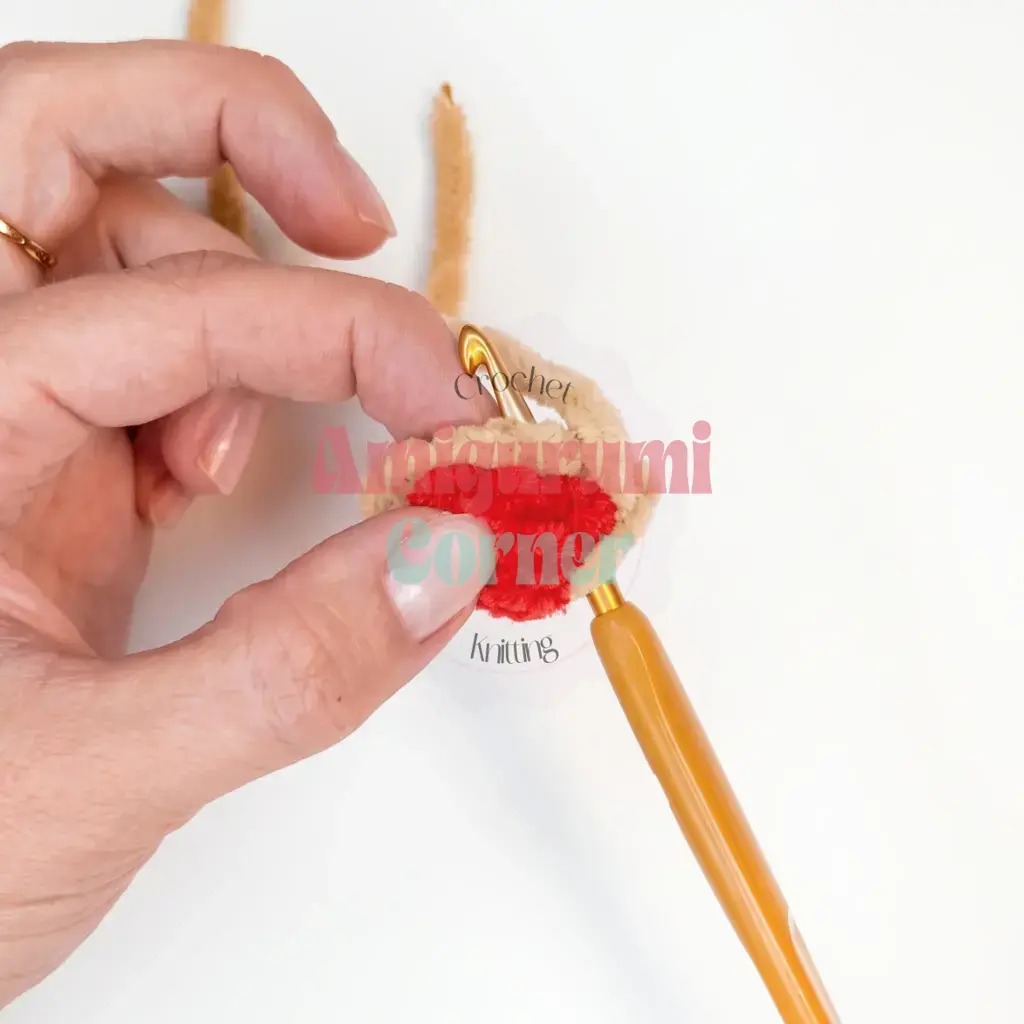
Nose
Worked in red.
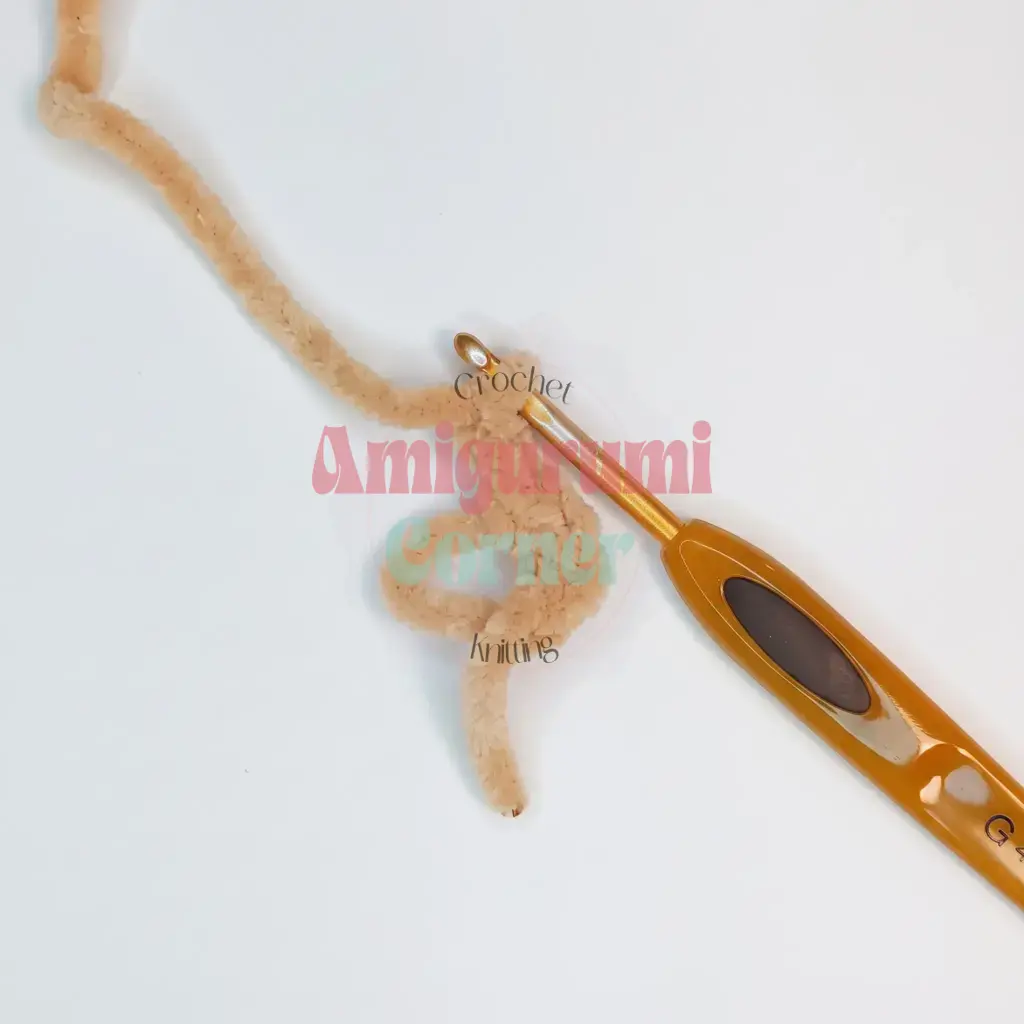
Rnd 1: 6 sc in mr. (6)
Finish with 1 sl st. Cut yarn, leaving a short tail, and weave in.
Ears (Make 2)
Worked in main color.
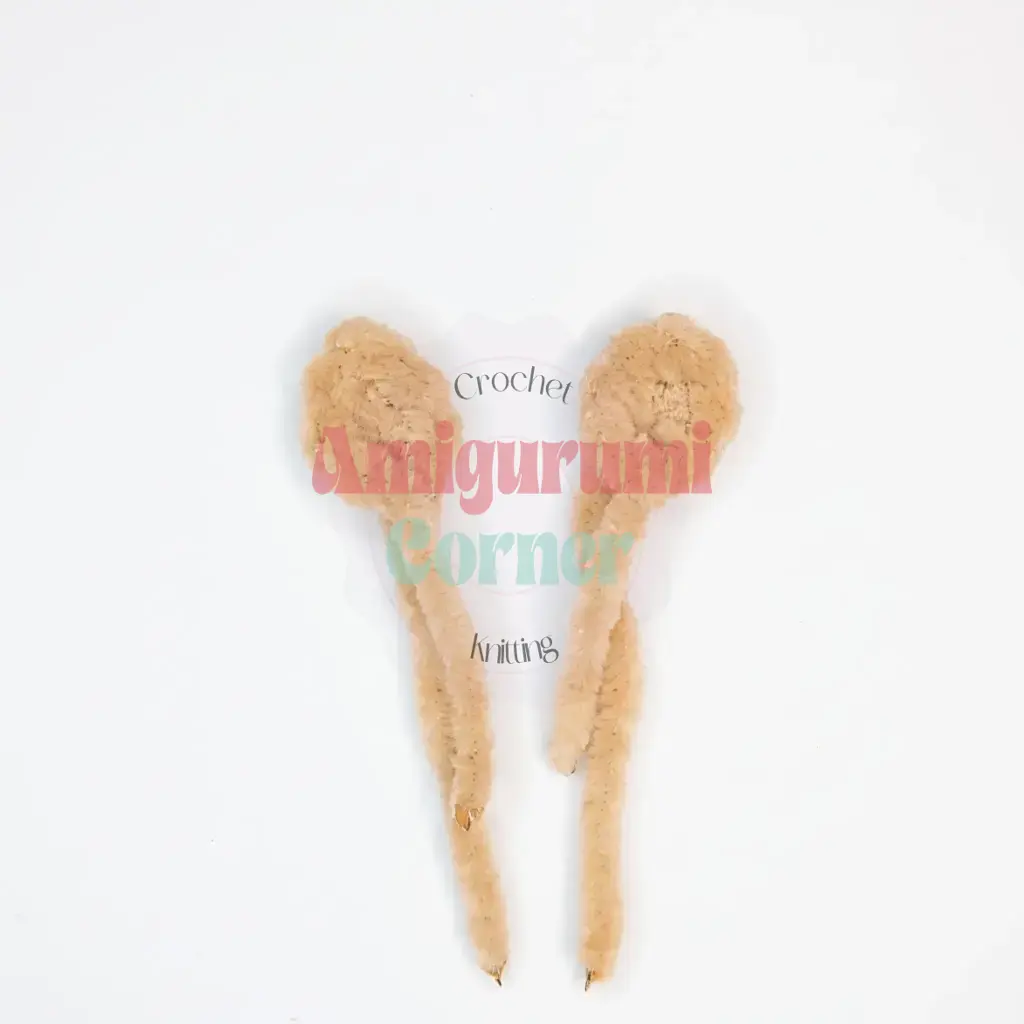
Rnd 1: In mr: 3 sc, ch 2, 3 sc. (8)
Join into a ring with 1 sl st. Cut yarn, leaving a short tail for attaching later.
Back of Head
Worked in main color.
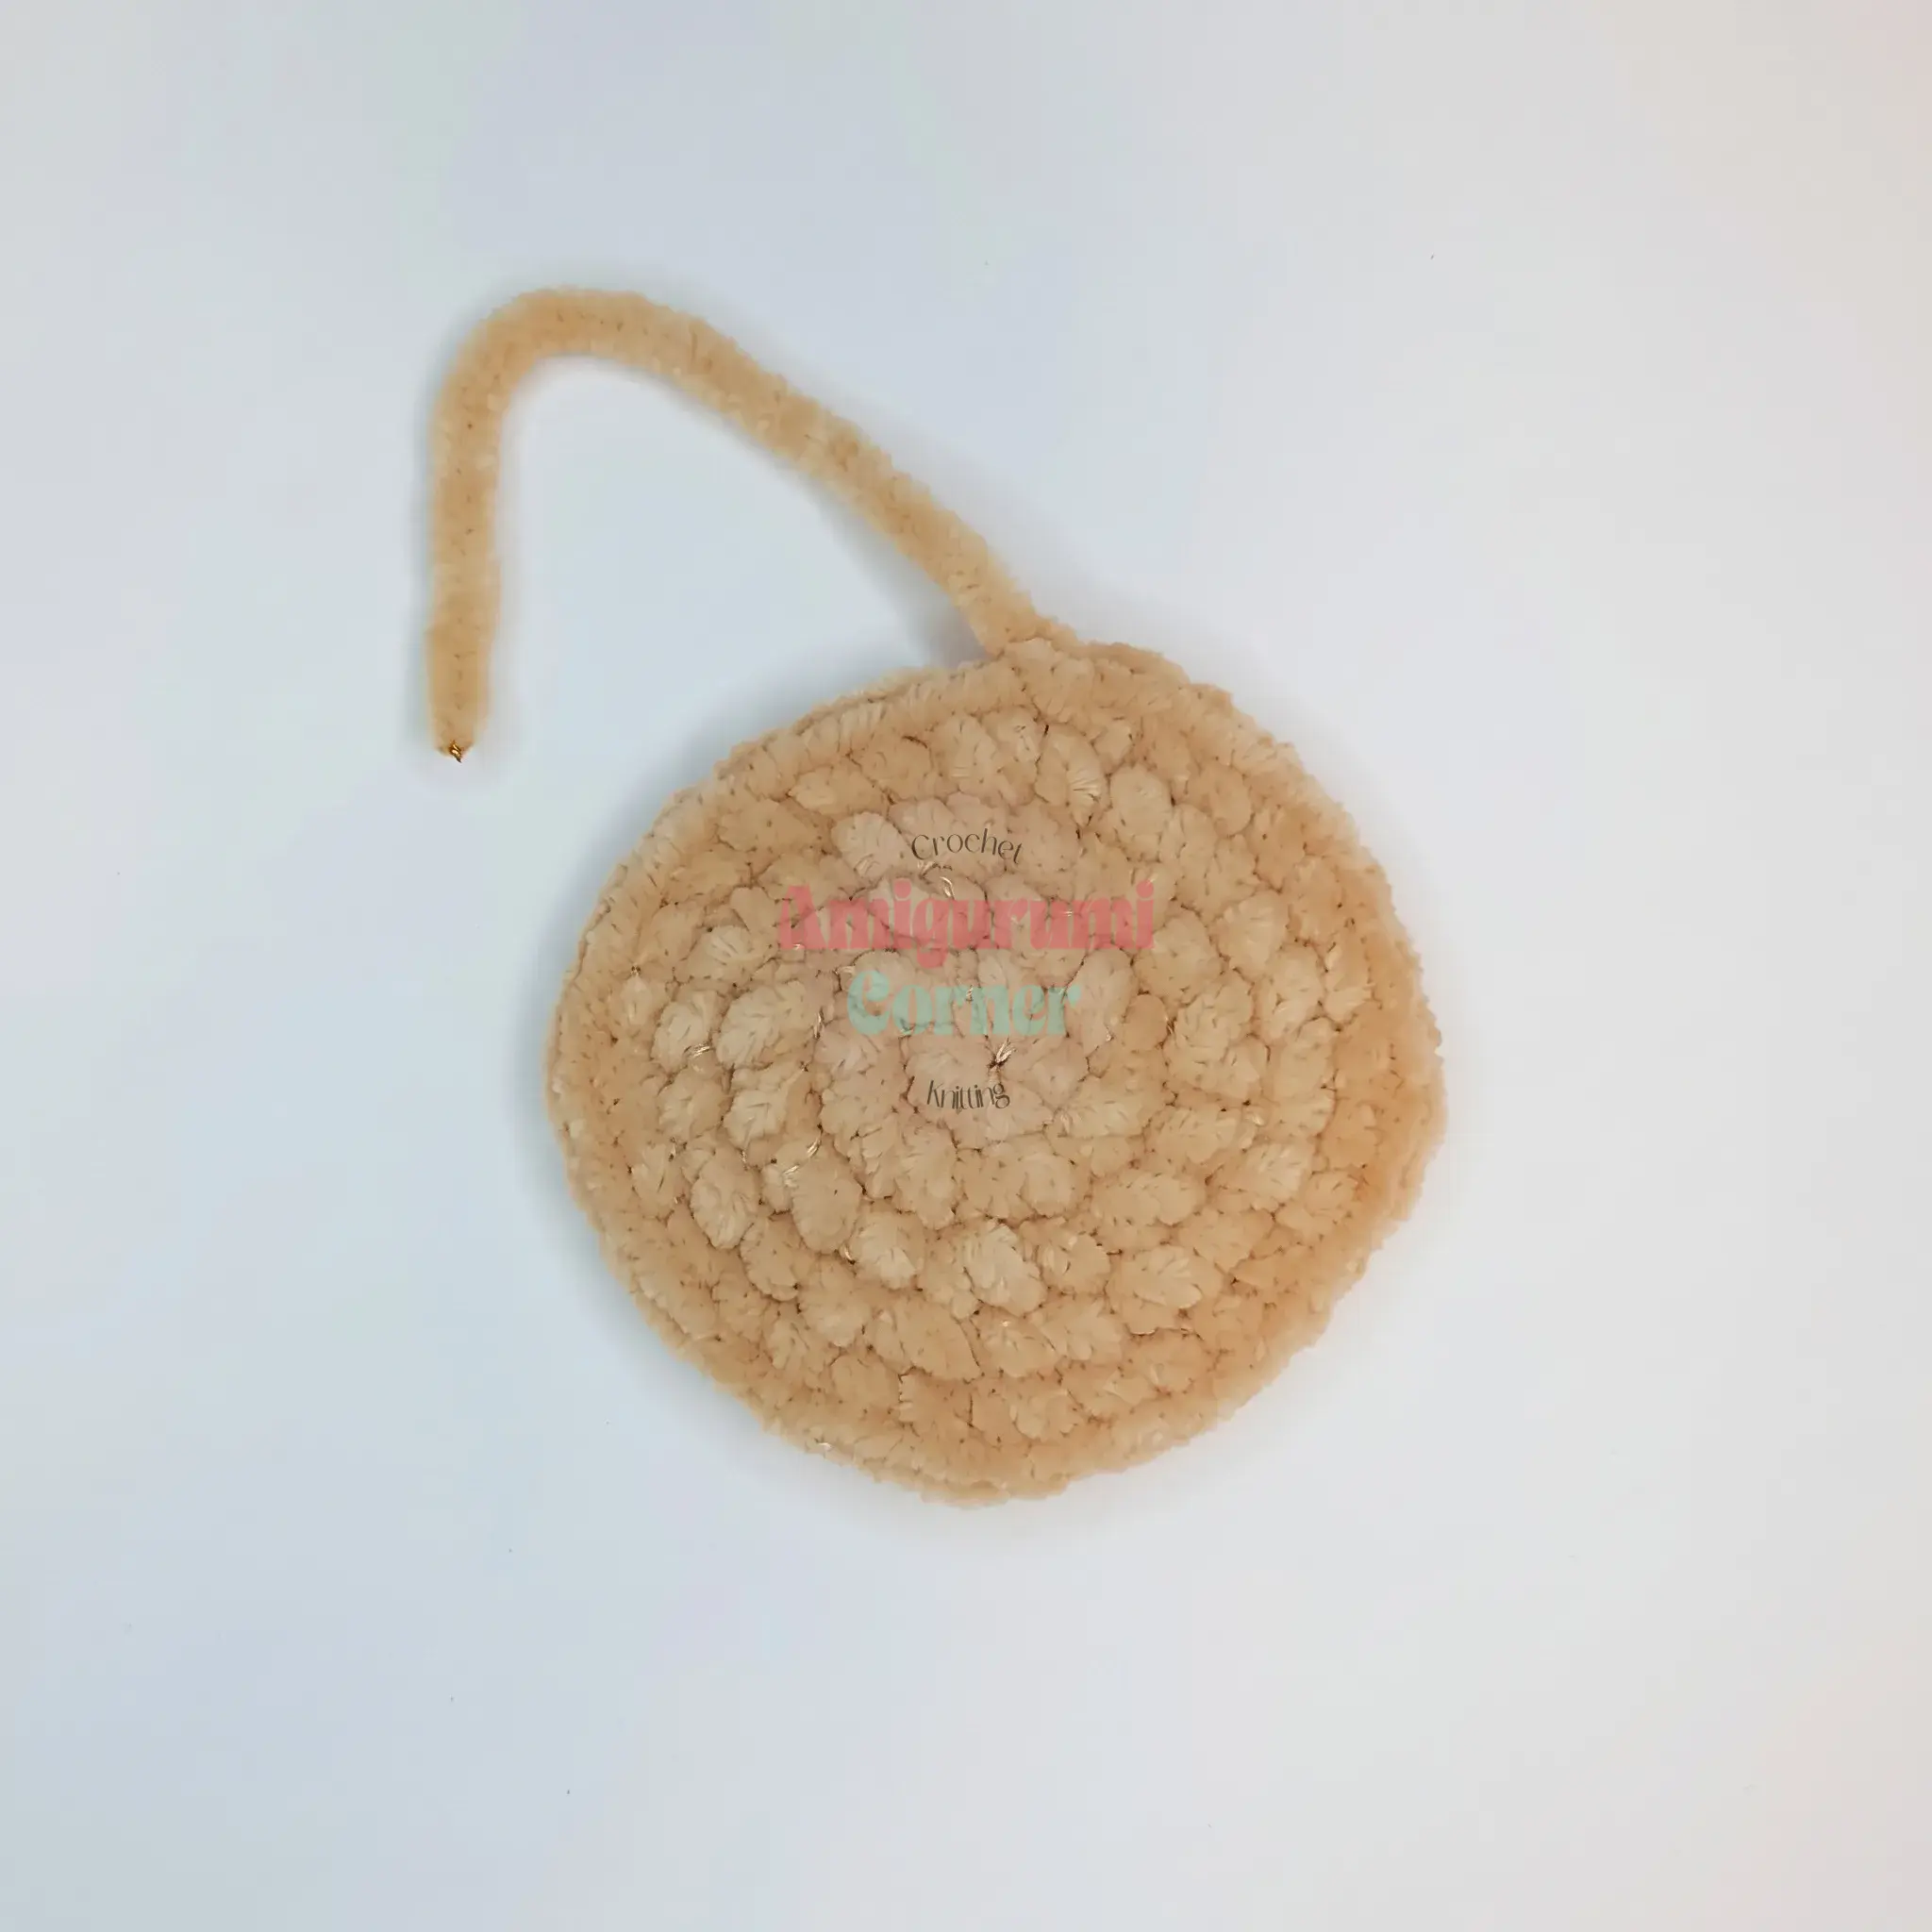
Rnd 1: 7 sc in mr. (7)
Rnd 2: inc in each st around. (14)
Rnd 3: sc in each st around. (14)
Rnd 4: inc, sc repeat 7 times around. (21)
Rnd 5: inc, sc, sc repeat 7 times around. (28)
Rnd 6: inc, sc in next 6 sts repeat 4 times around. (32)
Finish with 1 sl st. Cut yarn, leaving a short tail.
Muzzle
Worked in main color.
Rnd 1: 6 sc in mr. (6)
Rnd 2: inc in each st around. (12)
Rnd 3: 4 sc, then 3 sc (mark these 3 stitches — this is where the nose will be attached), then 5 sc. (12)
Rnd 4: inc in each st around. (24)
Rnd 5: sc in each st around. (24)
Rnd 6: 8 sl st, hdc-inc in each of the next 8 sts, 8 sl st. (32)
Shift the start of the round by one stitch here if needed, so your increases and decreases line up vertically for the next round — this offset stitch is not counted in the total.
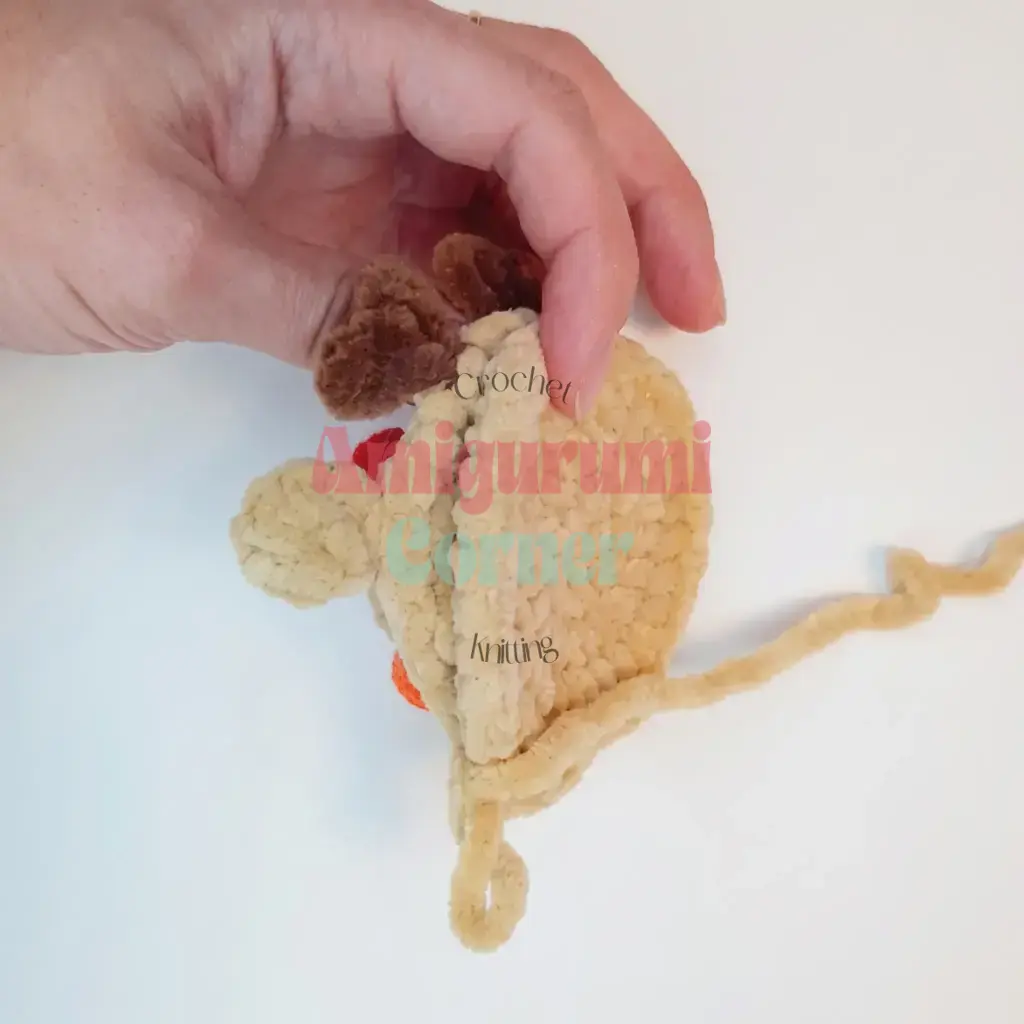
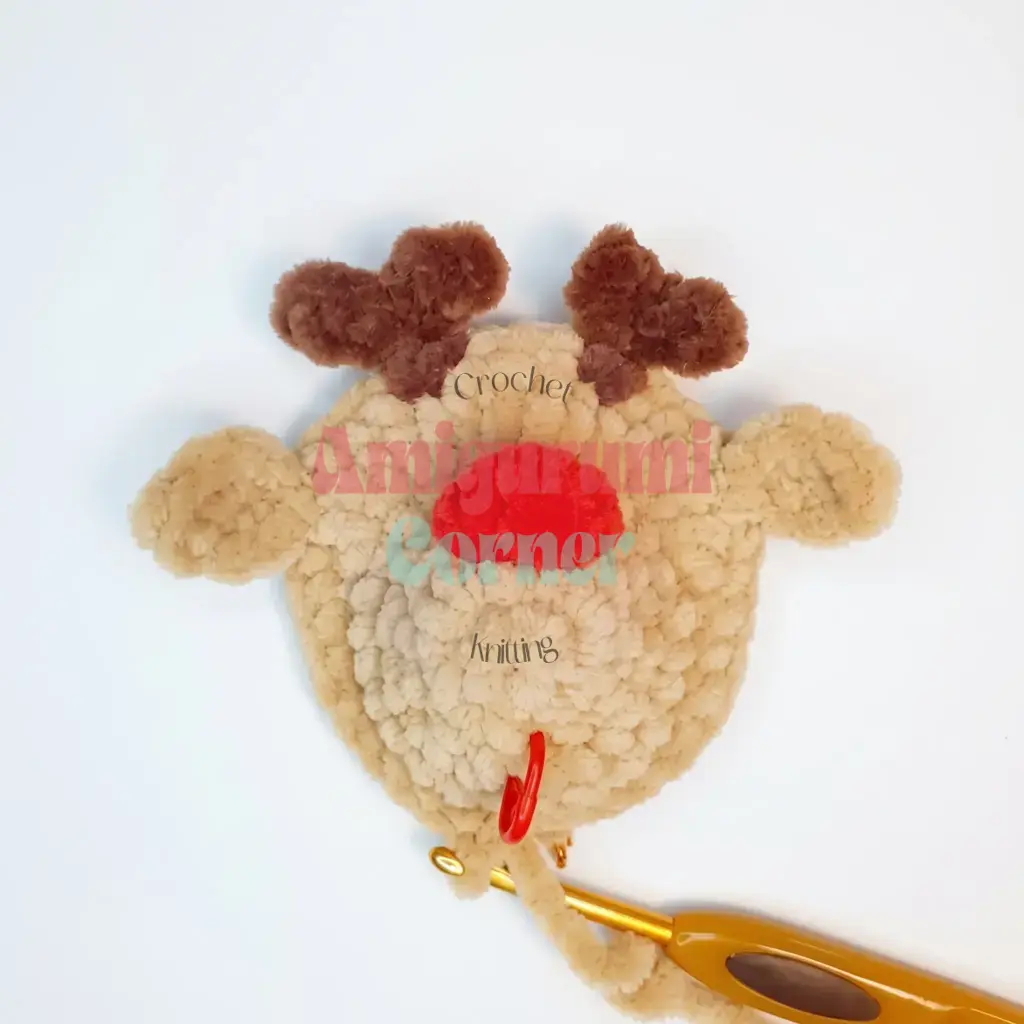
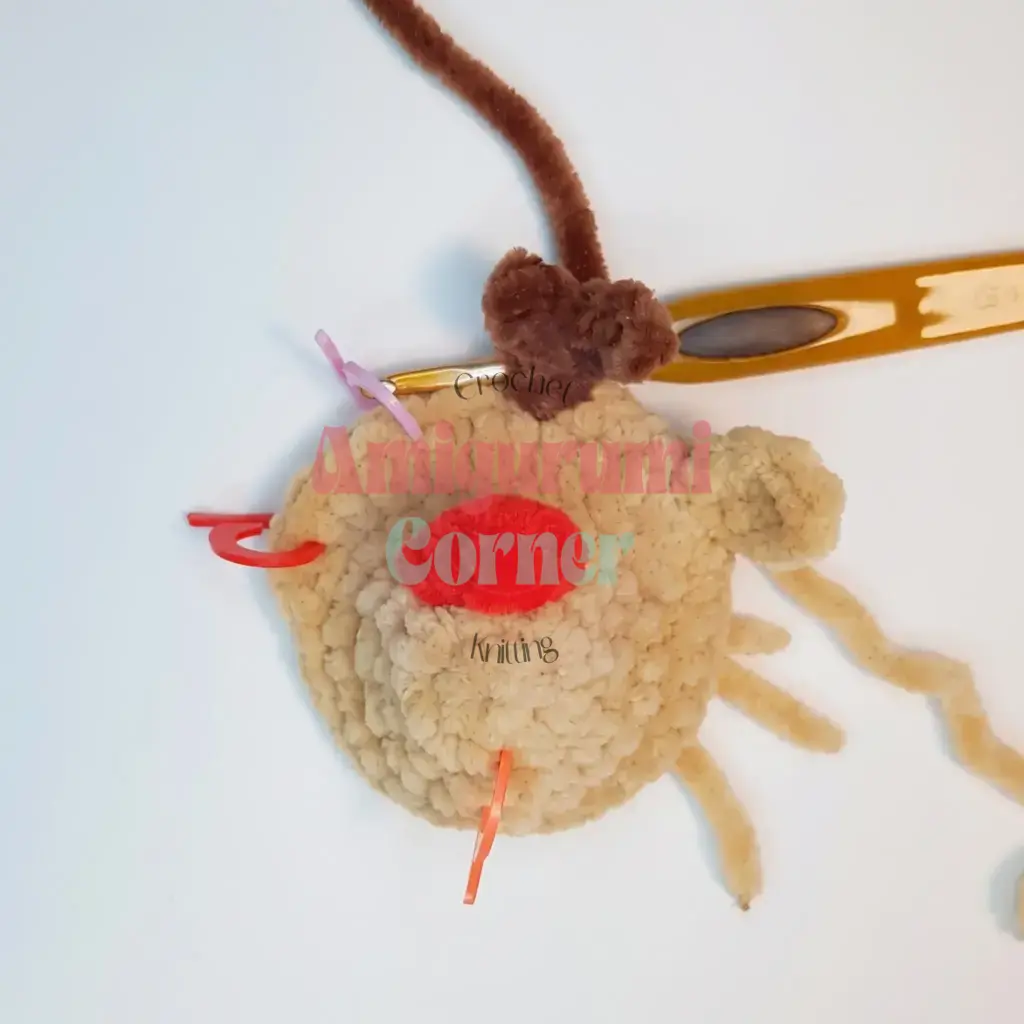
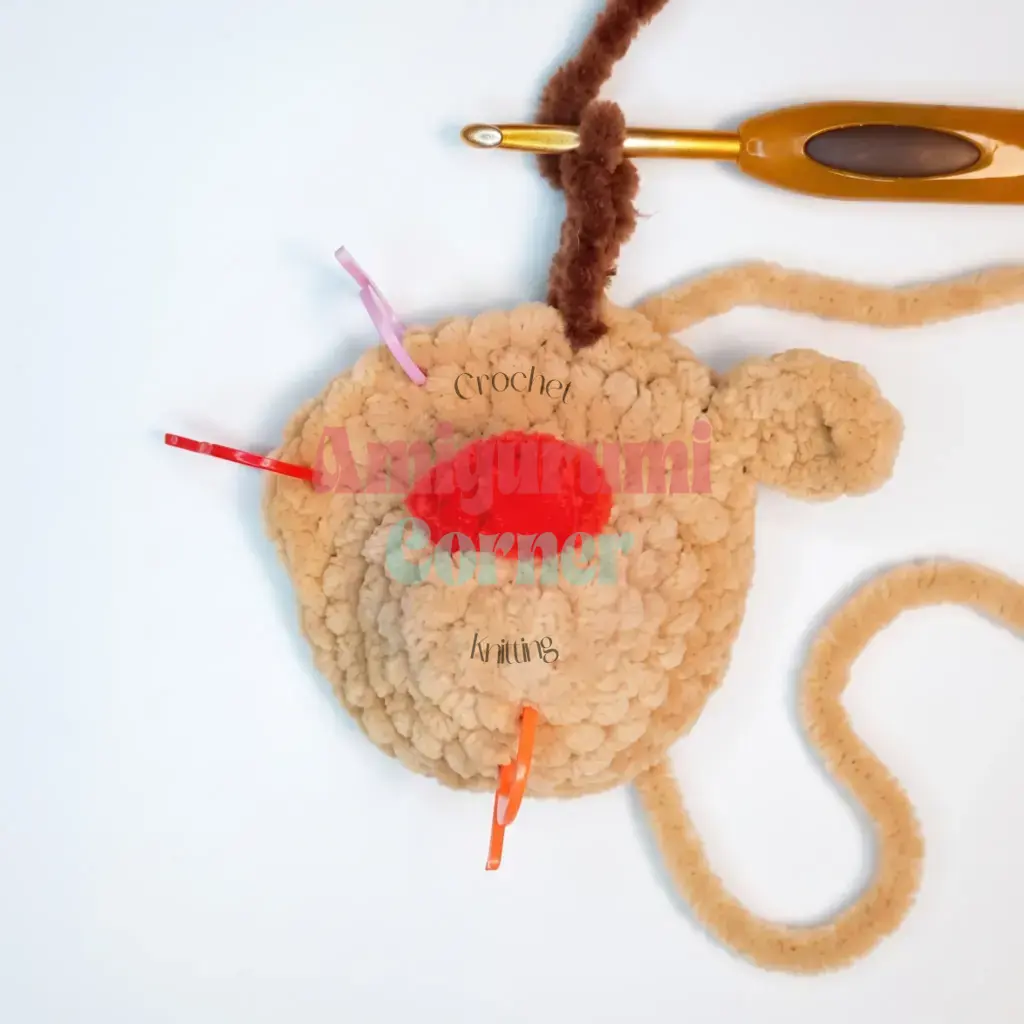
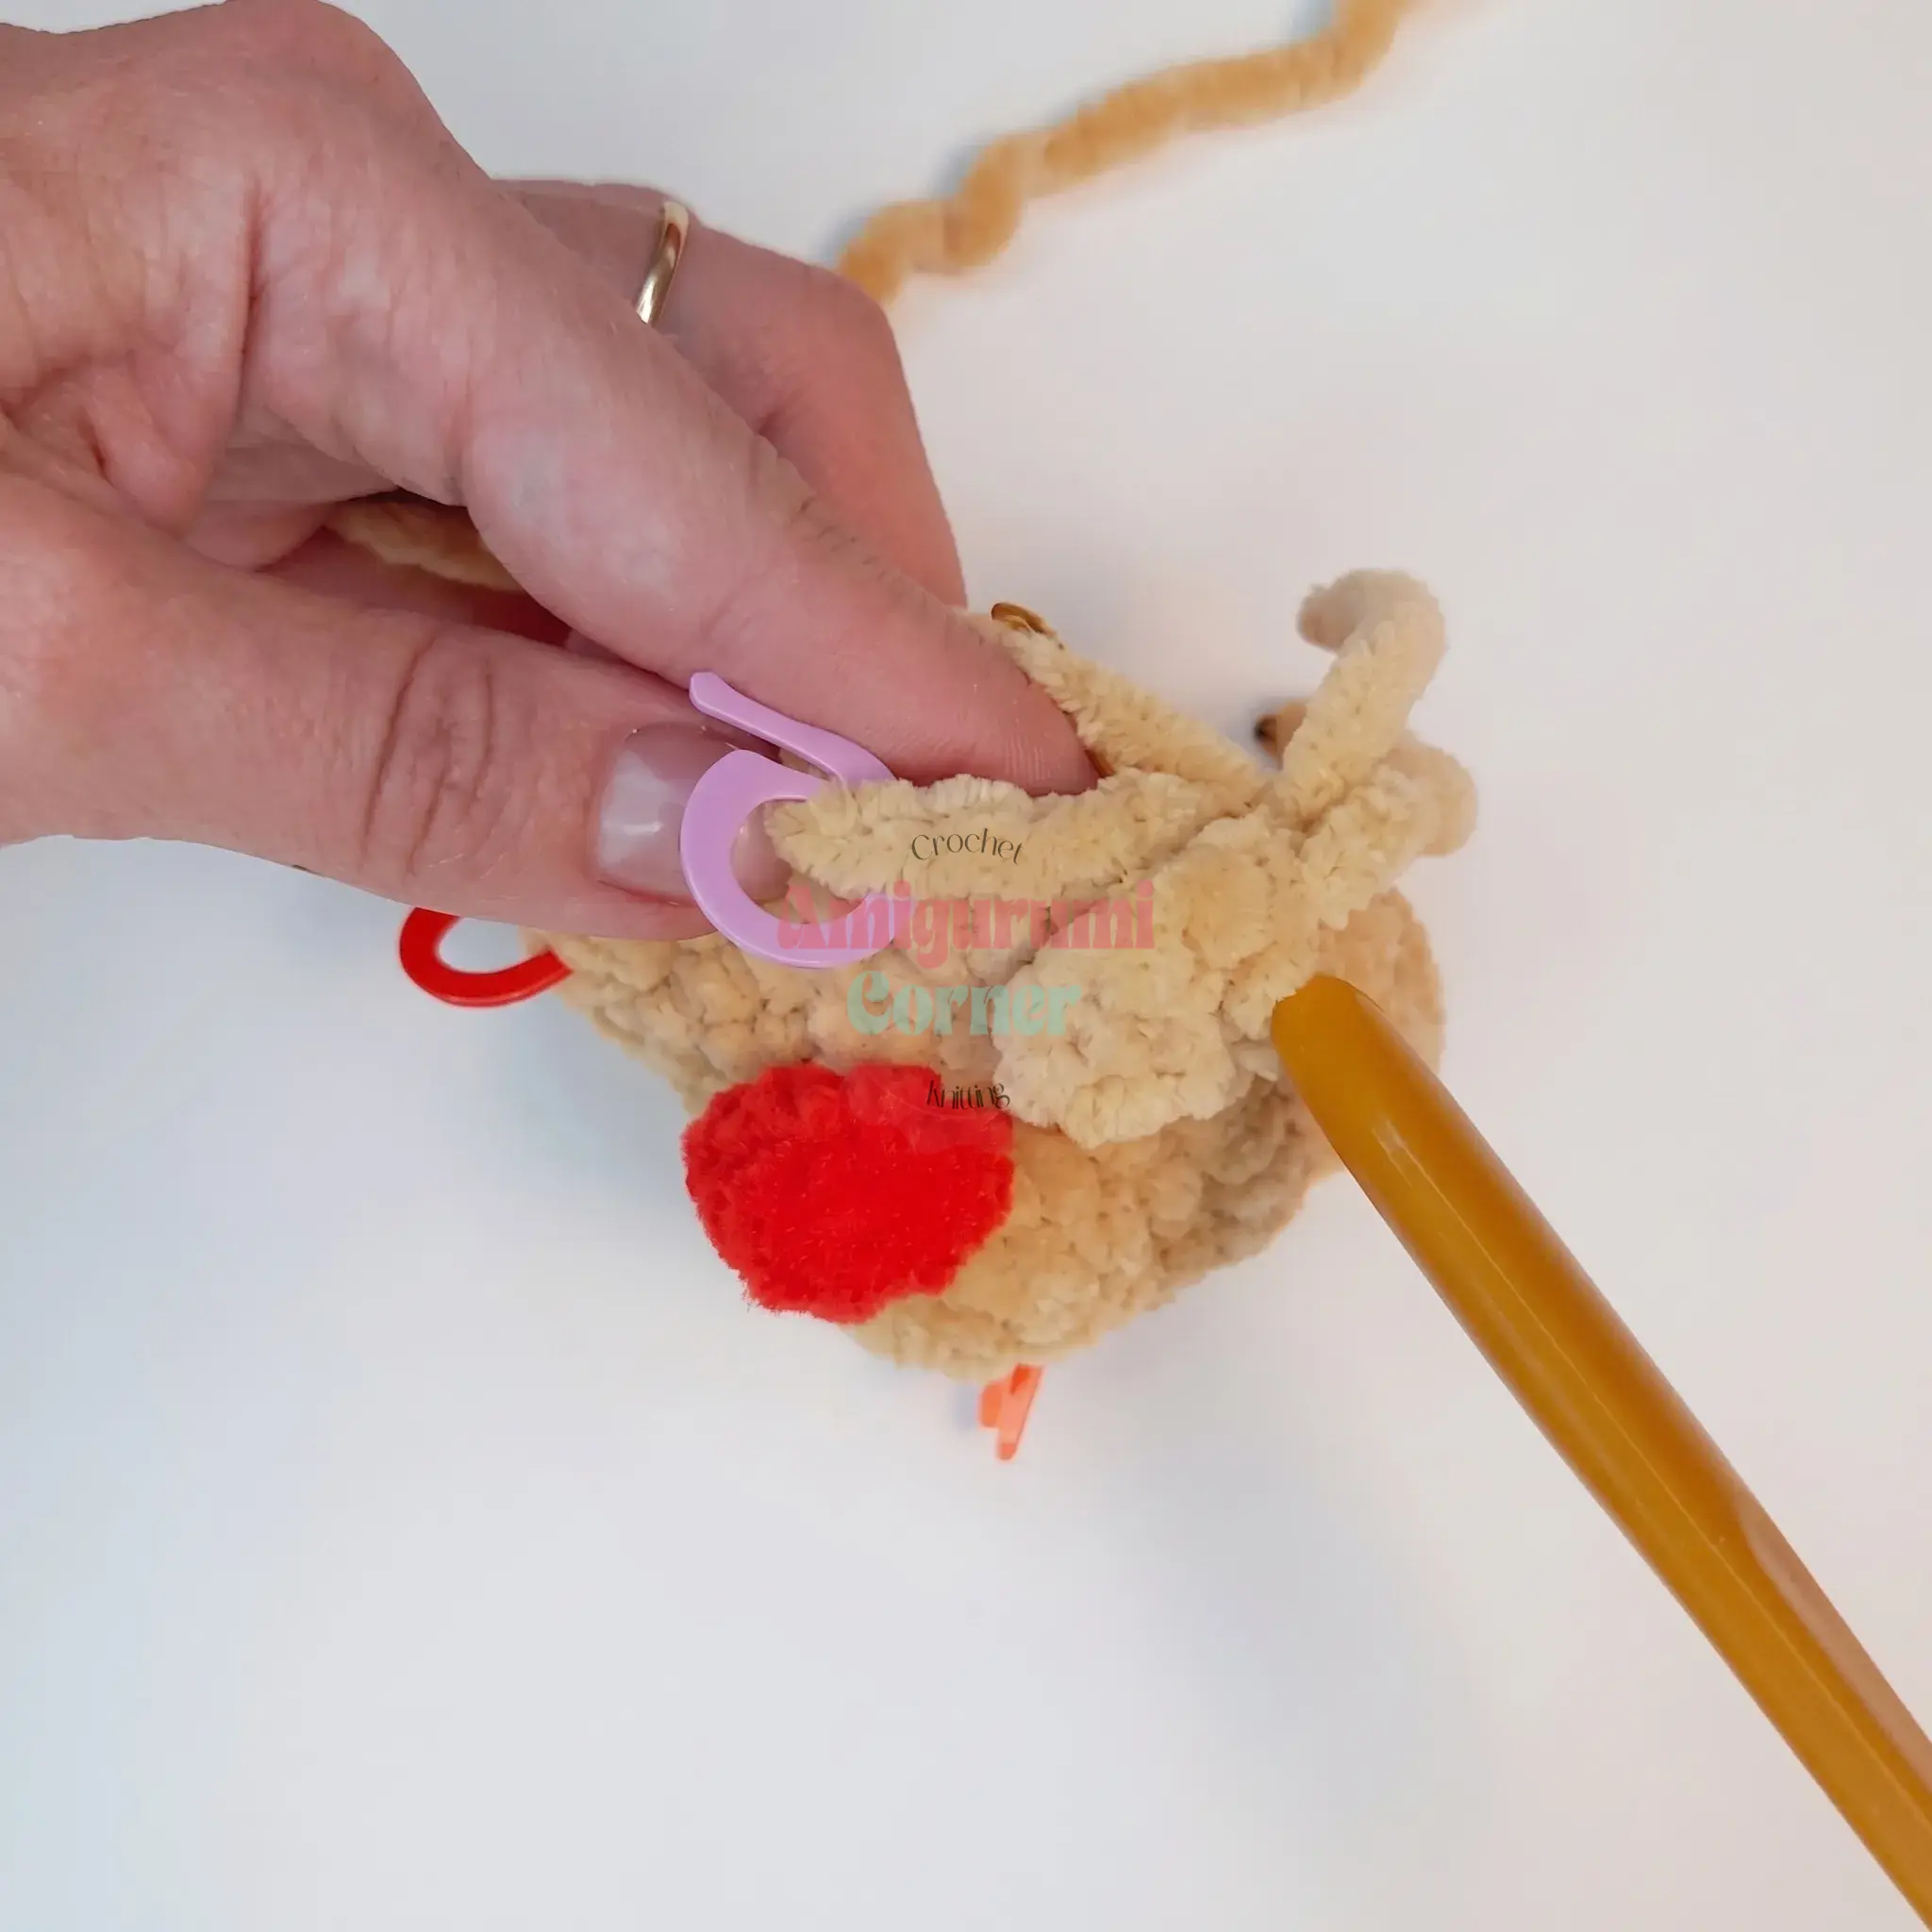
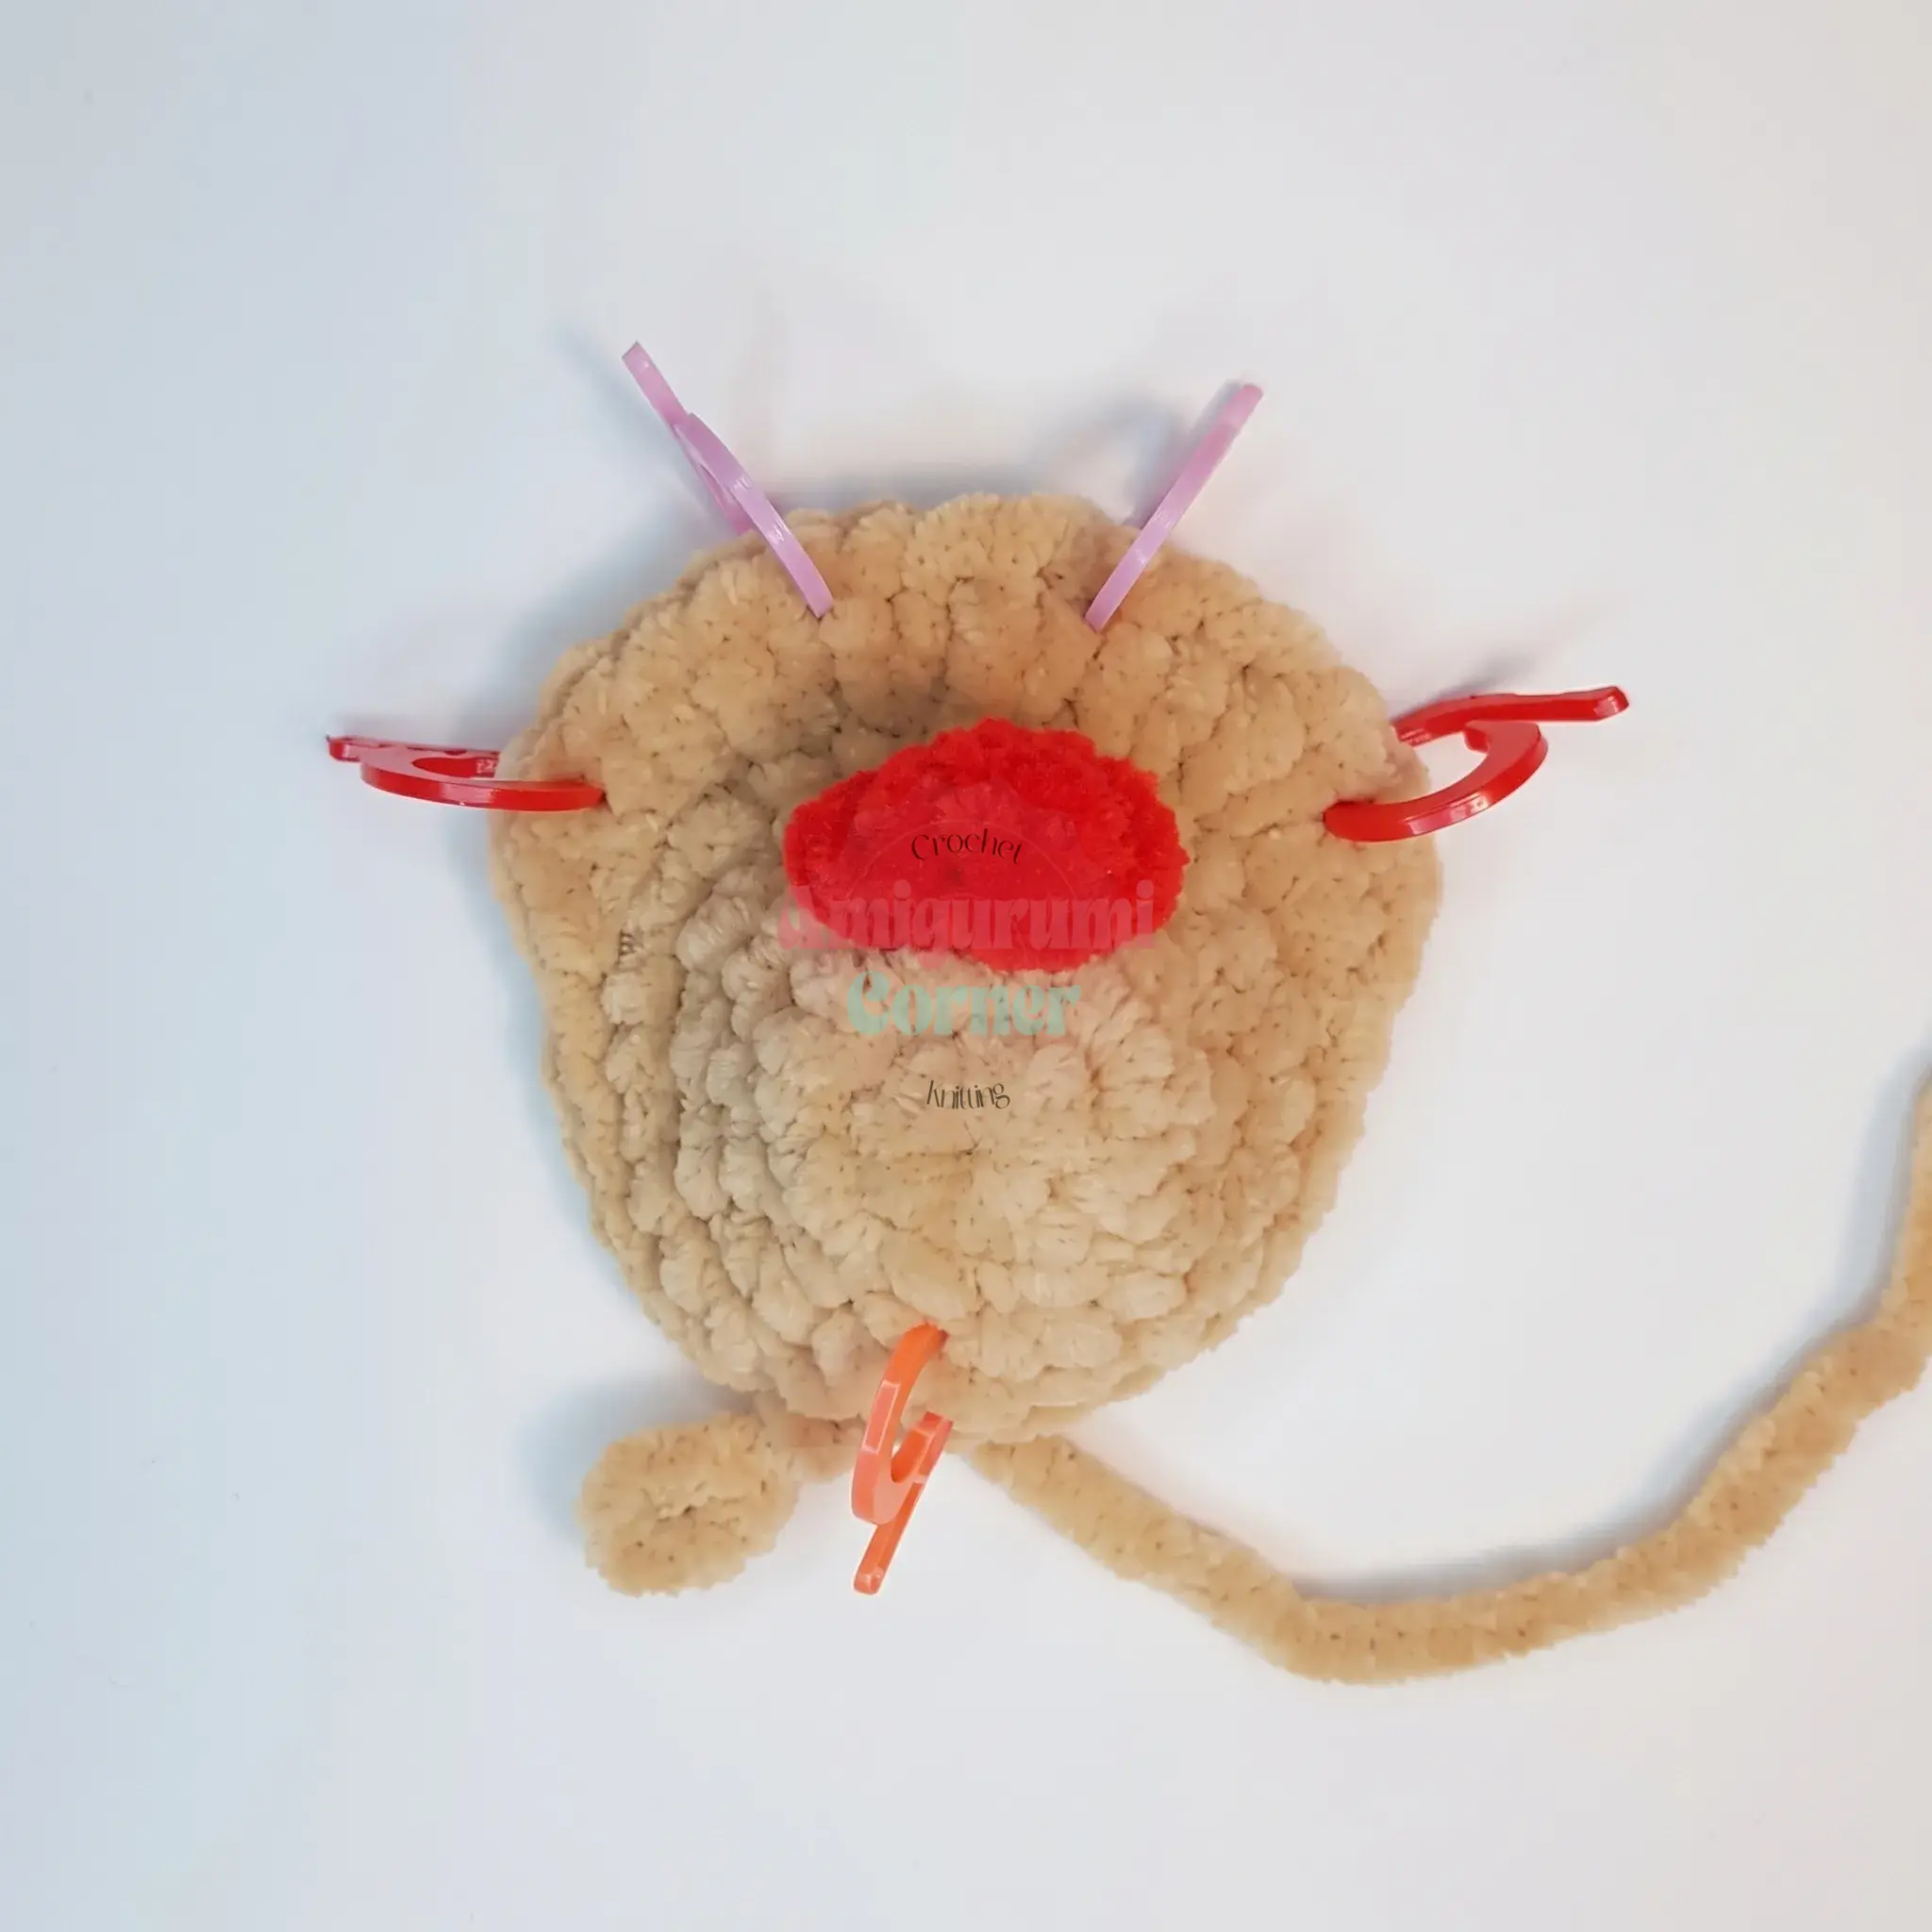
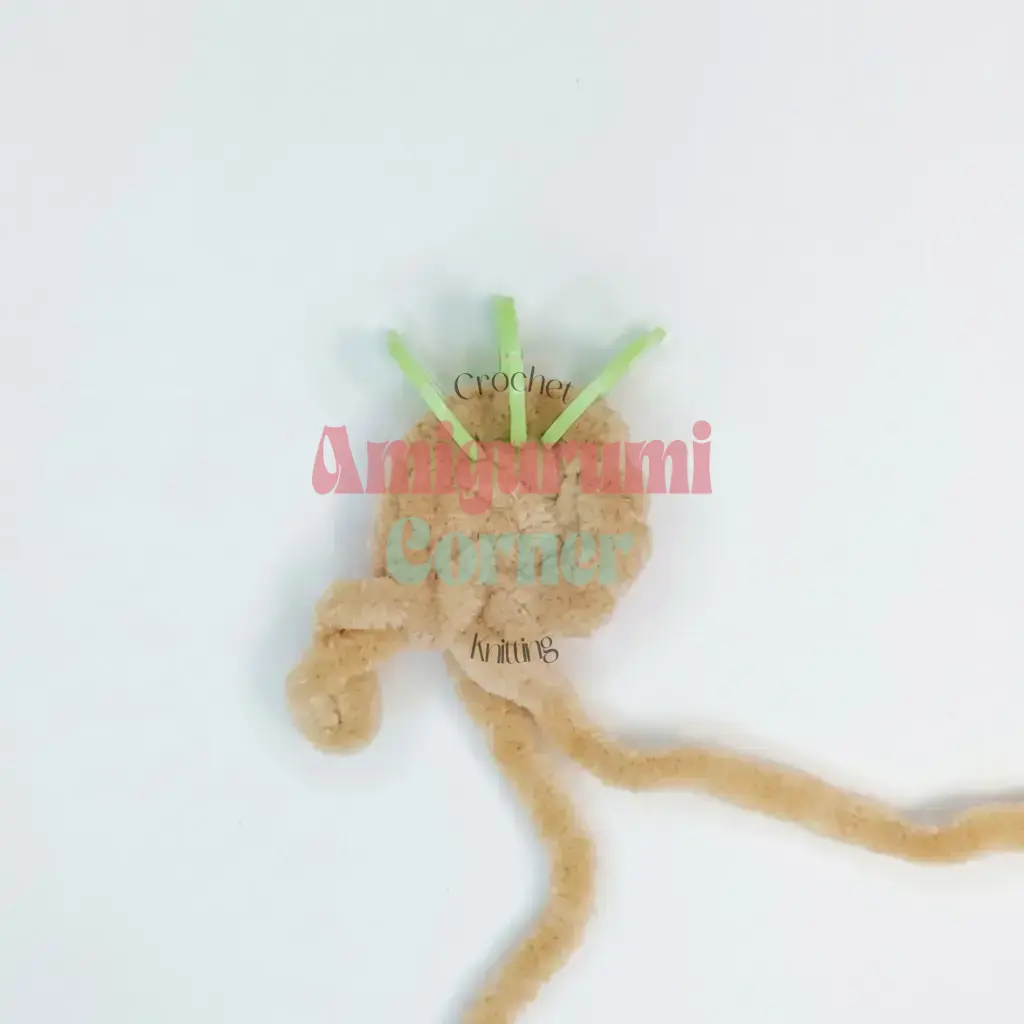
Rnd 7: Before you start, mark the ear-placement stitches with red markers and the horn-placement stitches with purple markers. Work 10 sc. Attach the left ear here with 1 sc through both the head and the ear opening, then 3 sc. Join dark brown yarn without cutting the main color, and build the first horn: ch 4, sl st in the 2nd ch from hook and the next ch, then ch 3, sl st in the 2nd ch from hook and the next ch, sl st back down the base of the first chain, and sl st into the stitch where the horn began. Switch back to the main color (don’t cut the dark brown) and work 3 sc across the center. Switch to dark brown again and build the second horn the same way as the first. Switch back to main color (dark brown can now be cut) and work 3 sc, then attach the right ear with 1 sc, then finish with 10 sc. (32)
Do not cut the yarn — you’ll use it to join the muzzle to the back of the head next.
Assembly
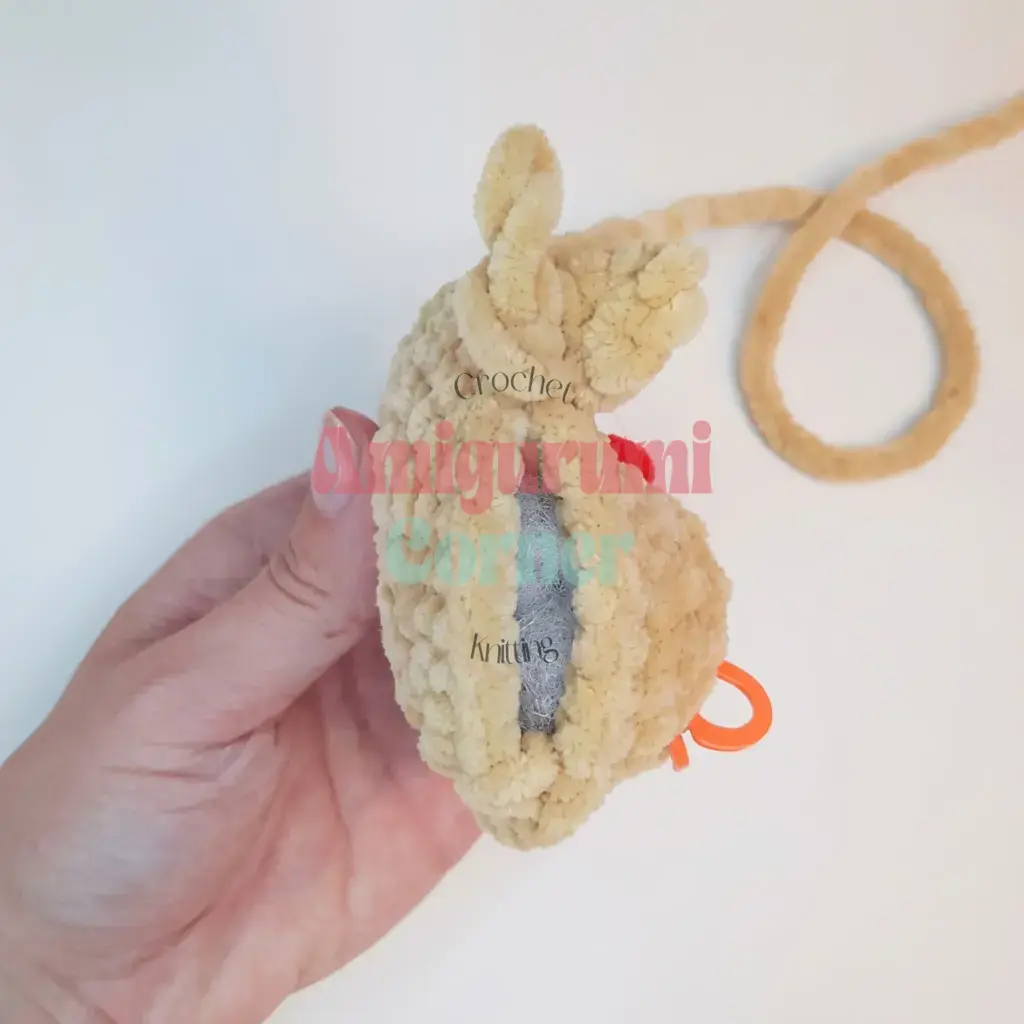
Hold the muzzle piece and the back-of-head piece with wrong sides facing each other. Using the working yarn tail from the muzzle and a yarn needle, whipstitch the two pieces together stitch by stitch, all the way around (32 sts).
Stuff only the muzzle section firmly before you close the seam completely — the back of the head stays unstuffed and flat.
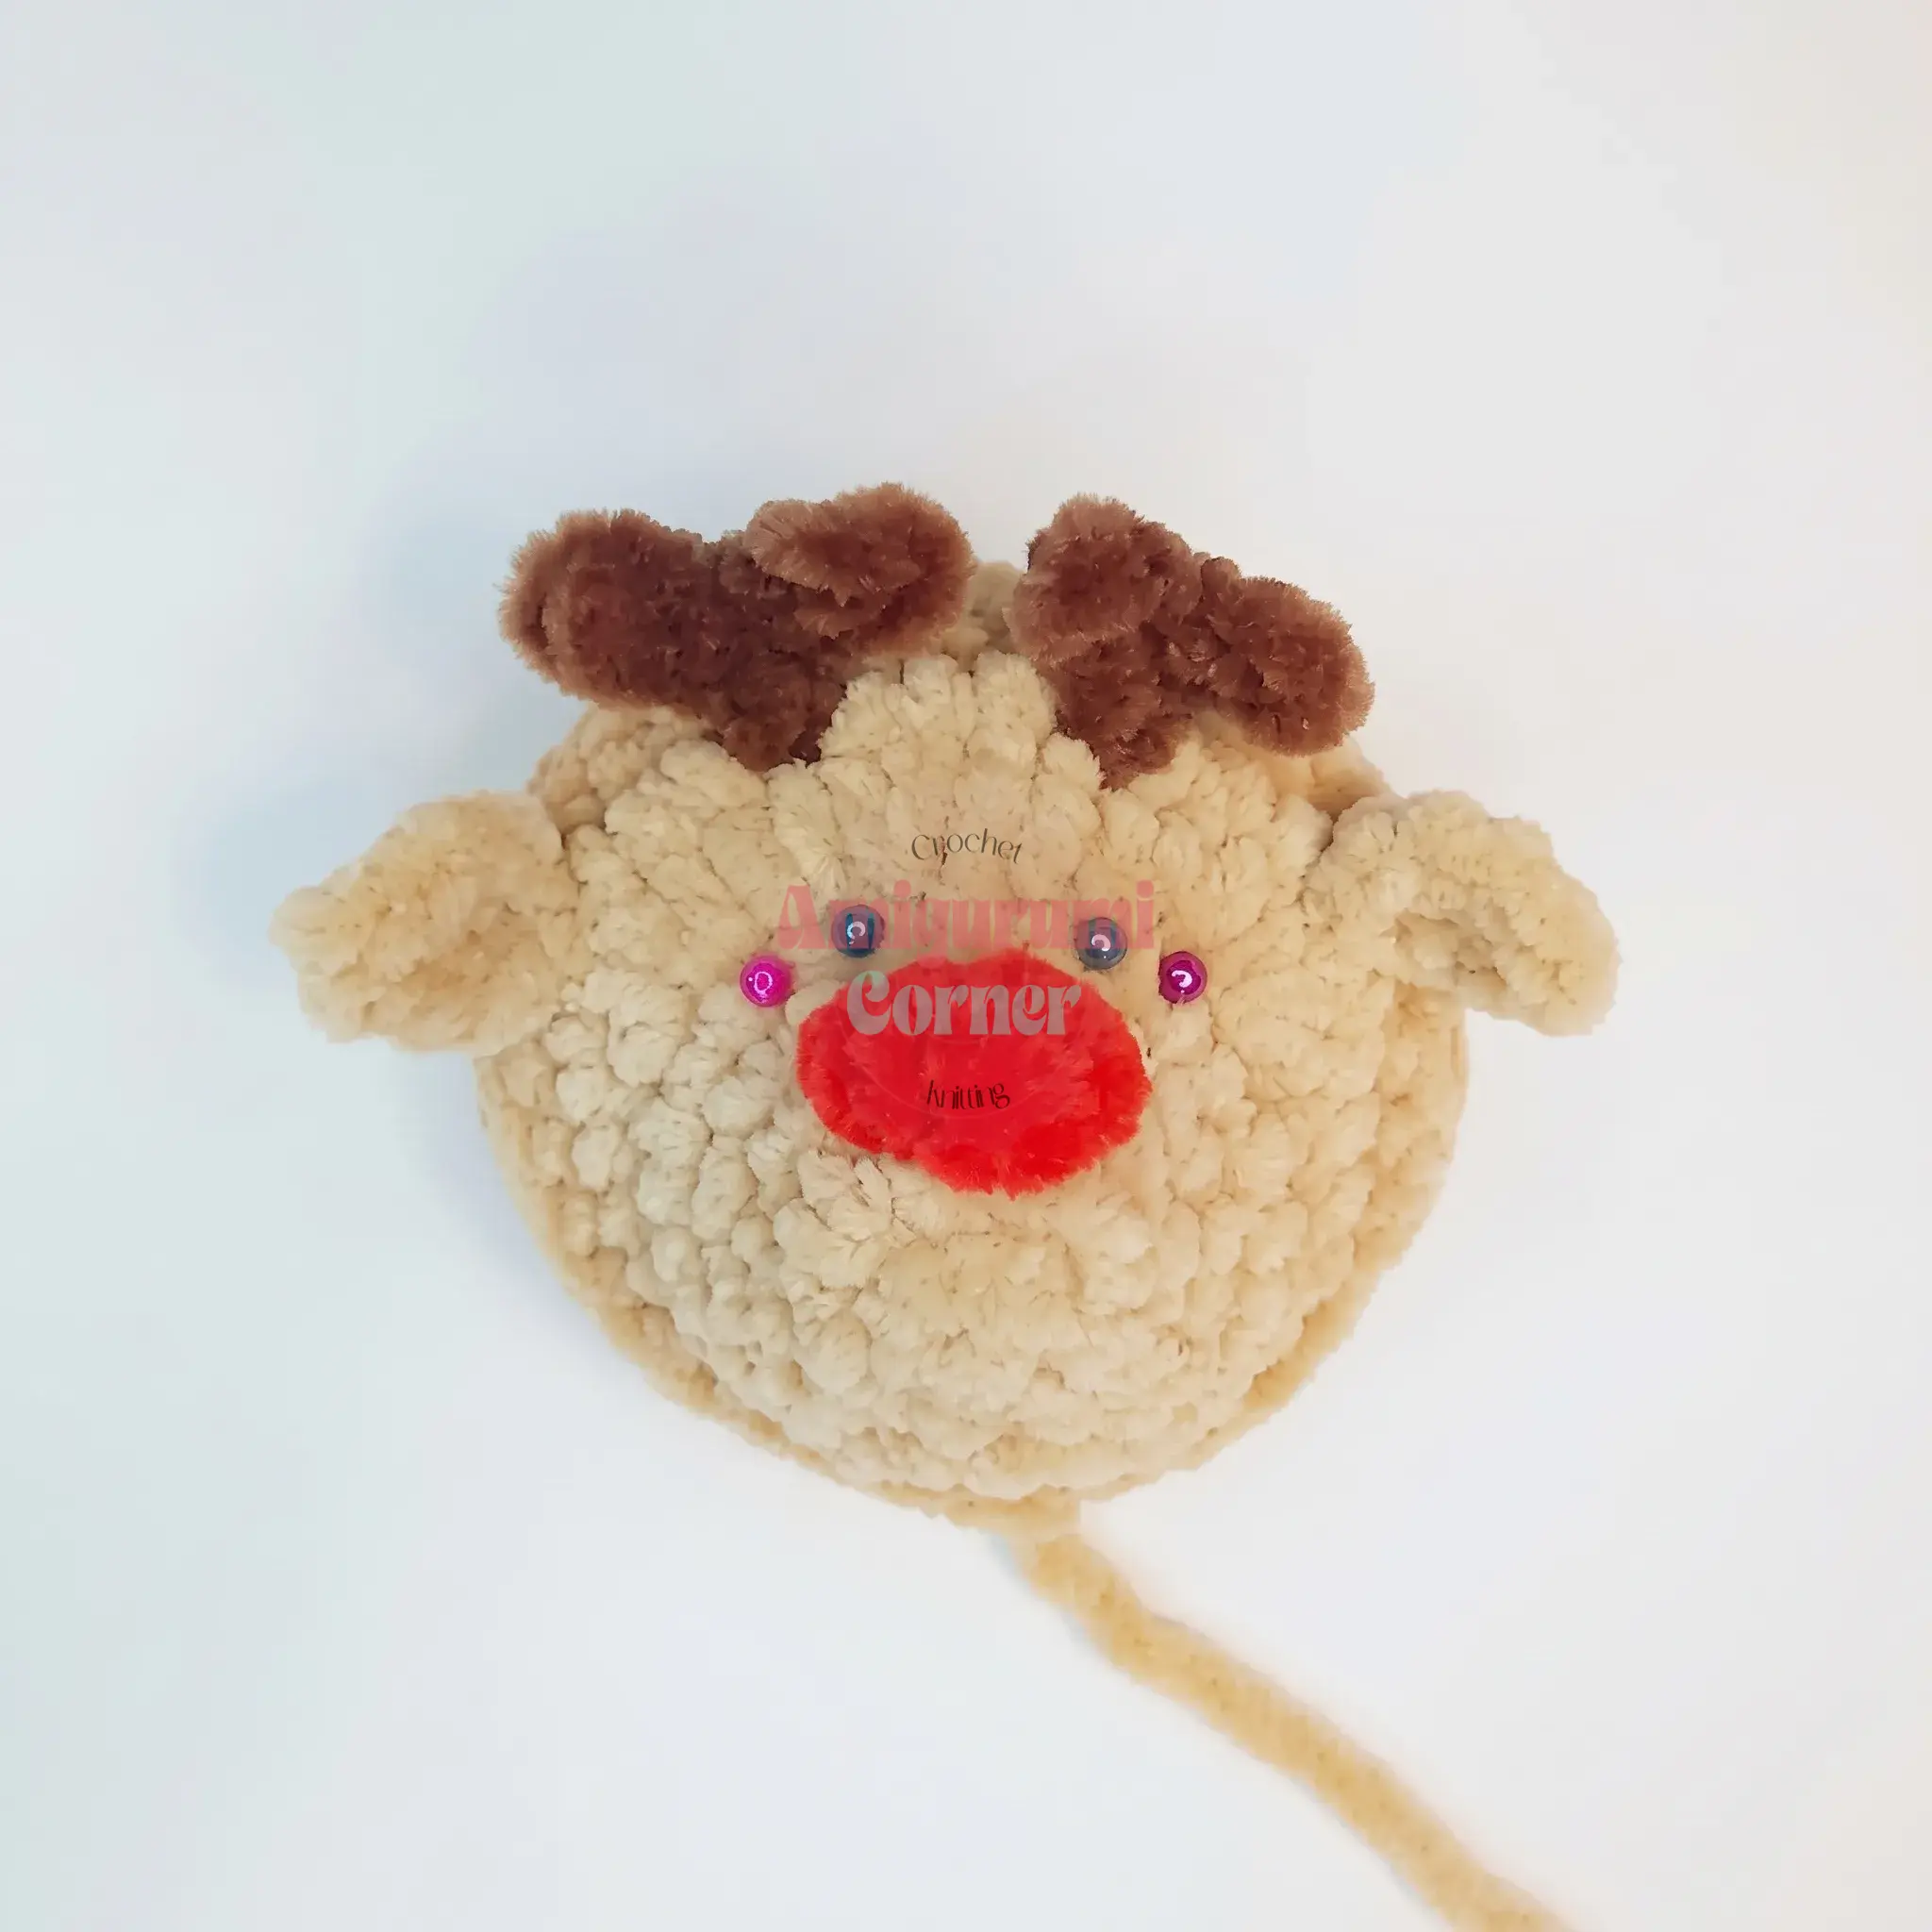
Cut the yarn, leaving a 20cm (8in) tail for face-shaping. Using that tail and your yarn needle, pull the needle through both layers of the head twice, between rounds 5 and 6, in the area where the eyes will sit — this pulls a slight indent into the face around the eye sockets. Space these two passes 2-3 stitches apart, then secure the yarn and weave in the end.
If your safety eyes have a shank, snap it off, then glue each eye in place directly over the indented points you just created. Step back and check that they’re level and symmetrical before the glue sets.
Thread your black cotton yarn onto the needle. Bring it up from the back of the head and out just beneath the nose, then take a stitch down toward round 5 to form the center face line. Carry the yarn to the eyebrow points, between rounds 6 and 7, spaced about 5 stitches apart, and embroider a short stitch for each eyebrow. Bring the tail back to your starting point on the back of the head. Knot off securely, trim the excess thread, and weave in every remaining end.
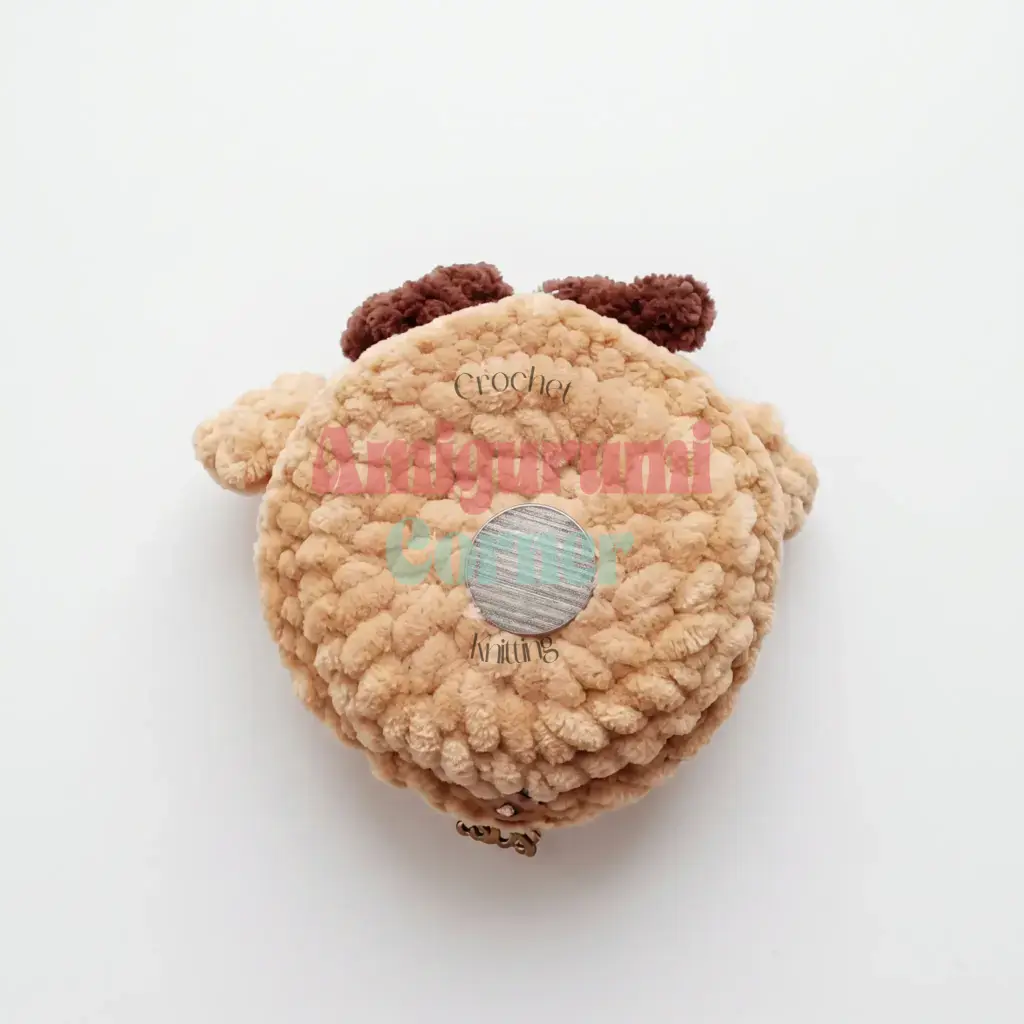
If you’d like O.Lenya as a keychain or ornament, attach a magnet to the back of the head, or secure a ribbon or cord centered between the horns.
Tips
- Keep your tension even. Velvet yarn hides gaps beautifully, but loose stitches will still let stuffing show through at the seams — aim for a snug, consistent tension throughout.
- Don’t overstuff the muzzle. Add fiberfill in small pinches and check the shape as you go; stop as soon as the piece feels firm but still gives slightly when pressed — too much stuffing will distort the rounded face.
- Take your time on Round 7. It’s the busiest round in the whole pattern, with two color changes and two horns worked mid-row. Complete one horn fully, secure it, then move on to the second rather than trying to track both at once.
- Mark before you stitch. Placing your ear and horn markers before you start Round 7 (rather than counting on the fly) will save you from unpicking stitches later.
- Check symmetry with a mirror test. Hold the finished face up to a mirror partway through eye and eyebrow placement — it’s the fastest way to catch an off-center detail before it’s permanent.
FAQs
Can I use regular acrylic yarn instead of velvet?
Yes, you can use any yarn weight that matches your hook size, but velvet or plush yarn is recommended to achieve the soft, plush texture shown in the pattern. If you use a thinner yarn, your finished size will be smaller.
How do I attach the safety eyes without a shank?
Since the pattern specifies eyes with no shank/post, you can simply place them over the indented eye sockets created during assembly. If you are using eyes with a shank, snap it off first and use a small amount of fabric glue to secure them in place.
Why does the back of the head stay flat?
The back of the head is left unstuffed to create a flat surface. This allows the muzzle to stand out in 3D, giving the deer a cute, protruding snout while keeping the back of the head smooth for attaching magnets or ribbons.
What if my horns look uneven?
It is common for handmade horns to vary slightly. To fix this, you can gently steam or block the horns after finishing, or simply embrace the slight asymmetry as part of the handmade charm. Using stitch markers before Round 7 helps ensure they are placed symmetrically.
Can I make this larger?
Yes, you can scale up the pattern by using a larger hook and thicker yarn. However, you will need to adjust the stitch counts and potentially the number of rounds to maintain the proportions of the deer.
Pin This Crochet Pattern!