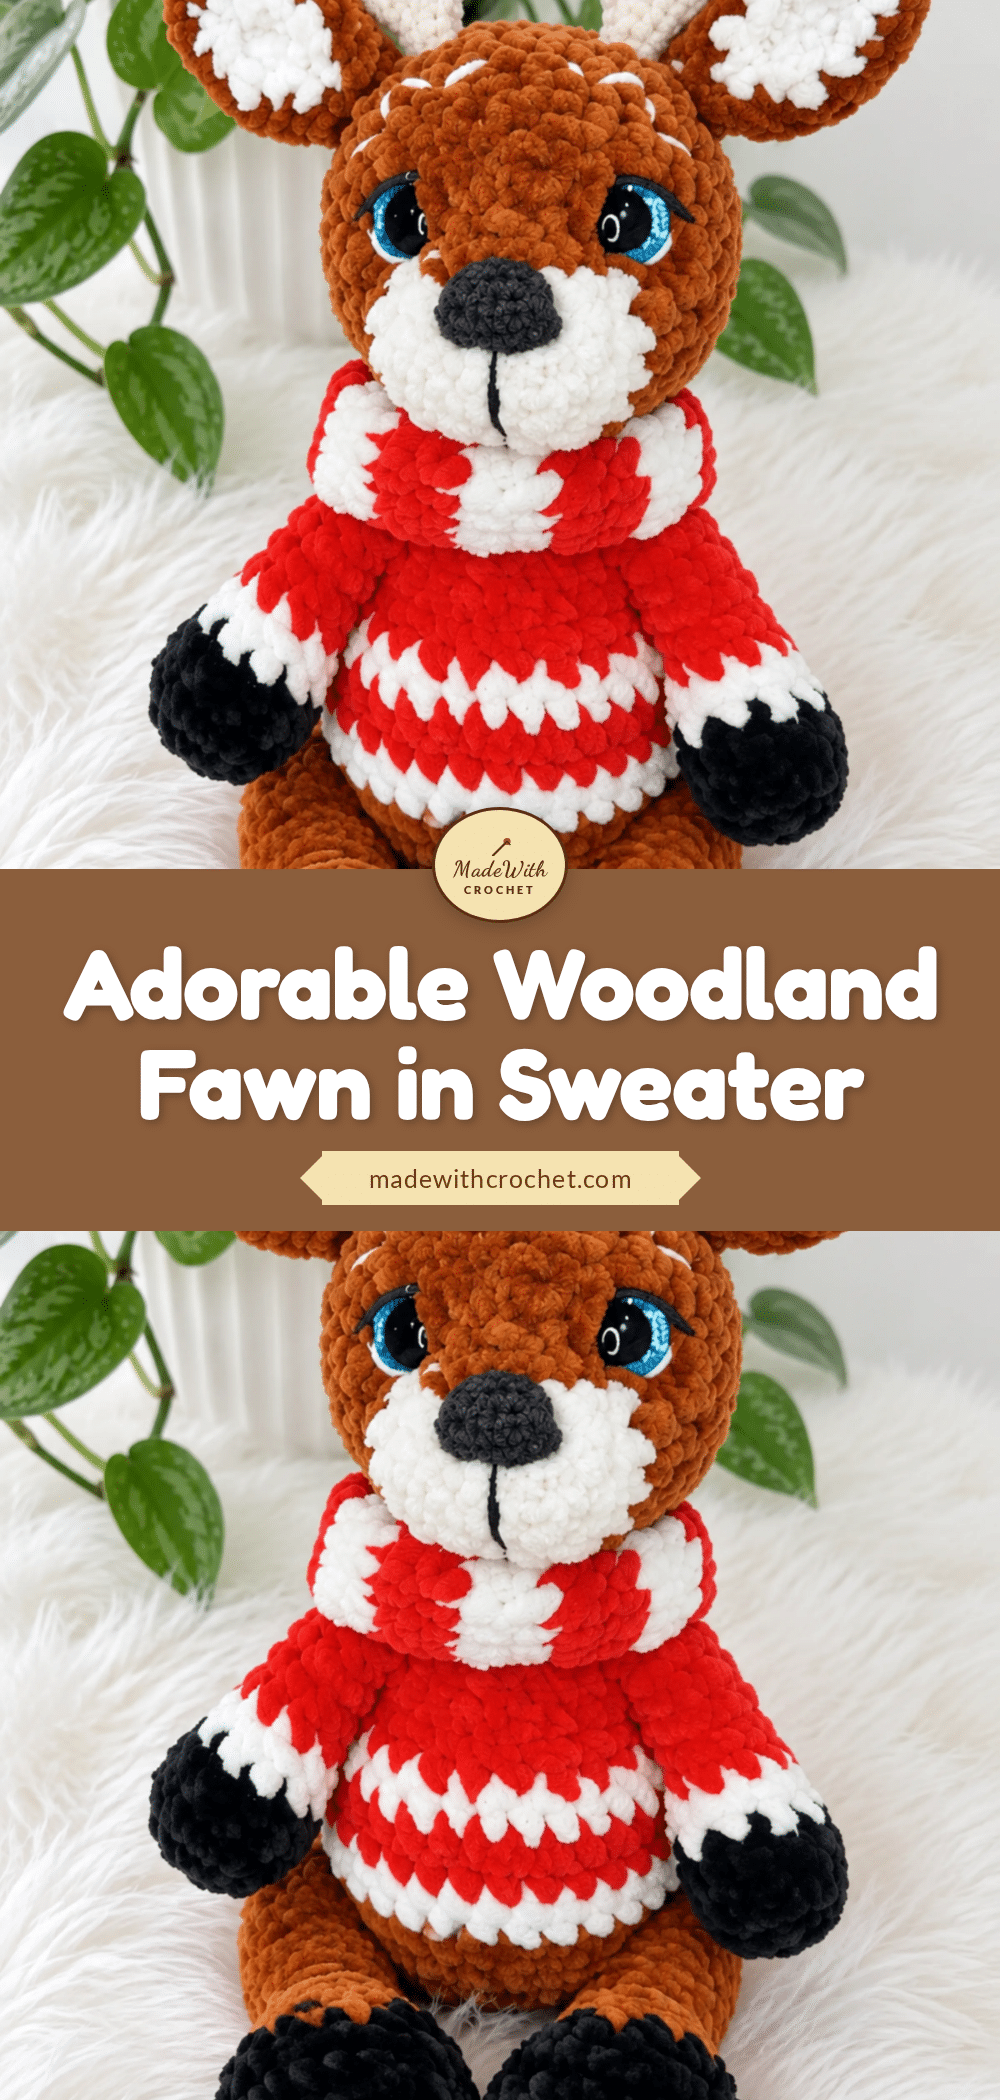
There is something deeply grounding about the rhythm of crochet when the world outside feels too loud. Picture a quiet evening, a small batch of plush yarn, and the steady click of the hook. Counting stitches becomes a form of meditation, a relaxing repeat that pulls you into the present moment. This woodland fawn pattern captures that same tranquility. It is a project designed for those cozy rituals, resulting in a soft, huggable companion that stands about 10 inches tall. Whether you are a confident beginner or an intermediate crocheter, this pattern guides you through creating a charming fawn complete with a striped sweater collar, ready to bring warmth to any shelf or nursery.
Small Details That Make It Better
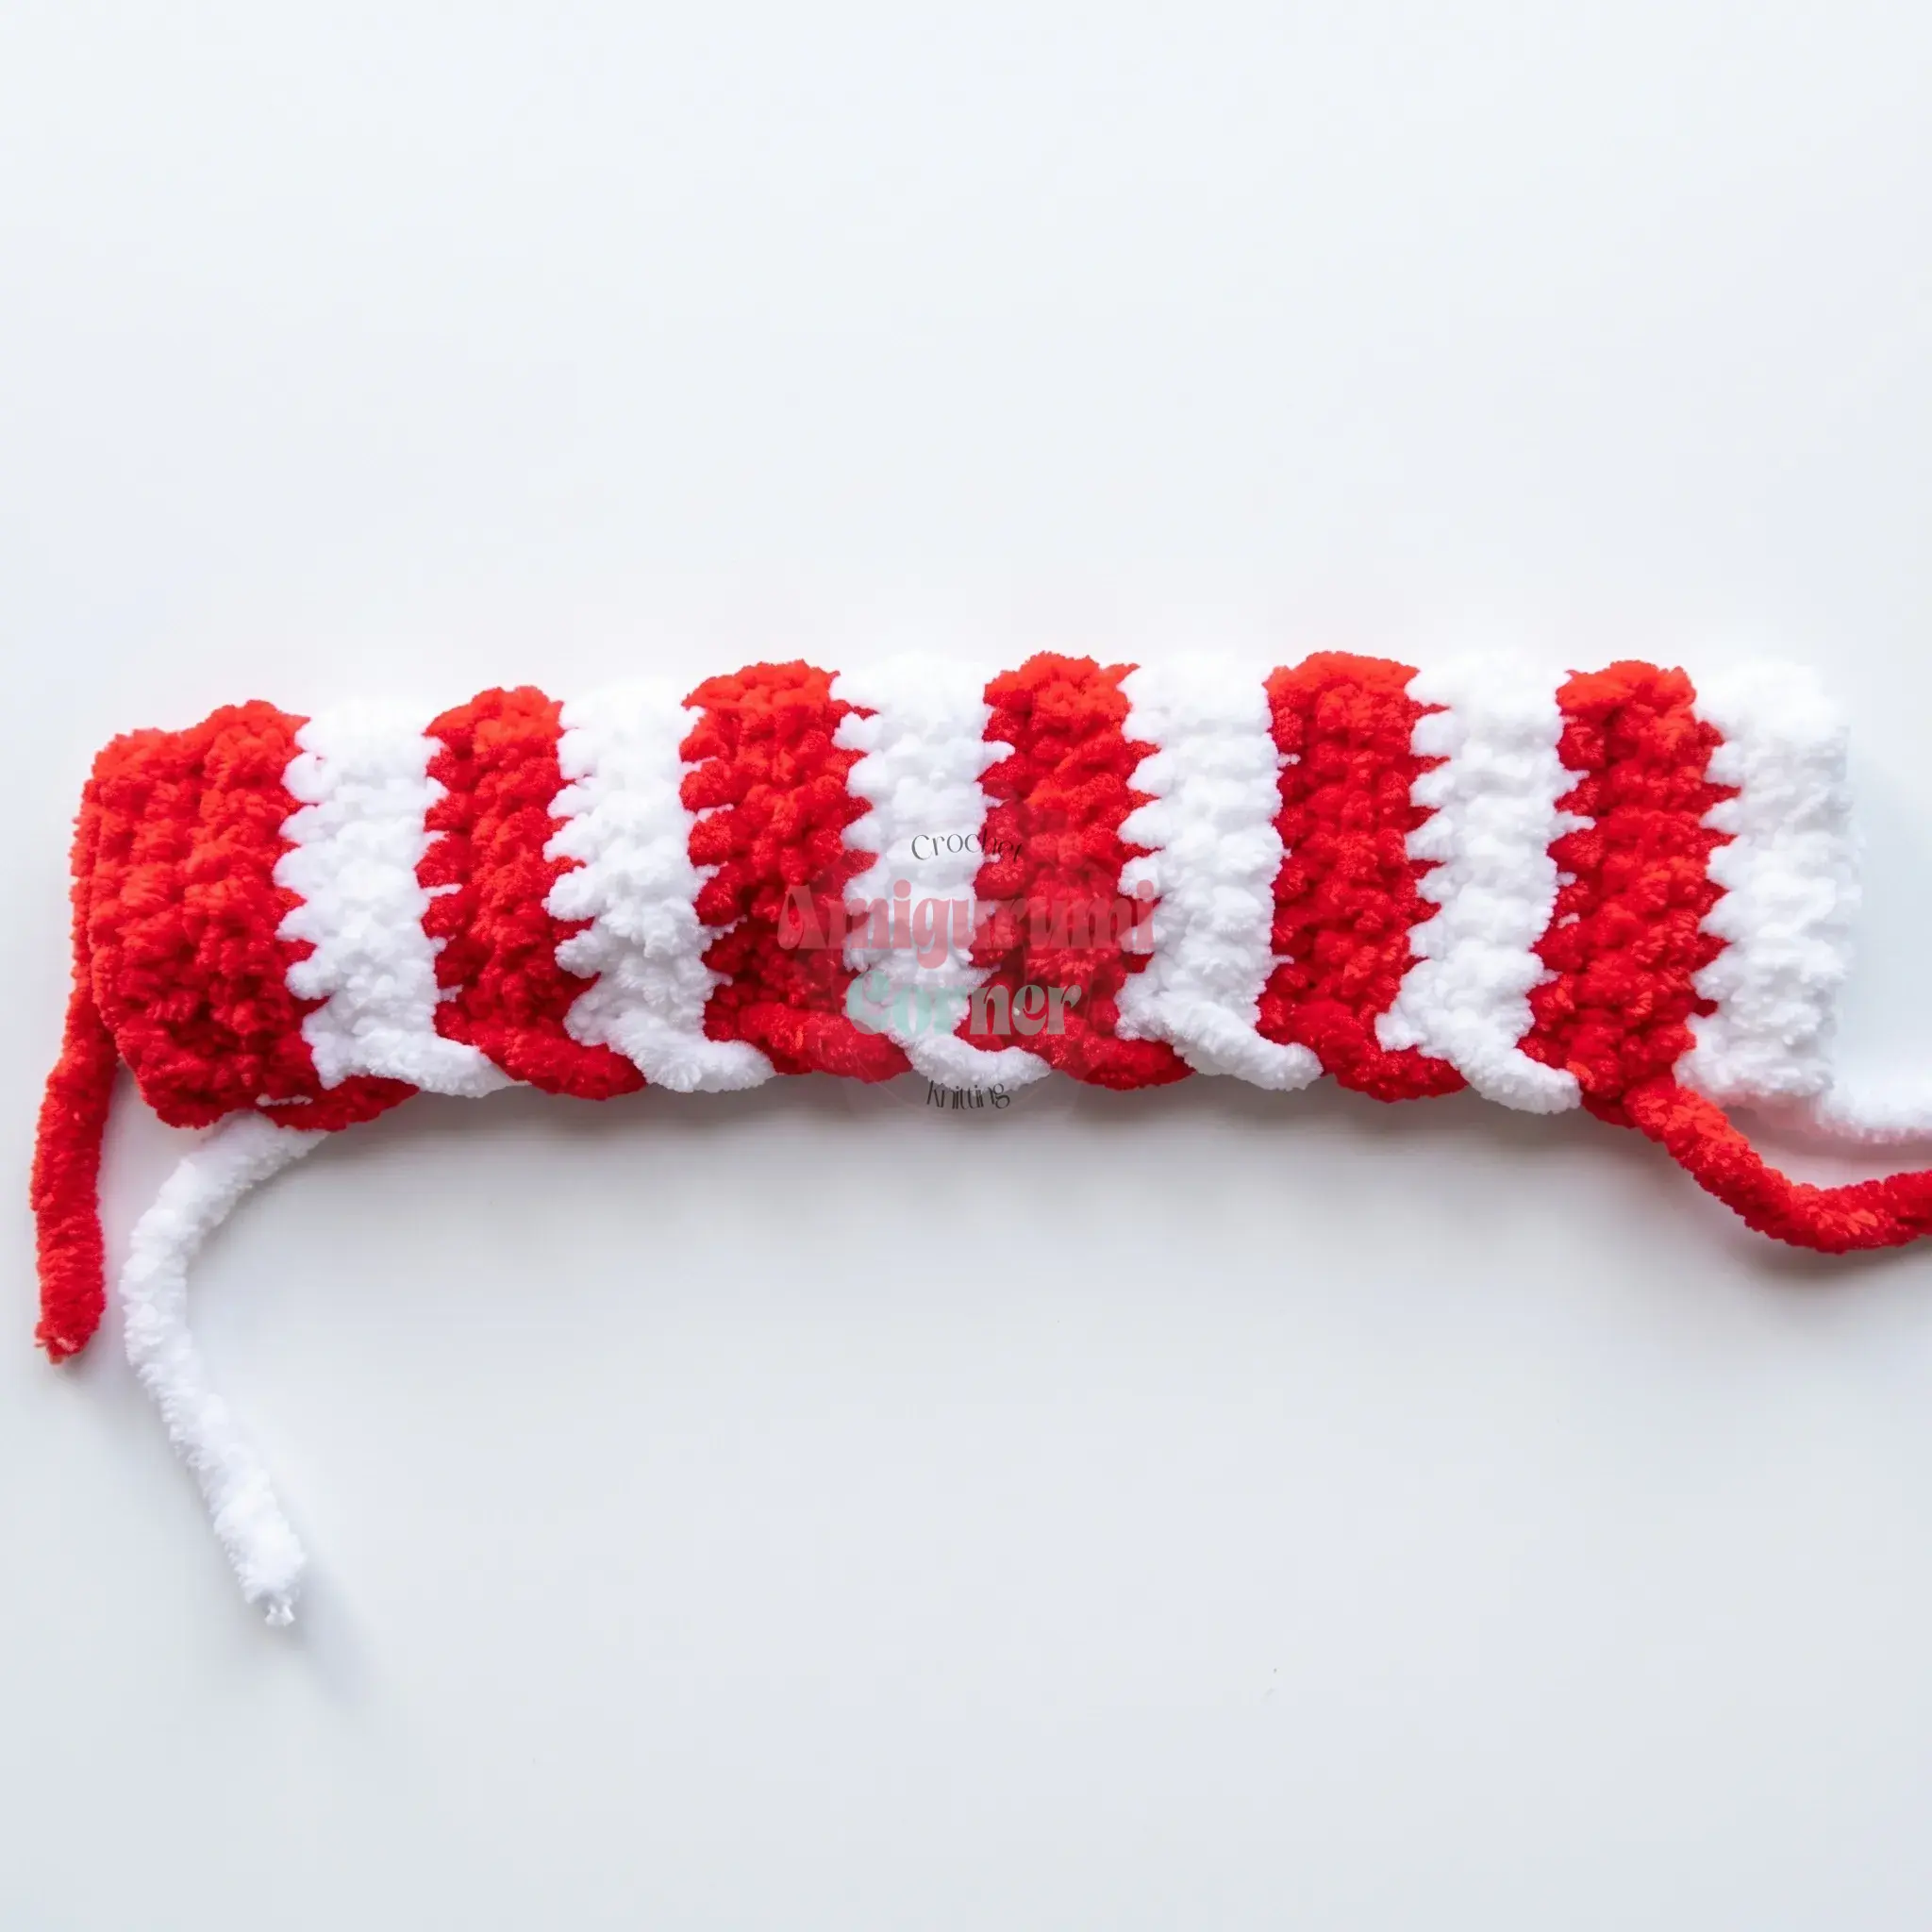
The true magic of this amigurumi lies in the textural contrast between the plush velvet yarn and the crisp cotton-blend details. The choice of velvet or chenille yarn for the body gives the fawn a luxurious, “furry” appearance that is incredibly inviting to touch. However, it is the smaller finishing touches that elevate the piece from a simple toy to a character with personality. The subtle shaping of the muzzle using sturdy sewing thread creates a gentle indent that softens the face, while the embroidered eyelashes and eyebrows add a spark of life to the safety eyes. The red and white striped collar, worked in turned rows, adds a pop of festive color and a cozy, wintry feel. These details require a bit of patience but result in a polished, heirloom-quality toy.
Project Overview
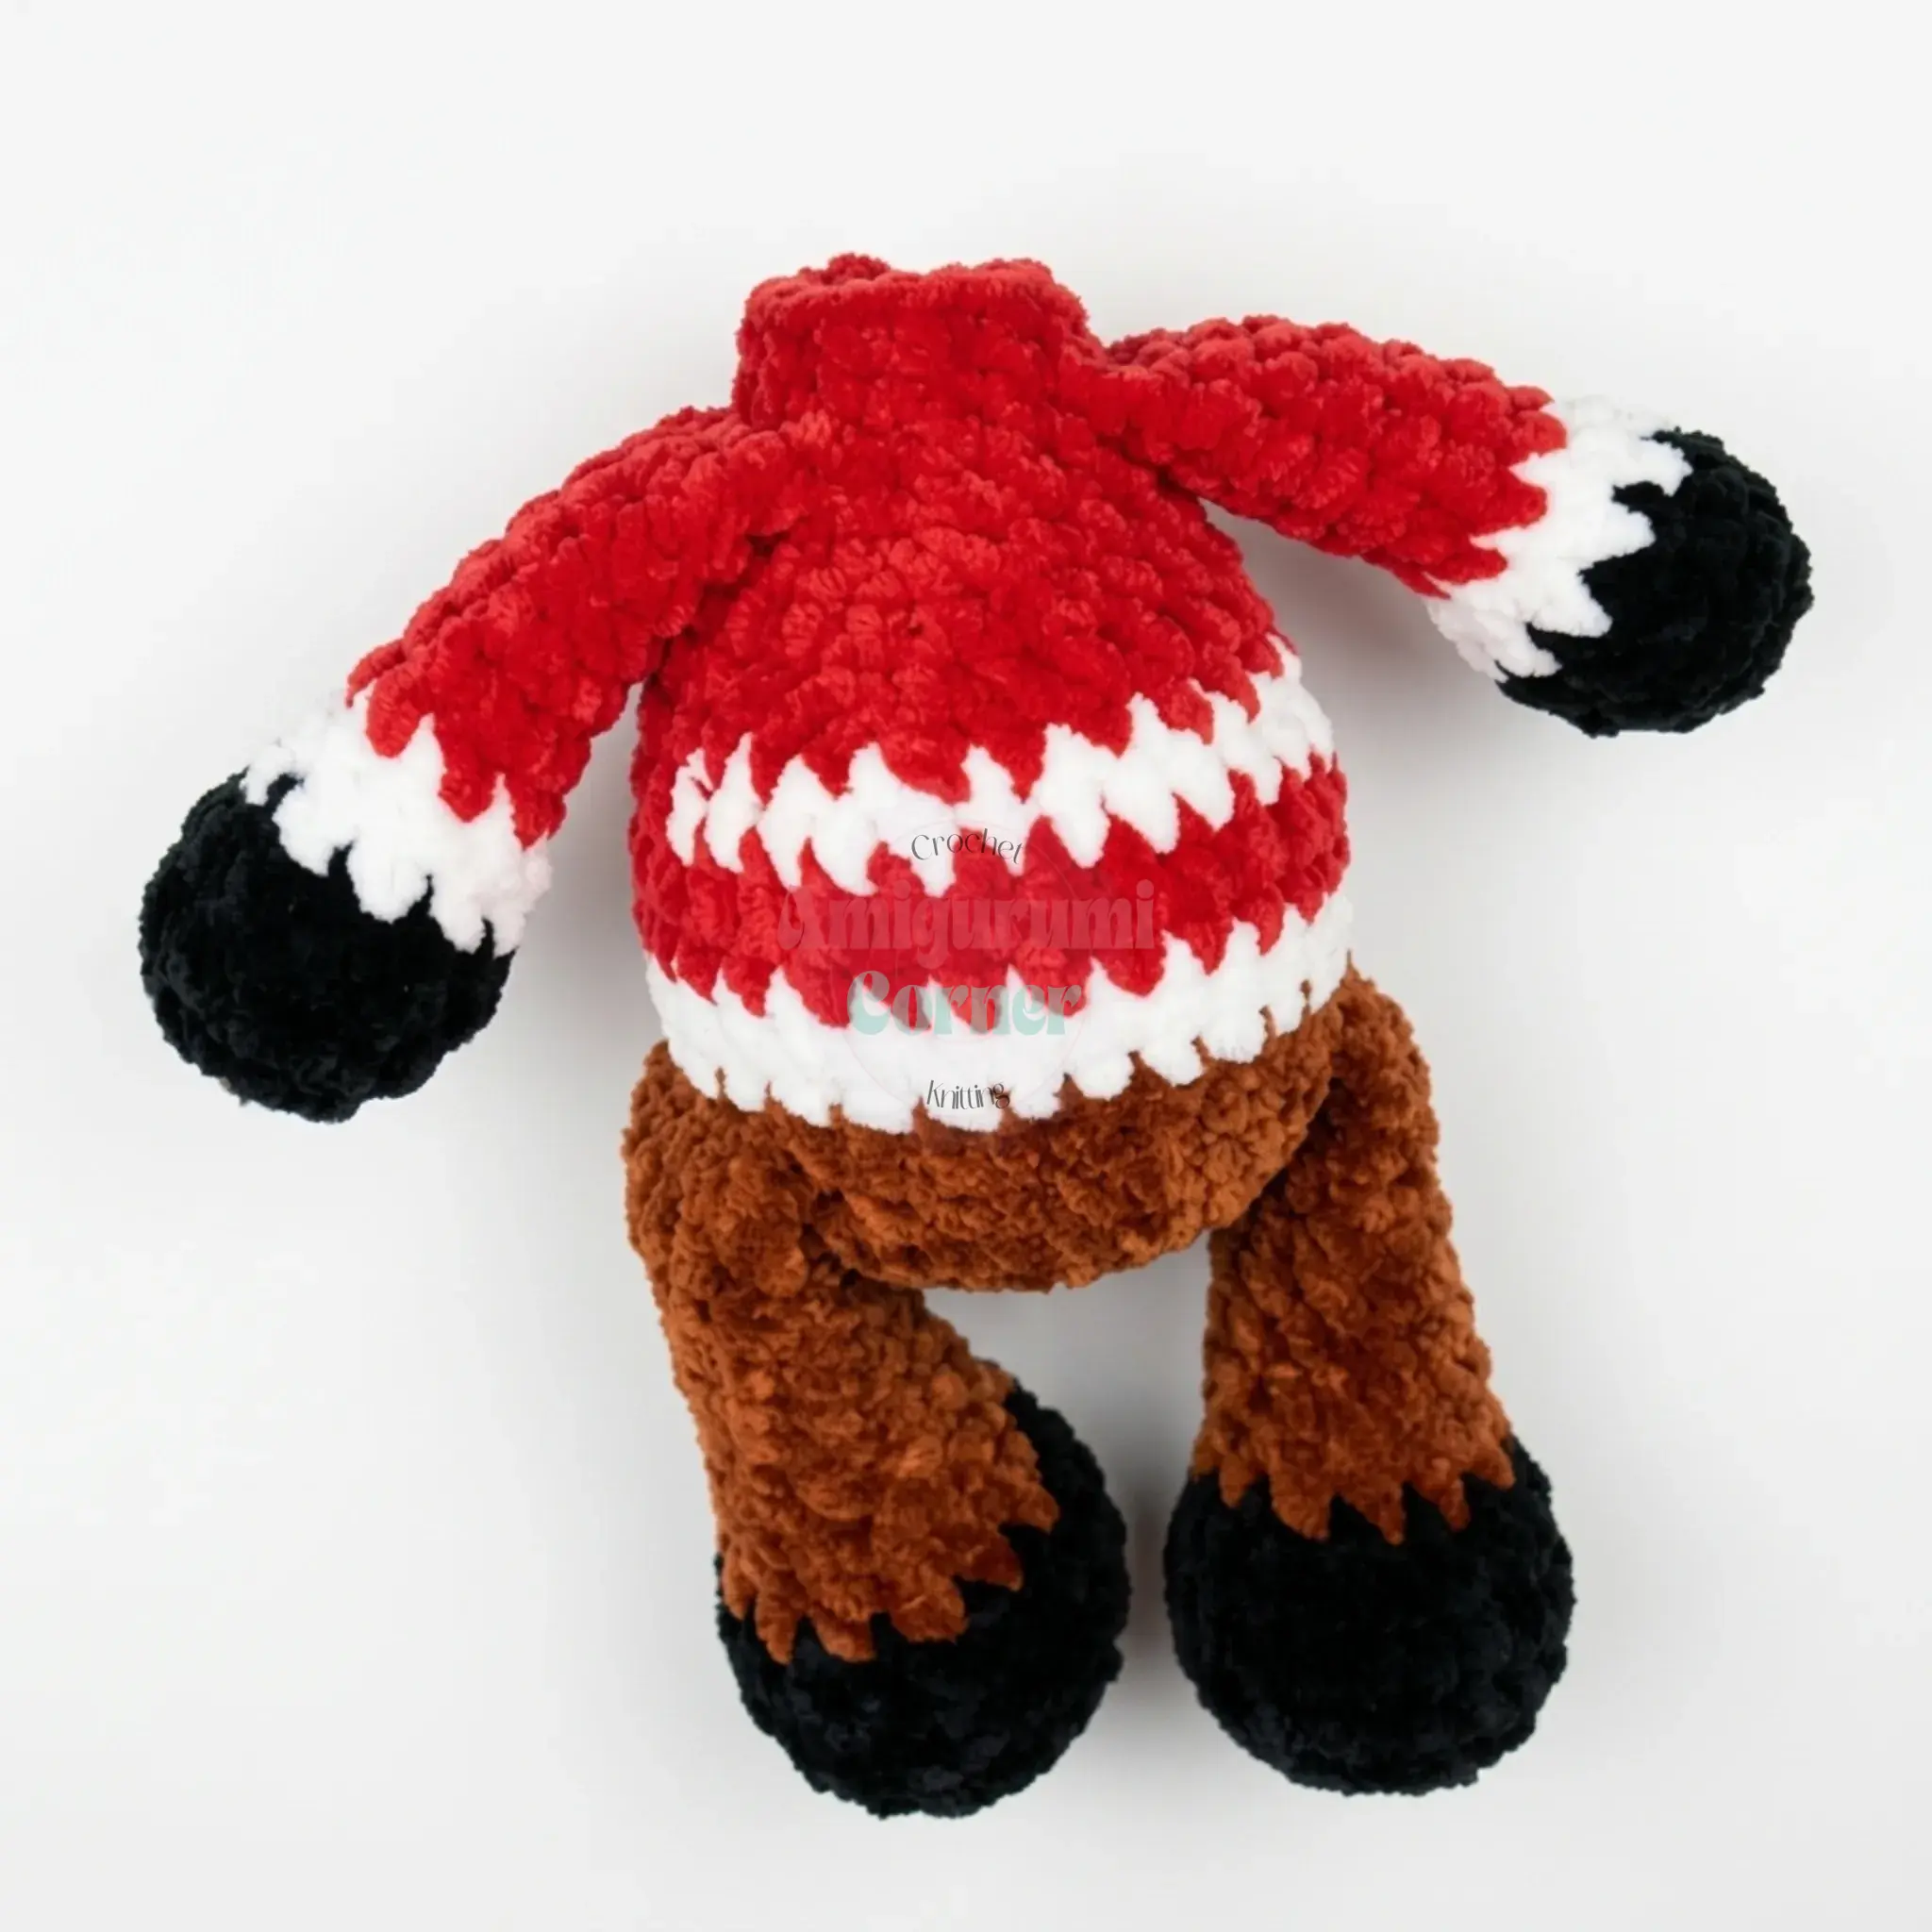
This pattern creates a woodland fawn amigurumi featuring a plush body, a striped sweater collar, and budding antlers. The project is written in US crochet terminology. Most components are worked in continuous spiral rounds, while the ears and sweater collar are worked in turned rows. The legs and arms are joined directly into the body during construction, eliminating the need for separate sewing for those parts.
Materials
- Velvet/Chenille Yarn (Bulky weight, plush/velour type):
- Brown (Main Color): Approximately half a skein
- White: Less than a quarter skein
- Black: Less than a quarter skein
- Red: Less than half a skein
- Cotton-blend Yarn (DK/Sport weight):
- Black/Charcoal: A small amount (for the nose)
- White: Less than a quarter skein (for the antlers)
- Crochet Hooks:
- Size G-6 (4.0 mm) for the velvet yarn
- Size B-1 (2.0–2.25 mm) for the cotton-blend yarn
- Other Supplies:
- Safety eyes: 1 pair (12 mm or 14 mm)
- Polyester fiberfill or similar stuffing
- Stitch markers (to track round starts and offset shifts)
- Yarn/tapestry needle
- Scissors
- Sturdy sewing thread (for gathering the eyes and attaching the head)
Gauge and Finished Size
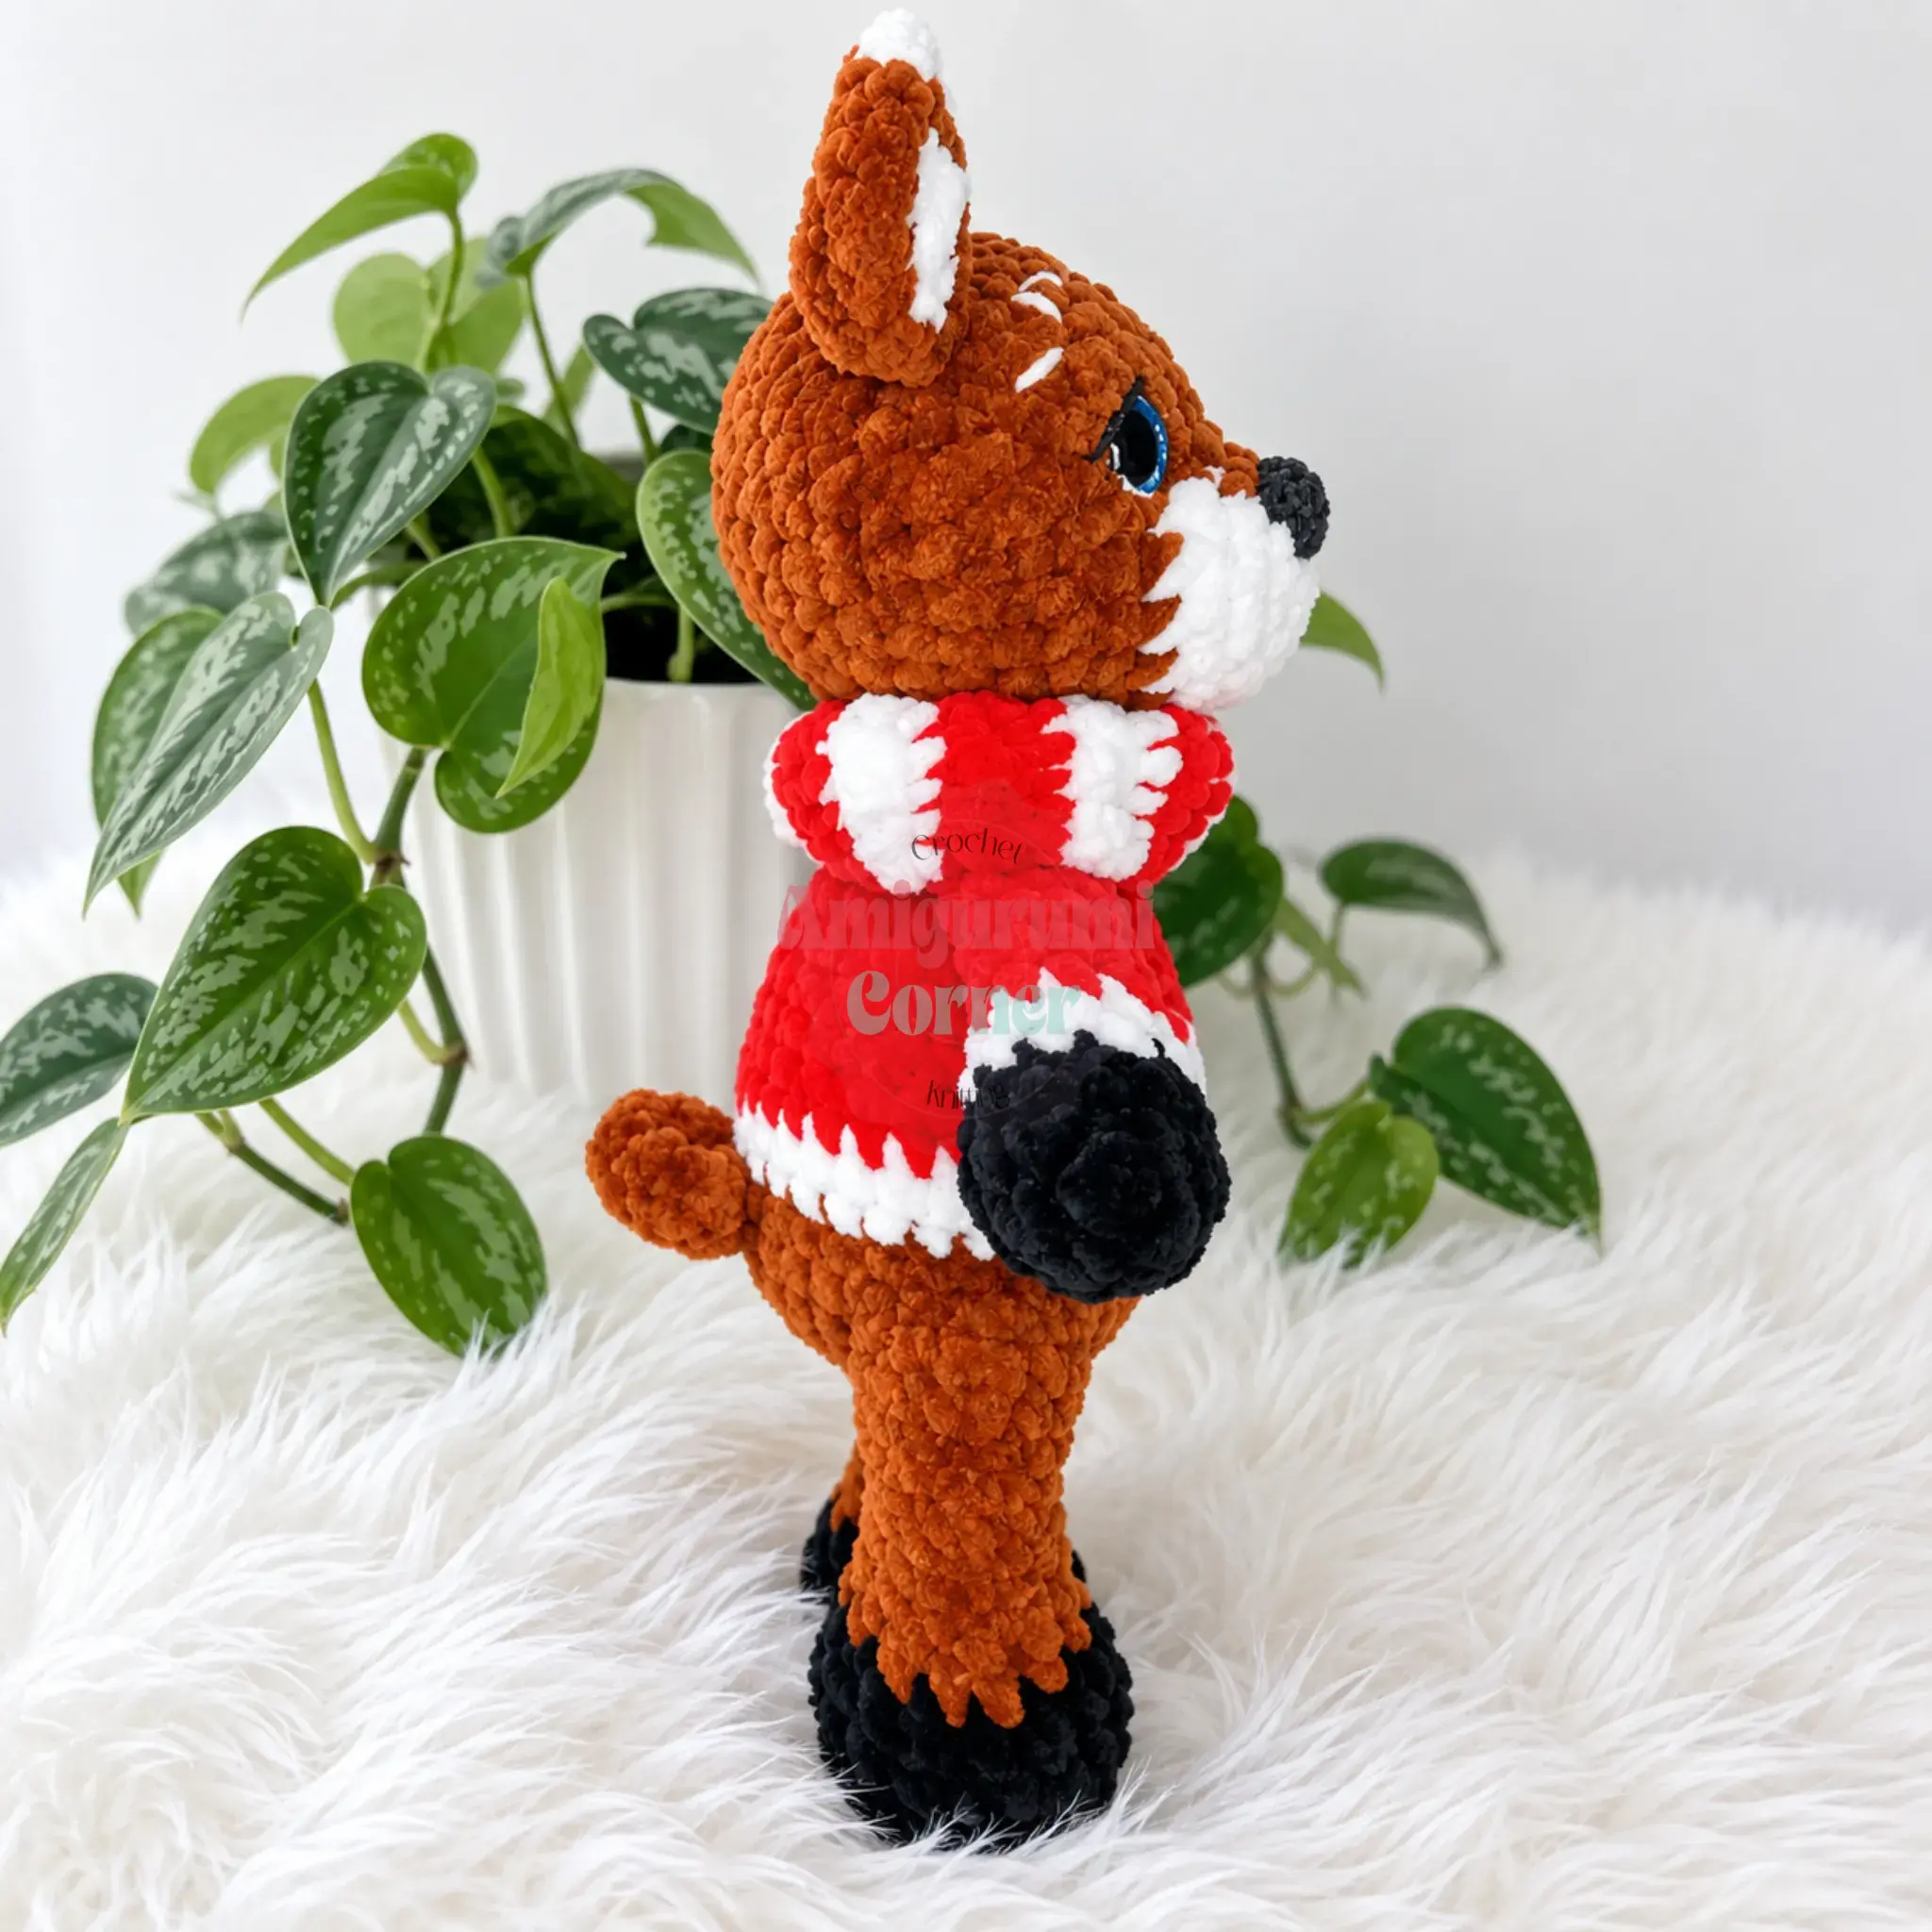
Gauge is not critical for this project, but a tighter gauge than usual is recommended so that stuffing does not peek through the stitches. The finished size is roughly 10 inches (25–26 cm) tall, depending on your tension and yarn choice.
Abbreviations
- BLO — Back Loop Only
- ch — Chain
- dc — Double Crochet
- dec — Decrease (invisible decrease)
- hdc — Half Double Crochet
- inc — Increase (2 sc in same stitch)
- MC — Main Color
- MR — Magic Ring
- rnd(s) — Round(s)
- row(s) — Row(s)
- sc — Single Crochet
- st(s) — Stitch(es)
Pattern Notes
- The Head, Arms, Legs, Body, Tail, Nose, and Antlers are worked in continuous spiral rounds. Do not join or chain between rounds unless a note says otherwise.
- The Ears and Sweater Collar are worked in turned rows, back and forth.
- Stitch counts are given in parentheses at the end of every round or row.
- The Legs and Arms are joined directly into the Body while working; you will not sew them on separately.
- The Head, Tail, Ears, Nose, and Antlers are sewn on after the pieces are complete.
Pattern Instructions
Head
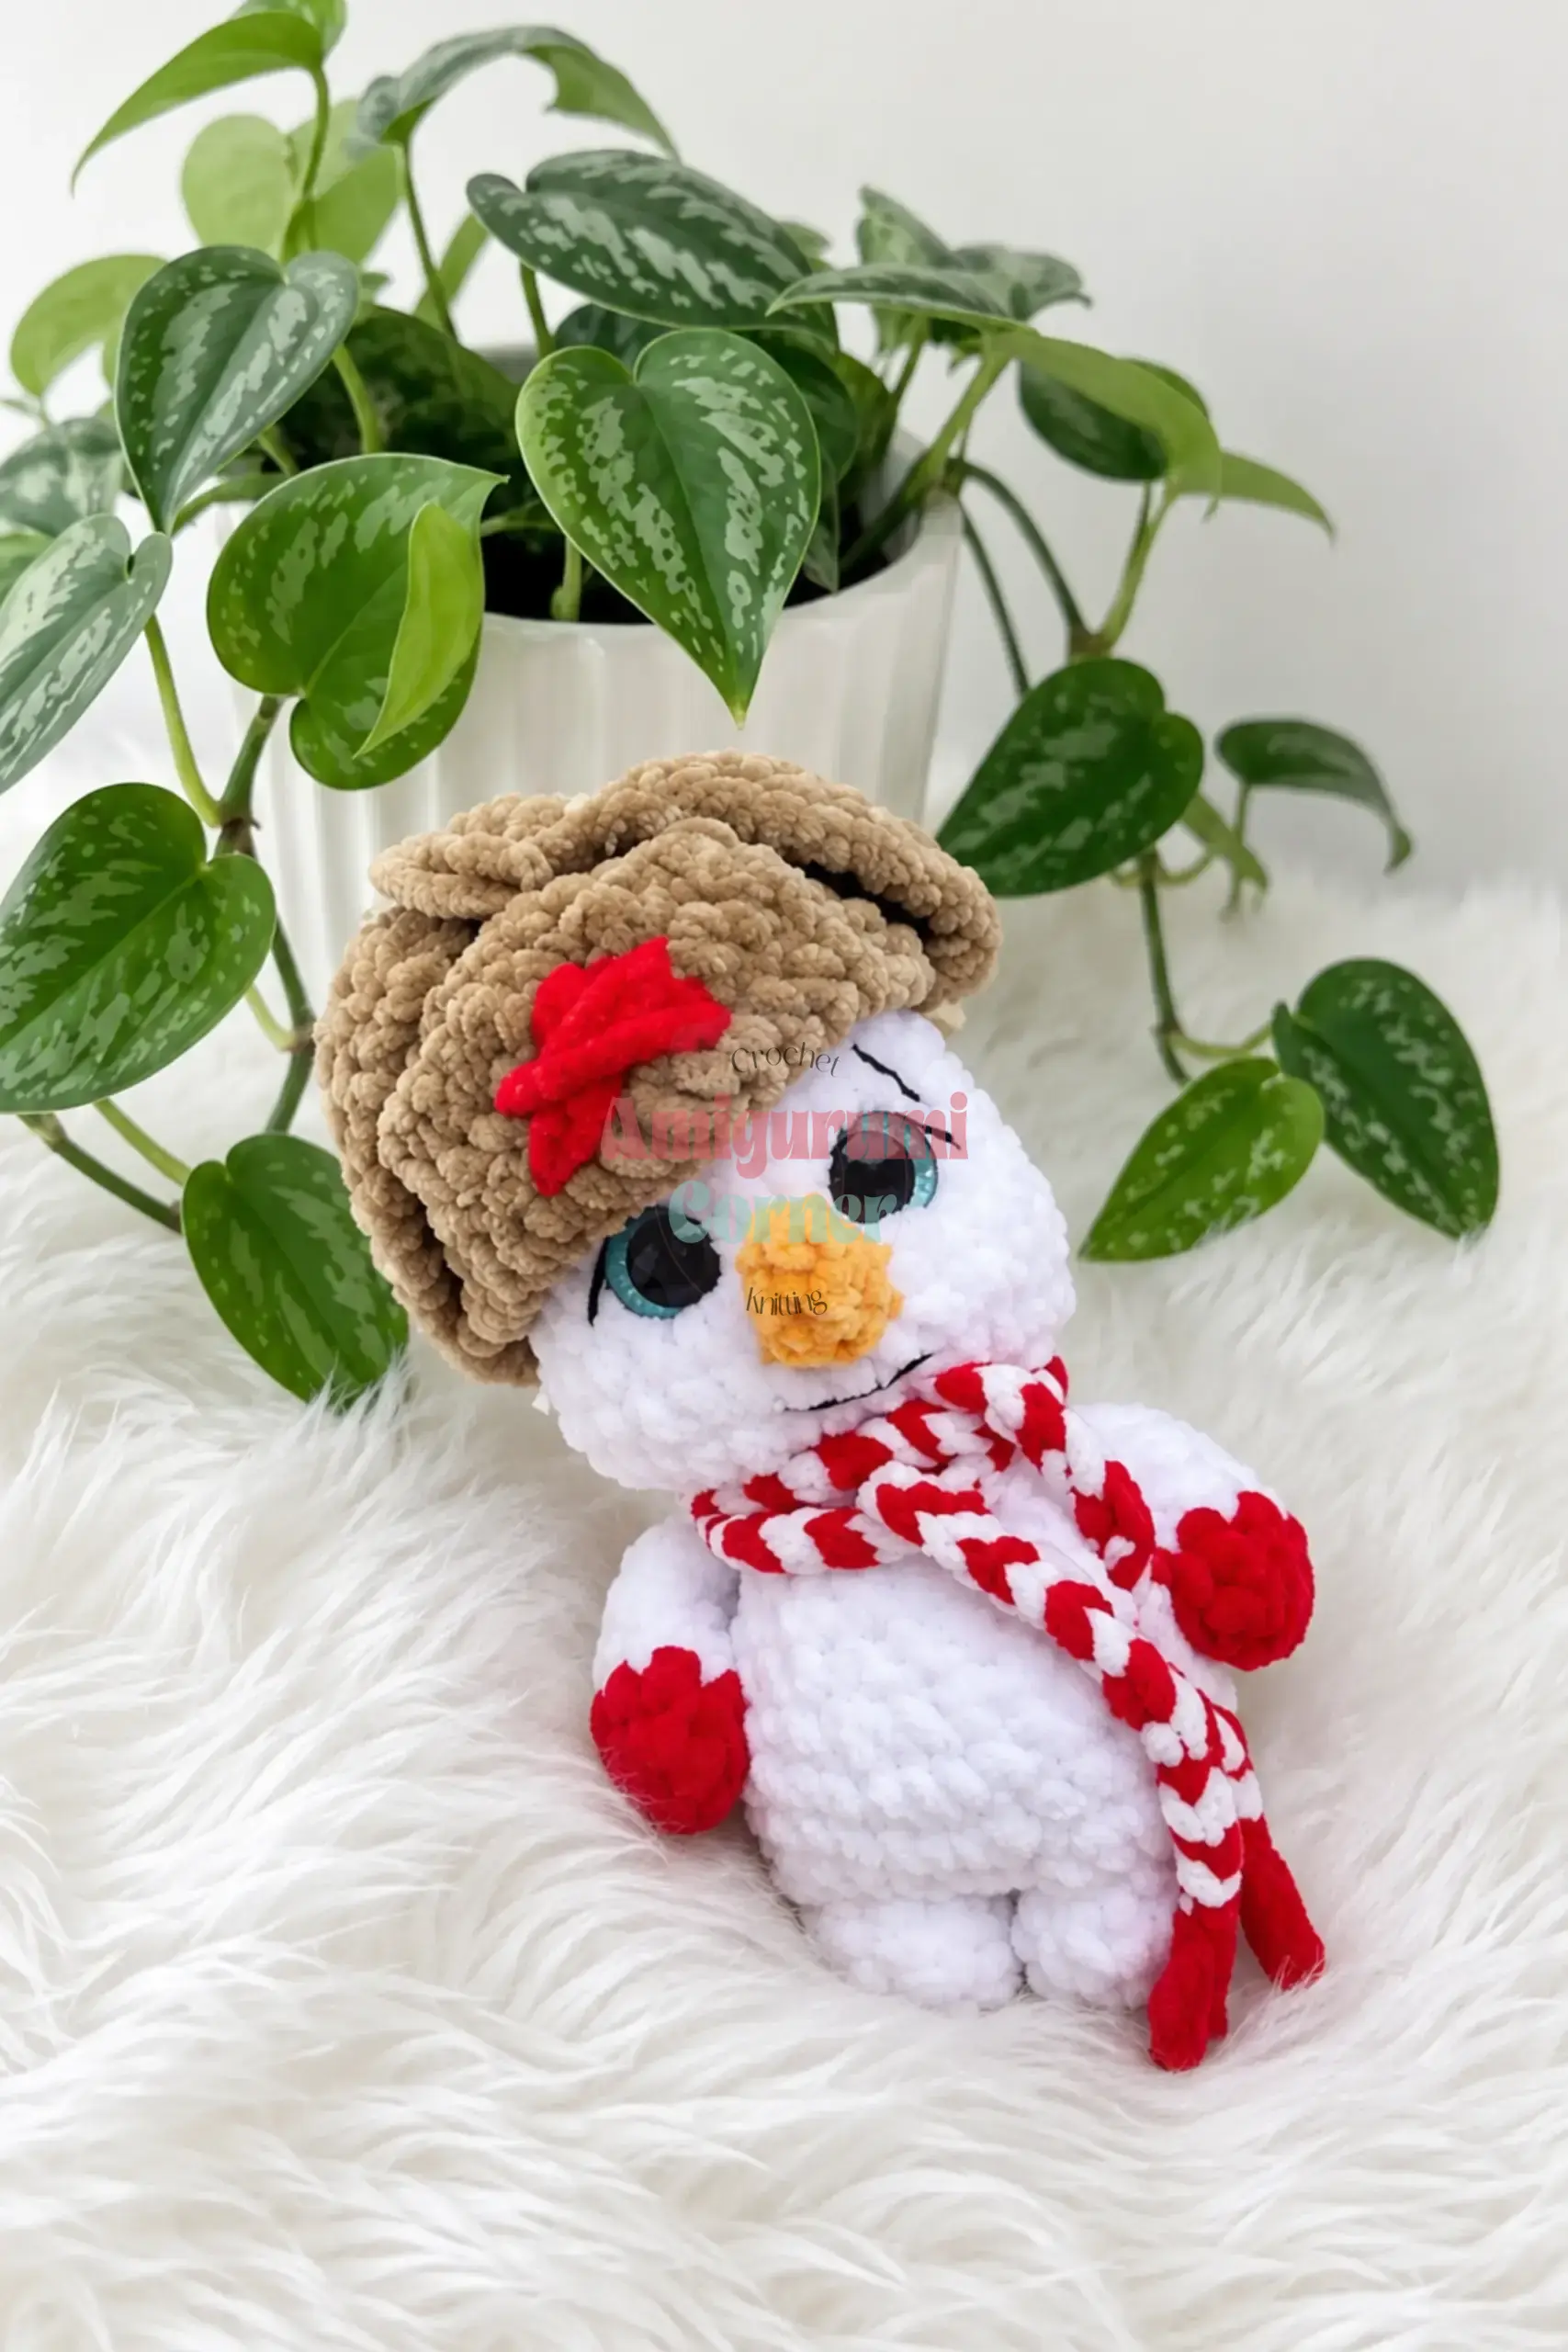
Work in continuous spiral rounds. Begin in White. Stuff as you go, adding fiberfill gradually as the round closes in on itself.
- Rnd 1: 6 sc in MR. (6)
- Rnd 2: inc around. (12)
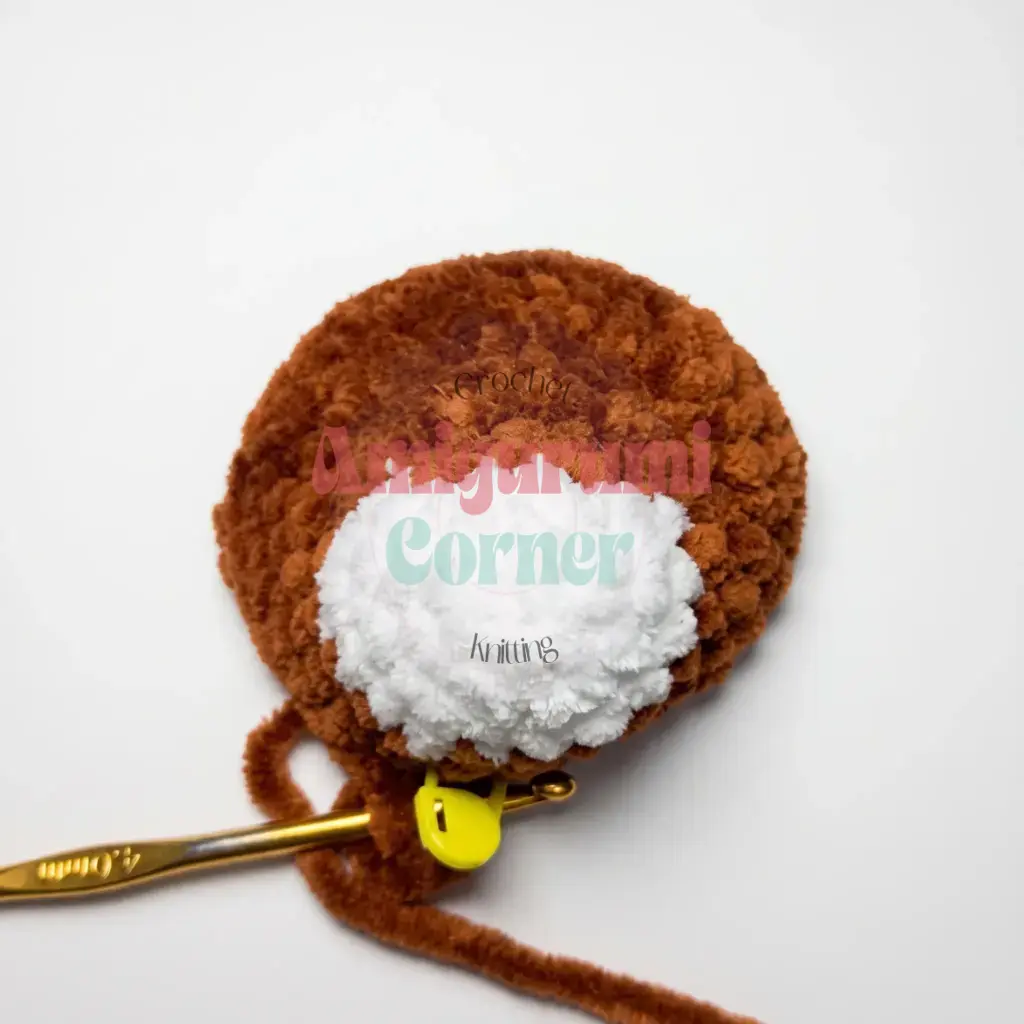
- Rnd 3: Work in White: 1 sc, inc, 1 sc, inc, 1 sc; join Main Color (Brown) and work: inc, 1 sc, inc; continue in White: 1 sc, inc, 1 sc, inc. (18)
- Rnd 4: Work in White: 7 sc; switch to Main Color: 5 sc; switch back to White: 6 sc. Fasten off White — you’ll work in Main Color from here on. (18)
- Rnd 5: 6 sc, 1 hdc, 2 dc in next st 6 times, 1 hdc, 4 sc. (24). Insert the safety eyes now, between Rnds 5 and 6 — one eye right after the first 2-dc increase, the second eye right after the fifth 2-dc increase.
- Rnd 6: 6 sc, 1 hdc, 1 dc, 2 dc in next st repeat 6 times, 1 hdc, 4 sc. (30)
- Rnd 7: 4 sc, inc repeat 6 times around. (36)
- Rnds 8–11: sc in each st around. (36)
- Rnd 12: 2 sc, dec, 4 sc, dec repeat 5 times, 2 sc. (30)
- Rnd 13: 3 sc, dec repeat 6 times around. (24)
- Rnd 14: 1 sc, dec, 2 sc, dec repeat 5 times, 1 sc. (18)
- Rnd 15: 1 sc, dec repeat 6 times around. (12)
- Rnd 16: dec repeat 6 times around. (6). Fasten off, cinch the opening closed, and weave the tail inside the Head.
Shaping the face: With sturdy sewing thread, find the two points at the bottom-center of the Head, sitting between Rnds 7 and 8, one stitch apart. Bring your needle in at the first point and out through a spot just past the first eye; bring it back in near the second eye and out through the second bottom point. Repeat this path once more, entering and exiting through the same four spots. Pull both thread ends gently to draw the eyes down slightly and create a soft indent that shapes the muzzle, then knot the ends together a couple of times to secure. You can repeat the whole pull-through once more for extra hold.
Arms (make 2)
Work in continuous spiral rounds. Begin in Black.
- Rnd 1: 6 sc in MR. (6)
- Rnd 2: inc around. (12)
- Rnds 3–4: sc in each st around. (12). Switch to White and fasten off Black.
- Rnd 5: Working in Back Loops Only (BLO): 4 sc, dec repeat 2 times around. (10)
- Rnd 6: 3 sc, dec repeat 2 times around. (8). Switch to Red and fasten off White. Stuff only the lower portion of the Arm, up through Rnd 6.
- Rnds 7–12: sc in each st around. (6)
- Final row: Flatten the Arm and, working through both layers together, sc across: 4 sc. Fasten off.
Legs (make 2)
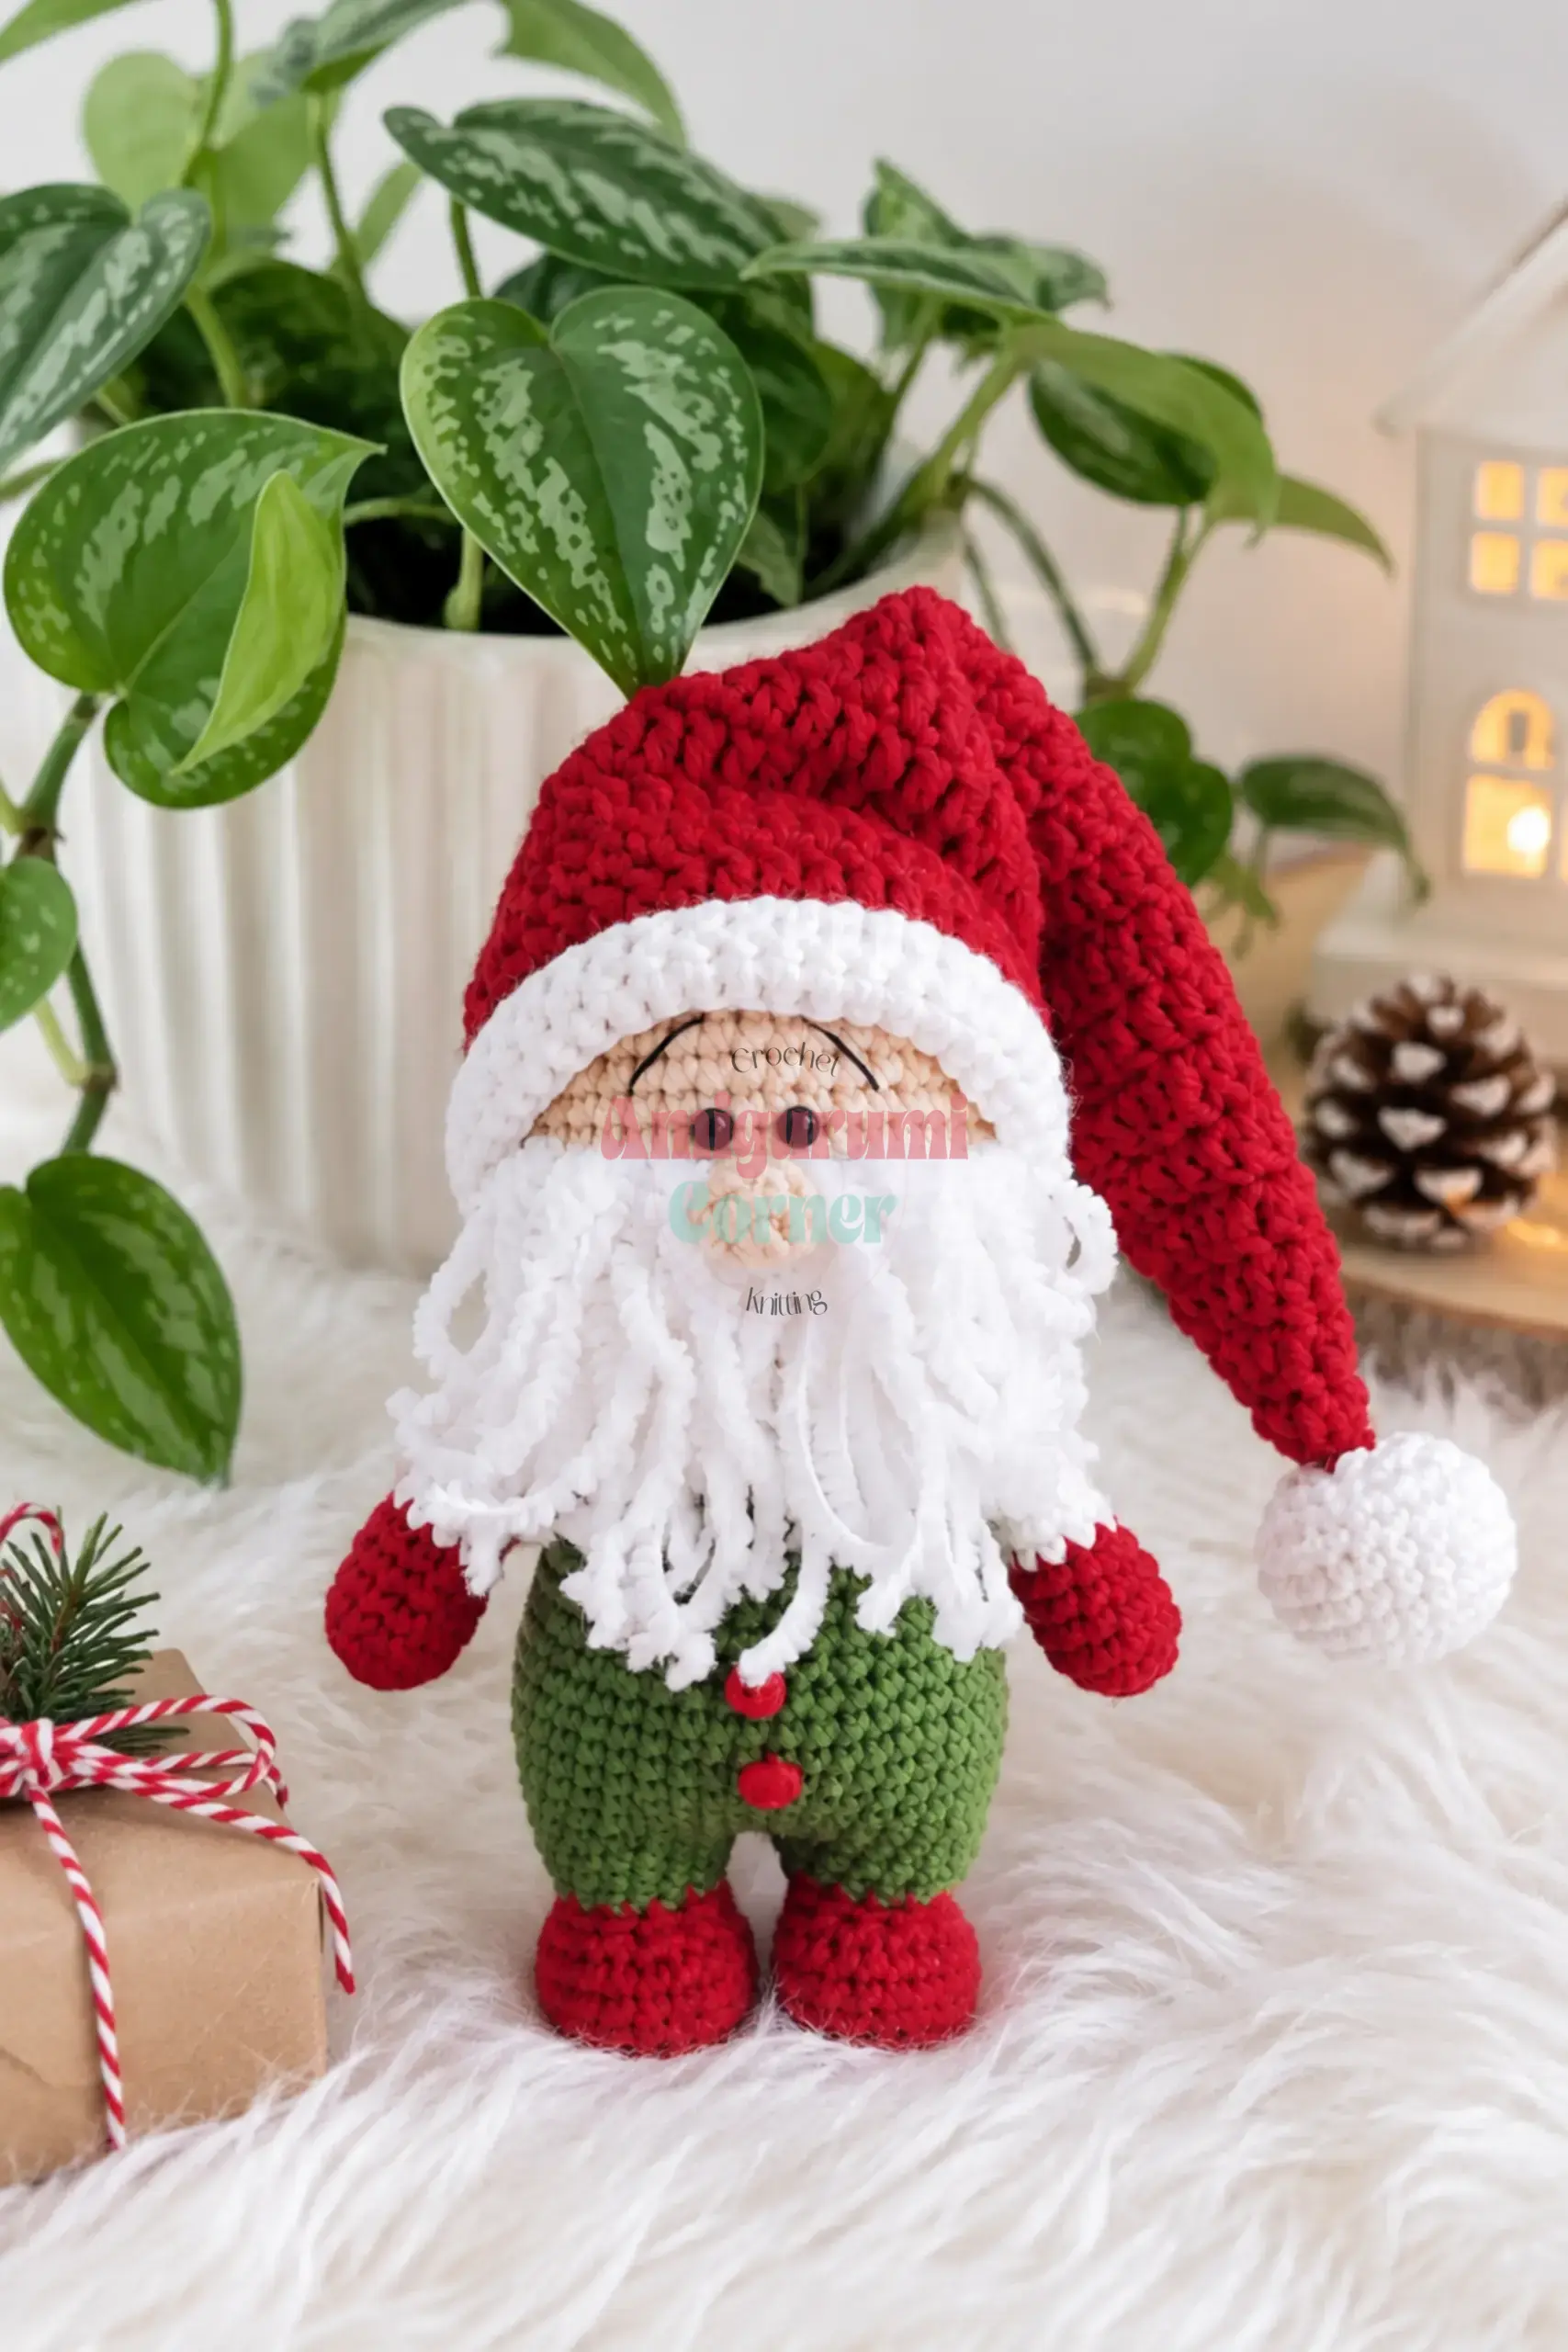
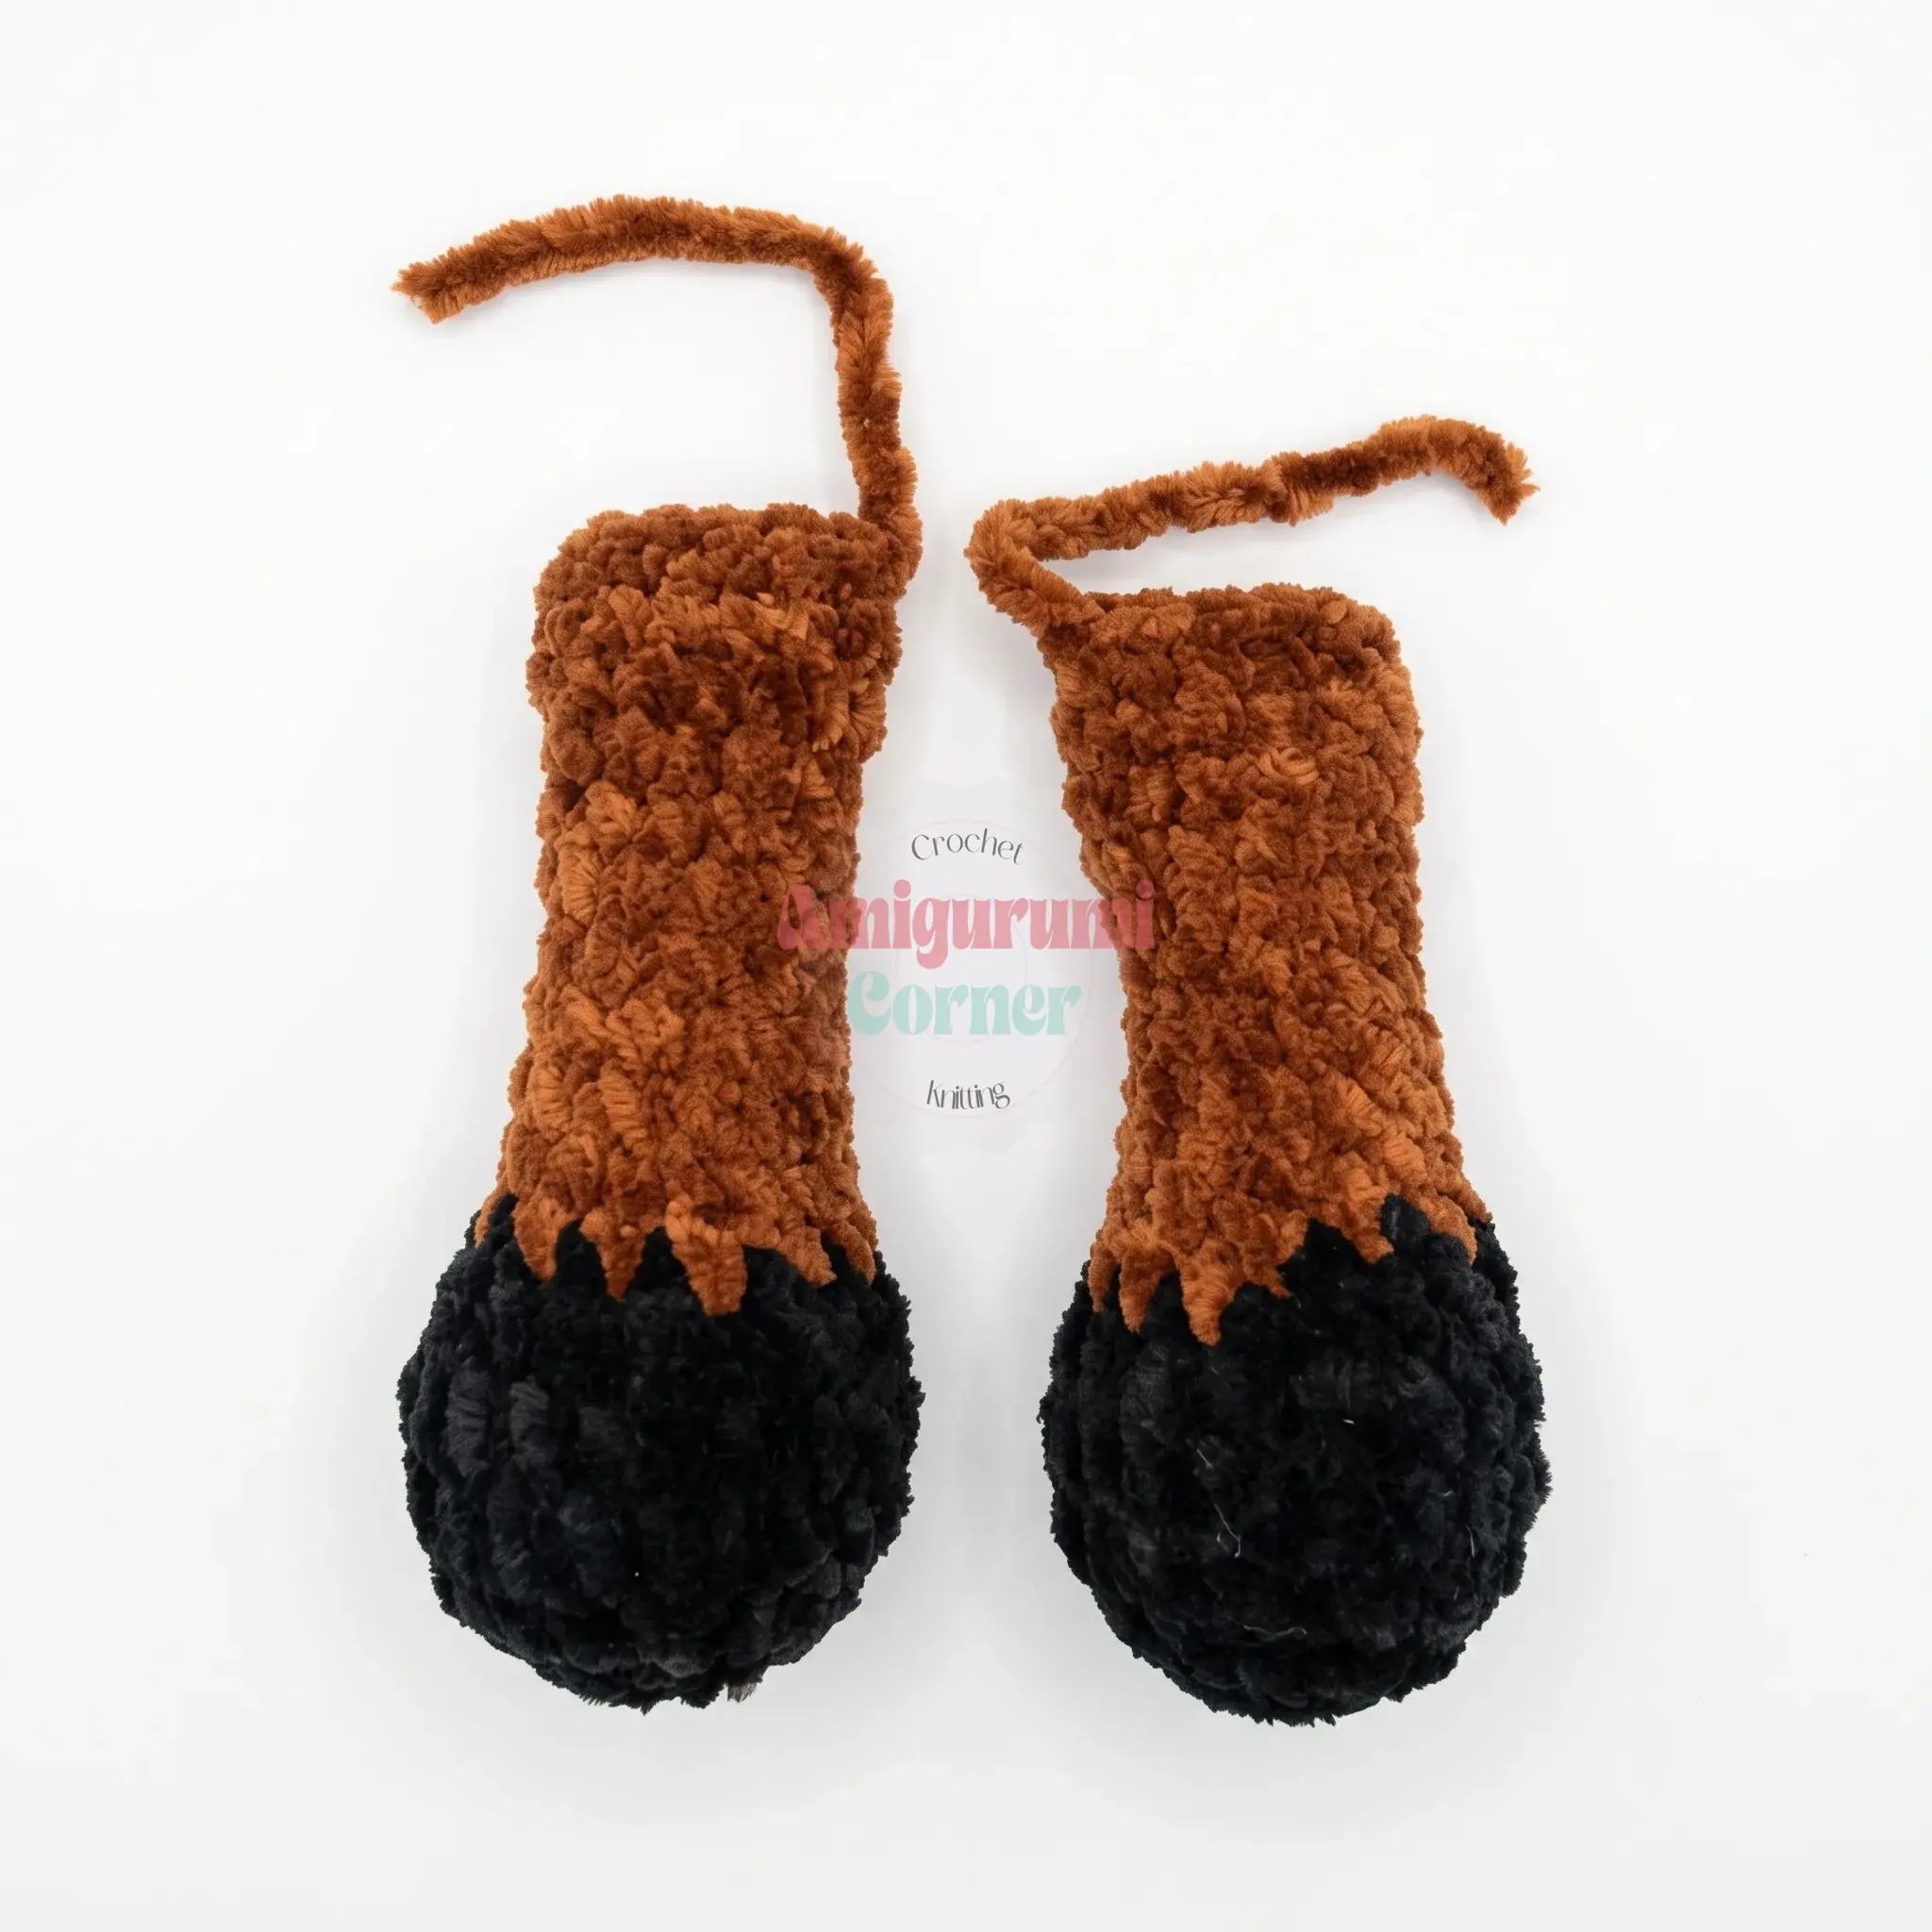
Work in continuous spiral rounds. Begin in Black.
- Rnd 1: 6 sc in MR. (6)
- Rnd 2: inc around. (12)
- Rnd 3: 1 sc, inc repeat 6 times around. (18)
- Rnds 4–5: sc in each st around. (18)
- Rnd 6: 4 sc, dec repeat 3 times around. (15). Switch to Brown and fasten off Black.
- Rnd 7: 3 sc, dec repeat 3 times around. (12)
- Rnd 8: 4 sc, dec repeat 2 times around. (10). Stuff only the lower portion of the Leg, up through Rnd 8.
- Rnds 9–16: sc in each st around. (10)
- Final row: Flatten the Leg and, working through both layers together, sc across: 5 sc. Fasten off.
Body
Work in continuous spiral rounds. Begin in Brown. Stuff as you go.
- Rnd 1: 6 sc in MR. (6)
- Rnd 2: inc around. (12)
- Rnd 3: 1 sc, inc repeat 6 times around. (18)
- Rnd 4: 1 sc, inc, 2 sc, inc repeat 5 times, 1 sc. (24)
- Rnd 5: 3 sc, inc repeat 6 times around. (30)
- Rnd 6: sc in each st around. (30)
- Rnd 7: 5 sc; work 5 sc joining a Leg to the Body (working through both the Leg’s stitches and the Body’s stitches together); 10 sc; work 5 sc joining the second Leg to the Body in the same way; 5 sc. (30)
- Rnd 8: Switch to White and fasten off Brown. Working in Back Loops Only (BLO): sc in each st around. (30)
- Rnd 9: sc in each st around. (30). Switch to Red — carry the White strand rather than cutting it.
- Rnds 10–11: sc in each st around. (30)
- Rnd 12: Shift the start of the round by one or two stitches to move your marker to the center of the back (this offset stitch is not included in the stitch count). In Red: 8 sc; switch to White: 14 sc; fasten off White; switch back to Red: 8 sc. (30)
- Rnd 13: 10 sc, dec, 2 sc, dec repeat 2 times, 10 sc. (27)
- Rnd 14: 7 sc, dec repeat 3 times around. (24)
- Rnd 15: 3 sc, dec, 6 sc, dec repeat 2 times, 3 sc. (21)
- Rnd 16: 5 sc, dec repeat 3 times around. (18)
- Rnd 17: 2 sc, dec, 4 sc, dec repeat 2 times, 2 sc. (15). Shift the start of the round by one or two stitches again to bring your marker back to the center of the back, ready to attach the Arms.
- Rnd 18: 2 sc; work 4 sc joining an Arm to the Body; 3 sc; work 4 sc joining the second Arm to the Body; 2 sc. (30)
- Rnd 19: 3 sc, dec repeat 3 times around. (12)
- Rnd 20: sc in each st around. (12). Fasten off.
Tail
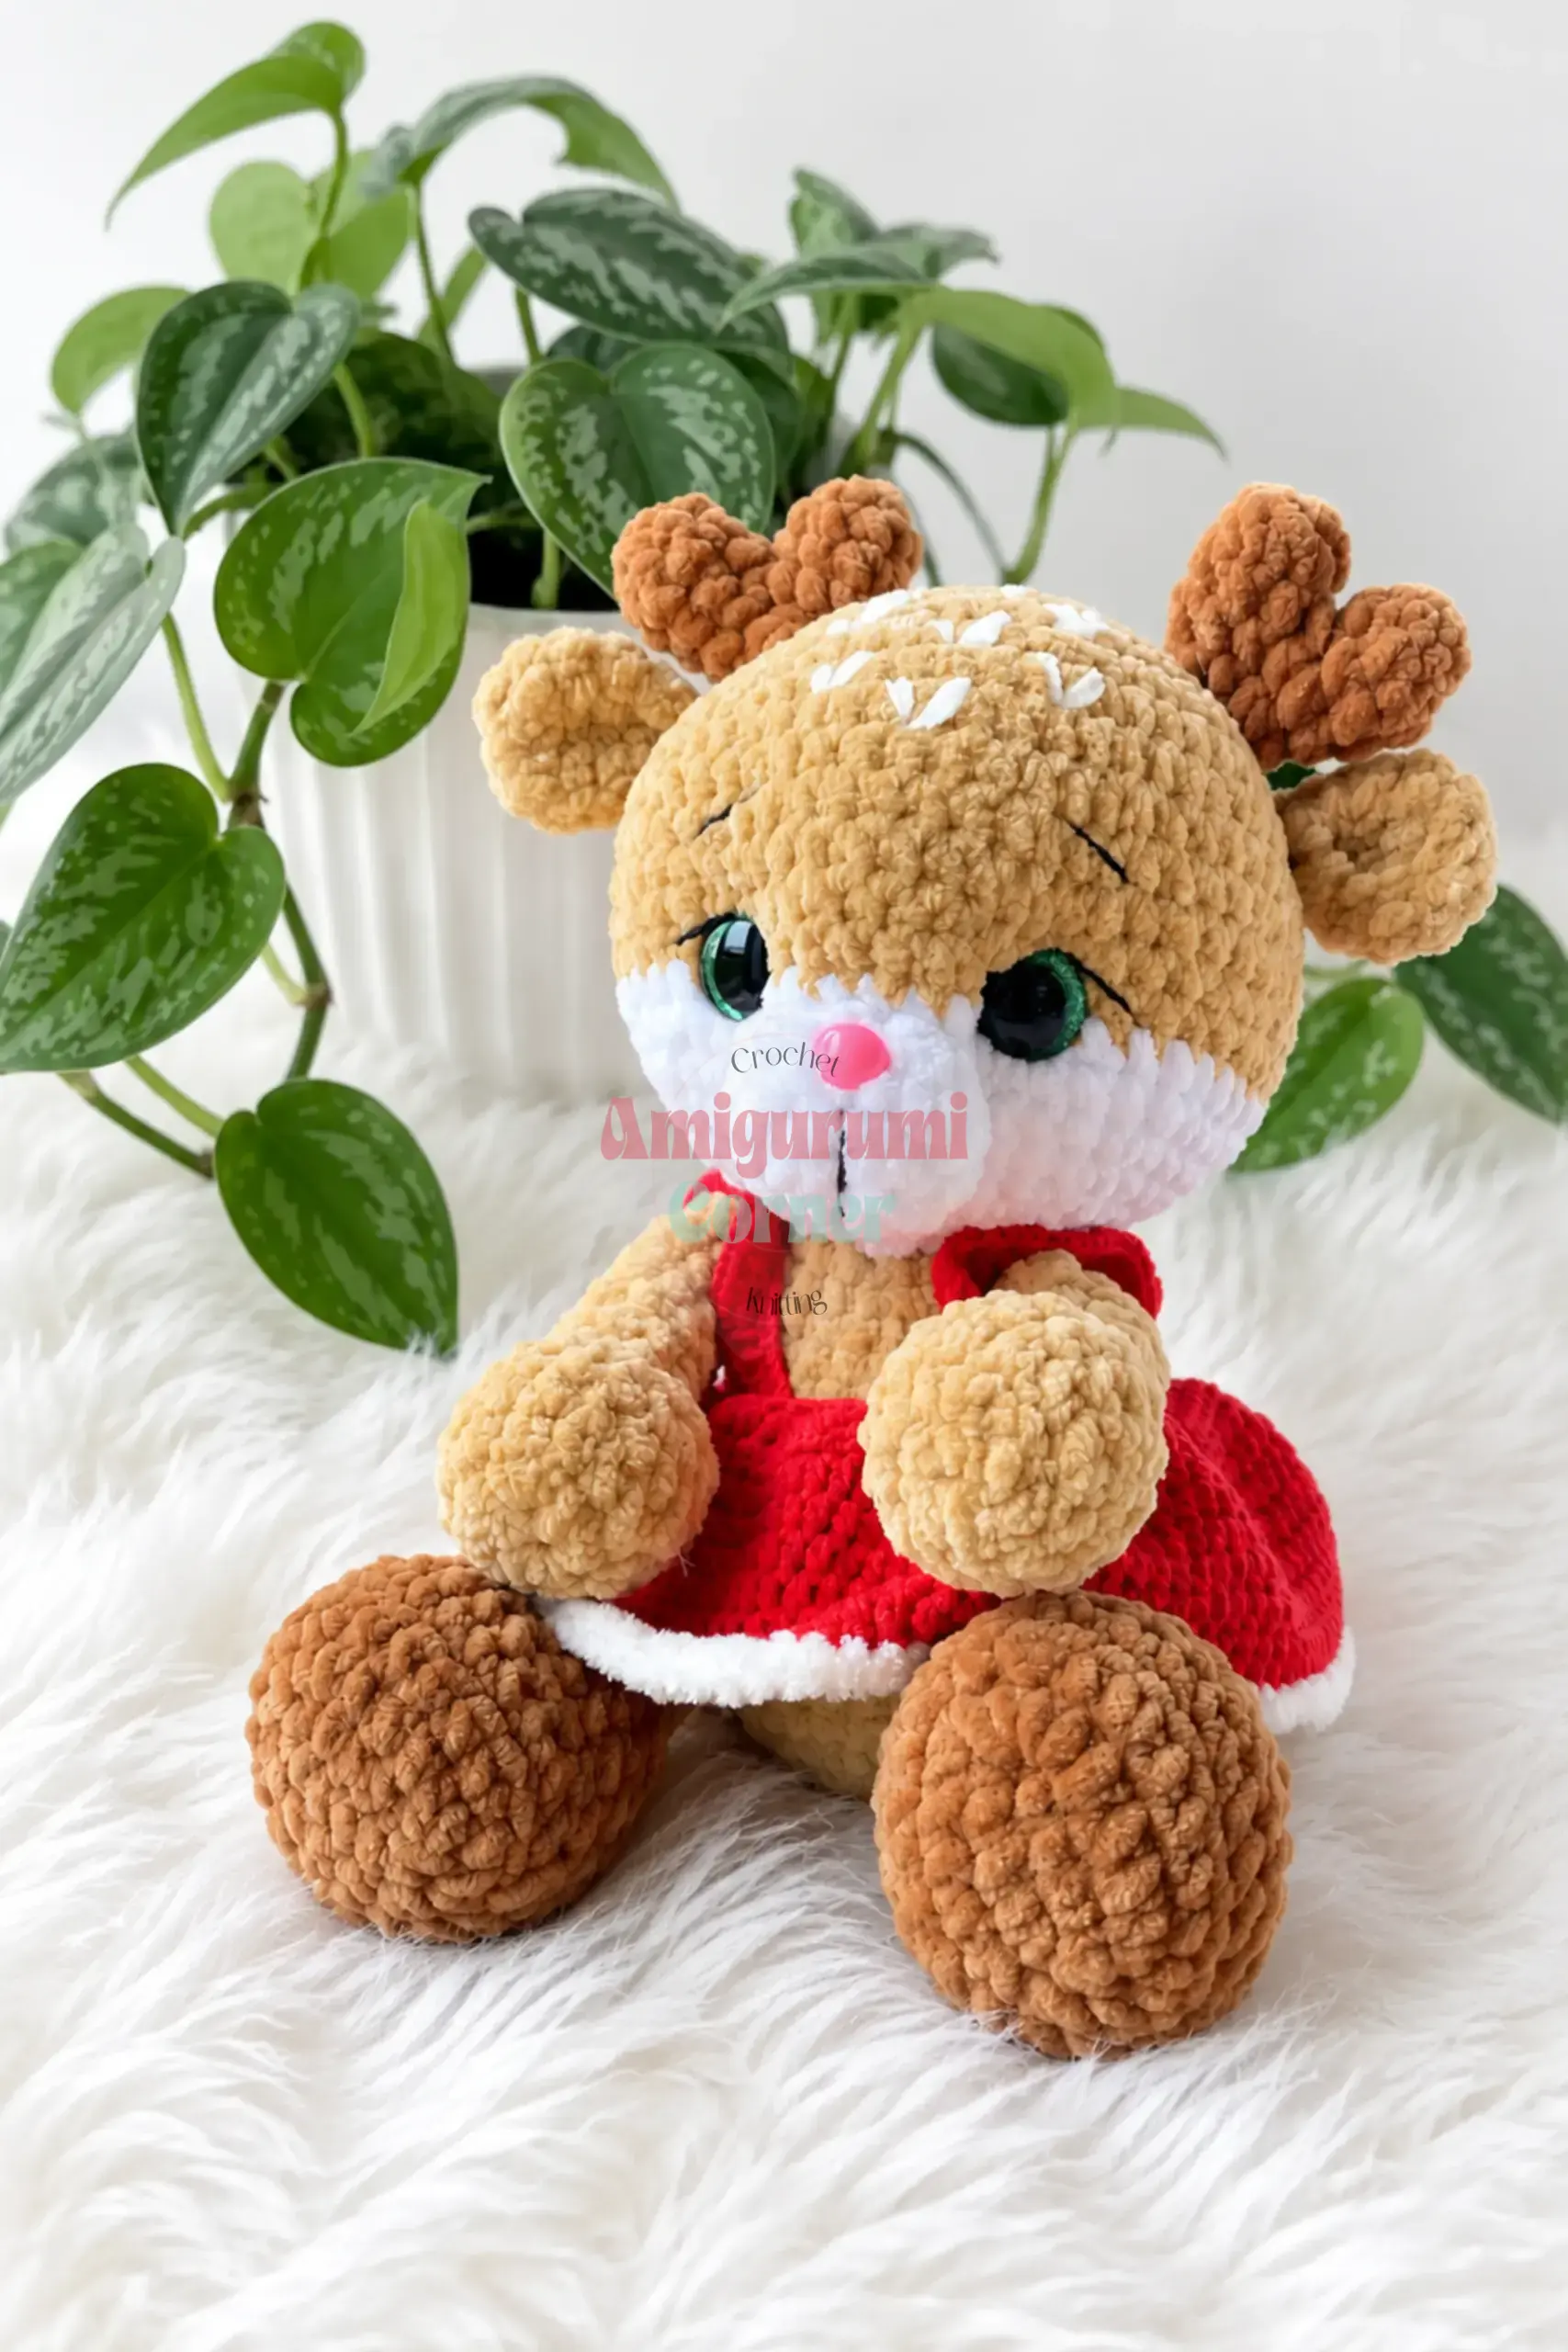
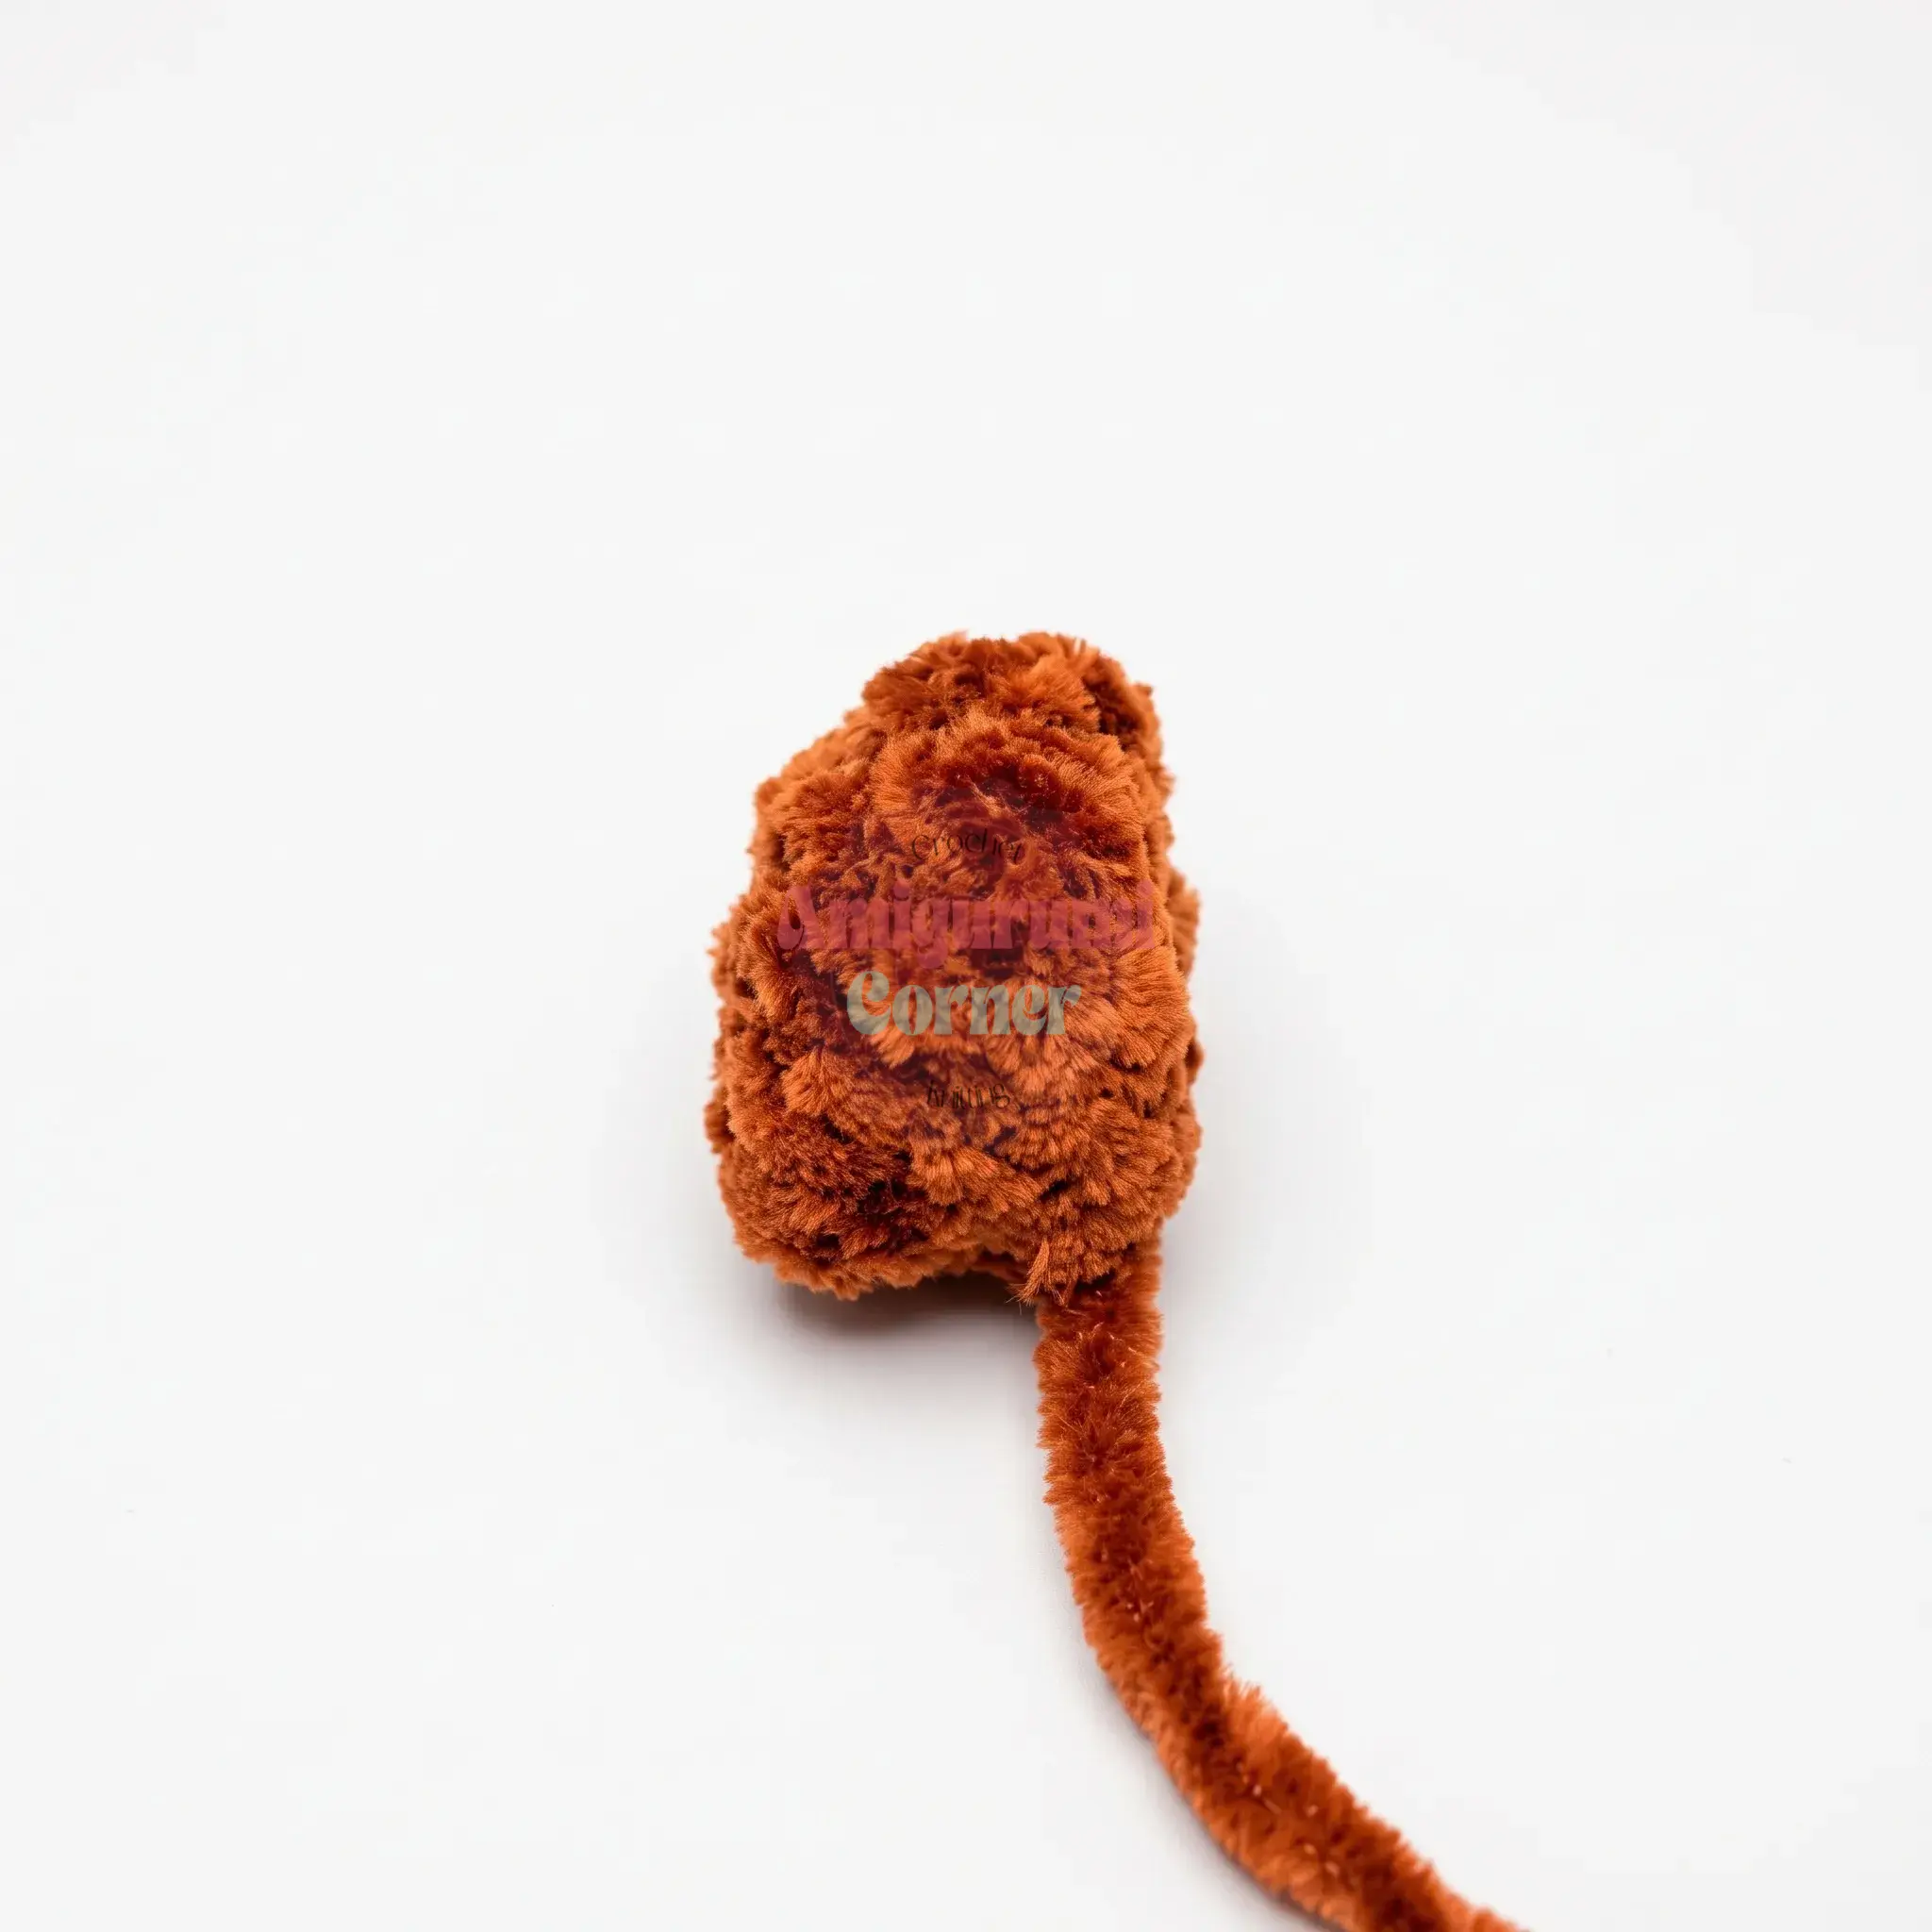
Work in continuous spiral rounds in Brown. Do not stuff this piece.
- Rnd 1: 6 sc in MR. (6)
- Rnd 2: inc around. (12)
- Rnd 3: sc in each st around. (12)
- Final row: Flatten the Tail and, working through both layers together, sc across: 6 sc.
Ears (make 2)
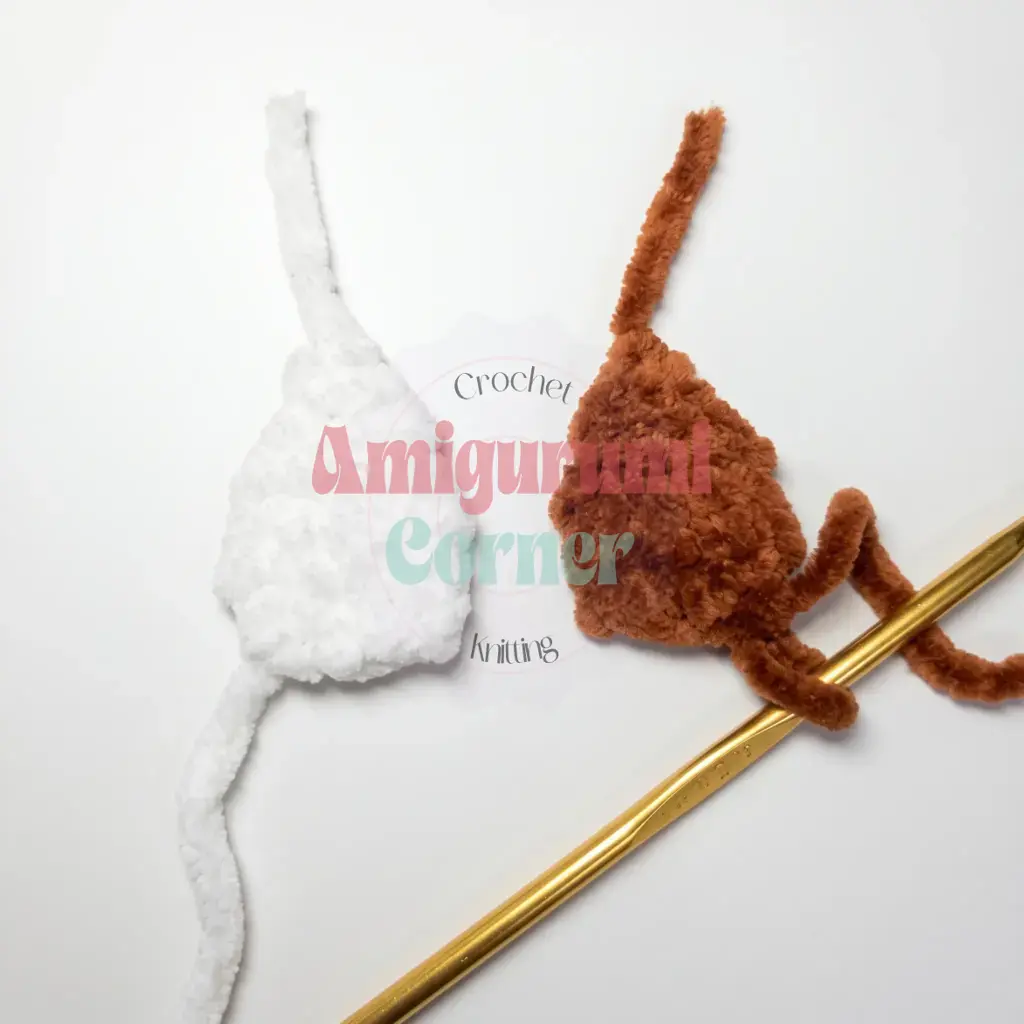
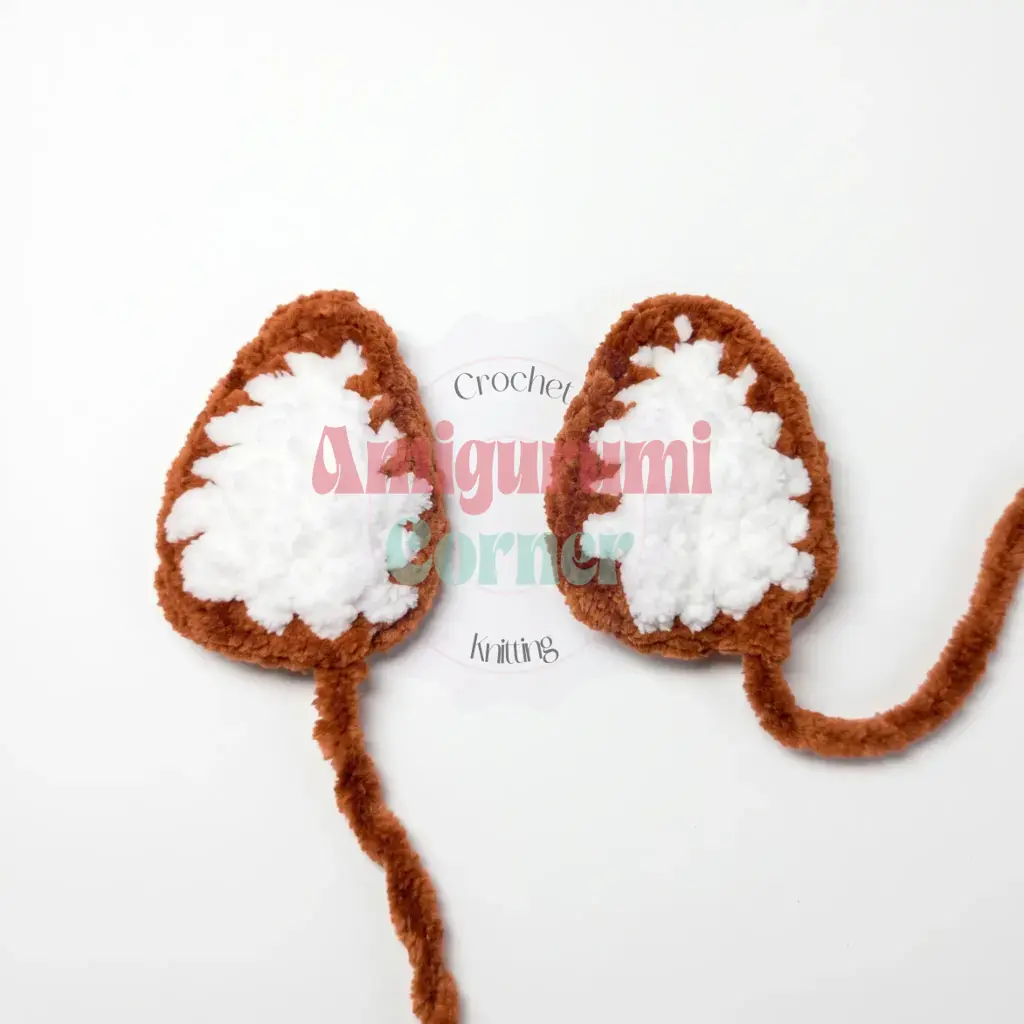
Work in turned rows to make 2 matching pieces per ear — one in White, one in Brown.
- Row 1: 2 sc in MR, ch 1, turn.
- Row 2: 1 sc, inc, ch 1, turn. (3)
- Row 3: 1 sc, inc, 1 sc, ch 1, turn. (4)
- Row 4: 1 sc, inc, 2 sc, ch 1, turn. (5)
- Row 5: sc in each st across, ch 1, turn. (5)
- Row 6: dec, 1 sc, dec. (3). Fasten off the White piece. Do not fasten off the Brown piece.
Assembly of Ear: Hold the White piece against the Brown piece with wrong sides together. Using the Brown yarn still attached, sc evenly around both layers at once, working 3 sc into the top point to turn the corner. Do not stuff. Fasten off, leaving a long tail for sewing. You’ll attach each Ear folded slightly in half.
Nose
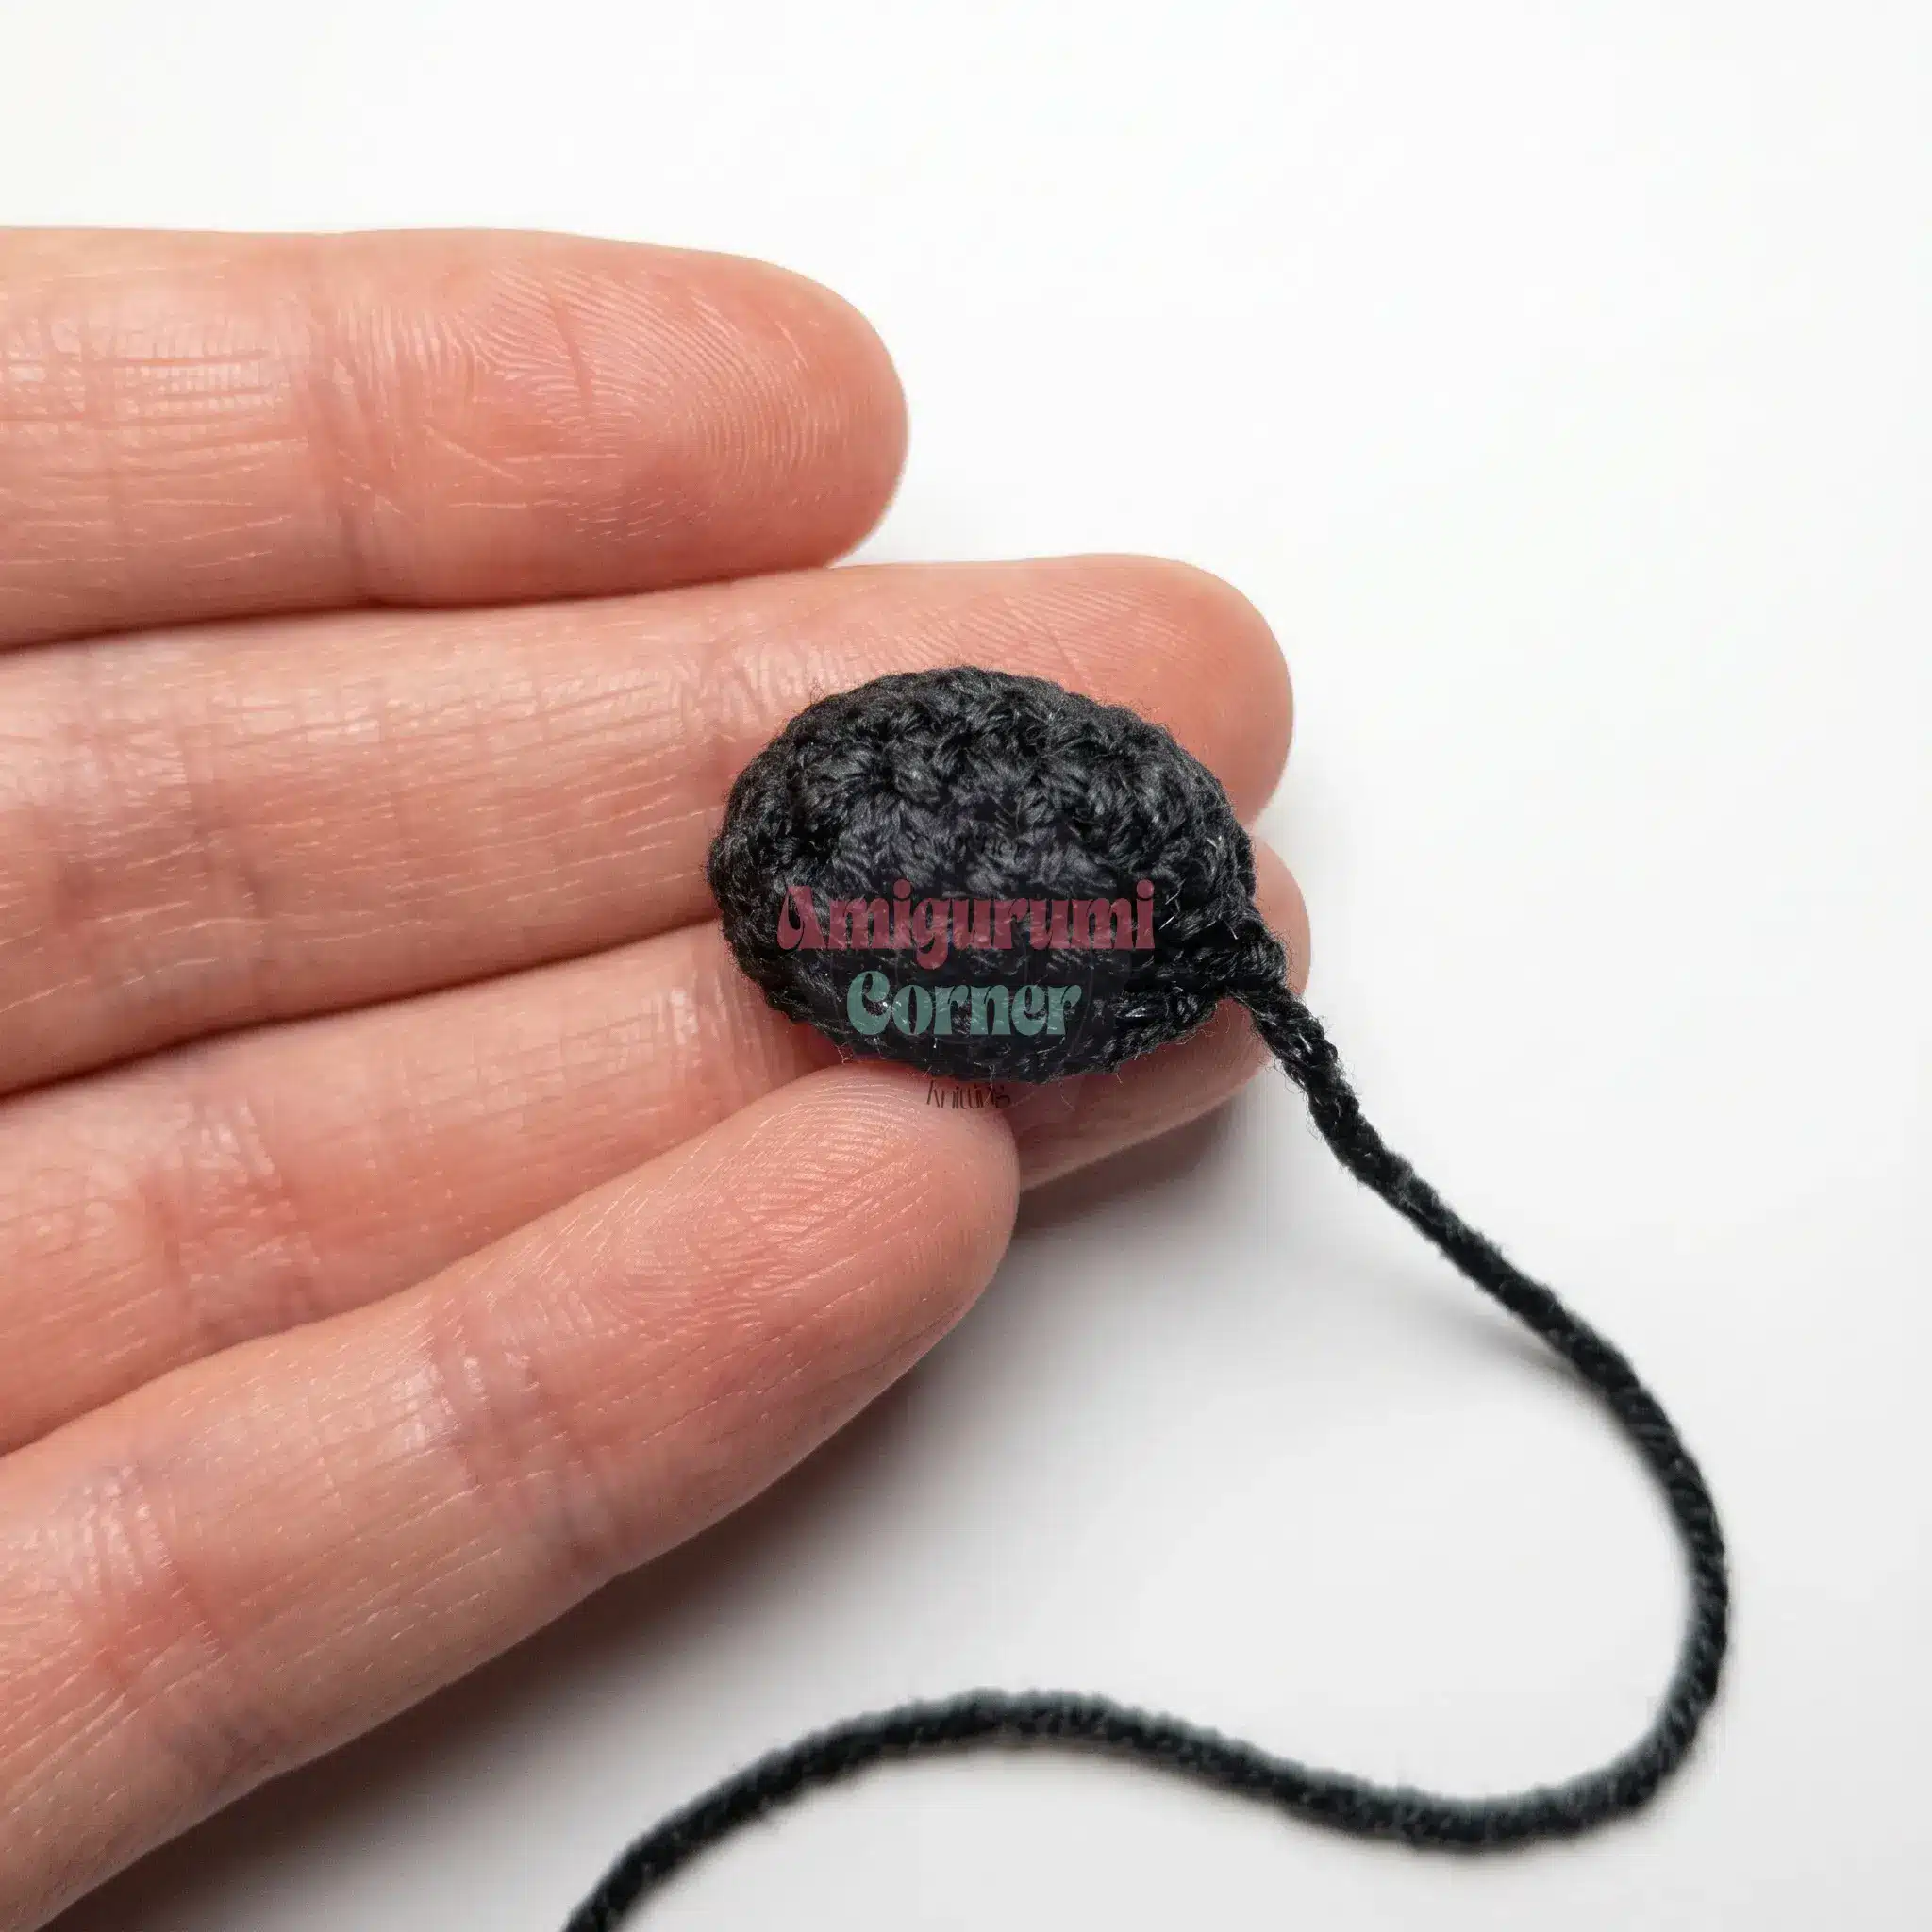
Work in Black cotton-blend yarn. Stuff only once you’re ready to sew it onto the Head.
- Rnd 1: Ch 5. Starting in the 2nd ch from the hook: inc, 2 sc, 3 sc in the last chain; continue along the opposite side of the foundation chain: 3 sc. (10)
- Rnd 2: 2 inc, 2 sc, 3 inc, 2 sc, inc. (16)
- Rnd 3: sc in each st around. (16). Fasten off, leaving a long tail for sewing.
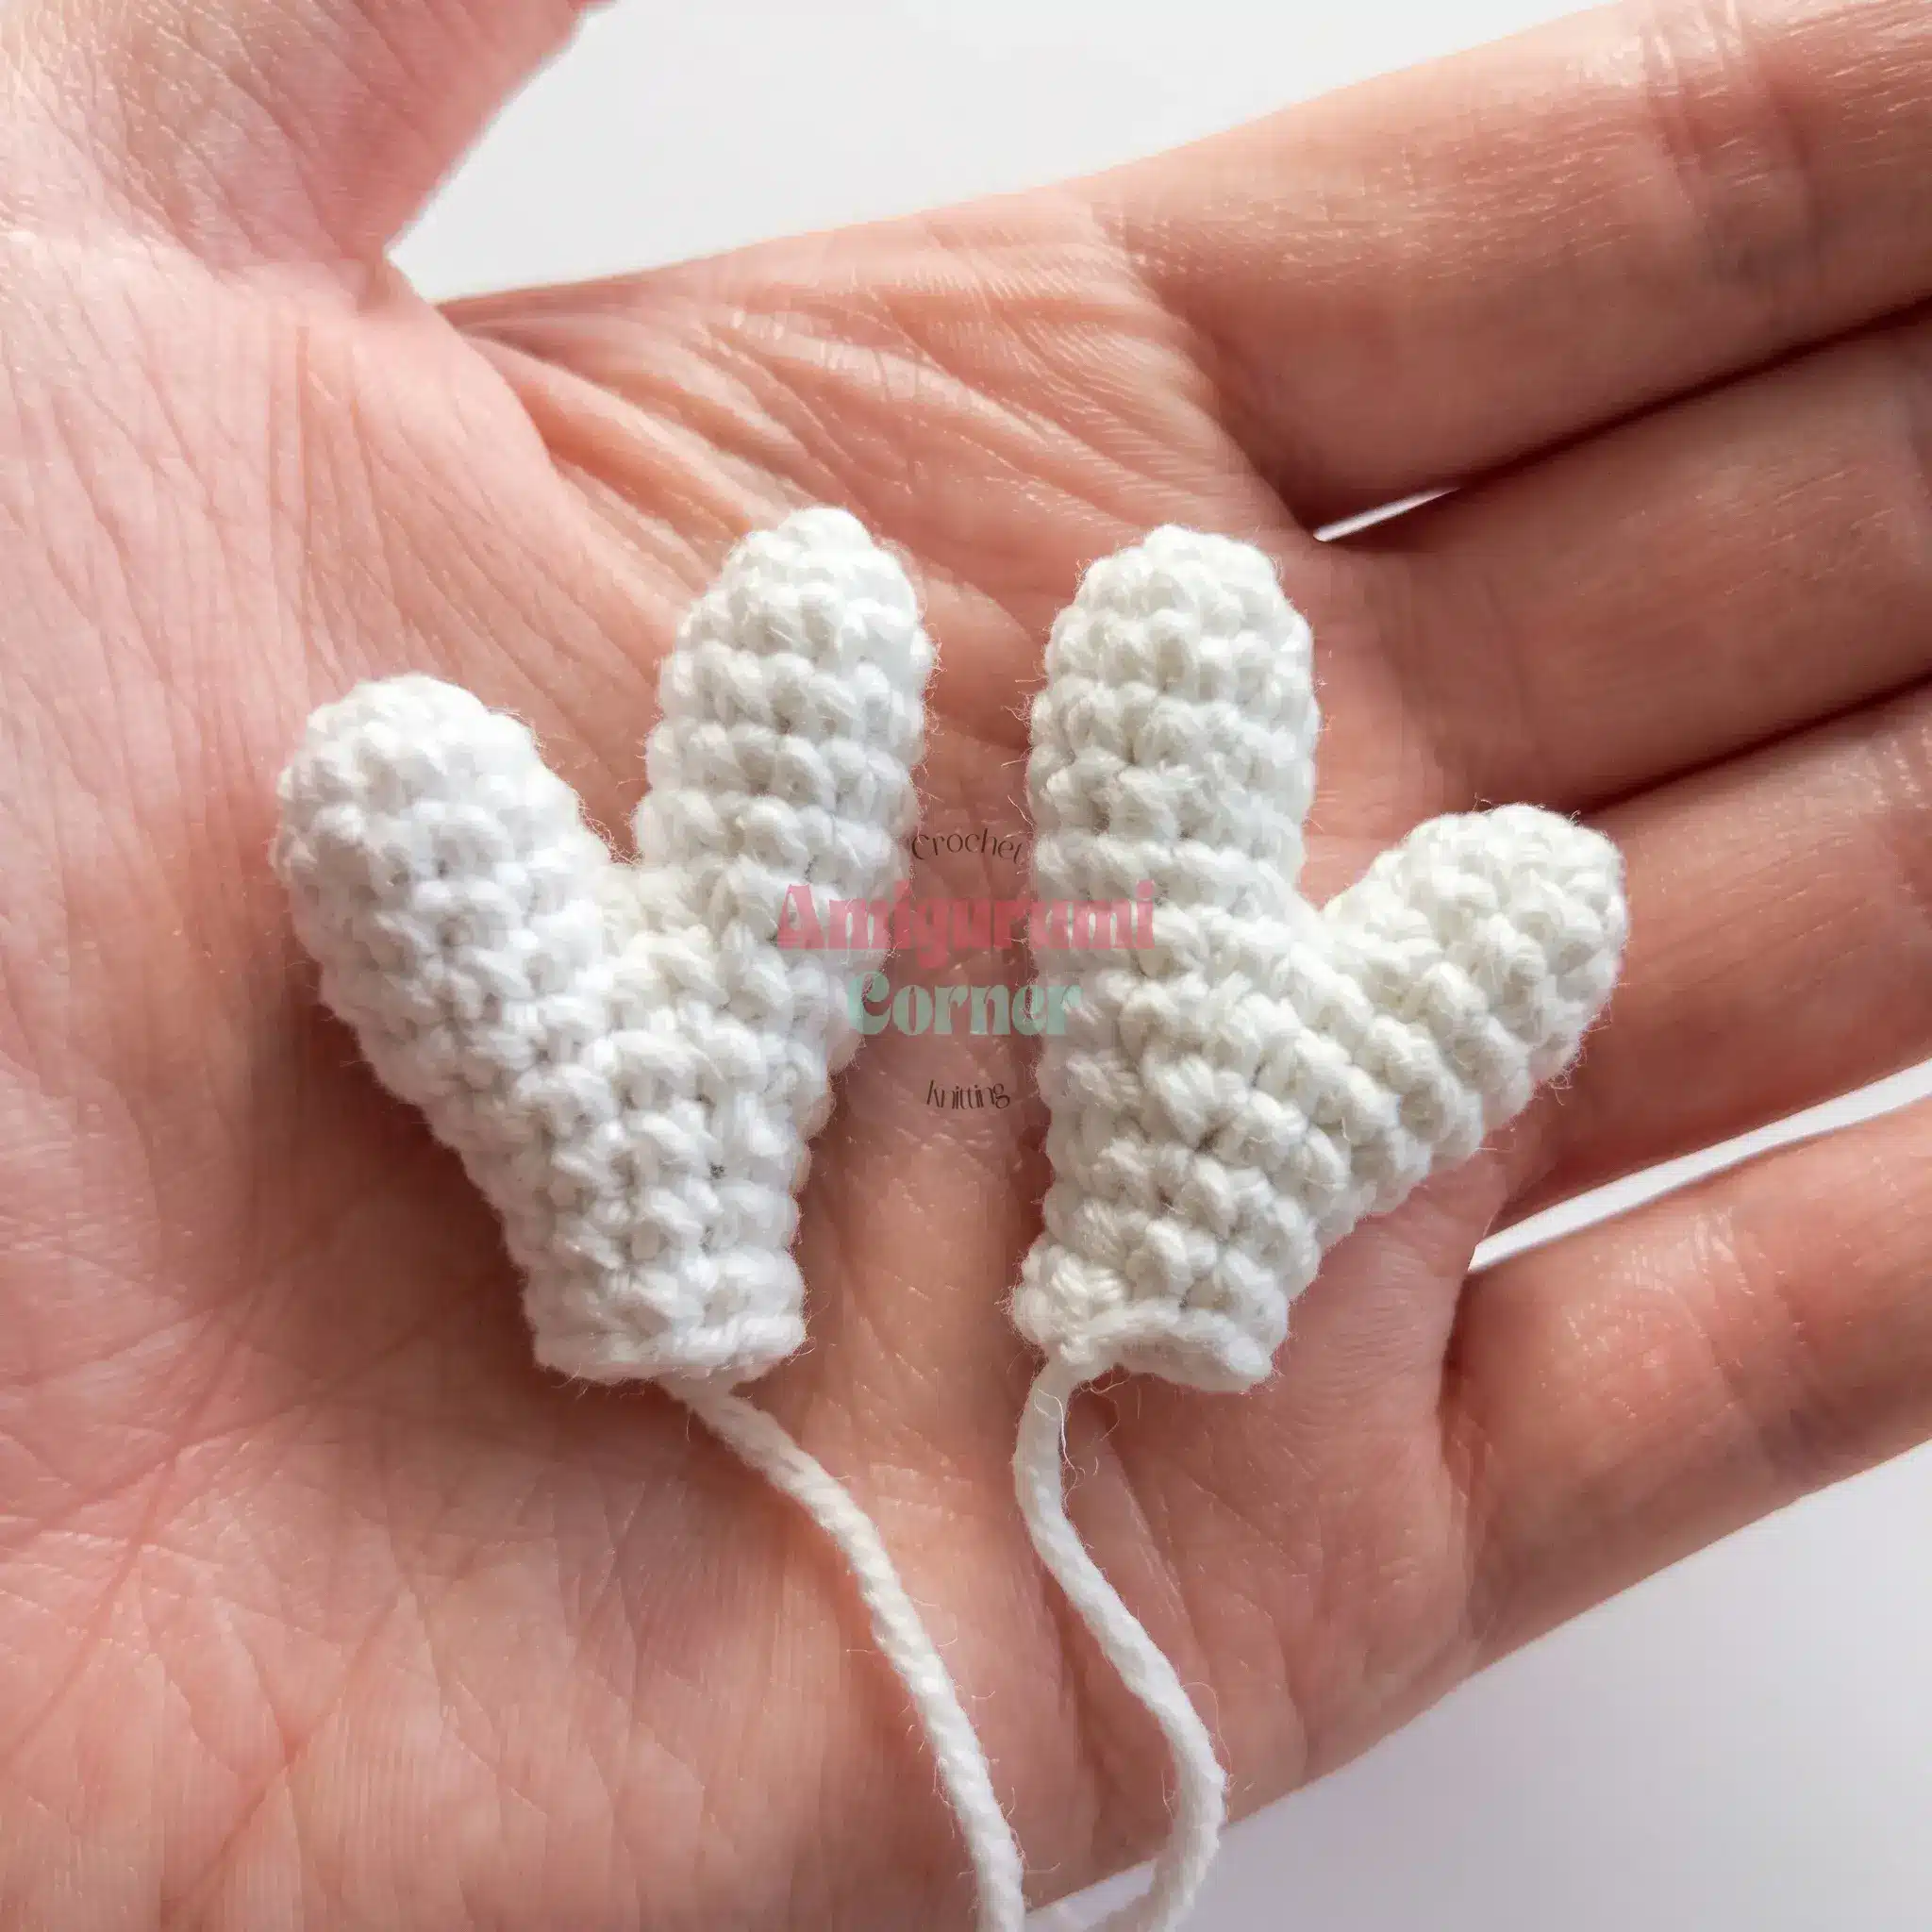
Antlers (make 2)
Work in White cotton-blend yarn in continuous spiral rounds. Stuff as you go. Each Antler is built from two pieces — fasten off Piece 1, but leave Piece 2’s yarn attached.
Piece 1:
- Rnd 1: 6 sc in MR. (6)
- Rnd 2: inc, 1 sc repeat 3 times around. (9)
- Rnds 3–4: sc in each st around. (9). Fasten off.
Piece 2:
- Rnd 1: 6 sc in MR. (6)
- Rnd 2: inc, 1 sc repeat 3 times around. (9)
- Rnds 3–6: sc in each st around. (9)
- Rnd 7: Join Piece 1 to Piece 2 and work 9 sc across Piece 1, then 9 sc across Piece 2. (18)
- Rnd 8: 4 sc, dec repeat 3 times around. (15)
- Rnd 9: 3 sc, dec repeat 3 times around. (12)
- Rnd 10: 2 sc, dec repeat 3 times around. (9)
- Rnds 11–12: sc in each st around. (9). Fasten off, leaving a long tail for sewing.
Sweater Collar
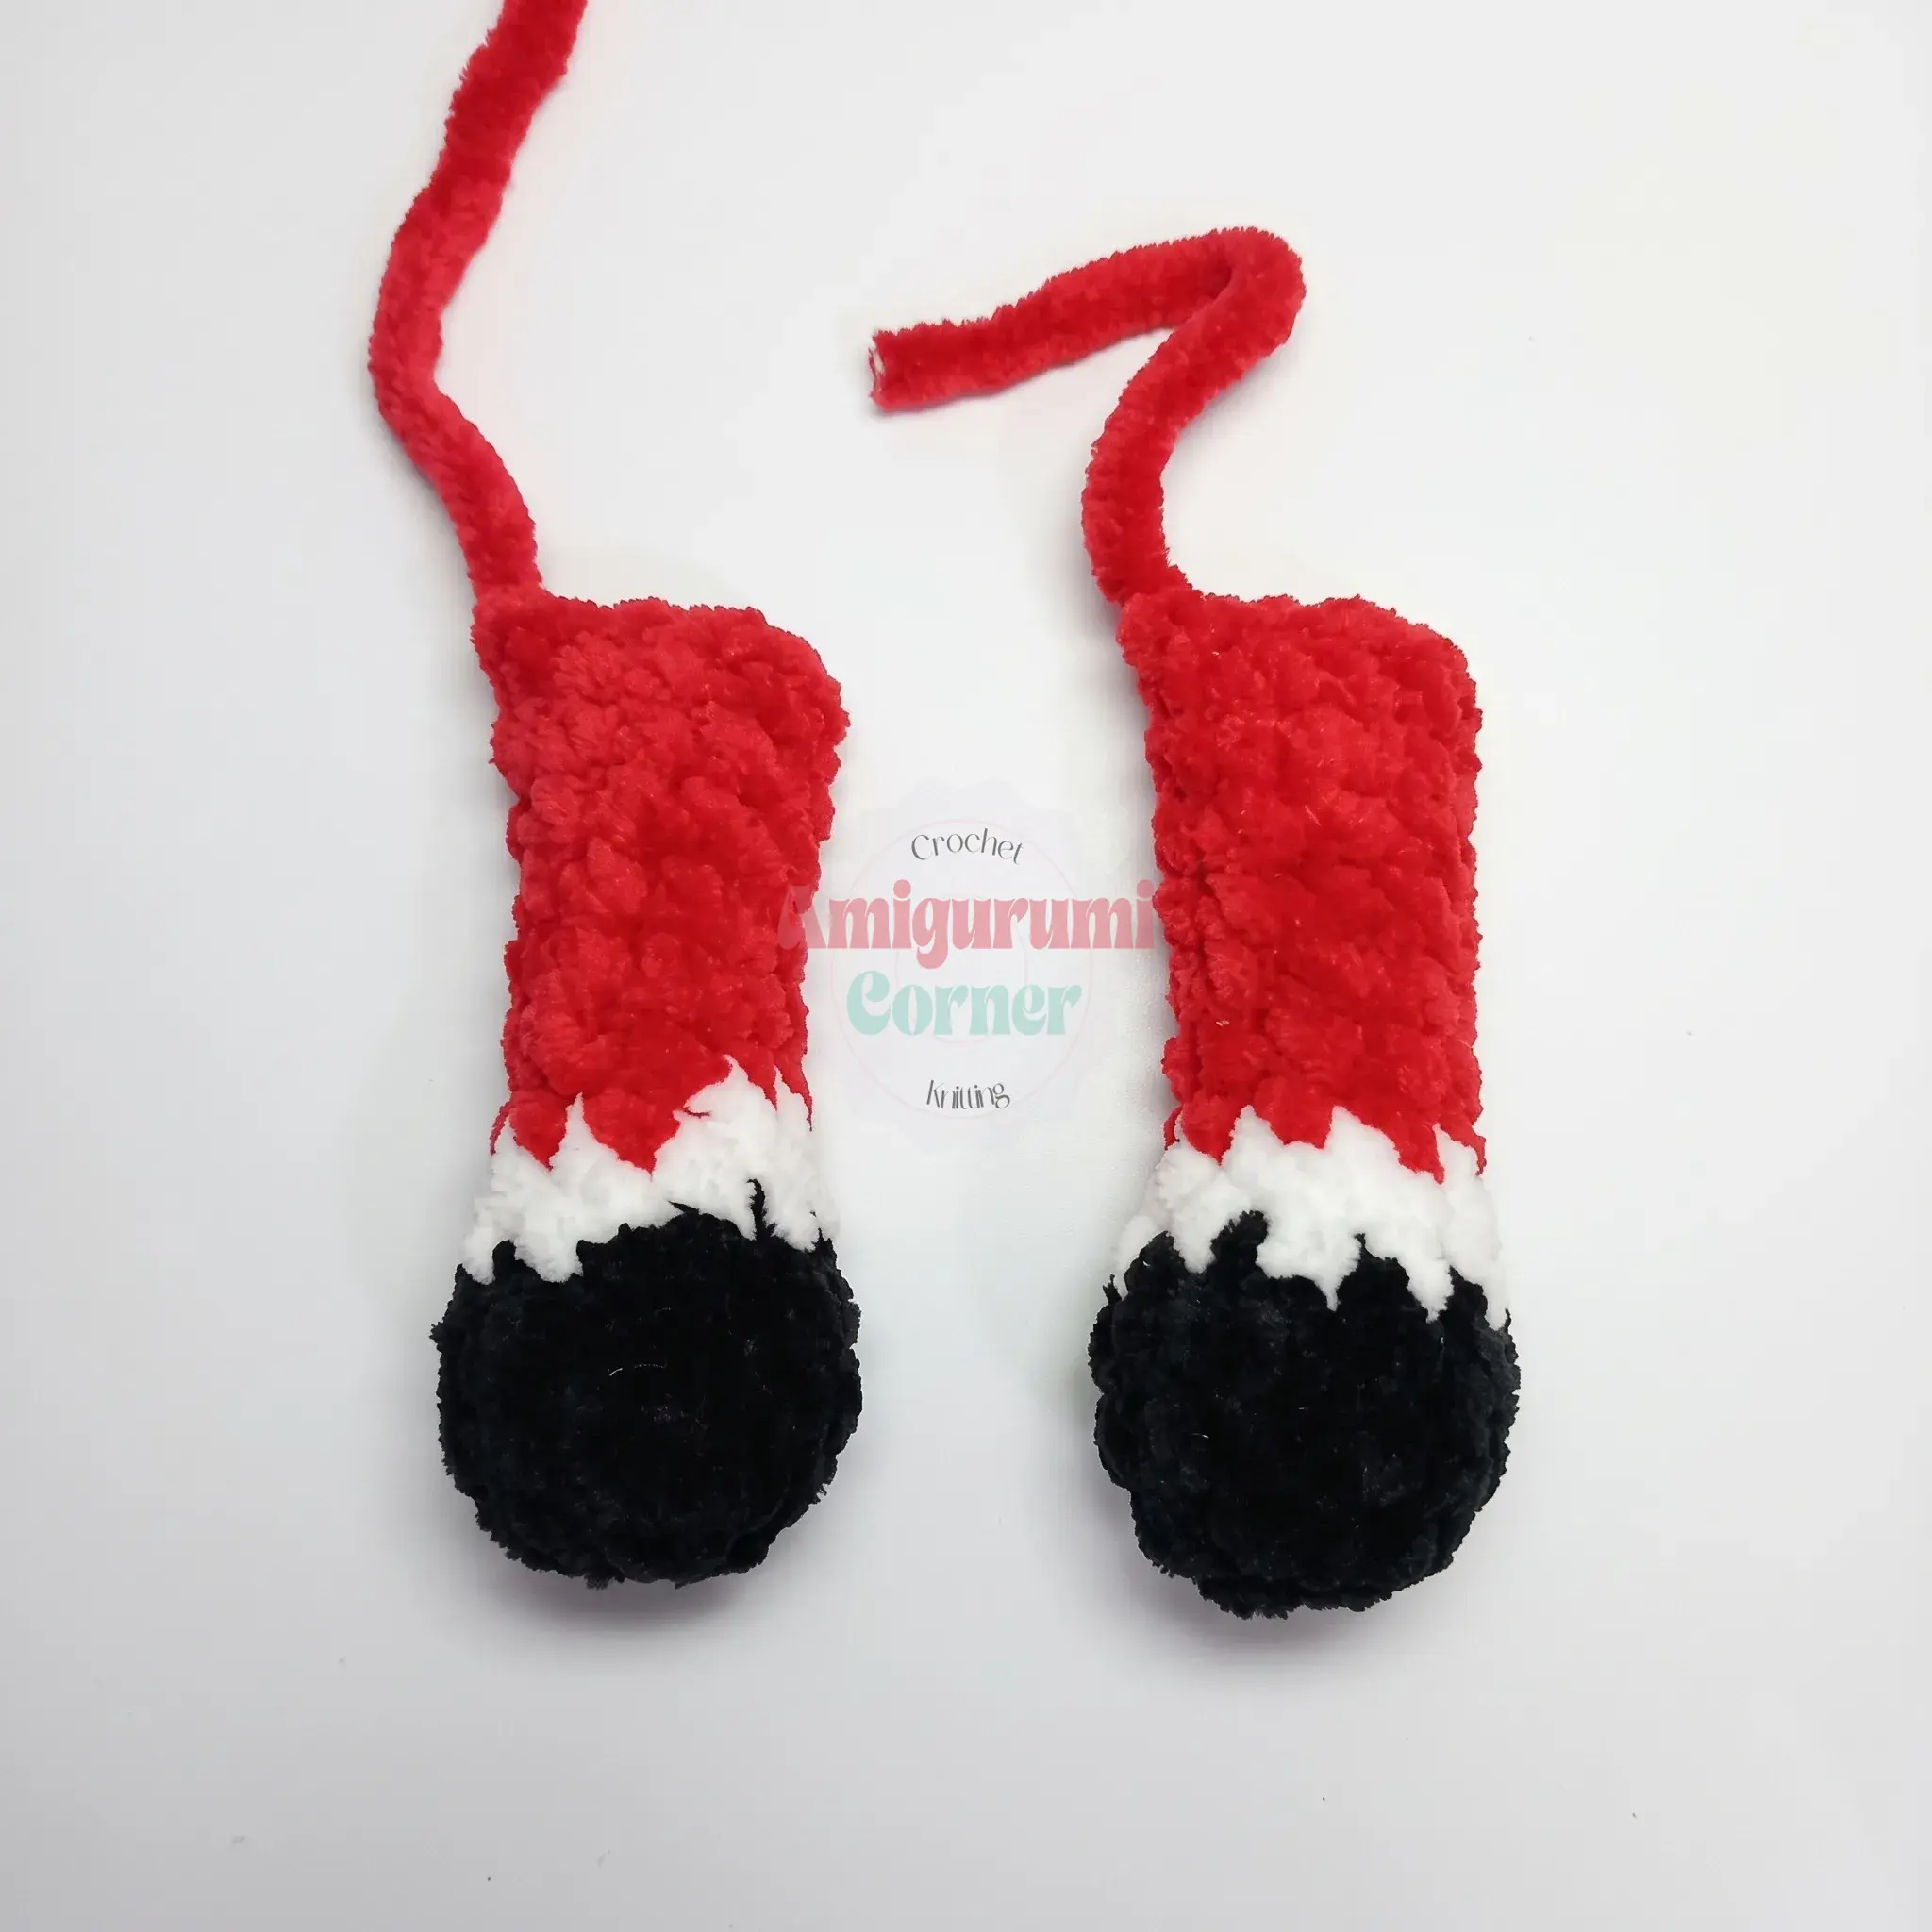
Work in turned rows. Begin in Red.
- Row 1: Ch 9. Starting in the 2nd ch from the hook: 8 sc, ch 1, turn. (8)
- Row 2: ch 1, 8 sc. (8). Join White.
- Rows 3–4: ch 1, 8 sc in White. (2 rows)
- Rows 5–6: ch 1, 8 sc in Red. (2 rows)
- Rows 7–8: ch 1, 8 sc in White. (2 rows)
- Rows 9–10: ch 1, 8 sc in Red. (2 rows)
- Rows 11–12: ch 1, 8 sc in White. (2 rows)
- Rows 13–14: ch 1, 8 sc in Red. (2 rows)
- Rows 15–16: ch 1, 8 sc in White. (2 rows)
- Rows 17–18: ch 1, 8 sc in Red. (2 rows)
- Rows 19–20: ch 1, 8 sc in White. (2 rows)
- Rows 21–22: ch 1, 8 sc in Red. (2 rows). Fasten off Red.
- Rows 23–24: ch 1, 8 sc in White. (2 rows). Fasten off, leaving a long tail for sewing the Collar on later.
Weave in all the short color-change ends inside the stripes now, so they’re tucked away before assembly.
Assembly
- Sew the Nose onto the Head, centered between Rnds 1 and 3 of the Head.
- Sew the Antlers onto the Head at Rnds 9–10, spacing them 3–4 stitches apart at the base.
- Sew the Ears onto the Head at Rnds 9–10, positioning each one 1 stitch out from an Antler.
- Using sturdy thread, sew the Head securely to the top of the Body.
- Sew the Tail to the back of the Body, right at the base of the sweater section.
- Embroider short eyelashes and eyebrows above the safety eyes to finish the face.
- Wrap the Collar around the neck with the wrong side facing out, and sew the short ends together at the back.
- Fold the Collar in half, flipping the top edge down, then tack the folded Collar to the Body at the back so it stays in place and won’t spin around the neck.
- Weave in any remaining yarn ends.
Tips
- Invisible Decrease: Getting a really tidy Head takes a little patience with the invisible decrease. Work each dec by inserting your hook into the front loops of the next two stitches only, then pulling through both at once before completing the stitch as a regular sc. This keeps the closing rounds smooth instead of leaving little peaks.
- Stuffing: Stuff firmly but don’t overstuff, especially through the Head and Body. You want the piece to hold its shape and feel dense to the touch, but if the stitches are visibly stretching apart, ease off. Add stuffing in small pinches as you go rather than trying to cram it all in at the end.
- Color Changes: The color-change round on the Head (Rnds 3–4) is the trickiest part. Carry the color you’re not using loosely inside the stitches as you work, and don’t pull it tight. This keeps your tension even and avoids puckering where the colors meet.
- Yarn Substitution: If you swap the plush yarn for a different brand, look for something in a similar bulky weight with a soft, brushed texture. A smoother yarn will still work, but the fawn will look less “furry” and stitch definition will show more, so you may want to size down your hook slightly for a tighter fabric.
- Marker Shifting: When you shift the round marker to the center back on the Body, don’t count that extra offset stitch in your total. It’s just there to keep your increases and decreases stacking neatly in a vertical line rather than spiraling around the piece.
- Finishing: Sew the Ears and Antlers on with the yarn tail left from finishing each piece, and always work from the wrong side or tuck your knot into the seam so nothing shows on the finished fawn.
FAQs
Can I use a different yarn weight?
While the pattern is designed for bulky velvet/chenille yarn, you can use other bulky weights. However, keep in mind that smoother yarns will show more stitch definition and may require a smaller hook to maintain a tight gauge.
How do I prevent the sweater collar from spinning?
The pattern includes a specific assembly step where you fold the collar in half and tack the folded edge to the body at the back. This anchors the collar and prevents it from rotating around the neck.
What size safety eyes should I use?
The pattern recommends 12 mm or 14 mm safety eyes. Choose the size that best fits the scale of your head and your personal preference for the fawn’s expression.
Do I need to join rounds for the body parts?
No, the Head, Arms, Legs, Body, Tail, Nose, and Antlers are all worked in continuous spiral rounds. Do not join or chain between rounds unless specified.
How do I shape the muzzle?
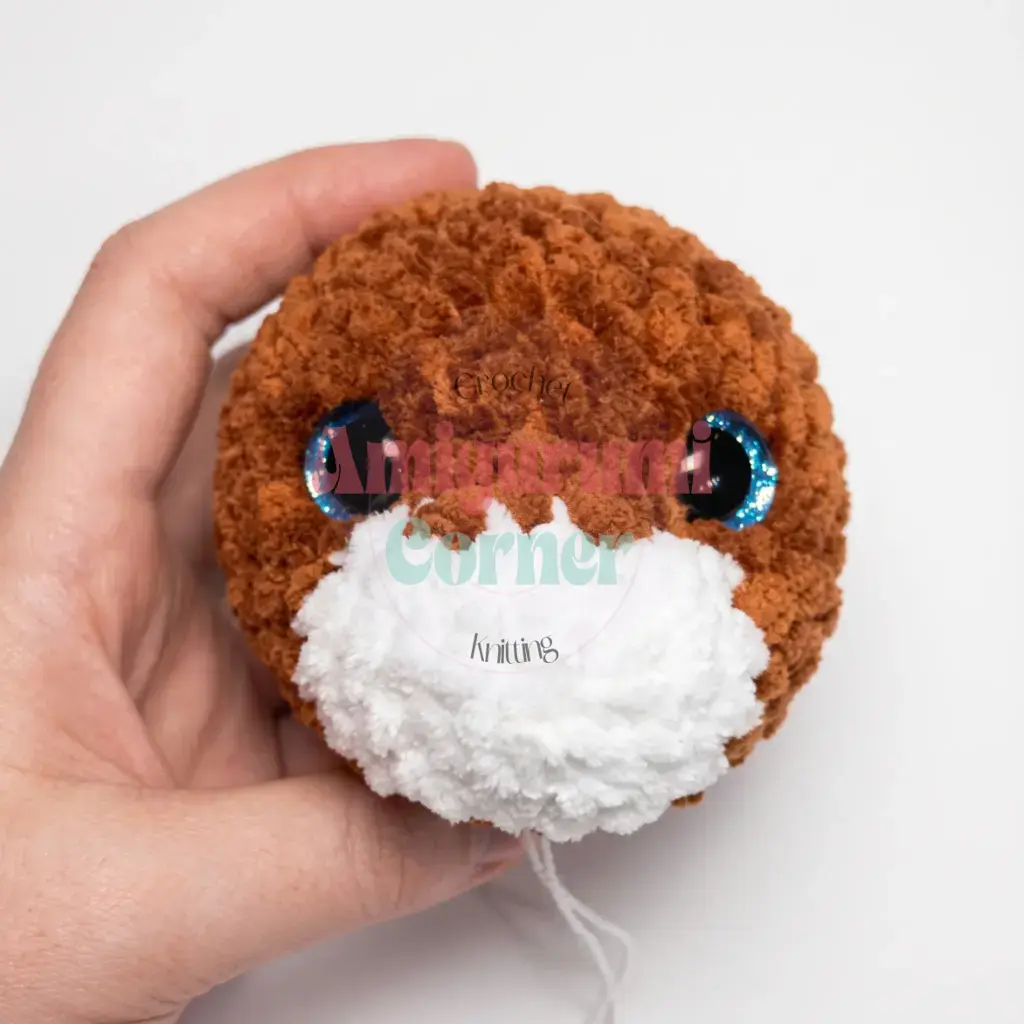
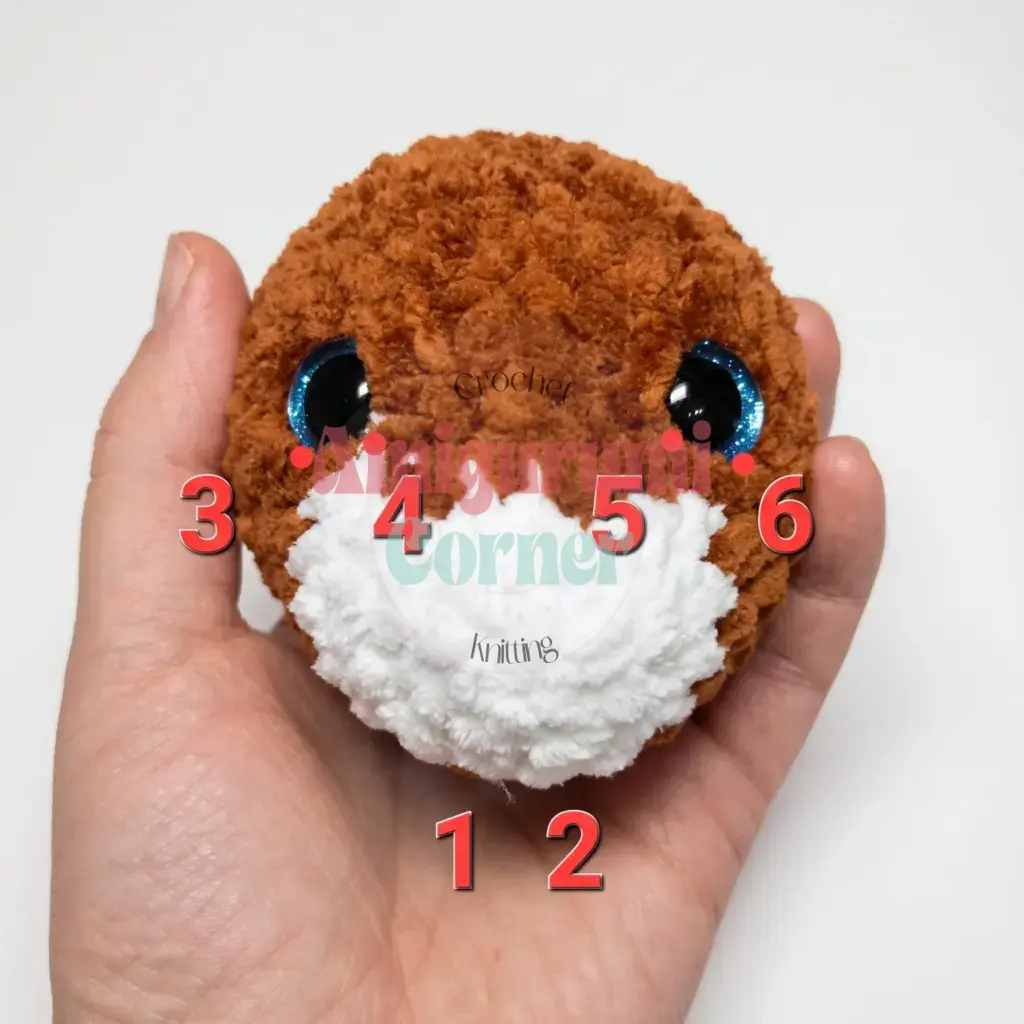
Use sturdy sewing thread to stitch through specific points between Rnds 7 and 8 on the head. Pulling gently creates a soft indent that defines the muzzle area.
Pin This Crochet Pattern!