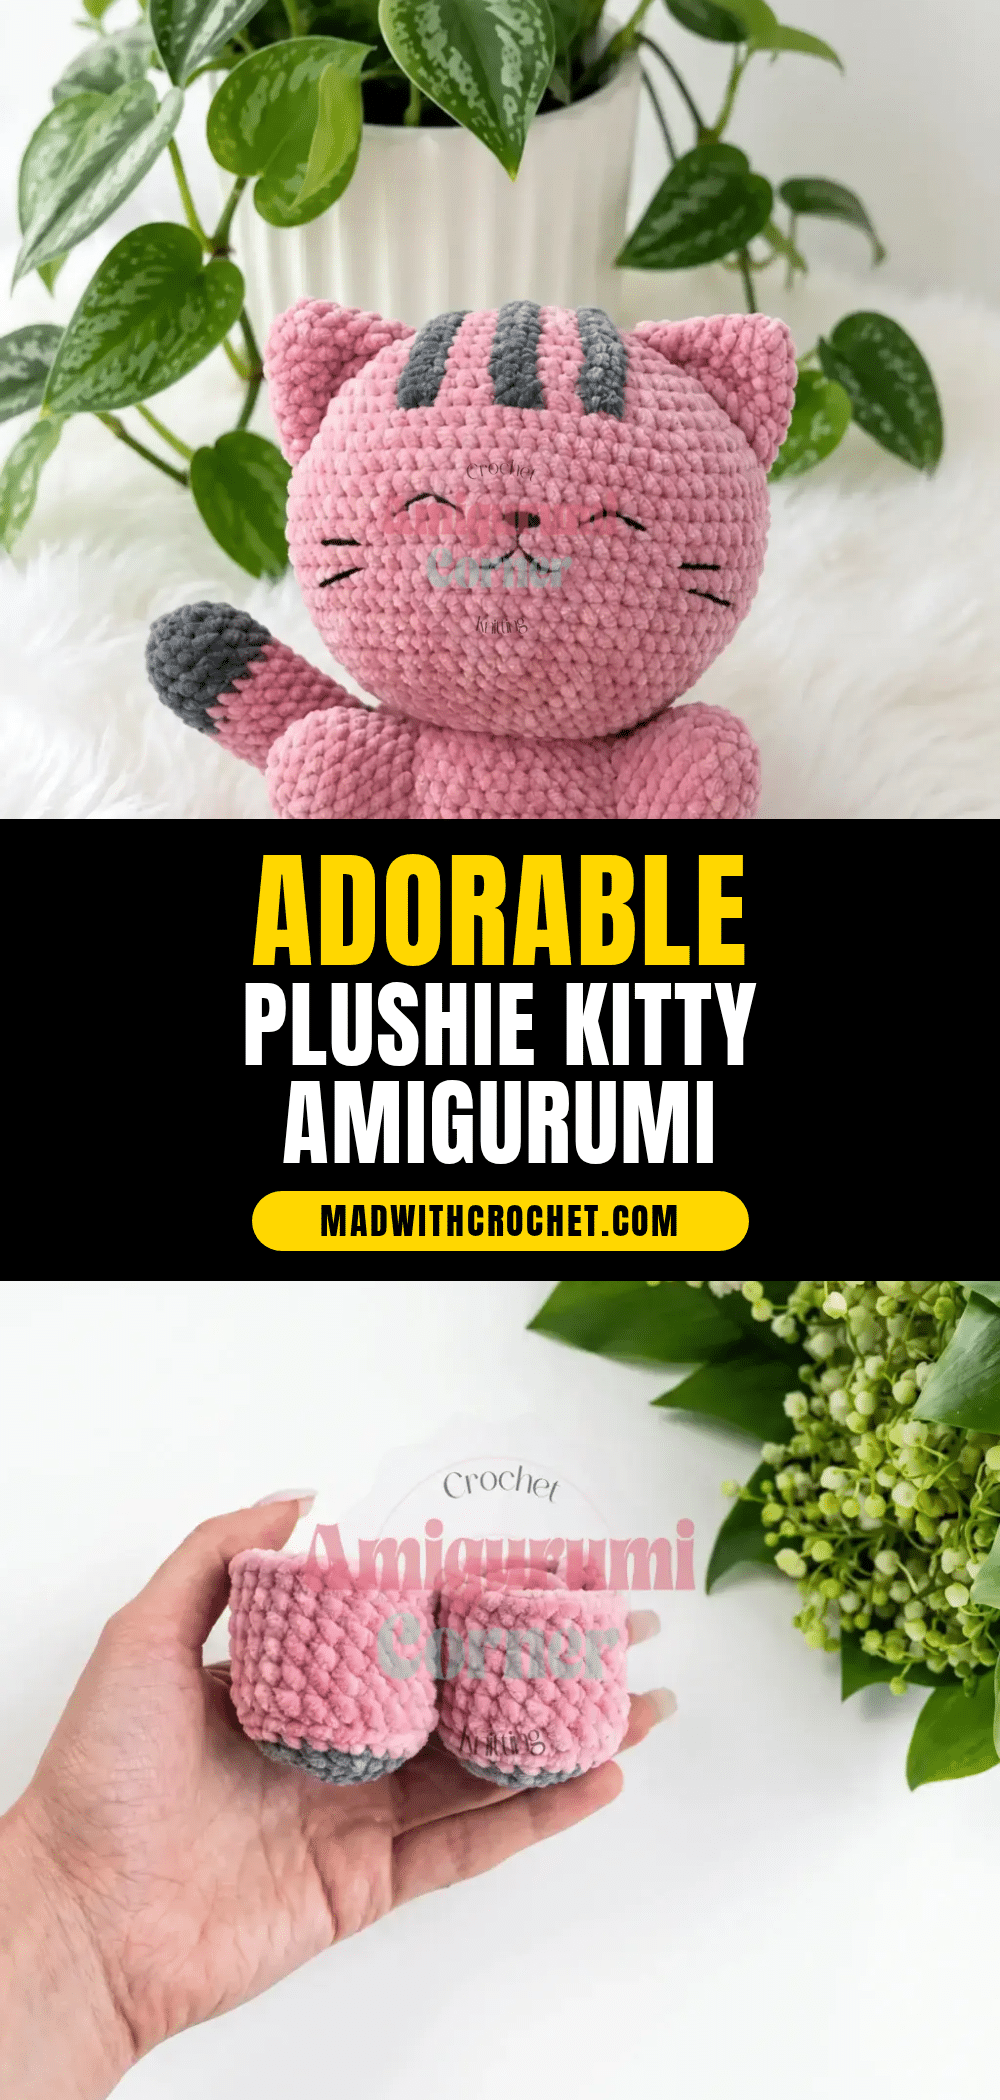
Picture a small pink cat with softly striped ears, tucked into the crook of an elbow at bedtime. That’s the character behind this Plushie Kitty amigurumi pattern a rounded, sweet-faced cat worked in dusty rose plush yarn with gray tabby stripes across its ears and tail. This is an intermediate-friendly amigurumi crochet pattern: nothing exotic in the stitch work, but the head shaping and the striped tail reward a maker who’s comfortable following a long stitch count. You’ll build the kitty from seven separate pieces, then bring it all together with simple sewing. If you’ve made an amigurumi before, this pattern will feel familiar and satisfying. If it’s your first, the instructions below spell out every single round so you’re never guessing. Let’s get your hook moving.
Our Touch: Why This Project Works
The real magic of this pattern lies in the textural contrast between the plush velvet yarn and the crisp, flat stripes. Using a soft worsted-weight yarn like YarnArt Dolche gives the kitty a luxurious, huggable quality that is perfect for bedtime companions. The design calls for a specific color change strategy on the tail and stripes, which adds a professional, custom-made look without requiring complex colorwork techniques. The inclusion of the back loop only (BLO) rounds on the body and legs creates a subtle, defined ridge that helps the limbs attach seamlessly, preventing that “blobby” look often seen in beginner amigurumi. It is a project that feels substantial and rewarding to make, offering a great balance of shaping challenges and simple assembly.
Project Overview
This pattern creates a plush, tabby-style kitty amigurumi. The project is worked in continuous spiral rounds for the main body parts, with flat pieces for the stripes. The finished piece features a large, rounded head, a sturdy body, and a distinctively striped tail. The pattern is designed to be intermediate-friendly, focusing on precise shaping and clean assembly.
Materials
- Plush/velvet yarn, worsted weight (such as YarnArt Dolche) approximately 1.5 skeins in your main color (dusty rose shown)
- A small amount of the same yarn in a contrast color (gray shown) for the ears, tail stripes, and back stripes
- Crochet hook, US D-3 (3 mm)
- Polyester fiberfill stuffing
- Stitch marker
- Yarn/tapestry needle
- Black embroidery floss or thin black yarn, for the embroidered face
- Scissors
Gauge and Finished Size
Gauge isn’t critical here just work at a tension tight enough that stuffing doesn’t peek through your stitches. The pattern does not specify a final measurement, but the stitch counts provided will yield a standard plushie size suitable for cuddling.
Abbreviations
- ch — Chain
- dec — Decrease (invisible decrease)
- inc — Increase (2 sc in same stitch)
- MR — Magic Ring
- sc — Single Crochet
- st(s) — Stitch(es)
- BLO — Back Loop Only
Pattern Notes
- This pattern is written in US crochet terminology.
- The body, head, legs, and arms are worked in continuous spiral rounds do not join or turn unless a step says otherwise.
- The 3-increase used to shape the head’s first round means working 3 sc into a single stitch; it’s noted inline where it appears.
- Rounds 4 and 5 of the body and legs are worked in the back loop only (BLO) this creates a visible ridge that helps define where the head and feet will later be sewn or shaped.
- The tail and stripe pieces switch between your main and contrast colors partway through read each color note before you start that section.
Pattern Instructions
Body
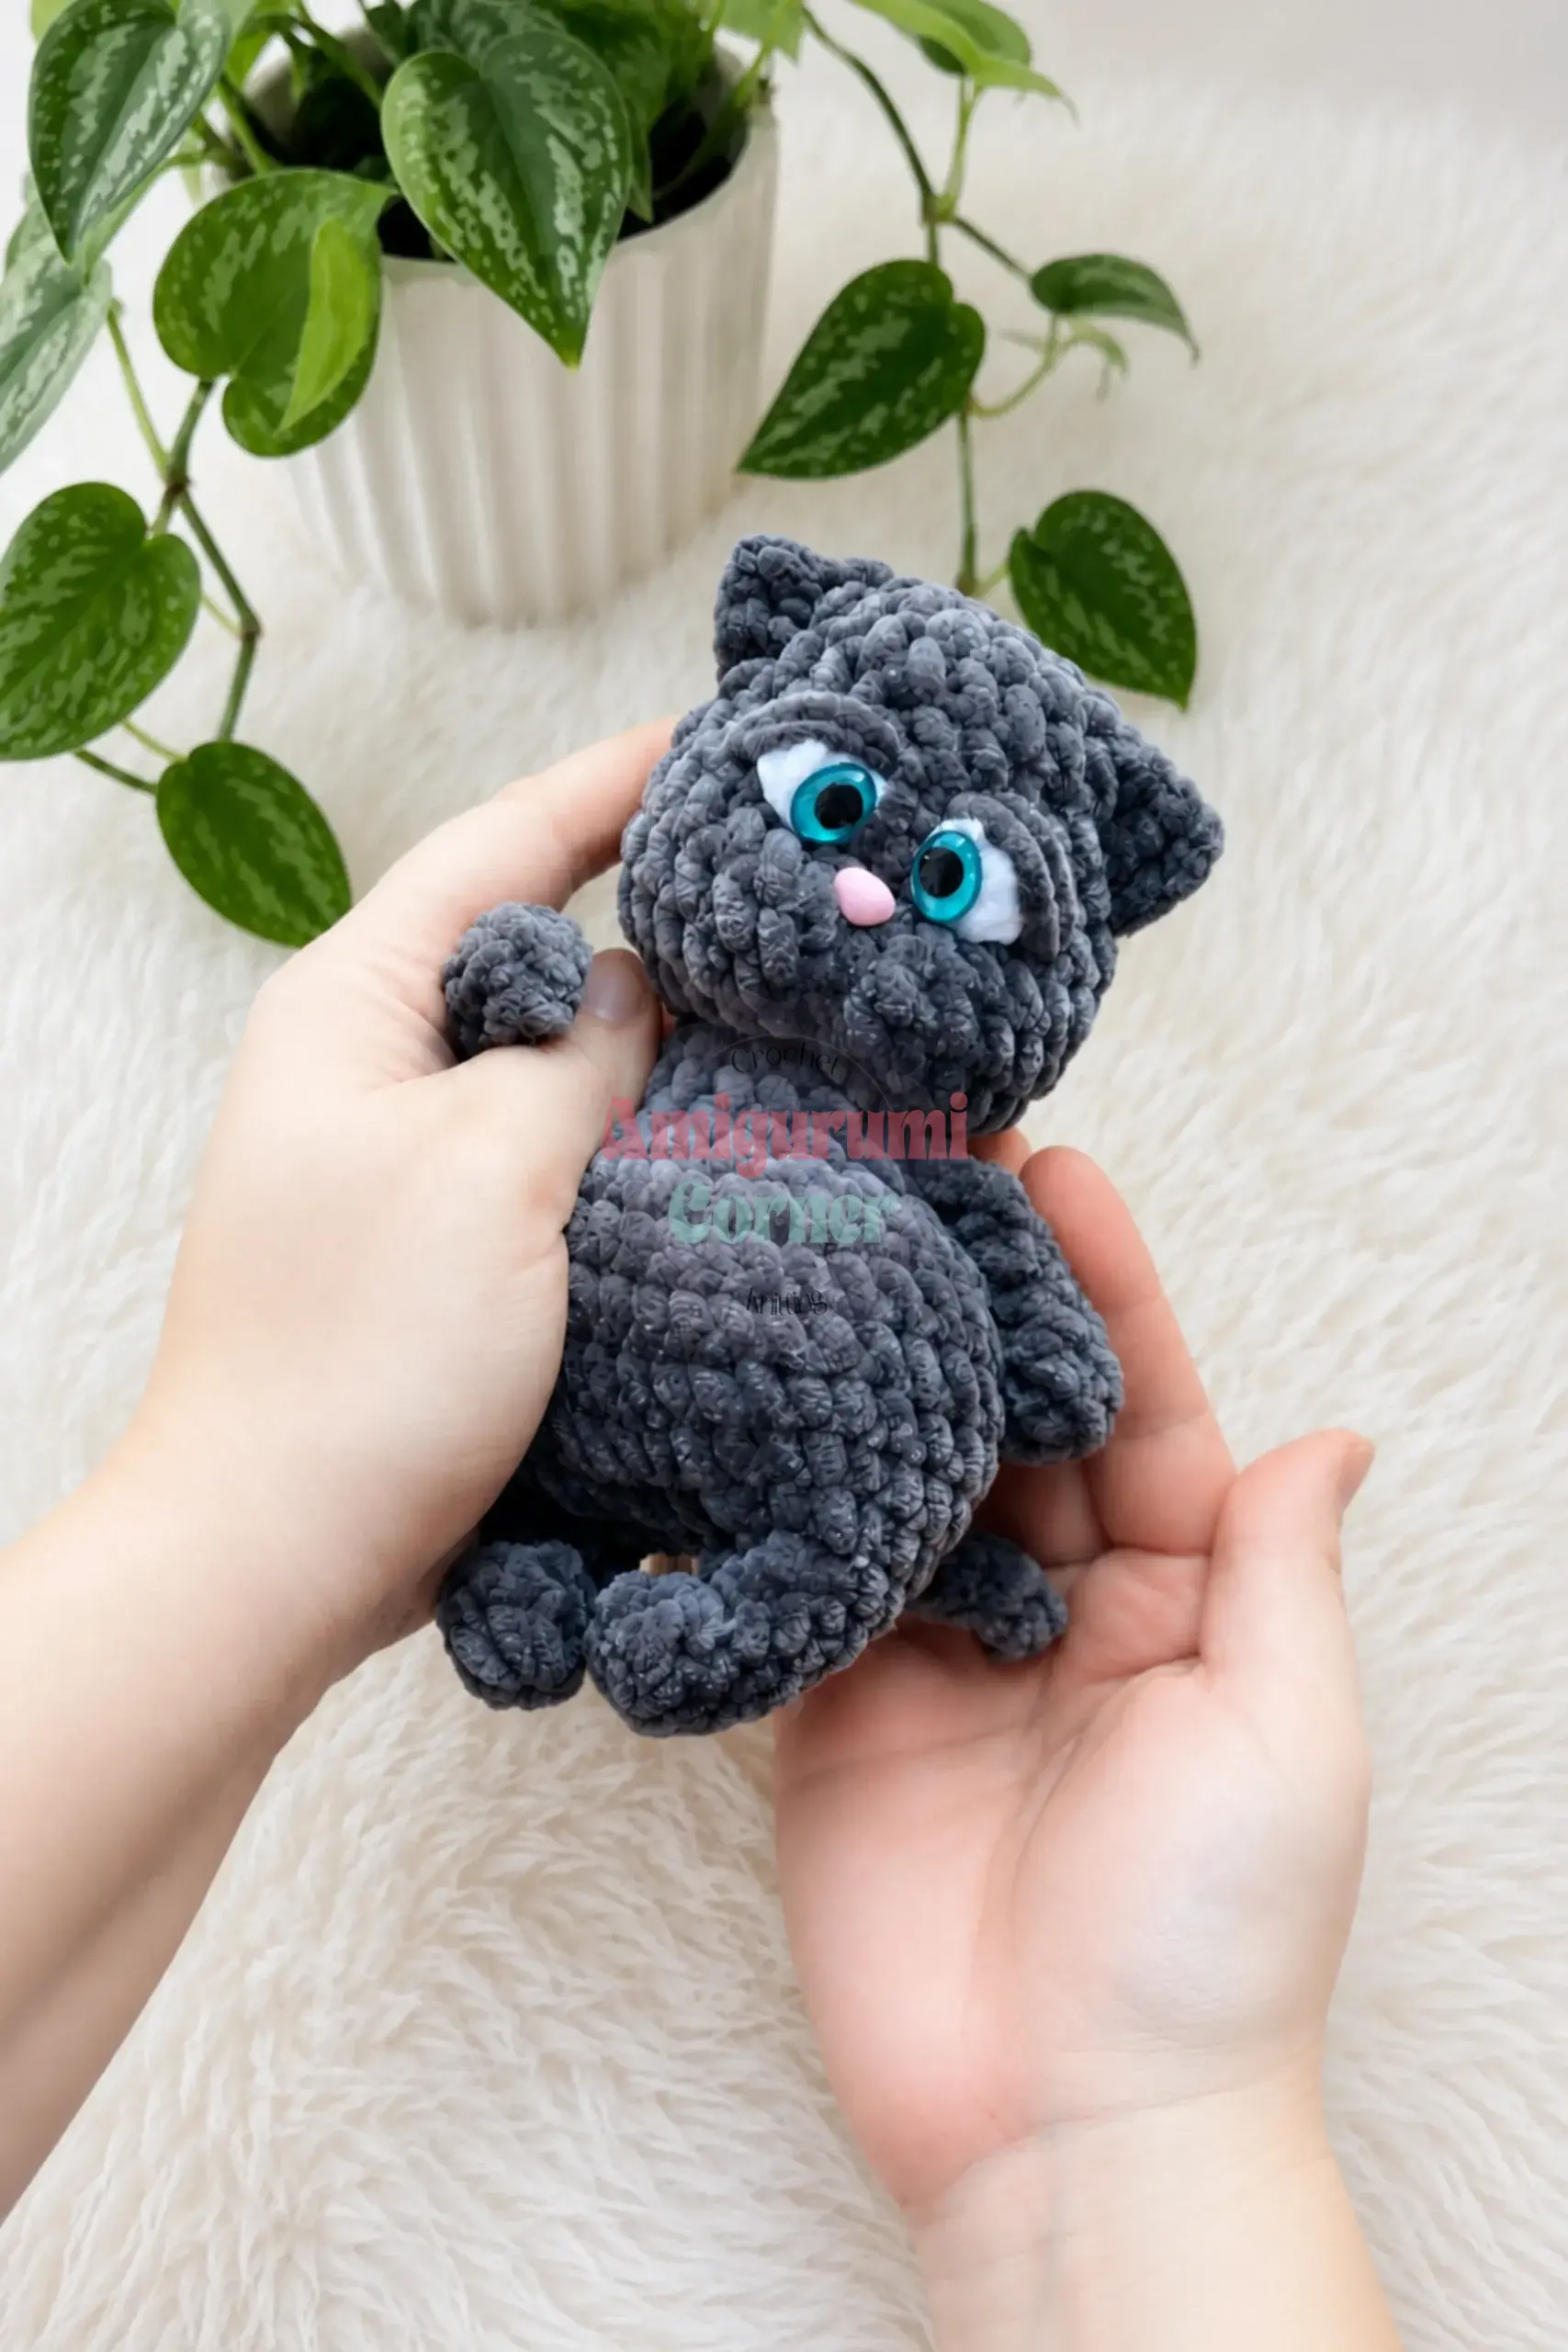
Ch 12. Rnd 1: Inc, 9 sc, inc repeat twice around. (26) Rnd 2: 2 inc, 4 sc, inc, 4 sc, 2 inc repeat twice around. (36) Rnd 3: Sc, inc, 3 sc, inc, 6 sc, inc, 3 sc, inc, sc repeat twice around. (44) Rnd 4: Sc in each st around, working in BLO. (44) Rnds 5–17: Sc in each st around. (44) — 13 rounds, no shaping Rnd 18: 2 sc, dec, 3 sc, dec, 6 sc, dec, 3 sc, dec repeat twice around. (36) Rnd 19: Sc, 2 dec, sc, dec twice, 2 sc, dec, sc twice, 2 dec, sc, dec twice, 2 sc, dec, sc, dec. (24) Fasten off, leaving an opening for stuffing if not already stuffed as you go.
Head
Ch 7. Rnd 1: 5 sc, work 3 sc into the same st (3-inc), 4 sc, inc. (14) Rnd 2: Inc, 4 sc, inc 3 times, 4 sc, 2 inc. (20) Rnd 3: Inc, 6 sc, inc 4 times, 6 sc, 3 inc. (28) Rnd 4: Inc, 8 sc, inc, sc, 2 inc, sc repeat twice around. (36) Rnd 5: Inc, 10 sc, inc, sc, inc, 2 sc, inc, sc repeat twice around. (44) Rnd 6: Sc in each st around. (44) Rnd 7: Inc, 12 sc, inc, 2 sc 3 times, inc, 12 sc, inc, 2 sc 3 times. (52) Rnd 8: Sc in each st around. (52) Rnd 9: 2 sc, inc, 10 sc, inc, 2 sc 5 times, inc, 10 sc, inc, 2 sc 4 times, inc. (64) Rnd 10: Sc in each st around. (64) Rnd 11: 2 sc, inc, 15 sc, inc, 3 sc 4 times, inc, 15 sc, inc, 3 sc, inc 3 times, sc. (74) Rnds 12–18: Sc in each st around. (74) — 7 rounds, no shaping Rnd 19: Sc, dec, 15 sc, dec, 3 sc 4 times, dec, 15 sc, dec, 3 sc, dec 3 times, 2 sc. (64) Rnd 20: Sc in each st around. (64) Rnd 21: Dec, 2 sc 4 times, dec, 10 sc, dec, 2 sc 5 times, dec, 10 sc, dec, 2 sc. (52) Rnd 22: Sc in each st around. (52) Rnd 23: 2 sc, dec 3 times, 12 sc, dec, 2 sc 3 times, dec, 12 sc, dec. (44) Rnd 24: Sc in each st around. (44) Rnd 25: Sc, dec, 2 sc, dec, sc, dec, 10 sc, dec, sc, dec, 2 sc, dec, sc, dec, 10 sc, dec. (36) Rnd 26: Sc in each st around. (36) Rnd 27: Sc, 2 dec, sc, dec twice, 2 sc, dec, sc twice, 2 dec, sc, dec twice, 2 sc, dec, sc, dec. (24) Rnd 28: Sc in each st around. (24) Stuff the head firmly before closing, shaping it into a smooth round as you go. Fasten off, leaving an opening for attaching to the body.
Legs (Make 2)
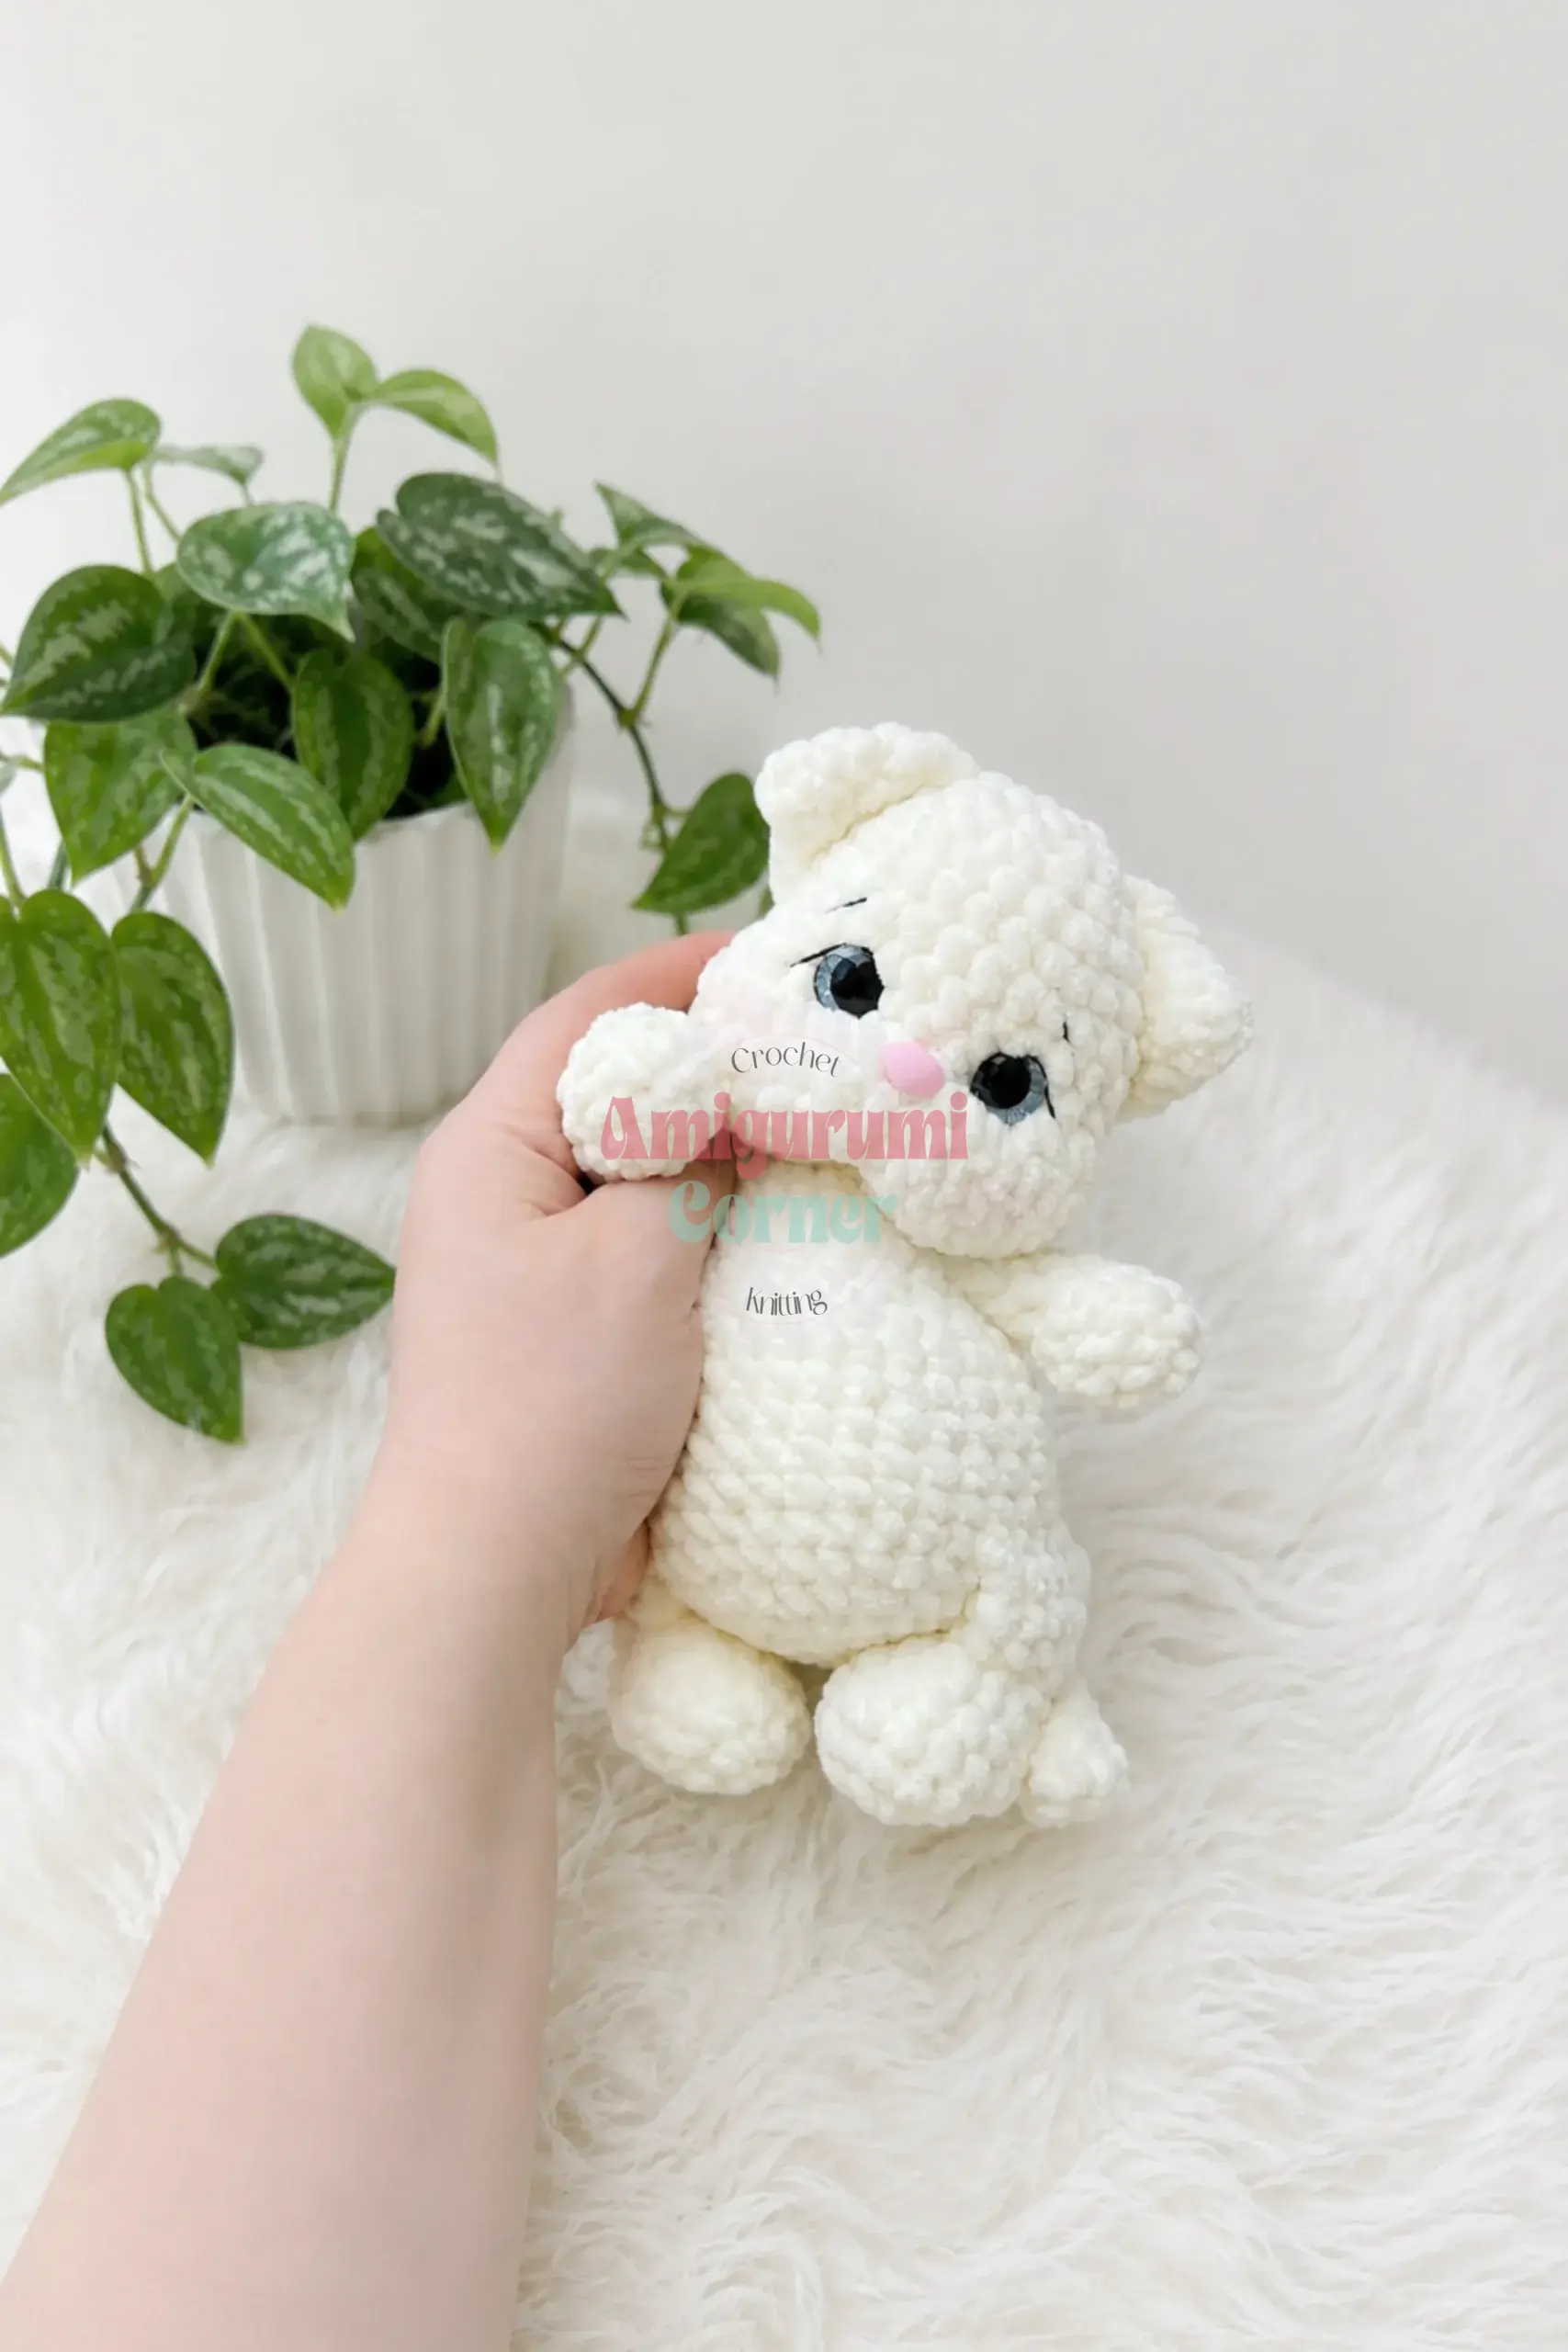
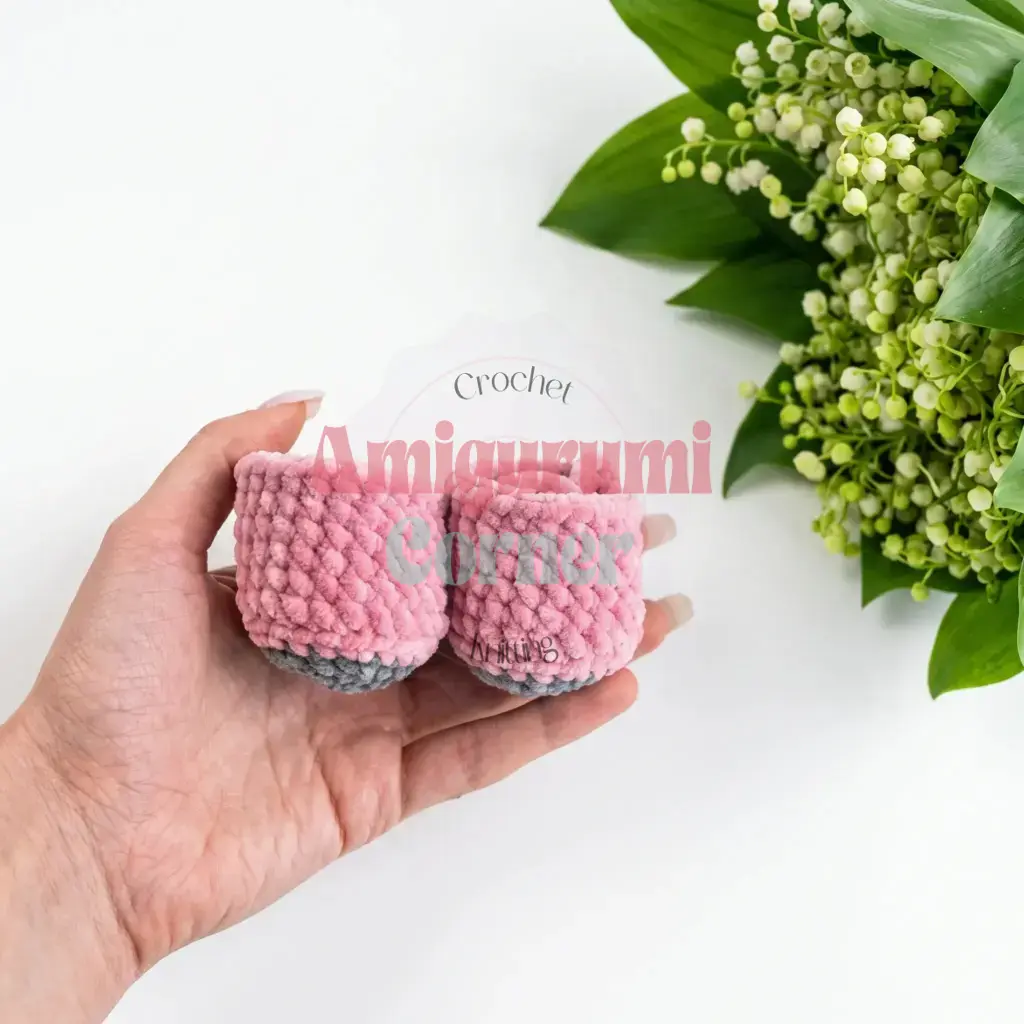
Rnd 1: 6 sc in MR. (6) Rnd 2: Inc in each st around. (12) Rnd 3: Sc, inc repeat 6 times around. (18) Switch to main color here. Rnd 4: 2 sc, inc repeat 6 times around. (24) Rnd 5: Sc in each st around, working in BLO. (24) Rnds 6–10: Sc in each st around. (24) — 5 rounds, no shaping Stuff lightly before closing. Fasten off and weave in the end.
Ears (Make 2)
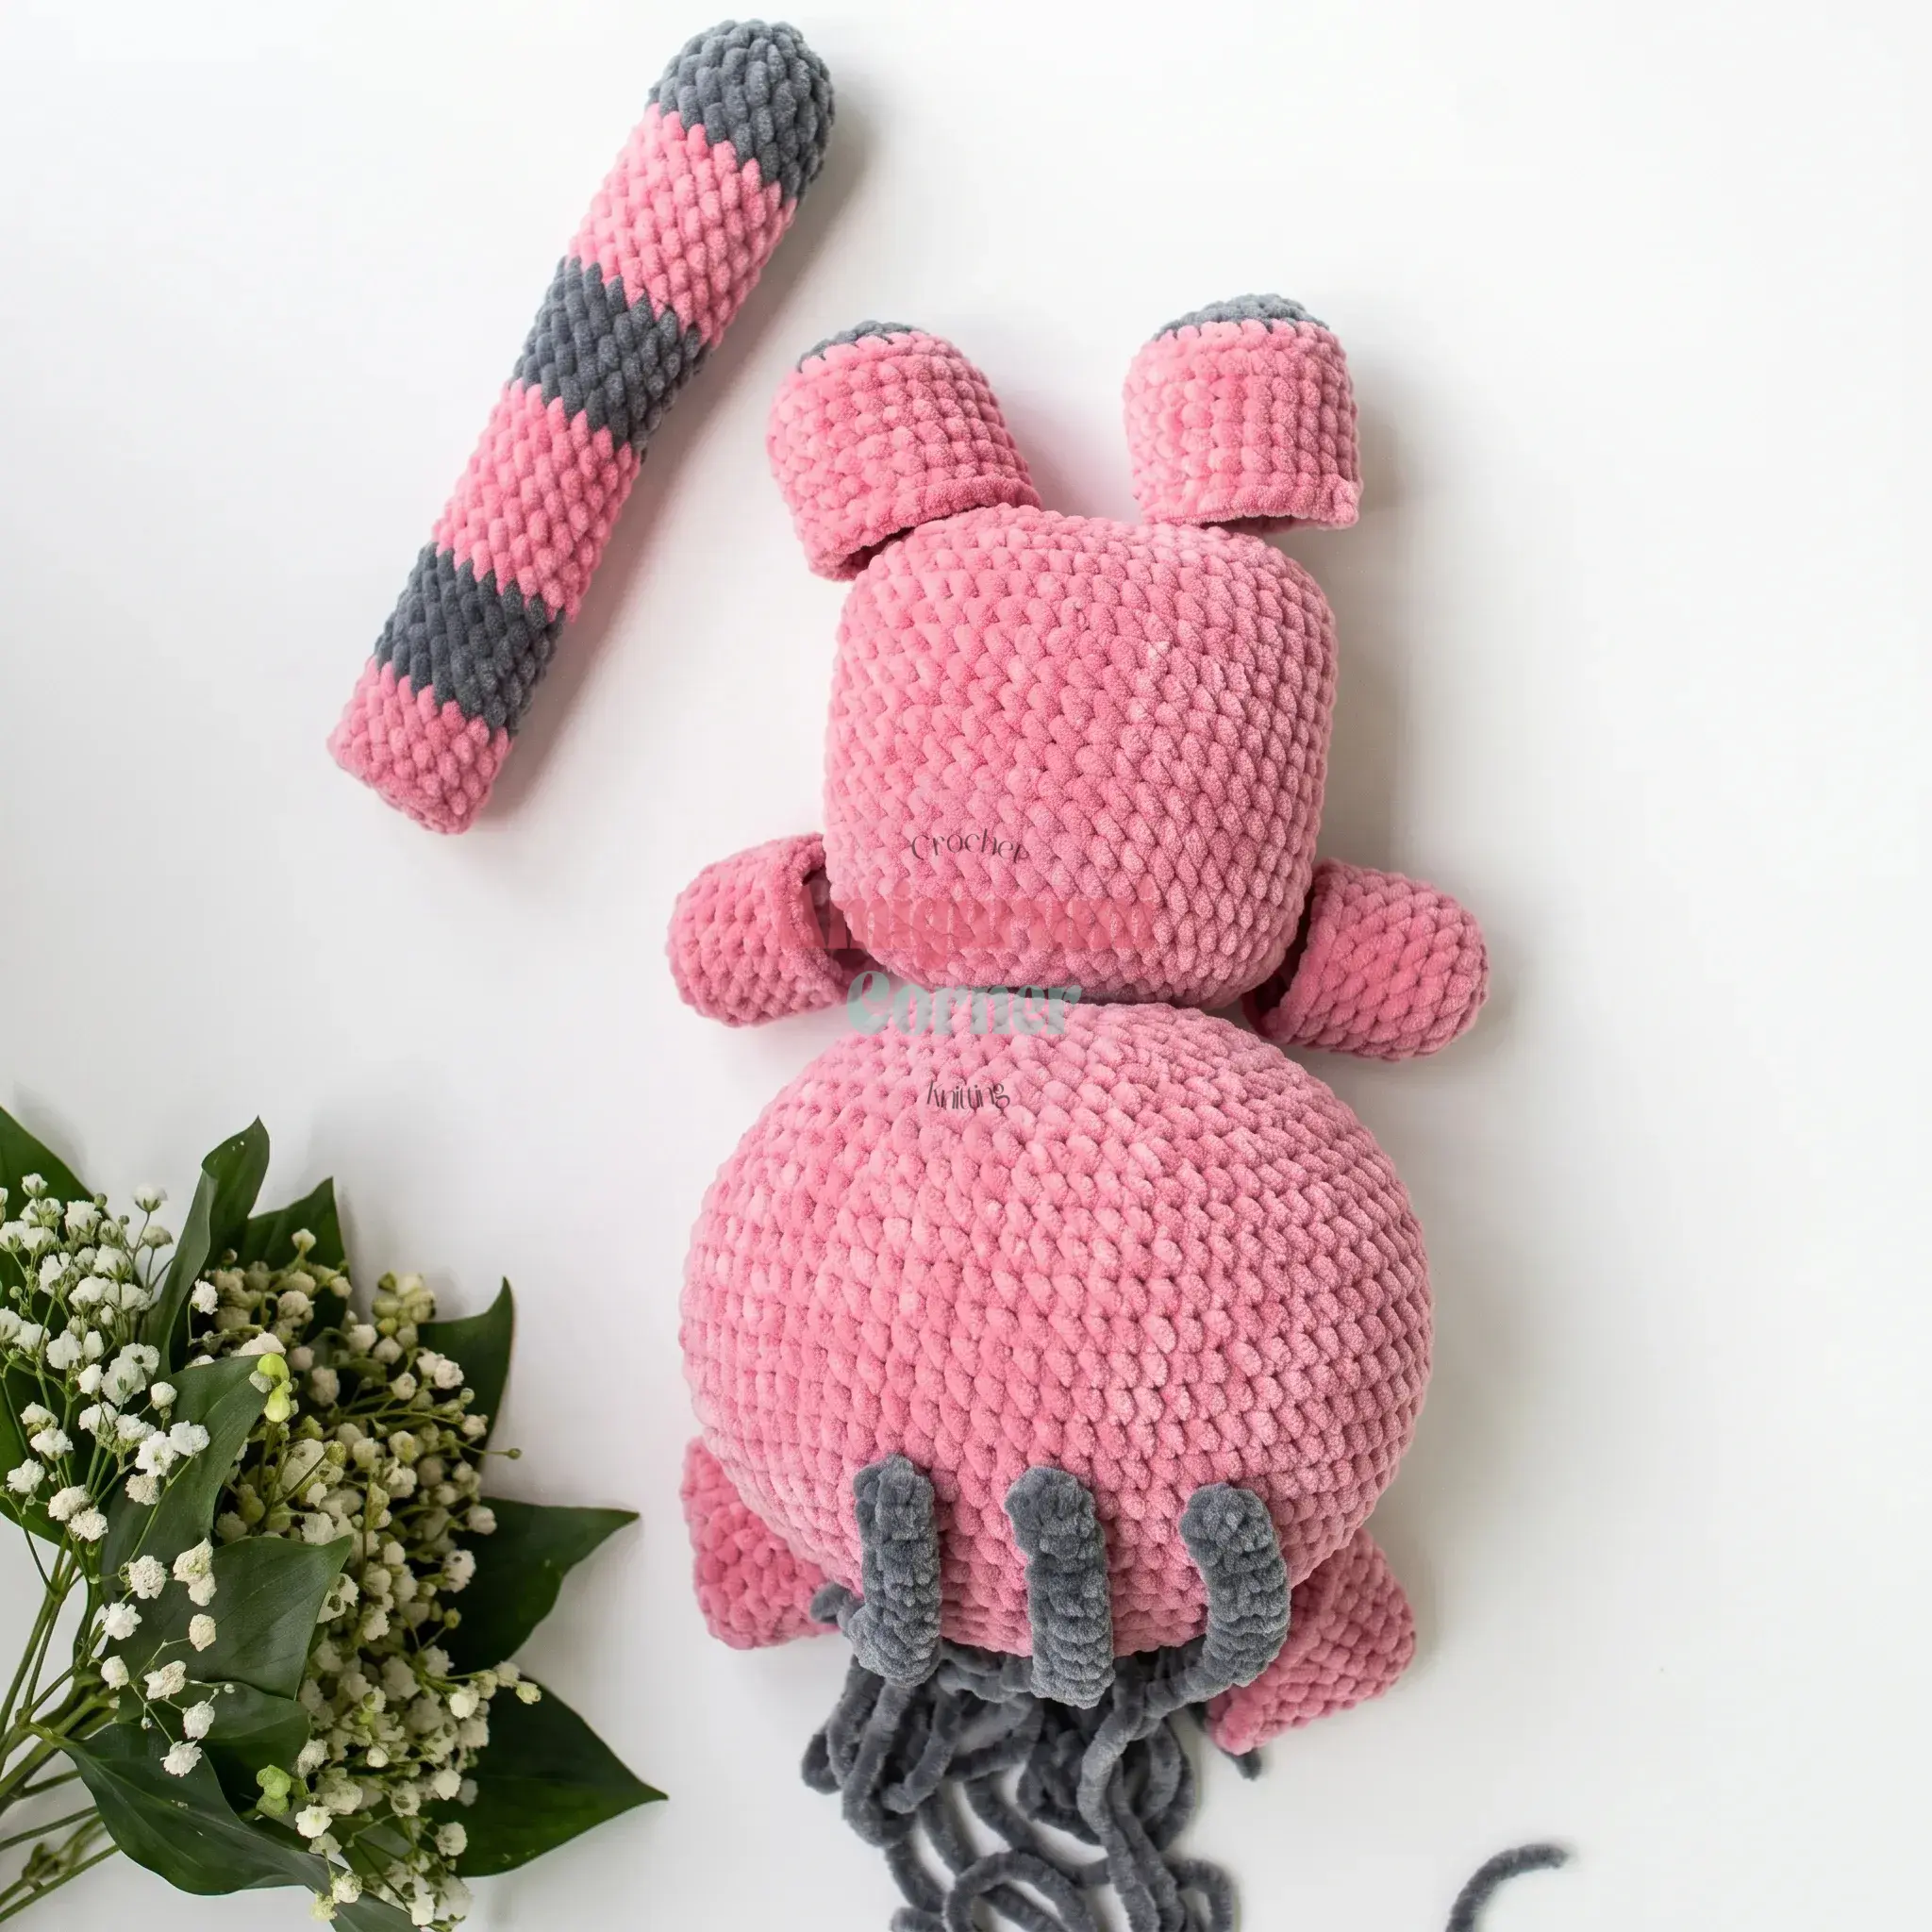
Rnd 1: 5 sc in MR. Rnd 2: Inc in each st around. (10) Rnd 3: Sc in each st around. (10) Rnd 4: Sc, inc repeat 5 times around. (15) Rnd 5: 2 sc, inc repeat 5 times around. (20) Rnd 6: Sc in each st around. (20) Rnd 7: 3 sc, inc repeat 5 times around. (25) Fasten off, leaving a long tail for sewing. Do not stuff — flatten the ear before sewing it on.
Arms (Make 2)
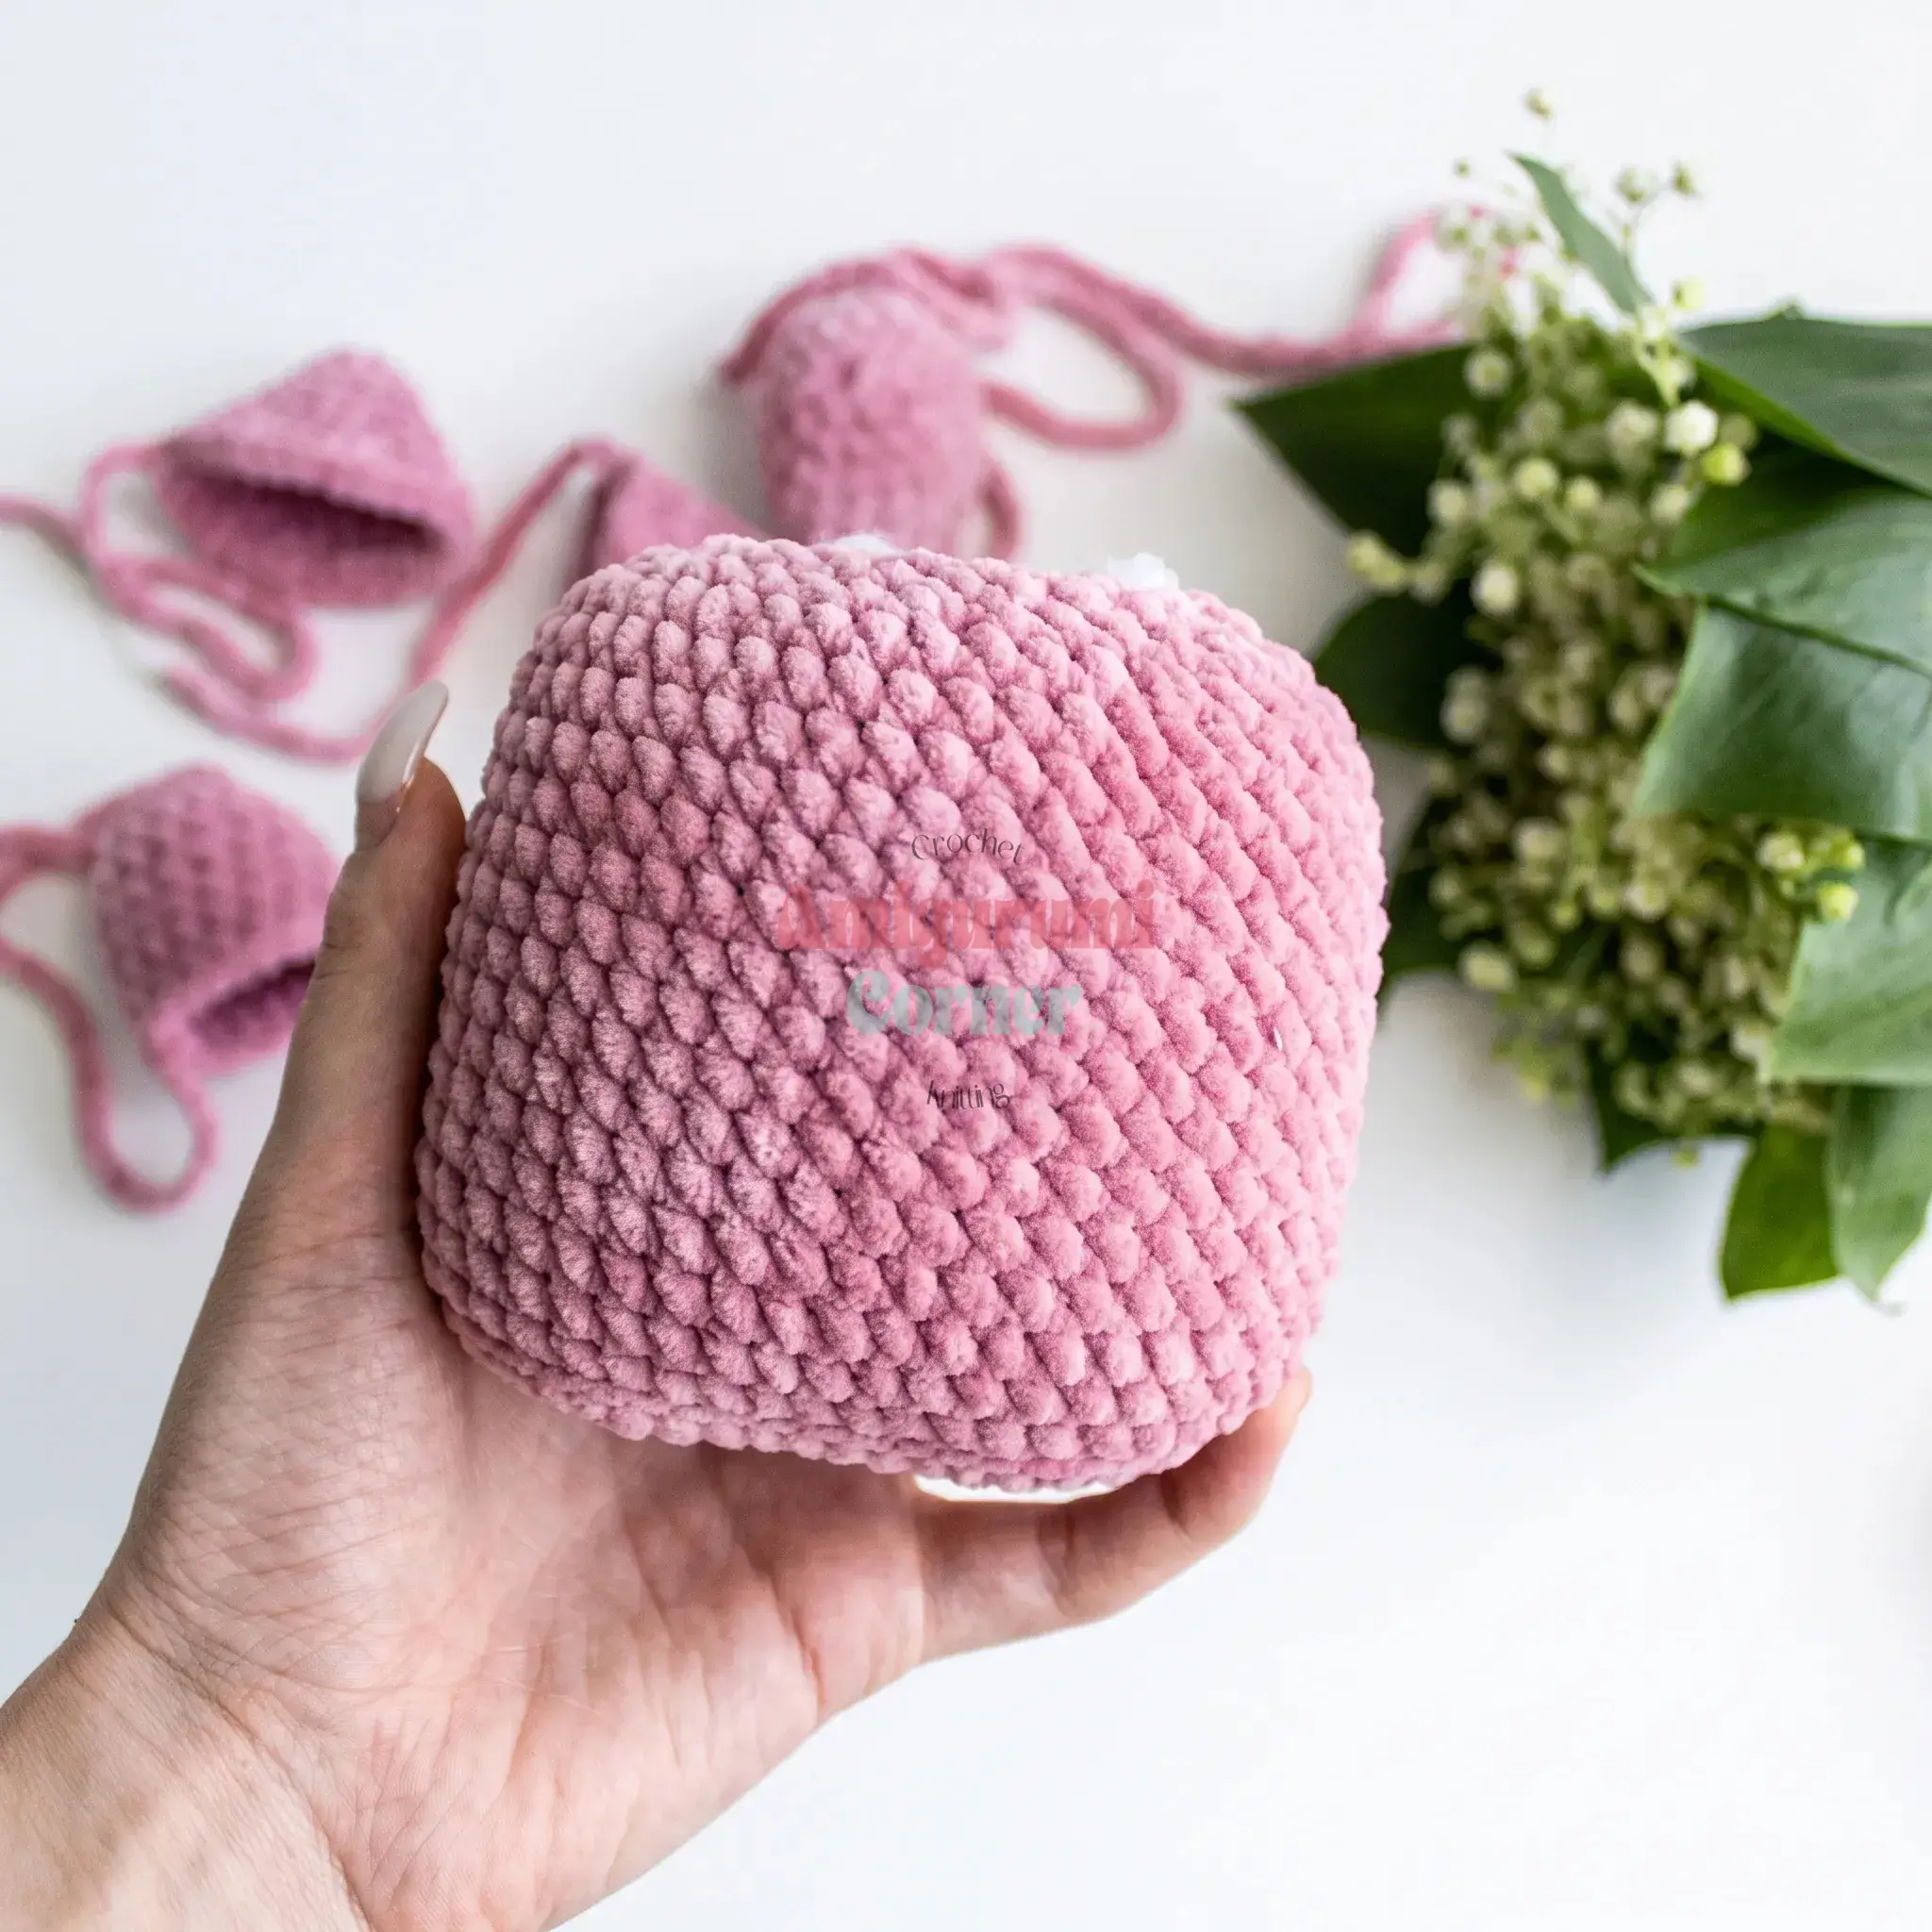
Rnd 1: 6 sc in MR. (6) Rnd 2: Inc in each st around. (12) Rnd 3: Sc, inc repeat 6 times around. (18) Rnds 4–8: Sc in each st around. (18) — 5 rounds, no shaping Stuff lightly before closing. Fasten off, leaving a long tail for sewing.
Tail
Begin with contrast color. Rnd 1: 5 sc in MR. (5) Rnd 2: Inc in each st around. (10) Rnd 3: Sc, inc repeat 5 times around. (15) Rnds 4–6: Sc in each st around. (15) — contrast color, 3 rounds Color change: switch to main color. Rnds 7–13: Sc in each st around. (15) — main color, 7 rounds Color change: switch to contrast color. Rnds 14–18: Sc in each st around. (15) — contrast color, 5 rounds Color change: switch to main color. Rnds 19–25: Sc in each st around. (15) — main color, 7 rounds Color change: switch to contrast color. Rnds 26–30: Sc in each st around. (15) — contrast color, 5 rounds Color change: switch to main color. Rnds 31–34: Sc in each st around. (15) — main color, 4 rounds Stuff lightly as you go for a soft, floppy tail. Fasten off and weave in the end.
Stripes (Make 3)
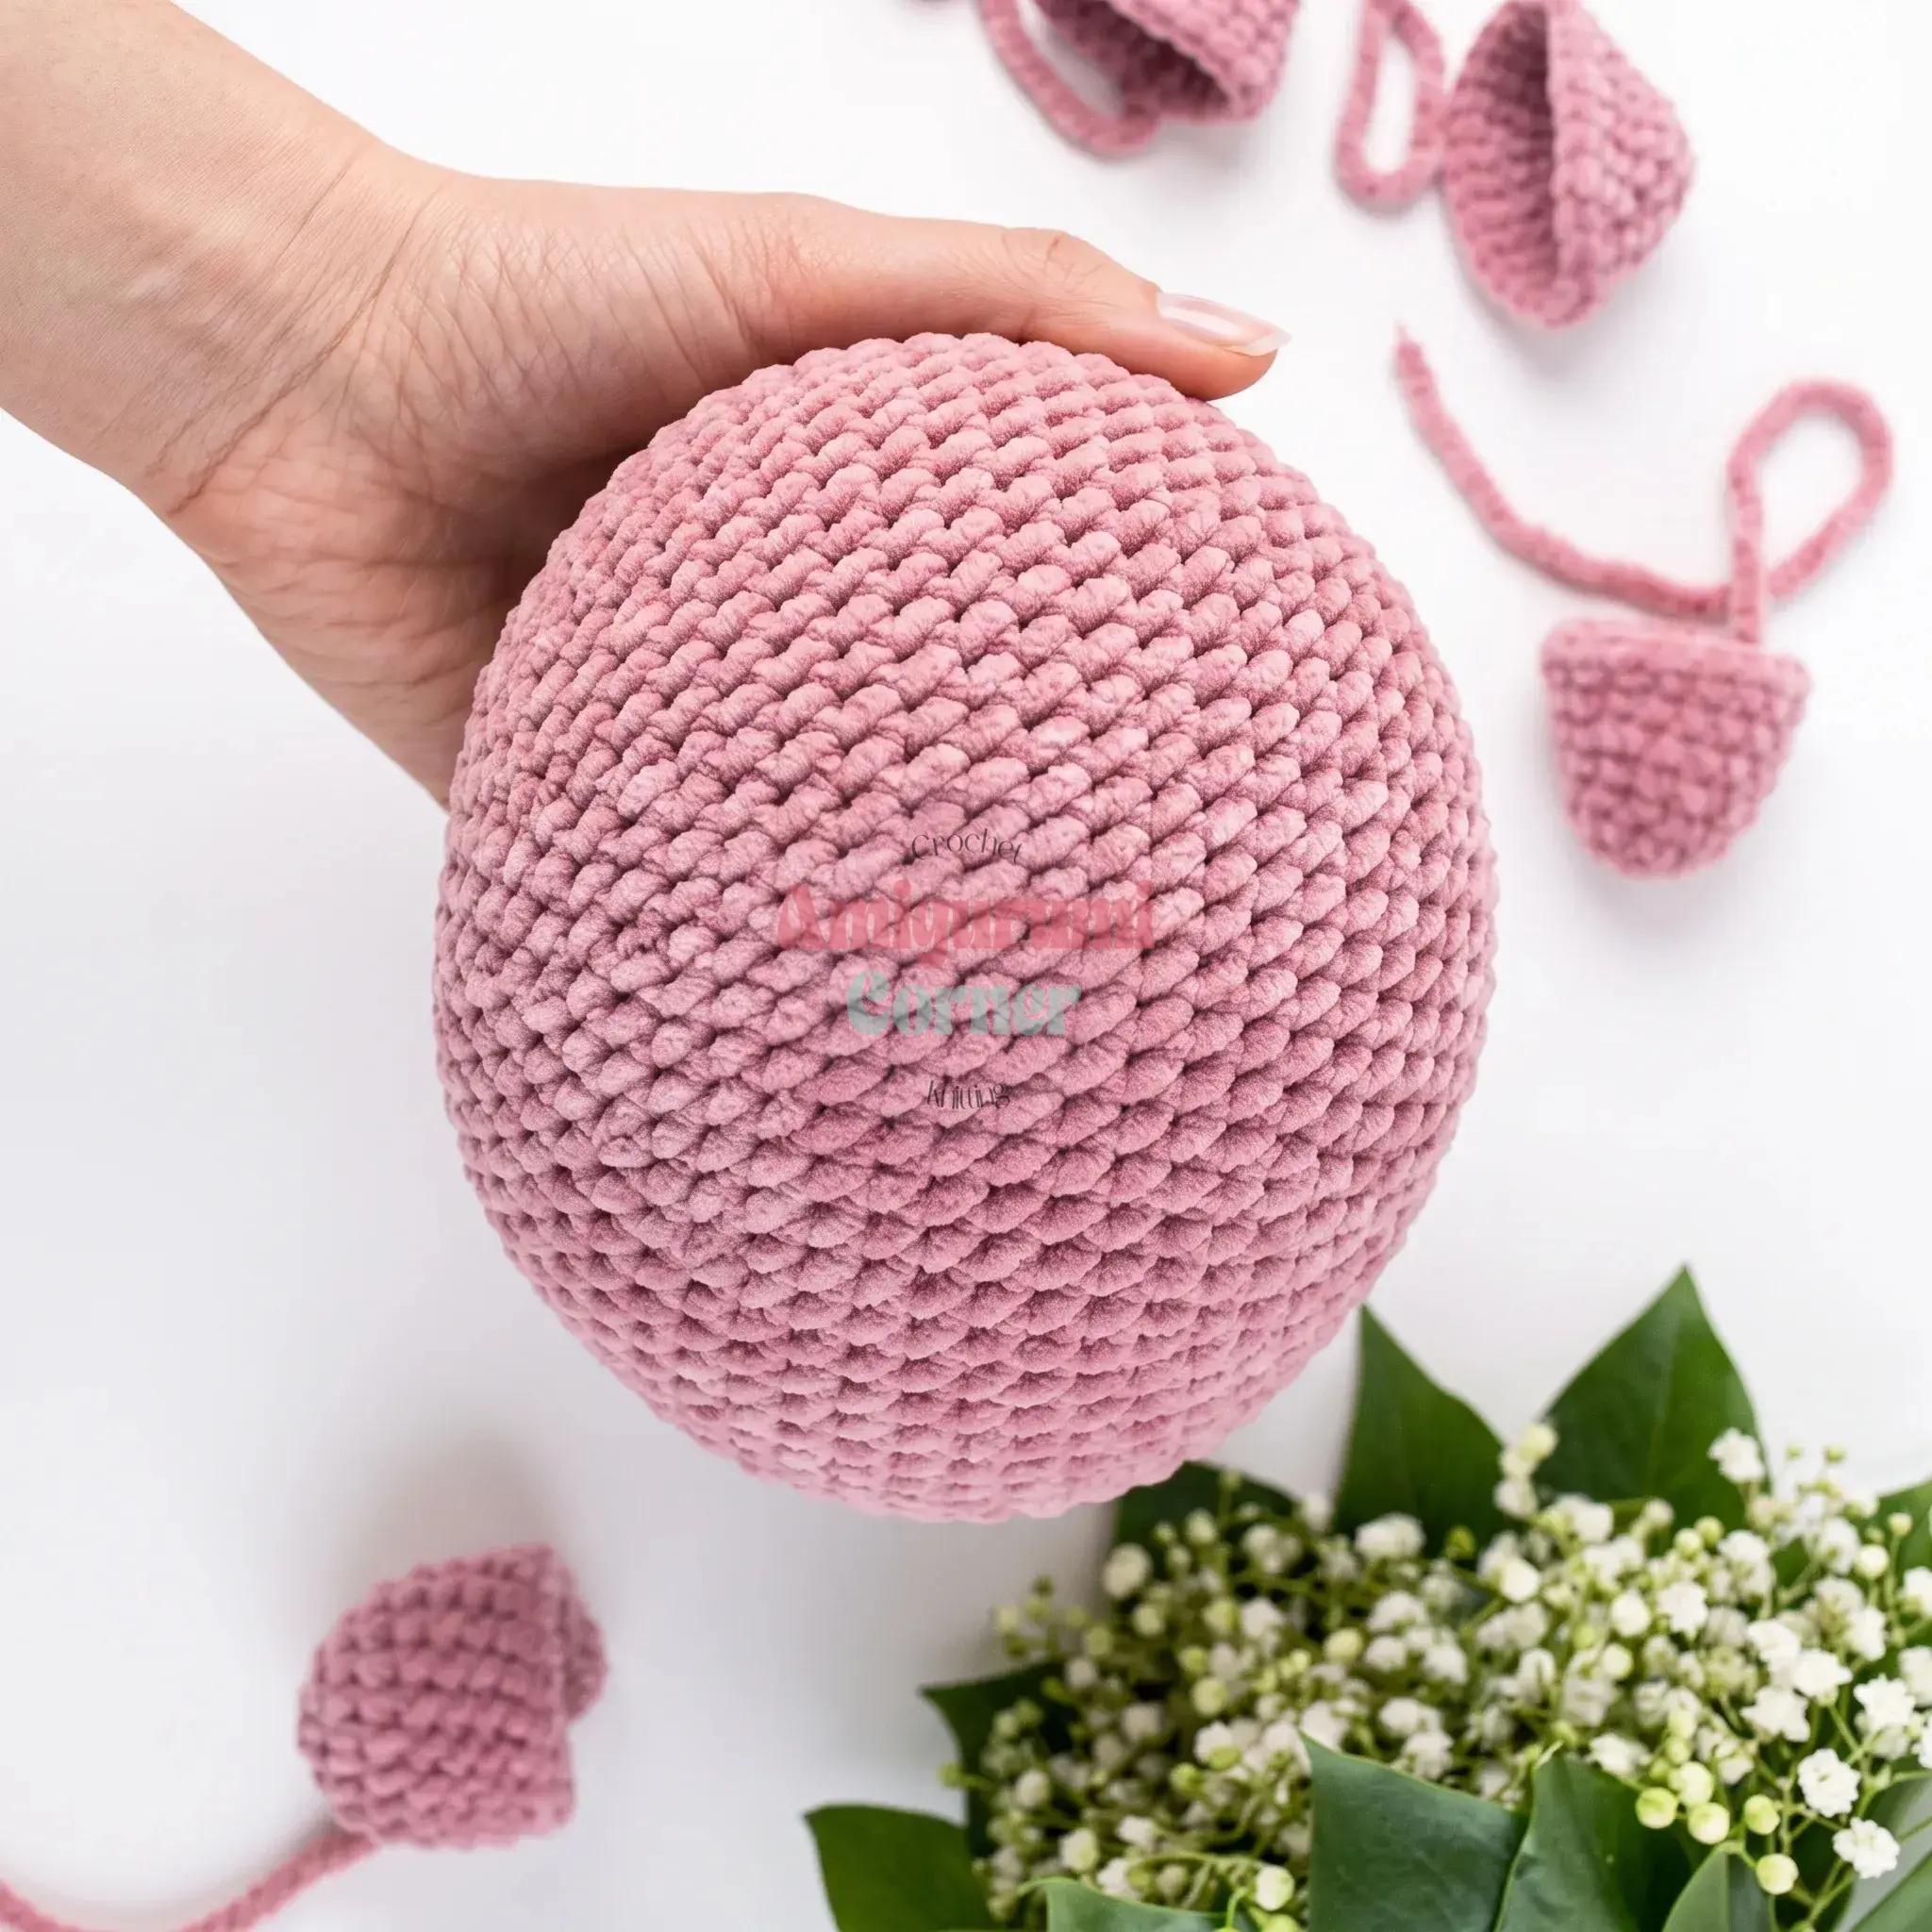
Worked flat, in contrast color. Ch 15. Row 1: Starting in the 2nd ch from hook, inc, sc in each remaining st across to the last ch, then work 3 sc in the last ch. (Row worked flat, no repeated rounds.) Fasten off, leaving a long tail for sewing.
Assembly
- Sew the legs to the body, positioning each one so it spans between rounds 4 and 10 of the leg.
- Sew the arms to the body, positioning each one so it spans between rounds 11 and 17 of the body.
- Using black embroidery floss, embroider the eyes, nose, and whiskers centered on the front of the head.
- Sew the ears to the top of the head, spacing them evenly on either side of center.
- Sew the three contrast-color stripes down the center of the head, between the ears, using the long tail left on each piece.
- Sew the head onto the top of the body, adjusting the angle until your kitty sits the way you like.
- Attach the striped tail to the back of the body with a few secure stitches through both layers.
- Weave in all remaining yarn ends.
Tips
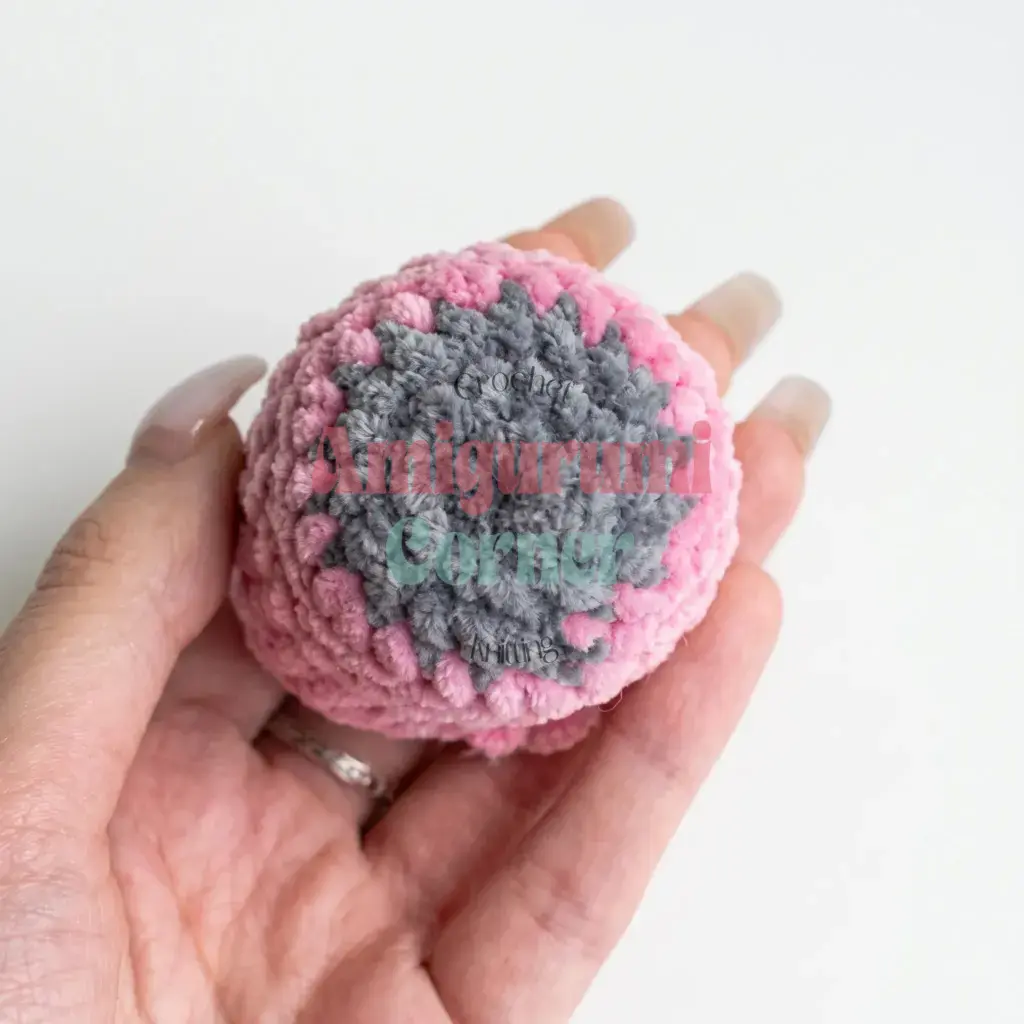
- Keep your tension snug throughout plush yarn is forgiving, but loose stitches will let stuffing show through the finished piece, especially on the head where the fabric stretches the most.
- When you reach a decrease round, use the invisible decrease technique (insert your hook into the front loops of the next two stitches, then pull through both) rather than a standard decrease; it keeps the surface smooth instead of leaving a visible ridge.
- Stuff the head and body firmly enough to hold their shape, but stop before the fabric feels stiff or the stitches start to gap you want a plush squeeze, not a hard ball.
- If you’re substituting yarn, stick with a similarly soft worsted-weight yarn; a stiffer or thinner yarn will change both the finished size and the huggable texture that makes this design work.
- When sewing the limbs and stripes on, work from the inside of the seam outward and keep your stitches small and close together this hides the join almost completely once the piece settles.
FAQs
Can I use a different yarn weight?
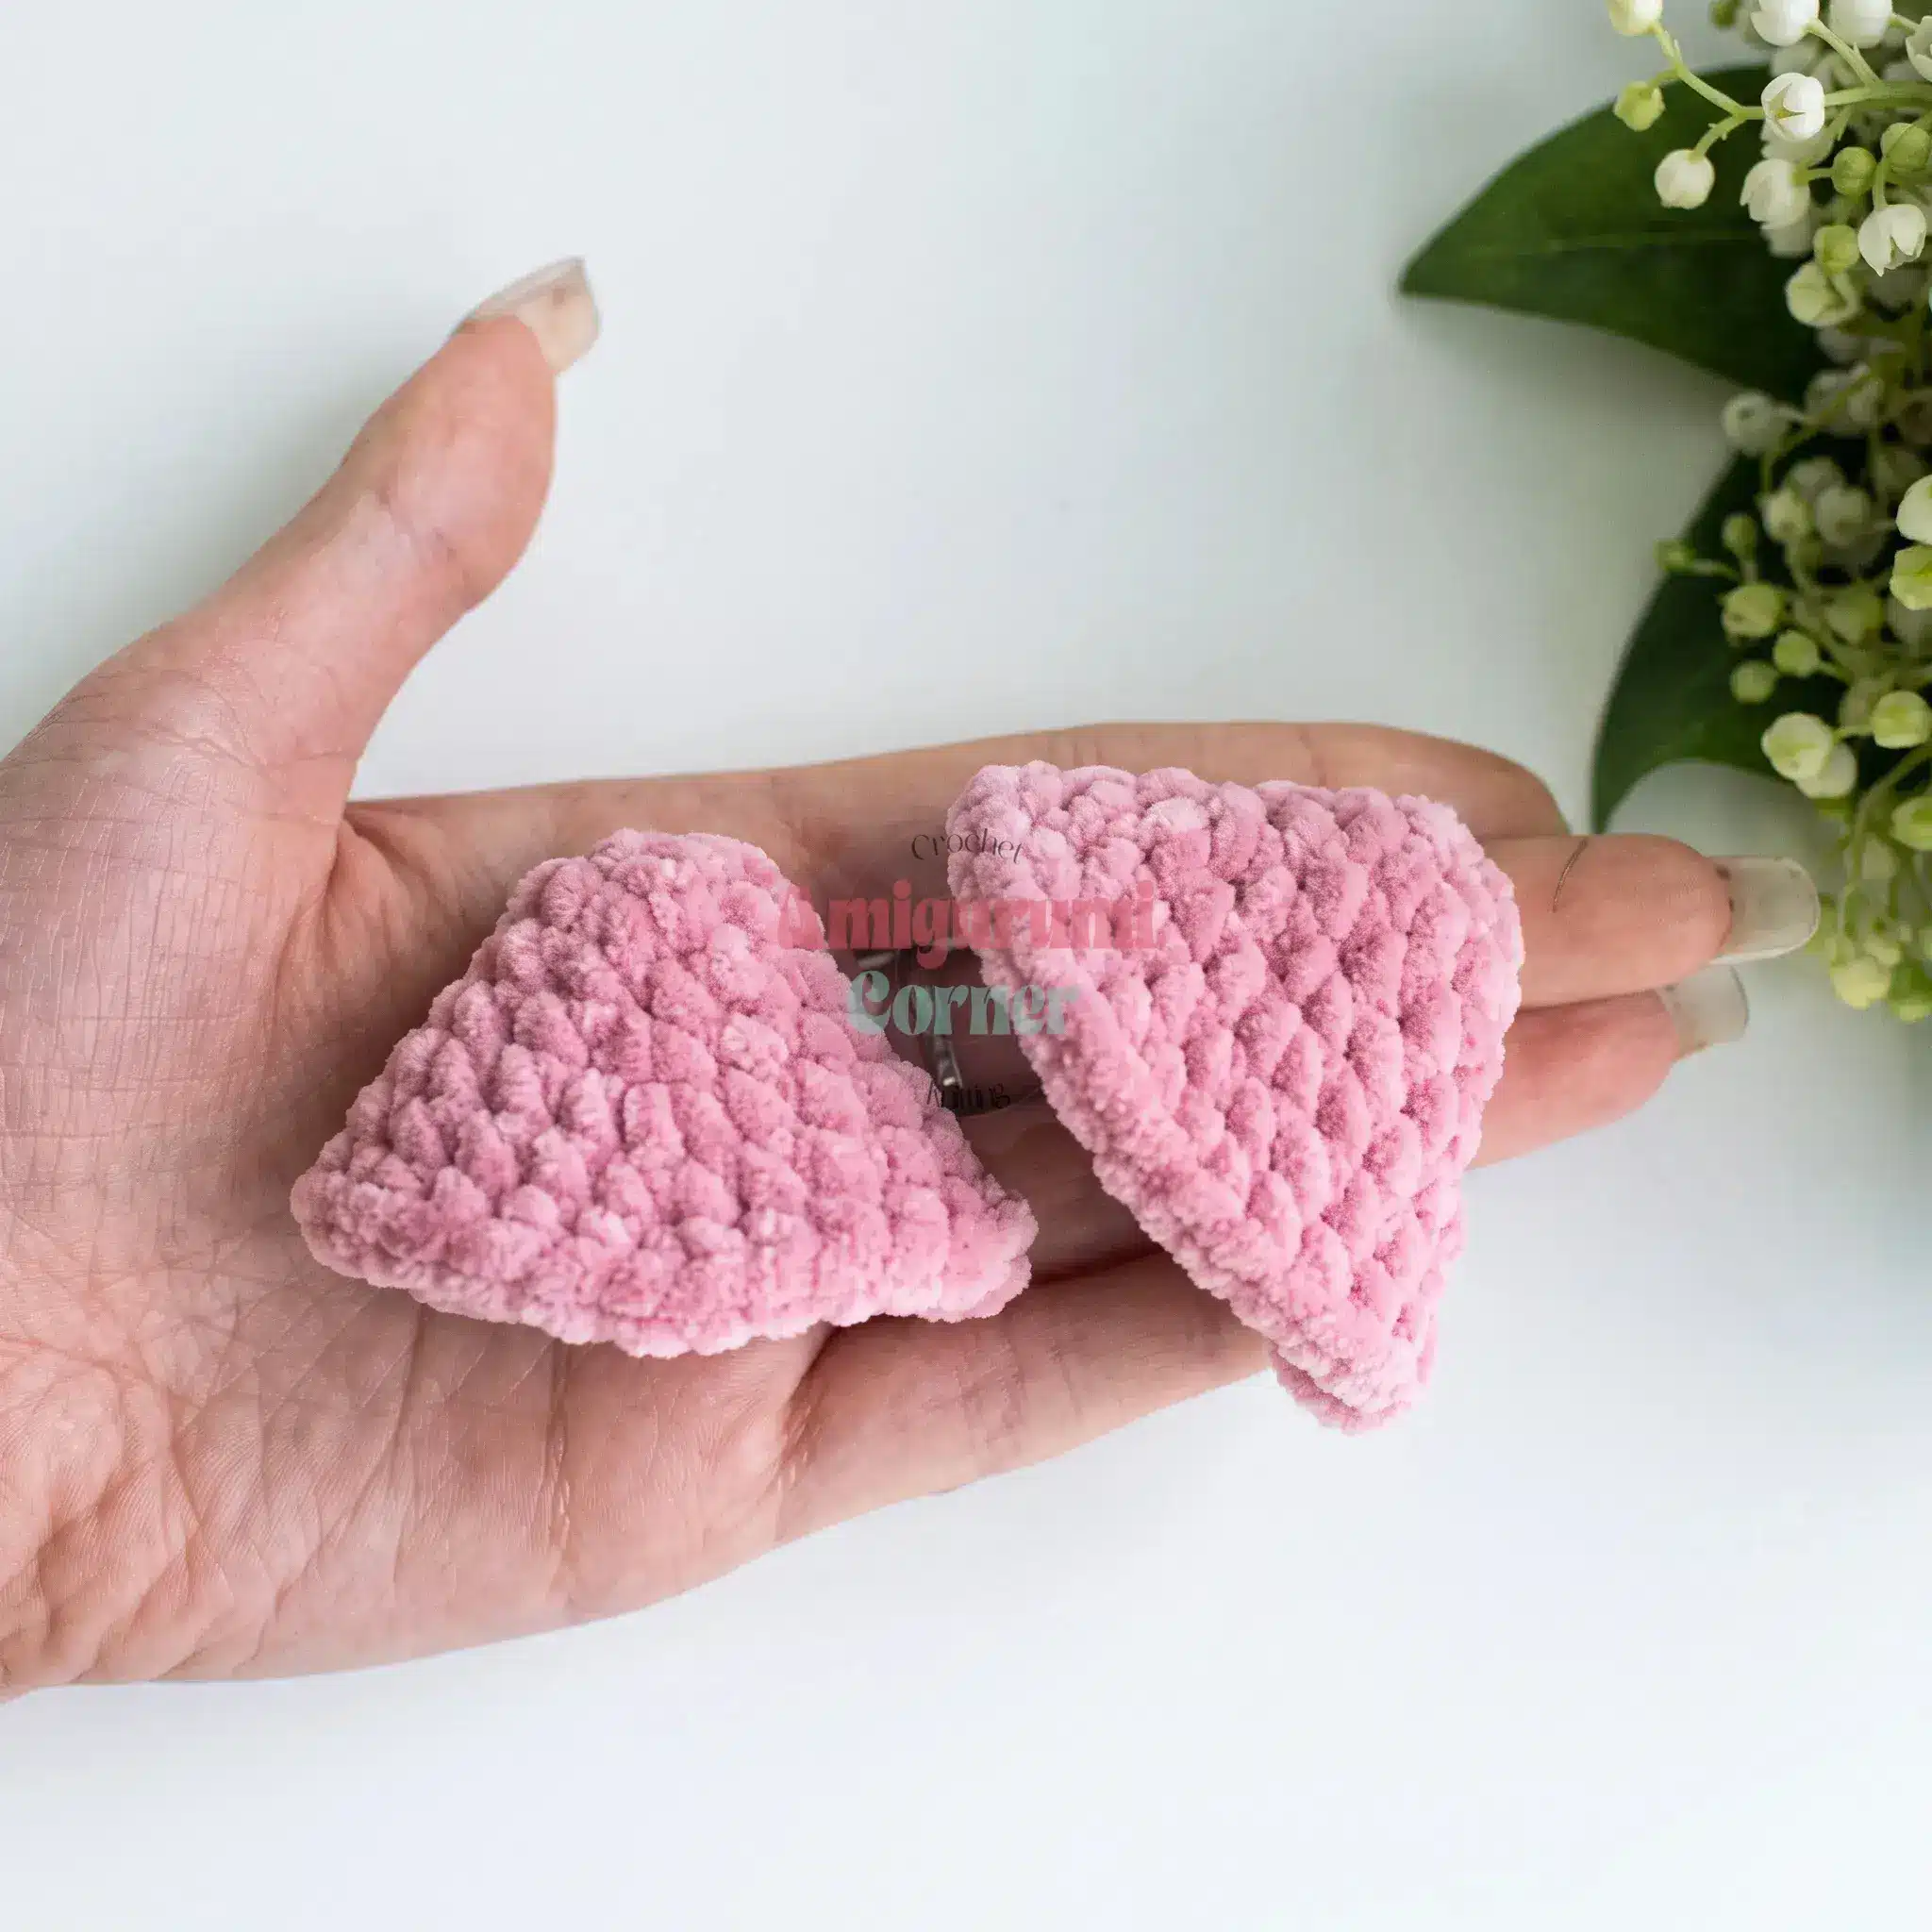
It is recommended to stick with a similarly soft worsted-weight yarn. Using a stiffer or thinner yarn will change both the finished size and the huggable texture that makes this design work.
How do I make the invisible decrease?
To perform an invisible decrease, insert your hook into the front loops of the next two stitches, then pull through both. This keeps the surface smooth instead of leaving a visible ridge.
Why are some rounds worked in BLO?
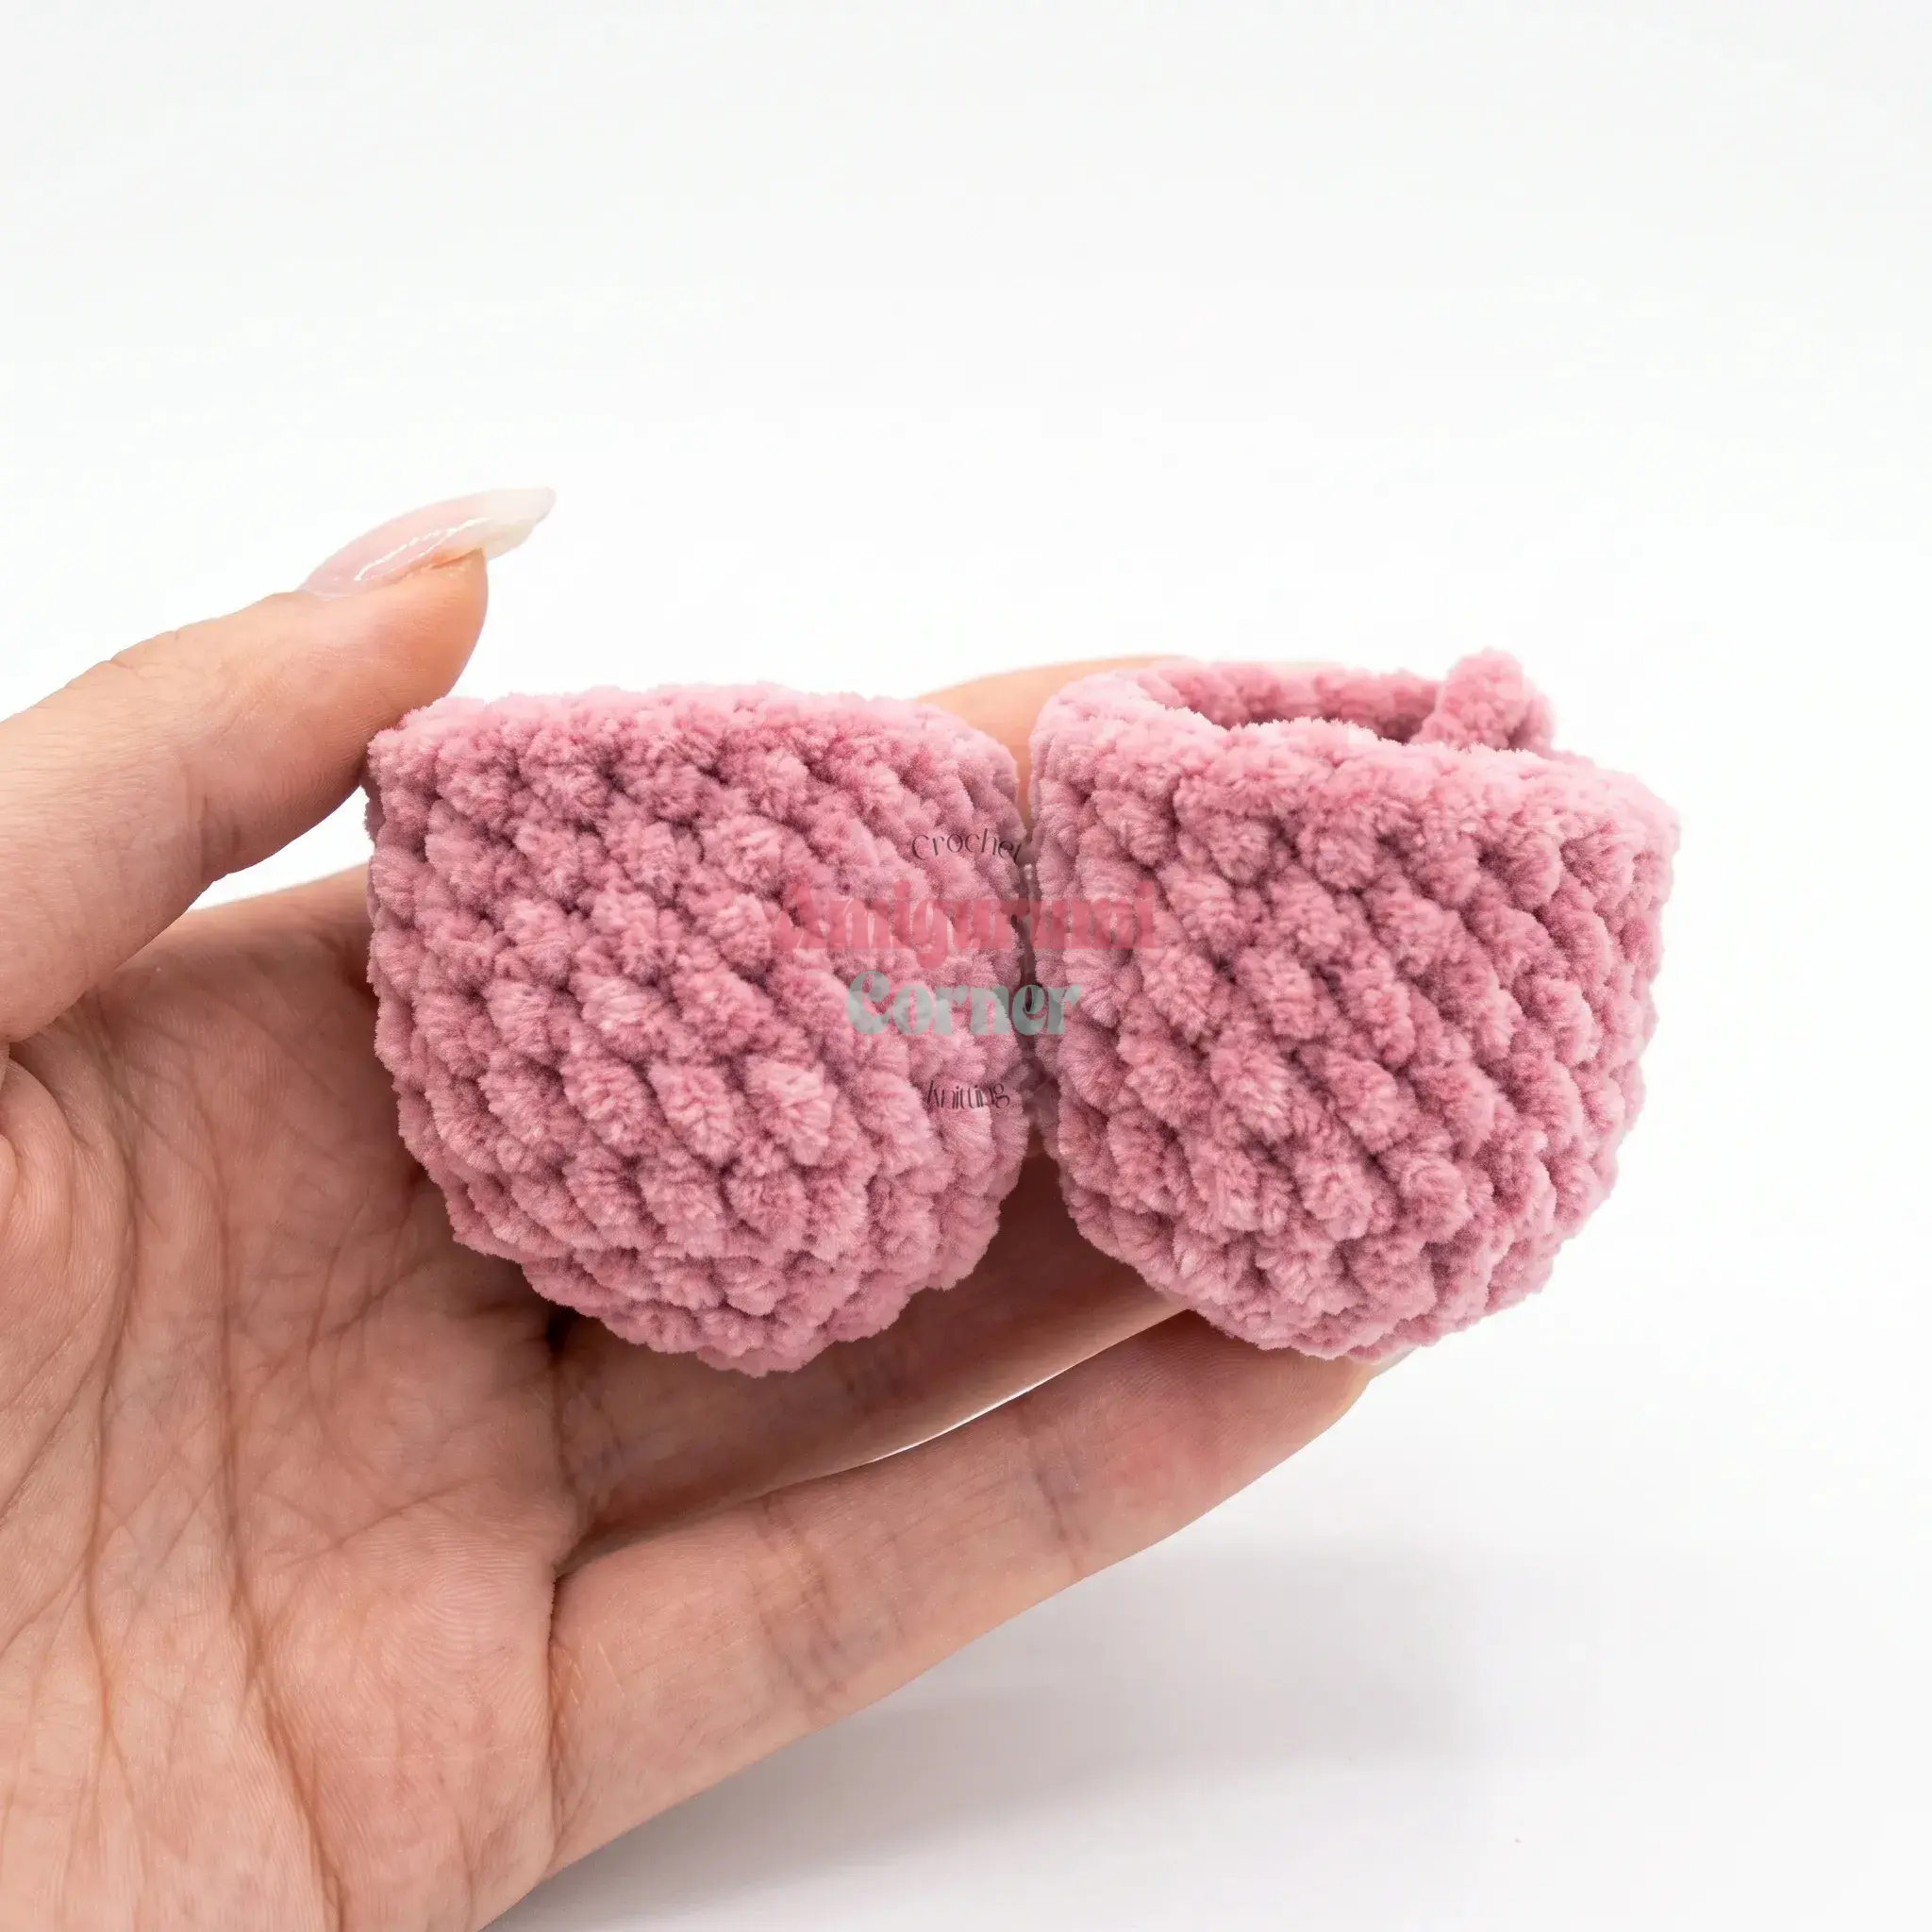
Rounds 4 and 5 of the body and legs are worked in the back loop only (BLO) to create a visible ridge. This helps define where the head and feet will later be sewn or shaped.
Do I need to join rounds?
No, the body, head, legs, and arms are worked in continuous spiral rounds. Do not join or turn unless a step specifically says otherwise.
How should I stuff the tail?
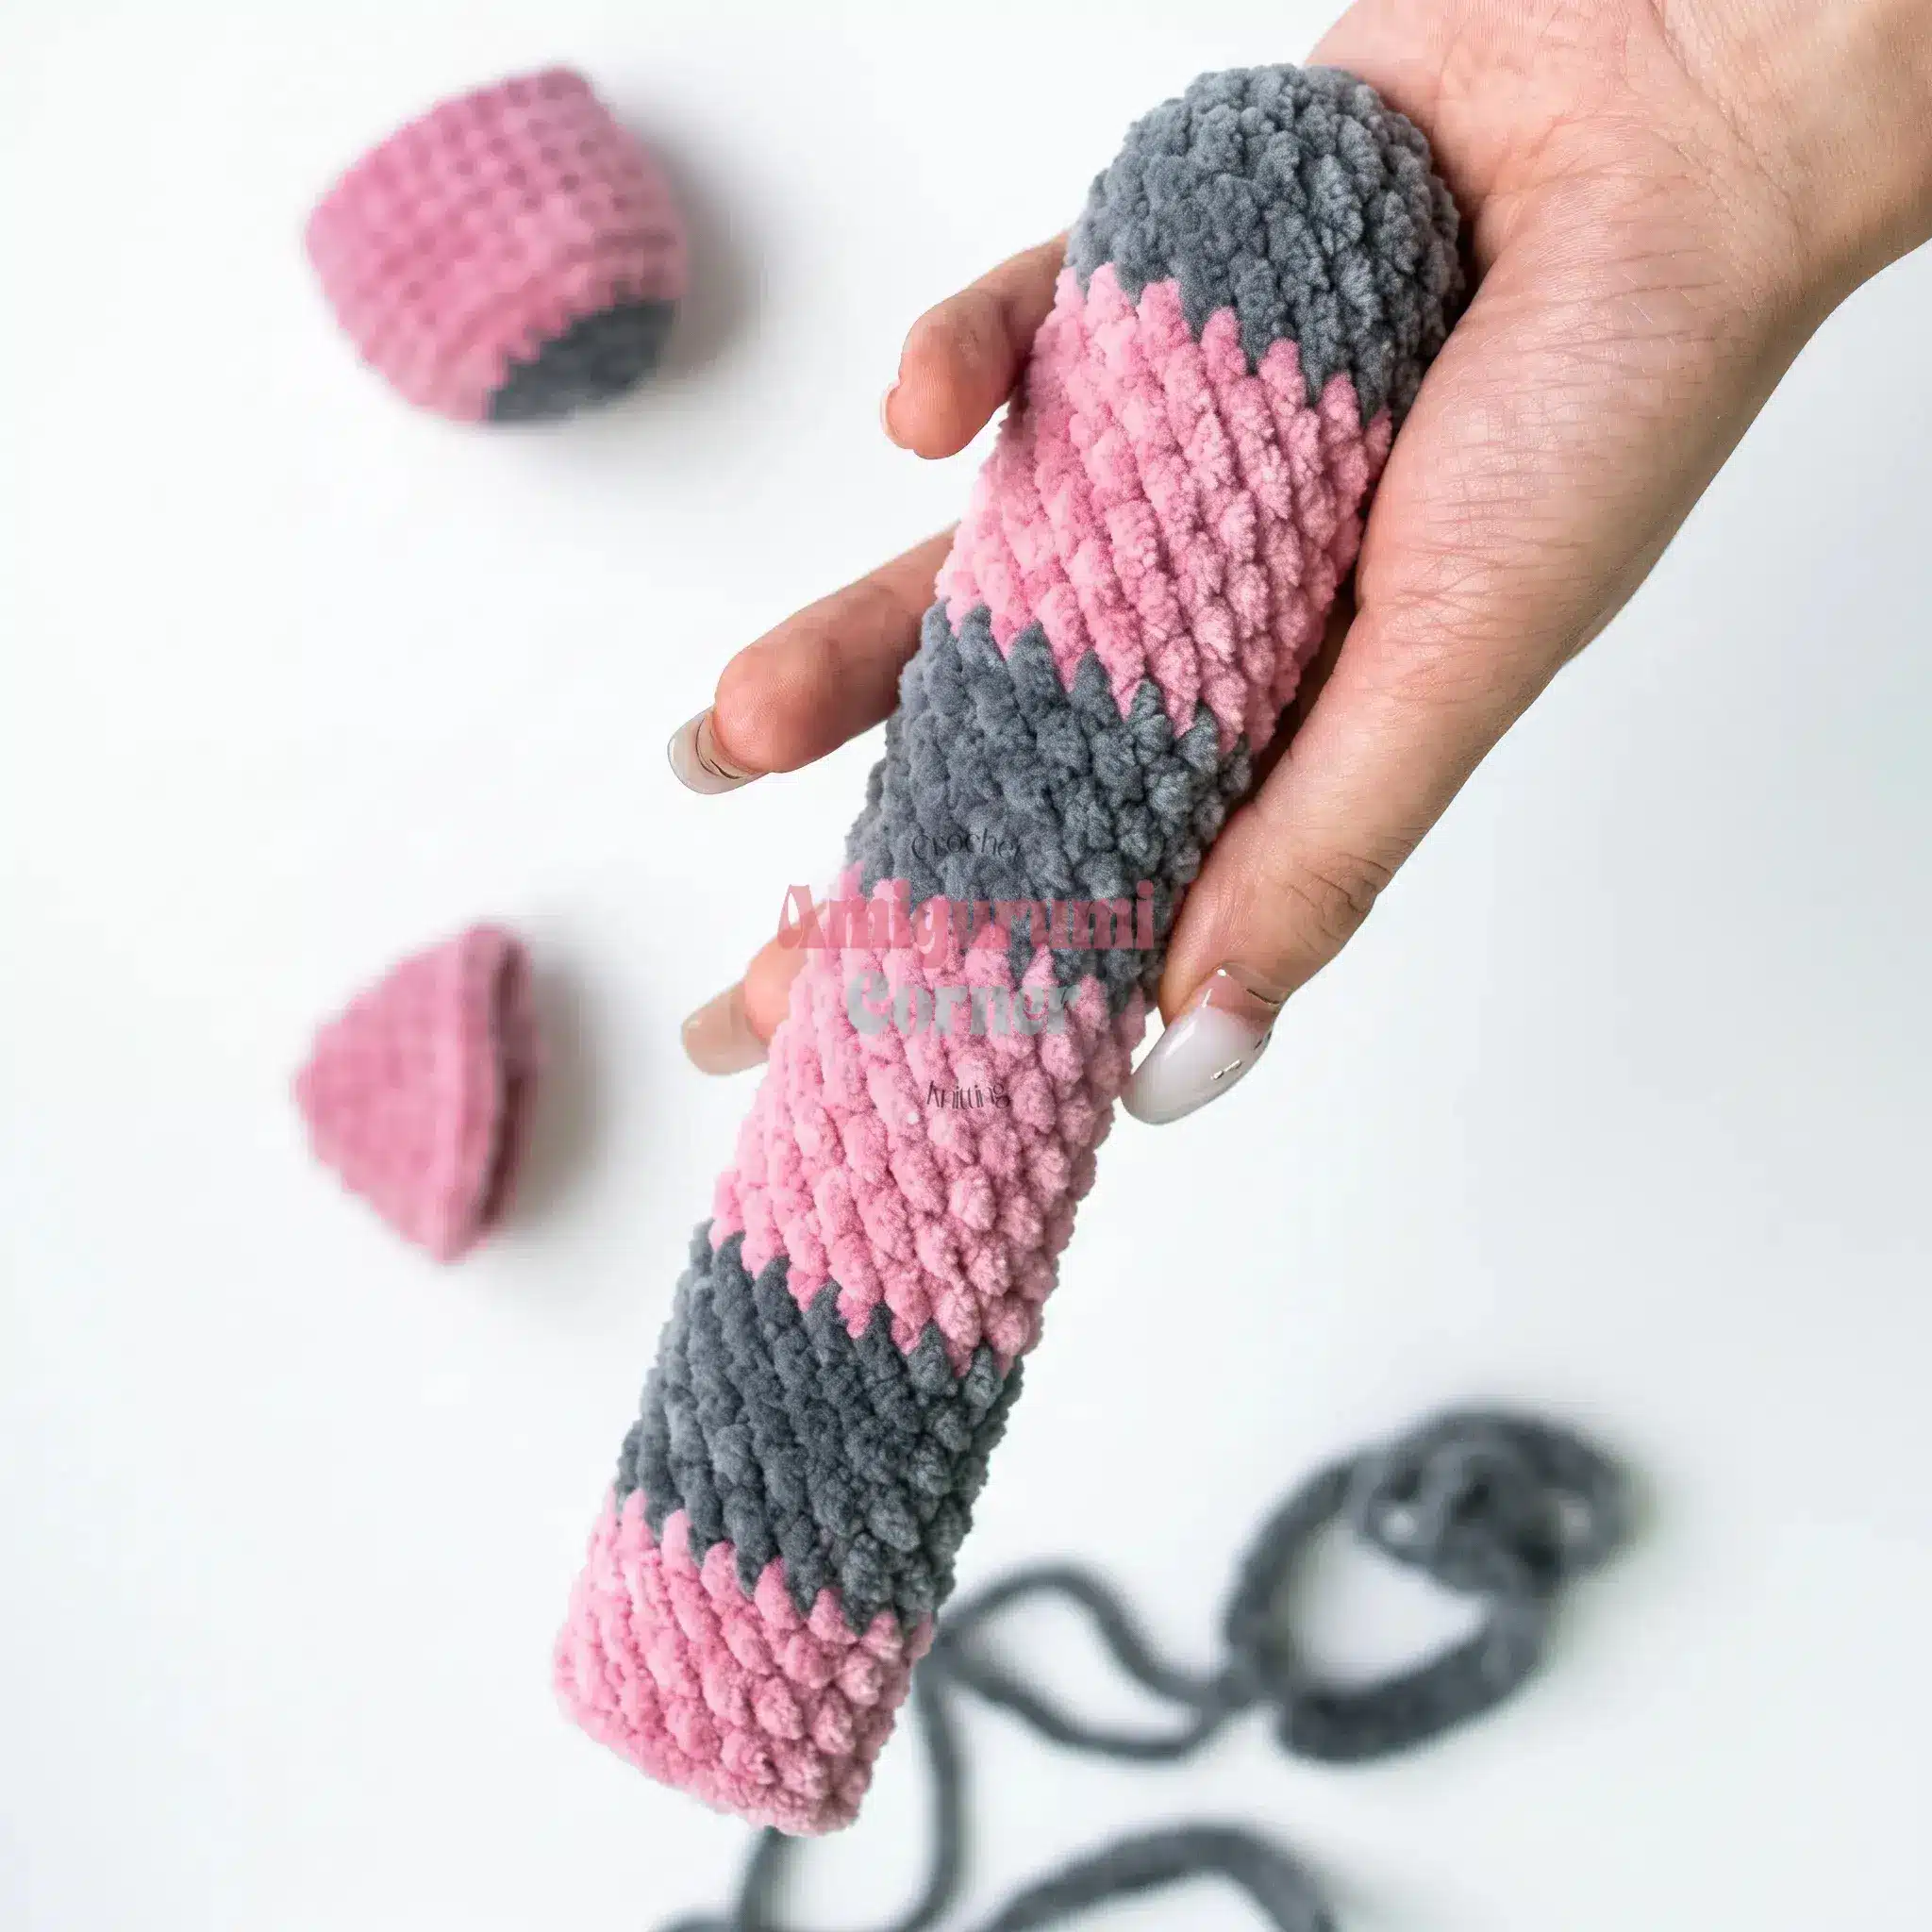
Stuff the tail lightly as you go to maintain a soft, floppy appearance. Unlike the head and body, the tail should not be stuffed firmly.
What if I don’t have the exact yarn shown?
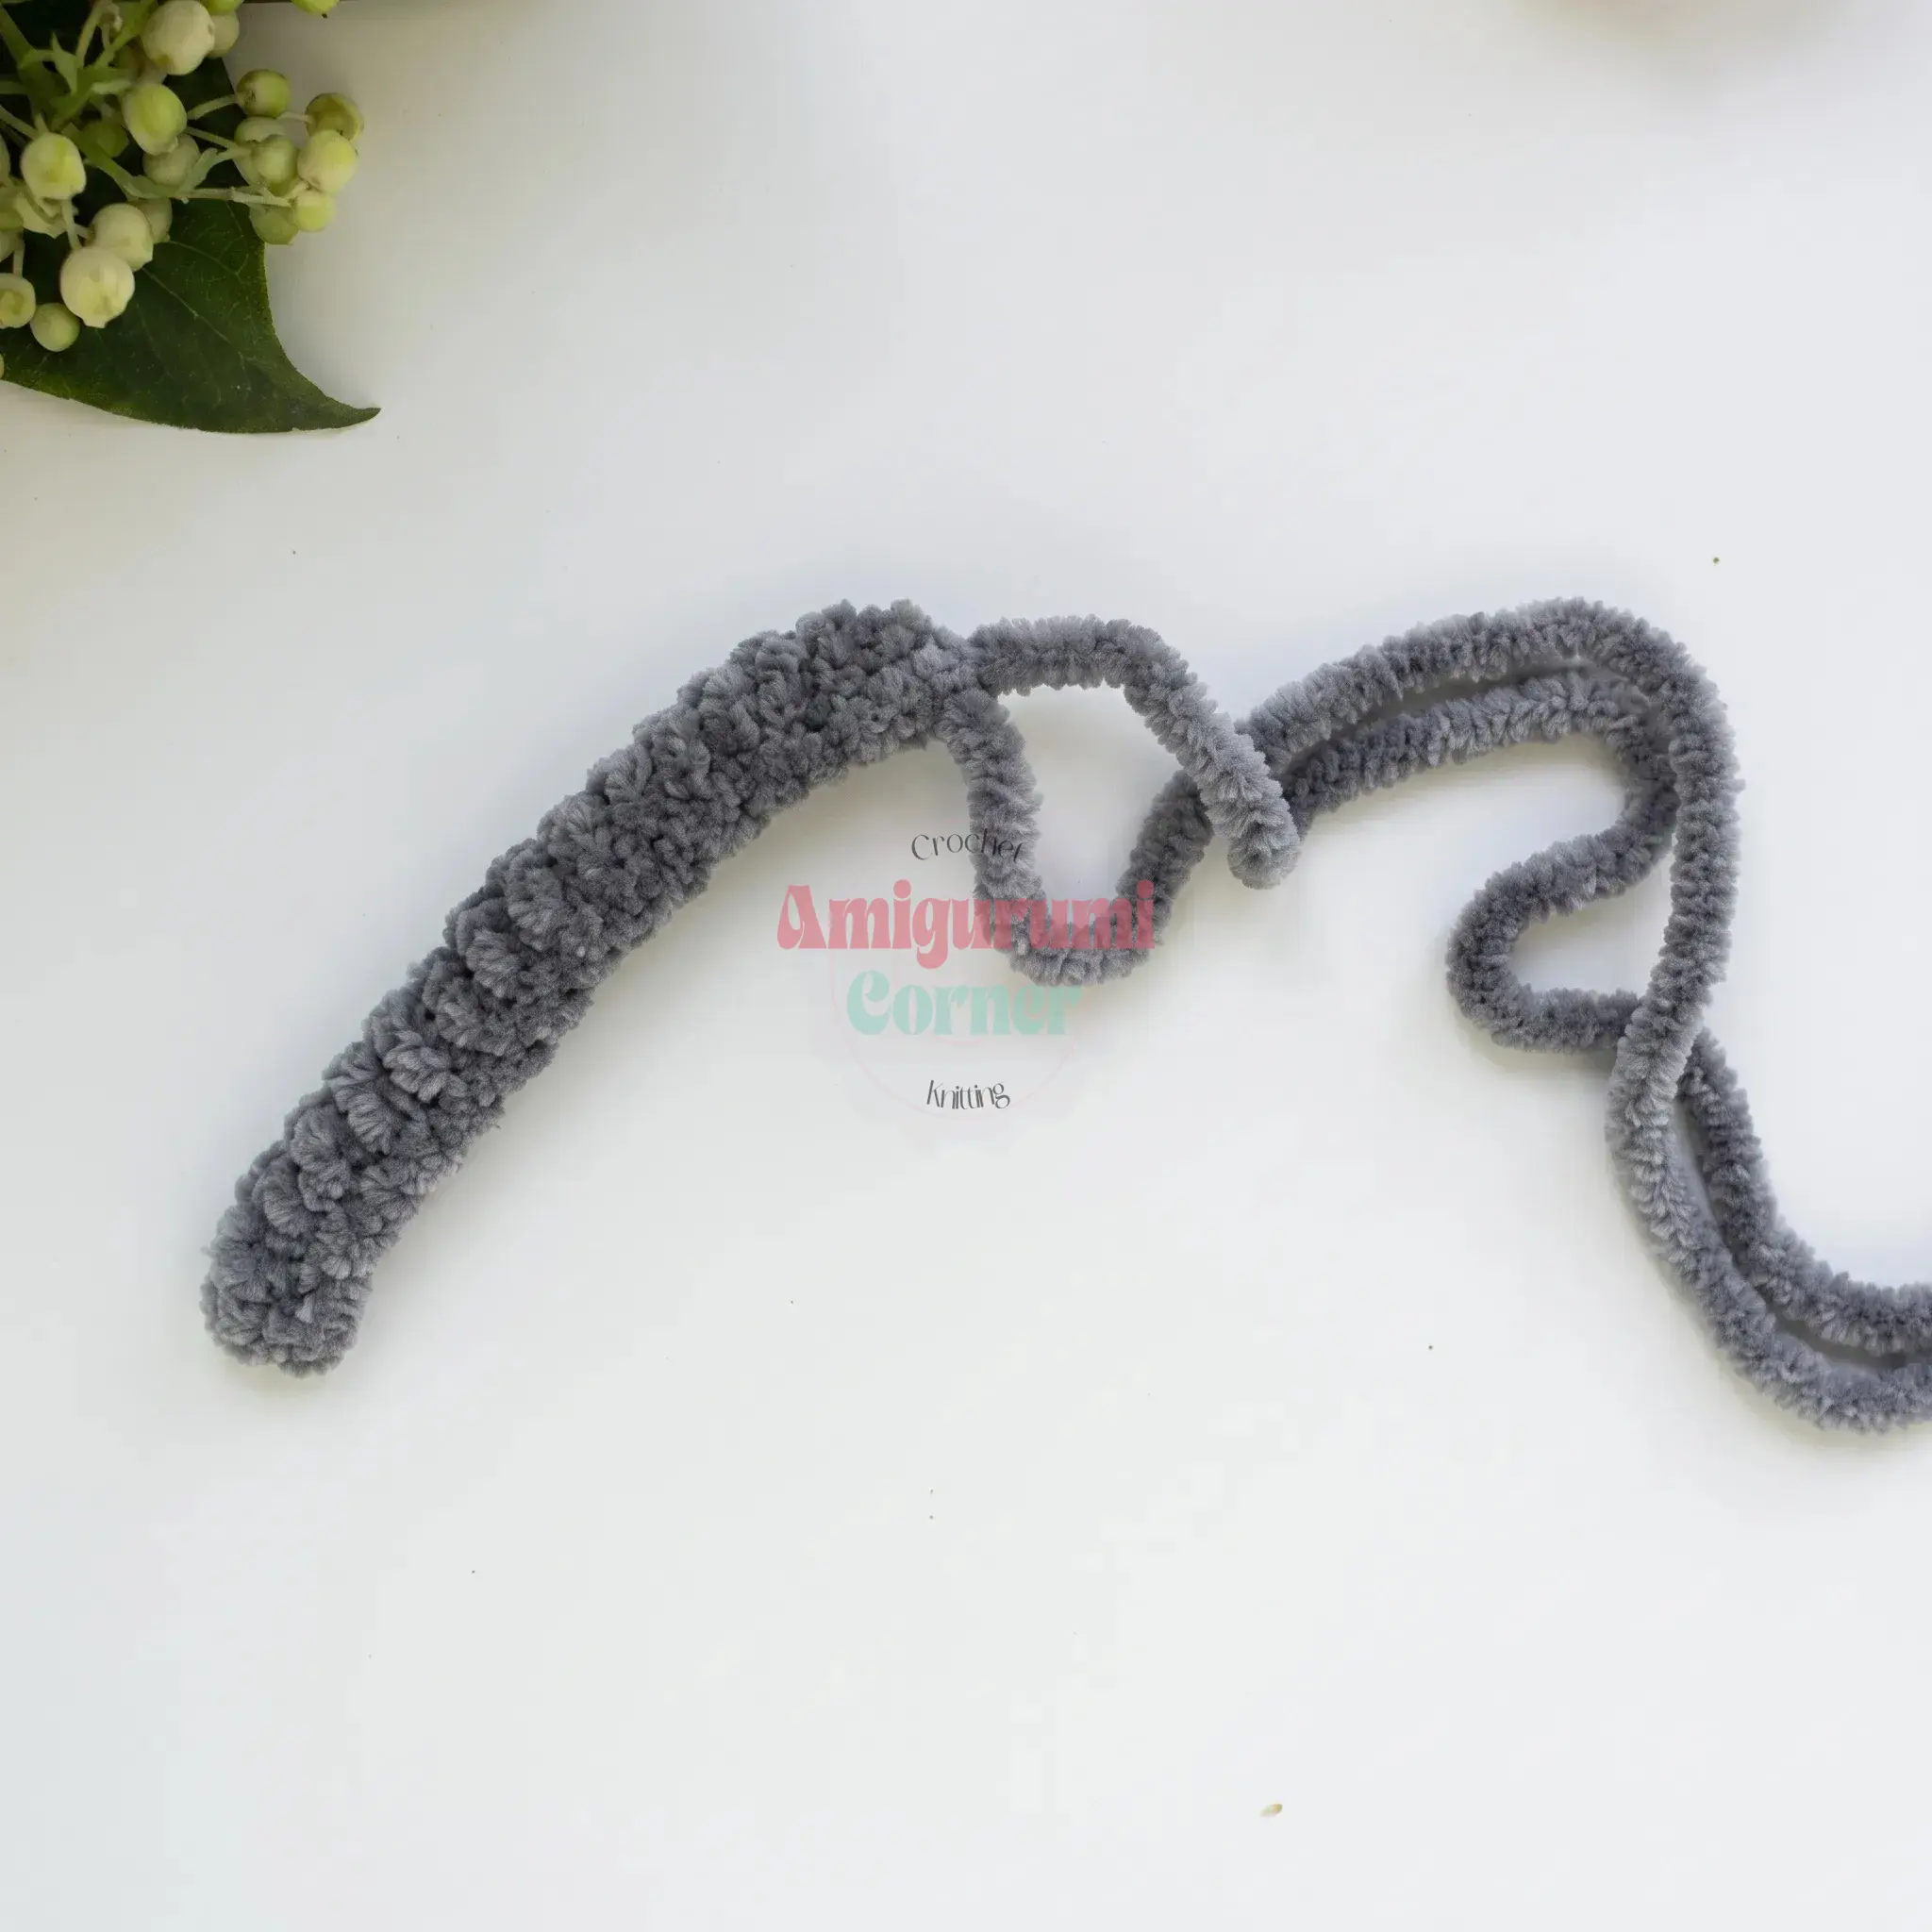
You can substitute the yarn as long as it is a plush or velvet worsted-weight yarn. The pattern is designed to work with the texture and drape of these specific fibers.
Pin This Crochet Pattern!