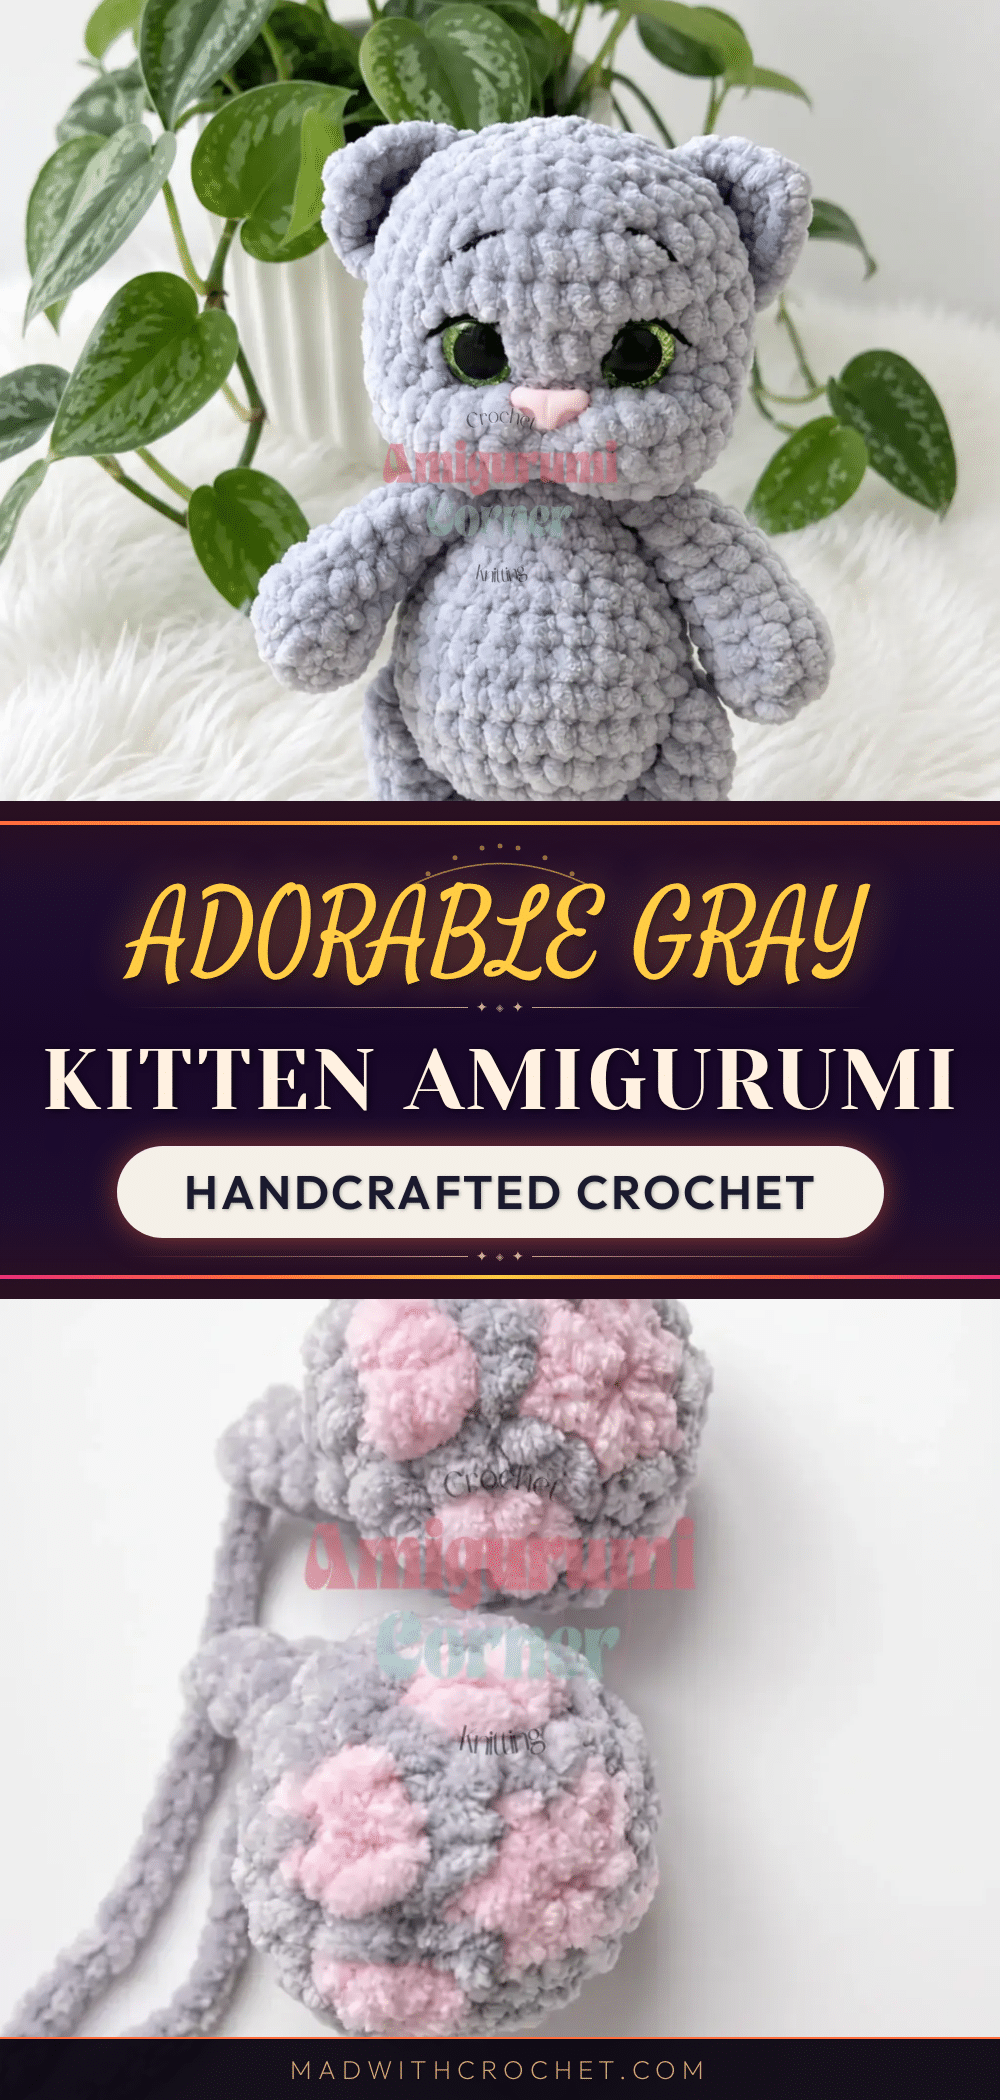
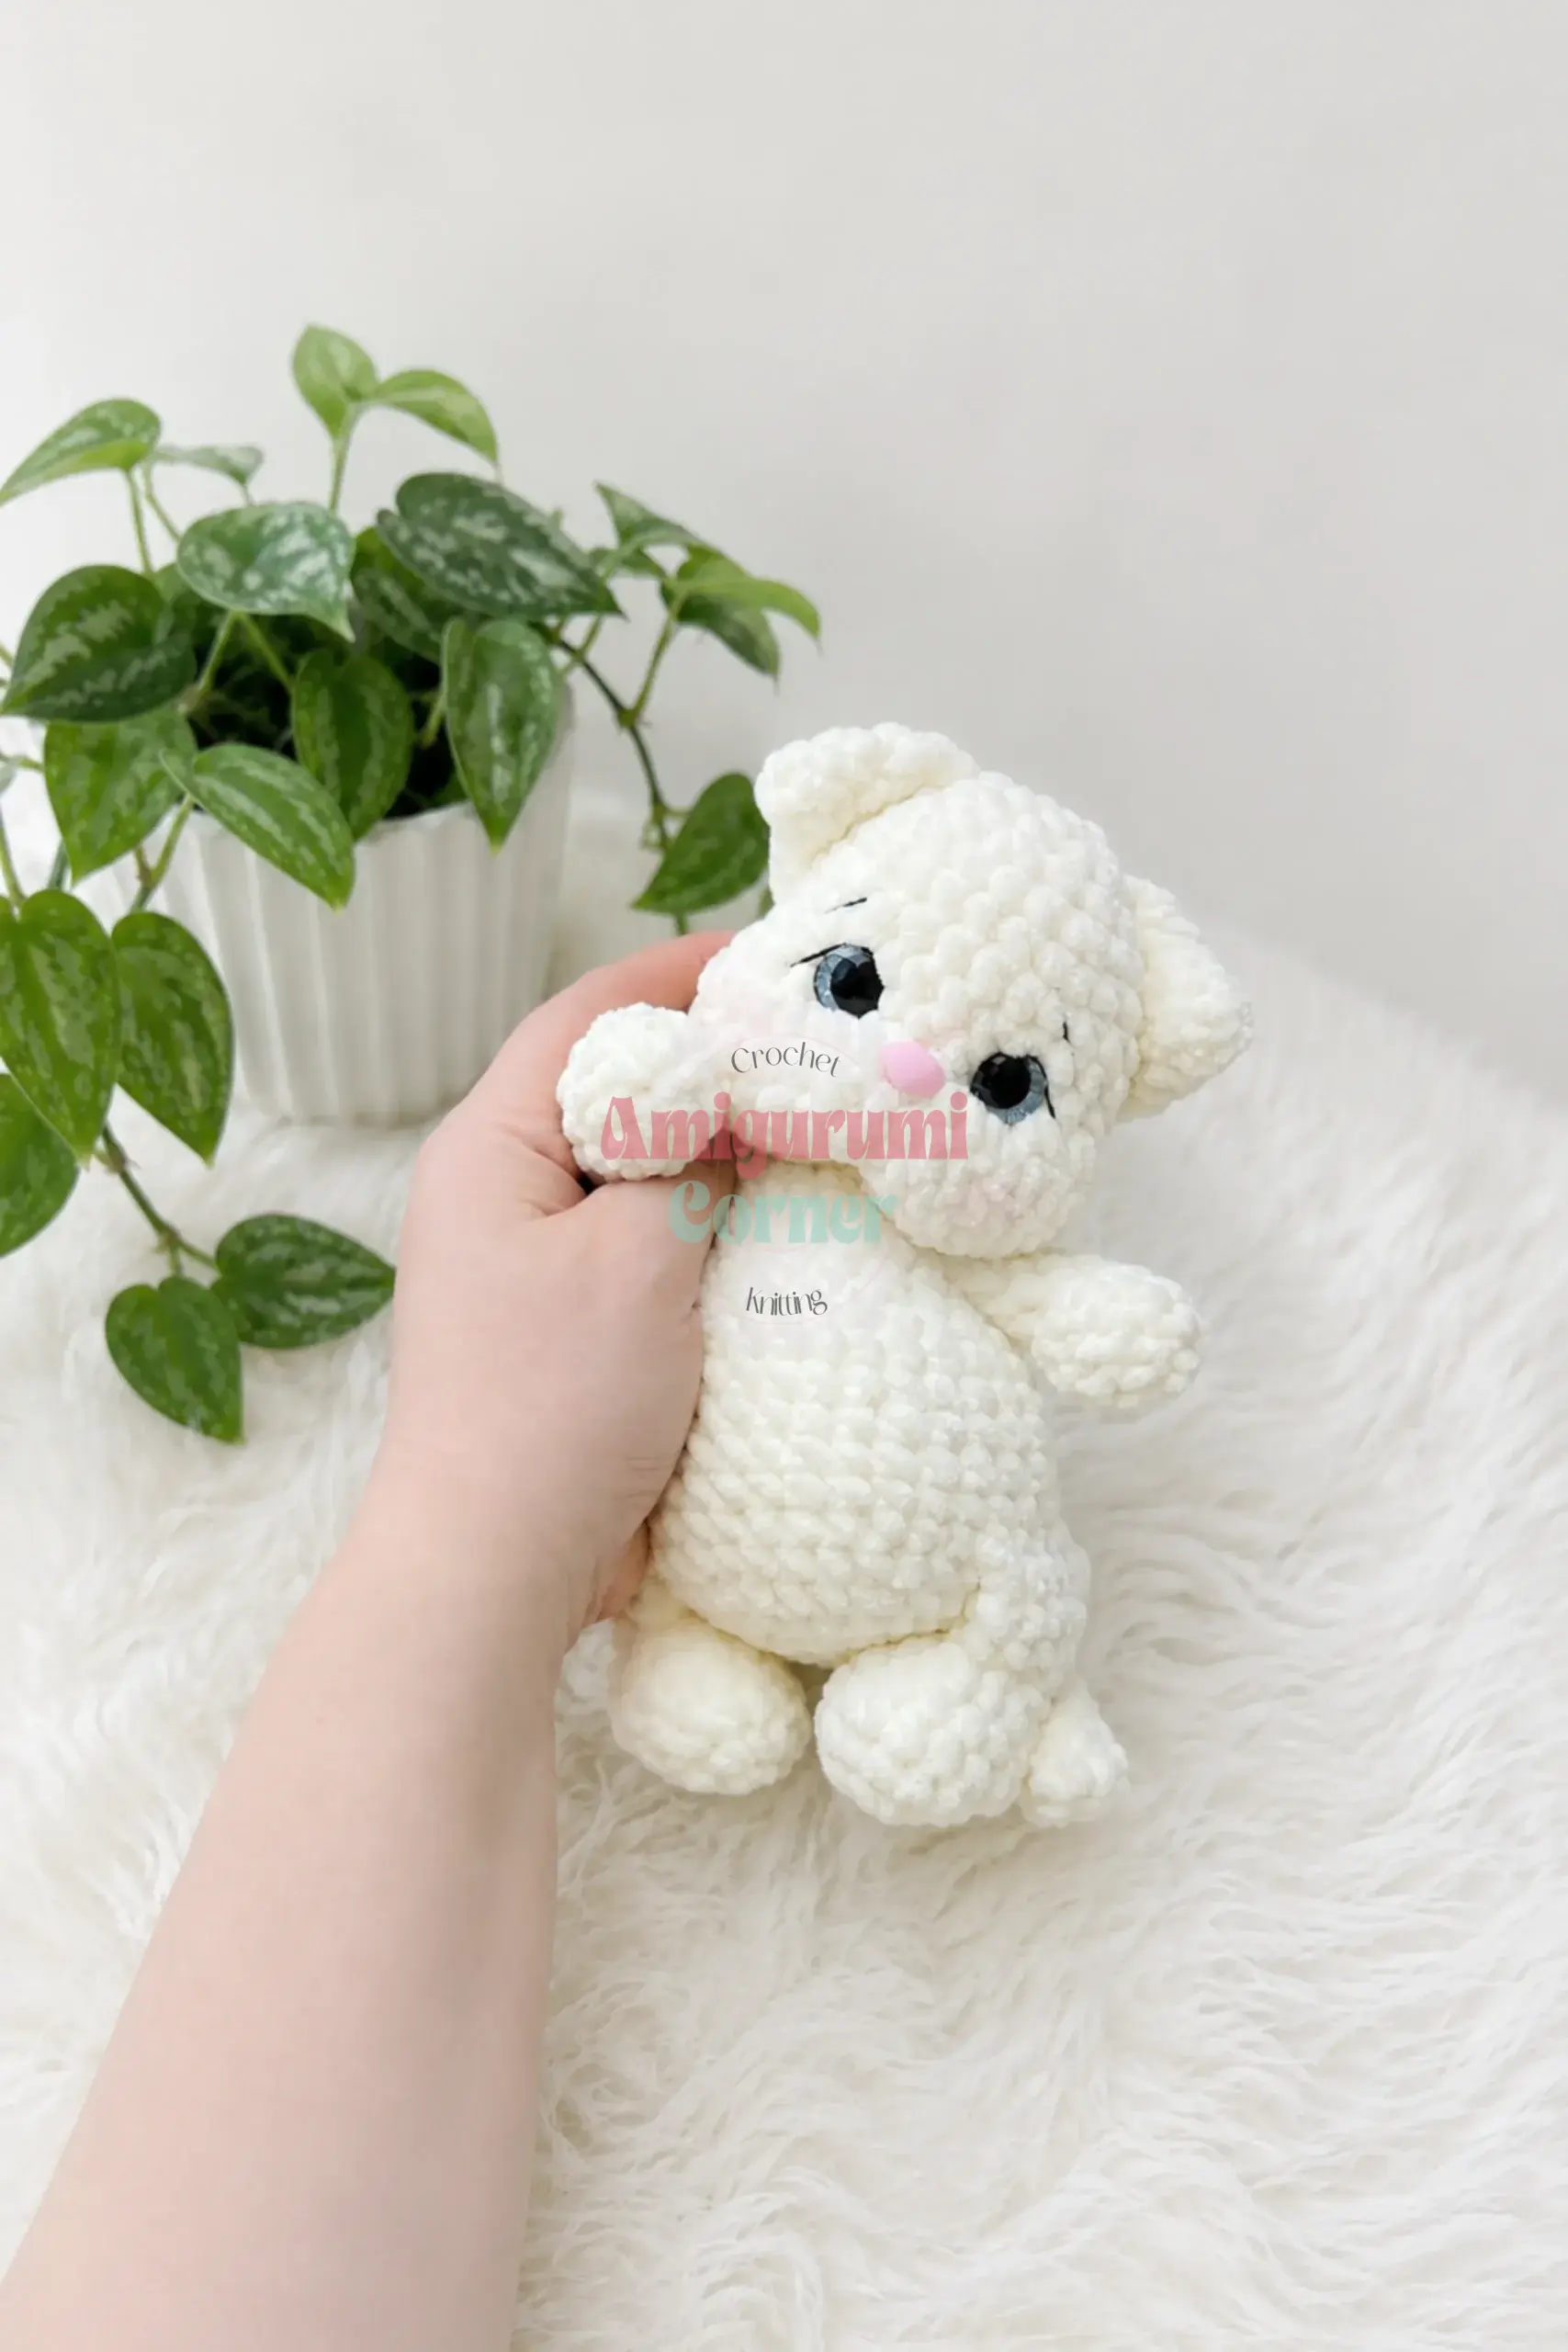
Did you accidentally chain up at the end of a round and suddenly have a visible seam that ruins the spiral magic? Or maybe you’re worried that amigurumi requires a dozen separate pieces and hours of sewing? This project is designed to silence those worries. The Gray Kitten Amigurumi Pattern is built for confident beginners who want a cuddly result without the stress. The head and body are worked as one continuous piece, meaning you only have to sew on the ears and attach the limbs. It is the perfect way to practice your tension and shaping while creating a soft, gray companion that stands about 6.5–7 inches tall.
Maker Notes
There is something undeniably soothing about plush yarn. When you choose a velvet or plush weight for this kitten, you are selecting a material that hides minor tension inconsistencies better than cotton or acrylic. The texture adds a layer of “fluff” that makes the amigurumi look professionally finished even if your stitches aren’t perfectly uniform. I recommend using a contrasting color for the paw pads if you want a pop of pink, but the pattern is forgiving enough to work in a single color if you prefer a minimalist look. The face-shaping technique described in the assembly section is the secret weapon here; it transforms a simple round head into an expressive, cat-like face with a defined muzzle. Take your time with the thread cinching—it is the step that gives this kitten its personality.
Project Overview
This amigurumi kitten pattern is built for confident beginners. It utilizes US crochet terminology and works in continuous spiral rounds for most pieces, with only the ears worked in turned rows. The head and body are joined seamlessly, reducing the assembly workload significantly. The finished kitten stands approximately 6.5–7 inches (17–18 cm) tall, depending on your yarn and tension.
Materials
- Plush/velvet yarn, 120g/100m, Main Color (approximately 0.5 skein)
- Plush/velvet yarn, small amount of Contrast Color for paw pads (optional)
- Hook: US G/6 (4mm)
- Safety eyes with sparkle, trapezoid shape, 14mm (1 pair)
- Cat nose, 15x8mm (1)
- Craft glue, for attaching the nose
- Black worsted-weight yarn, for embroidering the face
- Polyester fiberfill, approximately 100g
- Yarn needle (large eye), for sewing pieces together
- Long doll needle plus strong thin thread (such as cotton crochet thread), for the face-shaping steps
- Stitch markers
- Scissors
Gauge and Finished Size
Gauge isn’t critical here — your finished size will simply shift a little with a tighter or looser tension. The designer worked at a gauge that produced a 6.5–7 inch (17–18 cm) kitten. If you swap yarns, ensure they are similar in weight to the original 120g/100m yarn to maintain this size.
Abbreviations
- ch — Chain
- dec — Decrease (invisible decrease)
- hdc — Half Double Crochet
- inc — Increase (2 sc in same stitch)
- MR — Magic Ring
- sc — Single Crochet
- sl st — Slip Stitch
- st(s) — Stitch(es)
Pattern Notes
- All pieces are worked in continuous spiral rounds — do not join or chain up between rounds unless a step tells you otherwise. Only the ears are worked in turned rows.
- Stitch counts are given at the end of every round or row in parentheses, like (12).
- The head and body are worked as a single continuous piece — you’ll transition straight from the last round of the body into the first round of the head with no break.
- Only the arms and legs are stuffed in their lower portions; leave the upper sections unstuffed so the limbs stay soft and flexible.
- Some rounds ask you to shift the start of the round by one stitch to keep increases or decreases stacked vertically. This extra stitch is not counted in the stitch total — just work it, then continue the round as written.
Pattern Instructions
Arms (make 2)
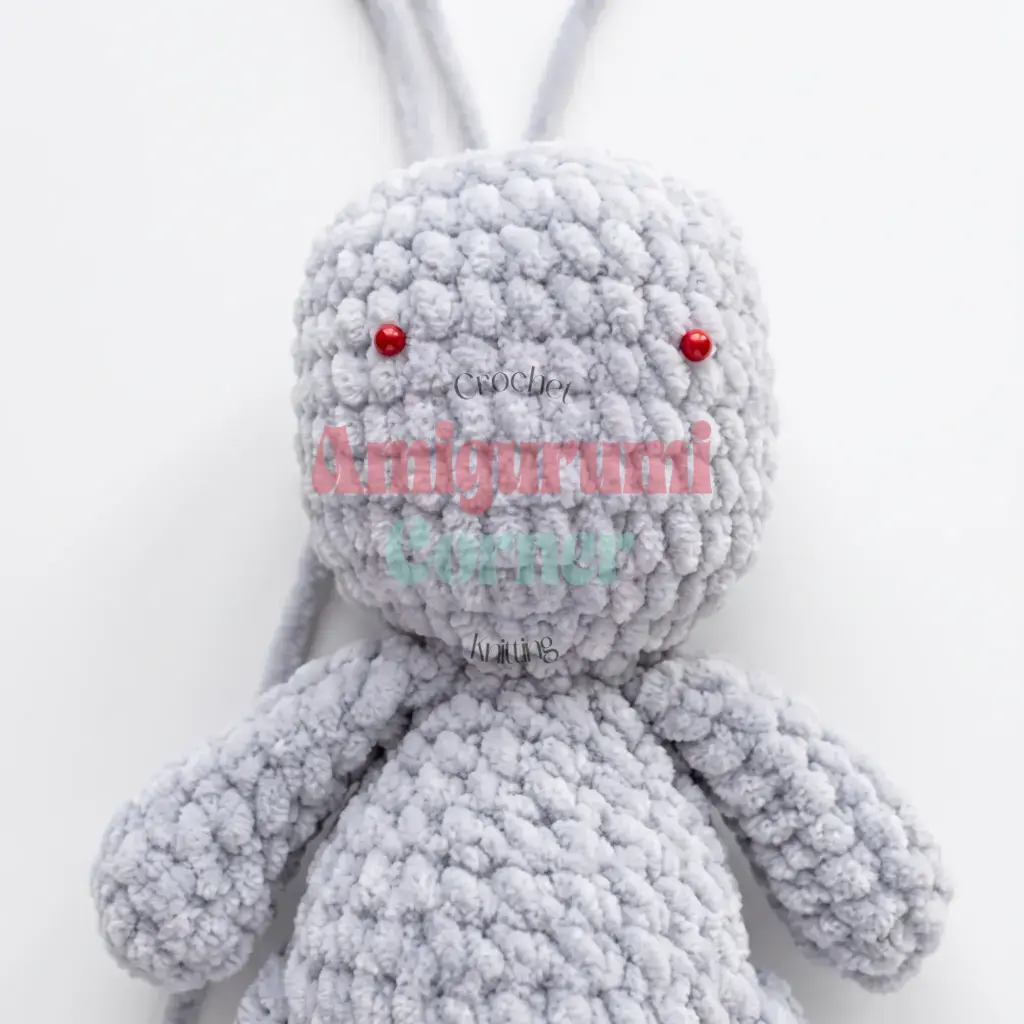
Rnd 1: 5 sc in MR, or ch 2 and work 5 sc starting in the 2nd ch from hook. (5)
Rnd 2: inc in each st around. (10)
Rnd 3: sc in each st around. (10)
Rnd 4: 2 dec, 6 sc — work 2 dec, then sc in the next 6 sts. (8)
Stuff only the lower portion of the arm; do not add more stuffing above this point.
Rnds 5–9: sc in each st around. (8) — repeat for a total of 5 rounds.
Your work should end at the side of the arm, with the Rnd 4 decreases sitting on the inner side. Shift the start of the round by a stitch if needed to line this up — this shift stitch is not counted.
Flatten the arm so the opening lies flat, then sc through both layers together, 4 sc across. Fasten off and weave in the end.
Legs (make 2)
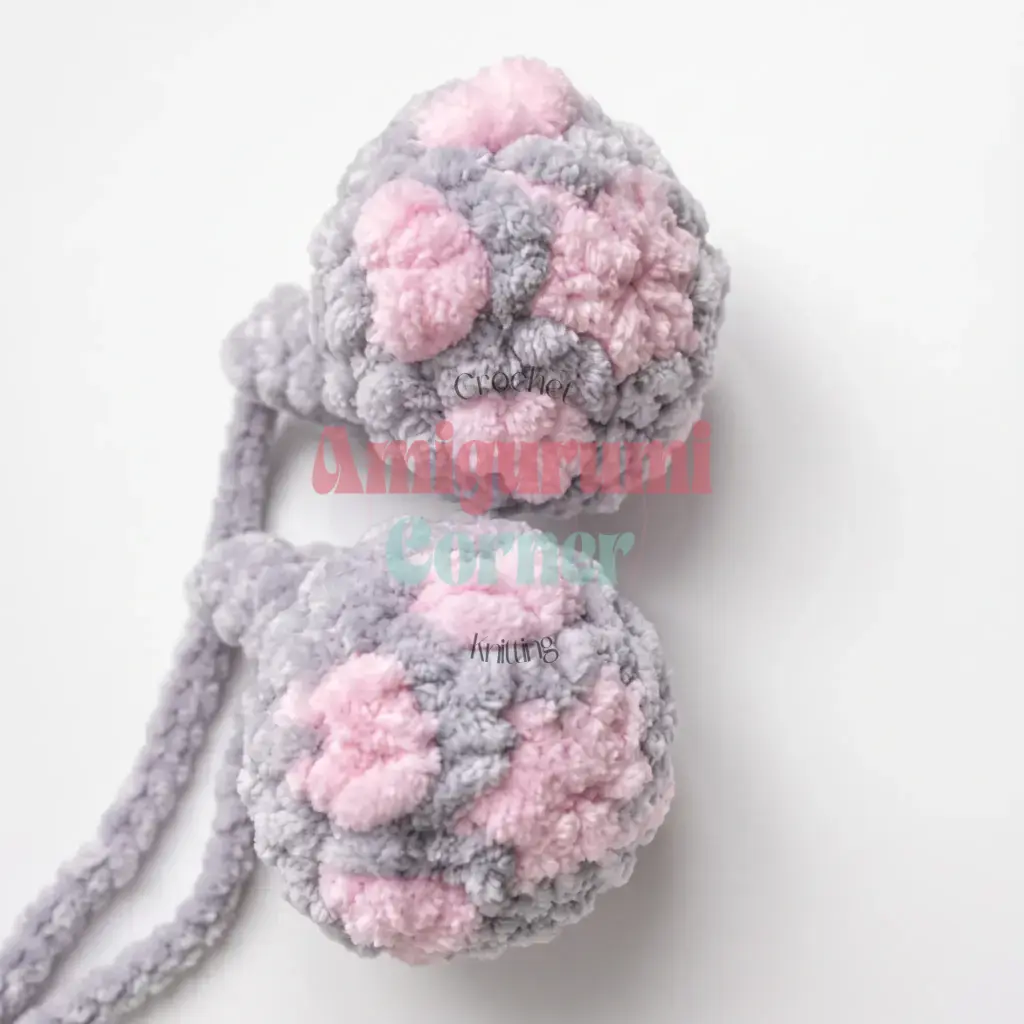
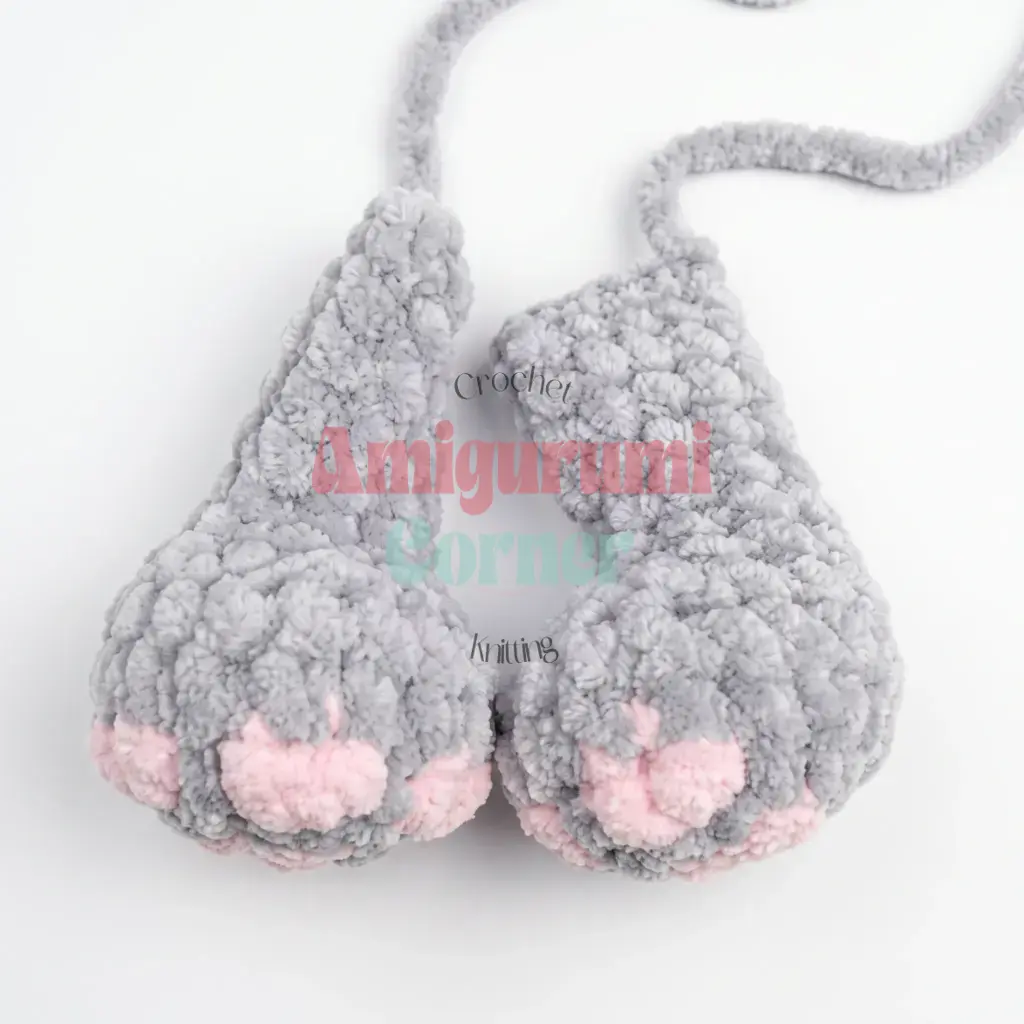
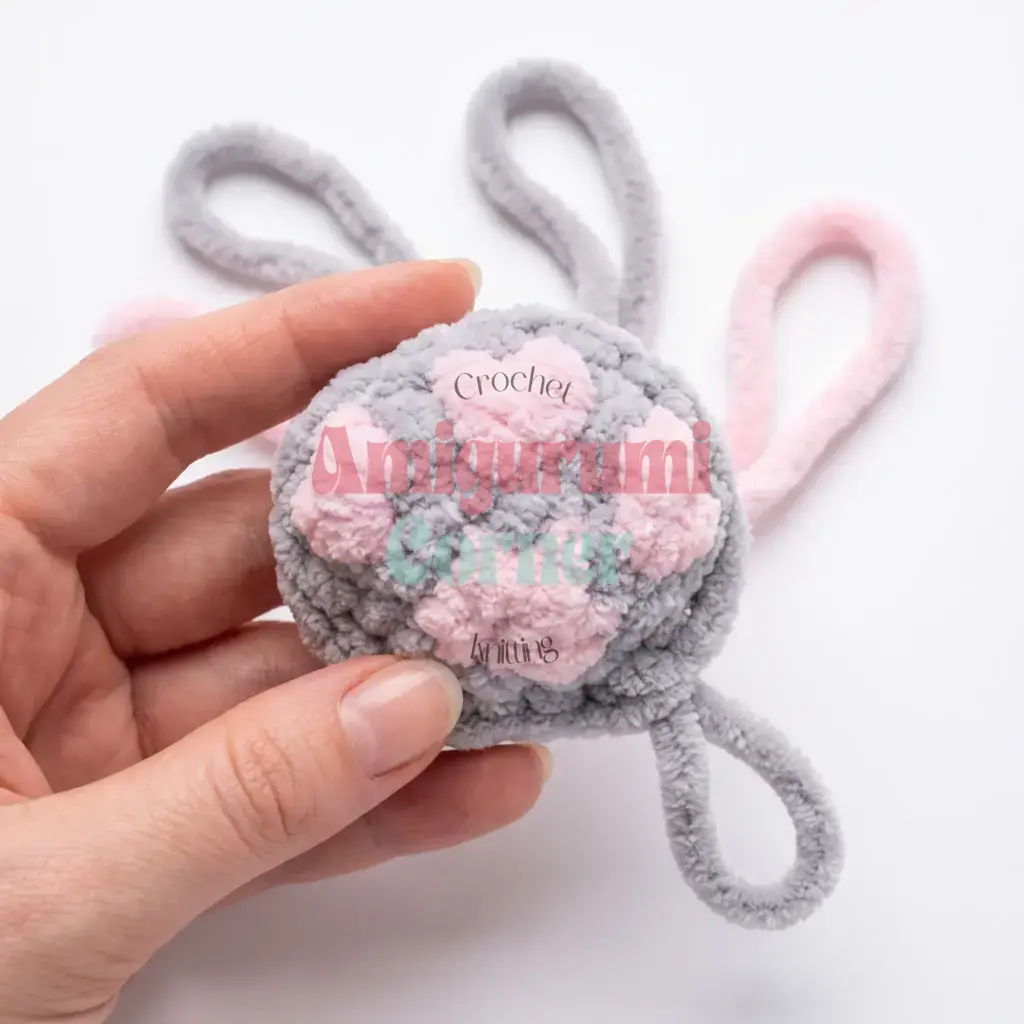
Paw pads are optional — you can work the legs in a single color throughout if you prefer. If you’re adding paw pads, start in Contrast Color.
Rnd 1: 6 sc in MR, or ch 2 and work 6 sc starting in the 2nd ch from hook. (6) Switch to Main Color; do not cut the Contrast Color yarn.
Rnd 2: inc in each st around. (12)
In Rnd 3, work each paw-pad increase as a double crochet: start the yarn over in Contrast Color, then finish the stitch in Main Color — this creates the pad shape. If you’re skipping paw pads and working the leg in one color, simply work Rnd 3 as: 1 sc, inc repeat 6 times around. (18)
Rnd 3: 1 sc, inc worked as a dc (yarn over in Contrast Color, complete in Main Color) repeat 3 times, then 1 sc, inc repeat 3 times. (18) Fasten off and trim the Contrast Color yarn.
Rnds 4–5: sc in each st around. (18) — repeat for a total of 2 rounds.
Rnd 6: 5 dec, then sc in the next 8 sts. (13)
Rnd 7: 3 dec, then sc in the next 7 sts. (10)
Stuff only the lower portion of the leg; do not add more stuffing above this point.
Rnds 8–12: sc in each st around. (10) — repeat for a total of 5 rounds.
Shift the start of the round stitch by stitch until your seam sits at the center back of the foot (roughly 3 shift stitches, not counted in the total). Flatten the leg and sc through both layers together, 5 sc across. Fasten off, leaving a 12 inch (30cm) tail for sewing.
Body
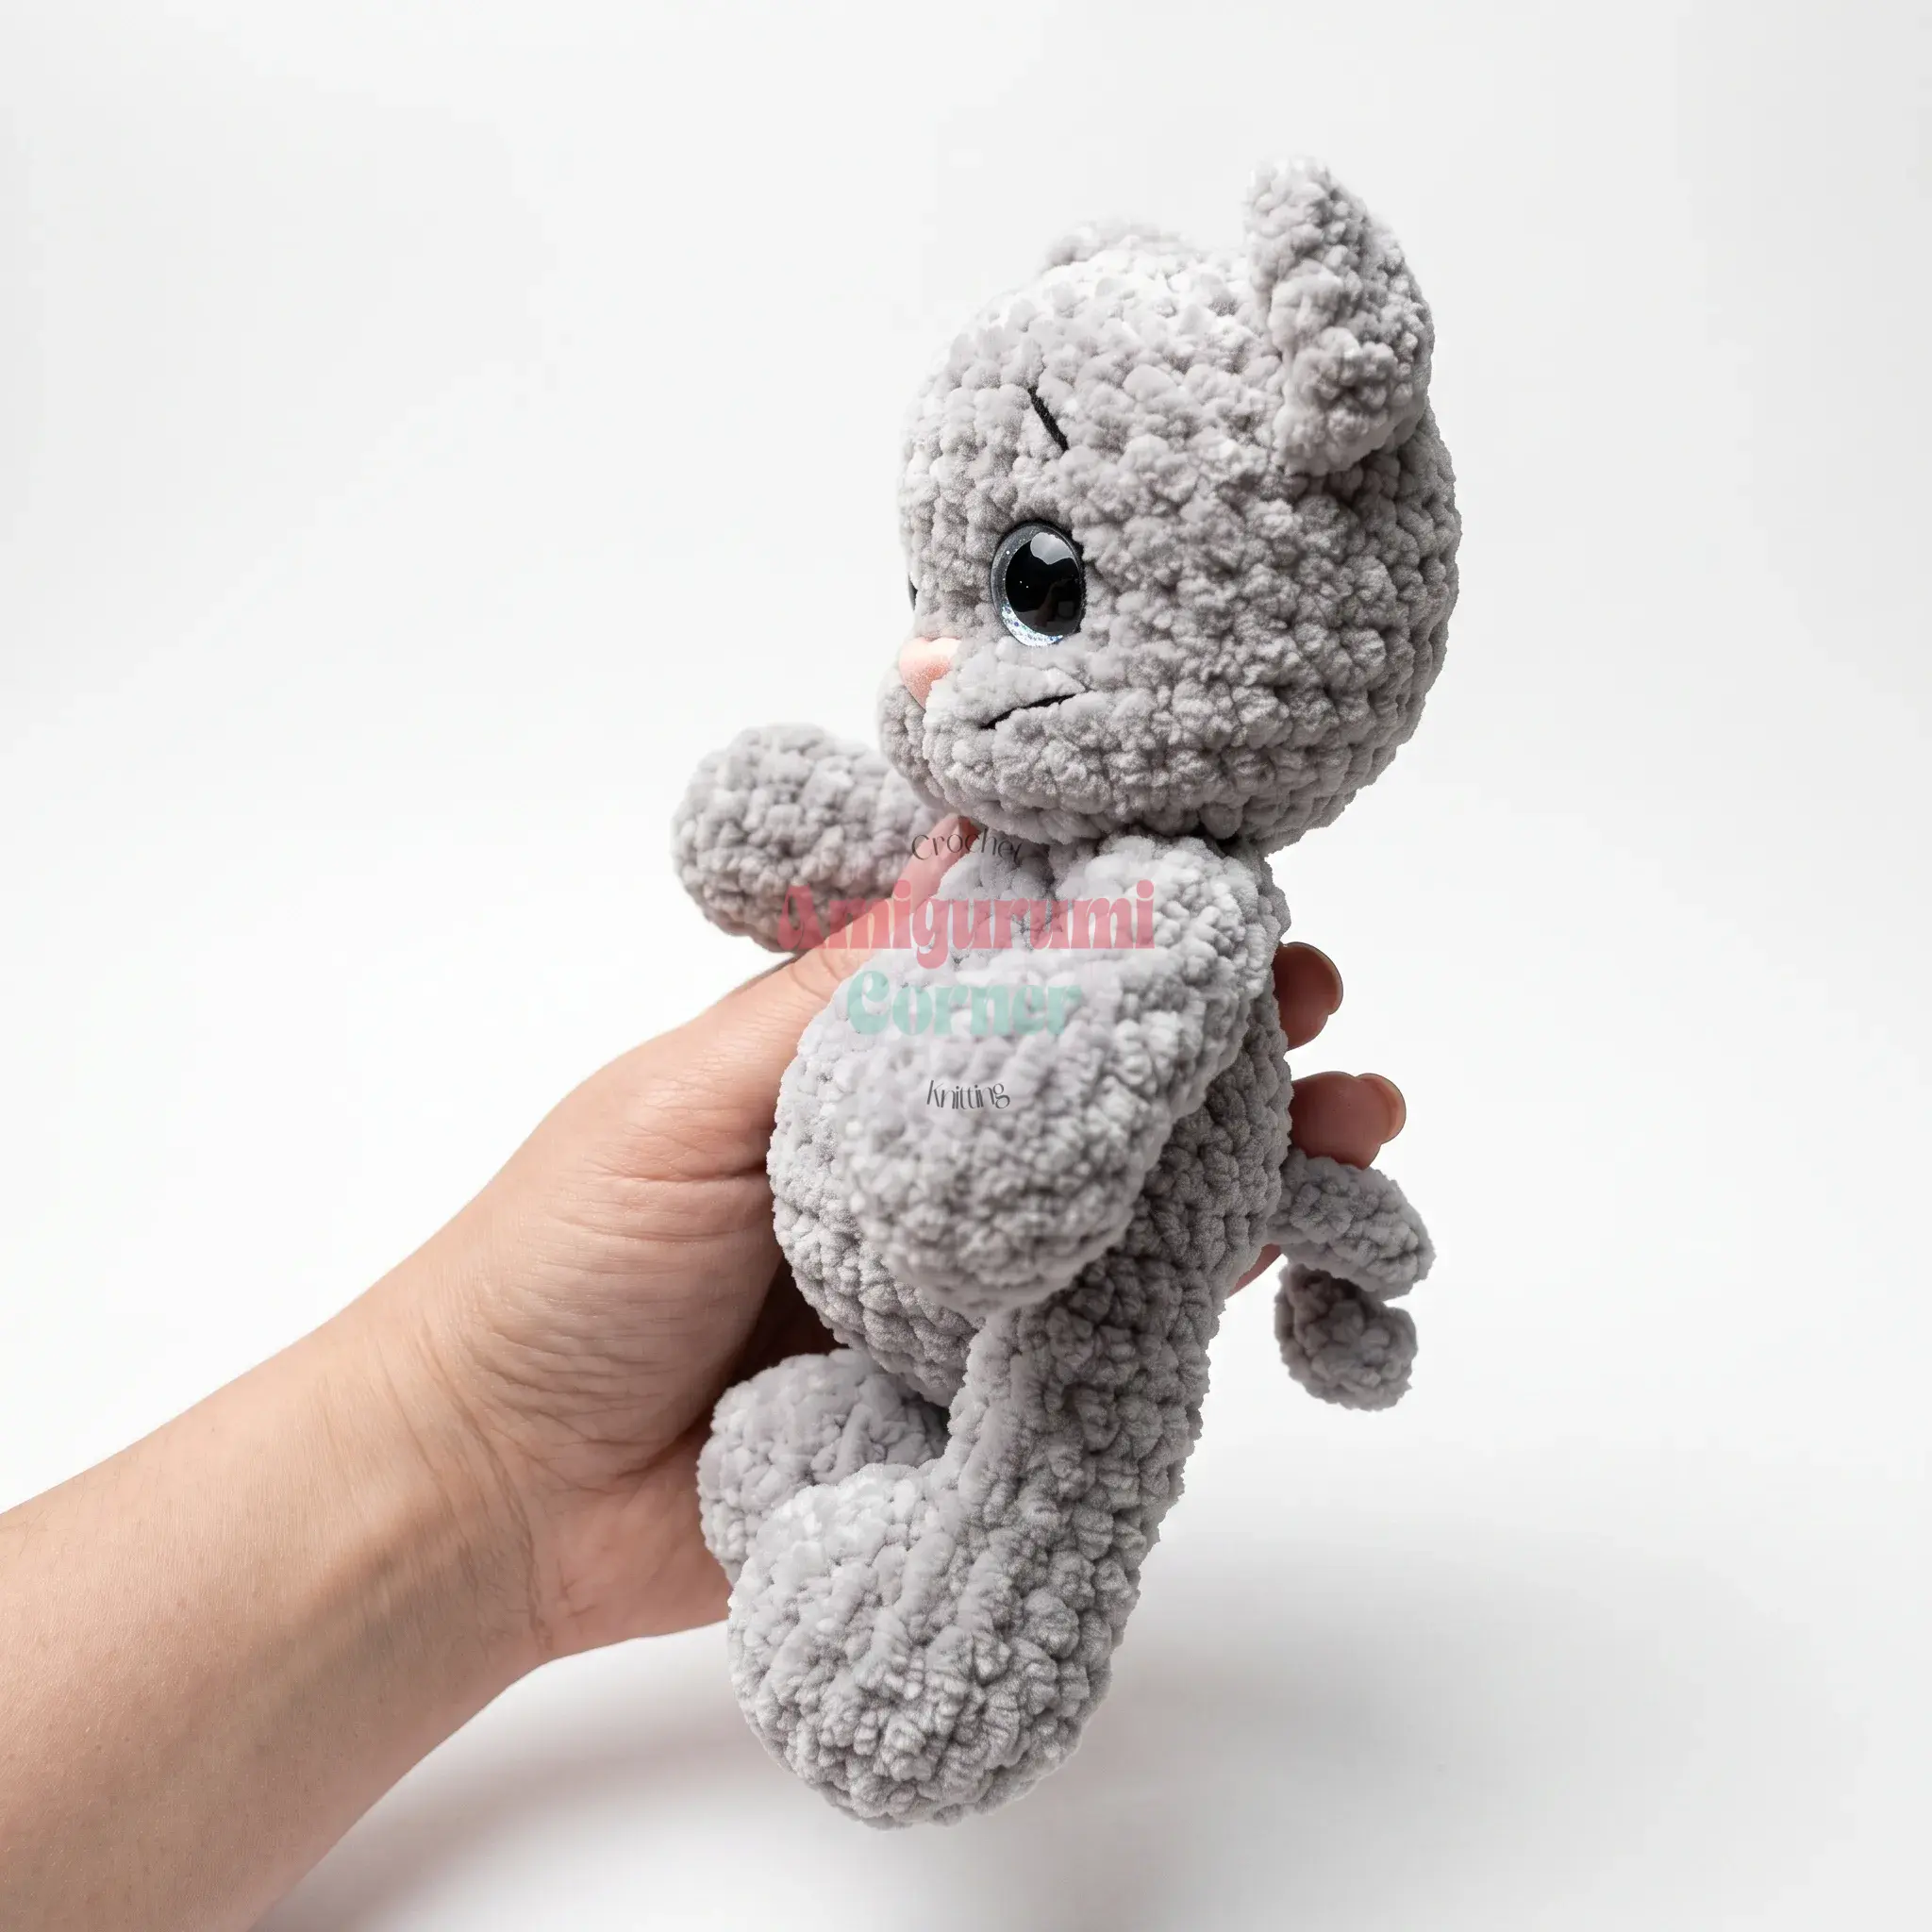
Rnd 1: 6 sc in MR, or ch 2 and work 6 sc starting in the 2nd ch from hook. (6)
Rnd 2: inc in each st around. (12)
Rnd 3: 1 sc, inc repeat 6 times around. (18)
Rnd 4: 2 sc, inc repeat 6 times around. (24)
Rnd 5: 3 sc, inc repeat 6 times around. (30)
Rnd 6: sc in each st around. (30)
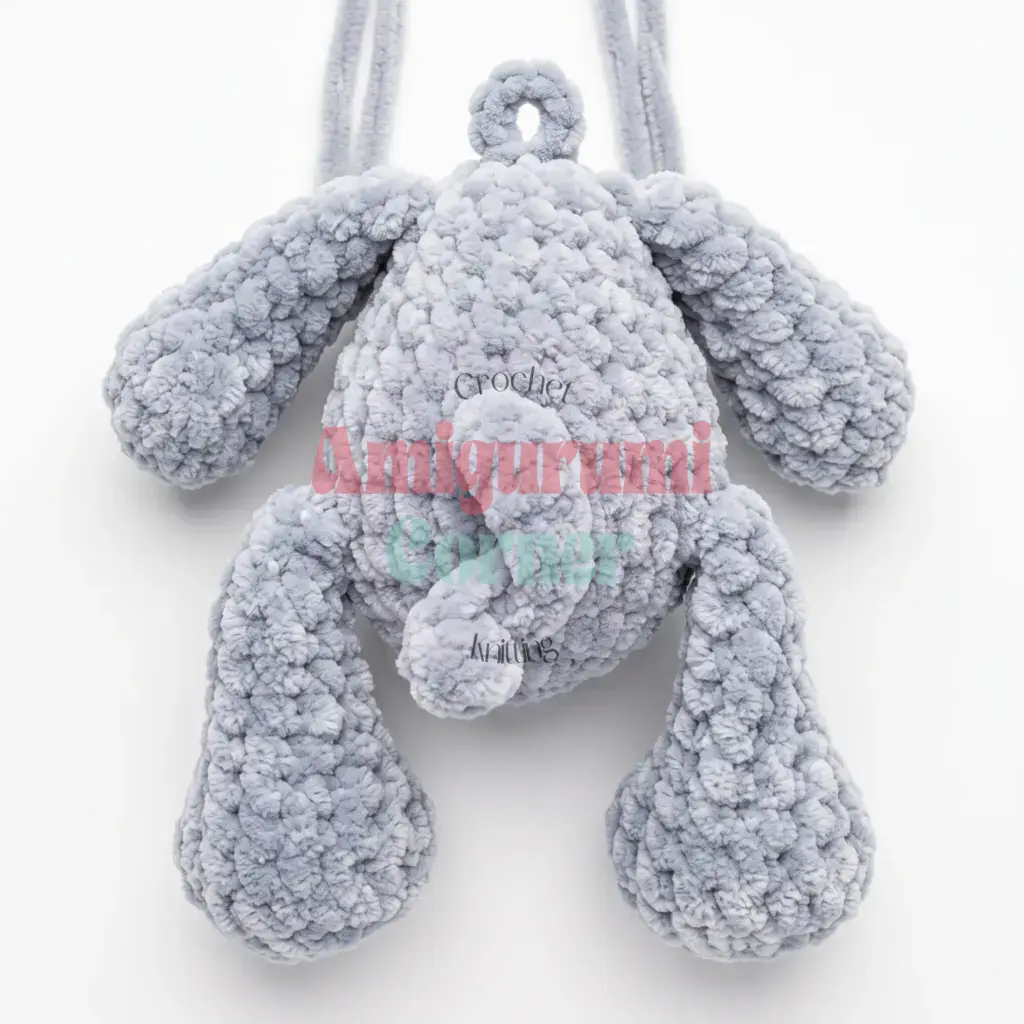
Rnd 7: Attach the legs, leaving the leg tails on the outside for later: 5 sc across the left leg, 12 sc across the belly, 5 sc across the right leg, 4 sc across the back. Now make the tail: ch 13, then sc in the 2nd ch from hook and in each ch across (12 sc). Finish with 4 sc across the back. (30 total)
Rnd 8: 6 sc, dec, then 2 sc, dec repeat twice, then sc in the next 14 sts. (27)
Rnd 9: sc in each st around. (27)
Rnd 10: 5 sc, dec, then 2 sc, dec repeat twice, then sc in the next 12 sts. (24)
Rnd 11: 2 sc, dec repeat 6 times around. (18)
Rnd 12: sc in each st around. (18)
Rnd 13: 3 sc, dec repeat twice, then 4 sc, dec, 2 sc. (15)
Rnd 14: Attach the arms: 4 sc across the arm, dec, 1 sc, 4 sc across the second arm, then 2 dec. (12) Make sure the arms sit directly above the legs — shift the round start by a stitch if needed.
Stuff the body, adding a little extra fiberfill to shape a round belly. Do not fasten off — continue directly into the Head.
Head
Continue working in continuous spiral rounds directly from the last round of the body — there’s no break between body and head.
Rnd 1: inc in each st around. (24)
Rnd 2: 3 sc, inc repeat 6 times around. (30)
Rnd 3: 9 sc, inc repeat 3 times around. (33)
Rnds 4–8: sc in each st around. (33) — repeat for a total of 5 rounds.
Rnd 9: 9 sc, dec repeat 3 times around. (30)
Rnd 10: sc in each st around. (30)
Rnd 11: 3 sc, dec repeat 6 times around. (24) At this point, insert the safety eyes and begin stuffing the head. Place the eyes between Rnds 7 and 8, spacing them 6 stitches apart.
Rnd 12: 2 sc, dec repeat 6 times around. (18)
Rnd 13: 1 sc, dec repeat 6 times around. (12)
Rnd 14: dec around, 6 times total. Pull the tail through the remaining stitches to close the opening, fasten off, and weave in the end.
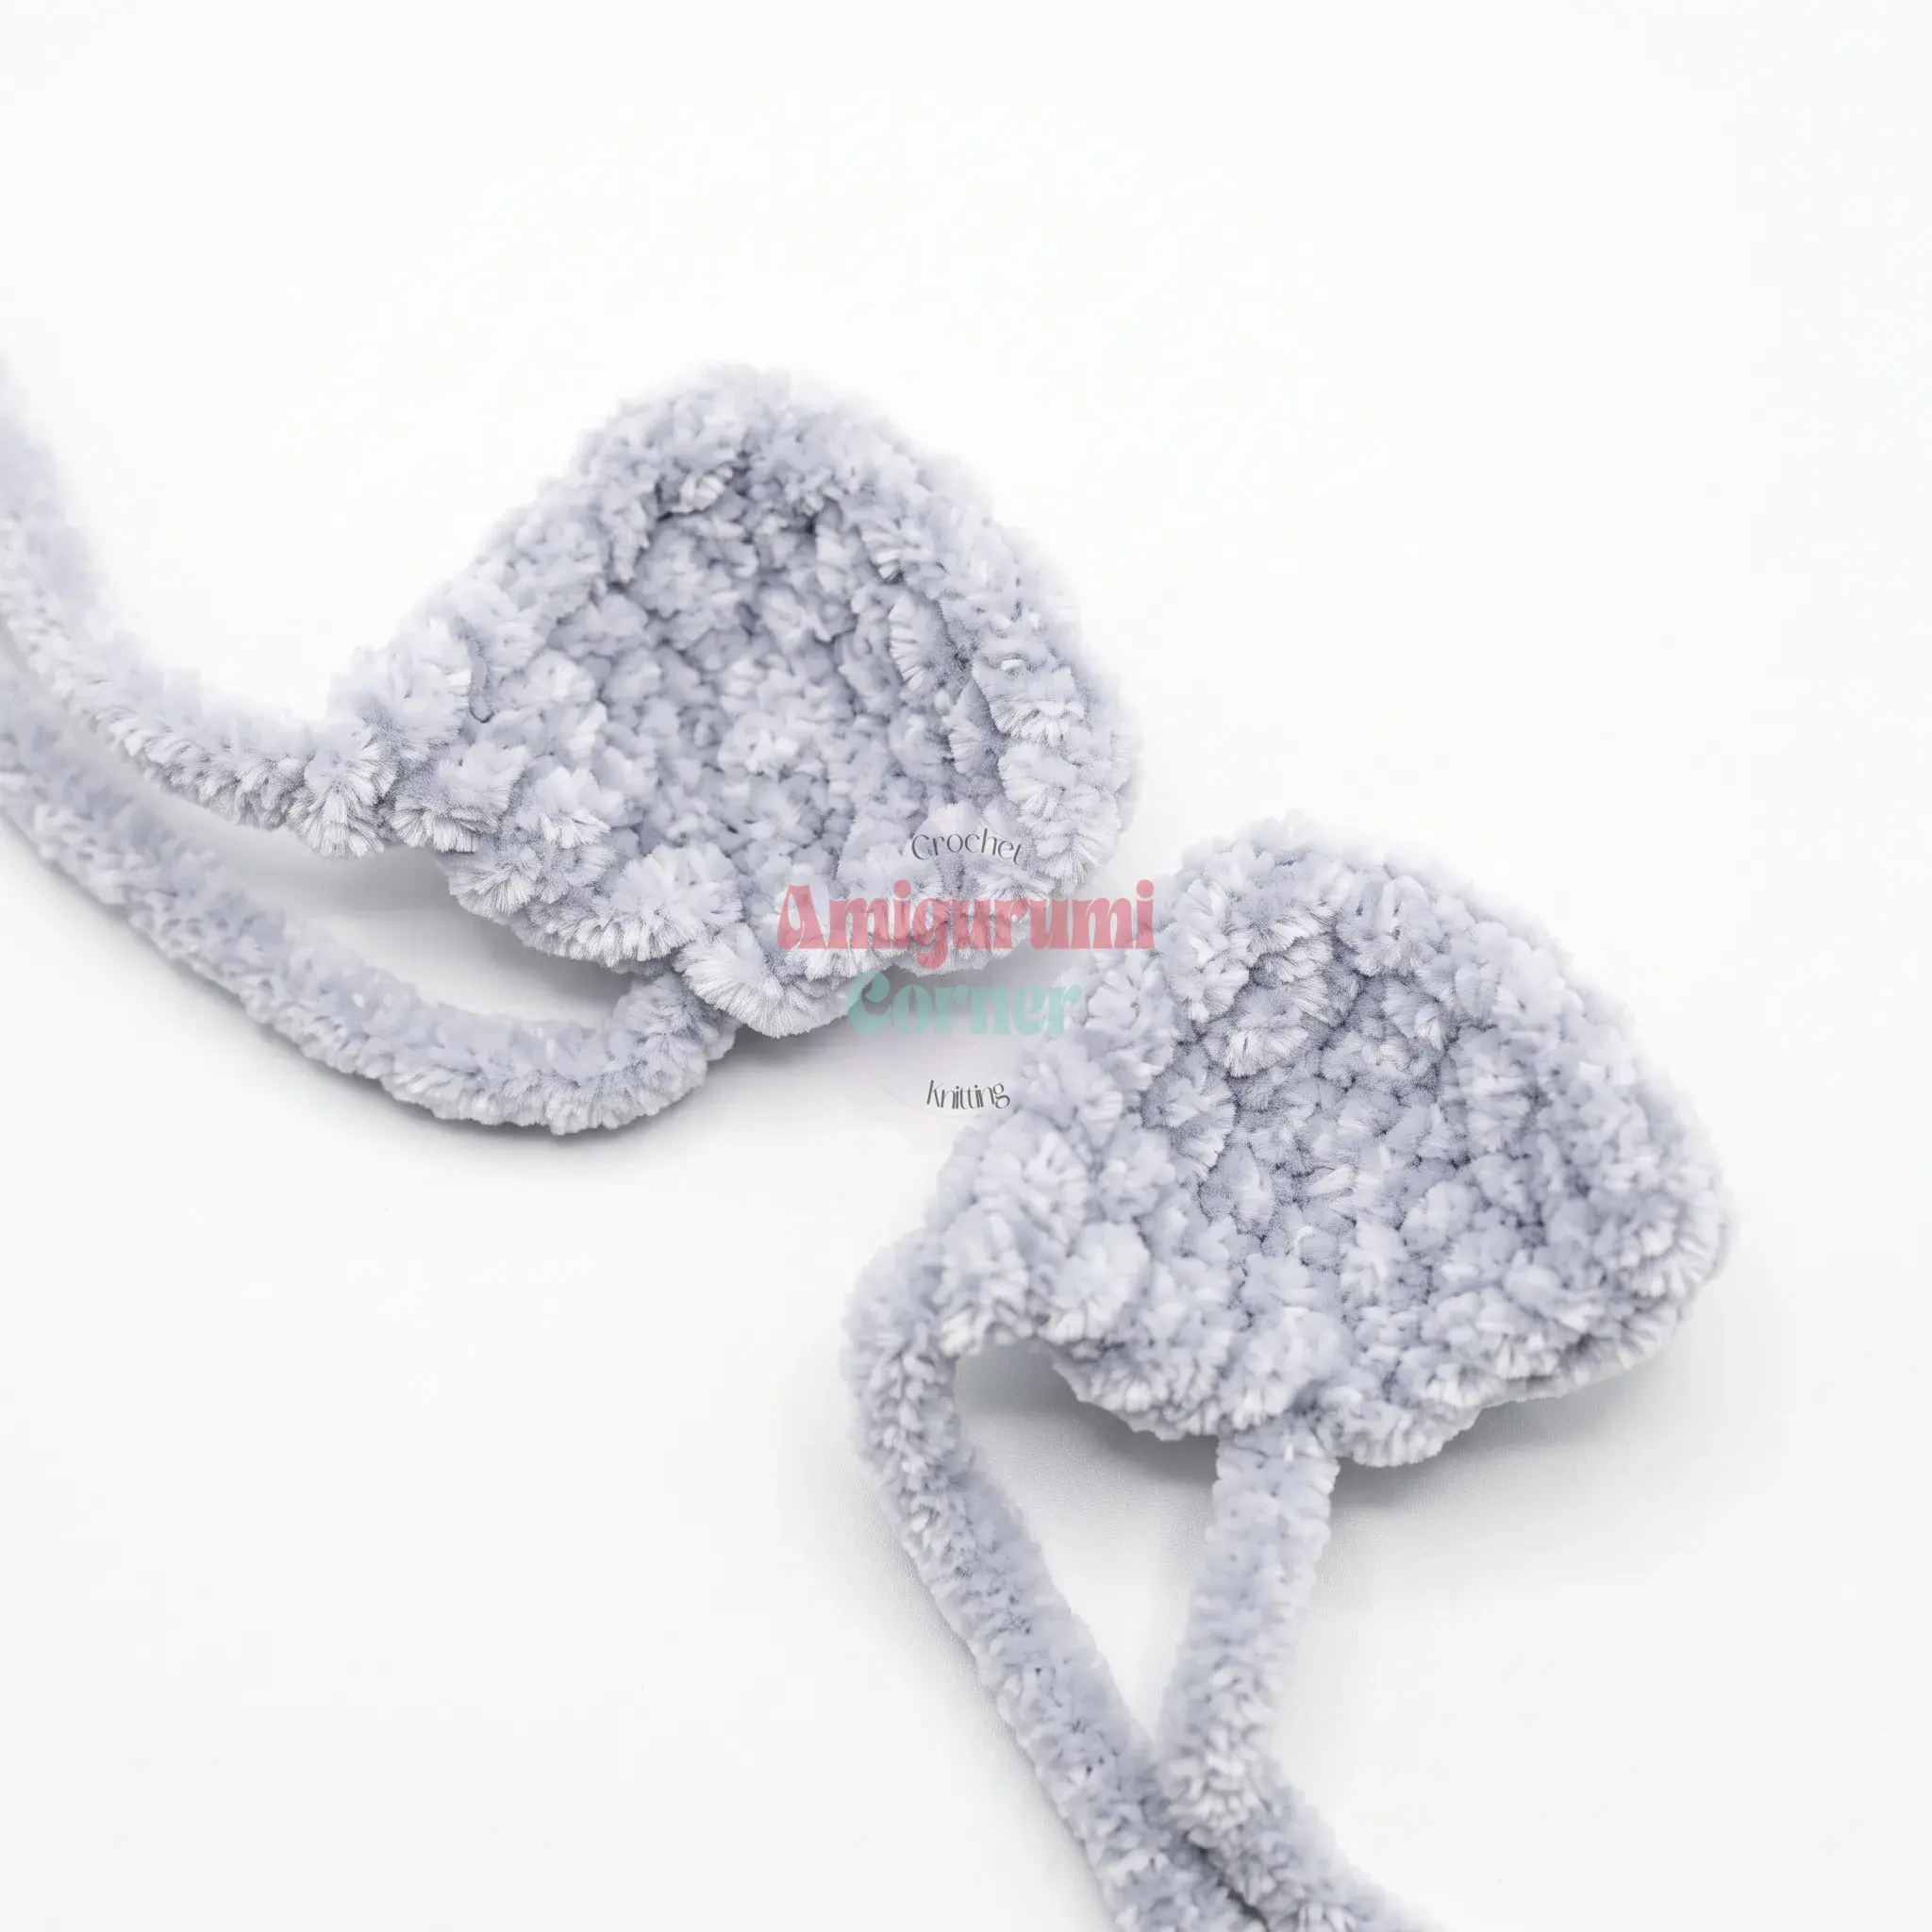
Ears (make 2)
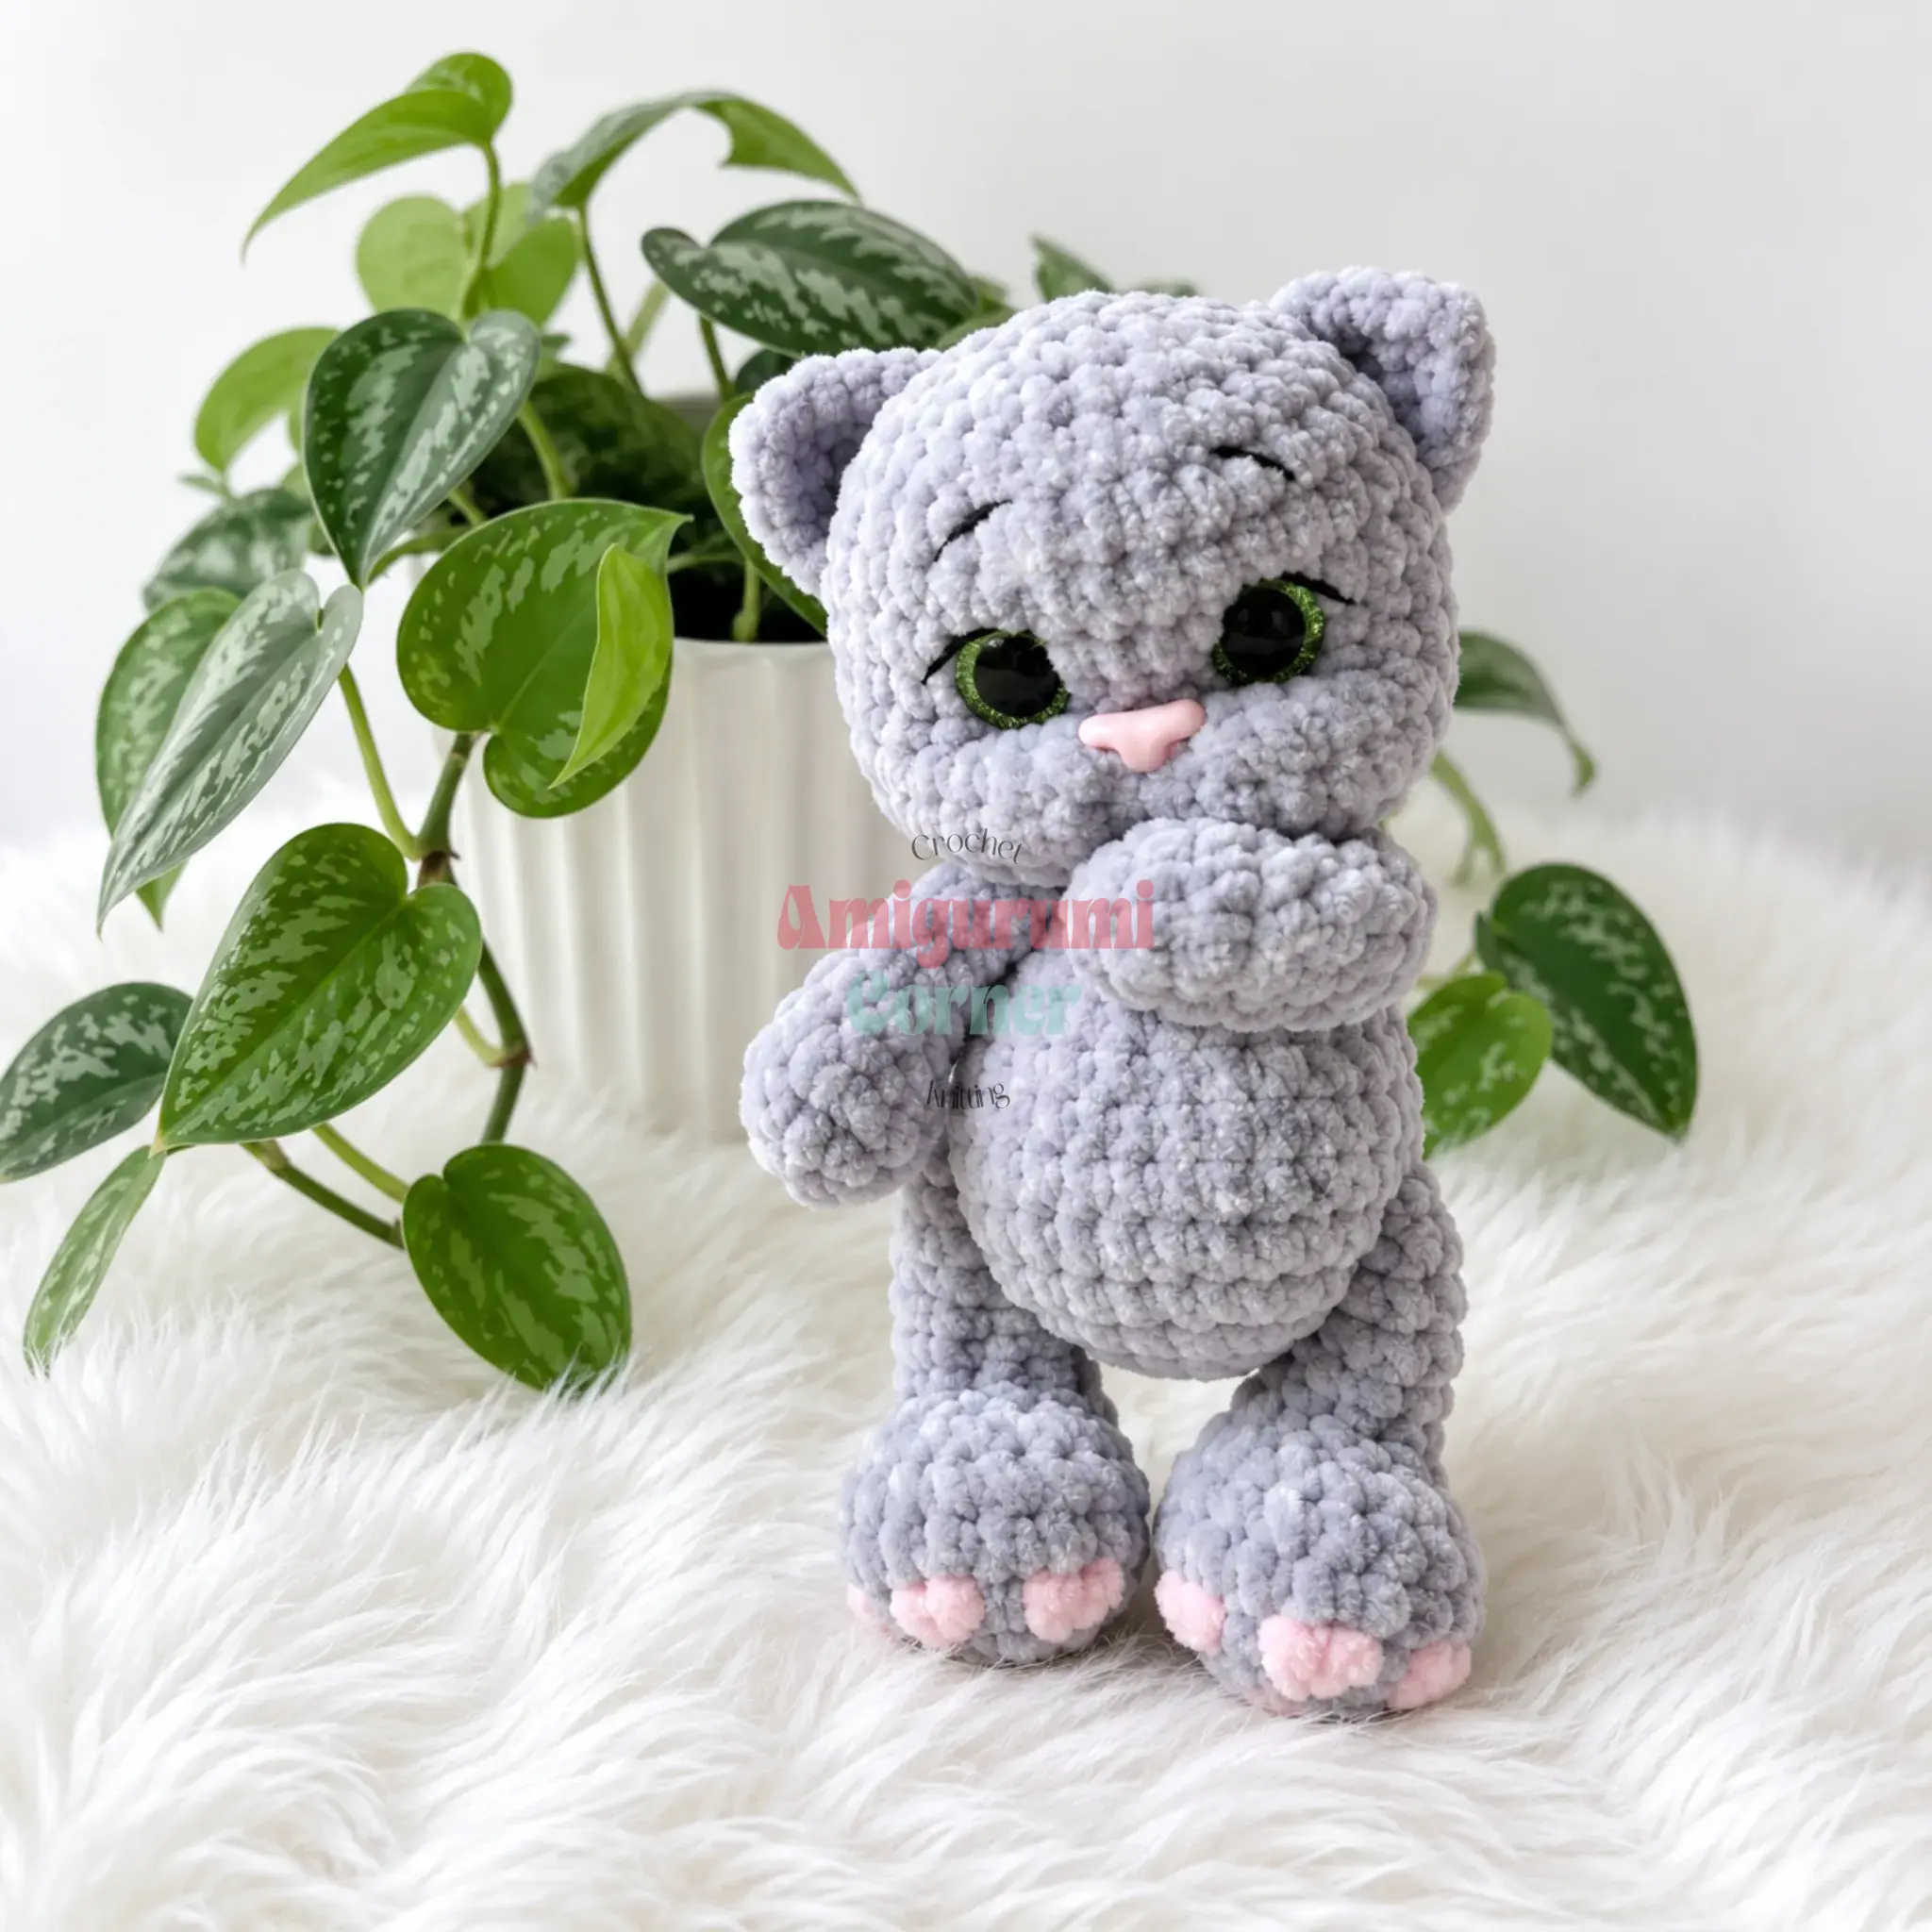
Worked in turned rows, not in the round.
Row 1: 5 sc in MR, or ch 2 and work 5 sc starting in the 2nd ch from hook. (5) Turn.
Row 2: ch 1, 2 sc, then work an increase of 3 sc into the same stitch, then 2 sc. (7) Turn.
Row 3: ch 1, 3 sc, then work sc, hdc, sc all into the same stitch, then 3 sc. (9)
Finish with a sl st, fasten off, and leave a 12 inch (30cm) tail for sewing.
Assembly
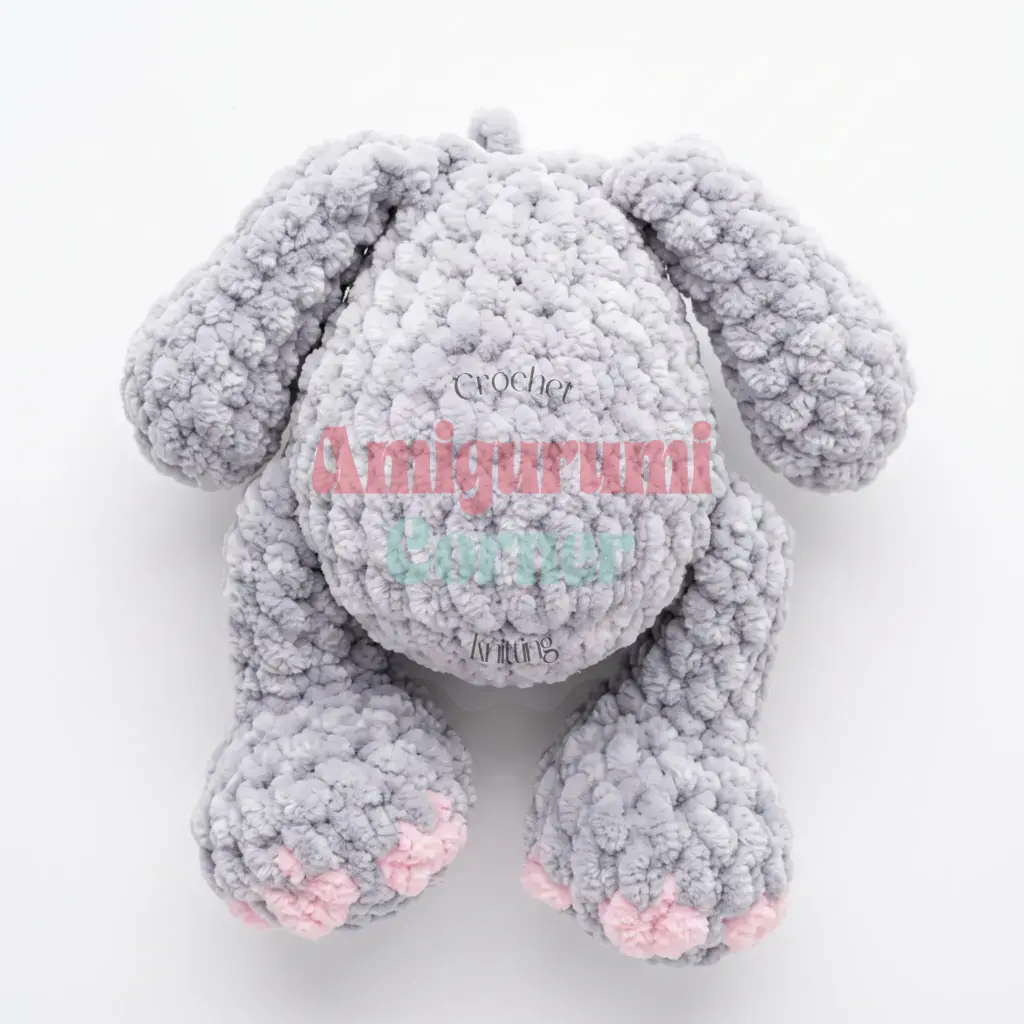
- Using the leftover leg tails, sew the inner side of each leg to the body around Rnd 4–5. This keeps the legs from swinging loosely once the kitten is finished. Weave in the ends when you’re done.
- Working with strong thin thread and your long doll needle, pull the needle through the head to create a slight indent around the eyes — insert the needle from underneath, between the last round of the body and the first round of the head, then pass it through the face in this order: point 1, 2, 3, 4, 5, 6, 7, back to 4. Pull both thread ends evenly to cinch the eyes symmetrically, then tie off with a double knot, repeating if you’d like a deeper indent.
- Using the same thread, pull the needle from point 1 to point 2 to create a slight indent around the muzzle. Tie off with a double knot, repeating as needed.
- Trim the shank off the cat nose, then glue it in place right where you shaped the muzzle indent.
- Sew the Ears on in a triangular orientation, positioning each one so it spans from Rnds 7–8 up through Rnds 11–12 on the head.
- Embroider eyelashes in black yarn, starting one stitch in from the outer corner of each eye, and embroider eyebrows between Rnds 9 and 11, spacing them 4–5 stitches apart. Add whiskers if you’d like them.
- Weave in any remaining loose ends.
Tips
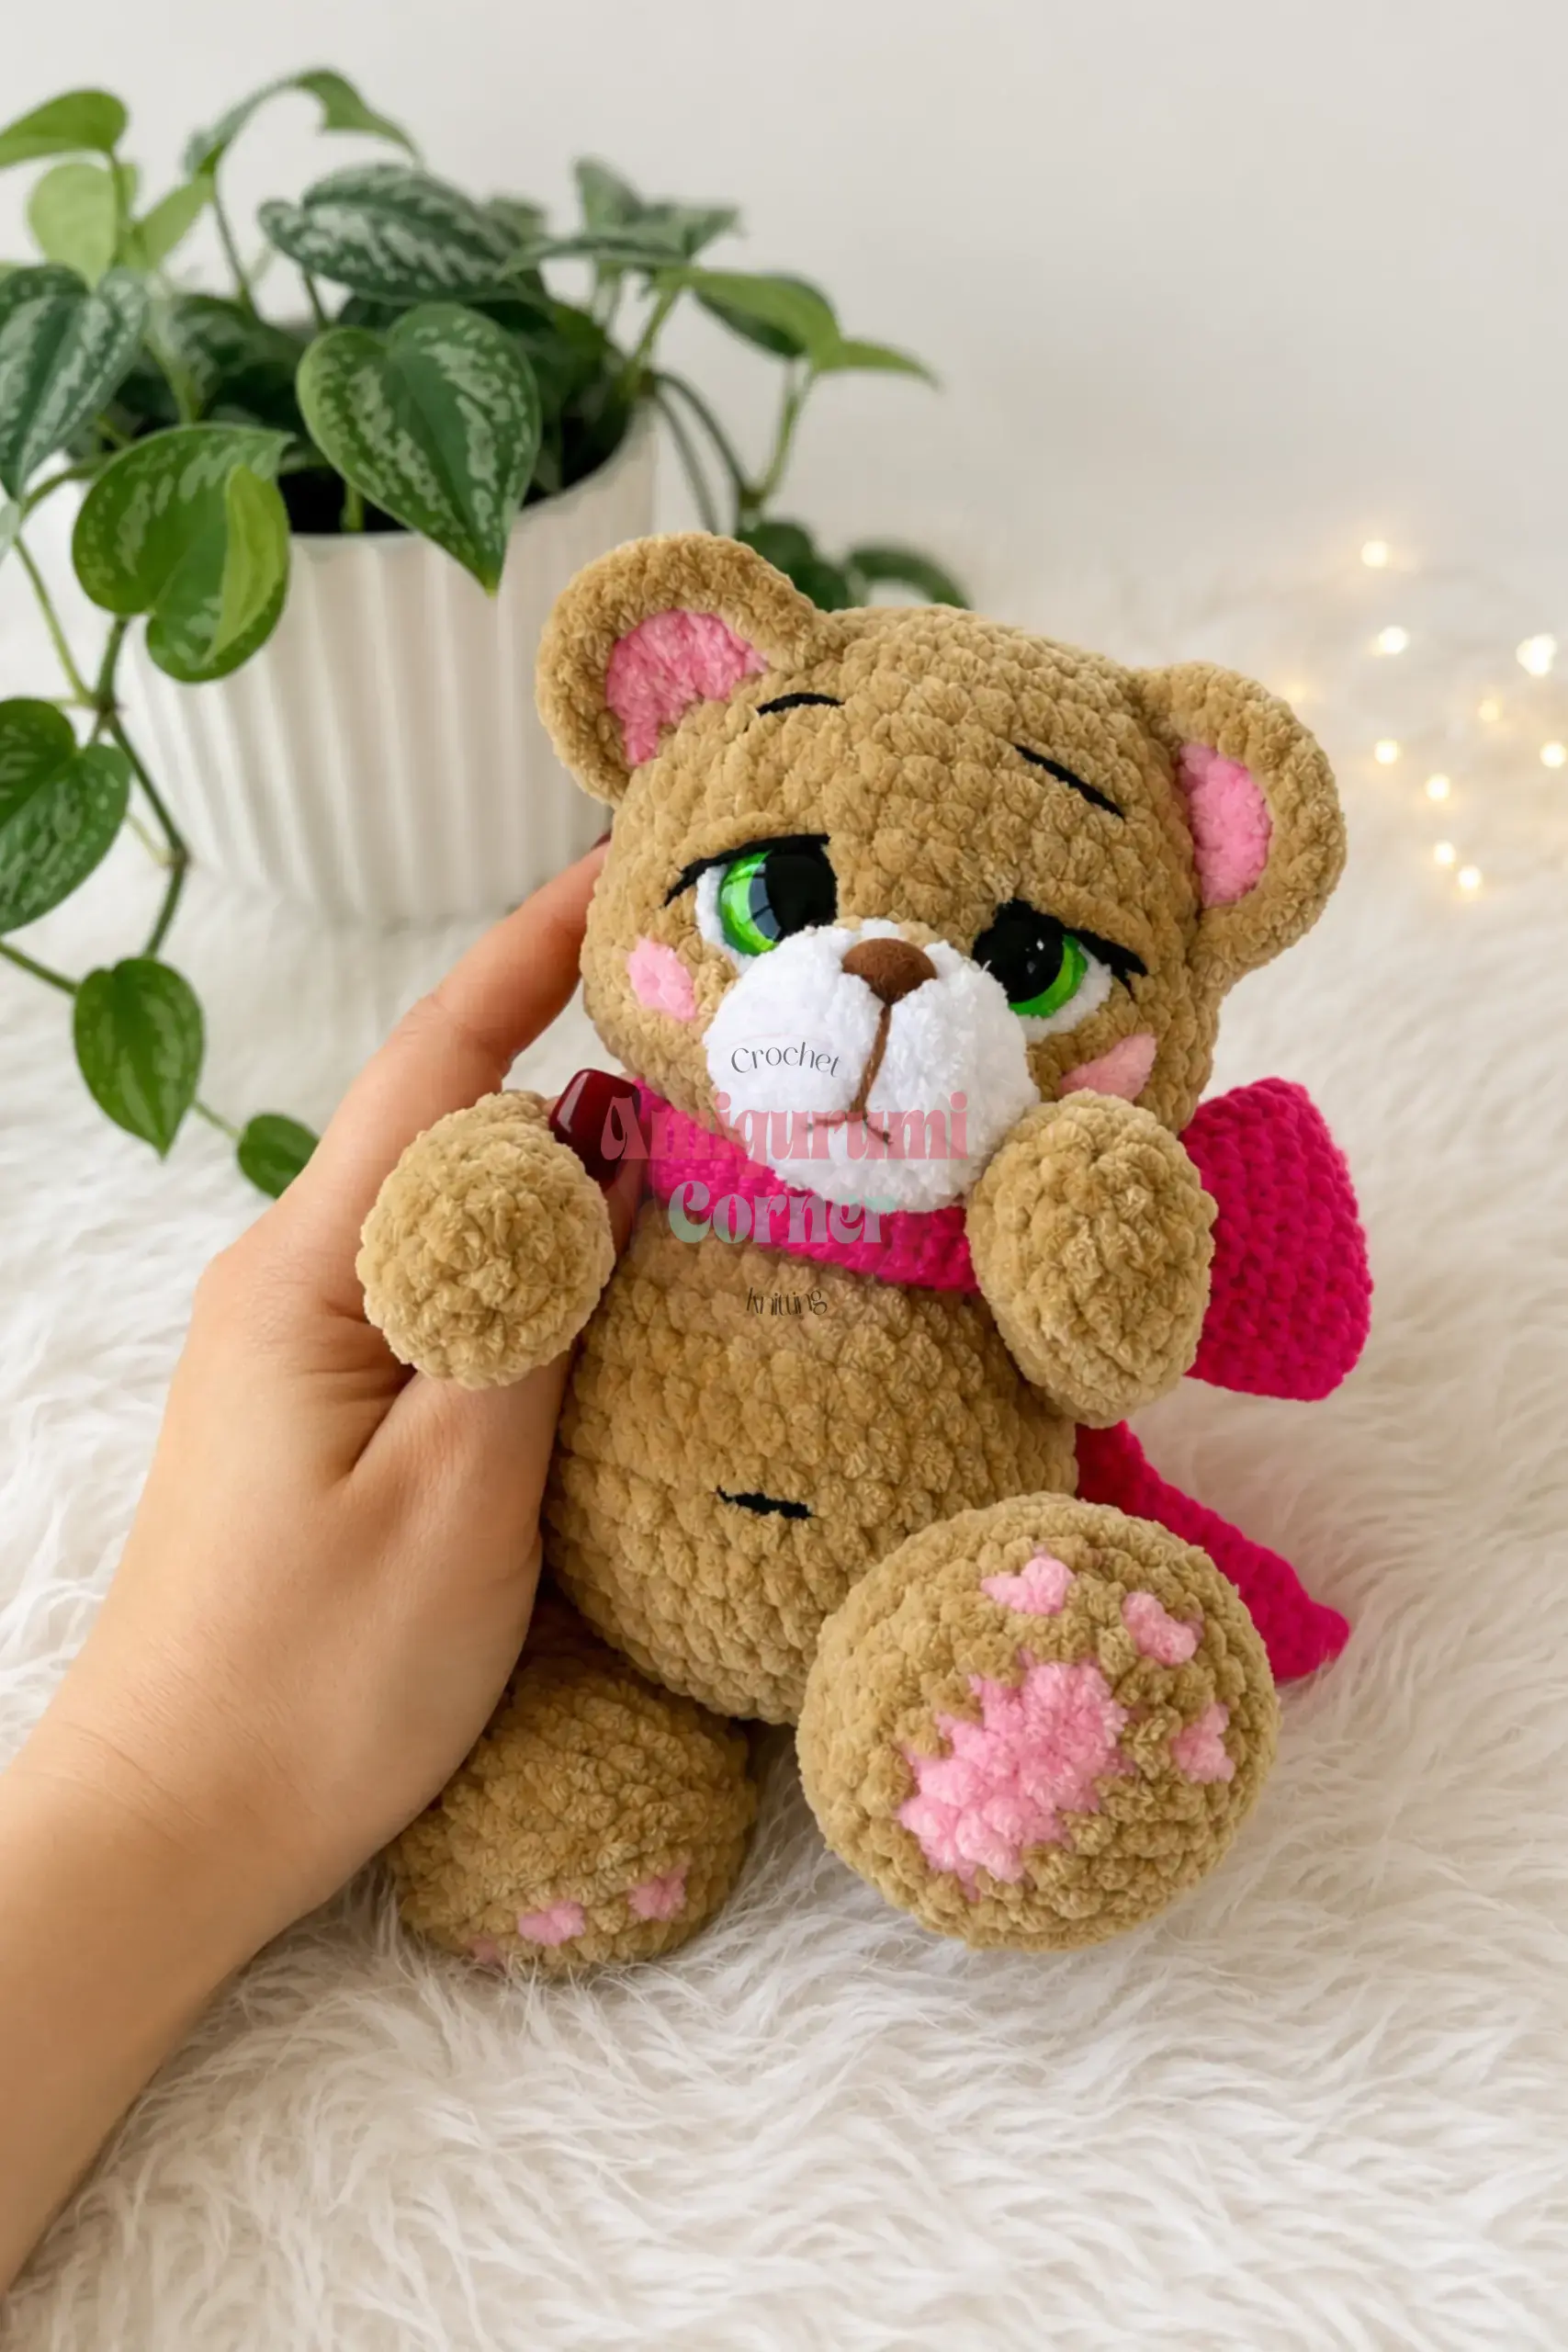
- Work your tension a touch tighter than you would for a garment — amigurumi needs a dense fabric so the fiberfill doesn’t peek through between stitches. If you can see gaps as you go, drop down a hook size.
- For the decreases throughout the head and body, an invisible decrease (worked through the front loops of the next two stitches) keeps your shaping smooth and nearly impossible to spot from the right side, which matters most around the neck cinching and the top of the head.
- Don’t overstuff the arms and legs. A firm-but-squeezable feel in the lower portions is exactly right — packing them too tightly will distort the shape and make it harder to bend the limbs later during assembly.
- If you swap in a different plush yarn, check that it’s a similar weight to the original 120g/100m yarn used here. A thicker yarn will grow your kitten past the 17–18 cm finished size, while a thinner one will shrink it and may leave the stitches looking loose.
- The face-shaping step — where you pull thread through to indent the eyes and muzzle — is the trickiest part of this pattern. Go slowly, pull evenly on both tail ends at once, and don’t be afraid to repeat the cinch a second time if the first pass looks subtle. This step is what gives the kitten its expressive, rounded face.
Frequently Asked Questions
Can I make this kitten without paw pads?
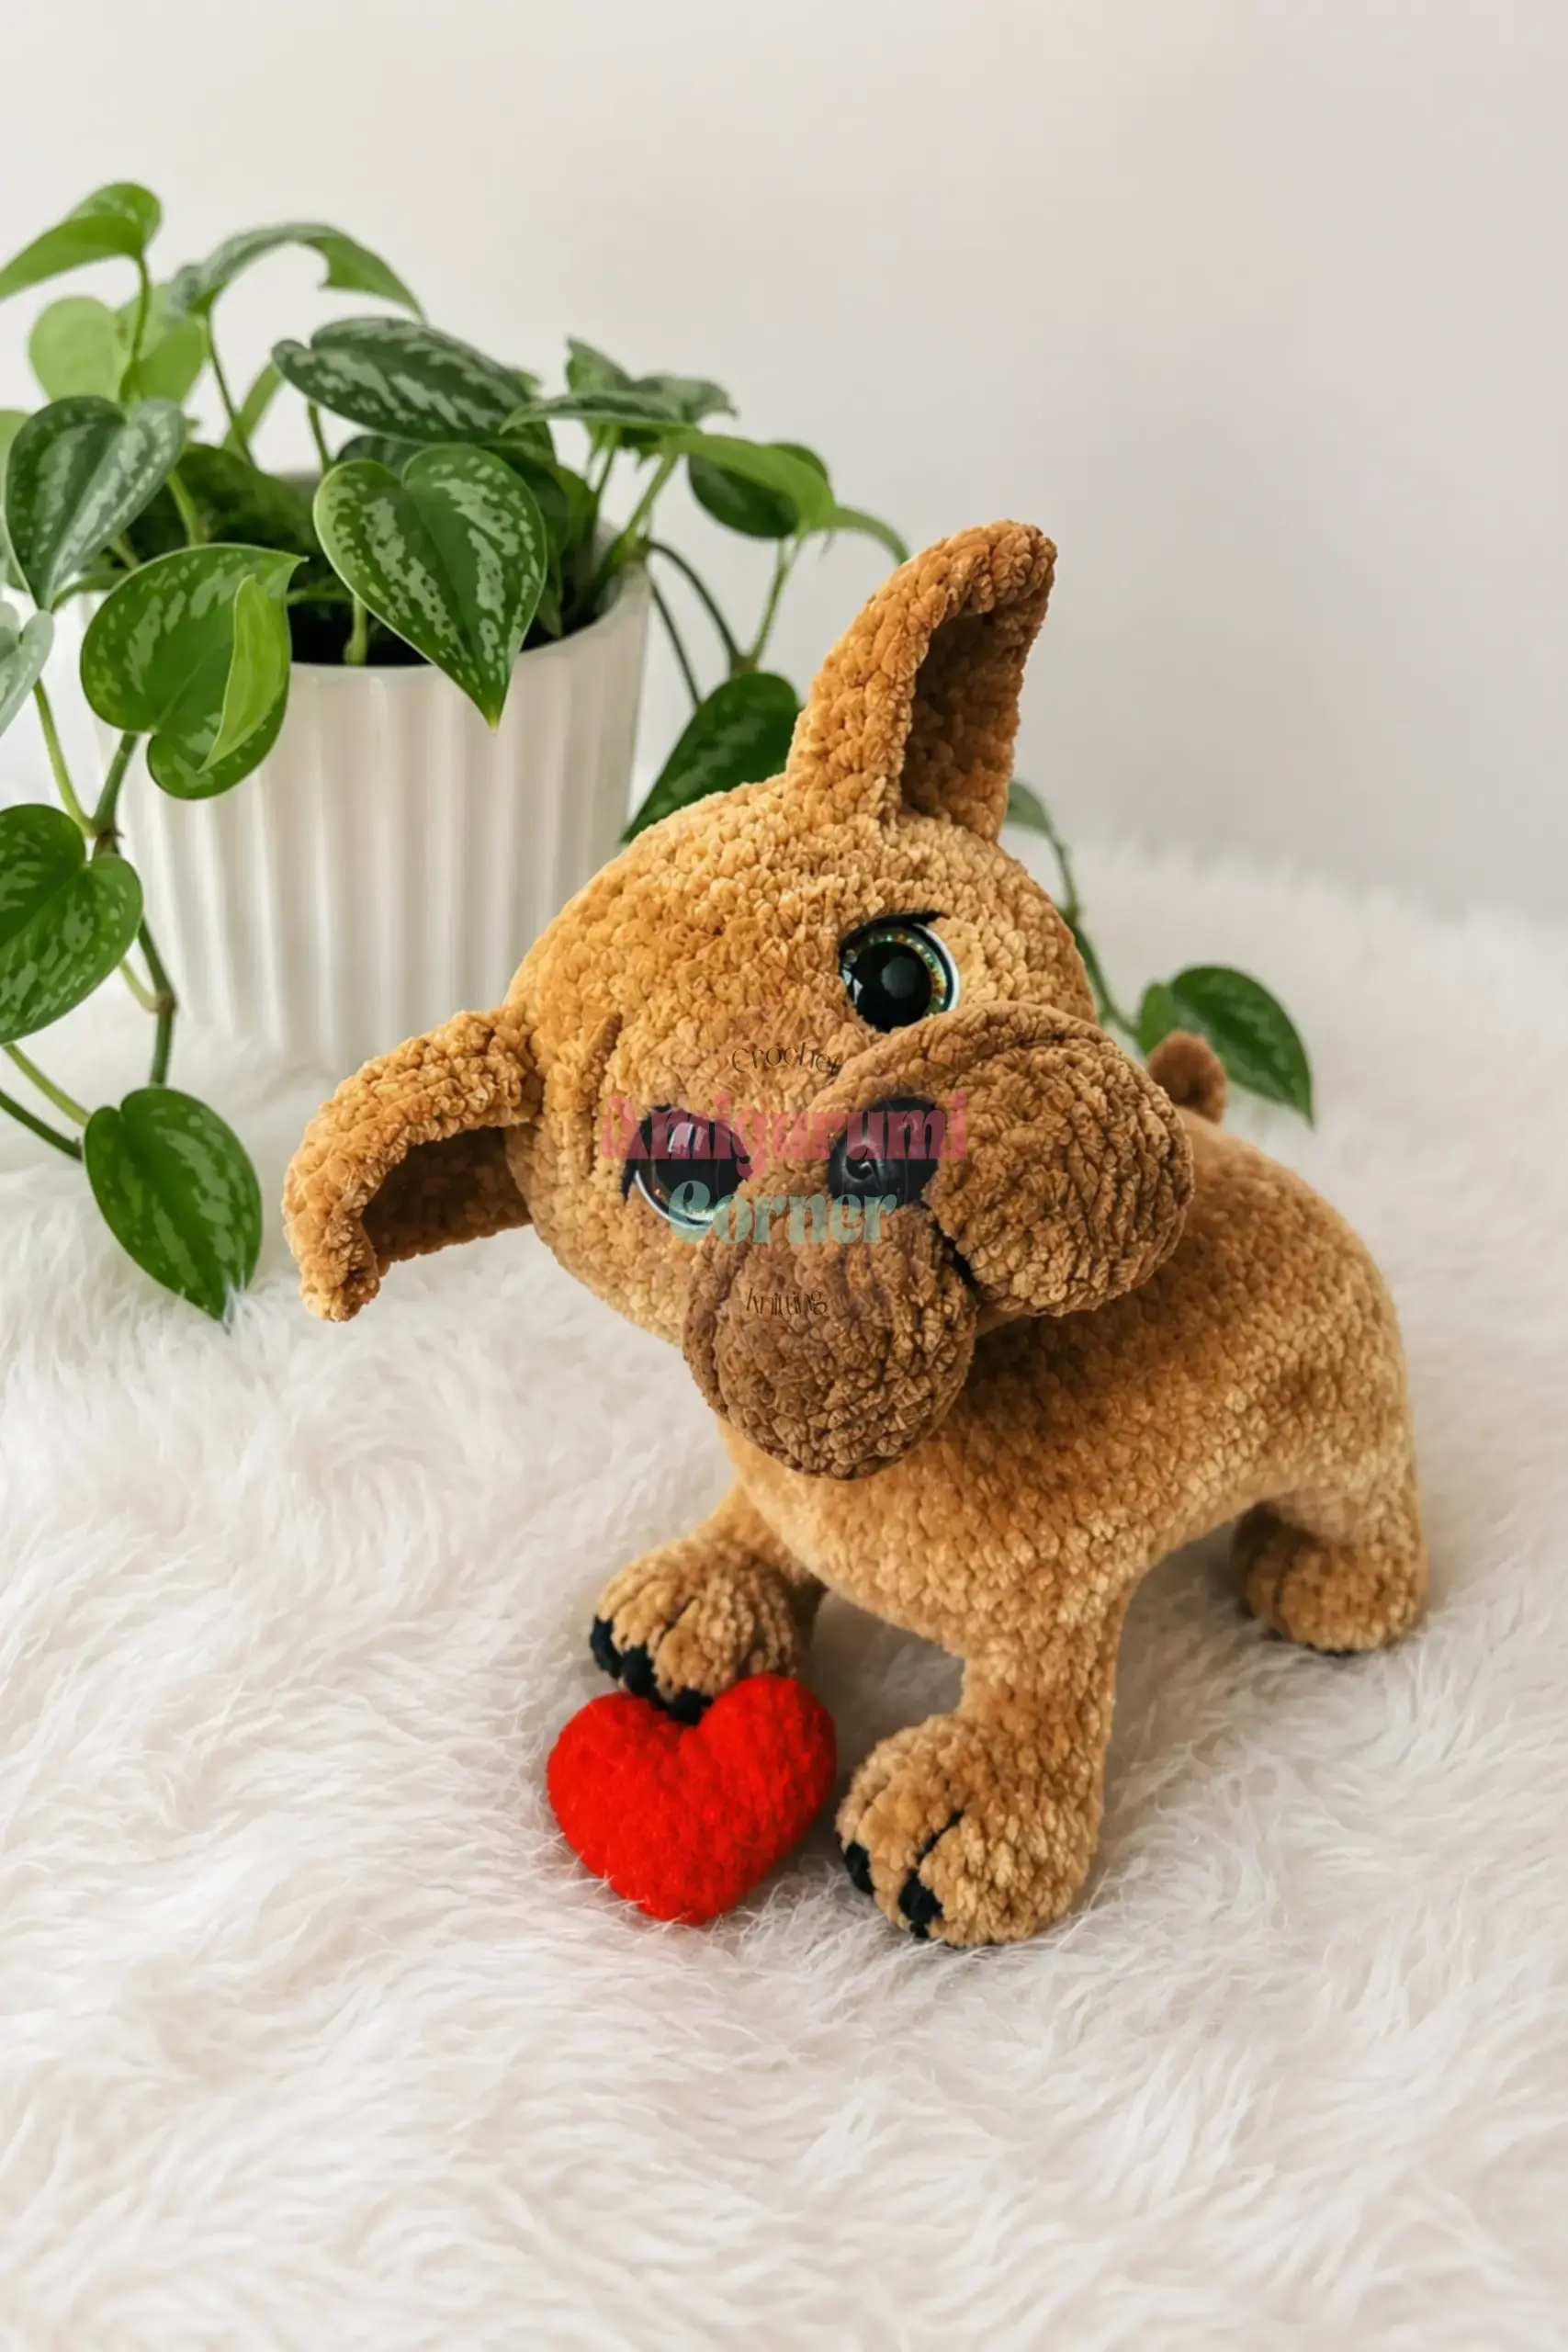
Yes, the paw pads are optional. You can work the legs in a single color throughout if you prefer a simpler look. If you choose to skip them, simply follow the single-color instructions for Round 3 of the legs.
Why do I need to shift the start of the round?
Shifting the start of the round by one stitch helps keep increases and decreases stacked vertically. This creates a neater, more professional-looking spiral and prevents the pattern from looking jagged or twisted.
How do I keep the legs from swinging?
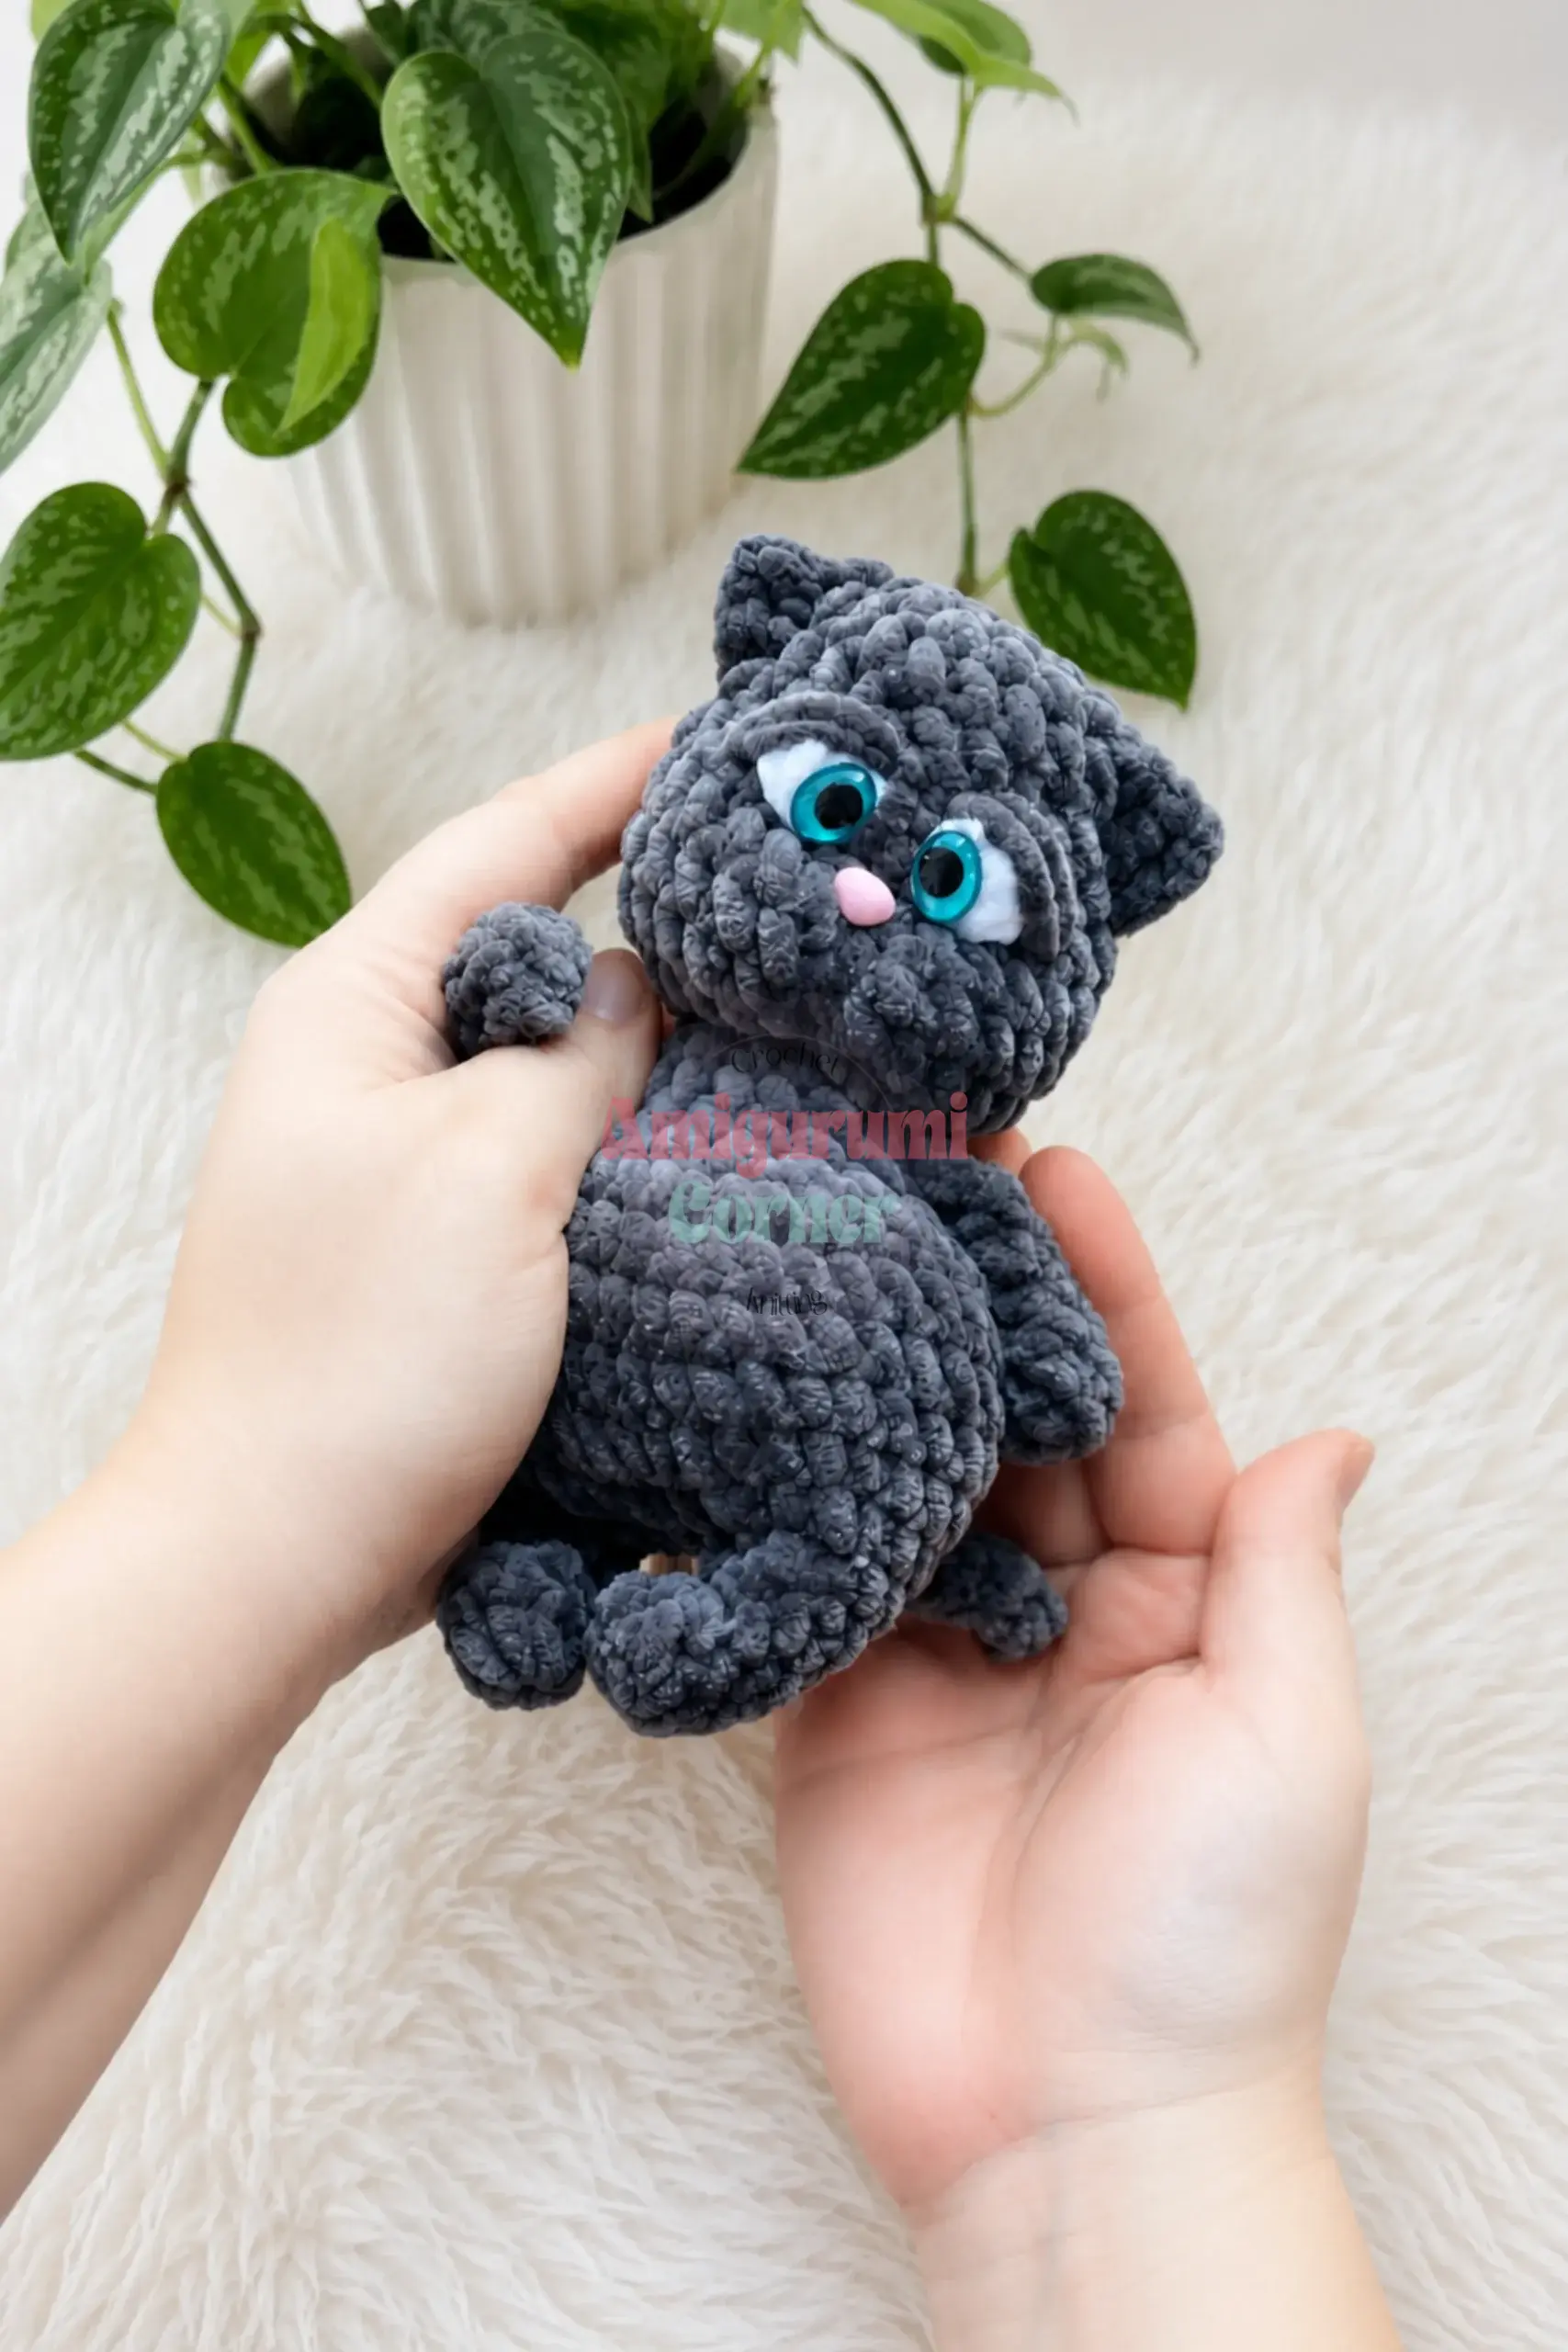
The pattern instructs you to sew the inner side of each leg to the body around Rnd 4–5 using the leftover leg tails. This anchoring step prevents the legs from swinging loosely once the kitten is finished.
What kind of yarn should I use?
The pattern calls for plush or velvet yarn (120g/100m). This type of yarn is forgiving and adds a soft texture that hides minor tension issues. Ensure any substitute yarn is similar in weight to maintain the finished size.
How do I shape the face?
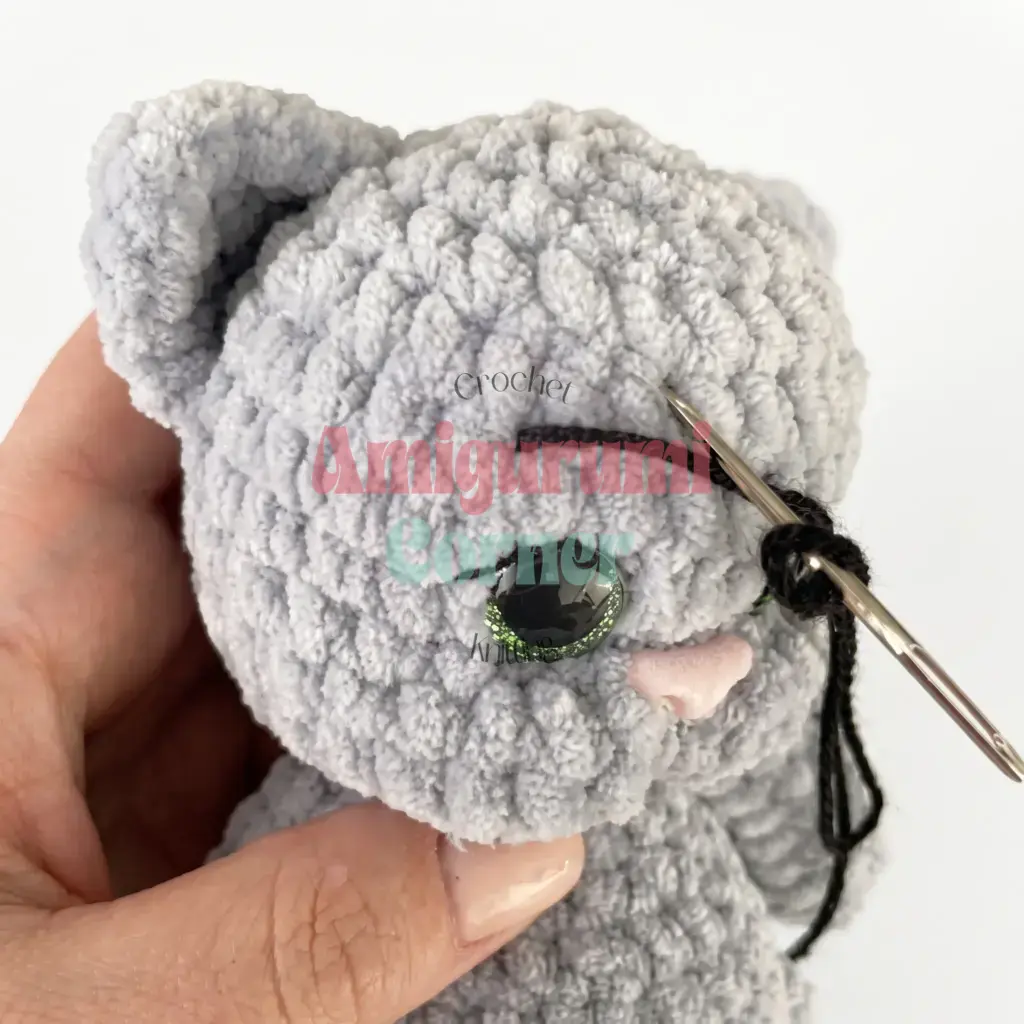
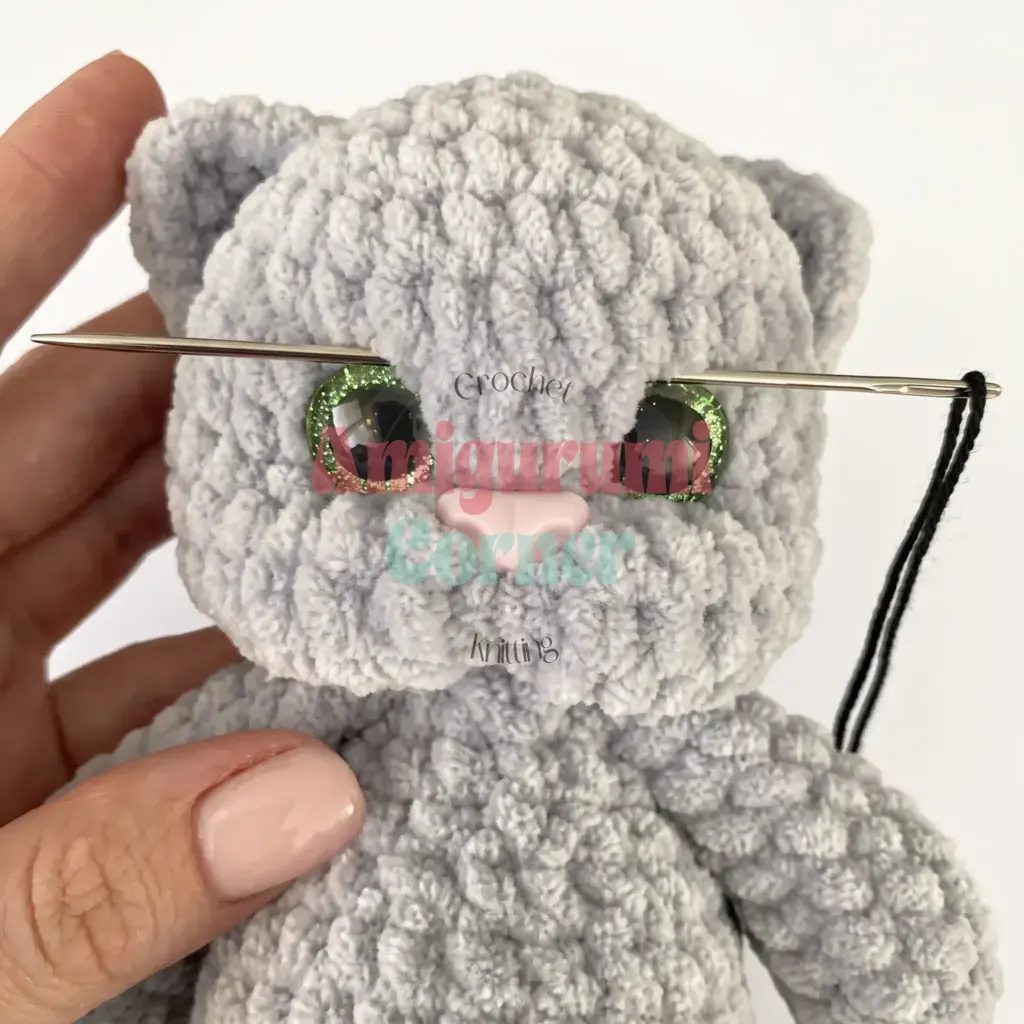
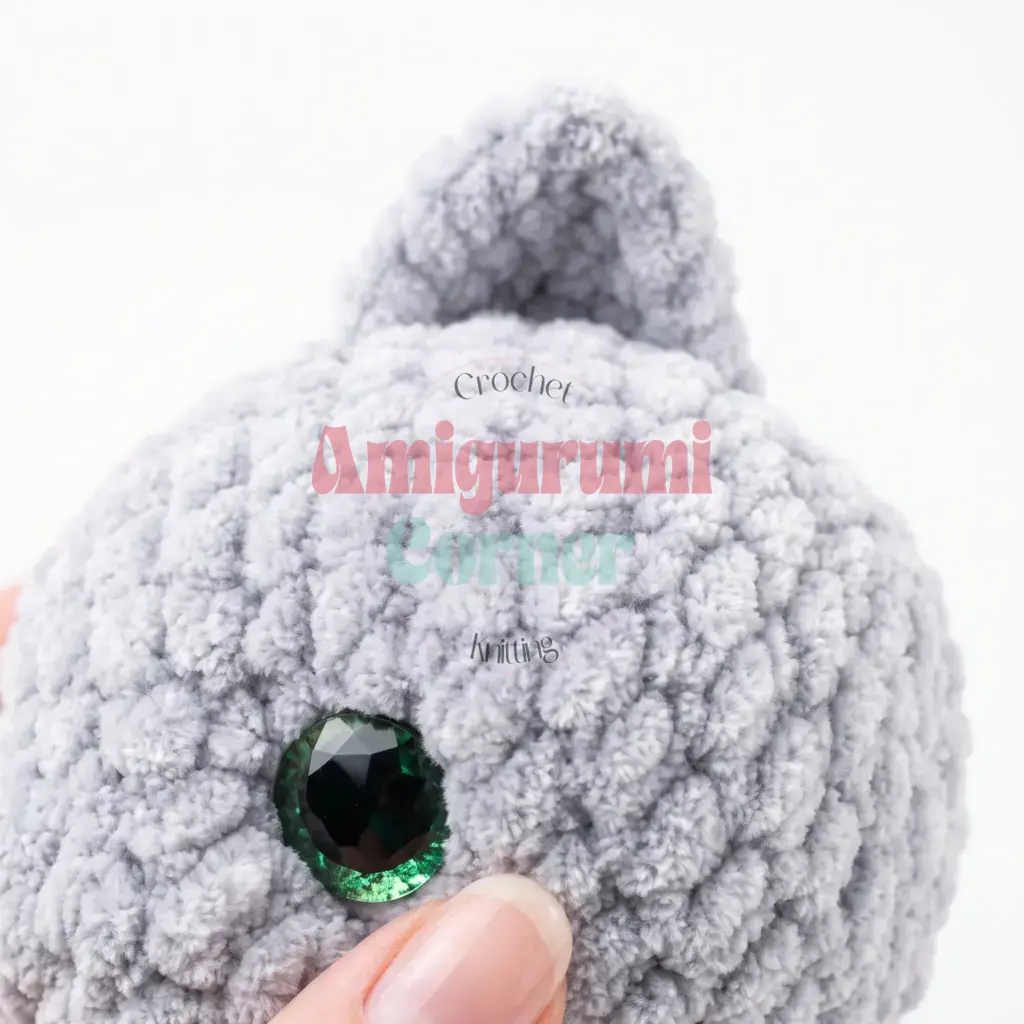
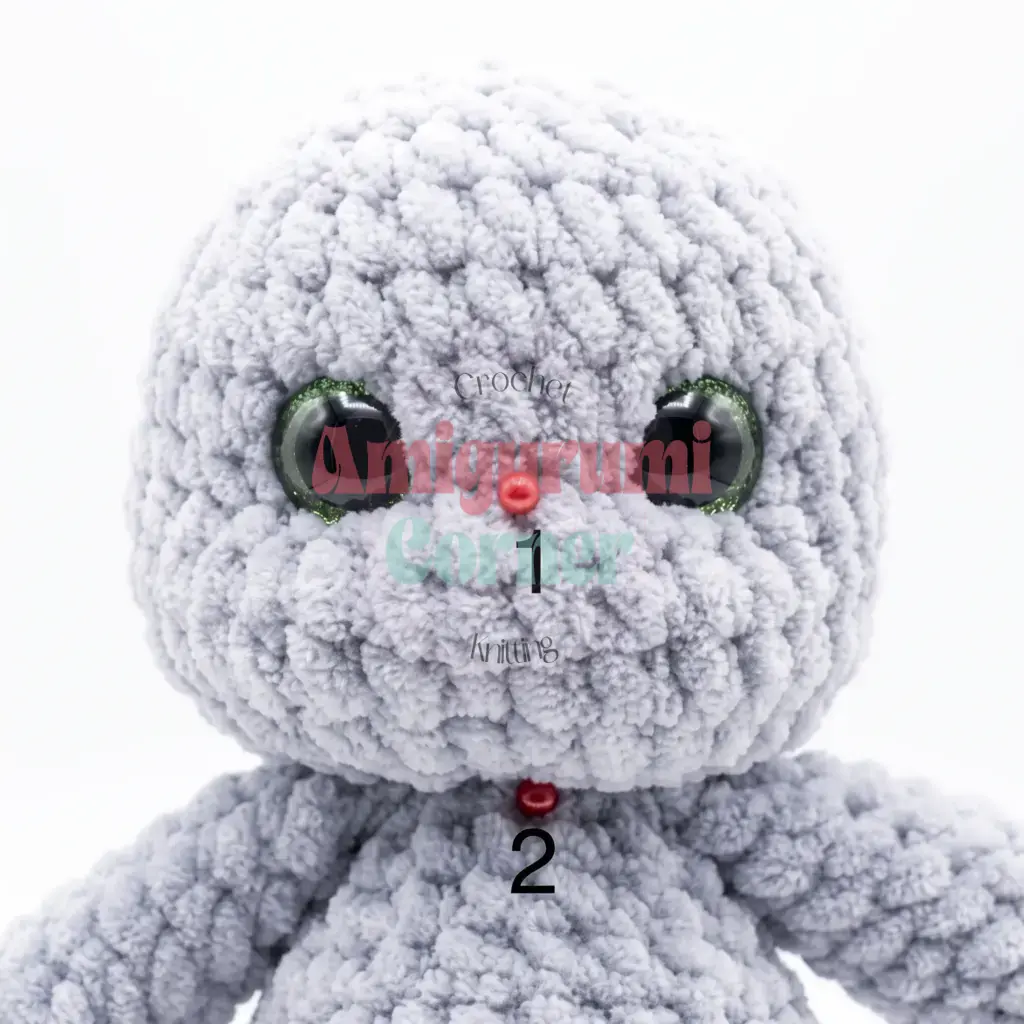
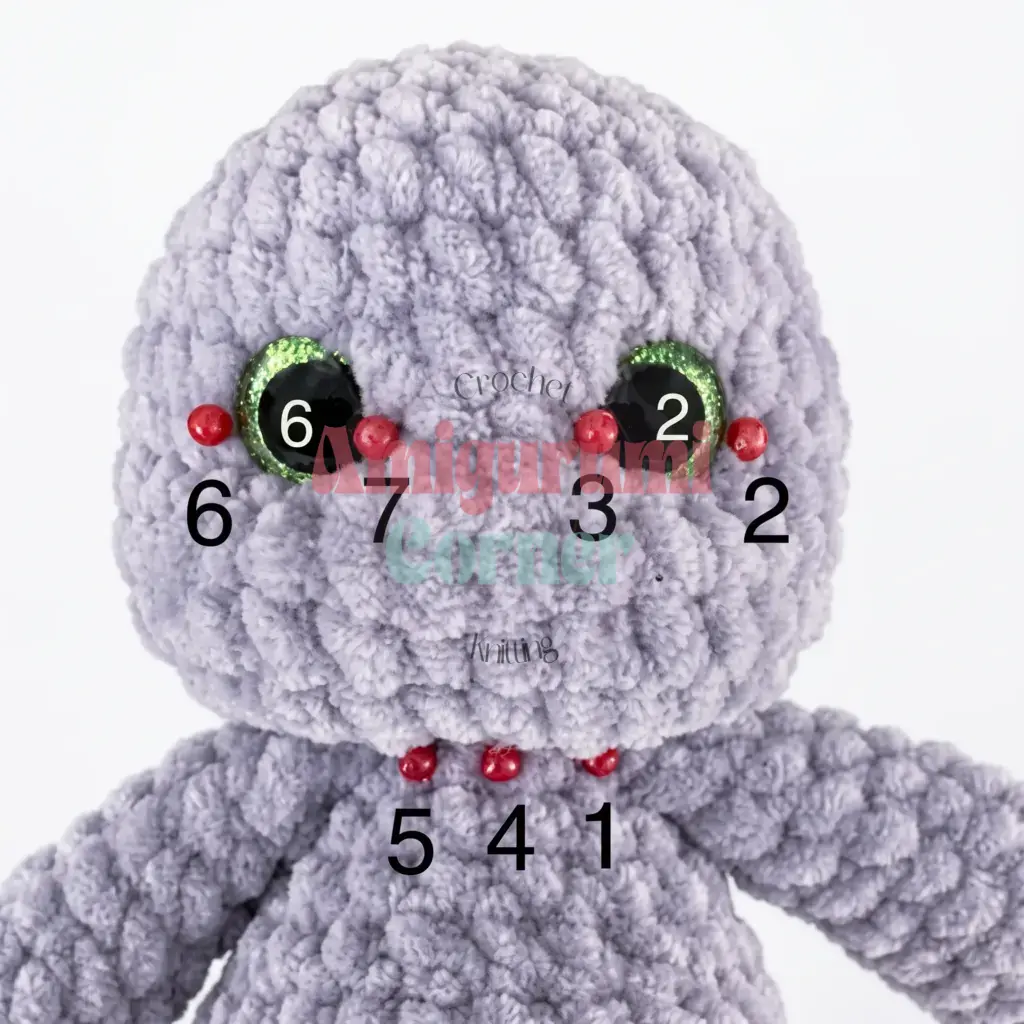
Face shaping is done using a long doll needle and strong thin thread. You pass the needle through the head to create indentations around the eyes and muzzle, then pull the thread ends evenly to cinch the features into place before tying off.
Pin This Crochet Pattern!