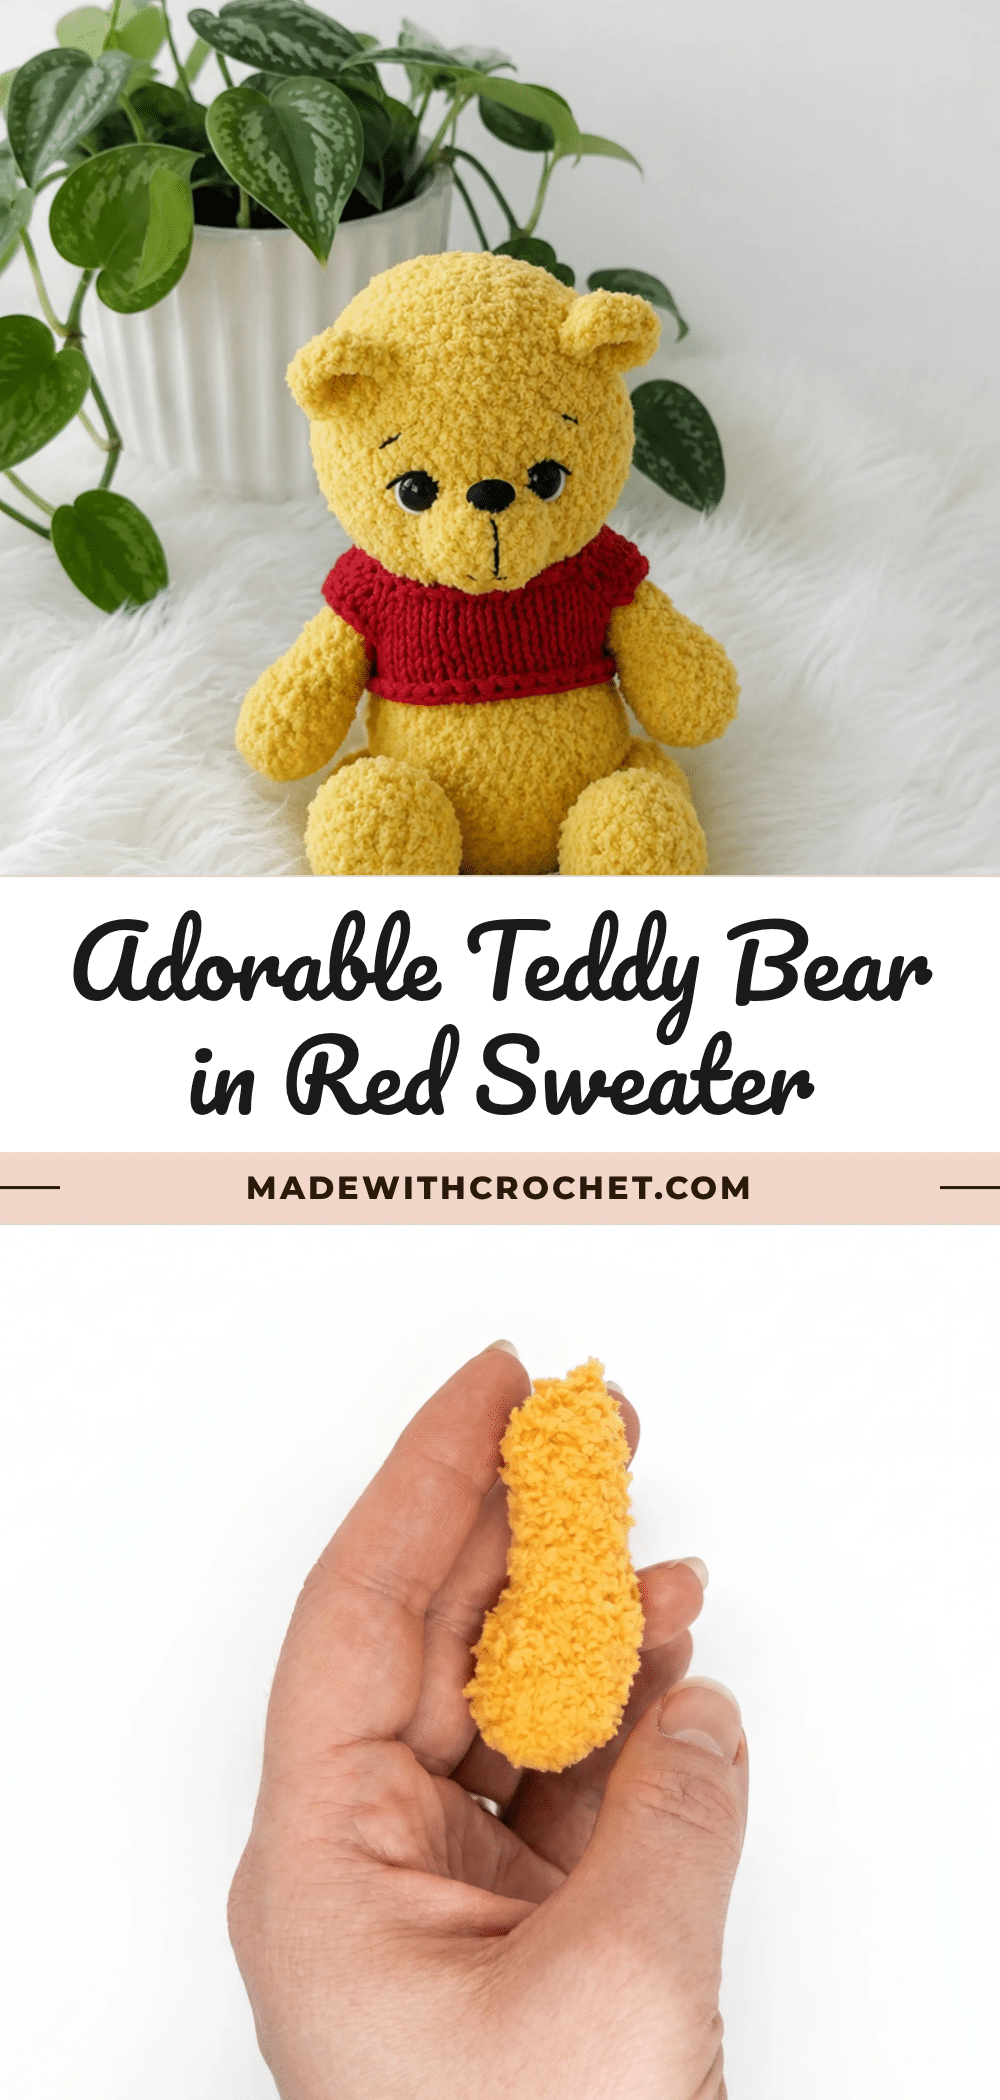
This amigurumi teddy bear crochet pattern builds a small golden bear with a round belly, gently tucked-in ears, and a cozy knit sweater. It’s a wonderful project for a confident beginner or intermediate maker who wants to practice joint assembly. You’ll work the body in a continuous spiral, shape a heel on each foot, and finish with a sweet hand-embroidered face before dressing your bear in his signature red top. If you’ve been looking for a crochet teddy bear pattern that combines amigurumi shaping with a bit of knitting, this project delivers both skills in one sitting.
Gift and Use Ideas
This teddy bear makes a heartfelt handmade gift for a baby shower, birthday, or holiday. Its soft, huggable size is perfect for a child’s first stuffed friend or a decorative accent on a nursery shelf. The removable sweater (if you add buttons) allows for outfit changes, making it a playful toy. For craft fairs, this bear’s charming sweater and detailed face will stand out on your market table. You can also customize the sweater color to match a favorite team or holiday theme.
Project Overview
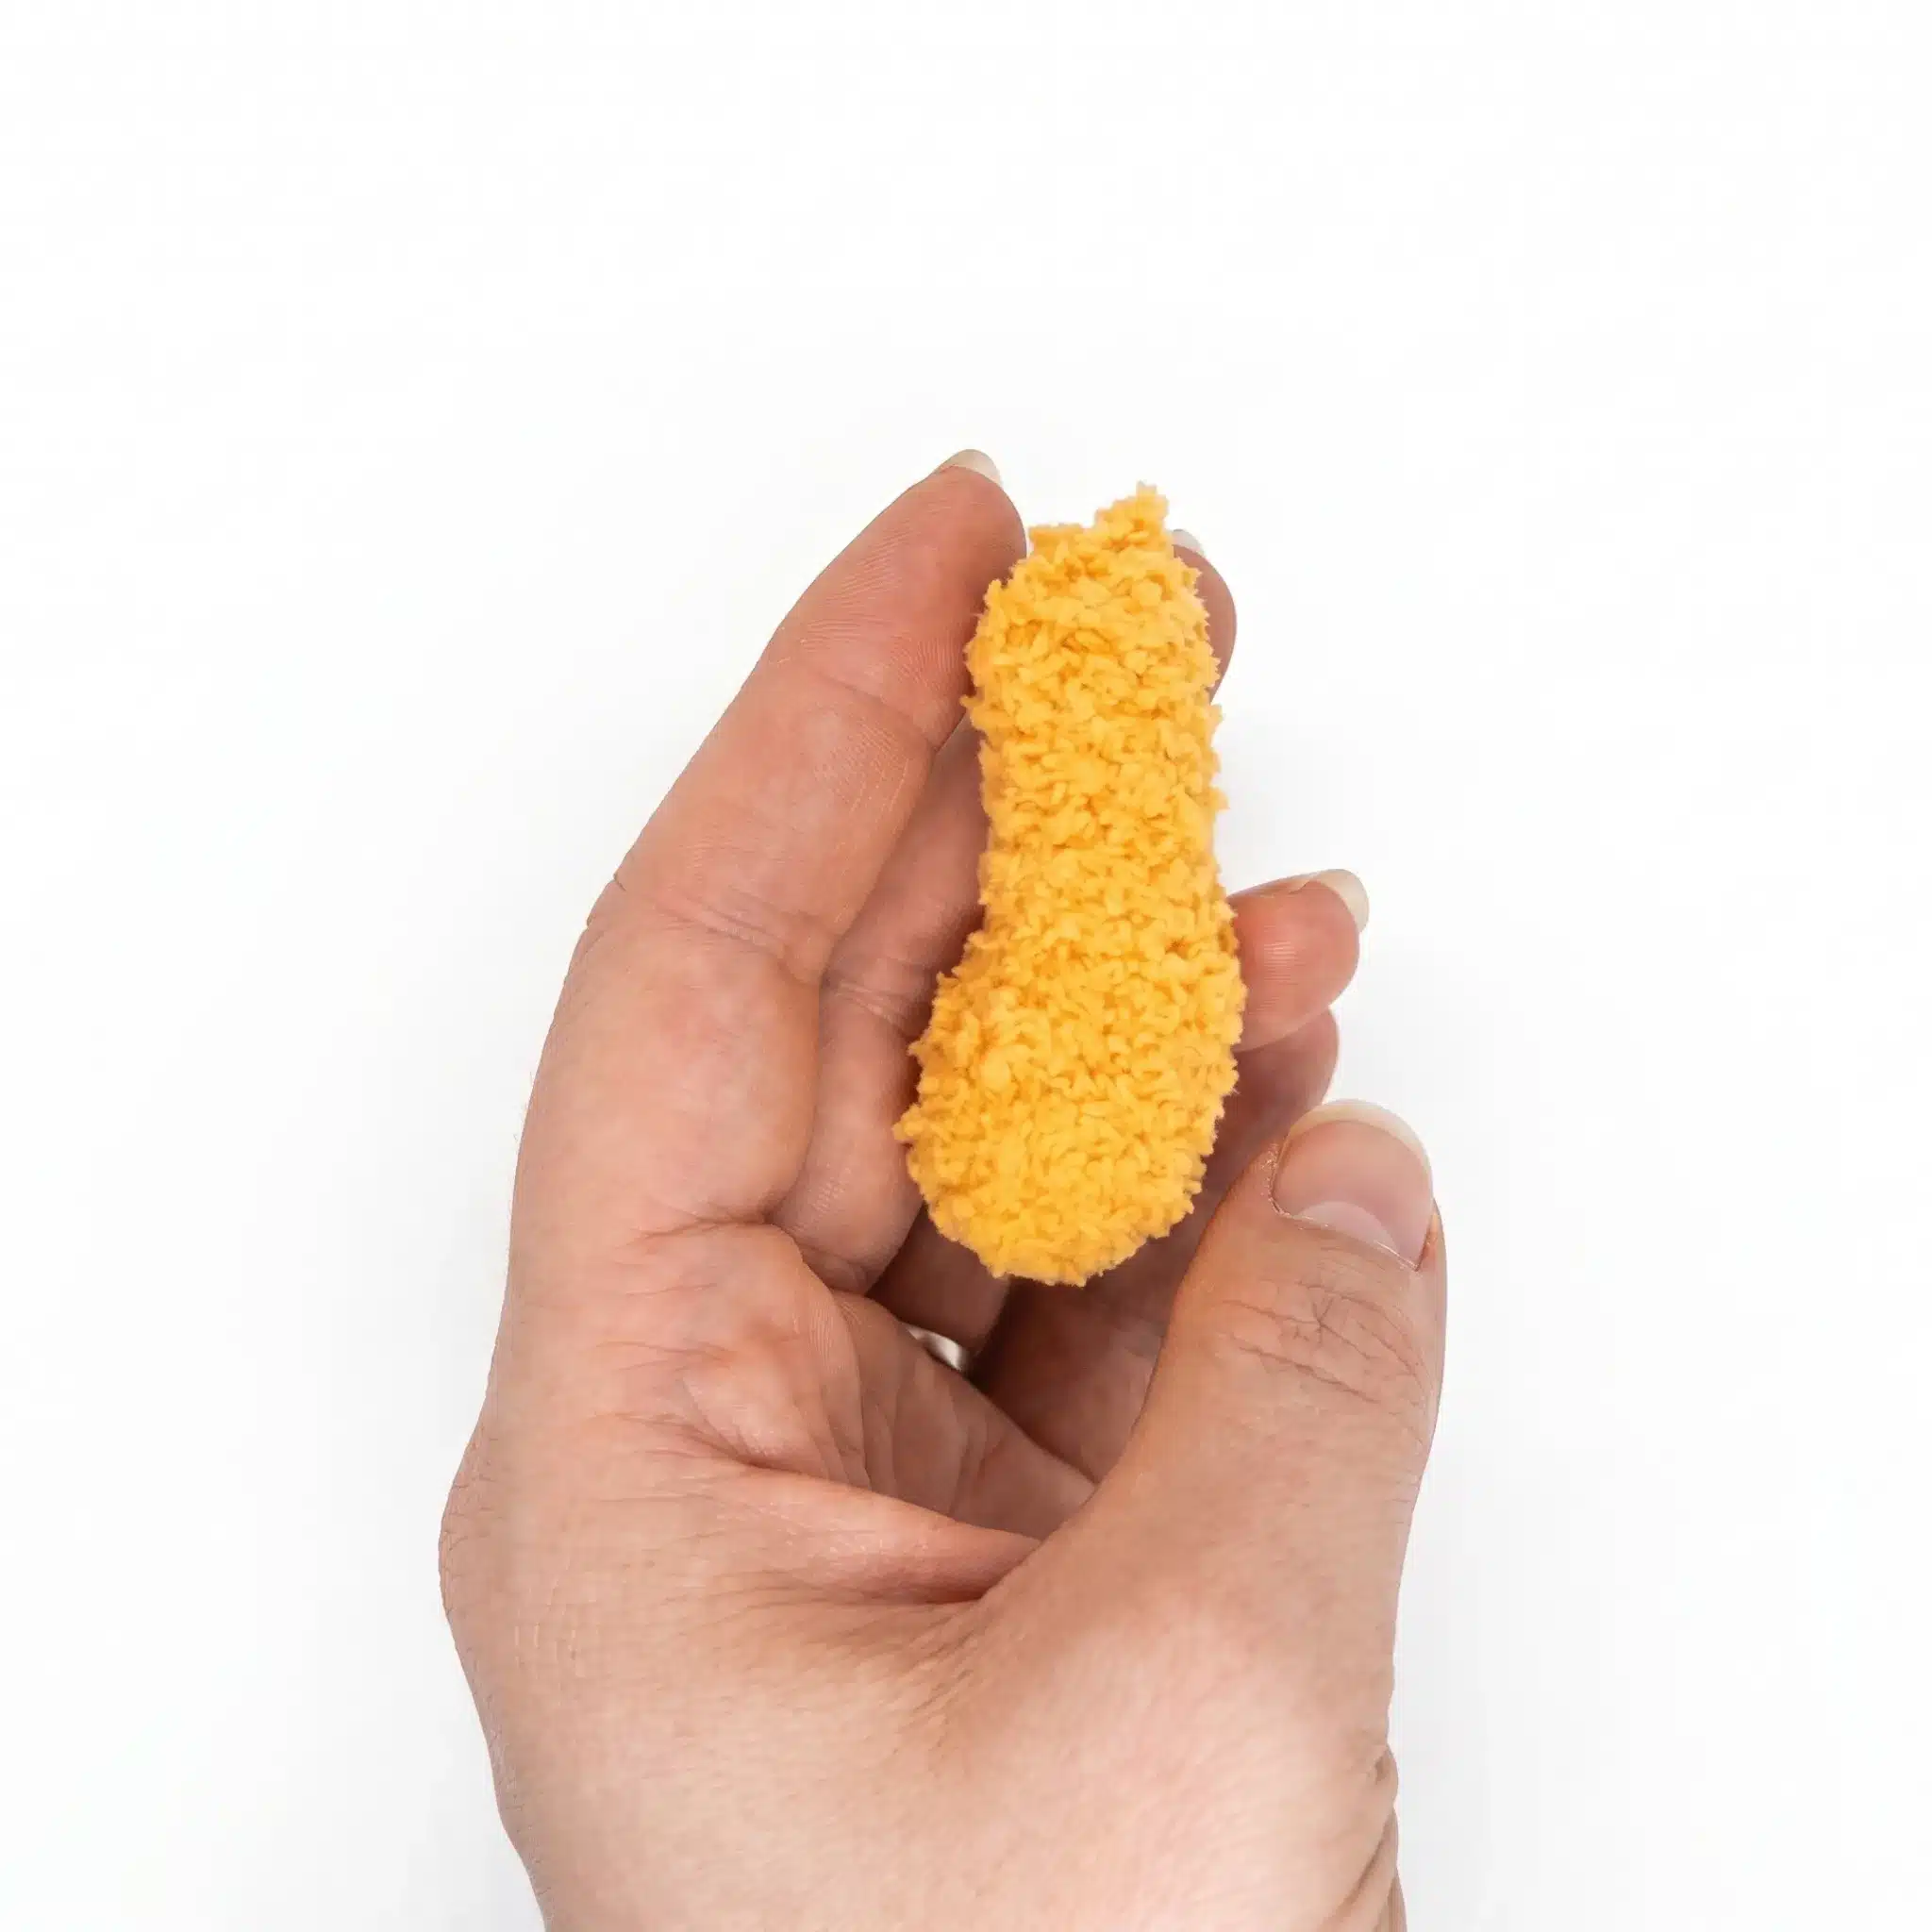
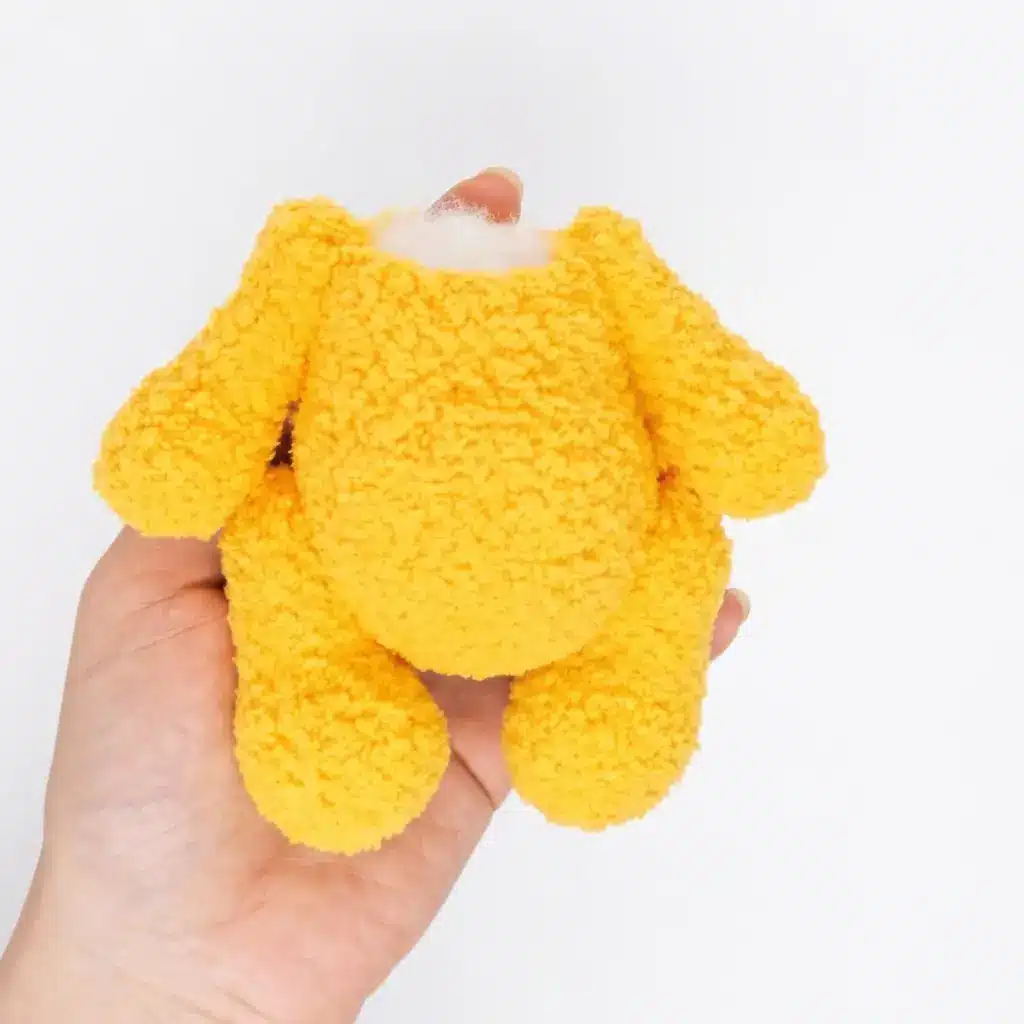
This pattern creates a seated teddy bear with jointed arms and legs. The body, head, and limbs are crocheted in a continuous spiral using plush yarn, while the sweater is knit flat. The face features safety eyes and embroidered details for a sweet expression.
Materials
- Yarn: Alize Softy (or similar plush/chenille-style yarn, 100% microfiber, Bulky weight) in golden yellow — less than one skein
- Yarn: YarnArt Jeans (or similar cotton-acrylic blend, DK/Light Worsted weight) in red — for the sweater
- Hook: Size B/1 (2 mm) crochet hook
- Knitting needles: US 2–3 (3 mm)
- Safety eyes: 9 mm, 1 pair
- Safety nose: 1
- T-pin joints: 2.0 x 20 mm, 4 pieces
- Joint discs: 20 mm, 4 pieces (for legs)
- Joint discs: 12 mm, 4 pieces (for arms)
- Polyester fiberfill stuffing
- Stitch markers
- Yarn needle / tapestry needle
- Sewing needle and black embroidery thread (for face details)
- Scissors
Gauge and Finished Size
Gauge is not critical for this project — just work snugly enough that stuffing won’t peek through the stitches. Finished size is not specified in the source.
Abbreviations
- BLO — Back Loop Only
- ch — Chain
- dc — Double Crochet
- dec — Decrease
- hdc — Half Double Crochet
- inc — Increase
- k — Knit
- MR — Magic Ring
- p — Purl
- sc — Single Crochet
- sc3tog — Single Crochet 3 Together
- sl st — Slip Stitch
- st(s) — Stitch(es)
- yo — Yarn Over
Pattern Notes
This pattern is written in US crochet terminology. All crocheted body parts (Arms, Legs, Body, Head, Muzzle) are worked in a continuous spiral — do not join or chain unless noted. The Ears are worked in flat rows. The sweater is knit flat, with edge stitches slipped at the start and end of each row. Stitch count is given at the end of each round or row in parentheses: (##). Stuff each piece firmly but evenly before closing, and insert joints exactly where noted so the finished bear sits and poses well.
Pattern Instructions
Arms (make 2)
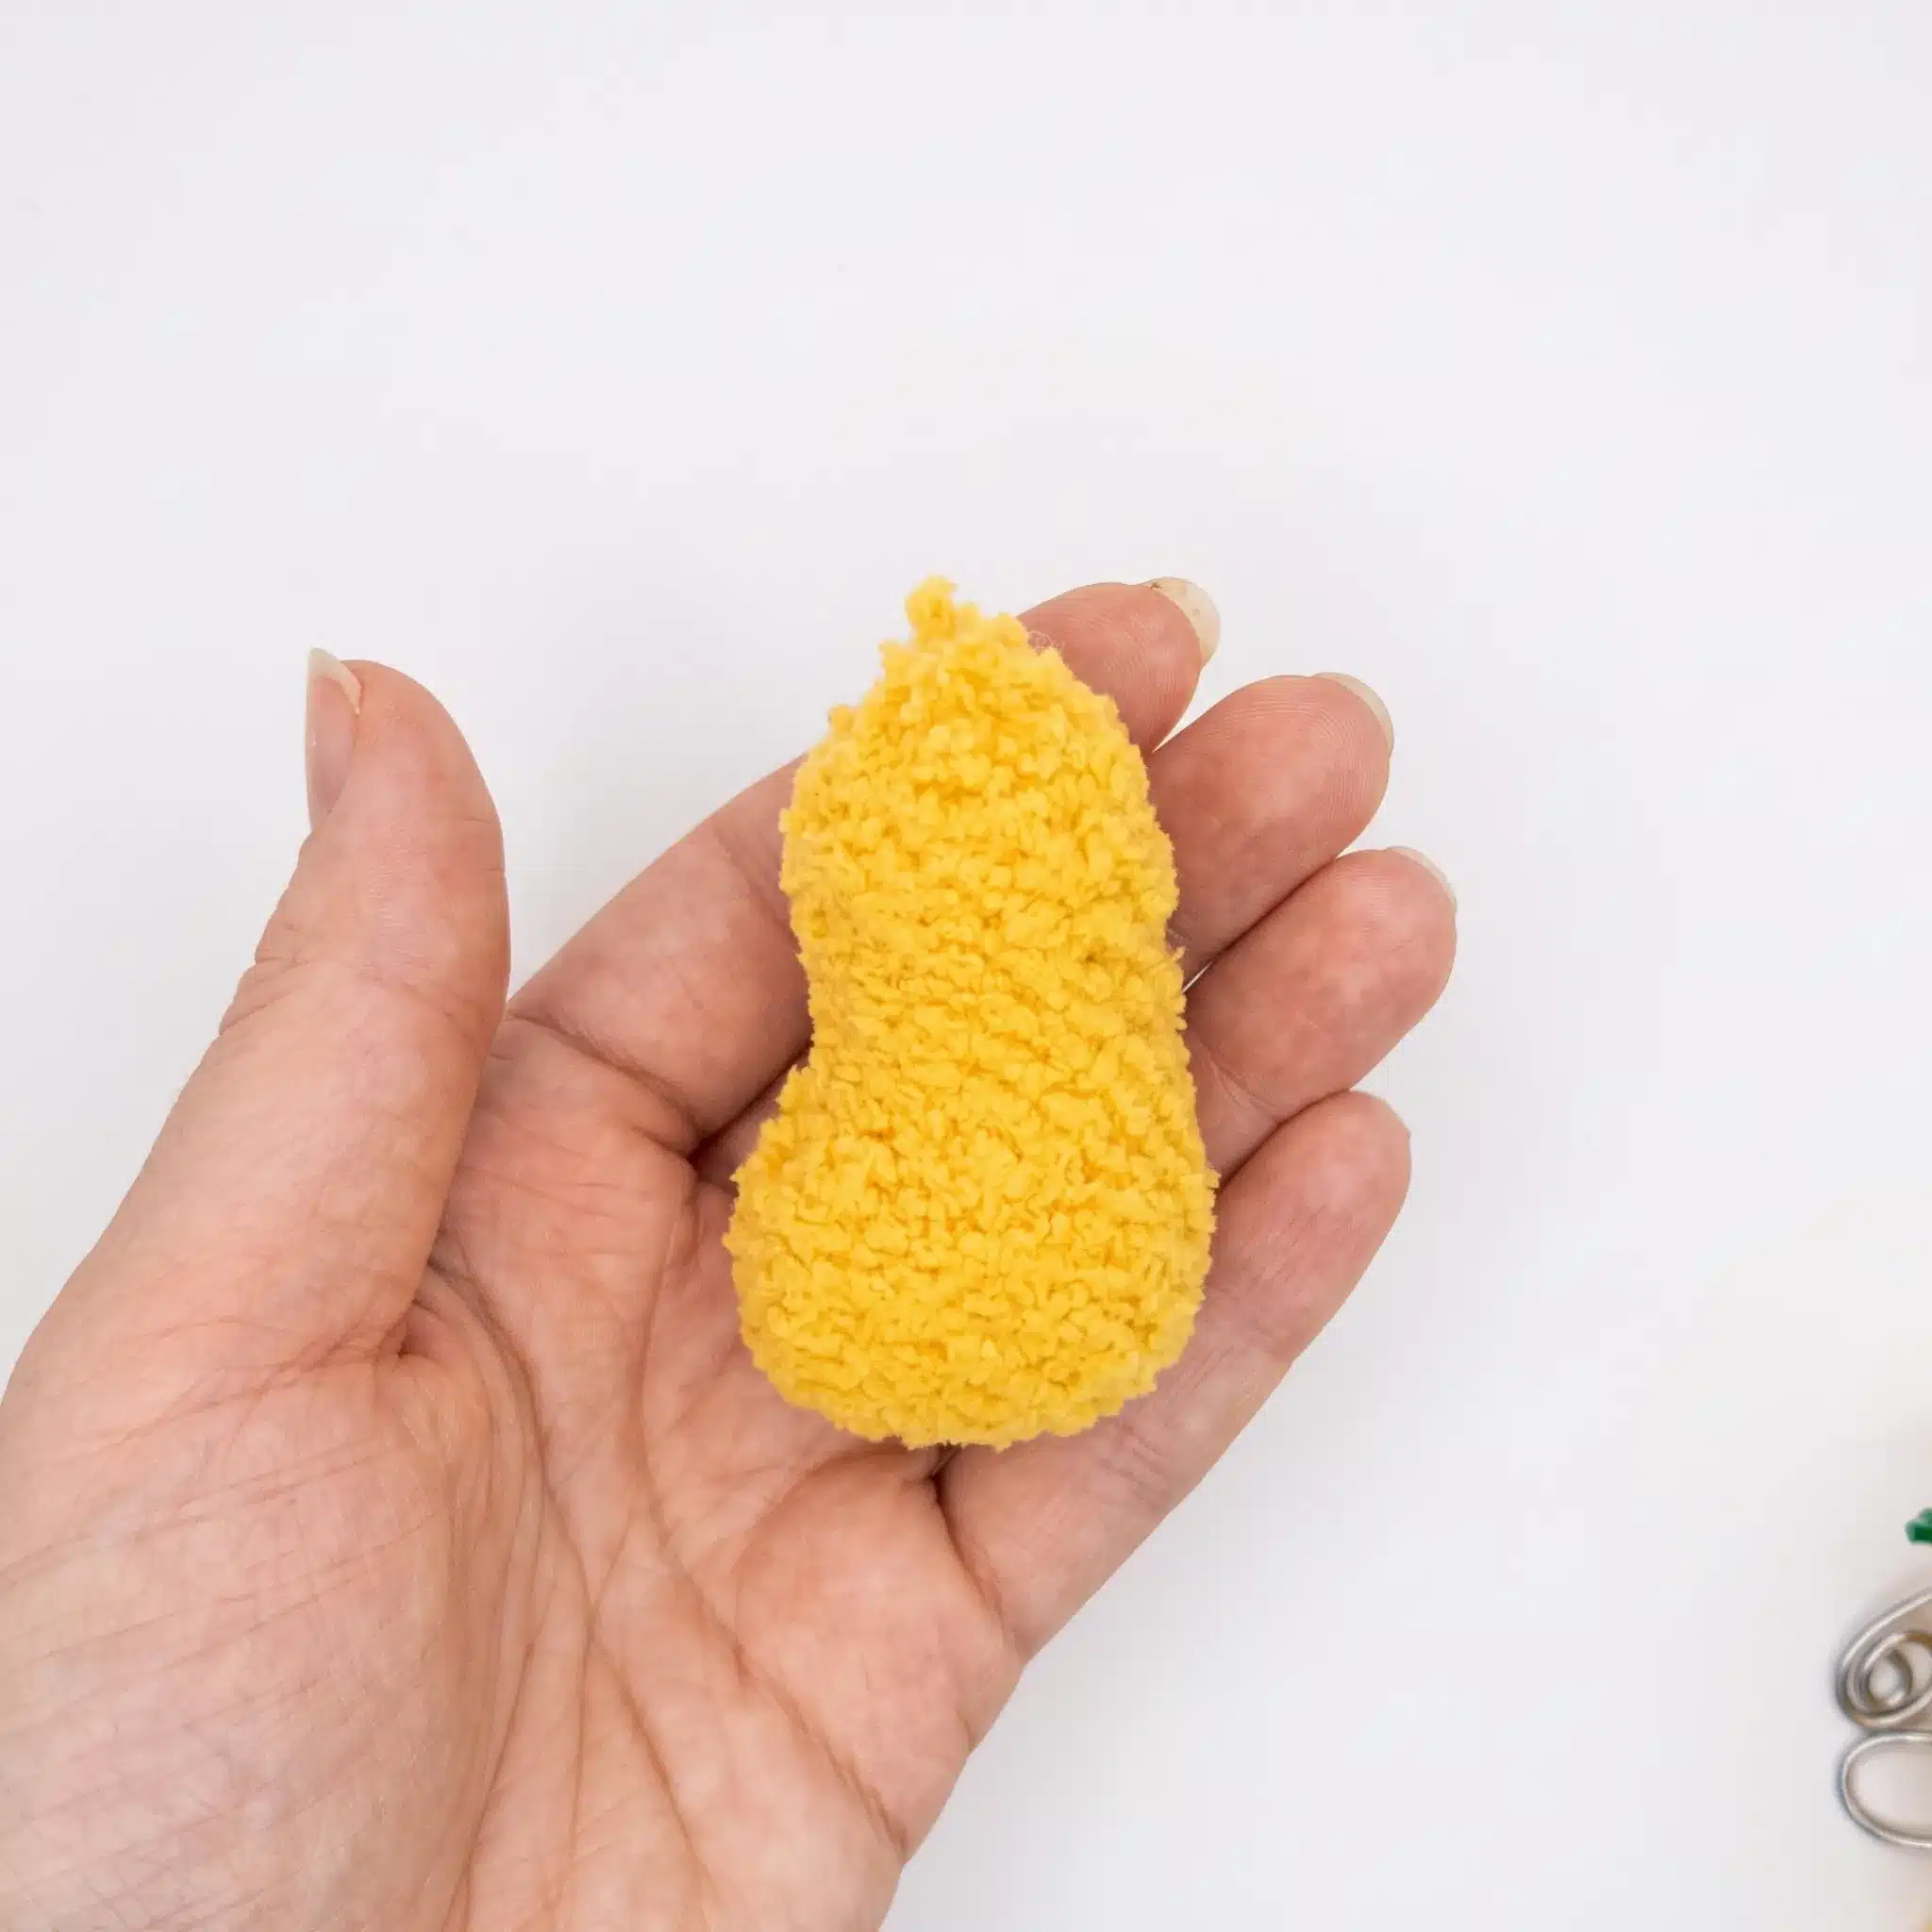
Rnd 1: 6 sc in MR. (6)
Rnd 2: inc in each st around. (12)
Rnd 3: (3 sc, inc) repeat around. (15)
Rnds 4–5: sc in each st around. (15)
Rnd 6: sc3tog, sc in remaining 12 sts. (13)
Rnd 7: sc3tog, sc in remaining 10 sts. (11)
Rnds 8–14: sc in each st around. (11)
Insert the 12 mm joint disc between Rnds 13 and 14.
Rnd 15: (dec) x5, sc. (6)
Stuff lightly, cinch the opening closed, fasten off and weave in the end.
Legs (make 2)
Rnd 1: Ch 6; starting in 2nd ch from hook: inc, 3 sc, 3 sc in last ch; working down the opposite side of the foundation chain: 4 sc. (12)
Rnd 2: 2 inc, 3 sc, 3 inc, 3 sc, inc. (18)
Rnd 3: (2 sc, inc) repeat around. (24)
Rnds 4–6: sc in each st around. (24)
Shift your marker forward 3 sts so it sits directly at the center of the heel.
Rnd 7: dec, 5 sc, (dec, sc) x3, dec, 6 sc. (19)
Rnd 8: 6 sc, 4 dec, 5 sc. (15)
Rnds 9–14: sc in each st around. (15)
Insert the 20 mm joint disc between Rnds 13 and 14.
Rnd 15: sc, 7 dec. (8)
Rnd 16: 4 dec. (4)
Stuff firmly, cinch the opening closed, fasten off and weave in the end.
Body
Rnd 1: 6 sc in MR. (6)
Rnd 2: inc in each st around. (12)
Rnd 3: (sc, inc) repeat around. (18)
Rnd 4: sc, inc, (2 sc, inc) x5, sc. (24)
Rnd 5: (3 sc, inc) repeat around. (30)
Rnd 6: 2 sc, inc, (4 sc, inc) x5, 2 sc. (36)
Rnd 7: (5 sc, inc) repeat around. (42)
Rnd 8: 10 sc, place a marker, 22 sc, place a second marker, 10 sc. (42)
Keep an eye on both markers — they should track straight up the center back as you work.
Rnds 9–14: sc in each st around. (42)
Attach the legs at the marker positions from Rnd 8.
Rnd 15: 14 sc, (dec, sc) x4, dec, 14 sc. (37)
Rnd 16: sc in each st around. (37)
Rnd 17: 14 sc, 2 dec, sc, 2 dec, 14 sc. (33)
Rnd 18: sc in each st around. (33)
Rnd 19: 15 sc, sc3tog, 15 sc. (31)
Rnds 20–21: sc in each st around. (31)
Attach the arms between Rnds 20 and 21, positioned directly above the legs.
Rnd 22: (3 sc, dec) x2, 3 sc, sc3tog, (3 sc, dec) x3. (24)
Stuff the body firmly before the neck closes up, then continue to the Head.
Head
Rnd 1: 6 sc in MR. (6)
Rnd 2: inc in each st around. (12)
Rnd 3: (sc, inc) repeat around. (18)
Rnd 4: sc, inc, (2 sc, inc) x5, sc. (24)
Rnd 5: (3 sc, inc) repeat around. (30)
Rnd 6: 2 sc, inc, (4 sc, inc) x5, 2 sc. (36)
Rnd 7: (5 sc, inc) repeat around. (42)
Rnd 8: 3 sc, inc, (6 sc, inc) x5, 3 sc. (48)
Rnds 9–17: sc in each st around. (48)
Rnd 18: 3 sc, dec, (6 sc, dec) x5, 3 sc. (42)
Rnd 19: (5 sc, dec) repeat around. (36)
Rnd 20: 2 sc, dec, (4 sc, dec) x5, 2 sc. (30)
Rnd 21: (3 sc, dec) repeat around. (30)
Fasten off, leaving a long tail for sewing the head to the body later. Stuff firmly before closing the final round.
Muzzle
Rnd 1: Ch 4; starting in 2nd ch from hook: inc, sc, 4 sc in last ch; working down the opposite side of the foundation chain: sc, inc. (10)
Rnd 2: 2 inc, sc, 4 inc, sc, 2 inc. (18)
Rnds 3–4: sc in each st around. (18)
Fasten off, leaving a tail for sewing. Attach the safety nose between Rnds 3 and 4 before sewing the muzzle in place.
Ears (make 2)
Row 1: 6 hdc in MR, ch 2, turn.
Row 2: inc in each of the 6 hdc around. (12)
Fasten off, leaving a tail for sewing. Fold each ear in half and stitch the fold closed.
Sweater (knit)
Cast on 36 sts.
Row 1: edge st, k34, edge st.
Row 2: edge st, k5, yo, k1, yo, k5, yo, k1, yo, k10, yo, k1, yo, k5, yo, k1, yo, k5, edge st.
Row 3: edge st, p42, edge st.
Row 4: edge st, k6, yo, k1, yo, k7, yo, k1, yo, k12, yo, k1, yo, k7, yo, k1, yo, k6, edge st.
Row 5: edge st, p50, edge st.
Row 6: edge st, k7, bind off 10 sts, k14, bind off 10 sts, k7, edge st.
Row 7: edge st, p8, yo x3, p15, yo x3, p7, edge st.
Row 8: edge st, k36, edge st.
Row 9: edge st, p36, edge st.
Rows 10–11: edge st, k36, edge st.
Fasten off and weave in the end. For a removable sweater, add crocheted chain loops and sew on small buttons at the back opening; for a permanent finish, sew the sweater directly onto the body.
Assembly
Sew the Muzzle onto the Head between Rnds 15 and 19, centering it under where the eyes will sit.
Mark five points around the Muzzle for the eye-cinching technique: Point 1 at the bottom of the head, Points 2 and 3 to one side of the nose, Points 4 and 5 to the other side.
Insert the needle at Point 1, bring it out at Point 2, insert at Point 3, and bring it back out at Point 1. Pull tight to sink the eye socket. Repeat on the opposite side using Points 4 and 5. Glue or push the 9 mm safety eyes into place at the cinched points.
Embroider the eye whites, eyelids, eyebrows, and mouth using black embroidery thread.
Position the Ears and sew them securely to the Head using the yarn tails.
Attach the Head to the Body using the long tail left at the neck, using a whipstitch and adding extra stuffing to the neck as you close the gap.
Dress the bear in the finished Sweater, then weave in any remaining ends.
Tips
- Watch your tension. Keep your tension tight and even throughout the Arms, Legs, Body, and Head. A looser gauge lets stuffing show through the stitches, especially in plush yarns like the one used here.
- Use invisible decreases. When you reach a decrease round, use an invisible decrease technique rather than a standard sc2tog. It keeps the surface smooth, which matters a lot on a face this small.
- Stuff generously, especially at the neck. Stuff the Body and Head fully before you close the final rounds, packing extra fiberfill into the neck so the head sits up straight once it’s sewn on.
- Choose yarn substitutes carefully. If you substitute yarn, stick to a similar Bulky-weight plush or chenille-style yarn for the main pieces. Switching to a smooth worsted weight will change the bear’s proportions and make the stitch definition far more visible.
- Take your time on the head seam. When sewing the Head to the Body, work slowly and check the ear and eye alignment from multiple angles before you finish the seam. A slightly tilted head is the easiest thing to fix now and the hardest thing to fix later.
Frequently Asked Questions
What skill level is this pattern?
This pattern is suited to a confident beginner or intermediate maker who wants to practice joint assembly and basic knitting.
Can I use a different yarn for the body?
Yes, but stick to a similar Bulky-weight plush or chenille-style yarn. Switching to a smooth worsted weight will change the bear’s proportions and make stitch definition more visible.
How do I make the sweater removable?
Add crocheted chain loops and sew on small buttons at the back opening of the sweater. For a permanent finish, sew the sweater directly onto the body.
What size are the safety eyes?
The pattern uses 9 mm safety eyes.
How do I attach the legs and arms?
Use the T-pin joints and joint discs as specified. Insert the 20 mm discs for the legs between Rnds 13 and 14, and the 12 mm discs for the arms between Rnds 13 and 14. Attach the legs at the marker positions on the Body (Rnd 8) and the arms between Rnds 20 and 21.
How do I create the eye sockets?
Use the eye-cinching technique described in the Assembly section. Mark five points around the Muzzle, then pull the thread tight to sink the eye sockets before inserting the safety eyes.
Pin This Crochet Pattern!