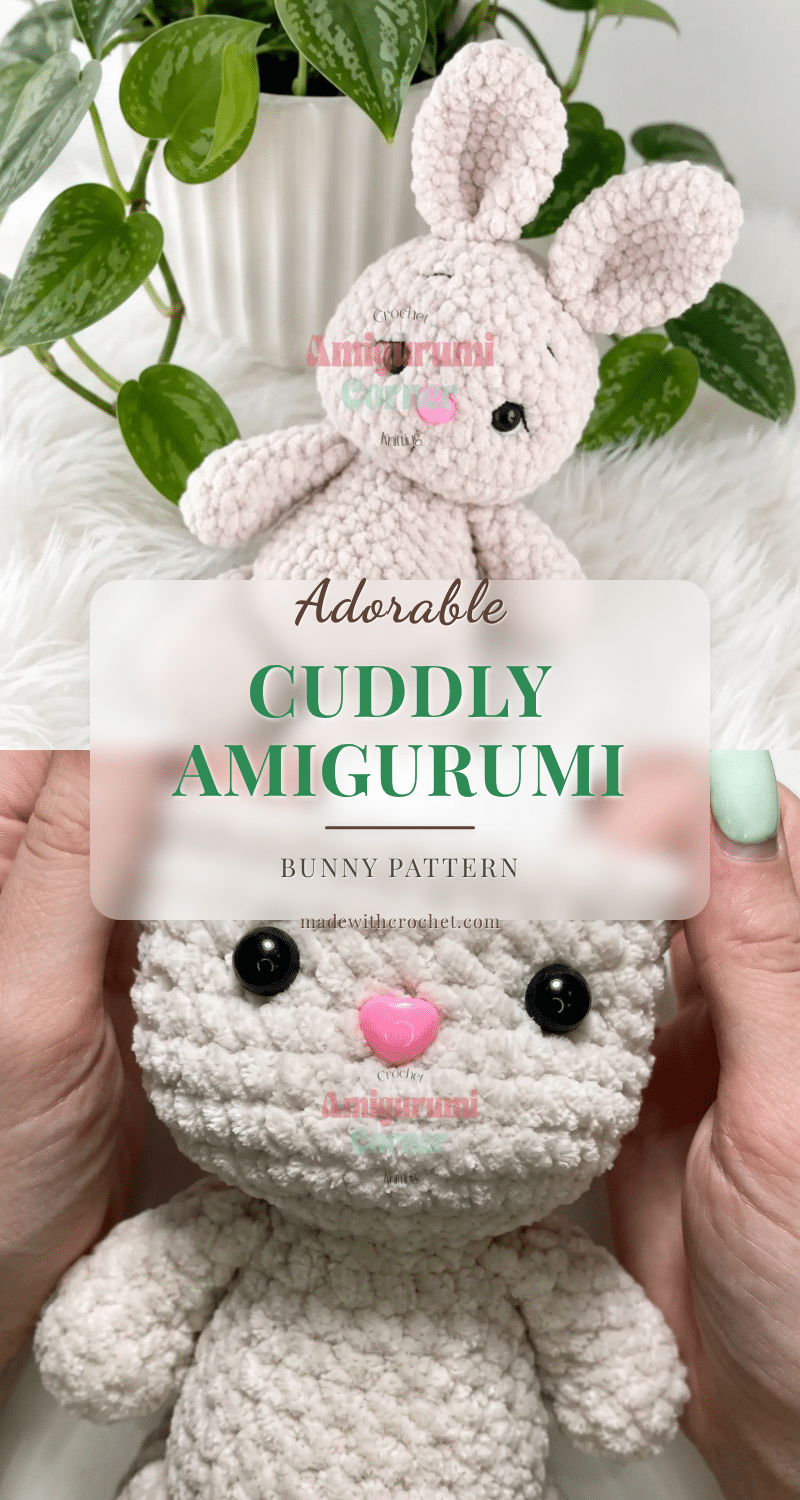
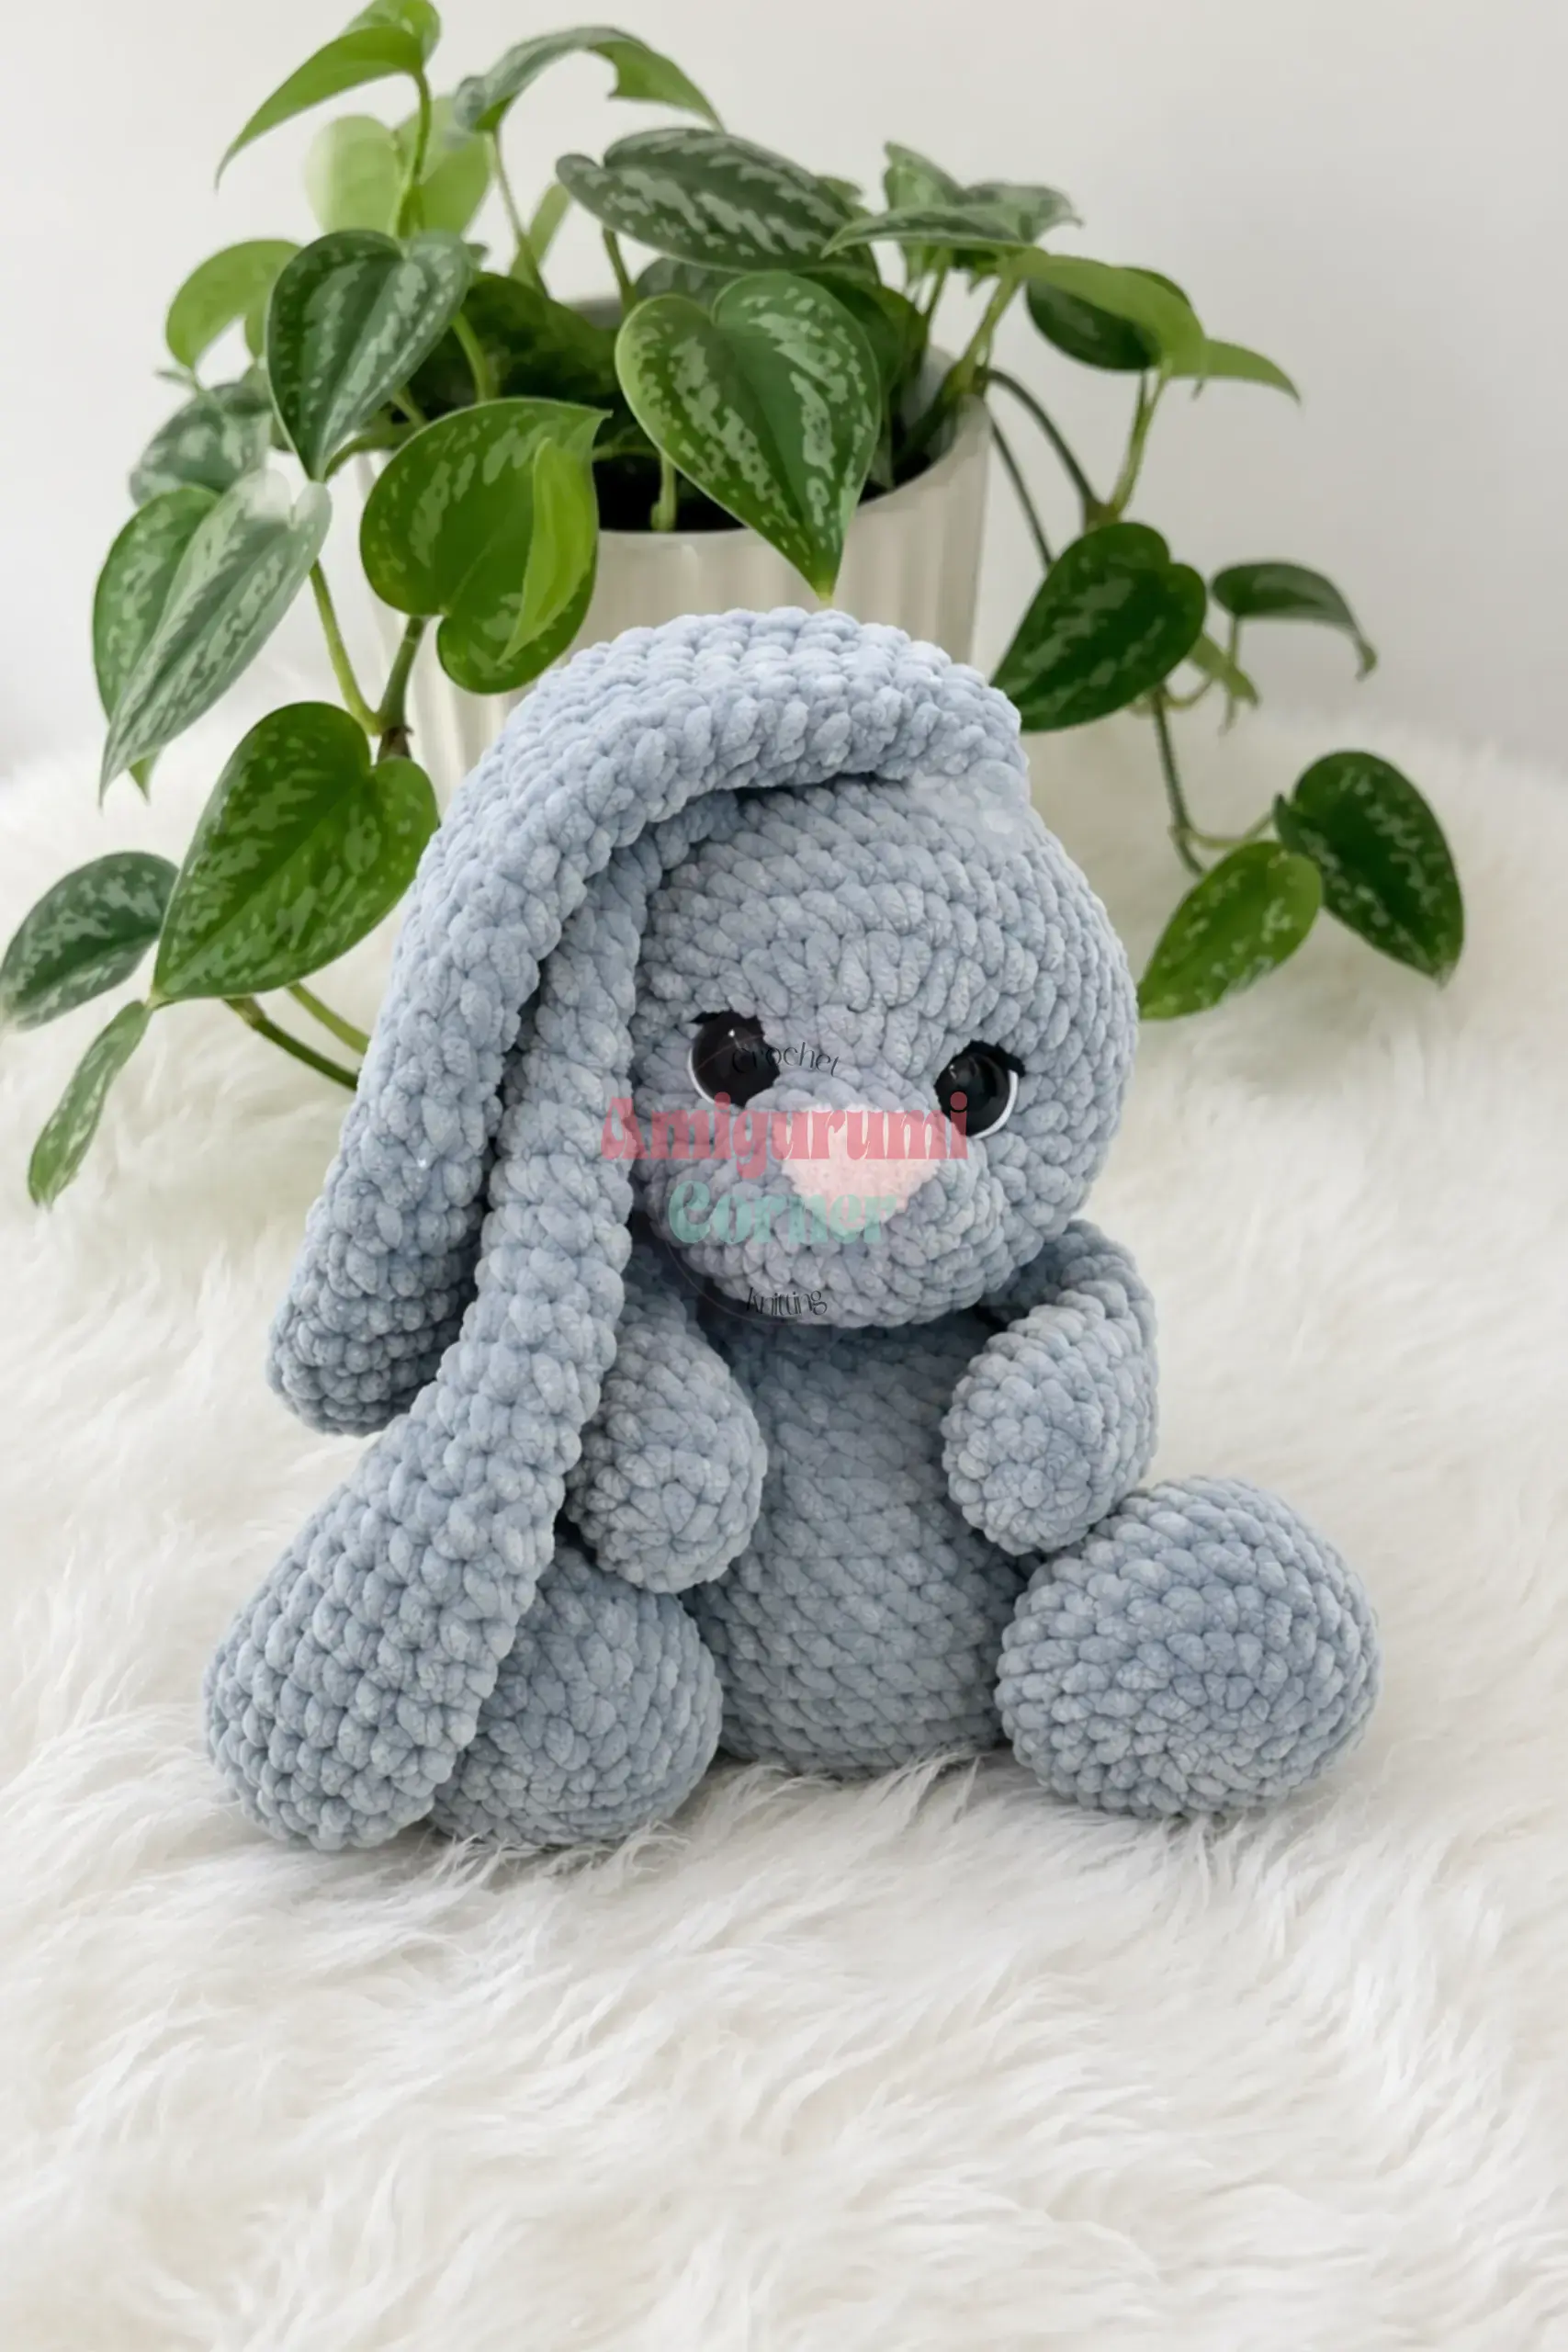
There is something undeniably soothing about a finished amigurumi that looks like it was made just to be held. This cuddly bunny, with its sleepy half-closed eyes and soft plush body, strikes the perfect balance between cute and calming. It is tidy enough for display but squishy enough for a good squeeze, making it an ideal gift for little hands or a sweet addition to a nursery shelf. The oatmeal and light beige colorway keeps the look gentle and timeless, while the continuous construction ensures a sturdy, huggable friend that stands up to love.
Why the Finished Piece Stands Out
What truly makes this bunny special is the texture and the “sleepy” expression. Unlike high-energy cartoon bunnies, this design uses specific shaping to create a relaxed, calm demeanor. The choice of bulky-weight plush or velvet yarn is not just for aesthetics; it hides stitch definition beautifully, giving the toy a professional, store-bought finish that is incredibly soft to the touch. The construction method, where the head and body are worked as one continuous piece, creates a seamless transition that feels substantial and well-balanced in the hands. It is a project that rewards patience with a result that feels like a warm hug.
Project Overview
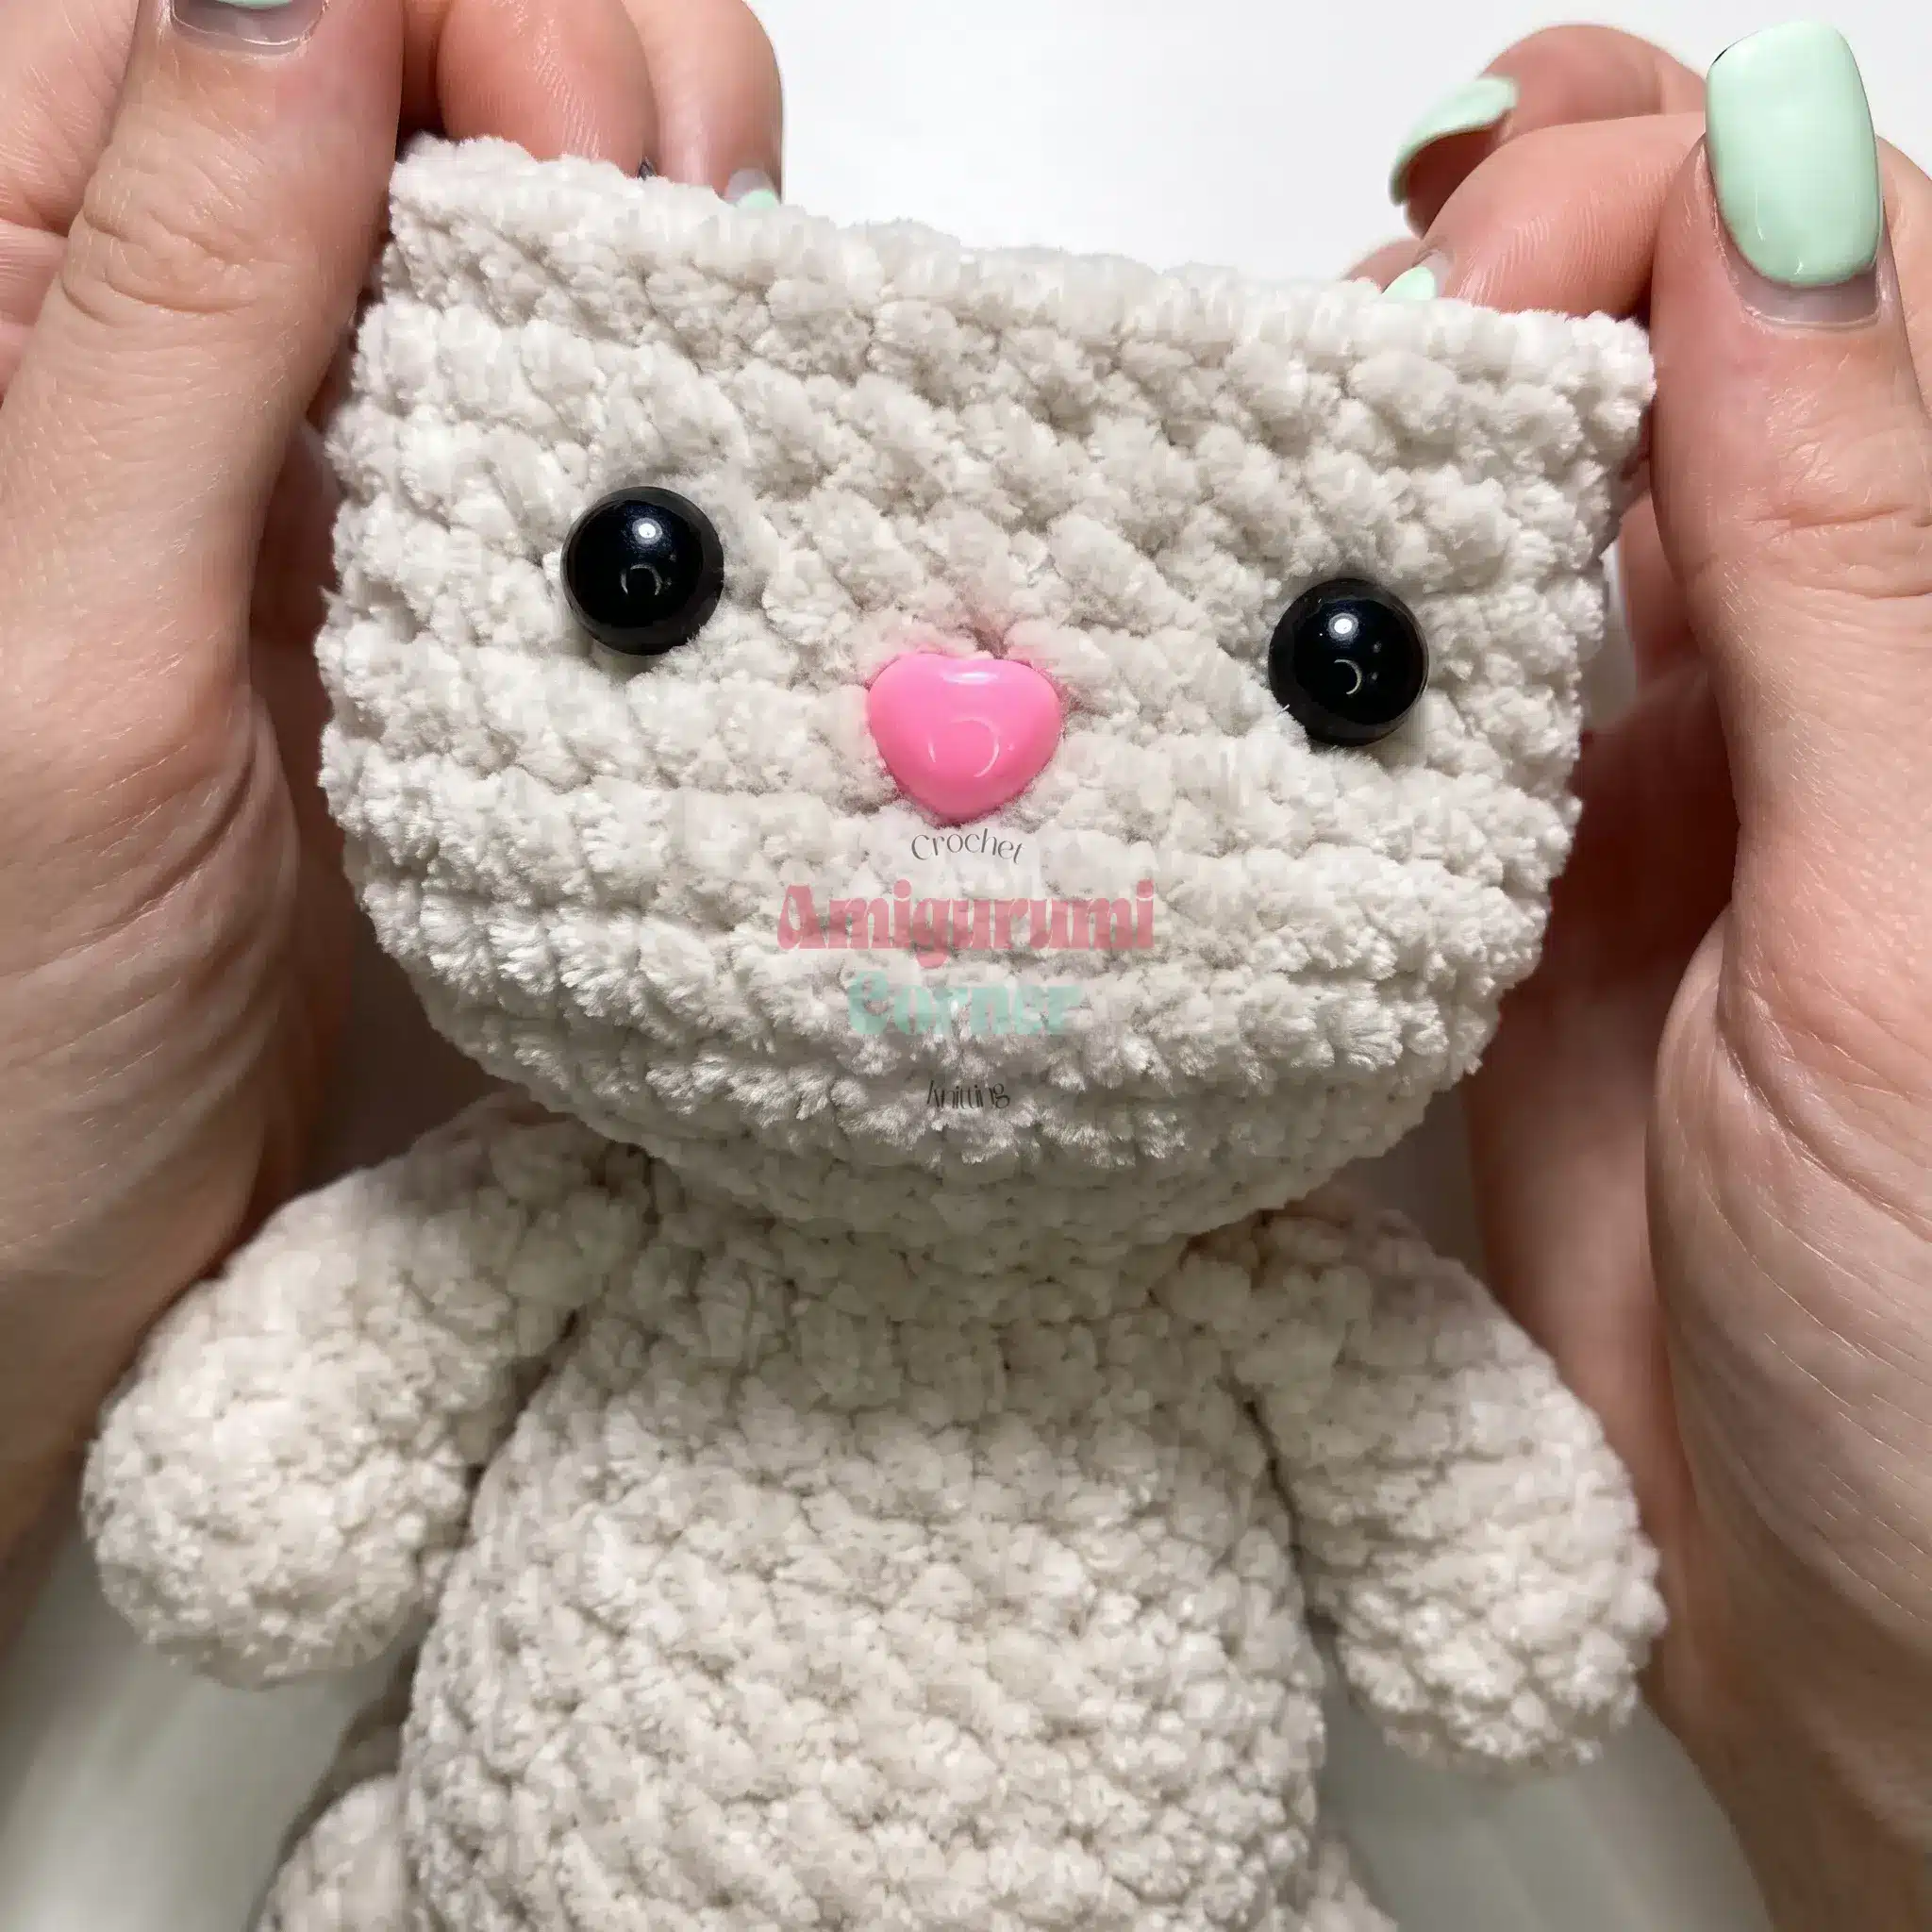
This easy amigurumi crochet pattern is perfect if you’ve made a few amigurumi basics before and want to practice shaping a head and body from one continuous piece. You’ll work the legs and arms separately, then join everything as you go, finishing with a set of folded ears and a sweet little puff-stitch tail. The pattern is written in US crochet terminology and is designed to be worked in continuous spiral rounds.
Materials
- Yarn: Bulky-weight plush/velvet yarn (100% polyester), approximately 120m/100g — oatmeal or light beige, 1 skein.
- Crochet Hook: 4mm (US G/6).
- Safety Eyes: 1 pair, 10mm.
- Safety Nose: 1 pair, 11mm oval.
- Stuffing: Polyester fiberfill.
- Notions: Stitch markers, yarn needle (tapestry needle), scissors.
- Embroidery Thread: Small amount of black and white sewing thread, for embroidering the eyelashes, eyebrows, mouth, and eye highlights.
Gauge and Finished Size
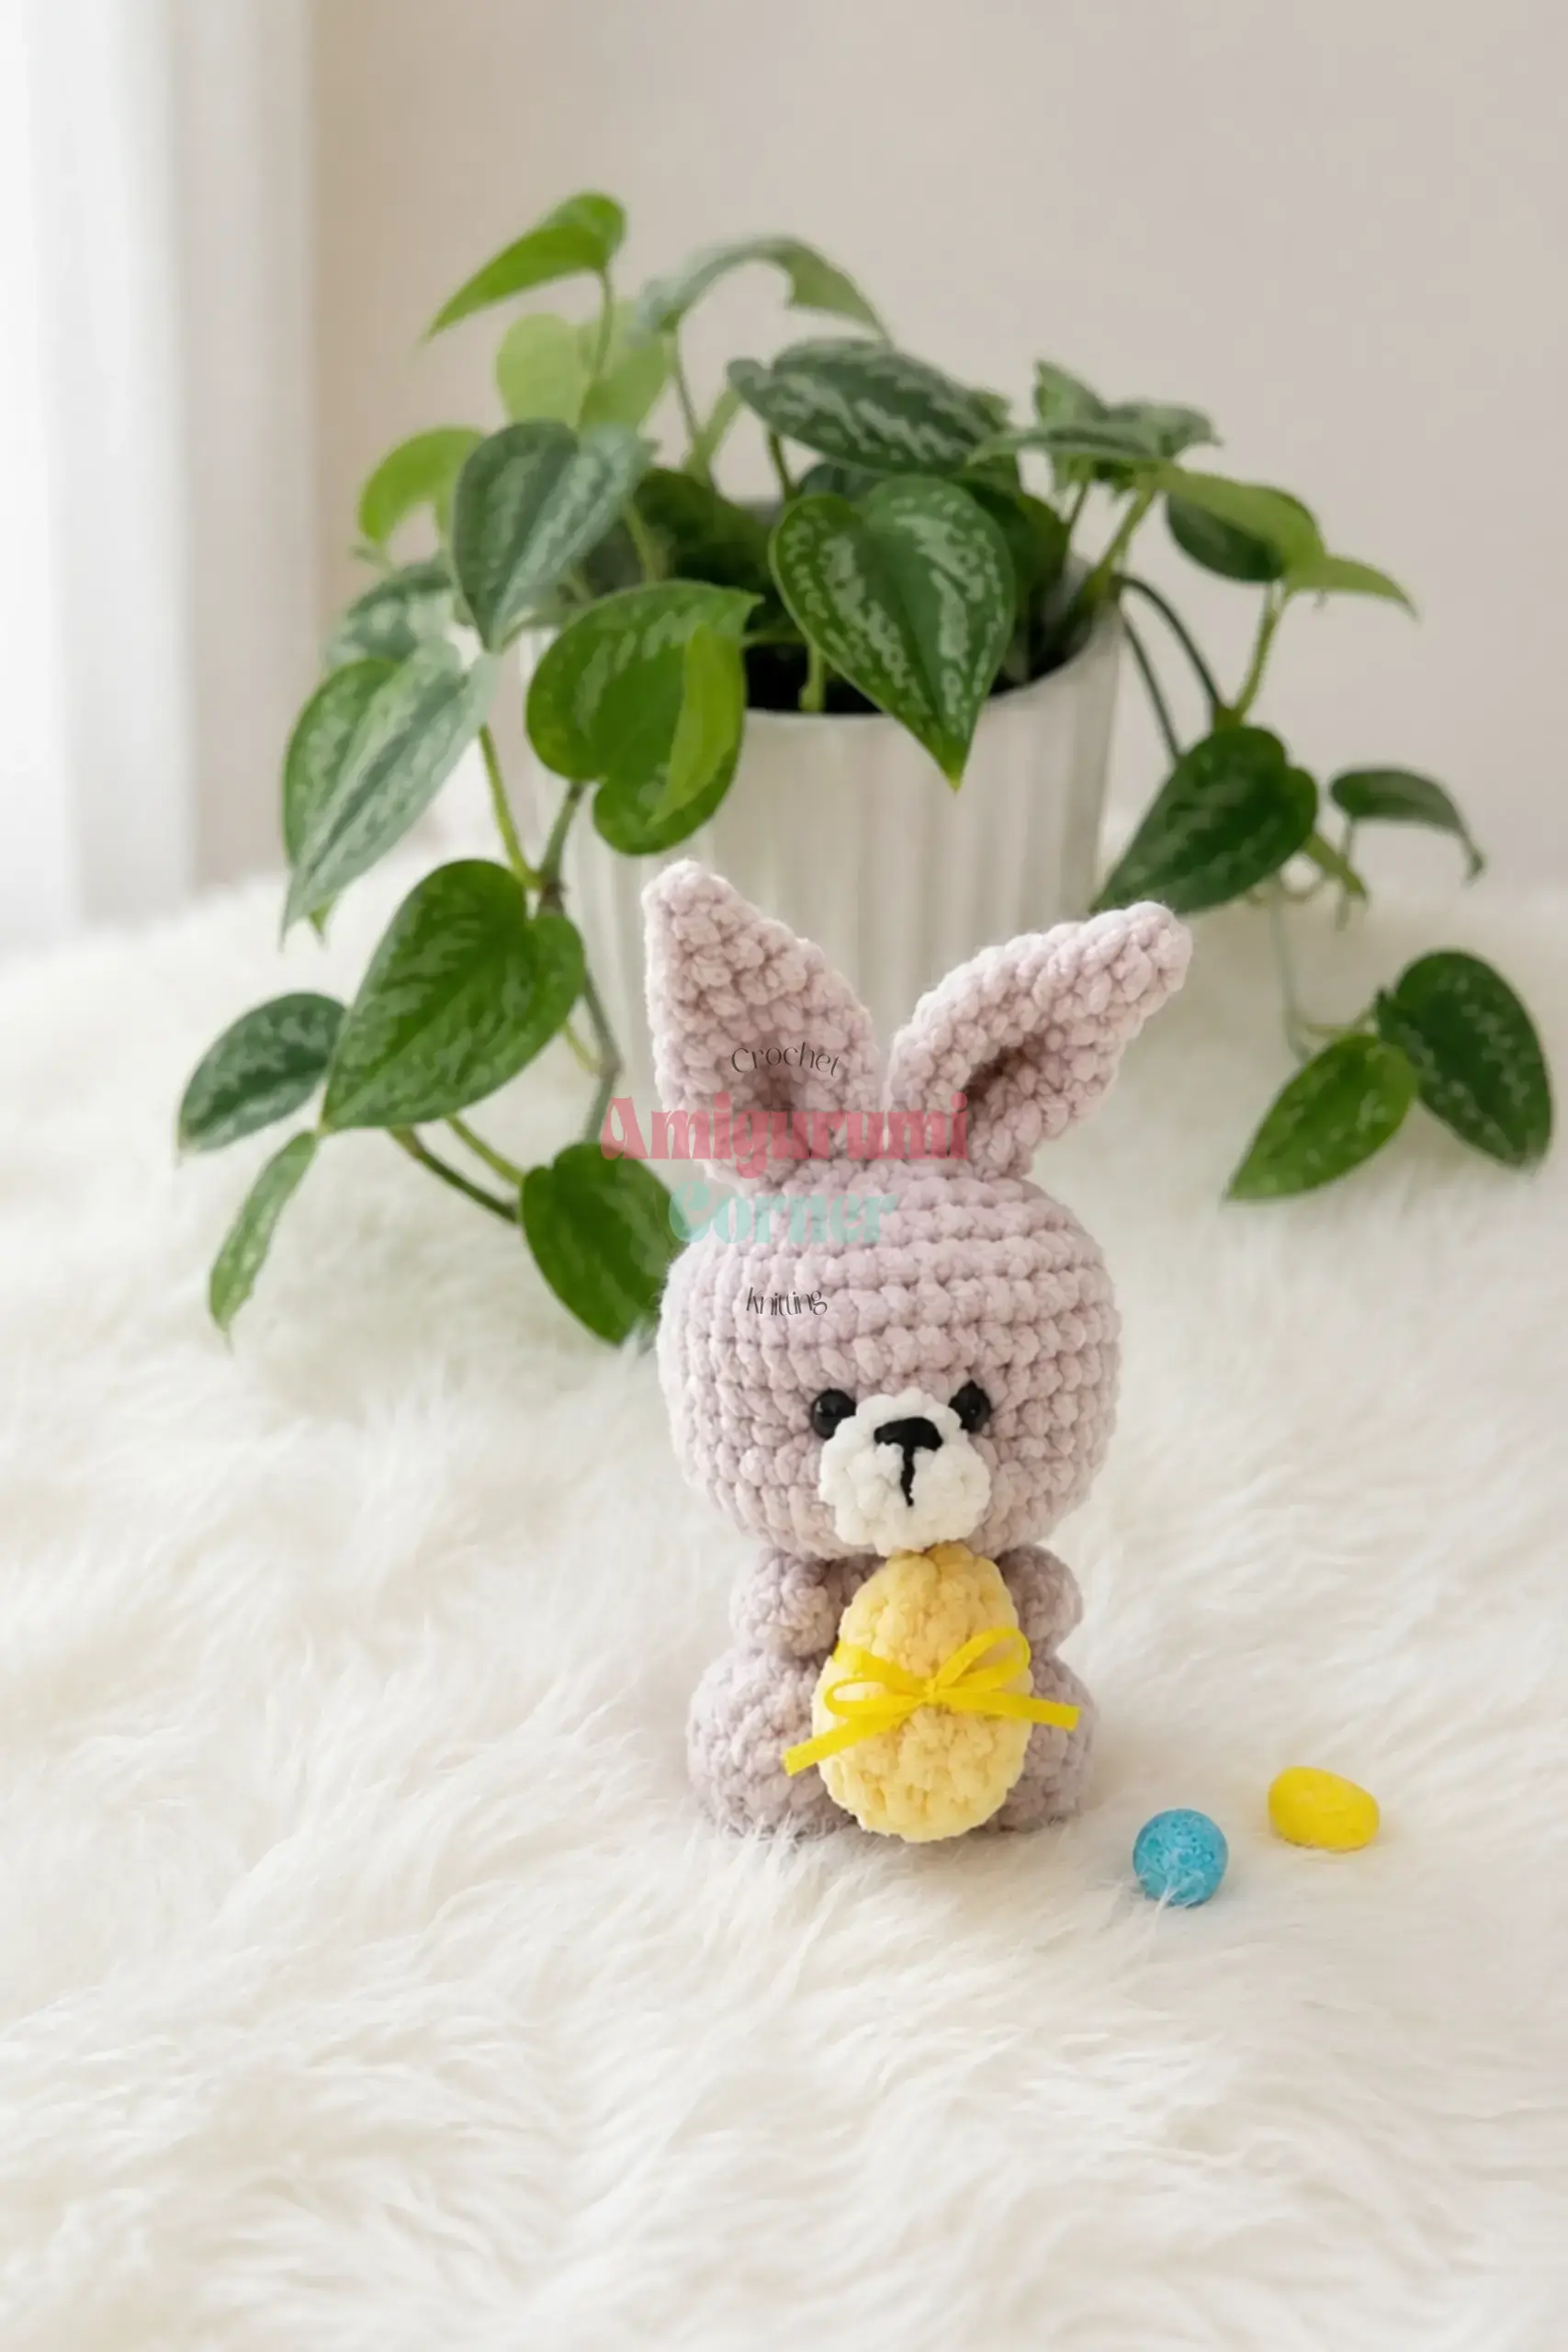
Gauge is not critical for this project; it will only affect the finished size slightly. The finished bunny is approximately 8 inches tall.
Abbreviations
- dc: Double Crochet
- dec: Decrease (invisible decrease)
- inc: Increase (2 sc in the same stitch)
- MR: Magic Ring
- rnd(s): Round(s)
- sc: Single Crochet
- sl st: Slip Stitch
- st(s): Stitch(es)
Pattern Notes
- All pieces are worked in continuous spiral rounds; do not join or turn unless noted.
- Stitch counts are given at the end of each round in parentheses, like this: (12).
- The body and head are worked as one continuous piece; do not fasten off between them.
- The legs and arms are joined directly into the body as you crochet Rnd 7 and Rnd 15, so have both pieces finished and ready before you reach those rounds.
- Safety eyes and nose are inserted mid-head, before the opening closes; place them before you continue past the noted rounds.
Pattern Instructions
Arms (make 2)
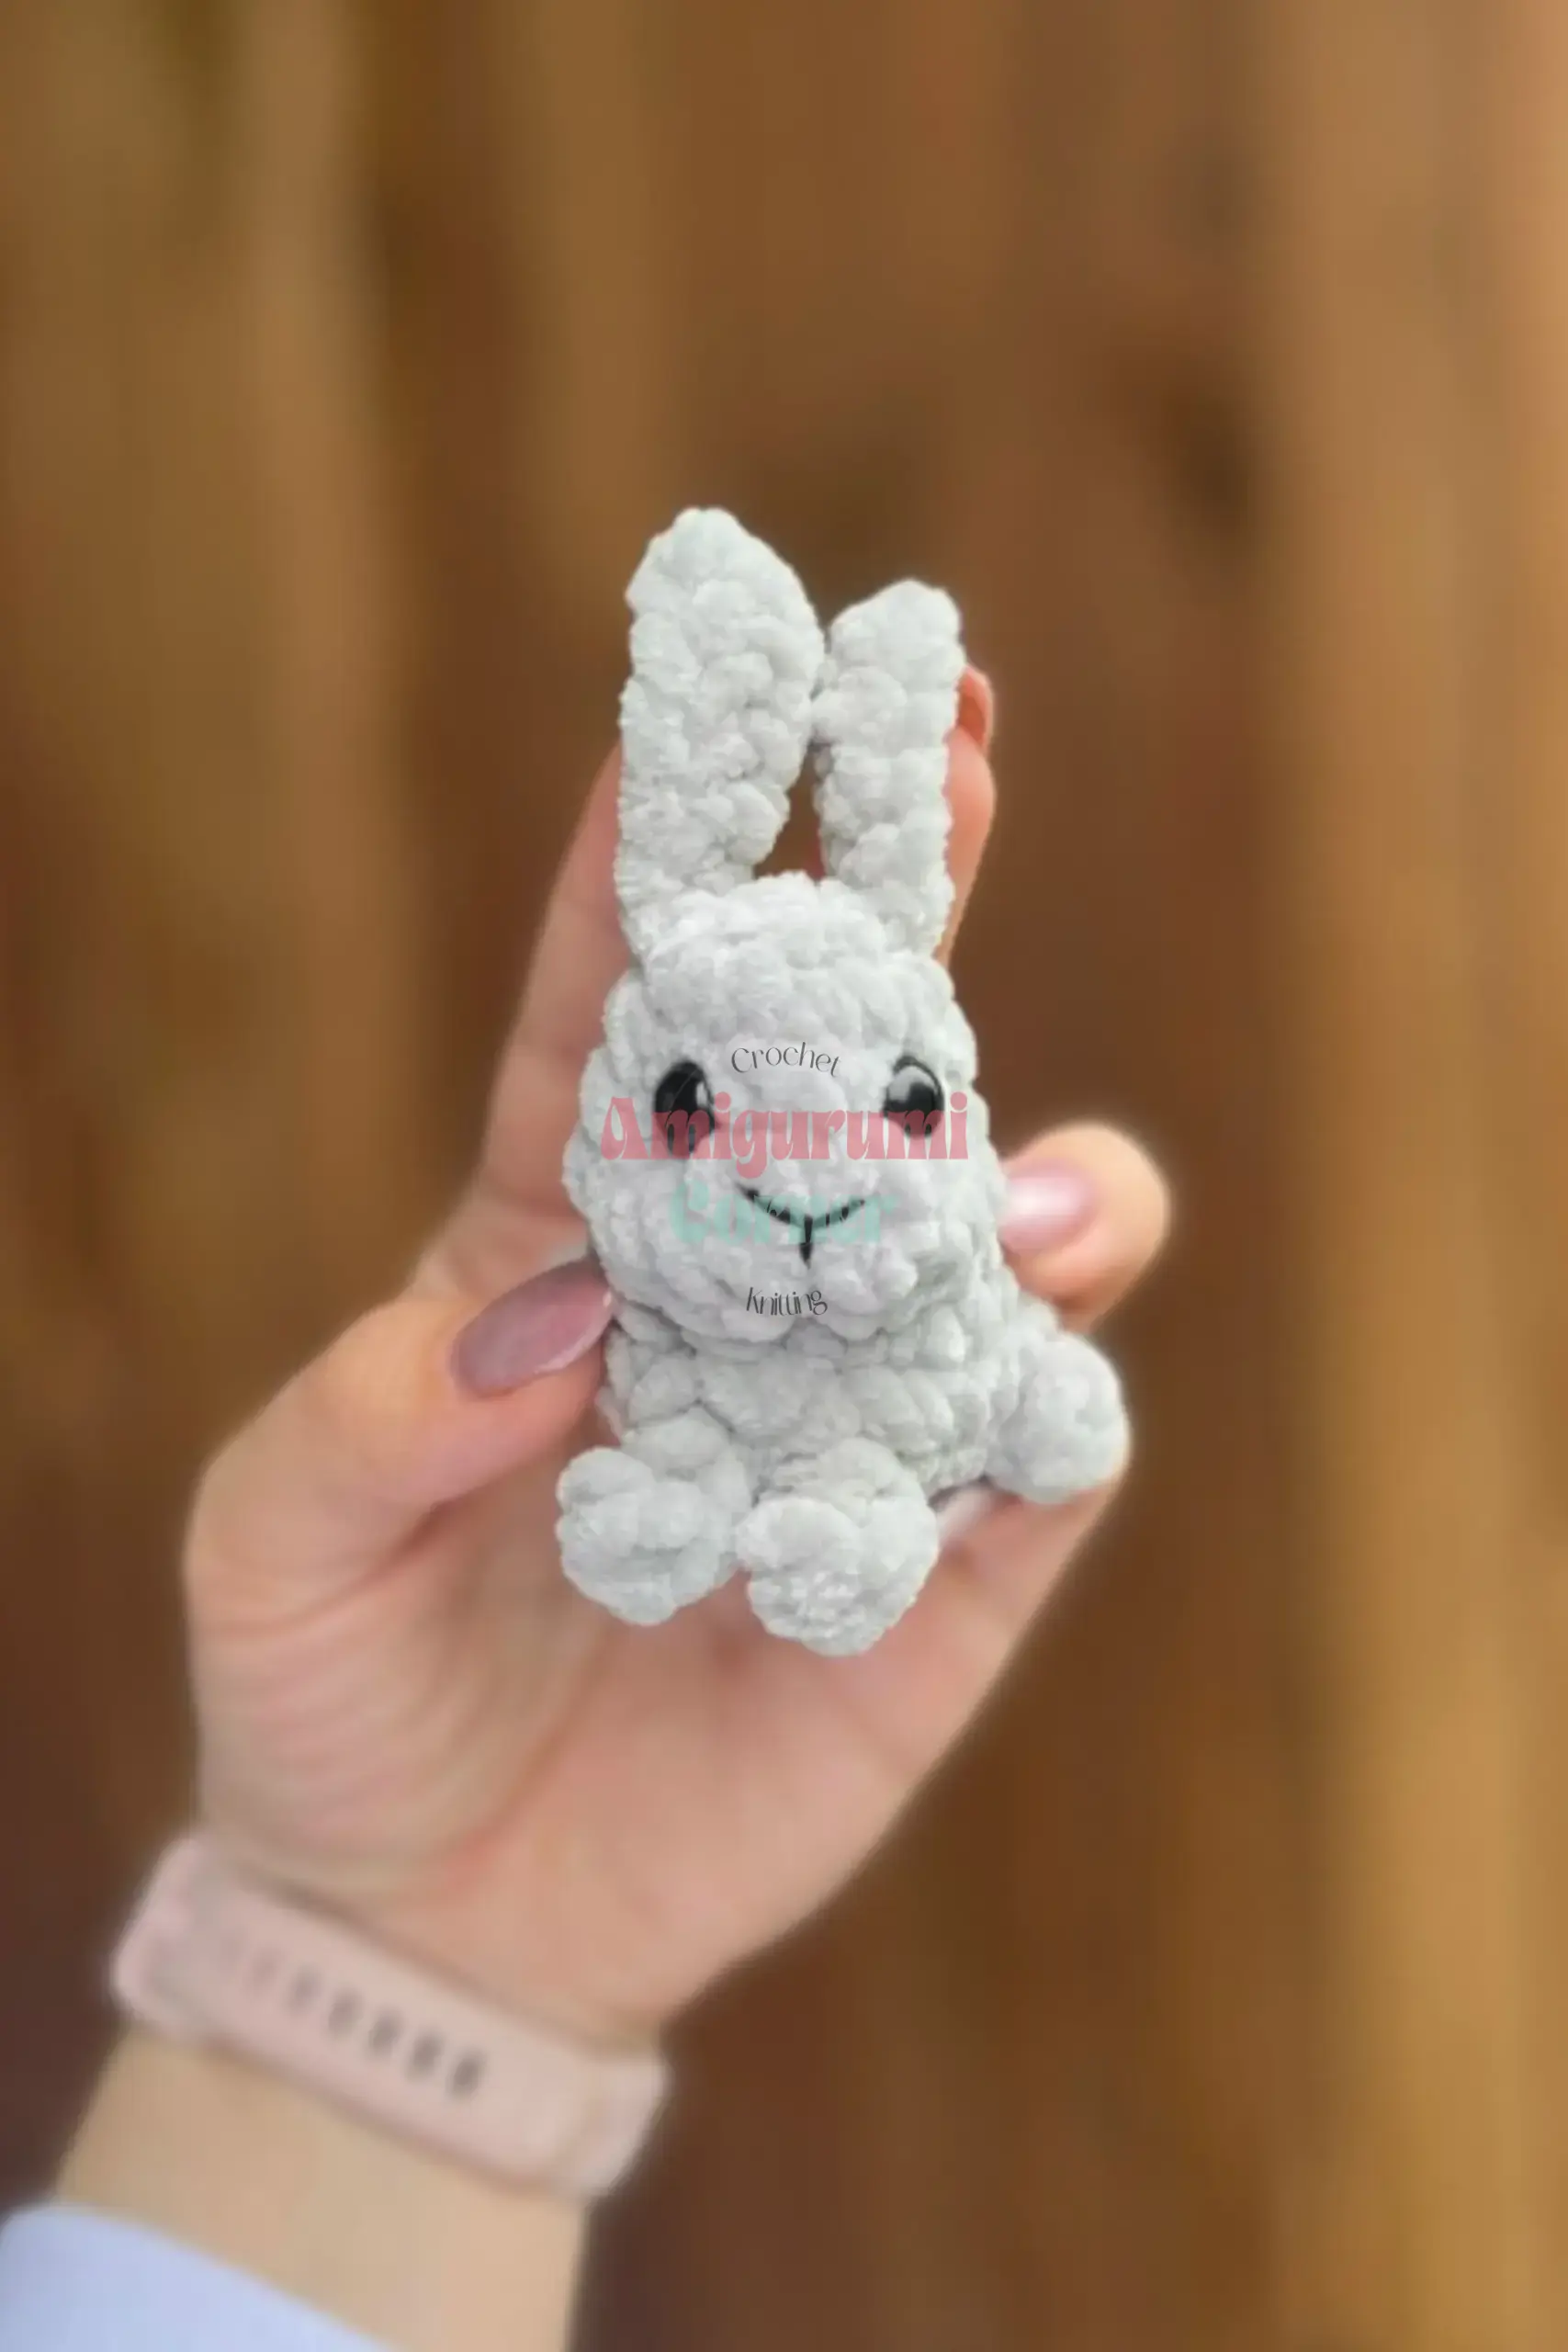
Rnd 1: 6 sc in a magic ring. (6)
Rnd 2: inc in each st around. (12)
Rnd 3–4: sc in each st around, 2 rnds. (12)
Rnd 5: dec 4 times in a row, then sc in next 4 sts. (8)
Rnd 6–9: sc in each st around, 4 rnds. (8)
Fasten off with a sl st, leaving a long tail; weave the end in inside the piece. Stuff the arm lightly through Rnd 5 only, leaving the top flat and unstuffed so it’s easy to attach. Make a second arm the same way.
Legs (make 2)
Rnd 1: 6 sc in a magic ring. (6)
Rnd 2: inc in each st around. (12)
Rnd 3: sc, inc repeat 6 times around. (18)
Rnd 4–5: sc in each st around, 2 rnds. (18)
Rnd 6: sc in next 4 sts, then sc, dec repeat 3 times, sc in next 5 sts. (15)
Rnd 7: sc in next 4 sts, dec 3 times, sc in next 5 sts. (12)
Rnd 8–10: sc in each st around, 3 rnds. (12)
Rnd 11: sc in next 4 sts, dec repeat 2 times around. (10)
Fasten off with a sl st, leaving a long tail; weave the end in inside the piece. Stuff firmly with fiberfill through Rnd 7. Make a second leg the same way.
Body & Head
Rnd 1: 6 sc in a magic ring. (6)
Rnd 2: inc in each st around. (12)
Rnd 3: sc, inc repeat 6 times around. (18)
Rnd 4: 2 sc, inc repeat 6 times around. (24)
Rnd 5: 3 sc, inc repeat 6 times around. (30)
Rnd 6: 4 sc, inc repeat 6 times around. (36)
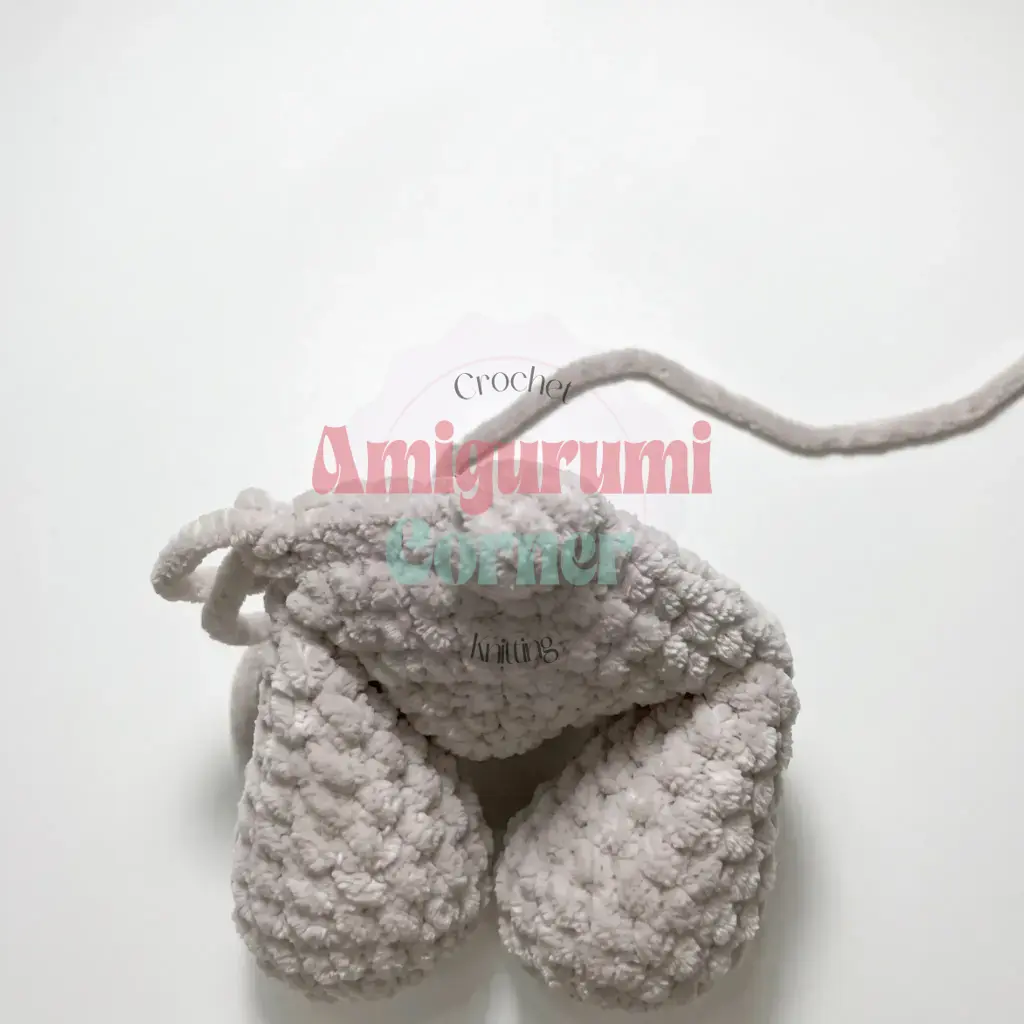
Rnd 7: sc in next 5 sts, working through one leg to join it to the body; sc in next 13 sts (front of body); sc in next 5 sts, working through the second leg to join it; sc in next 6 sts; work the tail (5 dc worked into the same stitch, closing the tops together into a puff stitch); sc in next 6 sts. (36) This round attaches both legs and builds the tail in the same pass; take it slowly.
Rnd 8: sc in each st around. (36)
Rnd 9: sc in next 8 sts, dec, sc in next 3 sts, dec, sc in next 13 sts, dec, sc in next 6 sts. (33)
Rnd 10: sc in next 7 sts, dec, sc in next 3 sts, dec, sc in next 12 sts, dec, sc in next 5 sts. (30)
Rnd 11: sc in next 3 sts, dec repeat 6 times around. (24)
Rnd 12: sc in each st around. (24)
Rnd 13: sc in next 2 sts, dec repeat 6 times around. (18)
Rnd 14: sc in each st around. (18)
Rnd 15: sc in next 4 sts, working through one arm to join it to the body; sc in next 5 sts; sc in next 4 sts, working through the second arm to join it; sc in next 5 sts. (18) This round attaches both arms.
Rnd 16: sc, dec repeat 6 times around. (12) Do not fasten off; continue directly into the head.
Rnd 17: inc in each st around. (24)
Rnd 18: sc in next 3 sts, inc repeat 6 times around. (30)
Rnd 19: sc in next 4 sts, inc repeat 6 times around. (36)
Rnd 20: sc in next 11 sts, inc repeat 3 times around. (39)
Rnd 21–23: sc in each st around, 3 rnds. (39) Insert the safety nose between Rnds 23 and 24, centered on the face.
Rnd 24: sc in next 7 sts, then sc, dec repeat 6 times, sc in next 14 sts. (33) Keep the decreases centered between the arms — nudge the starting stitch count of the round slightly if needed to keep them lined up. Insert the safety eyes between Rnds 24 and 25, spacing them 6 sts apart, centered above the legs.
Rnd 25–26: sc in each st around, 2 rnds. (33)
Rnd 27: sc in next 9 sts, dec repeat 3 times around. (30)
Rnd 28: sc in next 3 sts, dec repeat 6 times around. (24)
Rnd 29: sc in next 2 sts, dec repeat 6 times around. (18)
Rnd 30: sc, dec repeat 6 times around. (12)
Rnd 31: dec 6 times around. (6)
Fasten off, leaving a tail. Cinch the remaining stitches closed with a yarn needle, then weave the end in inside the head.
Ears (make 2)
Rnd 1: 6 sc in a magic ring. (6)
Rnd 2: sc, inc repeat 3 times around. (9)
Rnd 3: sc in next 2 sts, inc repeat 3 times around. (12)
Rnd 4: sc in next 3 sts, inc repeat 3 times around. (15)
Rnd 5–9: sc in each st around, 5 rnds. (15)
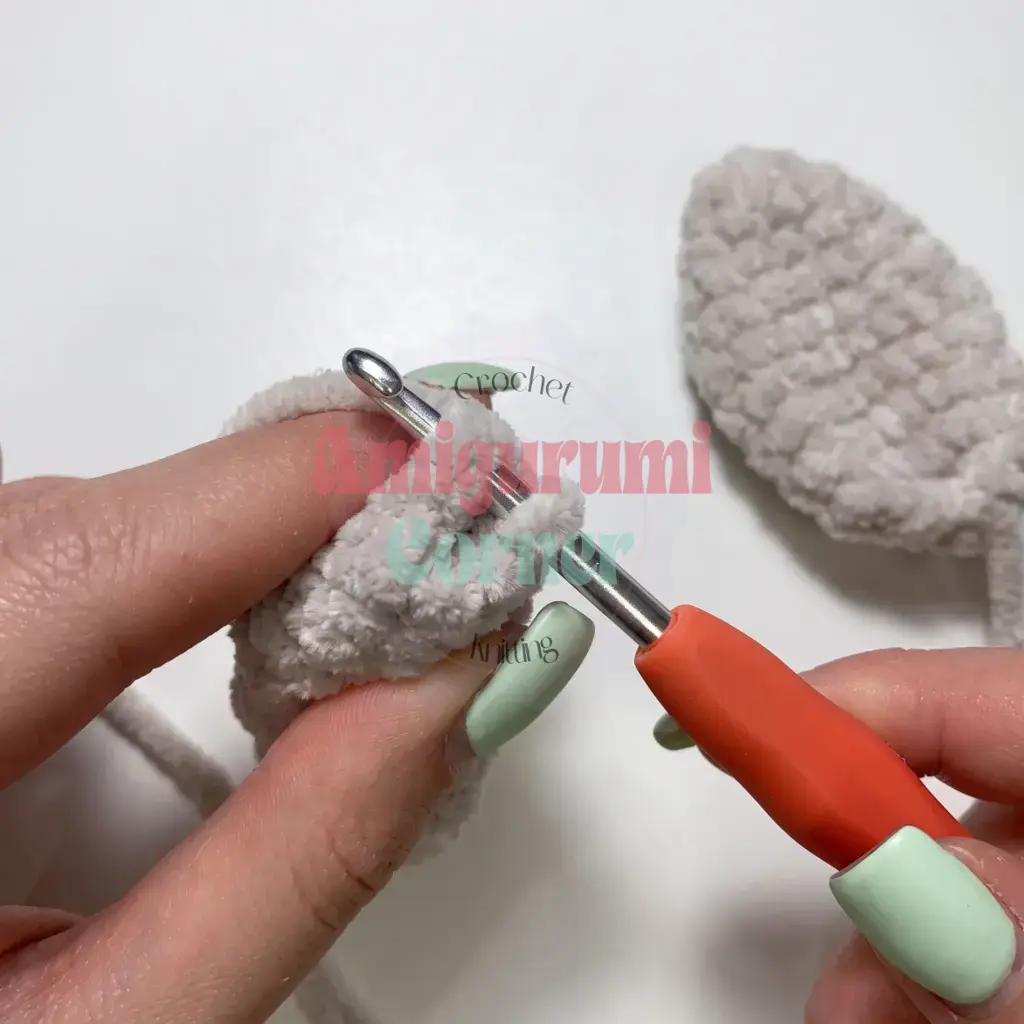
Rnd 10: sc in next 3 sts, dec repeat 3 times around. (12)
Fold the ear flat and work 6 sc through both layers together to close the bottom edge. Fold in half once more and work 1 sl st to finish closing it. Leave a long tail for sewing. Make a second ear the same way.
Assembly
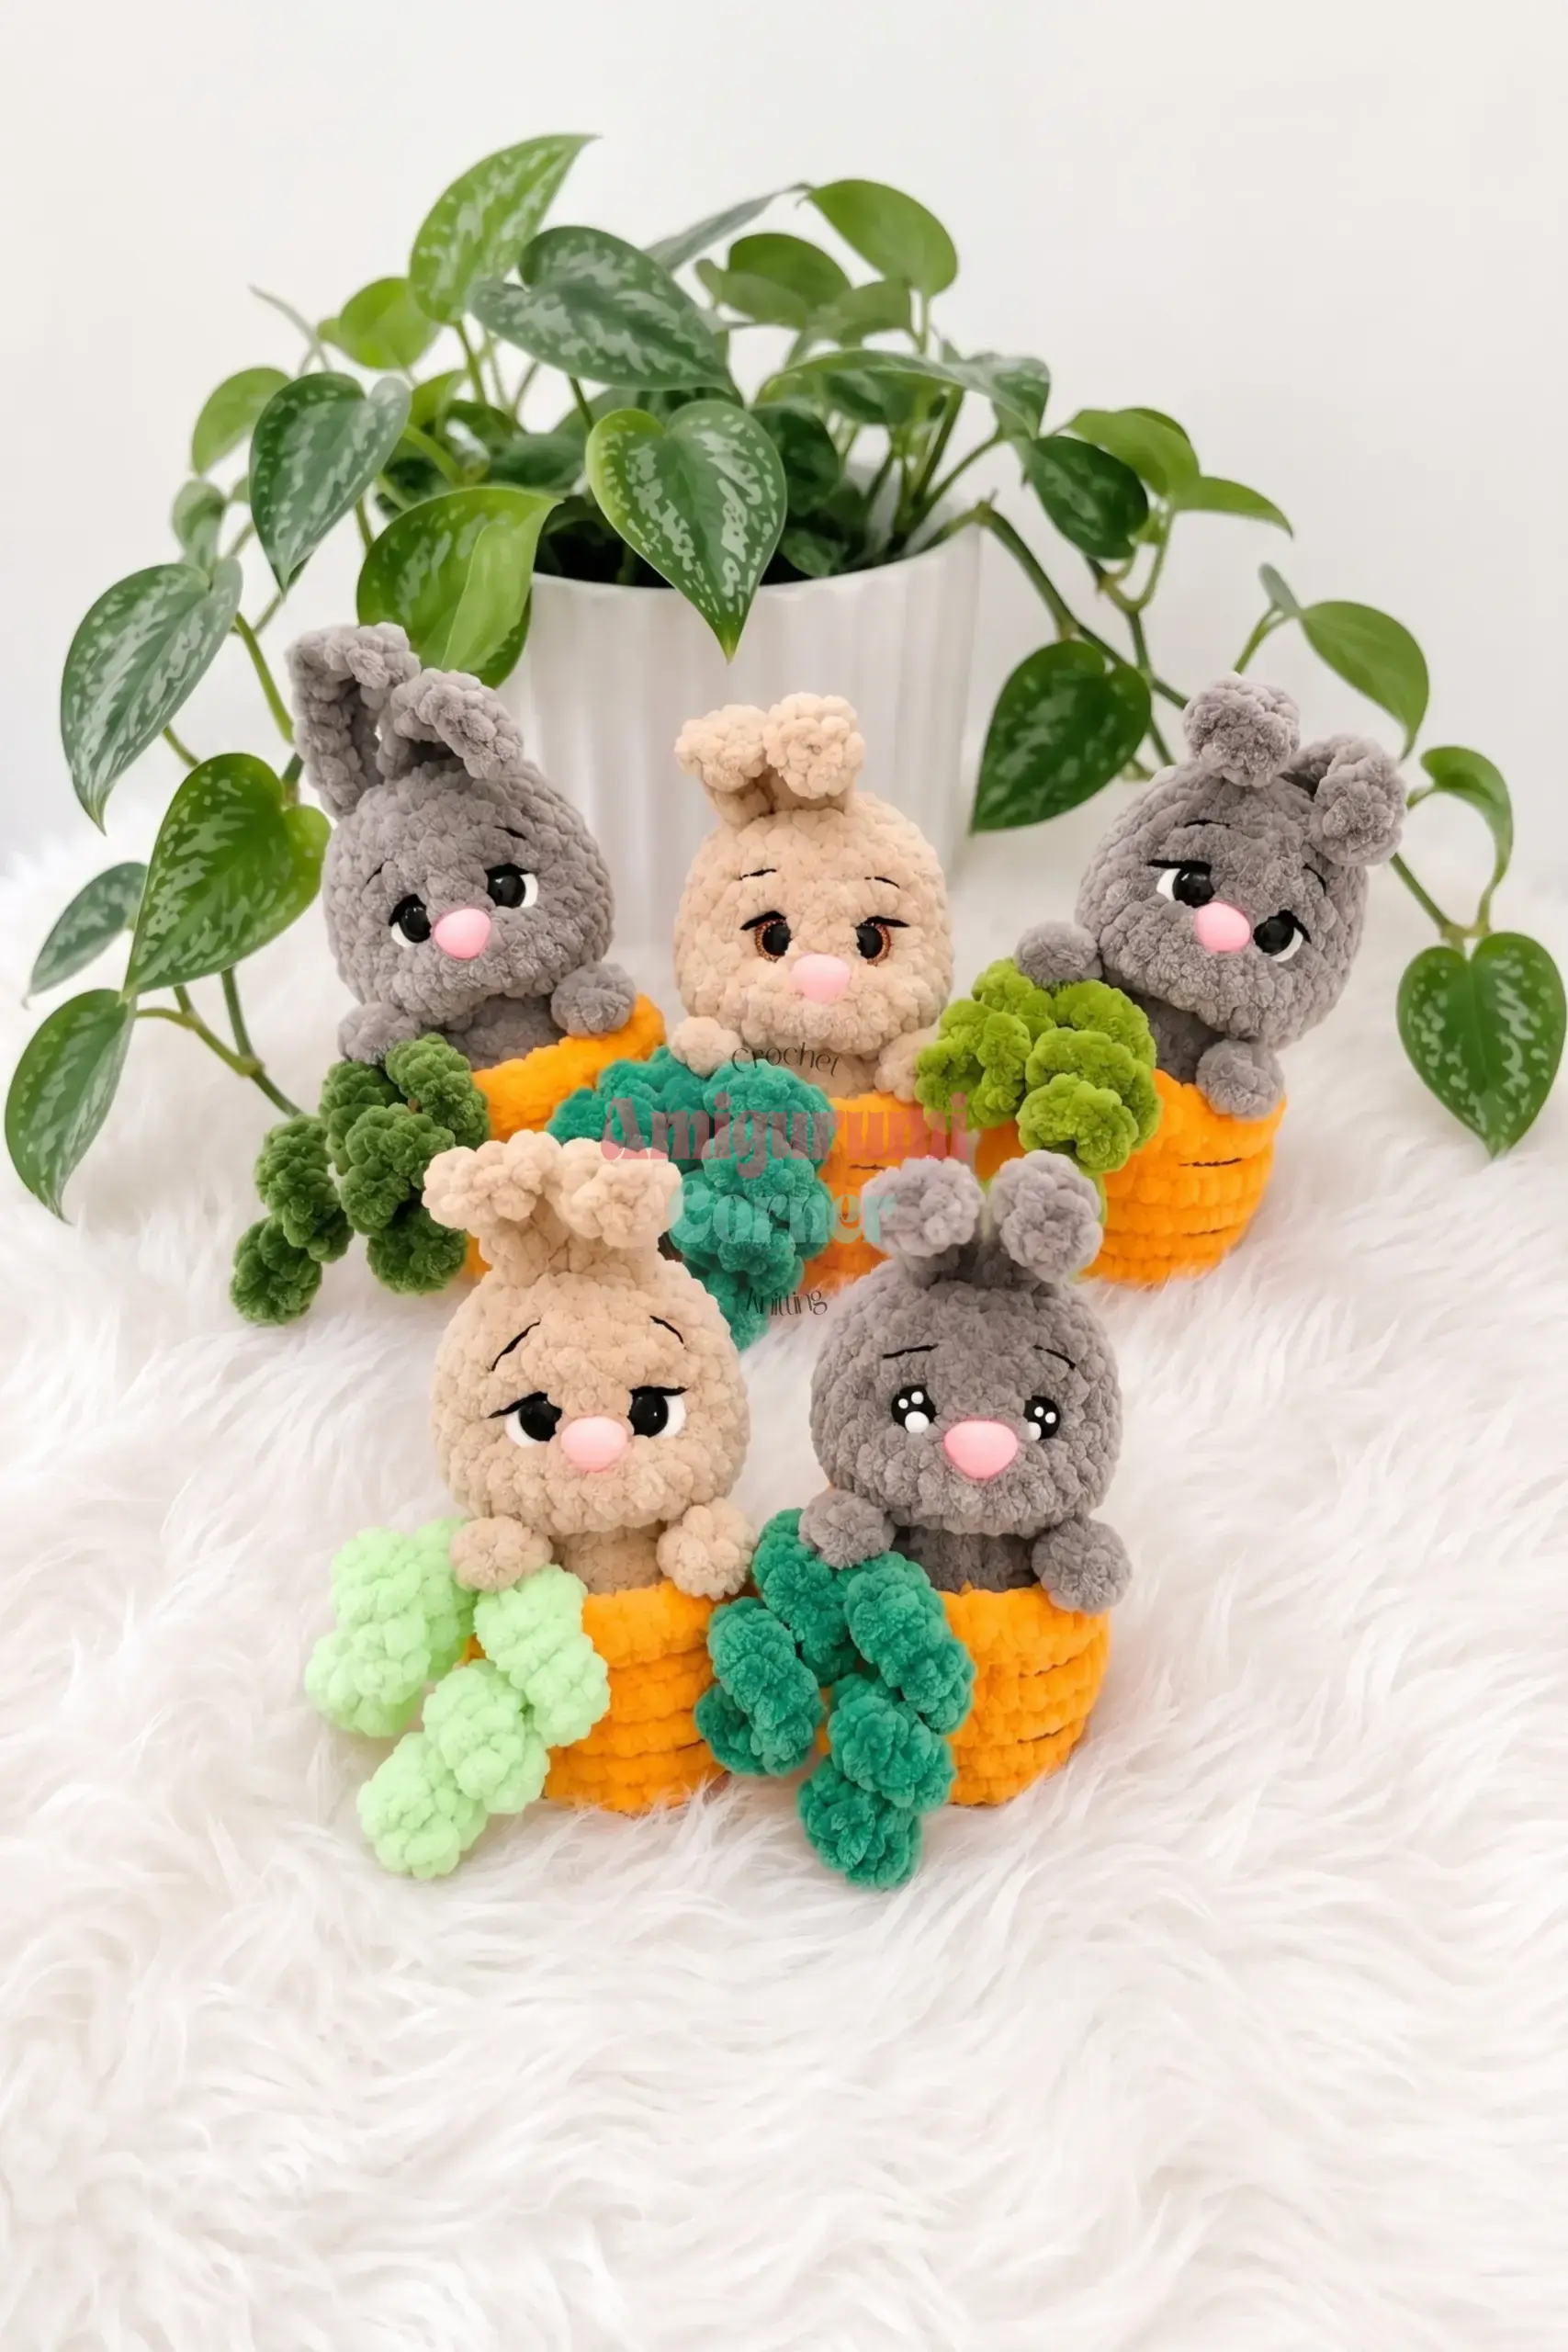
Putting Your Bunny Together
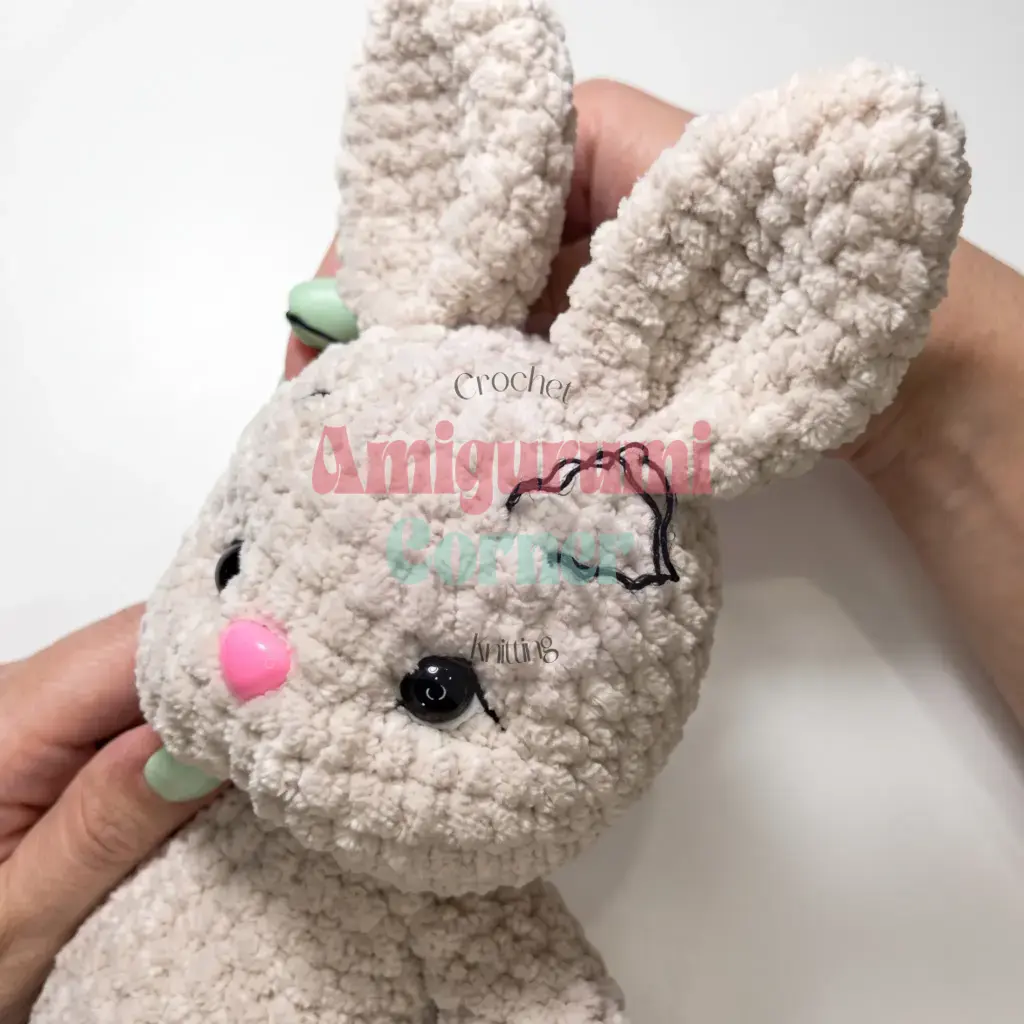
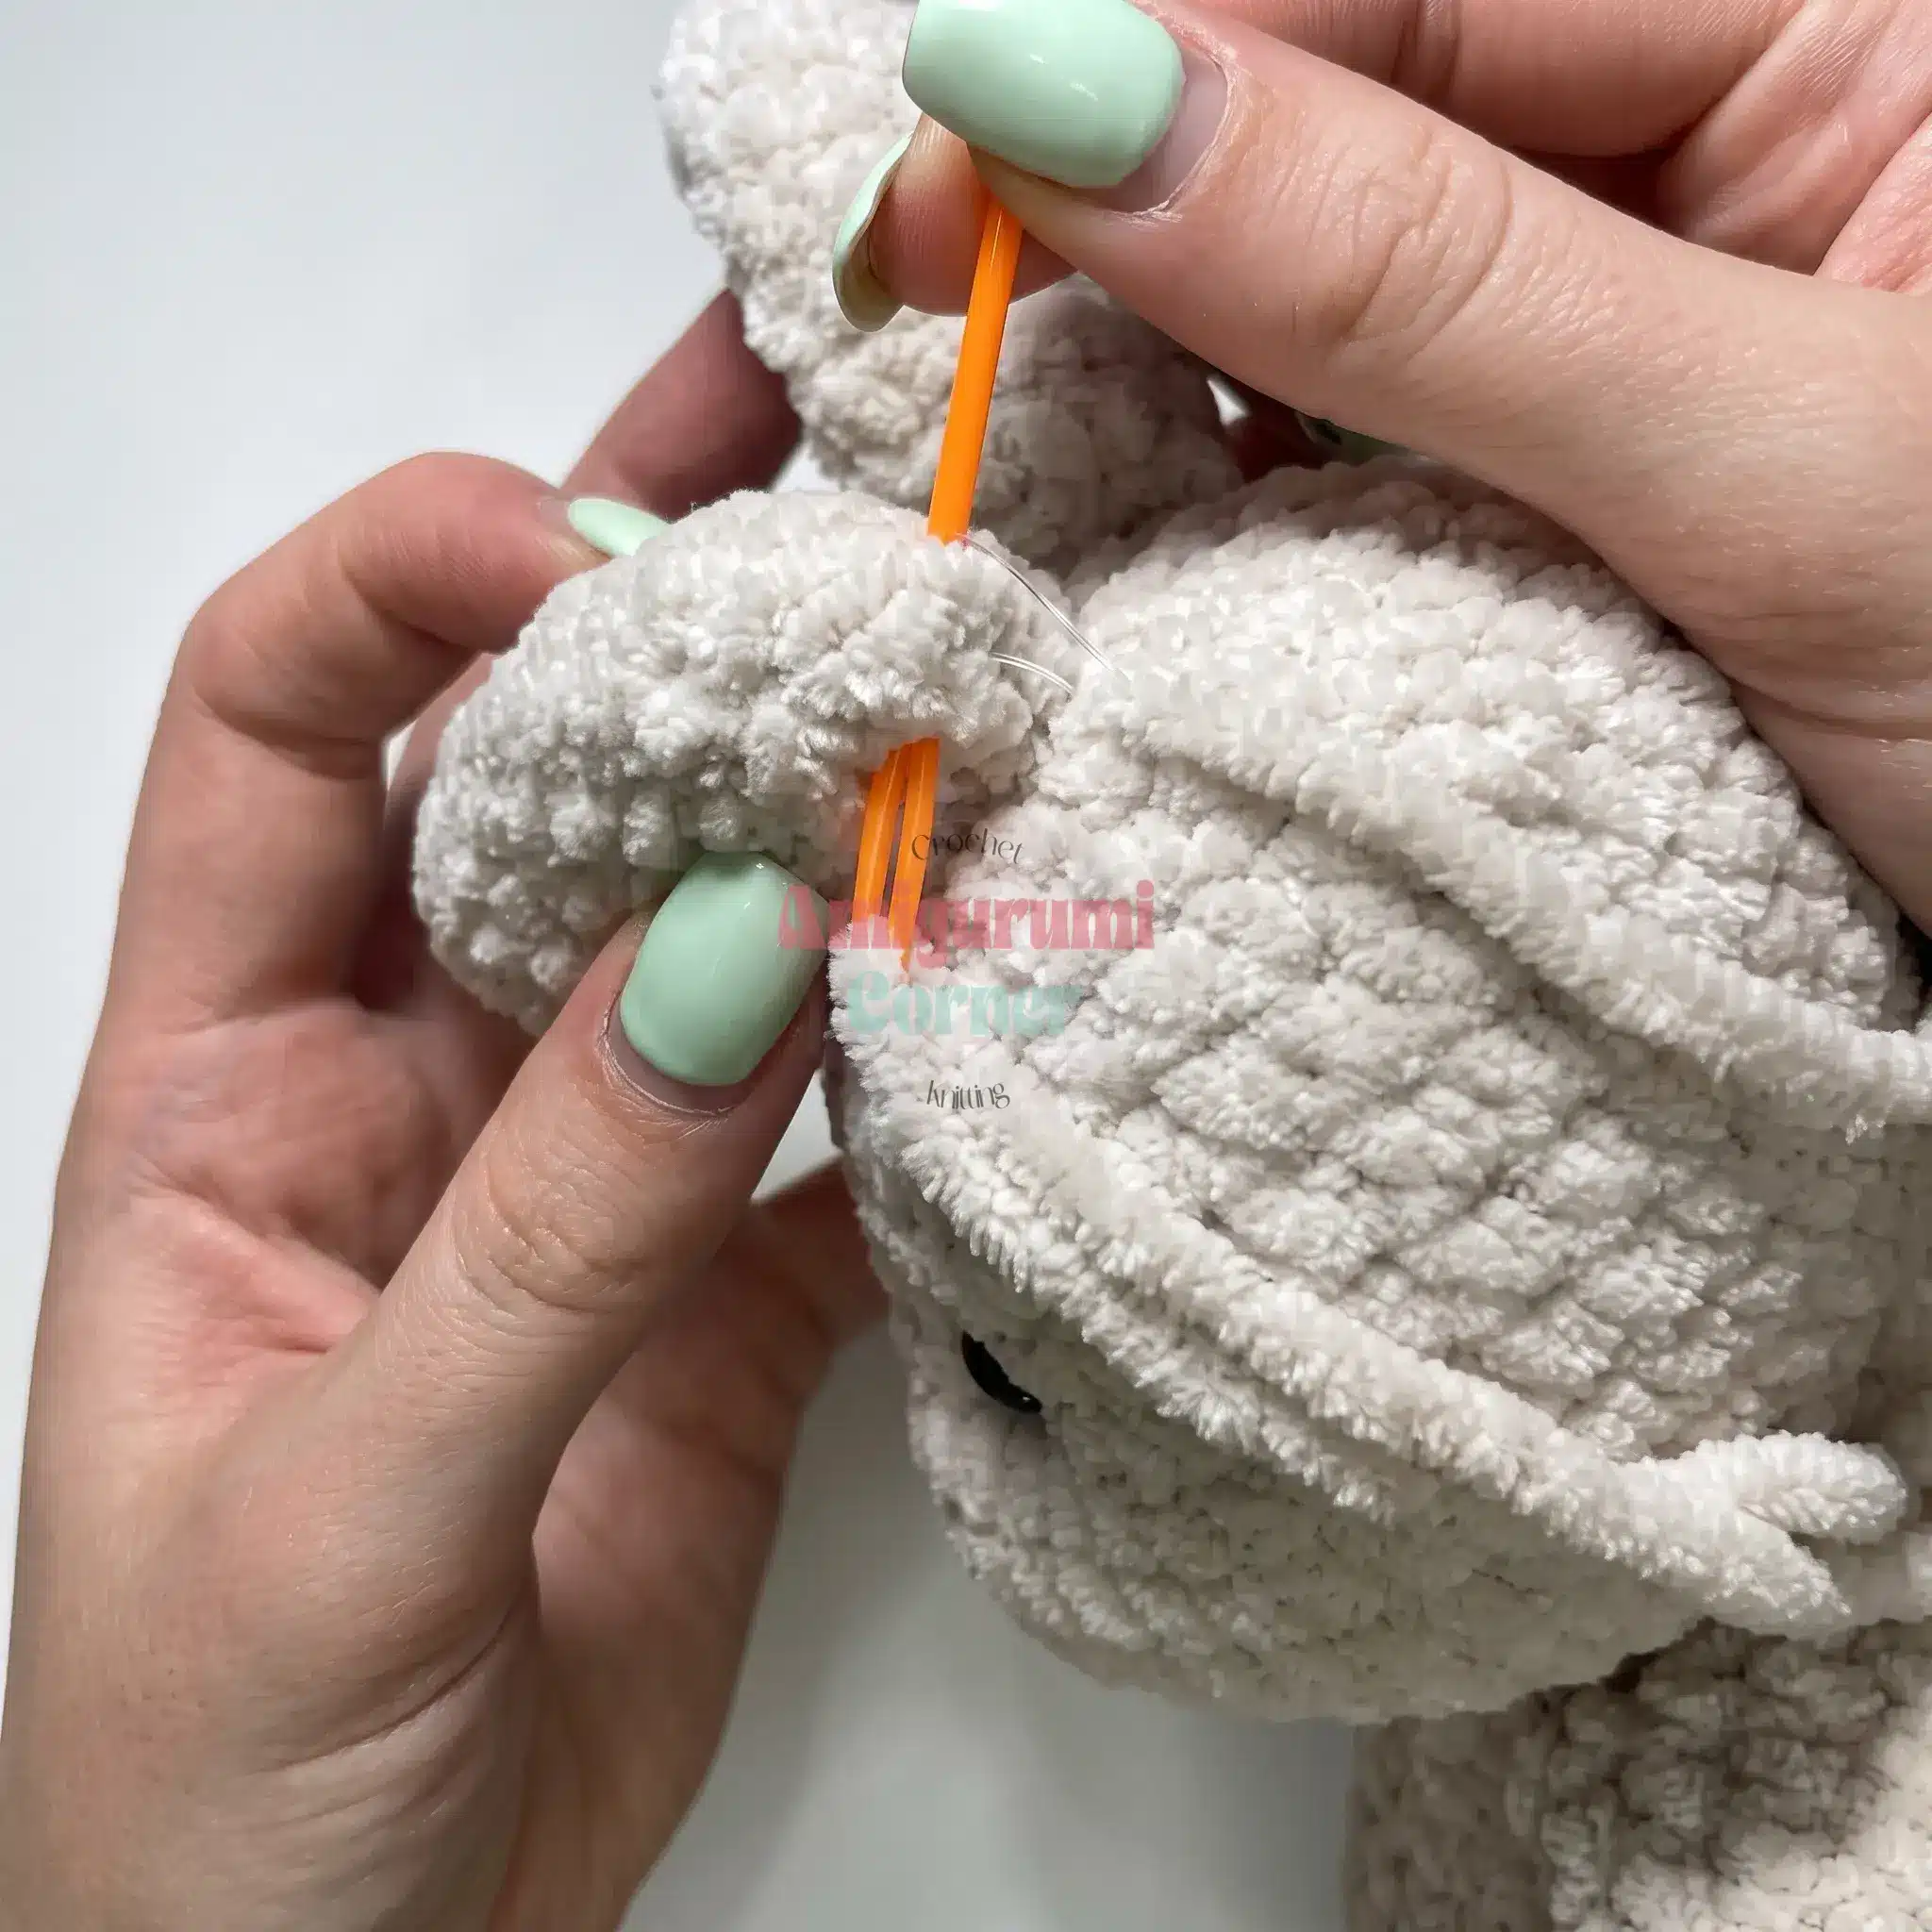
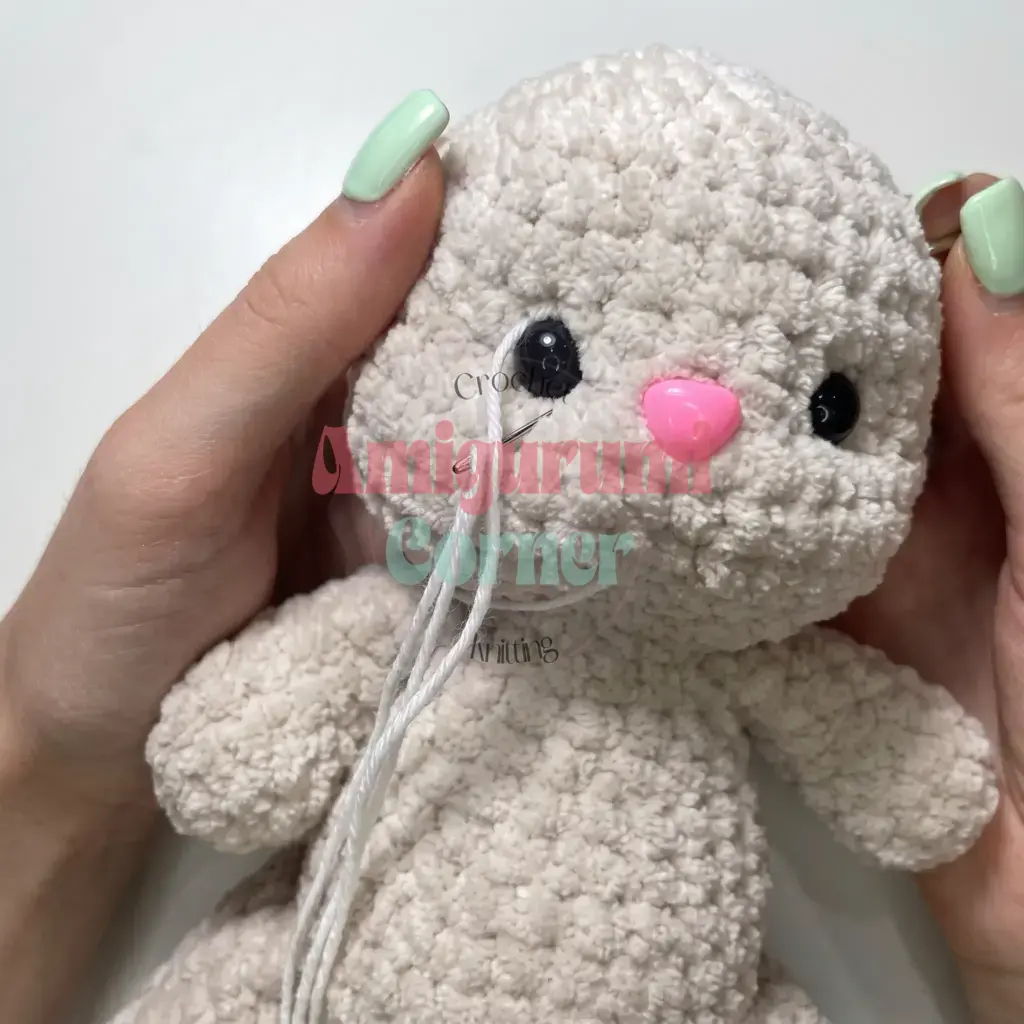
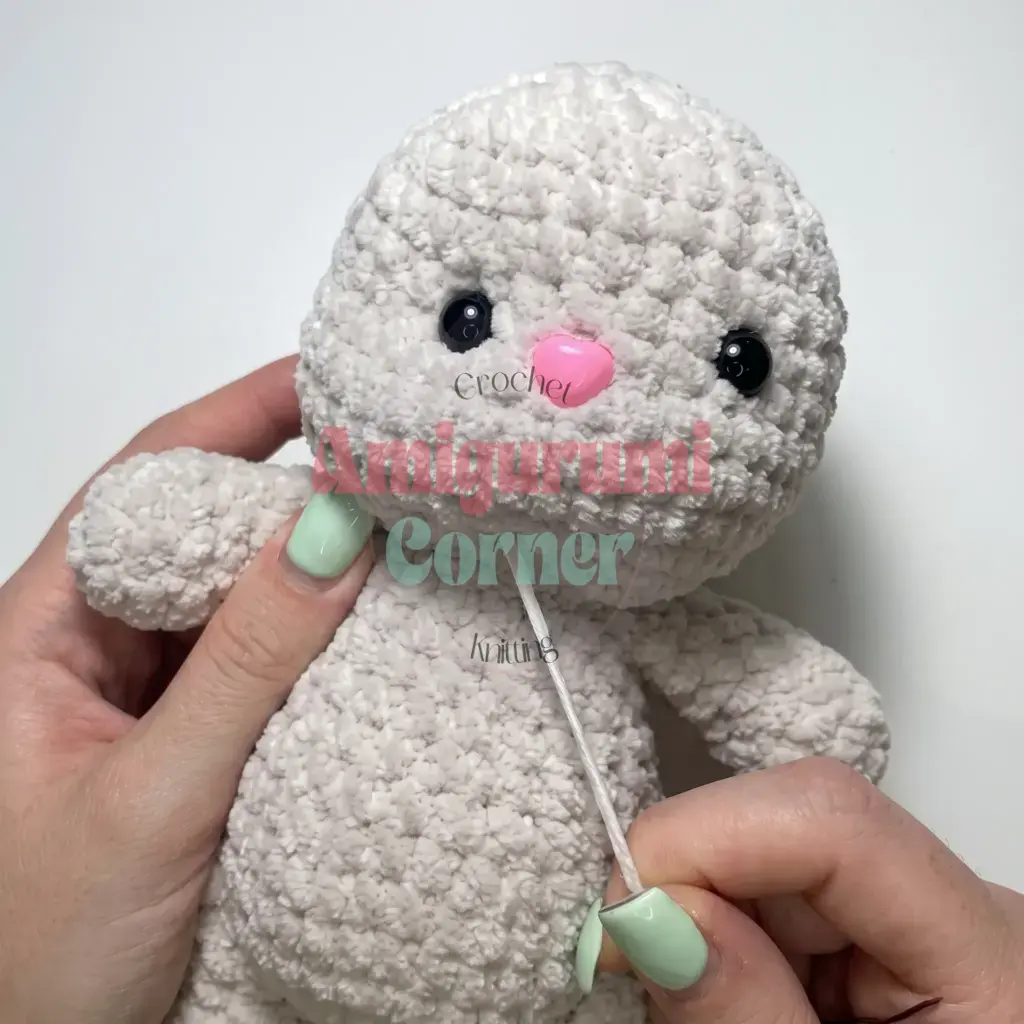
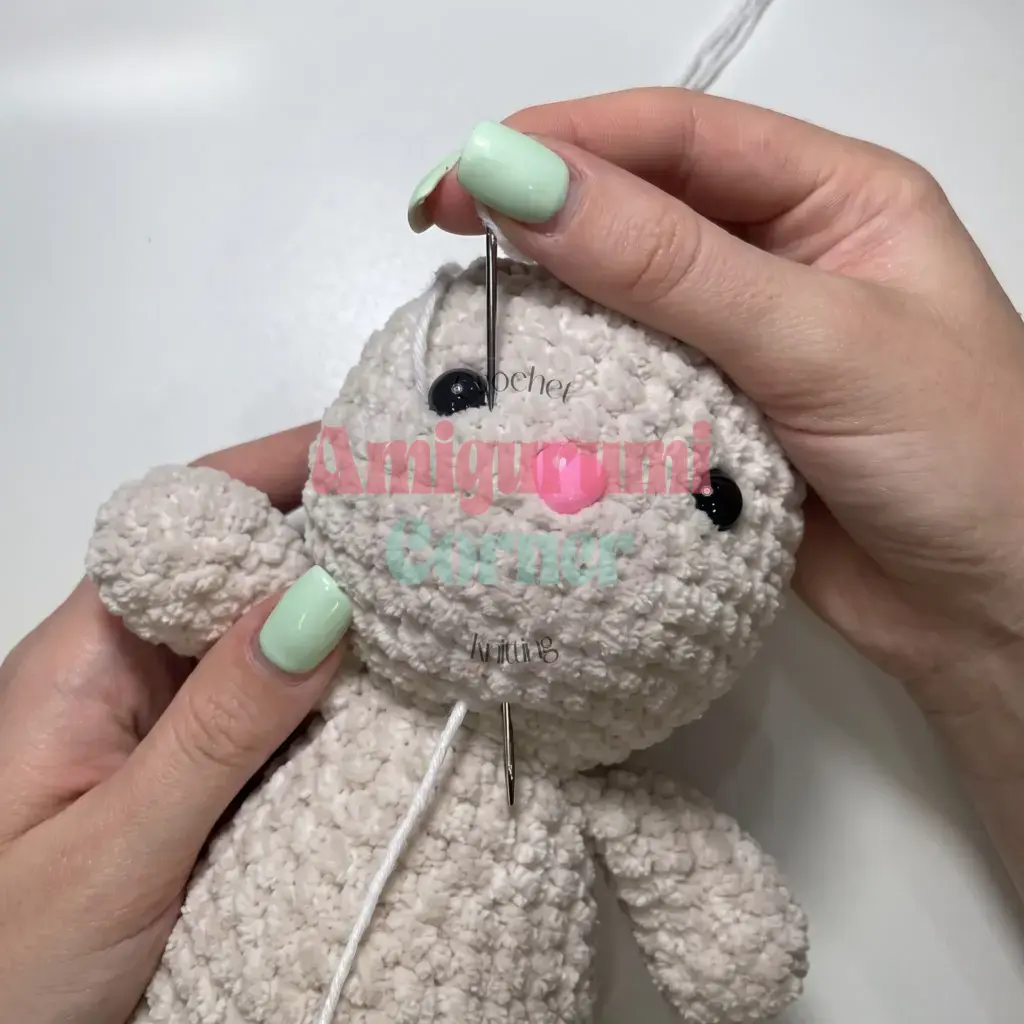
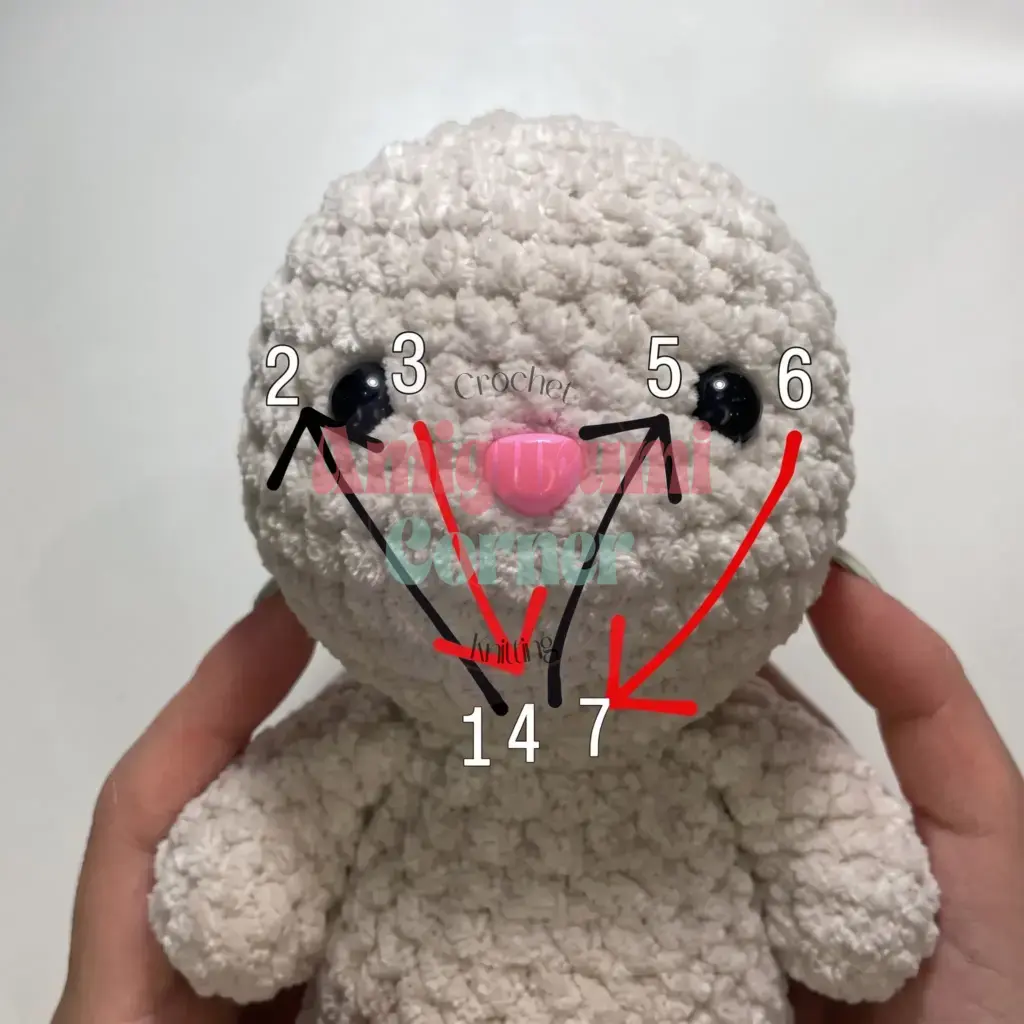
Using cotton sewing thread, needle-sculpt the eyes: bring the needle through the head to create a slight indent around each eye, following the pattern’s numbered points so the thread passes just beneath each eye. Pull gently and evenly on both sides until you’re happy with the shaping, then secure with a double knot on each side.
Using the same thread, needle-sculpt the nose in the same way — bring the needle under the nose and back through, pull to shape, then secure with a double knot. Trim the thread and bury the ends inside the head.
With black thread, embroider the eyelashes, eyebrows, and mouth. With white thread, embroider the eye highlights.
Position the ears about 2 rounds back from the center top of the head, and whipstitch them in place using their long yarn tails. Weave in any remaining loose ends throughout the finished bunny.
Tips
- Keep your tension snug and even throughout; tighter stitches keep the stuffing from peeking through the plush yarn’s soft loops, especially on the body and head.
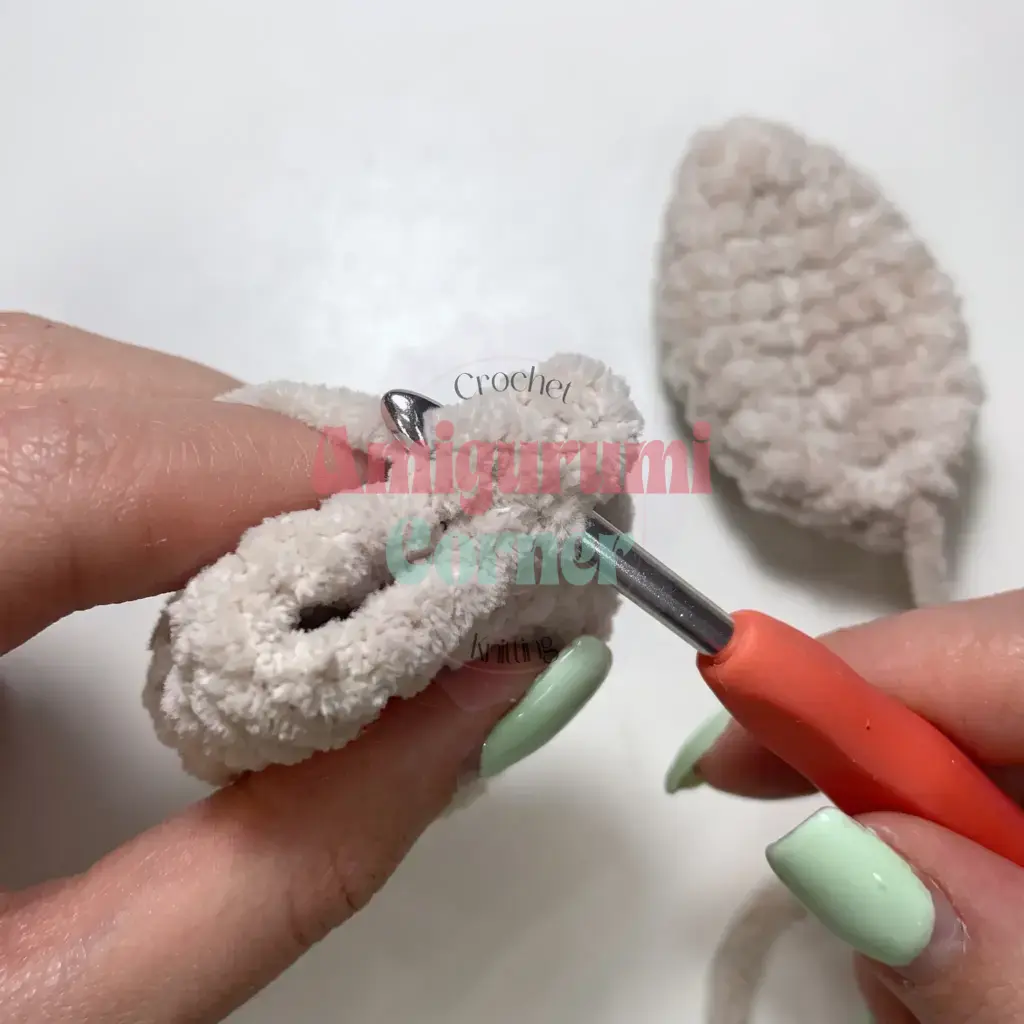
- For a clean invisible decrease, work both loops of the two stitches together through their front loops only, rather than a standard decrease; it keeps the surface smoother on plush yarn.
- Stuff firmly but stop before the stitches start to stretch or gap; you want the piece to feel dense and huggable, not overfilled and misshapen.
- If you swap in a different plush or chenille-style yarn, check that it knits up at a similar gauge; a thinner or fluffier yarn can change the finished bunny’s proportions and how firm the stuffing feels underneath.
- When sewing on the arms and legs (joined directly during Rnds 7 and 15), keep an eye on symmetry as you stitch; check both sides against each other before you fasten off so the bunny sits and stands evenly.
FAQs
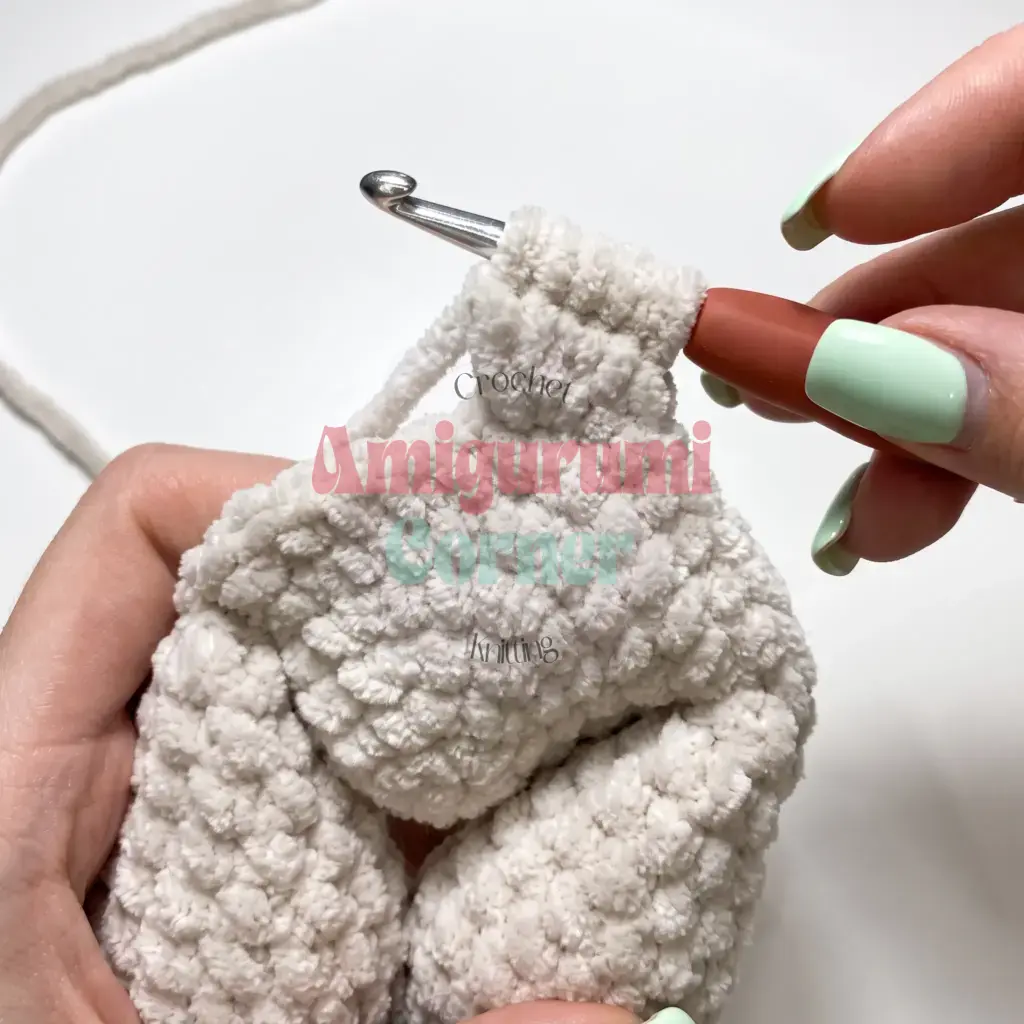
Can I use a different yarn weight?
You can use a different yarn, but because this pattern relies on bulky-weight plush yarn for its specific size and texture, swapping to a thinner yarn will result in a much smaller bunny. If you use a fluffier yarn, check your gauge to ensure the proportions remain correct.
How do I make the invisible decrease?
To make an invisible decrease on plush yarn, insert your hook through the front loops only of the two stitches you are decreasing. This keeps the surface smooth and prevents the “V” shape of a standard decrease from showing.
Why are the arms and legs joined during the body rounds?
Joining the limbs directly into the body rounds (Rnd 7 for legs, Rnd 15 for arms) creates a seamless connection that is stronger and more aesthetically pleasing than sewing them on afterward. It also helps the bunny stand up properly.
How do I position the eyes and nose?
Insert the safety nose between Rnds 23 and 24, centered on the face. Insert the safety eyes between Rnds 24 and 25, spacing them 6 stitches apart and centering them above the legs.
What is the puff stitch tail?
In Rnd 7 of the body, you work 5 double crochets into the same stitch and then close the tops together. This creates a small, rounded puff that serves as the bunny’s fluffy tail.
Ready to stitch your own bunny? Grab your hook and let’s get started on your own amigurumi bunny.
Pin This Crochet Pattern!