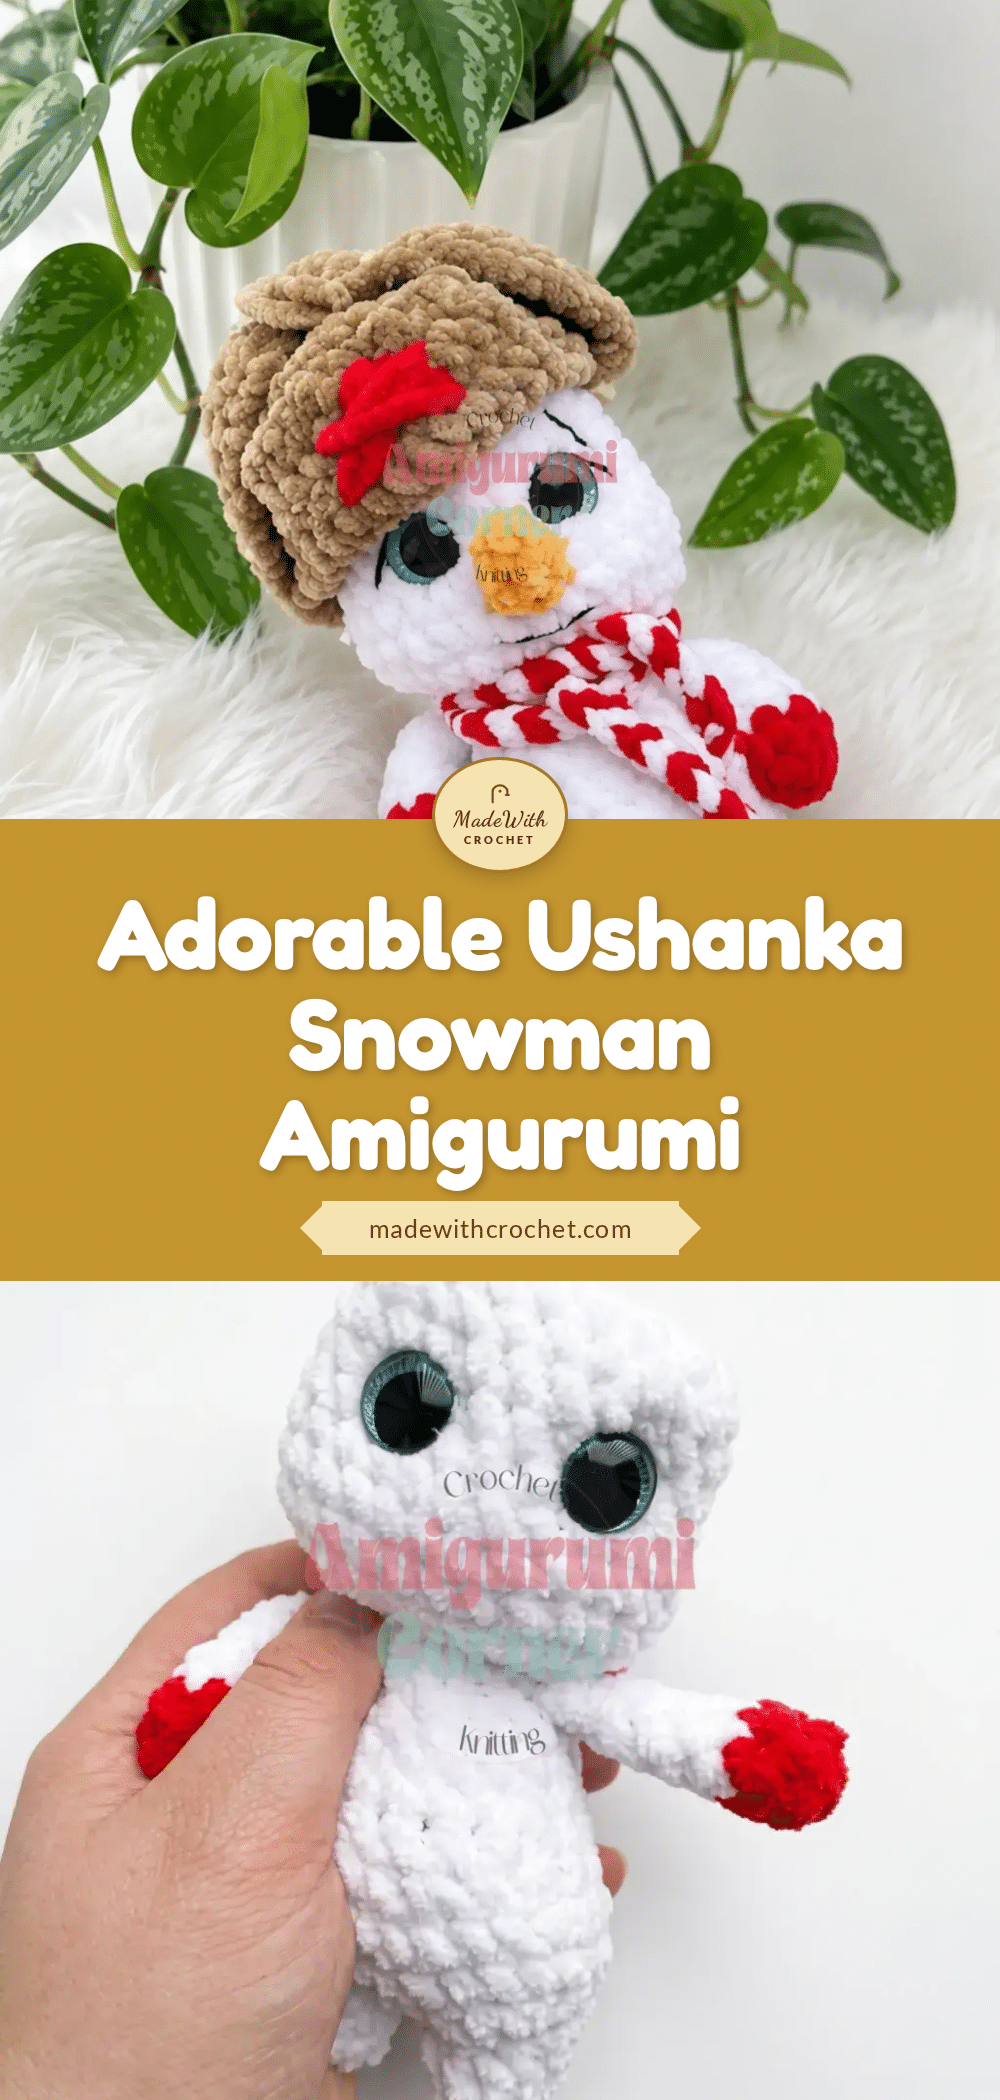
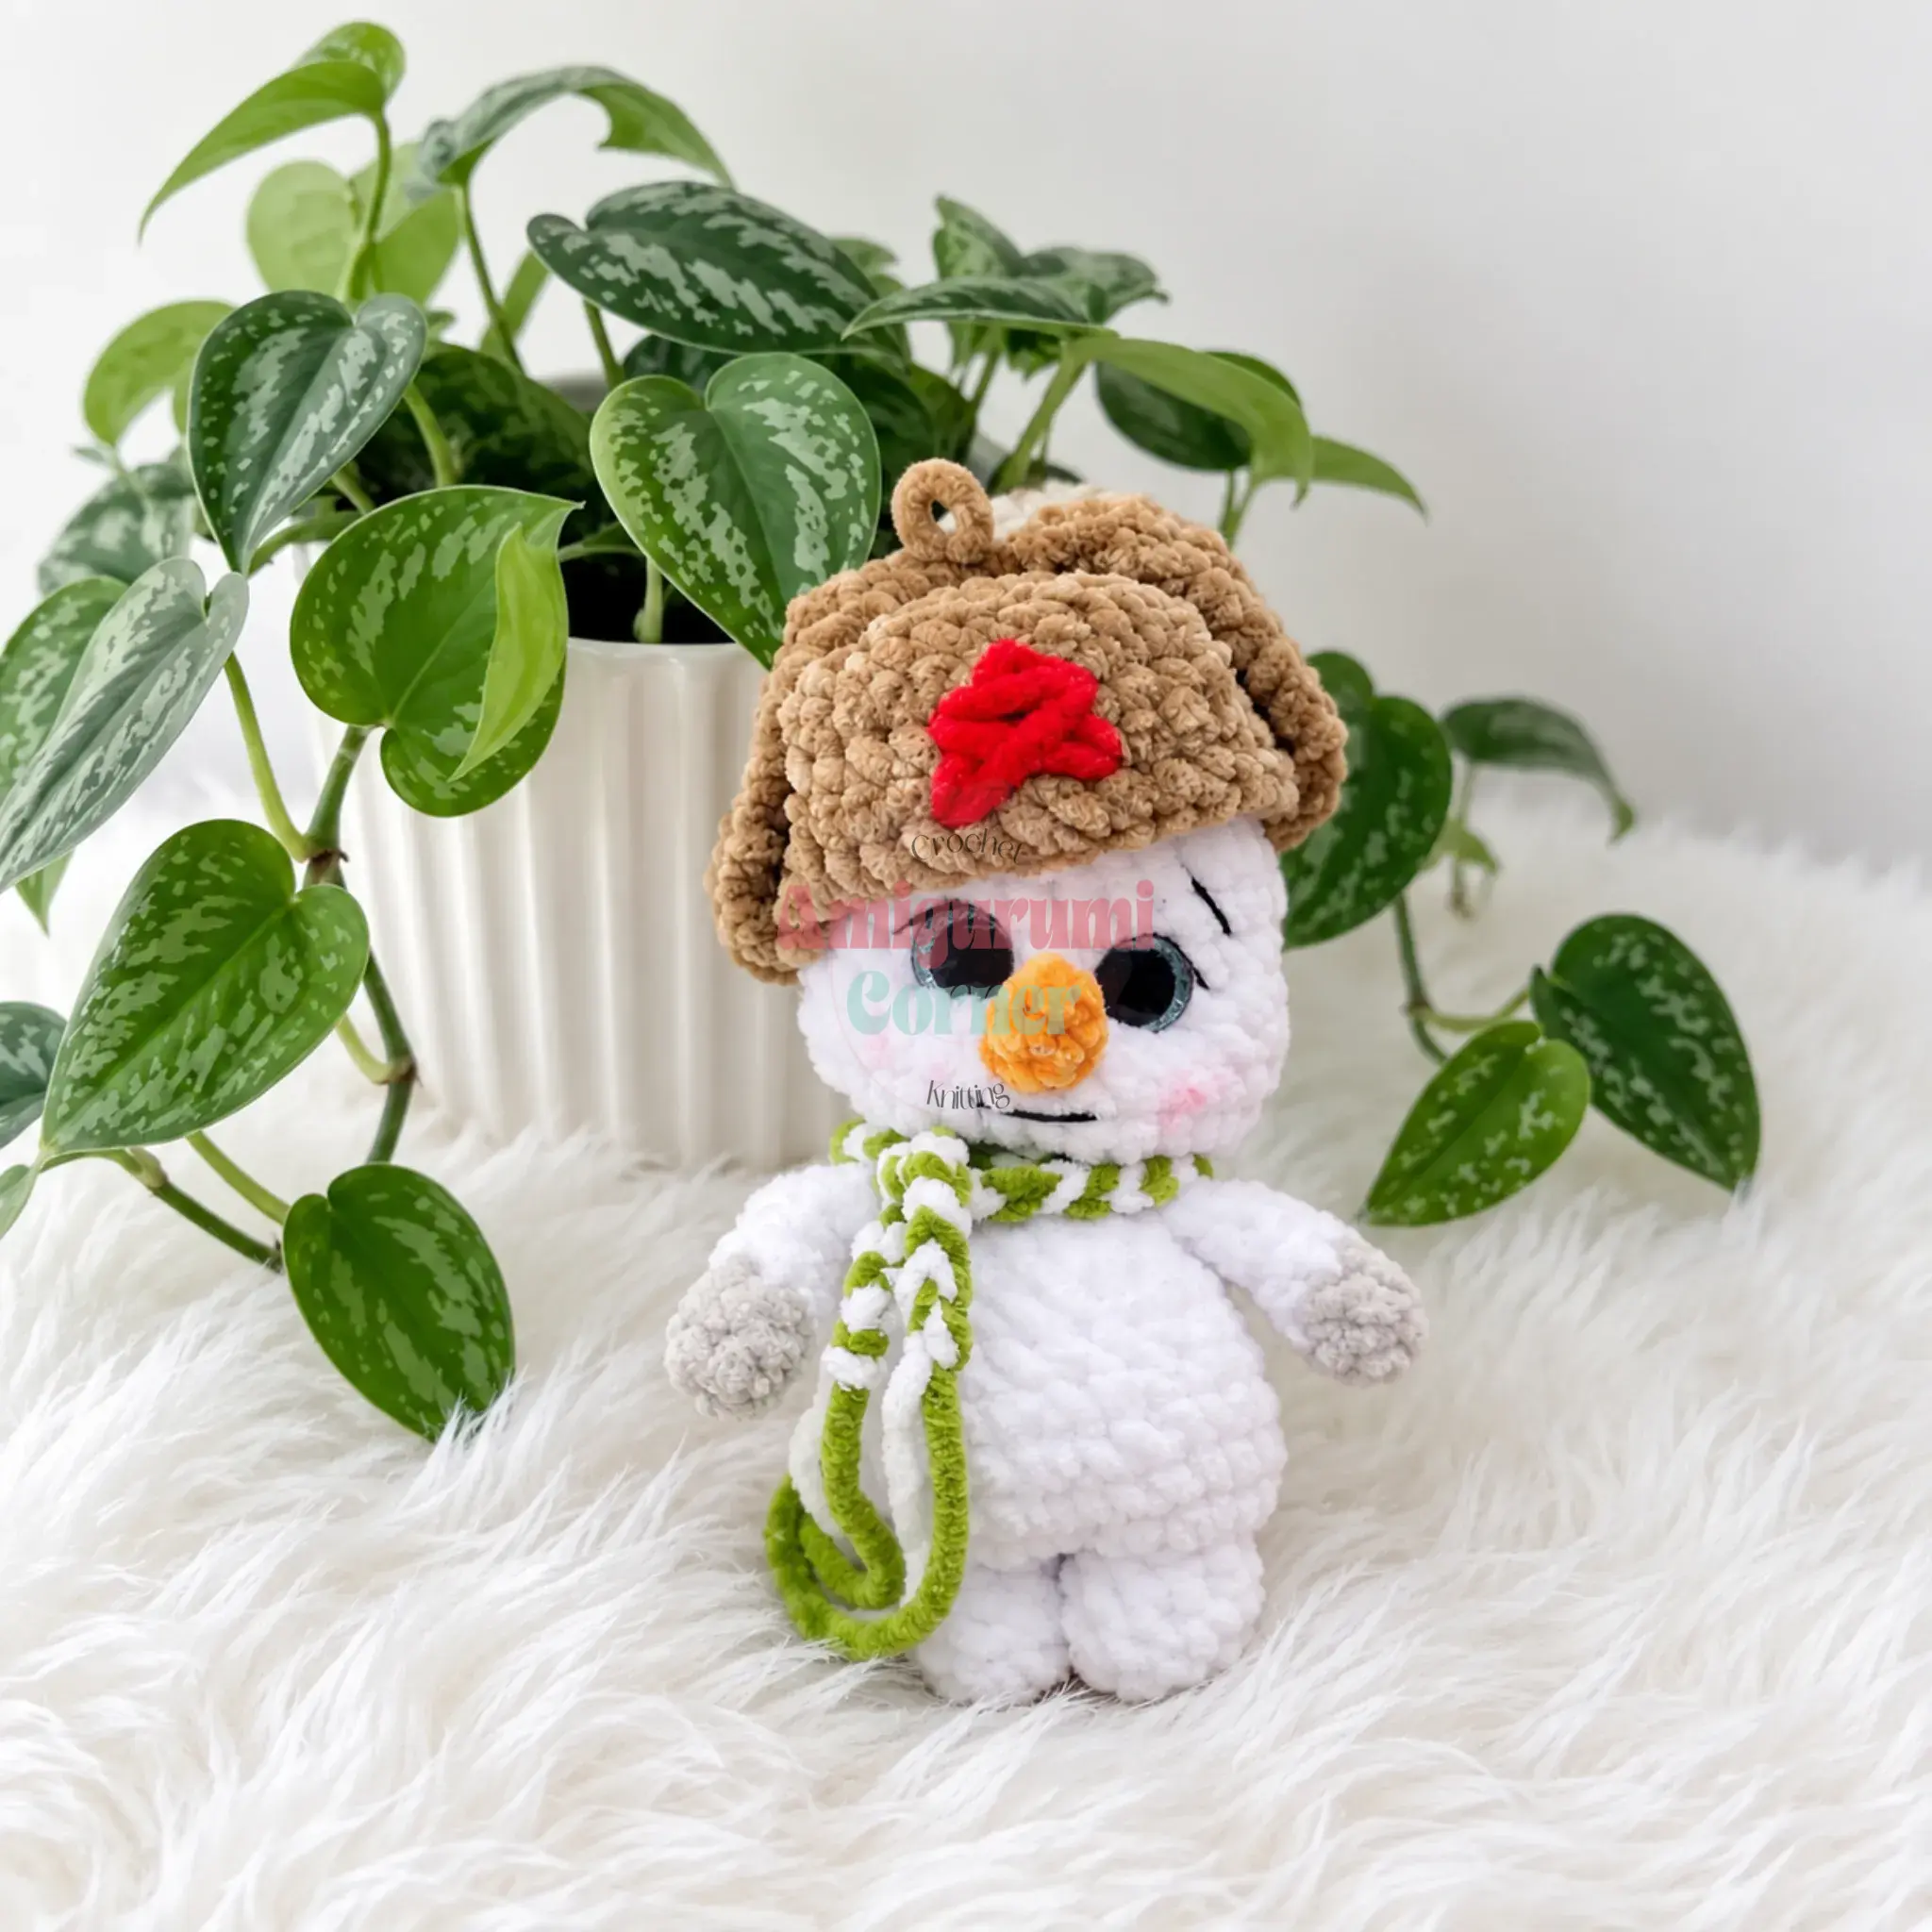
Looking for a charming addition to your winter decor or a thoughtful handmade gift? This adorable Ushanka Snowman Amigurumi is the perfect project to bring a touch of holiday spirit to your home. With his soft plush texture, round belly, and distinctive ushanka hat, this snowman is an ideal stocking stuffer, a delightful desk companion, or a festive centerpiece for your seasonal shelf. Whether you are a confident beginner or an intermediate crocheter, this pattern guides you through creating a character with plenty of personality.
Our Touch: Gift and Use Ideas
This snowman is designed to be more than just a static decoration. The plush, velvet-style yarn gives him a tactile appeal that invites cuddling, making him a wonderful comfort gift for children or a cozy accent for a reading nook. The distinctive ushanka hat with its ear flaps and red star detail adds a playful, vintage touch that stands out on a mantel or in a holiday window display. Because he is worked in one continuous piece from the legs up, he has a sturdy base that won’t tip over easily, making him perfect for gifting to coworkers or as a market-table item that catches the eye. The soft white body contrasts beautifully with the tan hat, creating a classic winter palette that fits seamlessly into any holiday color scheme.
Project Overview
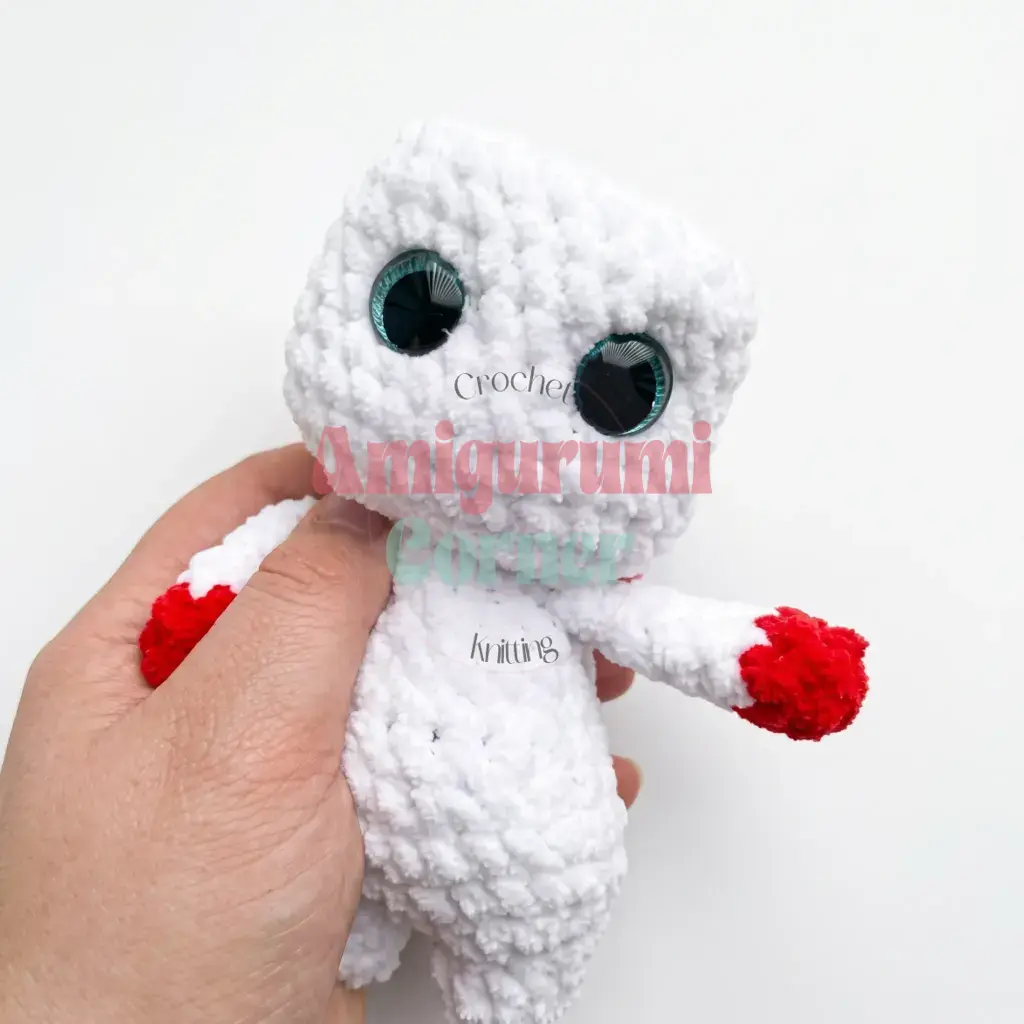
This pattern creates a charming snowman amigurumi featuring a plush body, a carrot nose, and a detailed ushanka hat. The project is worked primarily in a continuous spiral for the body and head, with the hat’s brim and ear flaps worked in turned rows. The design includes specific shaping for a rounded belly and cheeks, along with needle sculpting techniques to give the face character.
Materials
- Yarn: Plush/velvet-style yarn (medium to bulky weight) in white for the body, tan/brown for the hat, and a small amount of orange for the nose.
- Accent Yarn: A small amount of red yarn or embroidery thread for the hat’s star detail.
- Hook: Size F-5 (3.75 mm) — or whichever size gives you a firm, gap-free fabric with your chosen yarn.
- Eyes: Safety eyes, size 16 mm, with sparkle detail (1 pair).
- Stuffing: Polyester fiberfill.
- Tools: Stitch markers, yarn needle / tapestry needle, scissors.
- Face Details: Black and white embroidery thread.
- Optional: Craft glue (for lashes).
Gauge and Finished Size
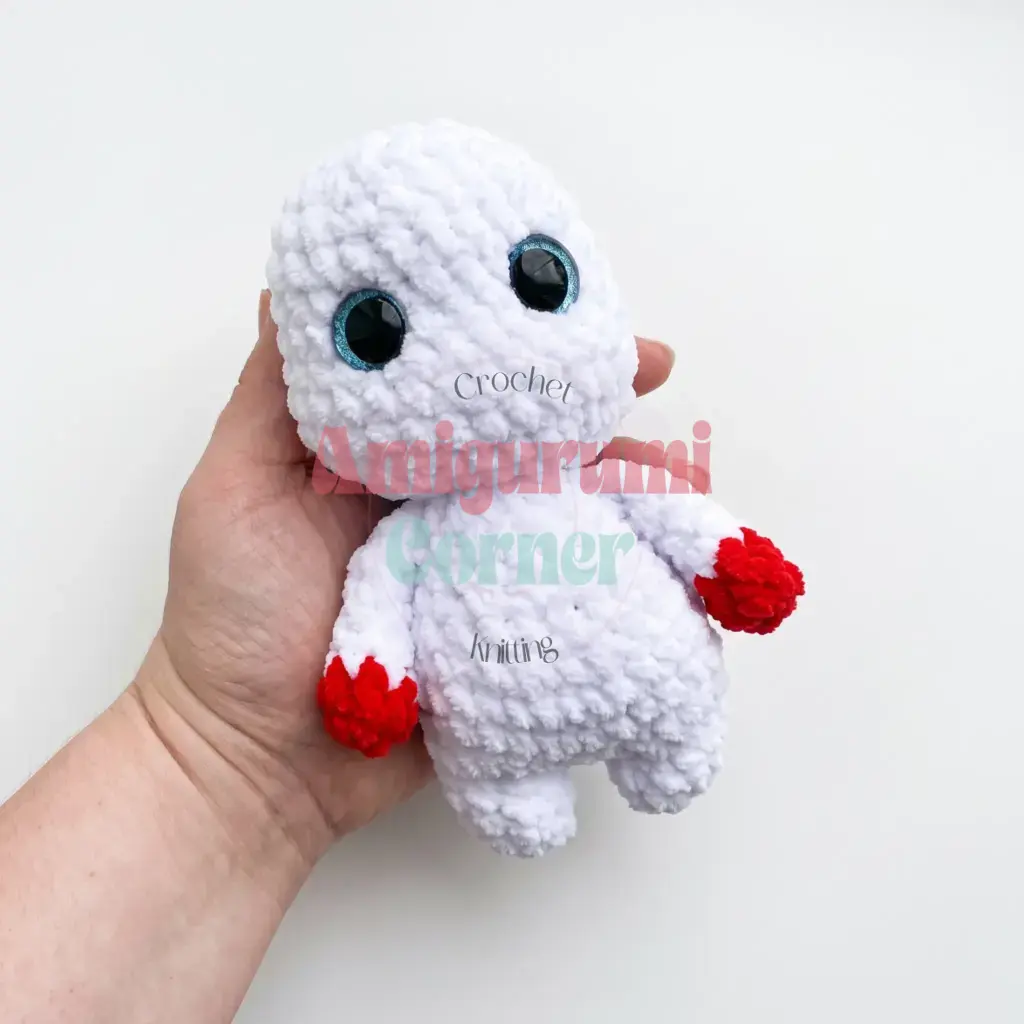
Gauge isn’t critical for this project; just work tightly enough that stuffing doesn’t peek through your stitches. The finished size is determined by the pattern instructions, resulting in a snowman that fits comfortably in the palm of your hand or on a small shelf.
Abbreviations
- BLO — Back Loop Only
- ch — Chain
- dec — Decrease (invisible decrease recommended)
- hdc — Half Double Crochet
- inc — Increase (2 sc in same stitch)
- MR — Magic Ring
- Rnd — Round
- Row — Row
- sc — Single Crochet
- st(s) — Stitch(es)
Pattern Notes
This pattern is written in US crochet terminology. The body, head, and legs are worked in one continuous spiral; do not join or turn unless a step tells you to. The hat’s brim and ear flaps are worked in turned rows, using a standard turning chain. Stitch counts are given at the end of every round or row in parentheses, like this: (18). Safety eyes are inserted partway through the head, before the opening closes; placement is noted at the correct round below. Increases and decreases in the body are intentionally placed off-center at times to shape the belly and cheeks; follow the placement notes closely rather than just the stitch counts.
Pattern Instructions
Arms (Make 2)
Begin with your mitten/cuff color.
- Rnd 1: 6 sc in MR. (6)
- Rnd 2: sc in each st around. (6)
- Rnd 3: Change to main (body) color. sc in each st around. (6)
- Rnds 4–8: sc in each st around. (6) — repeat for 5 rounds total
Do not stuff this piece. Flatten the tube and sc through both layers together across the opening: 3 sc. Fasten off. Repeat all steps for the second arm.
Legs, Body, and Head
Leg (make 2):
- Rnd 1: 6 sc in MR. (6)
- Rnd 2: sc, inc repeat 3 times around. (9)
- Rnds 3–4: sc in each st around. (9) — repeat for 2 rounds
Fasten off the first leg. Do not fasten off the second leg — continue directly into the body.
Joining round:
- Rnd 5: Ch 3, then attach to the first leg. Work 9 sc across the first leg, 3 sc along one side of the chain, 9 sc across the second leg, and 3 sc along the opposite side of the chain. (24)
From here you’ll be shaping the belly bulge — all increases in this section are placed at the front of the piece.
- Rnd 6: 7 sc, 3-hdc inc in next st, hdc inc, 3 sc, hdc inc, 3-hdc inc in next st, 10 sc. (30)
- Rnds 7–8: sc in each st around. (30) — repeat for 2 rounds. At the end of Rnd 8, shift your round marker so it sits at the center back.
Decreases in the next few rounds are centered at the front — adjust your round’s start/end point as needed to keep them lined up.
- Rnd 9: 8 sc, dec, 1 sc repeat 5 times, 7 sc. (25)
- Rnd 10: sc in each st around. (25)
- Rnd 11: 3 sc, dec repeat 5 times around. (20)
- Rnd 12: sc in each st around. (20)
Center the next round’s decreases at the front again.
- Rnd 13: 8 sc, 2 dec, 8 sc. (18)
The following round attaches the arms — position them at the sides of the body, adjusting your start/end point as needed.
- Rnd 14: 3 sc, join and sc across one arm (3 sc), 6 sc, join and sc across the second arm (3 sc), 3 sc. (18)
Stuff the body firmly, paying extra attention to the belly.
- Rnd 15: dec 9 times around. (9)
Do not fasten off — continue straight into the head.
- Rnd 16: inc in each st around. (18)
Increases in the next round sit at the sides to shape the cheeks — adjust your start/end point as needed.
- Rnd 17: 3 sc, 3-hdc inc, 6 sc, 3-hdc inc, 3 sc. (24)
- Rnd 18: 6 sc, hdc inc (side), 3 sc, hdc inc, 3 sc, hdc inc, 3 sc, hdc inc (side), 5 sc. (28)
- Rnds 19–20: sc in each st around. (28) — repeat for 2 rounds
- Rnd 21: 7 sc, dec (side), 12 sc, dec (side), 5 sc. (26)
- Rnd 22: 11 sc, dec repeat 2 times around. (24)
- Rnds 23–24: sc in each st around. (24) — repeat for 2 rounds
- Rnd 25: 4 sc, dec repeat 4 times around. (20)
Insert your safety eyes now, between Rnds 21 and 22, spacing them 5–6 stitches apart.
- Rnd 26: 8 sc, dec repeat 2 times around. (18)
Stuff the head firmly, paying special attention to the neck and cheeks. Continue adding fiberfill as you complete the remaining rounds.
- Rnd 27: 1 sc, dec repeat 6 times around. (12)
- Rnd 28: dec 6 times around. (6)
Close the opening and fasten off.
Face Shaping (Needle Sculpting)
Cinch 1: Bring your yarn needle up at the base of the neck, then out through the lower outer corner of one eye, so the thread lies just underneath it. Insert the needle at the lower inner corner of that same eye, then bring it back out one stitch from your starting point. Pull tight, pressing the eye gently inward with your finger as you go to distribute the stuffing evenly. Repeat for the second eye. For a more pronounced set, repeat this cinch a second time.
Cinch 2: With the working thread coming from below, bring the needle up through the center point under one eye. Insert it below the center of the second eye, and bring it back out one stitch over from that spot. Pull tight to draw a slight bridge shape between the eyes, and repeat once more if you’d like a deeper indent.
Carrot Nose
You can substitute a store-bought nose piece here if you prefer, but if you’re crocheting it, switch to a finer-weight yarn — a bulky yarn will make the nose look oversized.
- Rnd 1: 4 sc in MR. (4)
- Rnd 2: sc in each st around. (4)
- Rnd 3: inc, 3 sc. (5)
- Rnd 4: sc in each st around. (5)
Add a small amount of stuffing and shape a gentle curve with your fingers. Sew the nose in place centered between the eyes. Embroider brow lines, eyebrows, and a small smiling mouth with your black embroidery thread.
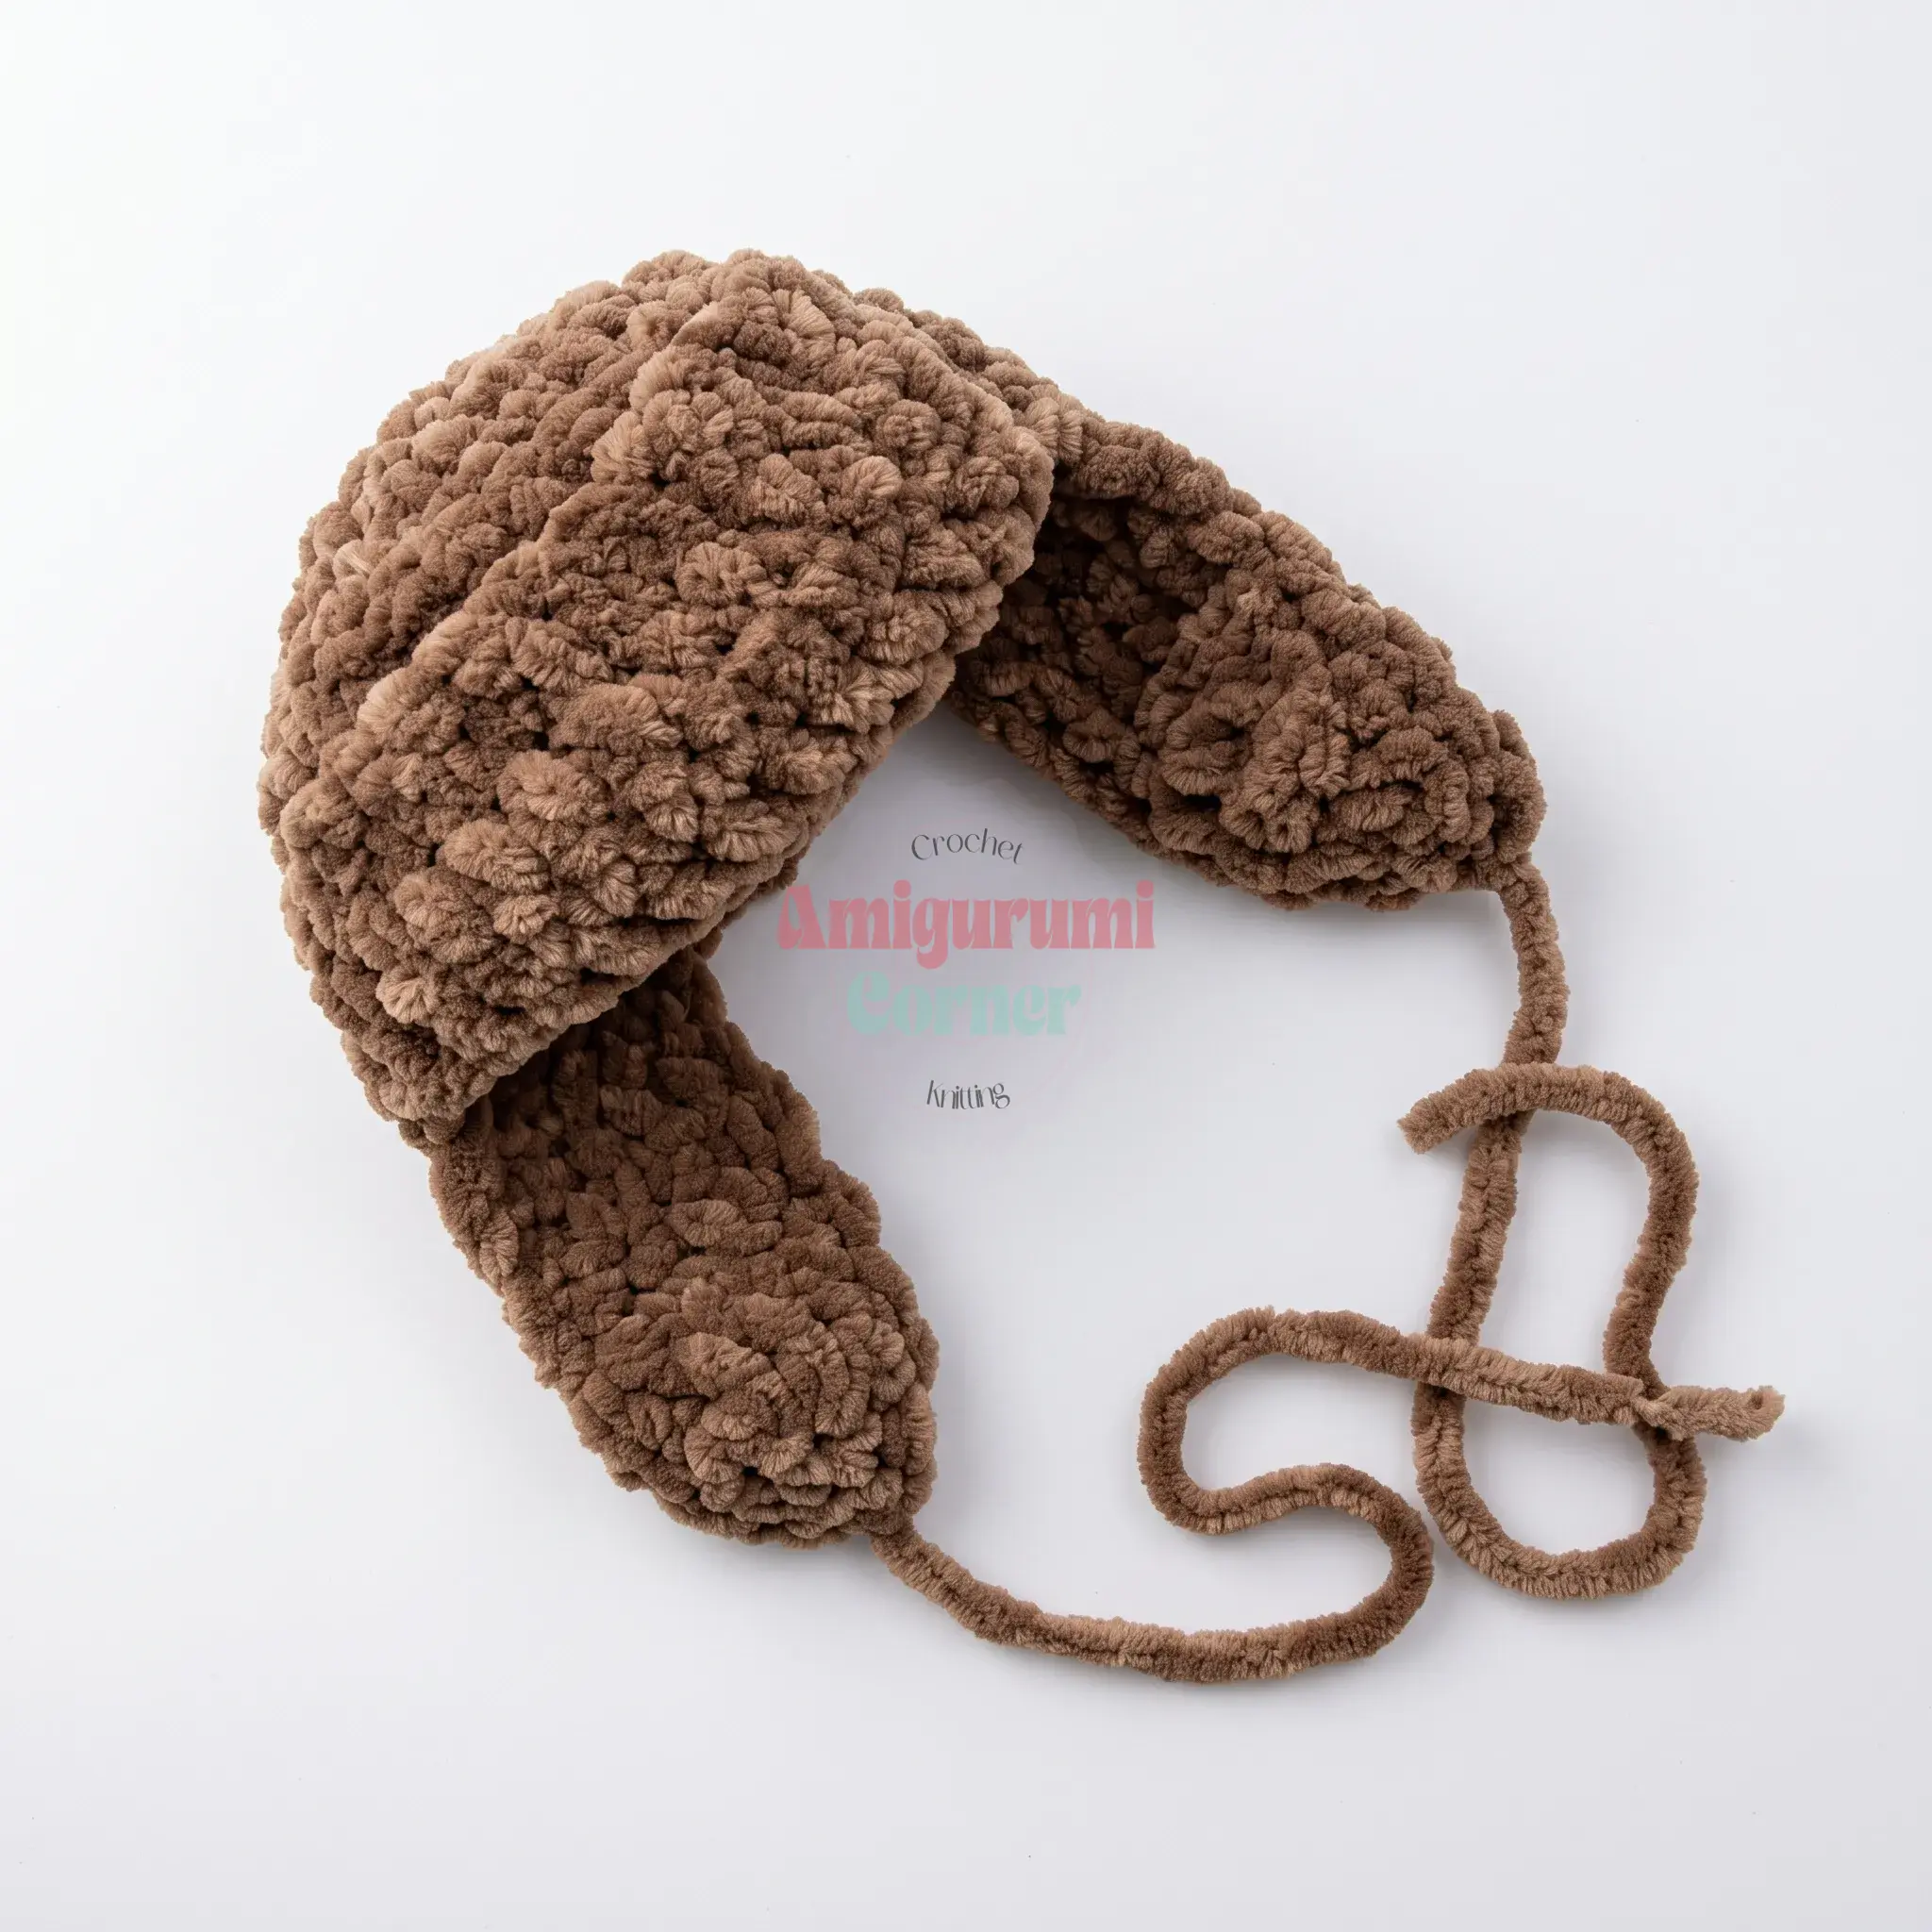
Ushanka Hat
Crown:
- Rnd 1: 8 sc in MR. (8)
- Rnd 2: inc in each st around. (16)
- Rnd 3: 1 sc, inc repeat 8 times around. (24)
- Rnd 4: 3 sc, inc repeat 6 times around. (30)
- Rnd 5: sc in each st around, working in BLO. (30)
- Rnds 6–9: sc in each st around. (30) — repeat for 4 rounds
Try the hat on your snowman’s head. If the depth is enough to cover his ears comfortably, move on to the brim. If it feels short, work 1–2 more plain rounds before continuing.
Brim (worked in turned rows, using a ch-1 turn to match the main crown fabric):
- Rows 1–5: sc across. (10) — repeat for 5 rows
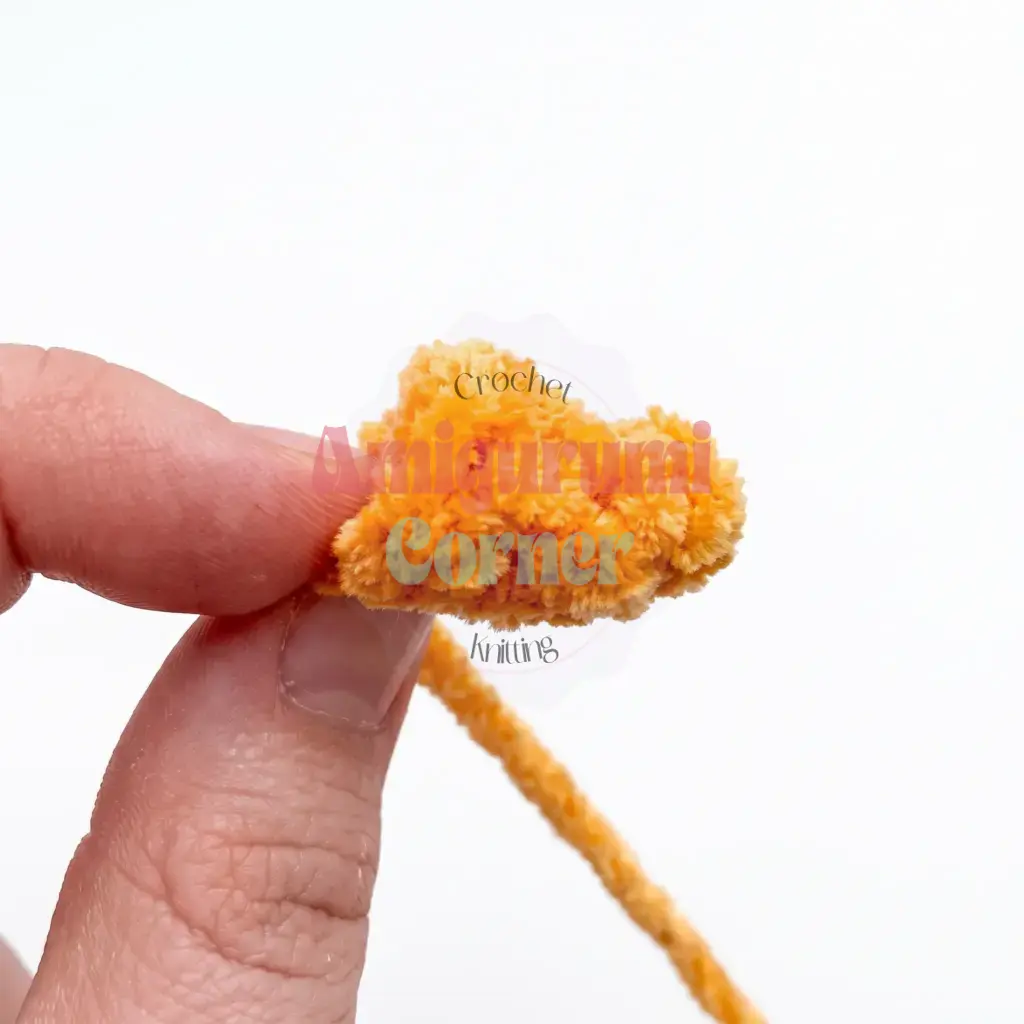
Fold the brim piece over the edge of the crown and check whether it’s long enough to wrap the hat fully. Add 1–2 more rows if it comes up short. Sew the brim in place along the crown edge with a few tacking stitches.
Ear flaps (make 2):
Skip one stitch along the brim from where you finished, attach your yarn, and work in turned rows with a ch-1 turn.
- Rows 1–8: sc across. (5) — repeat for 8 rows
- Row 9: dec, 1 sc, dec. (3)
- Row 10: dec across all 3 sts. (1)
Fasten off. Repeat all steps symmetrically to create the second ear flap on the opposite side of the brim. Fold both flaps up over the crown of the hat and tie them together in a bow. Tack the bow in place with a few extra stitches if you’d like it to stay put. Finish by embroidering a small red star on the front of the hat.
Assembly
- Weave in and secure any remaining tails from the arms if you haven’t already joined them into the body.
- Place the ushanka hat onto the head, positioning it so the brim sits just above the eyes, and sew it in place with a whipstitch around the crown edge, using the hat’s own yarn tail.
- Tie or sew on a scarf around the neck, if you’re adding one, tucking the knot toward the front or side.
- Double-check that the carrot nose sits centered between the eyes and that the cheek shaping from Rnds 17–18 frames the face evenly.
- Give the belly a gentle squeeze to check the stuffing is firm and evenly distributed; add a little more through any gaps if needed before your final stitches are set.
- Weave in all remaining yarn ends throughout the body, head, hat, and nose, and trim any stray tails.
Tips
- Keep tension snug: Amigurumi pieces need tight stitches so stuffing doesn’t show through, especially in a light color like white. If your stitches feel loose, try dropping down half a hook size.
- Use invisible decreases: The invisible decrease is your best friend for the head and body shaping rounds. Insert your hook into the front loops of the next two stitches only, then complete the decrease as usual — this keeps the decrease rounds smooth instead of leaving little visible bumps.
- Stuff gradually: Don’t rush the stuffing. Add fiberfill in small amounts as you go, especially through the belly and cheek rounds, and press firmly with your fingers to check for lumps or soft spots before closing each section.
- Yarn swap: If you swap the plush yarn for a smooth worsted weight, your snowman will still turn out charming, just with a slightly less fuzzy finish — consider brushing the finished piece lightly with a soft brush to fluff up the texture if you want that snow-like look.
- Mark your center: The belly and cheek shaping rounds (Rnds 6 and 17–18) are the trickiest part of this pattern, since the increases have to stay lined up vertically. Use a stitch marker to flag your “front center” stitch before you start each of these rounds so you always know exactly where to place your shaping.
FAQs
What hook size should I use?
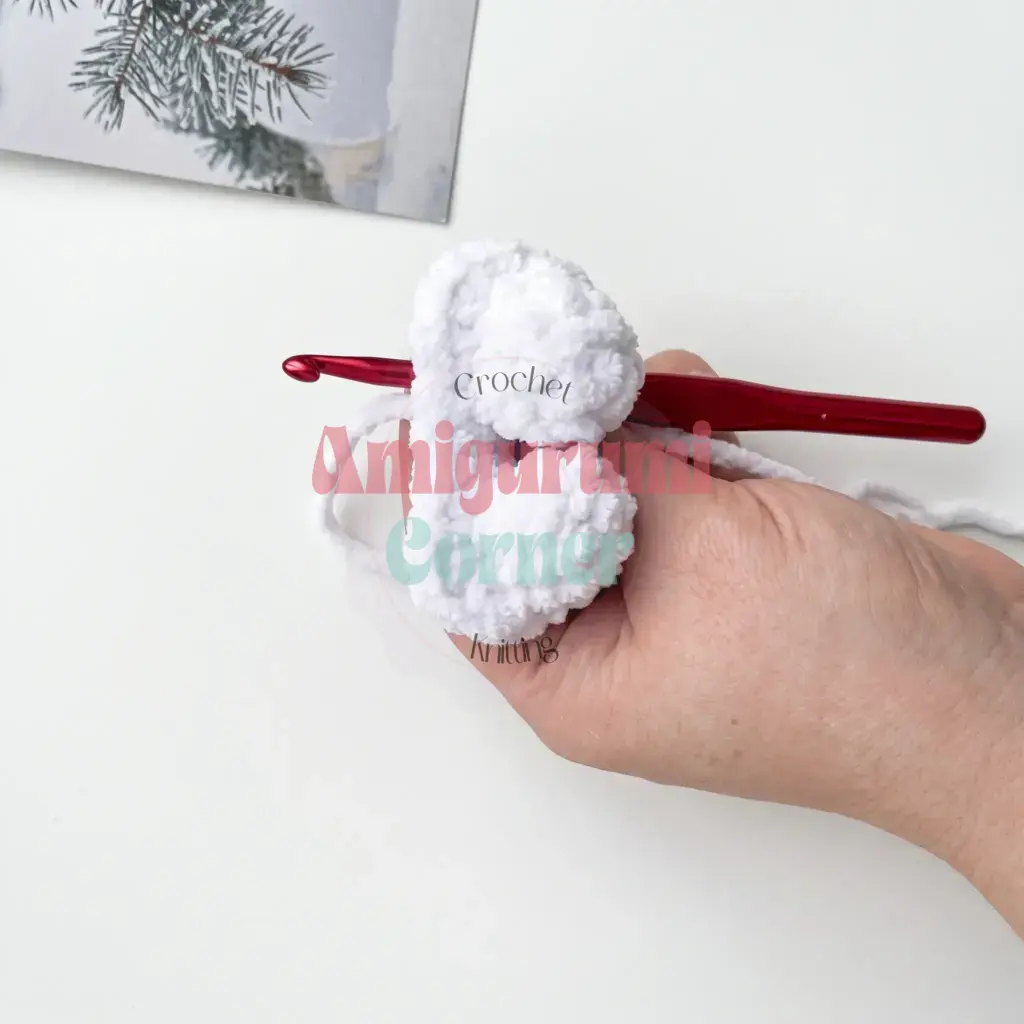
The pattern recommends a size F-5 (3.75 mm) hook, but you should choose the size that gives you a firm, gap-free fabric with your chosen yarn. Tight tension is crucial to prevent stuffing from showing.
Can I use a different type of yarn?
Yes. While plush or velvet-style yarn is recommended for the signature fuzzy look, you can use smooth worsted weight yarn. If you do, you might want to brush the finished piece lightly to fluff the texture.
How do I shape the snowman’s cheeks?
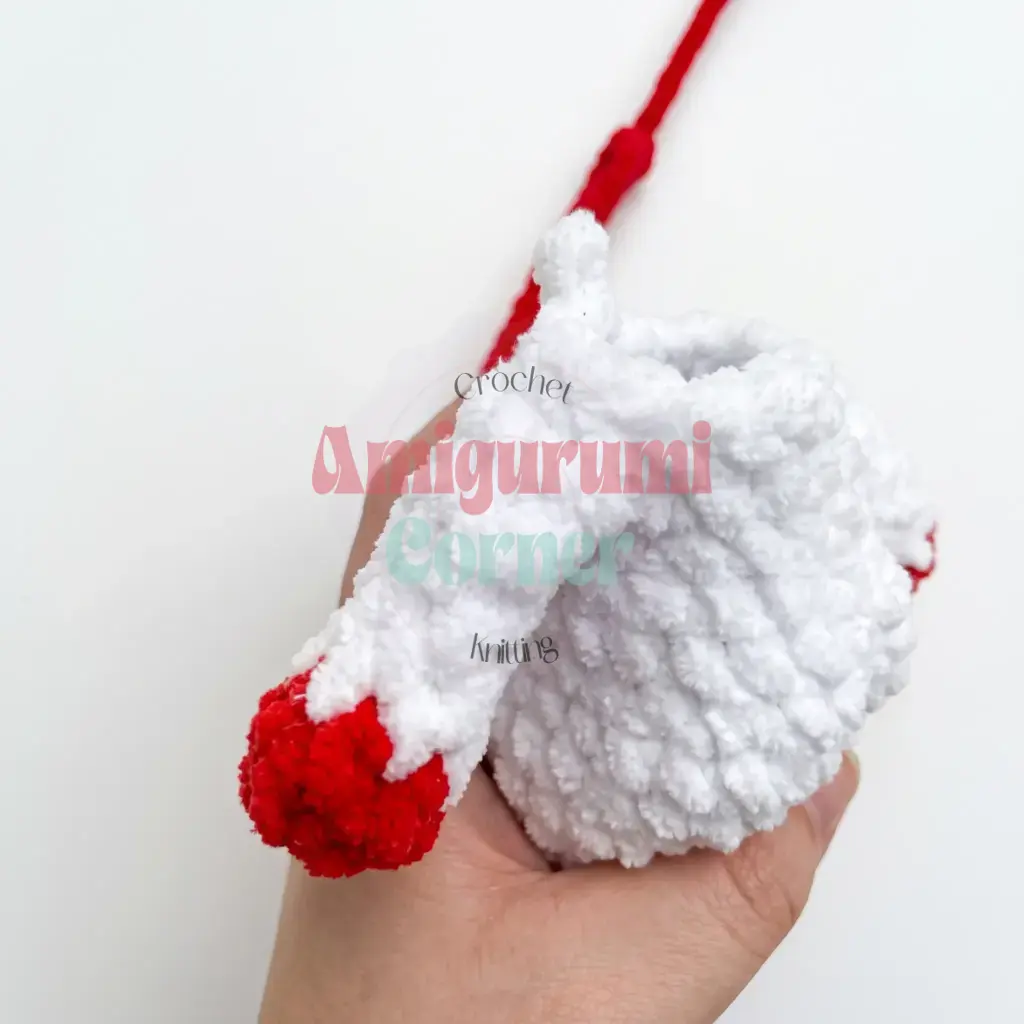
The cheeks are shaped using specific increases in Rnds 17 and 18. The pattern instructs you to place these increases at the sides of the piece. Adjust your round’s start/end point to ensure these increases are symmetrical and aligned with the belly shaping.
What if I don’t have 16mm safety eyes?
You can substitute the safety eyes with embroidered eyes or a different size if preferred. However, the pattern is designed for 16mm eyes with sparkle detail, and the face sculpting instructions are based on this placement.
How do I attach the arms?
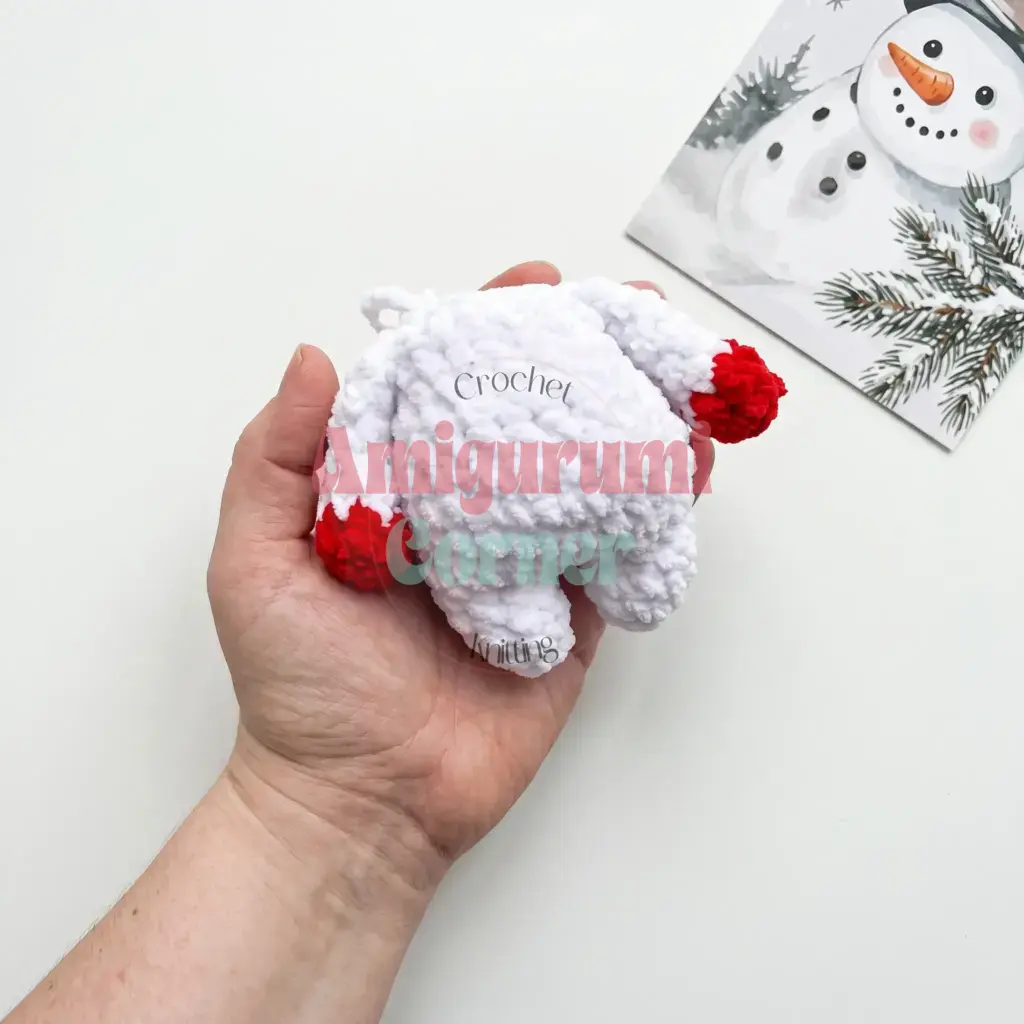
The arms are joined into the body during Rnd 14. You will join the yarn to the side of the body, sc across the arm (3 sc), continue with the body stitches, and then join the second arm in the same manner.
Is this pattern suitable for beginners?
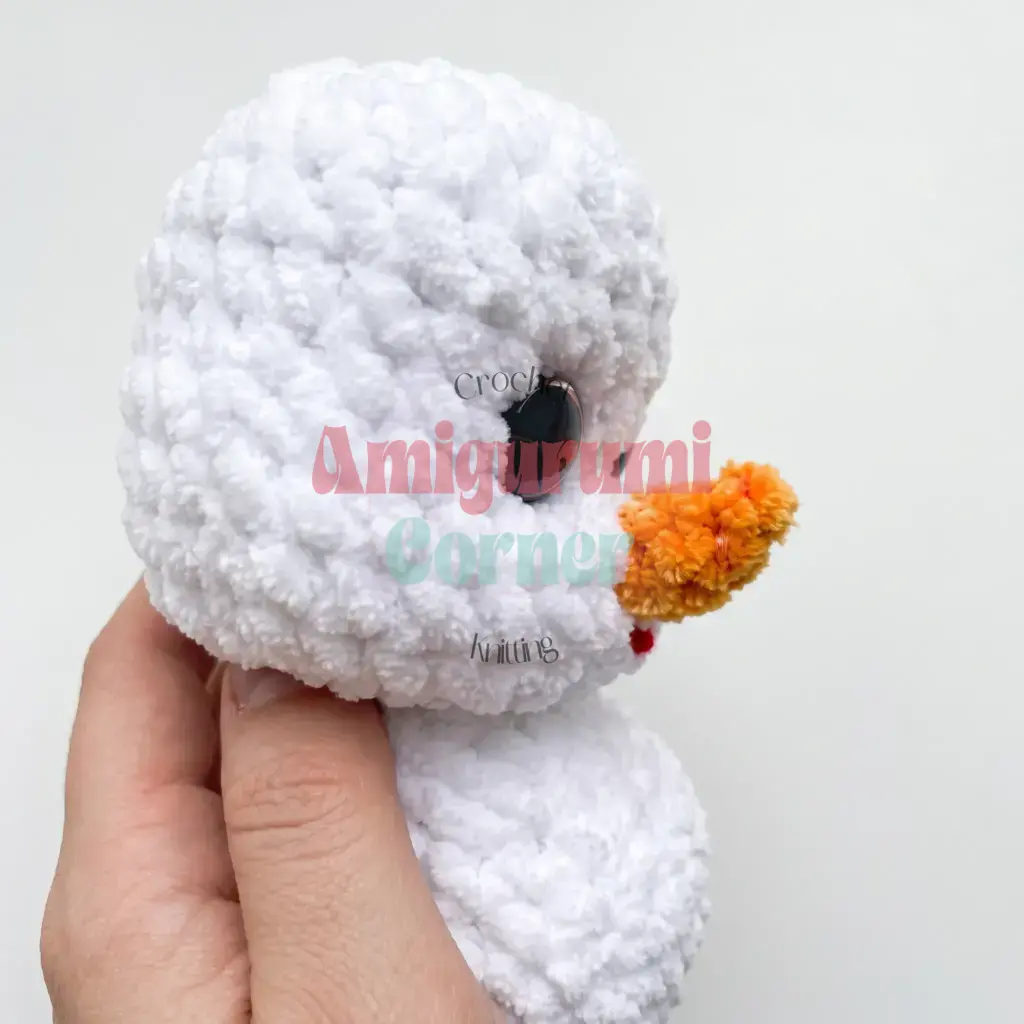
This pattern is written for confident beginners and intermediate crocheters. If you are comfortable with basic increases, decreases, and working in a continuous spiral, you will be able to make this snowman.
Pin This Crochet Pattern!