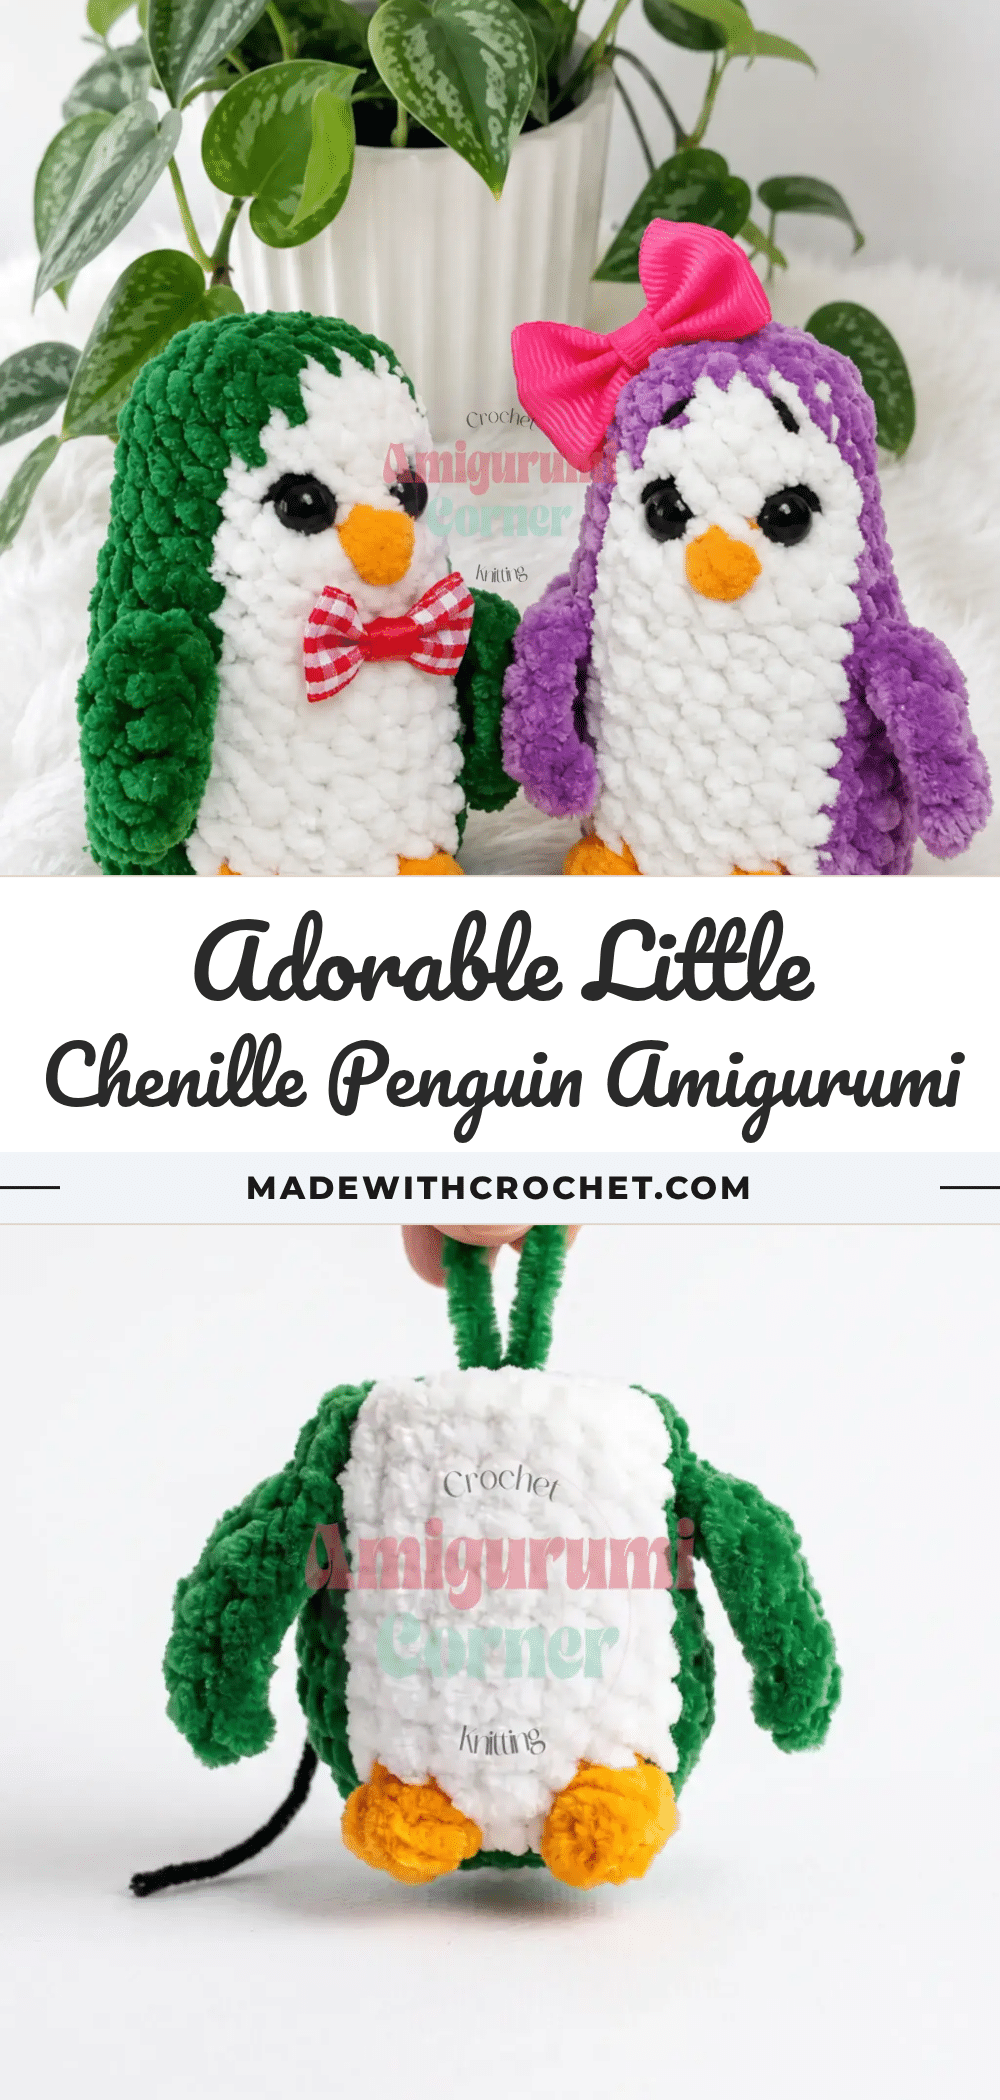
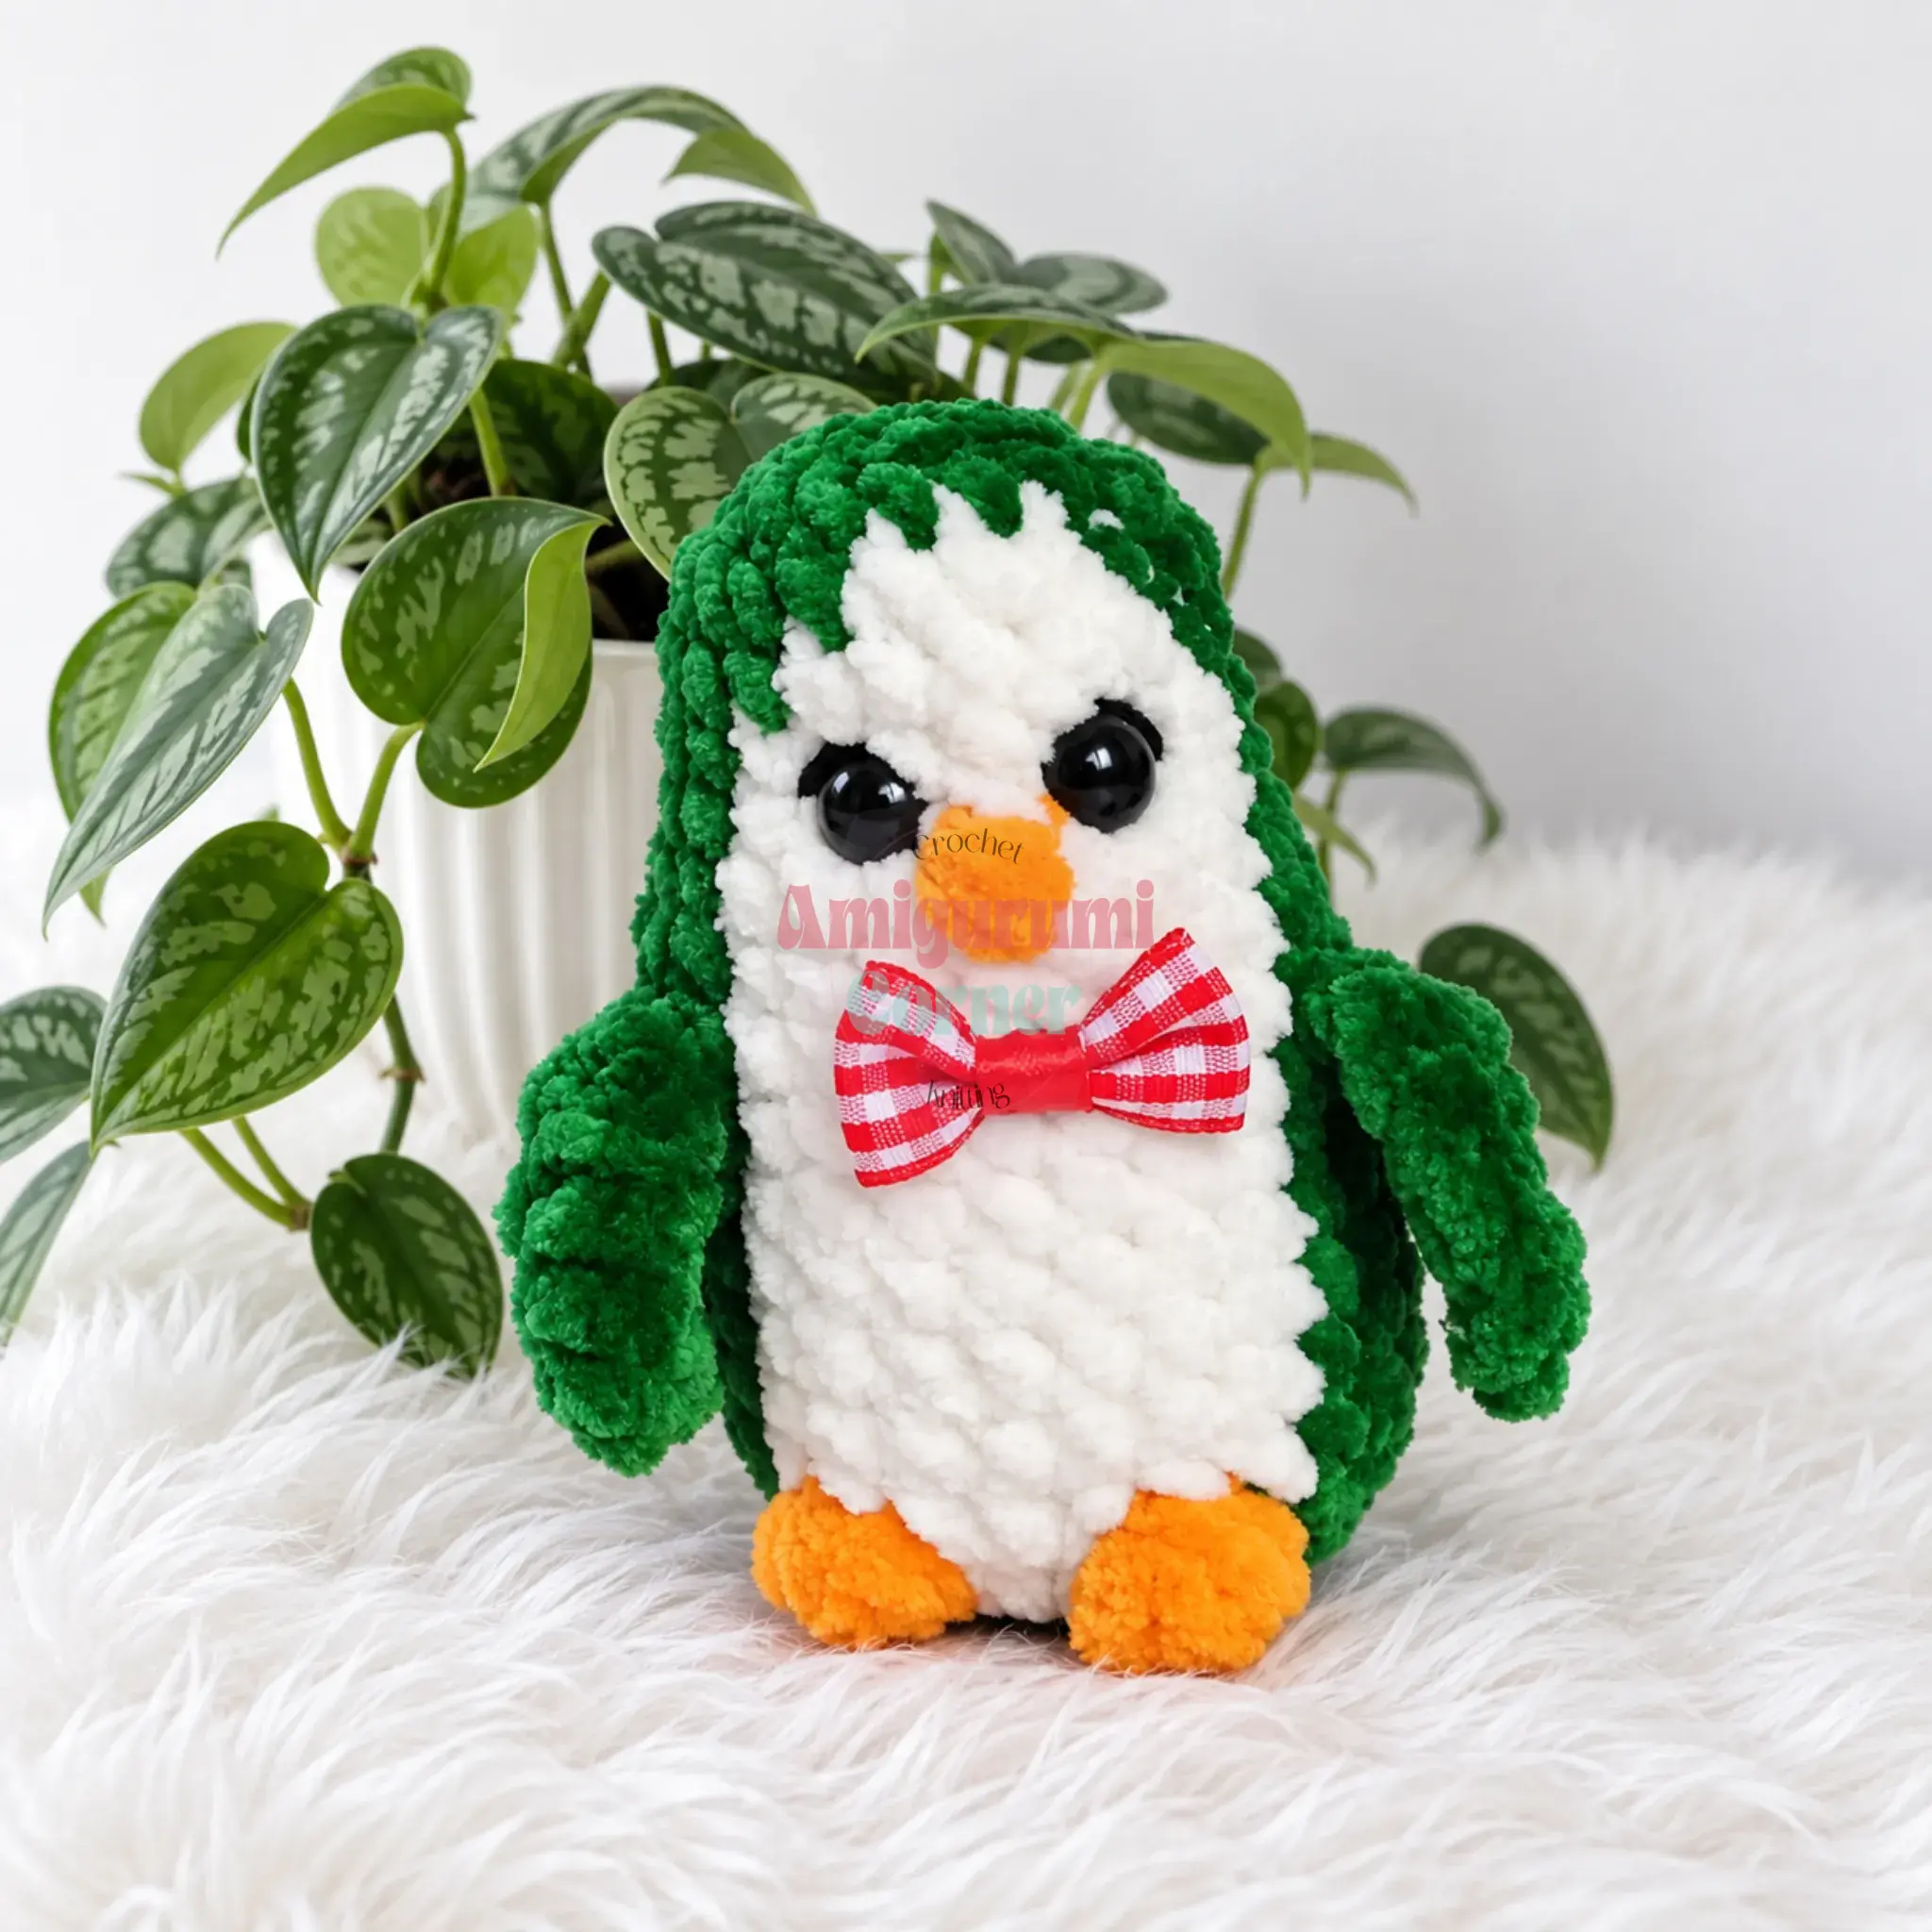
There is something deeply satisfying about watching a pile of yarn transform into a structured, three-dimensional character. The magic of amigurumi lies in the rhythm of the stitches—the way a continuous spiral builds height, how strategic increases create curves, and how decreases cinch a shape closed. With this Little Chenille Penguin, the texture of the yarn plays a starring role, turning simple single crochet stitches into a plush, velvety surface that begs to be touched. The pattern relies on shaping legs, wings, and a beak directly into the body as you work, creating a seamless construction that feels like a small engineering feat. It is a project that rewards patience with a sturdy, standing companion that looks as good as it is fun to make.
Texture and Stitch Notes
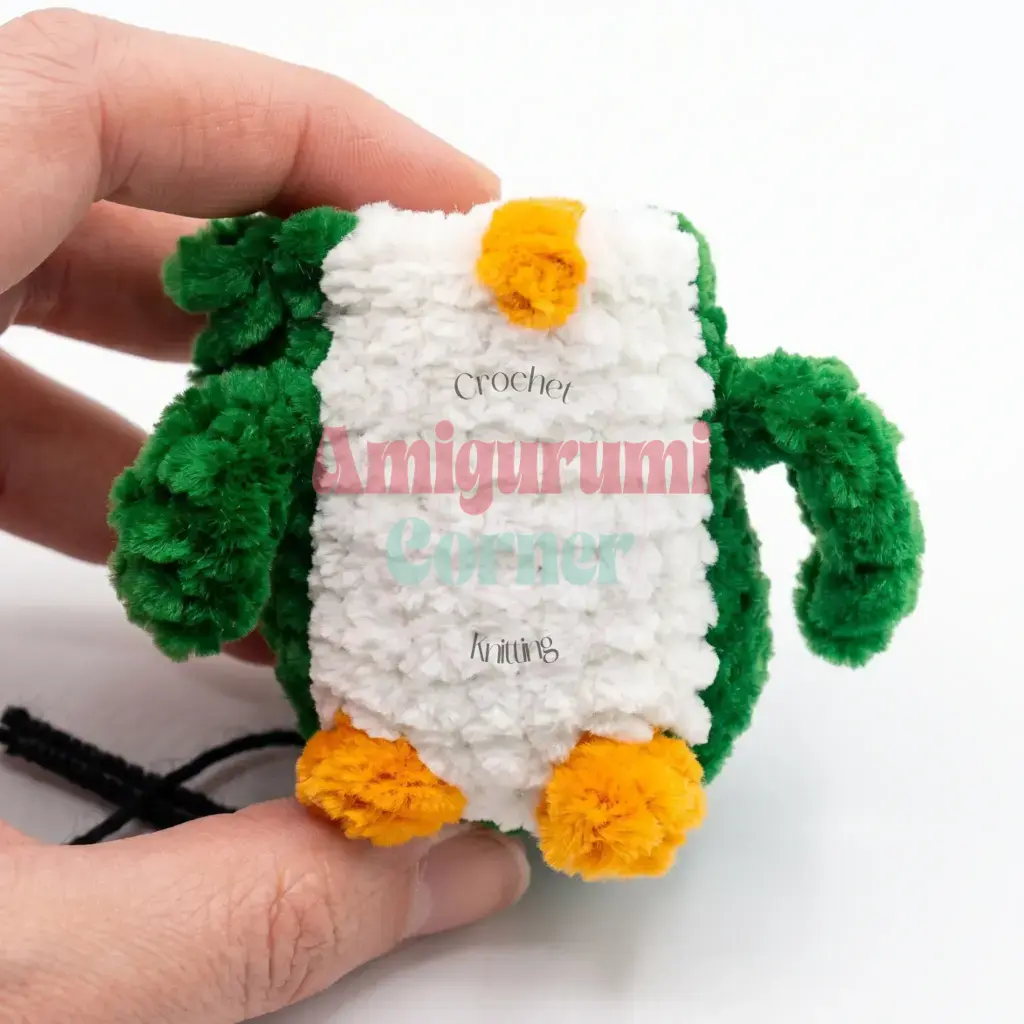
Chenille yarn is a unique beast in the world of crochet. Its soft, velour-like texture creates a beautiful, matte finish that hides stitch definition, resulting in a smooth, toy-like appearance. Because the yarn is slightly stretchy and fuzzy, maintaining a consistent, snug tension is vital. If your stitches are too loose, the polyester fiberfill stuffing may peek through the surface, ruining the plush aesthetic. This penguin is designed to be worked in one continuous piece from the base of the feet up to the head. This means you will be building the tail, legs, wings, and beak directly into the rounds rather than crocheting separate parts and sewing them on later. The texture of the chenille makes it slightly harder to see individual stitches, so keeping a stitch marker in place and counting carefully is essential for maintaining symmetry, especially when shaping the face and closing the top of the head.
Project Overview
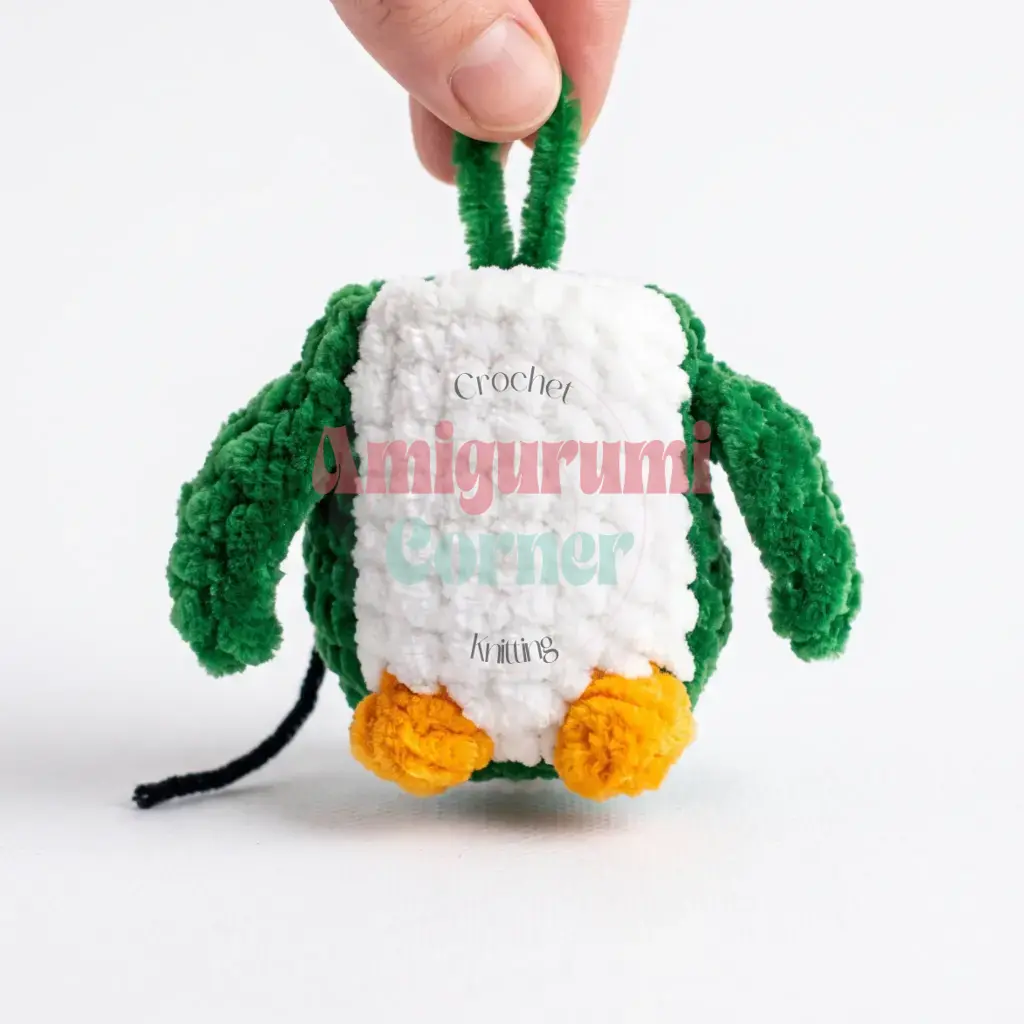
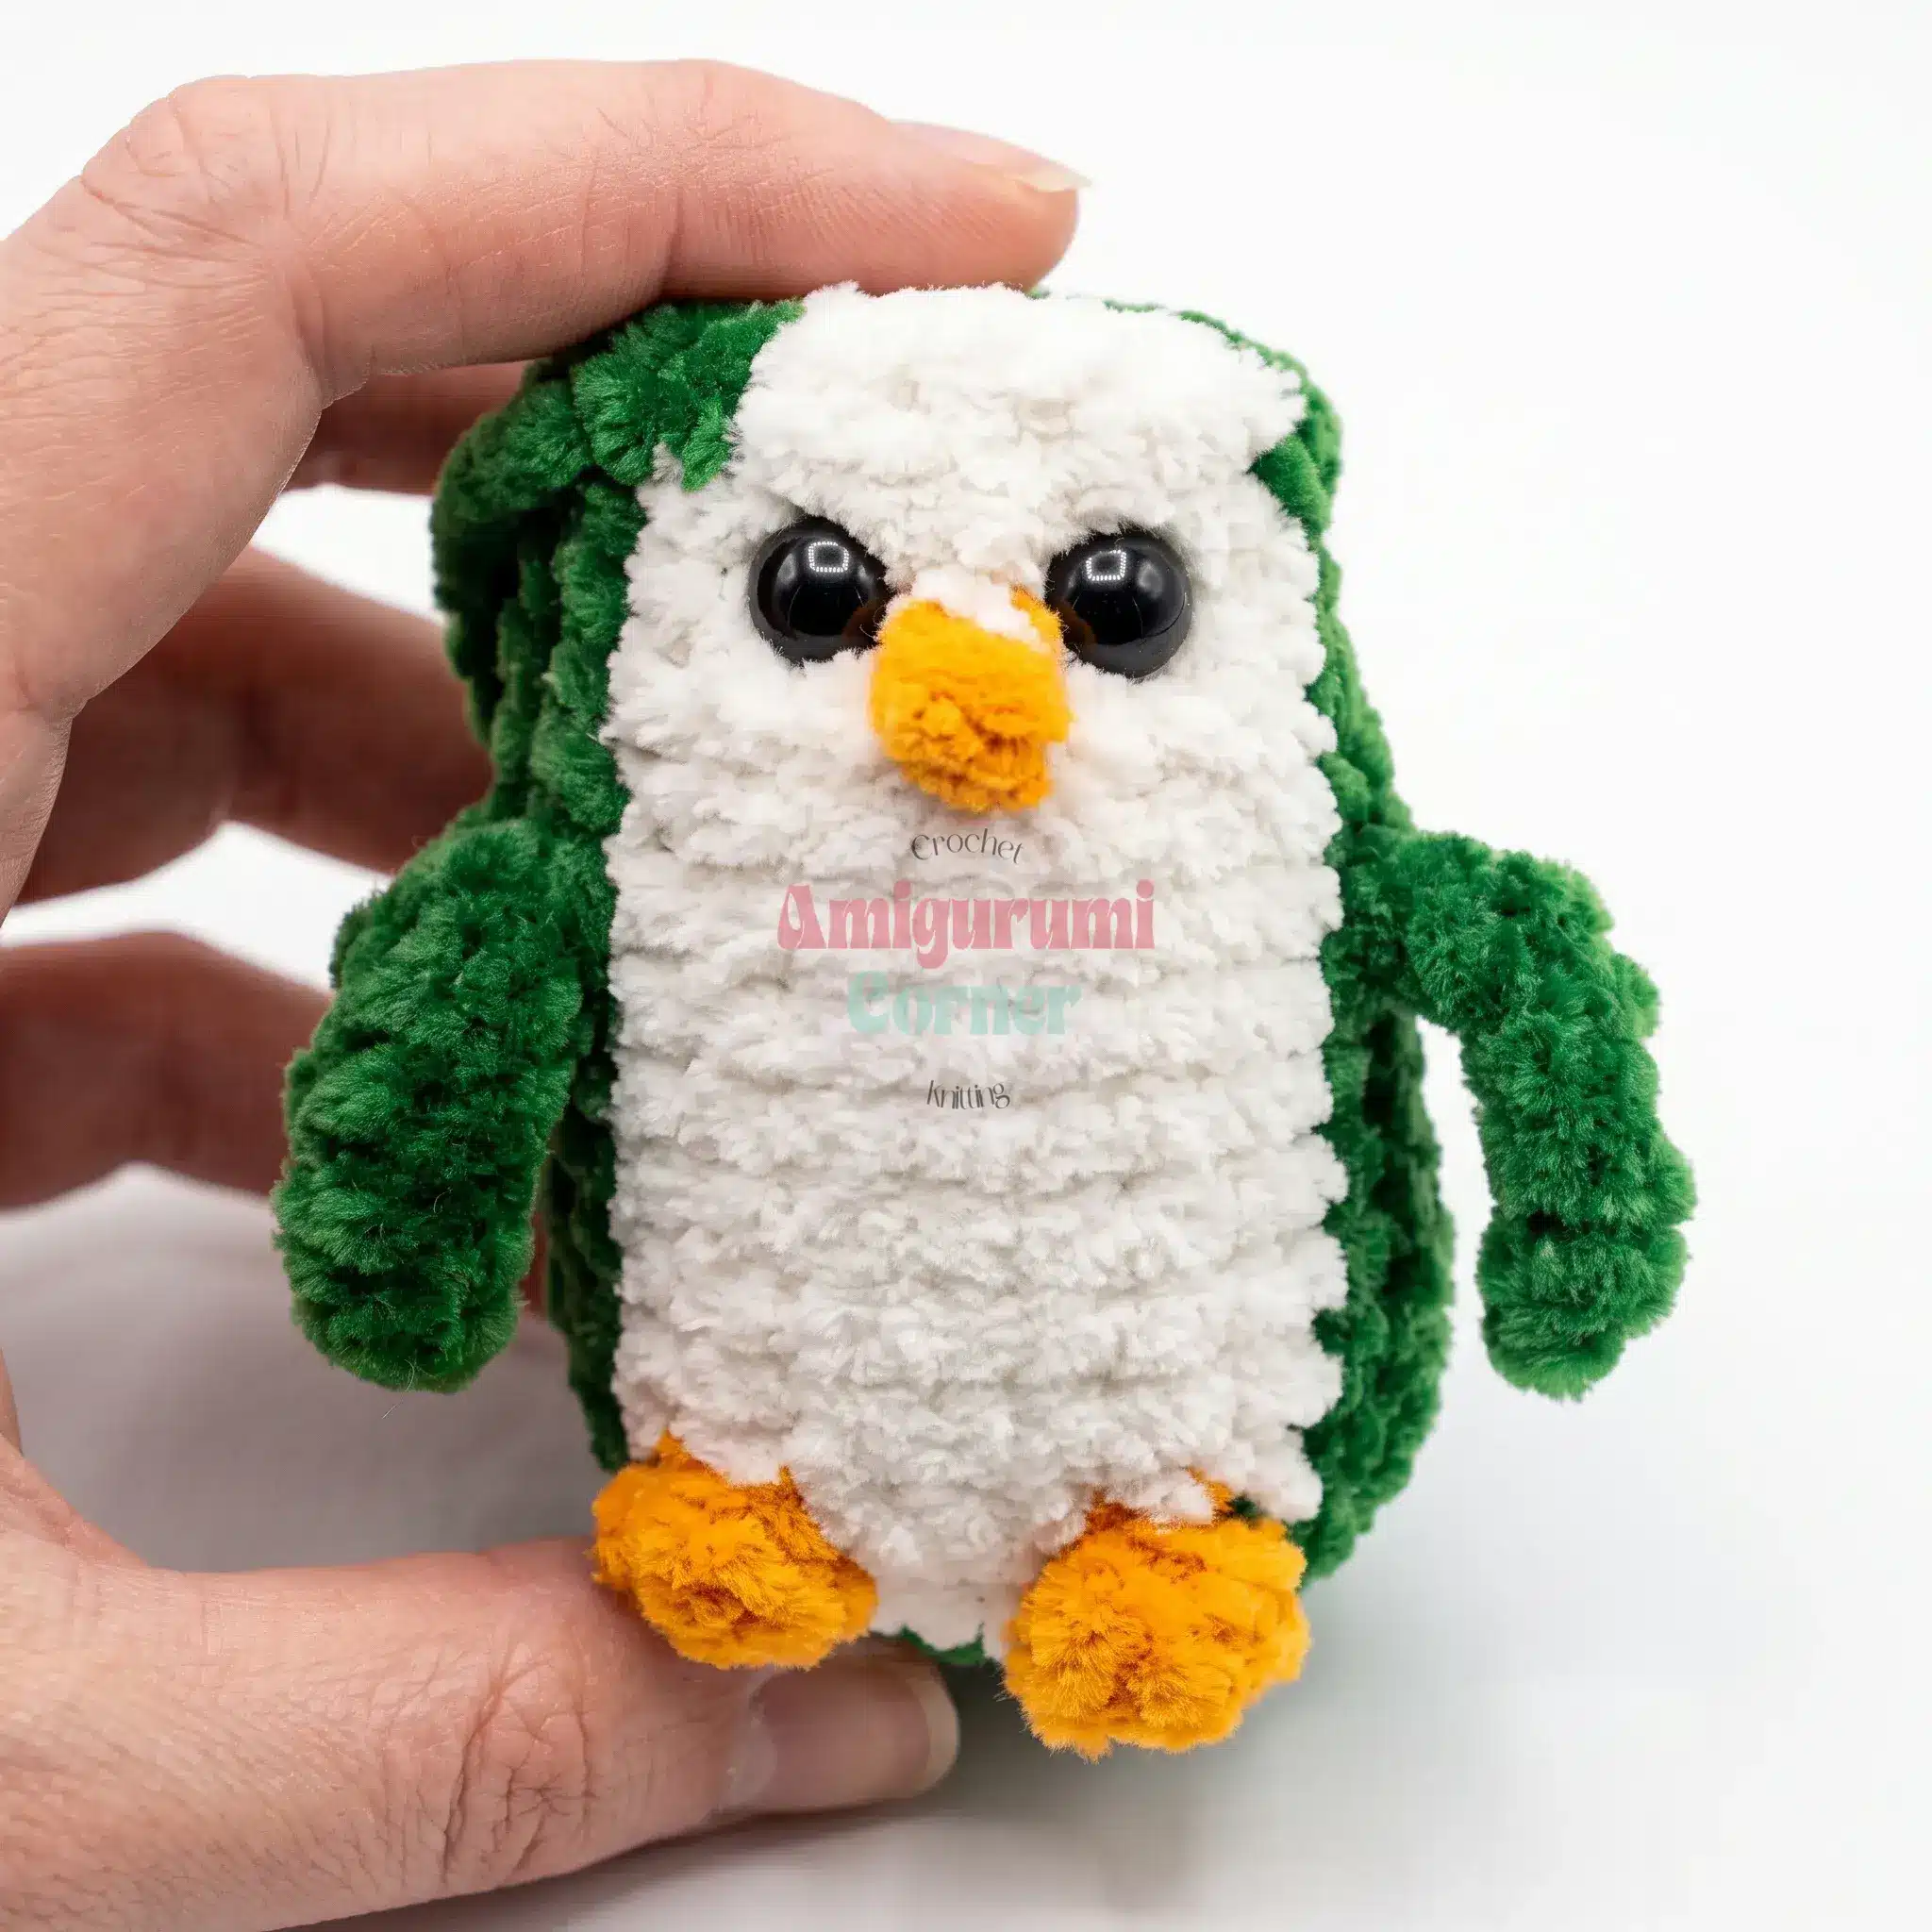
This adorable Little Chenille Penguin is a single-piece amigurumi pattern, meaning the entire body, legs, tail, wings, and beak are crocheted together in a continuous spiral. It is a friendly project for confident beginners who have mastered the magic ring and are ready to try shaping features directly into the body. The pattern uses bulky chenille or velvet-style yarn to create a soft, plush finish, with white yarn accents for the belly and face. The construction requires firm stuffing to ensure the penguin can stand upright on its own.
Materials
- Yarn: Bulky chenille or velvet yarn (soft velour-style) in your main body color.
- Accent Yarn: Small amount of white bulky chenille yarn for the belly and face.
- Detailing: Small amount of orange yarn or yarn scraps for beak and feet detailing.
- Hook: E-4 (3.5 mm) crochet hook.
- Eyes: 8mm safety eyes, 1 pair.
- Stuffing: Polyester fiberfill stuffing.
- Tools: Stitch marker, yarn needle, scissors.
- Optional: Fabric marker or pen (for marking placement), small ribbon or grosgrain bow (for decoration).
Gauge and Finished Size
Gauge is not critical for this project. However, a tighter tension is recommended to help the stitches hold their shape and prevent stuffing from showing through the plush surface. The finished size is not specified, but the pattern is designed to create a small, standing amigurumi character suitable for a shelf display or keychain.
Abbreviations
This pattern is written in US crochet terminology.
- ch — Chain
- dc — Double Crochet
- dec — Decrease
- hdc — Half Double Crochet
- inc — Increase
- puff st — Puff Stitch
- sc — Single Crochet
- sl st — Slip Stitch
Pattern Notes
- The body is worked in continuous spiral rounds. Do not join or chain at the end of each round; use a stitch marker to track the start of each round.
- Stitch counts are given at the end of each round in parentheses, like this: (20).
- Stuff firmly and evenly as you work. Do not wait until the piece is closed to add filling.
- Keep the base flat rather than rounded so your penguin can stand.
- The whole penguin body, legs, tail, wings, and beak is worked as one continuous piece. There is no separate assembly of limbs; you will build each feature directly into the round it belongs to.
- Color changes to white are noted directly in the instructions as “in White (Color B).”
Pattern Instructions
Penguin Body (Worked in One Piece)
Foundation: Ch 6. Starting in the 2nd ch from hook, work in continuous rounds around the chain (do not join).
Rnd 1: inc, 3 sc, 4 sc in same st, 3 sc, inc. (14)
Rnd 2: 2 inc, 3 sc, 4 inc, 3 sc, 2 inc. (22)
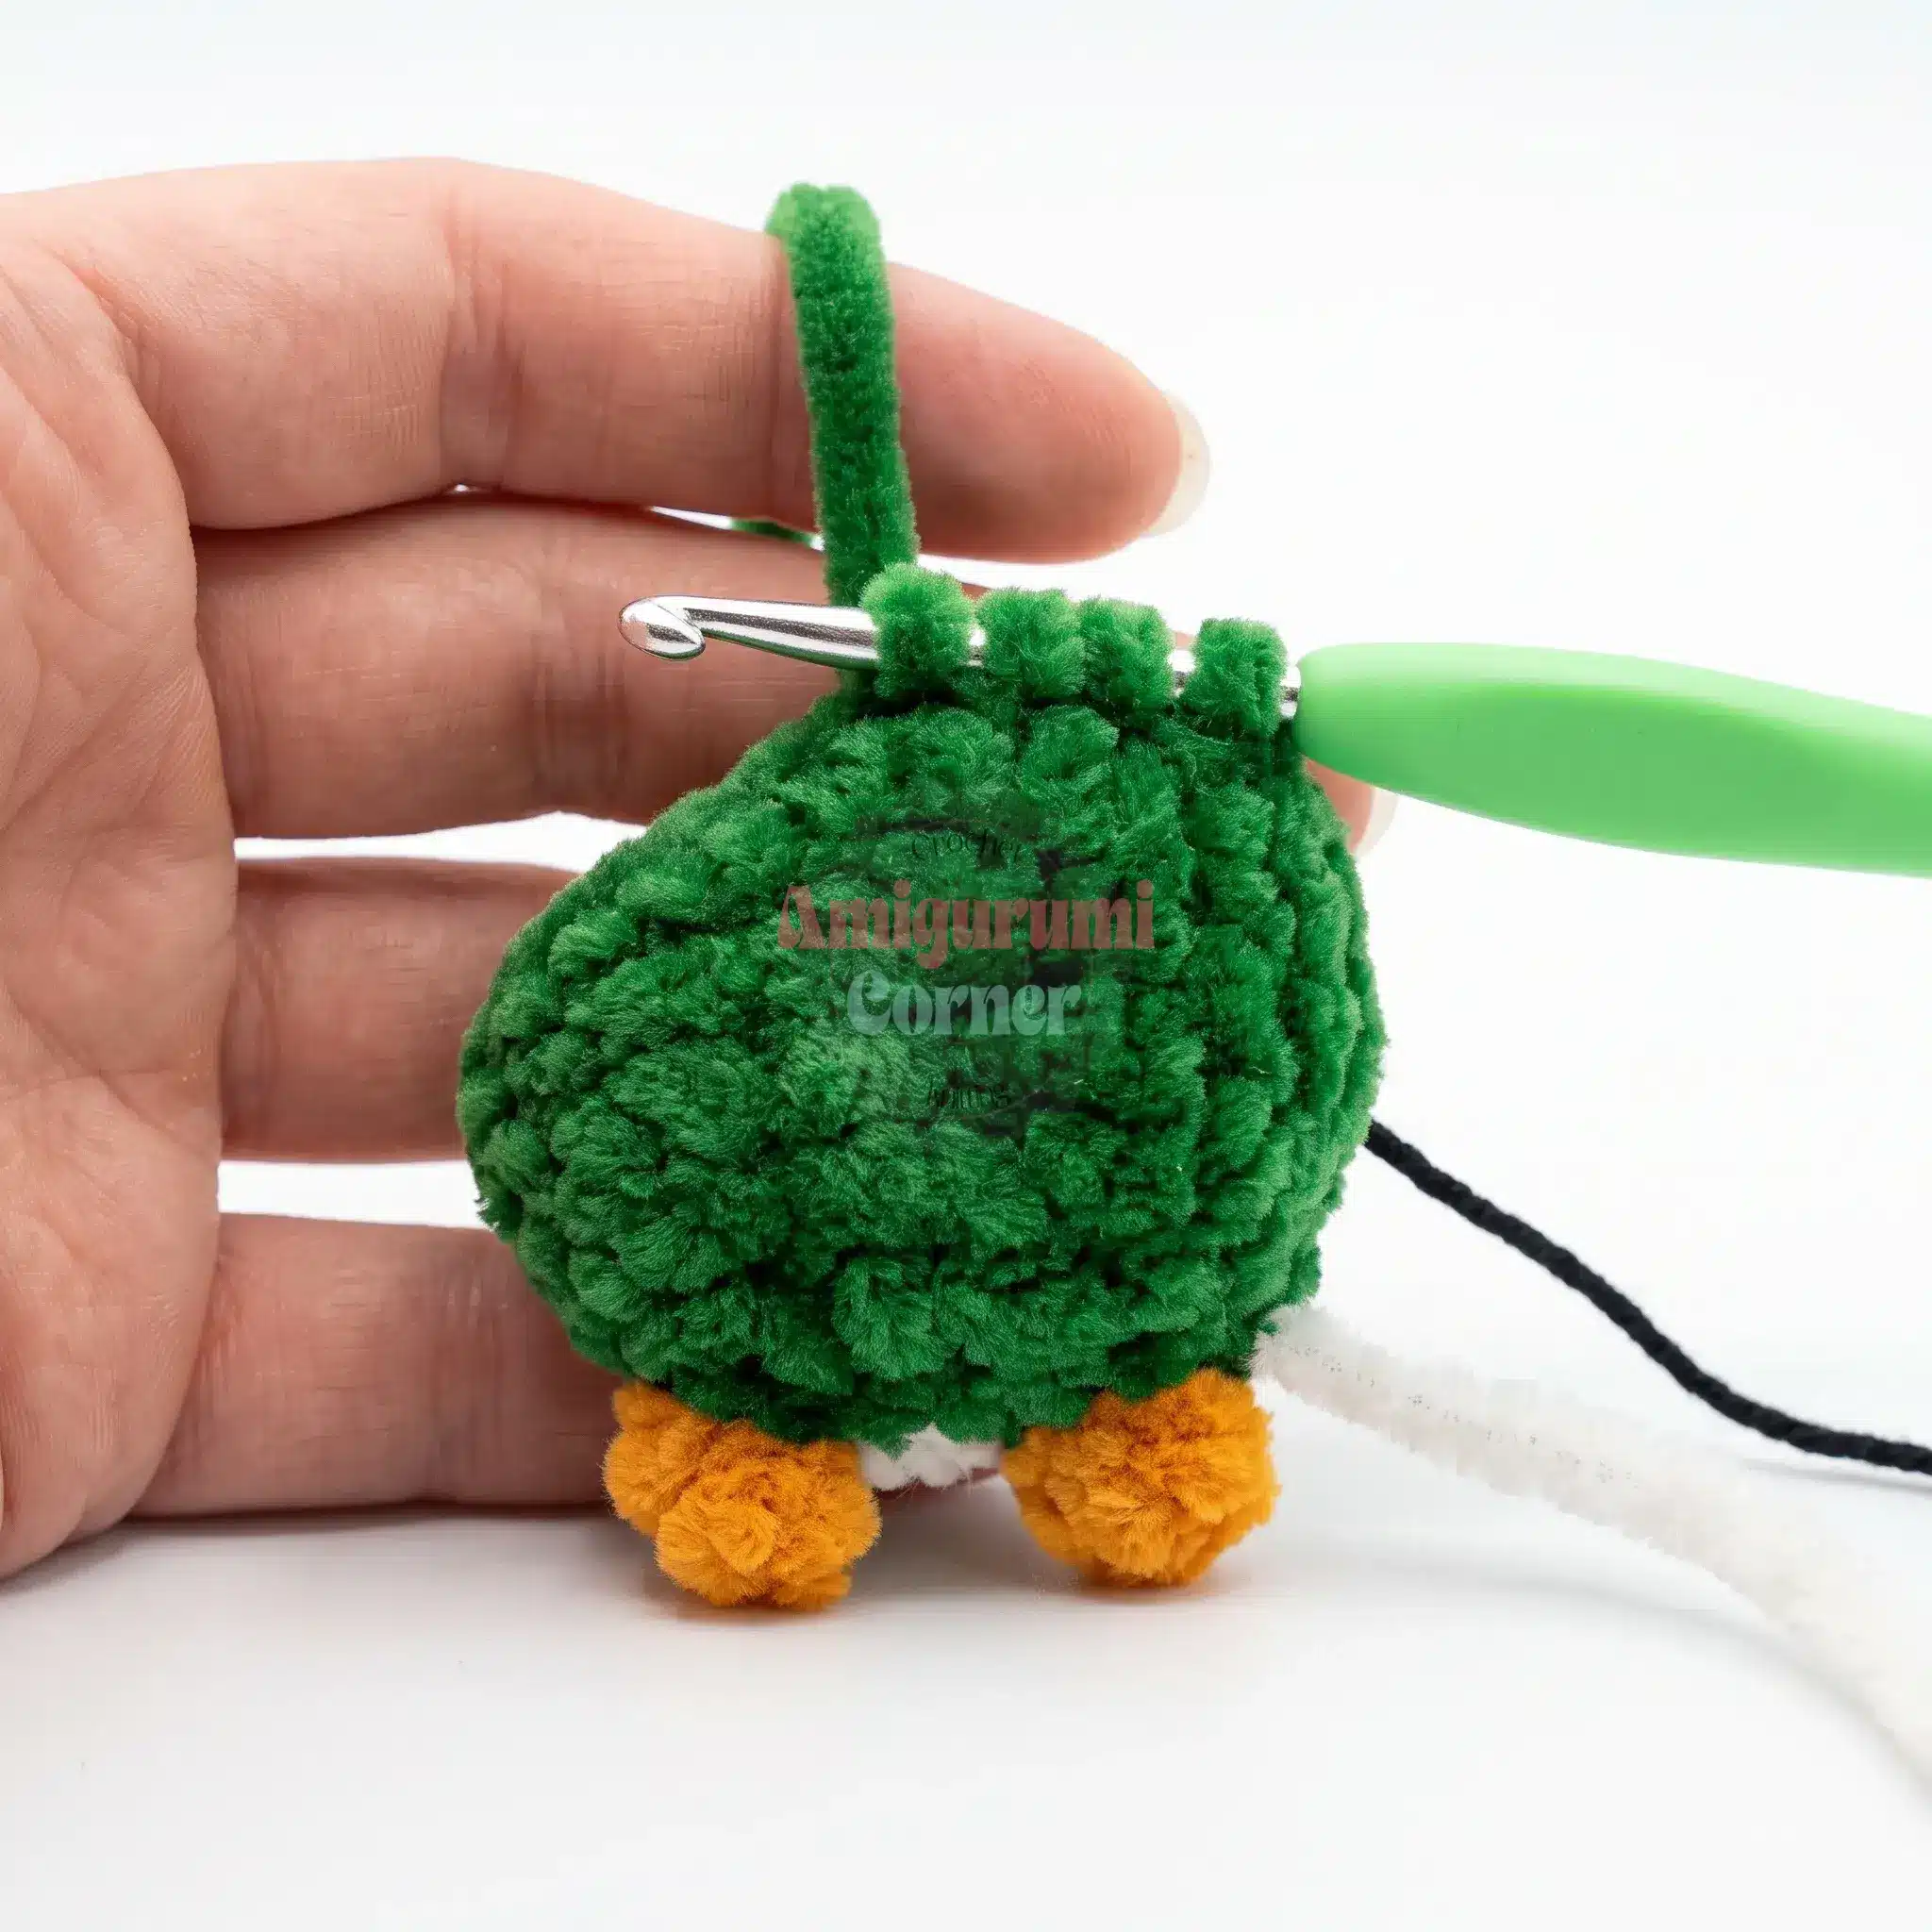
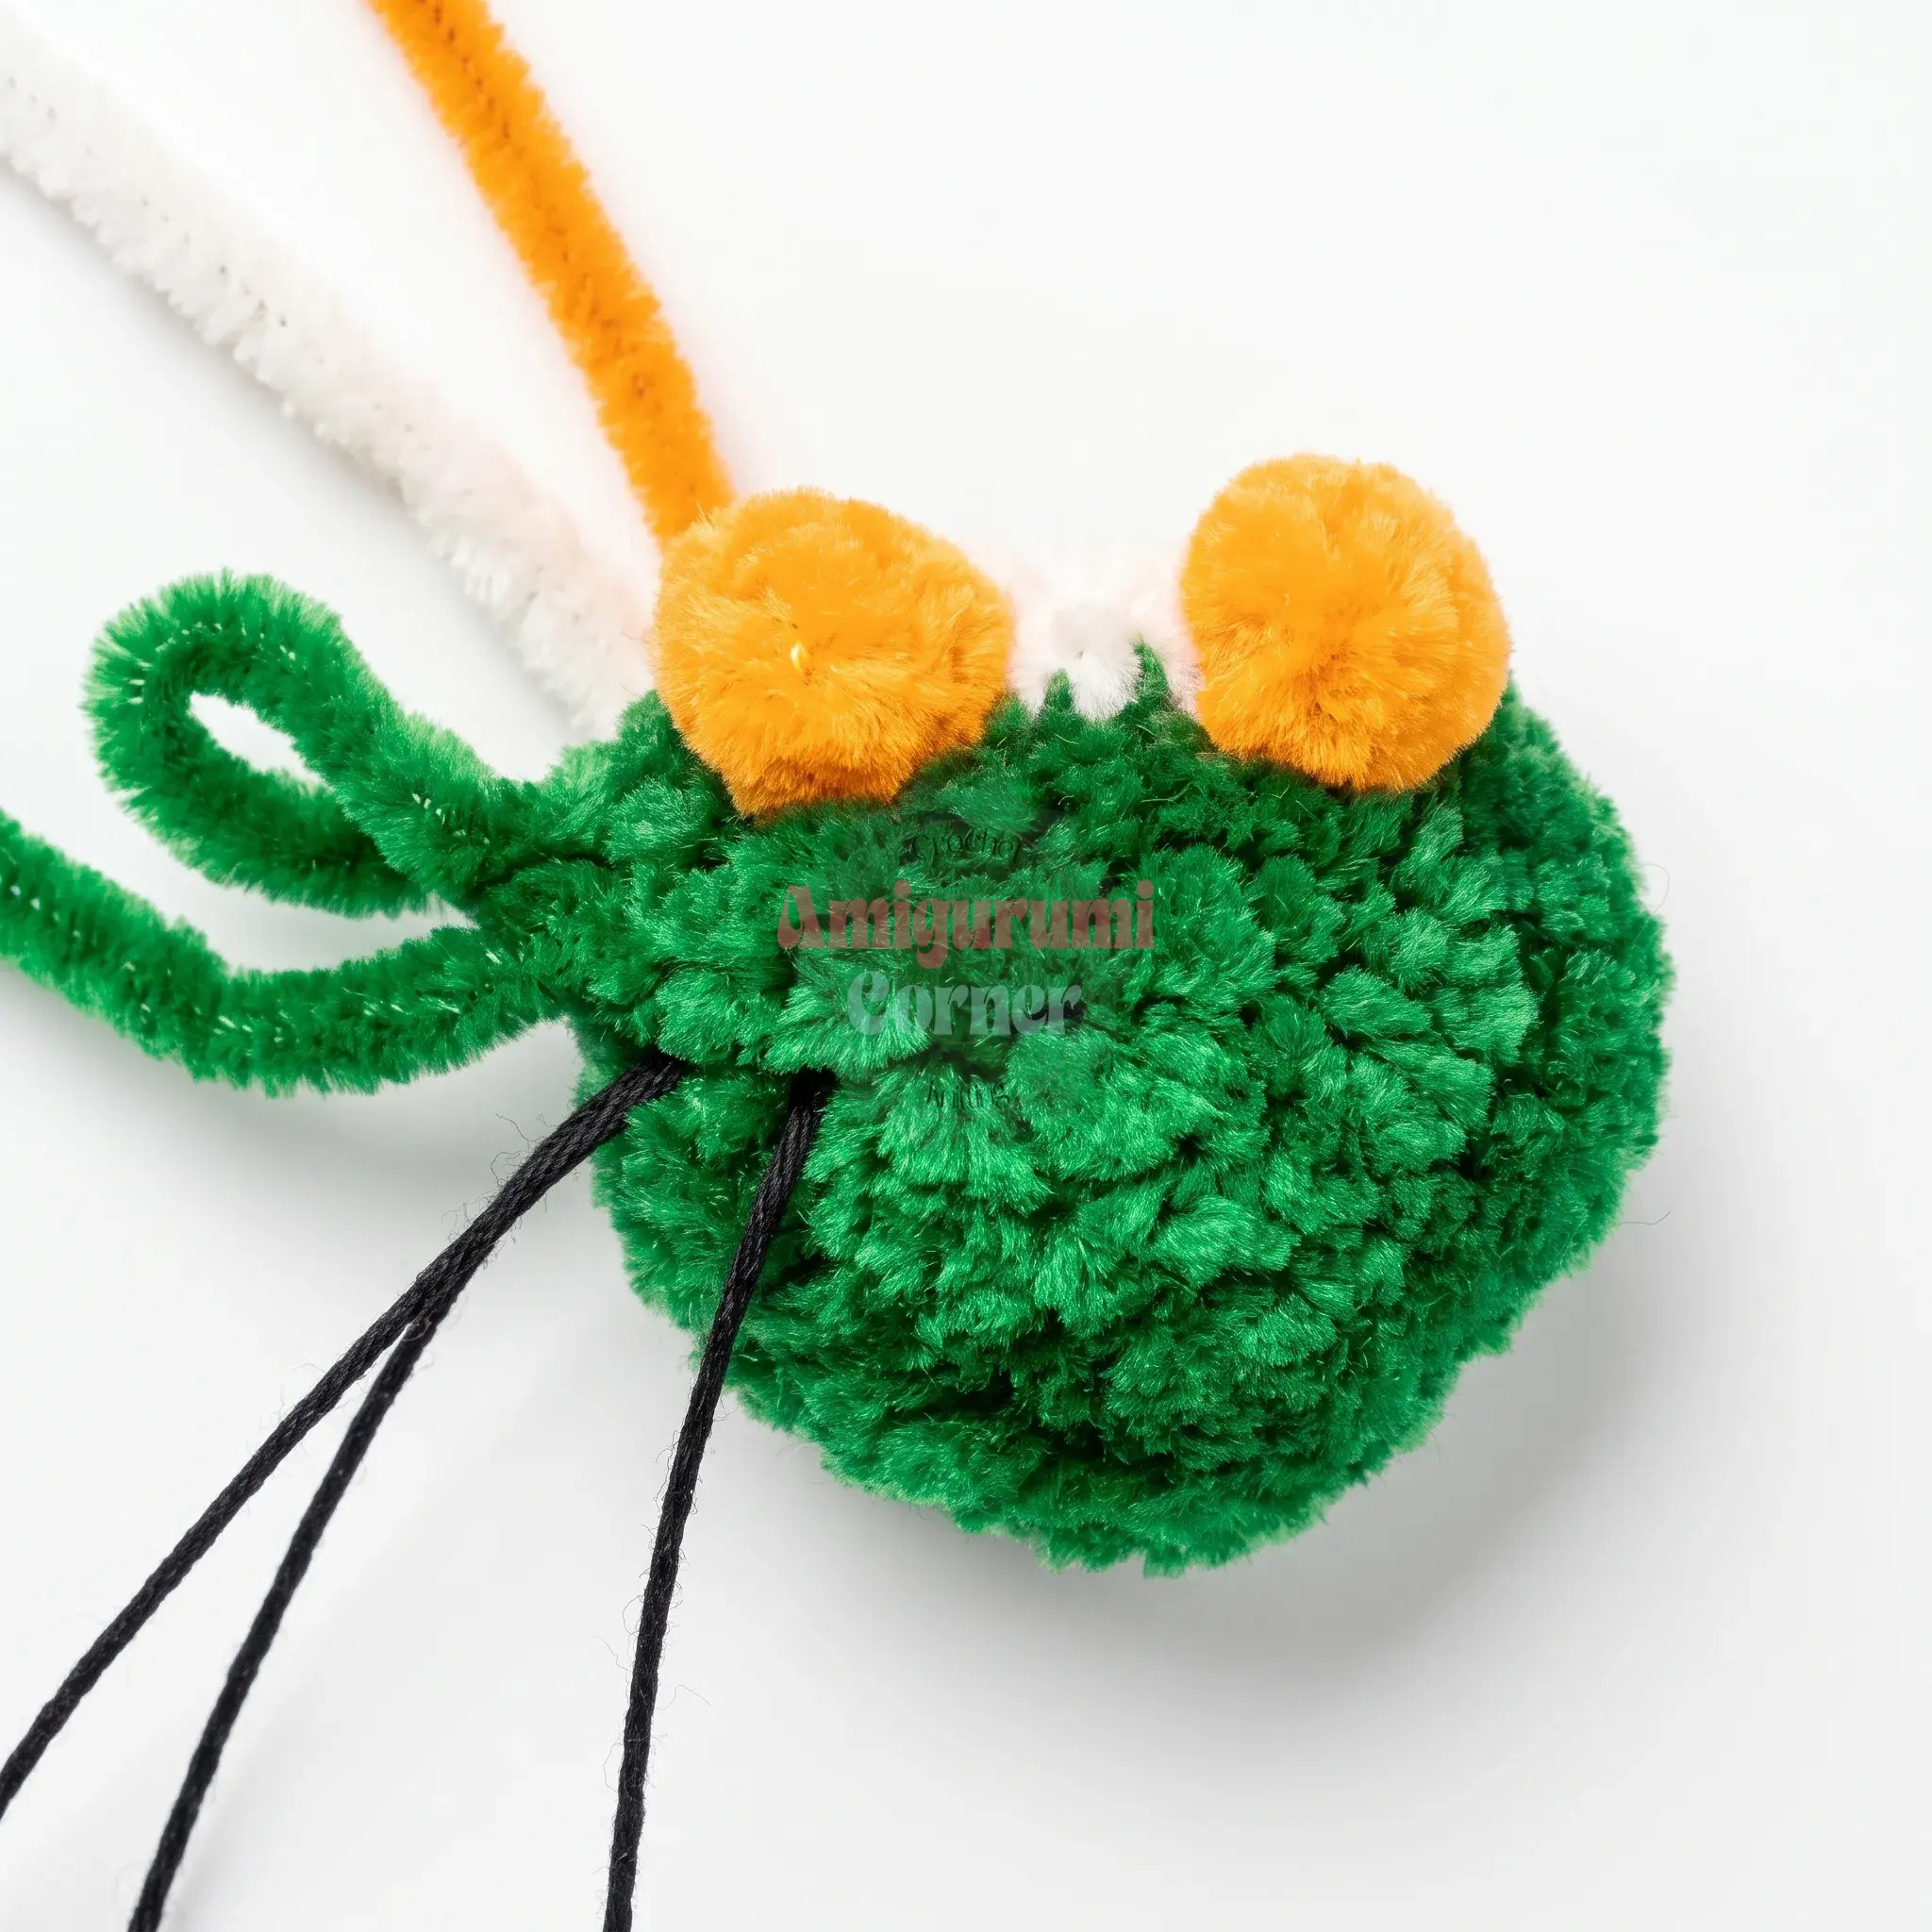
Rnd 3: 5 sc, 3-hdc inc (this forms the tail), 8 sc, 4-dc puff st (leg), 3 sc in White (Color B), 4-dc puff st (second leg, worked the same way), 3 sc. (24)
Rnd 4: 5 sc, 3 hdc (tail), 7 sc, 7 sc in White (Color B), 2 sc. (24)
Rnd 5: 5 sc, dec worked over 3 hdc (standard decrease method), 7 sc, 7 sc in White (Color B), 2 sc. (22)
Rnds 6–8: 13 sc, 7 sc in White (Color B), 2 sc. Repeat for 3 rounds. (22)
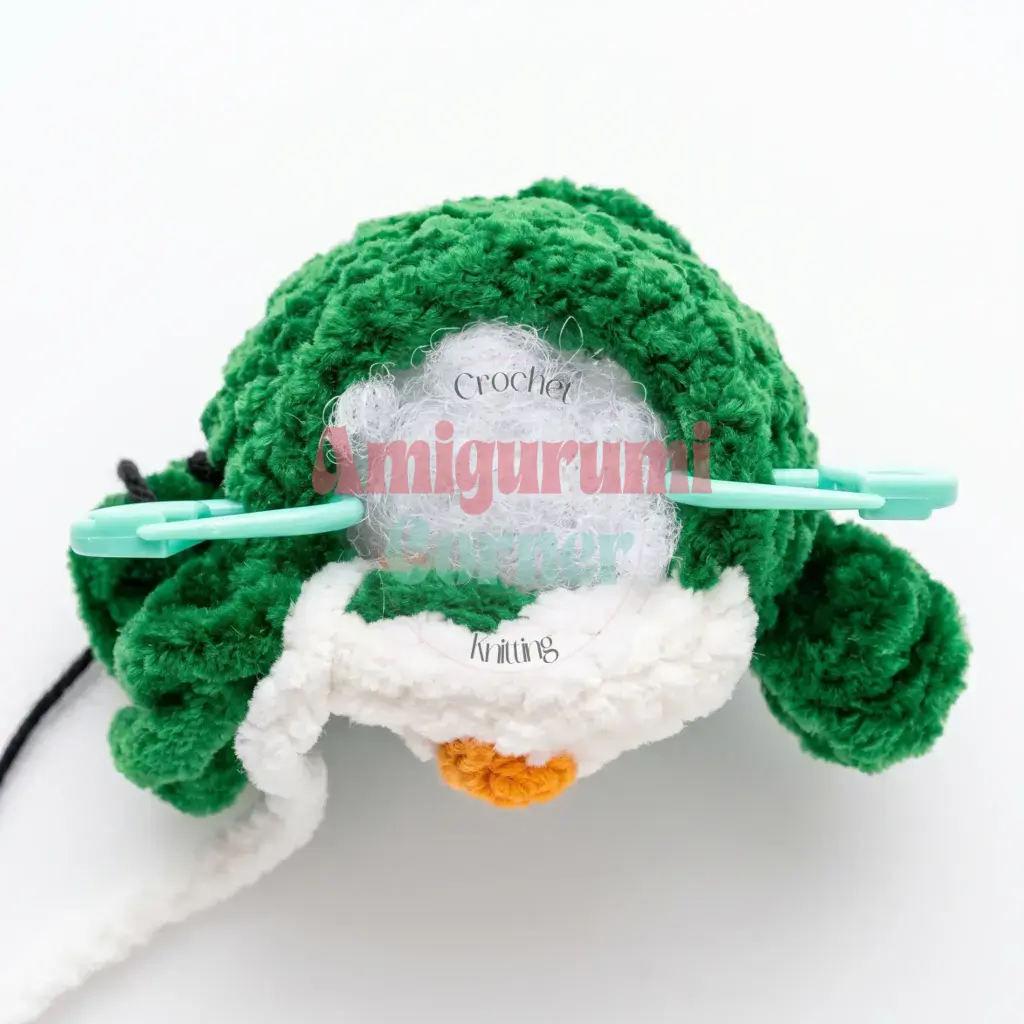
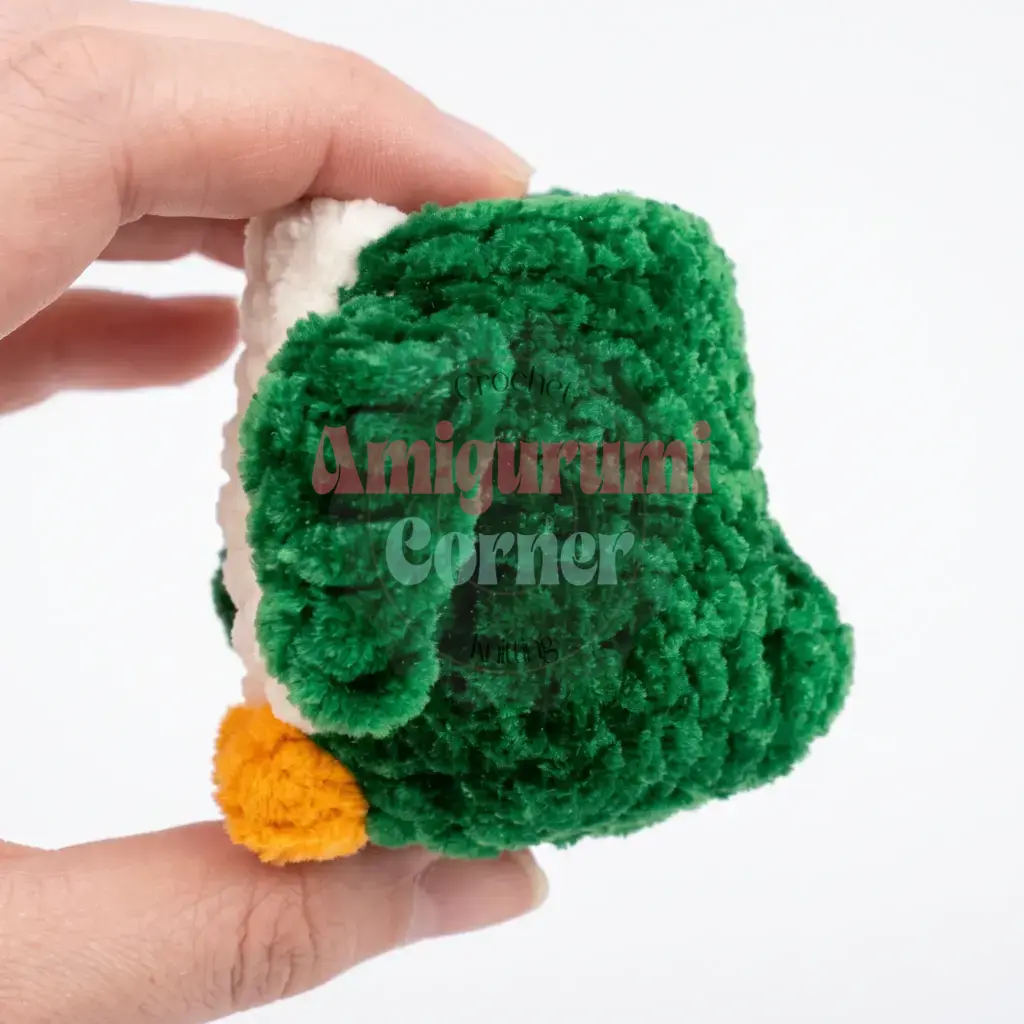
Rnd 9: 12 sc, wing (ch 7, starting in 2nd ch from hook work: 1 sl st, 1 sc, 1 hdc, 3 dc), 1 sc, 7 sc in White (Color B), 1 sc, wing (worked the same way), 1 sc. (22)
Rnds 10–11: 13 sc, 7 sc in White (Color B), 2 sc. Repeat for 2 rounds. (22)
Rnd 12: 13 sc, 3 sc in White (Color B), 2-hdc puff st (beak), 3 sc in White (Color B), 1 sc. (21)
This round is not complete — move your stitch marker to the new end-of-round position.
Rnd 13: dec, 9 sc, dec, 1 sc, 7 sc in White (Color B), 1 sc. (20)
Place your decreases exactly as shown in your reference photo for a symmetrical face. Attach safety eyes between Rnds 13–14, spaced 3 stitches apart (measured between the eye posts).
Rnd 14: 12 sc, 7 sc in White (Color B), 1 sc. (20)
Rnd 15: 13 sc, 5 sc in White (Color B), 2 sc. (20)
Rnd 16: 14 sc, 3 sc in White (Color B), 3 sc. (20)
Rnd 17: 3 sc, dec repeat 4 times around. (16)
Rnd 18: 8 dec around. (8)
Stuff the head firmly before closing.
Assembly
Stuff the piece completely, making sure the head and belly are firm before you close the final round. Fasten off and close the top of the head, weaving the tail through the remaining stitches and pulling snug. Using a yarn needle or a knitting needle, gently pull and redistribute the stuffing toward the tail area at the back of the body so it sits rounded and slightly raised, helping your penguin balance upright. Reshape the beak with your fingers so it sits neatly forward on the face. Using a contrasting yarn (a thin, smooth yarn works well here), embroider a small outline above each eye to define eyebrows, and add a subtle outline around the eyes if desired. Glue or stitch on a small bow at the side of the head if you’d like to give your penguin some personality. Weave in all remaining ends securely.
Tips
- Watch your tension: Keep your tension on the snug side throughout. Chenille yarn is soft and a little stretchy, so tighter stitches will keep your stuffing from peeking through the surface as the penguin gets handled.
- Count your decreases: When you reach the decrease rounds at the top of the head (Rnds 17–18), work slowly and check your stitch count after every few stitches. Missing a decrease here is the easiest way to end up with a lopsided head, and chenille yarn’s texture makes stitches a little harder to see clearly than smooth yarns.
- Support the tail: Don’t skimp on stuffing in the tail area. Because the tail is shaped through increases and decreases in Rounds 3–5 rather than as a separate piece, it needs extra filling pushed into it after the fact to really pop and give your penguin a stable base to stand on.
- Yarn substitution: If you want to substitute yarn, stick with another bulky-weight chenille or velvet-style yarn for the same soft, plush finish. Switching to a smooth worsted-weight cotton will give a completely different (and much less fuzzy) look, and may change your finished size.
- Wing construction: The wings in Round 9 are the trickiest part of this pattern since you’re building a small chain-based shape mid-round without breaking your working yarn. Work them slowly, keep your stitch marker in place before you start each wing, and count your stitches carefully when you rejoin the main round afterward.
Frequently Asked Questions
Why is my penguin not standing up?
Ensure you are keeping the base flat rather than rounded during the early rounds. Additionally, make sure you have redistributed the stuffing toward the tail area at the back of the body after closing the head. This extra weight helps the penguin balance upright.
Can I use a different type of yarn?
You can substitute the yarn, but for the intended look, stick with another bulky-weight chenille or velvet-style yarn. Using a smooth worsted-weight cotton will result in a much less fuzzy appearance and may alter the finished size.
How do I attach the safety eyes?
Attach the safety eyes between Rounds 13 and 14. They should be spaced 3 stitches apart, measured between the eye posts. Place your decreases in Round 13 exactly as shown to ensure a symmetrical face.
Why are the wings worked mid-round?
This pattern is designed to be worked as one continuous piece without separate assembly. The wings are created using a chain extension in Round 9 to maintain the seamless construction of the body.
Is this pattern suitable for absolute beginners?
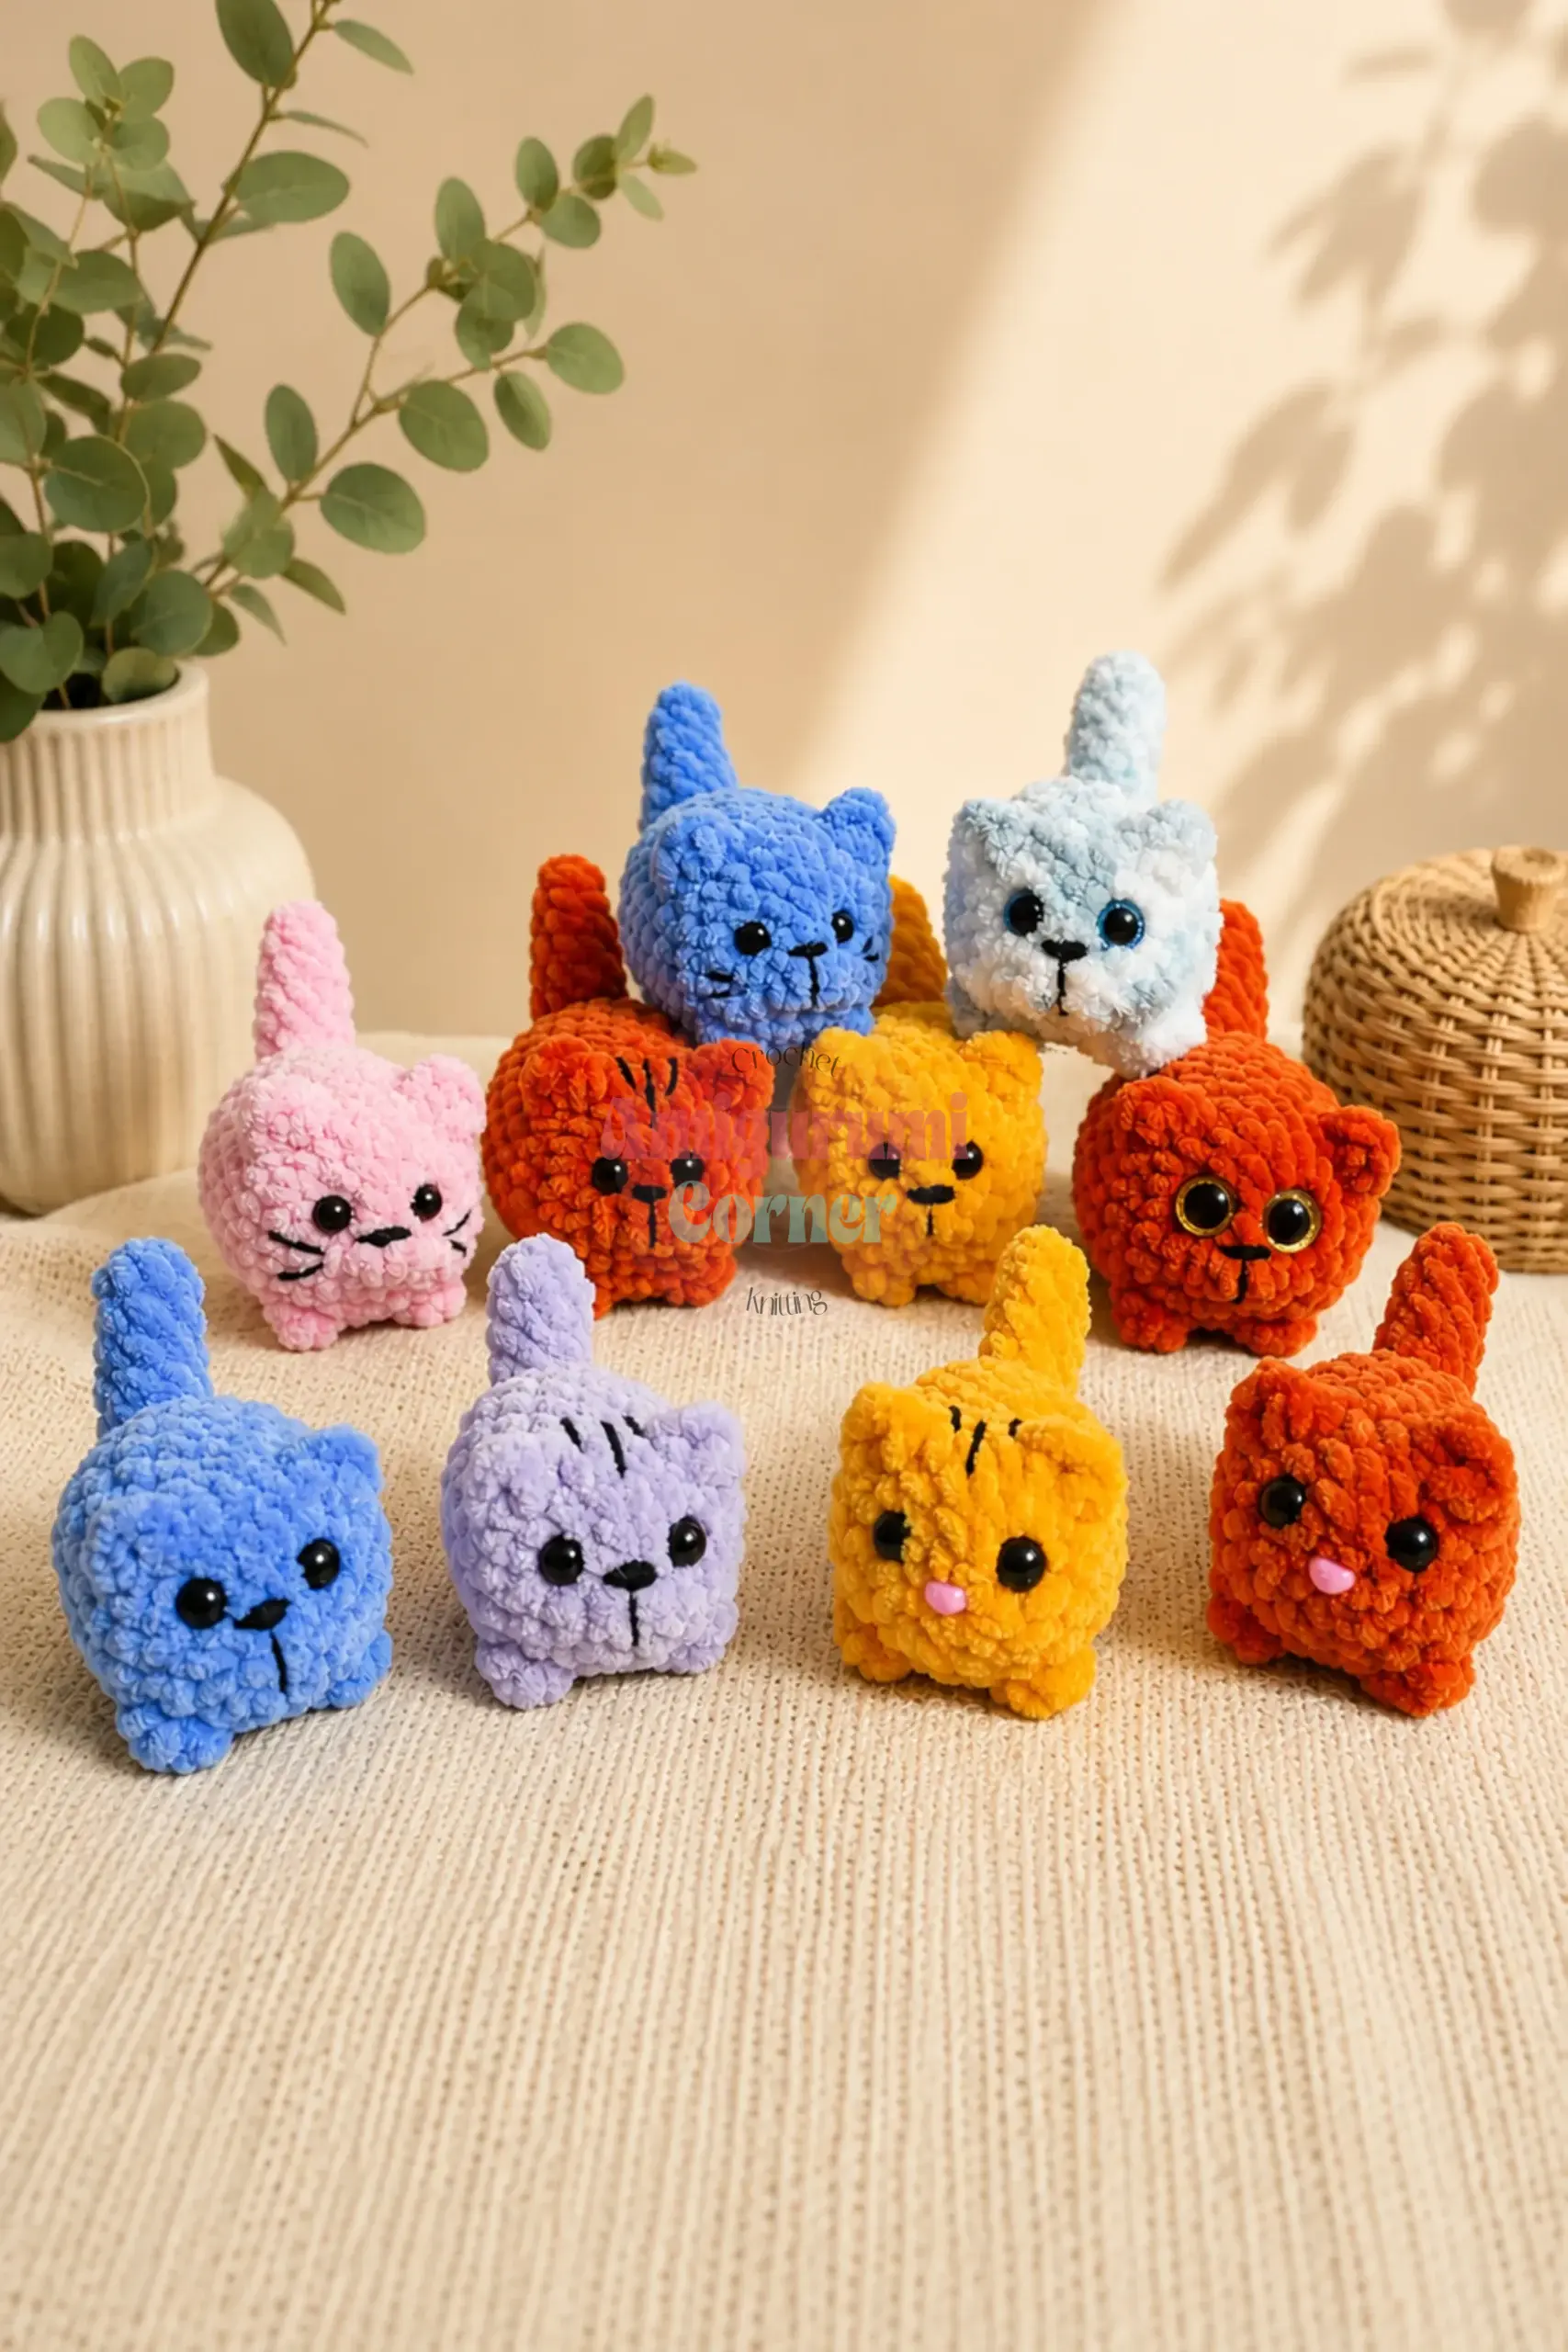
This is a friendly project for confident beginners. You should be comfortable making a magic ring and working in continuous spiral rounds. If you are new to amigurumi, this is a great way to practice shaping legs, wings, and a beak directly into the body.
Pin This Crochet Pattern!