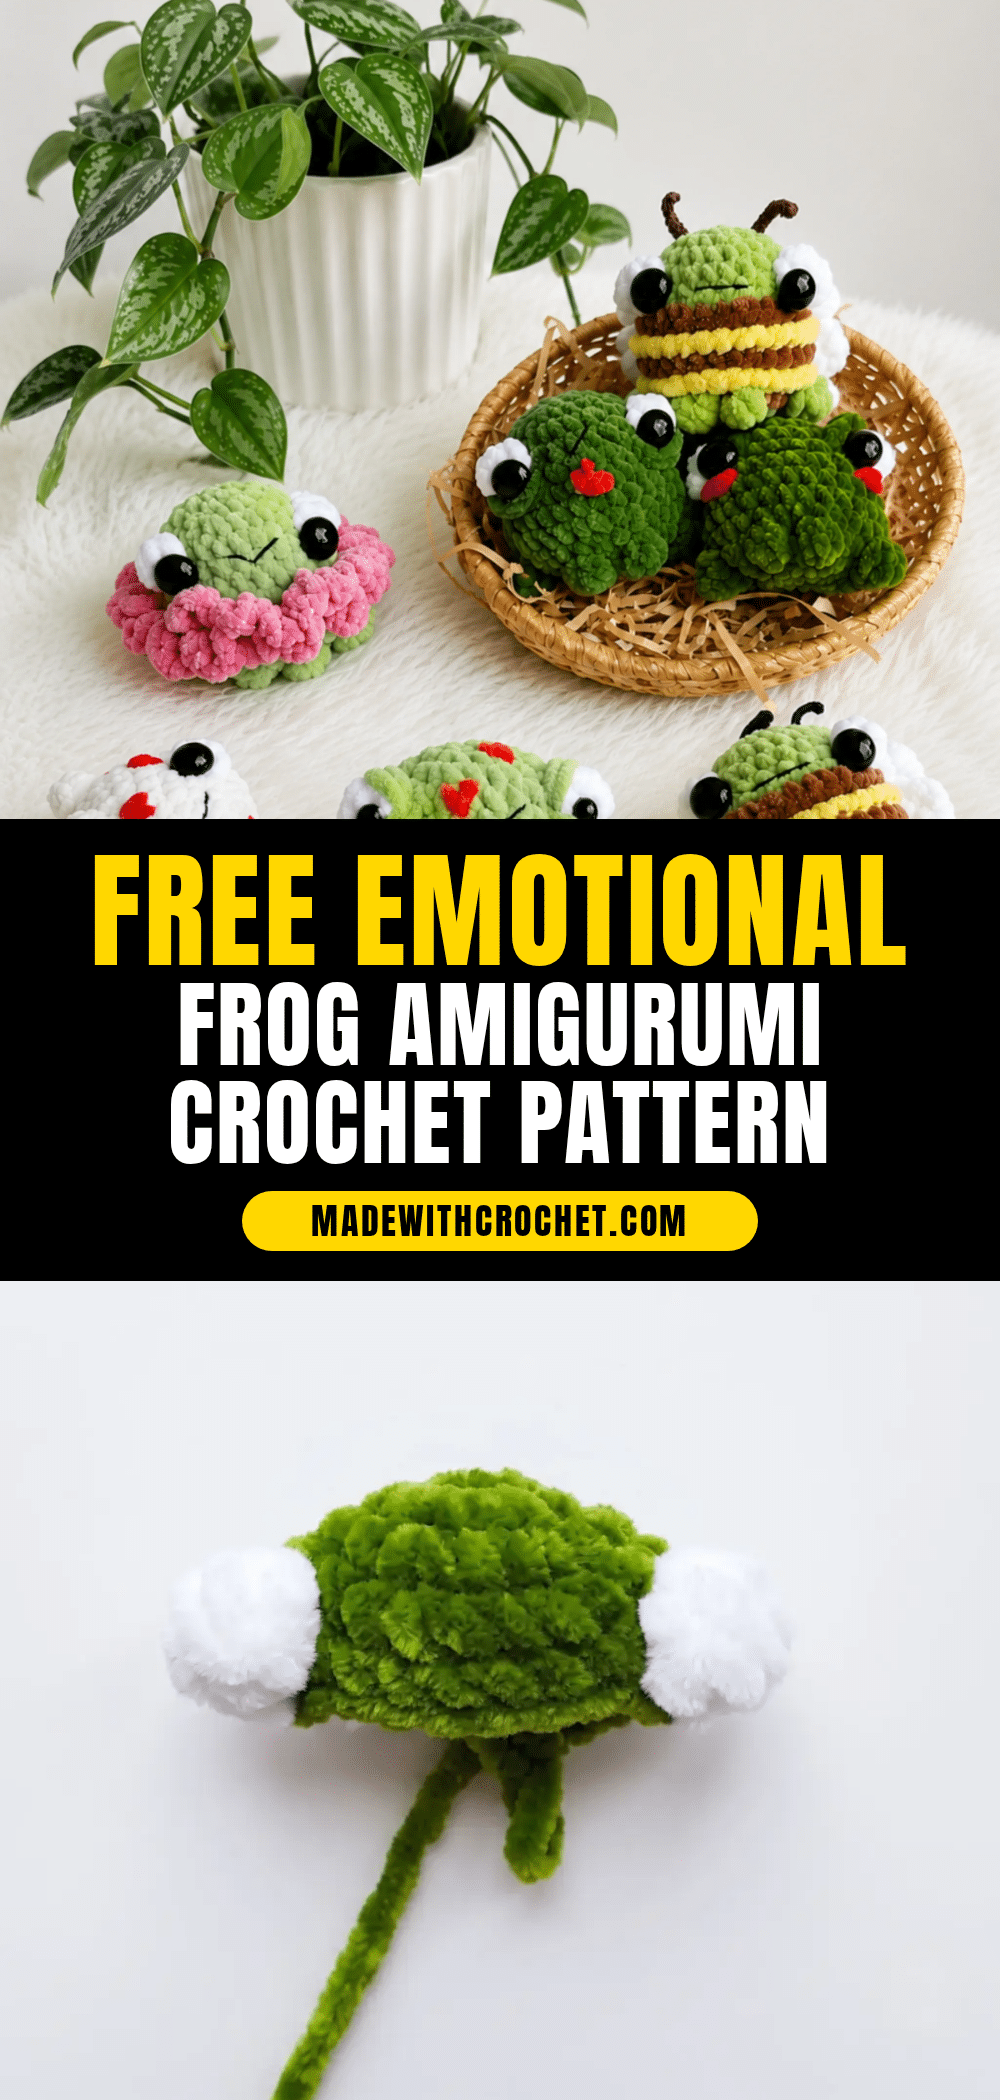
There’s something deeply satisfying about settling in for a quiet evening with a small batch of velvet-soft yarn, a hook, and a pattern that lets you count stitches in a relaxing repeat. The Emotional Frog Amigurumi is that kind of project — a tiny, expressive companion that comes to life in your hands. With four distinct face styles and two bonus variations, this little frog is as fun to make as it is to gift. Grab your yarn, find your favorite spot, and let’s get started.
Small Details That Make It Better
What makes this pattern truly special is how a few simple stitches can completely change a face. The same base body becomes smitten, grumpy, wistful, or suspicious — all depending on how you place the eyes and shape the eyelids. The velvet yarn gives the frog a wonderfully plush, huggable texture, and the optional Bee and Flower variations add even more personality. Whether you make one for yourself or a whole family of emotional frogs, each one will have its own unique charm.
Project Overview
This beginner-friendly amigurumi pattern creates a tiny frog approximately 6–7 cm (2.4–2.75 in) tall. The body is worked in a continuous spiral, with the eyes and limbs formed using puff and bobble stitches. Choose from four face styles: In Love, Very Angry, Sad, or Suspicious. Two bonus variations — Bee Frog and Flower Frog — are also included.
Materials
- Yarn: Velvet/chenille yarn such as Himalaya Dolphin Baby or Wolans Bunny Baby (120m/100g) in green (main color), white, and small amounts of brown, yellow, pink, and red
- Yarn: YarnArt Jeans (fine cotton-acrylic) in a contrasting color for the tongue and antennae
- Hook: US size G-6 (4mm) for the main body
- Hook: US size B-1 (2mm) for fine details (tongue, antennae)
- Safety eyes: 8mm glue-on half-bead eyes, or 15–18mm sew-on safety eyes
- Polyester fiberfill
- Yarn needle
- Stitch markers
- Scissors
- Black and pink embroidery thread or yarn for the face
Abbreviations
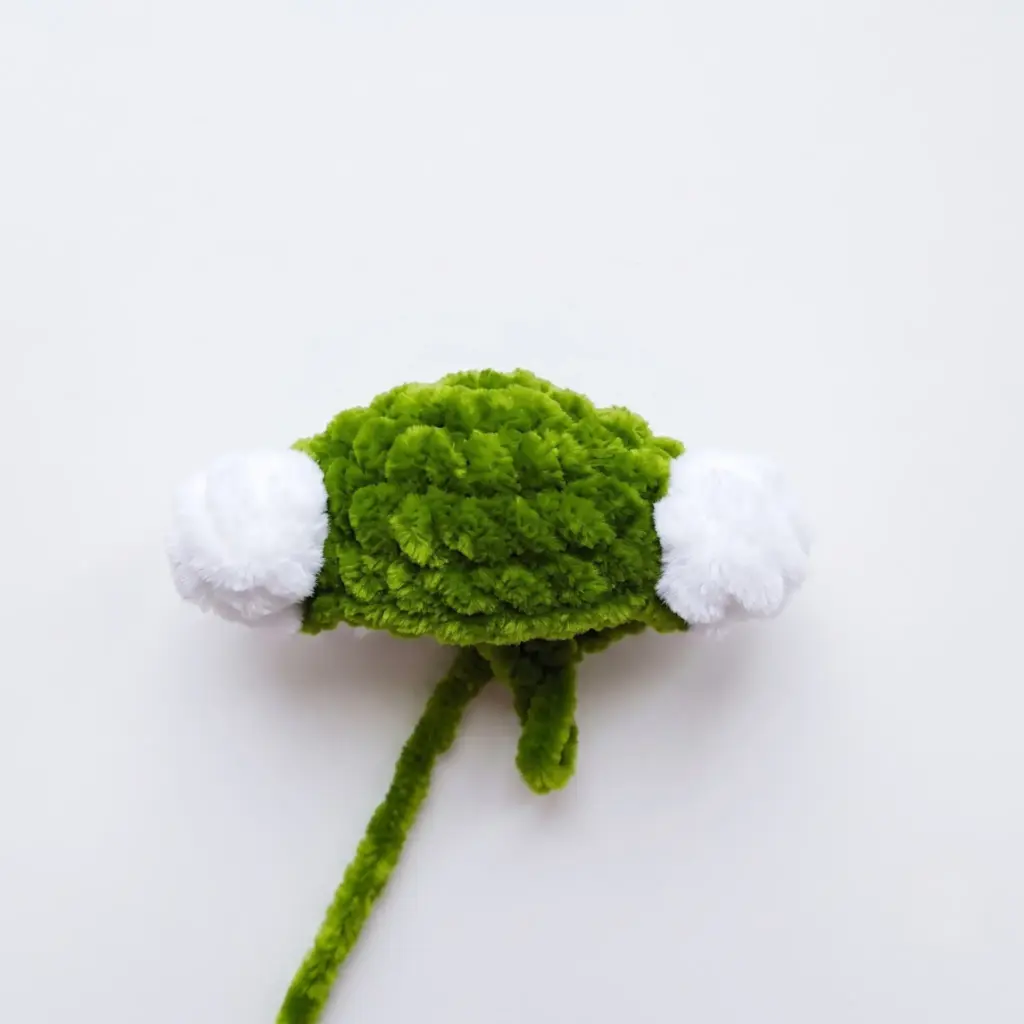
- BLO — Back Loop Only
- Bobble St (4-tr / 5-tr) — 4 or 5 treble crochets worked in the same stitch, joined with one common top
- ch — Chain
- dc — Double Crochet
- dec — Decrease (invisible decrease, worked in continuous spiral)
- hdc — Half Double Crochet
- inc — Increase (2 sc in same stitch)
- mr — Magic Ring
- Puff St (4-hdc) — 4 half double crochets worked in the same stitch, joined with one common top
- sc — Single Crochet
- sl st — Slip Stitch
- st(s) — Stitch(es)
- tr — Treble Crochet (yarn over twice)
Pattern Notes
- This pattern is written in US crochet terminology.
- The body is worked in a continuous spiral throughout — use a stitch marker to track the start of each round, and do not join with a slip stitch unless a step tells you to.
- Finished toy height is approximately 6–7 cm (2.4–2.75 in) using the materials listed above.
- Gauge isn’t critical here, but a smaller hook with the same yarn will give a firmer, more tightly stitched toy.
- Stitch counts are given at the end of each round in parentheses, like this: (##). Always check your count before moving on.
- The eye placement is worked directly into the body as a colored stitch (Puff St or Bobble St) during Rounds 5 and 10 — plan your color changes before you start those rounds.
- Stuff firmly, especially around the bottom, before closing the final rounds — you won’t be able to add more stuffing once the opening is cinched shut.
- Each face style (In Love, Very Angry, Sad, and Suspicious) uses the same base body — only the eye and eyelid finishing changes.
Pattern Instructions
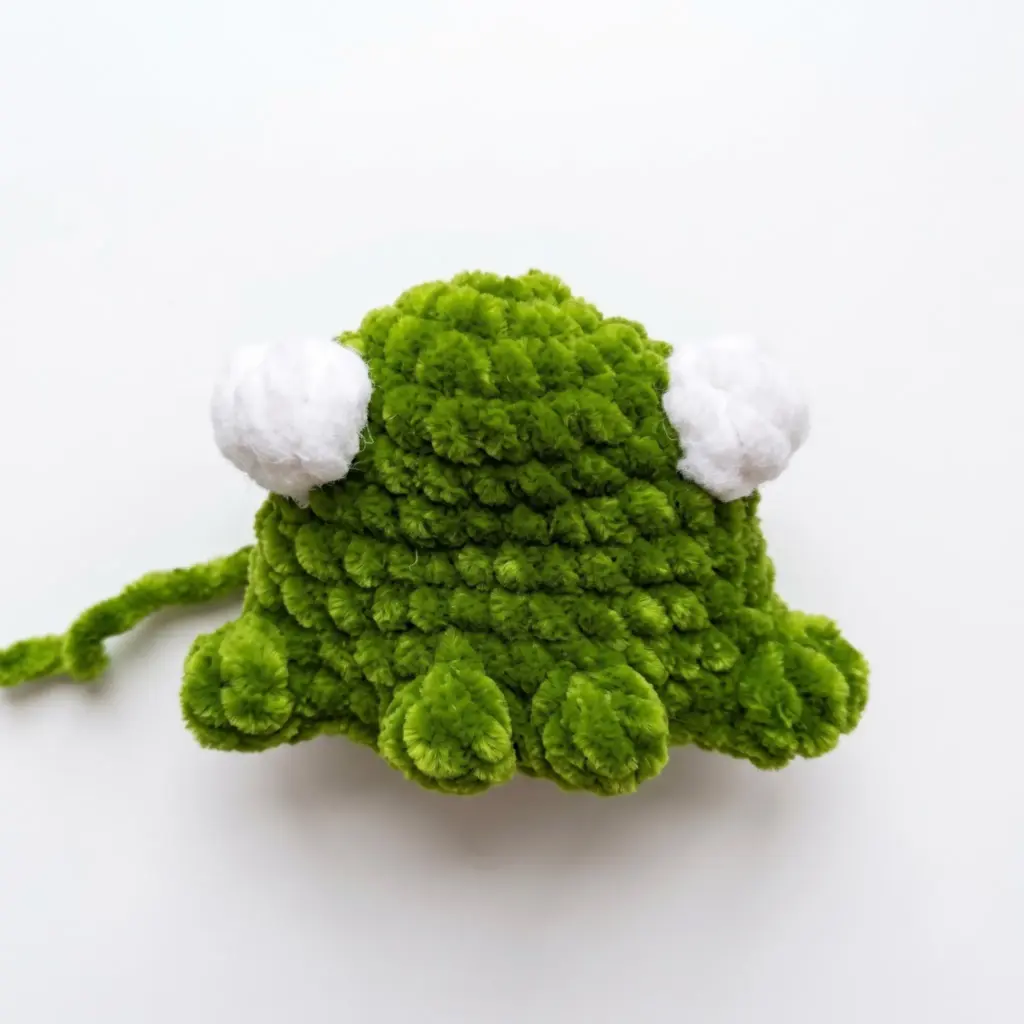
Head/Body
Rnd 1: 7 sc in mr. (7)
Rnd 2: inc in each st around. (14)
Rnd 3: *1 sc, inc; repeat from * around. (21)
Rnd 4: sc around. (21)
In the next round you’ll form the eyes. Work the Puff Stitches in white; work all other stitches in the main color (green).
Rnd 5: 5 sc, Puff St (5-tr) in next st, 8 sc, Puff St (5-tr) in next st, 6 sc. (21)
Rnd 6: *2 sc, inc; repeat from * around. (28)
Rnd 7: sc around. (28)
Rnd 8: 22 sc, 6 hdc. (28)
Rnd 9: 6 hdc, 22 sc. (28)
The Puff/Bobble Sts in the next round mark the arms and legs and are different sizes — work carefully.
Rnd 10: 7 sc, Bobble St (4-tr) in next st, 4 sc, Puff St (4-hdc) in next st, 2 sc, Puff St (4-hdc) in next st, 4 sc, Bobble St (4-tr) in next st, 7 sc. (28)
Rnd 11: [dec] x3, 3 sc, [dec] x5, 3 sc, [dec] x3. (17)
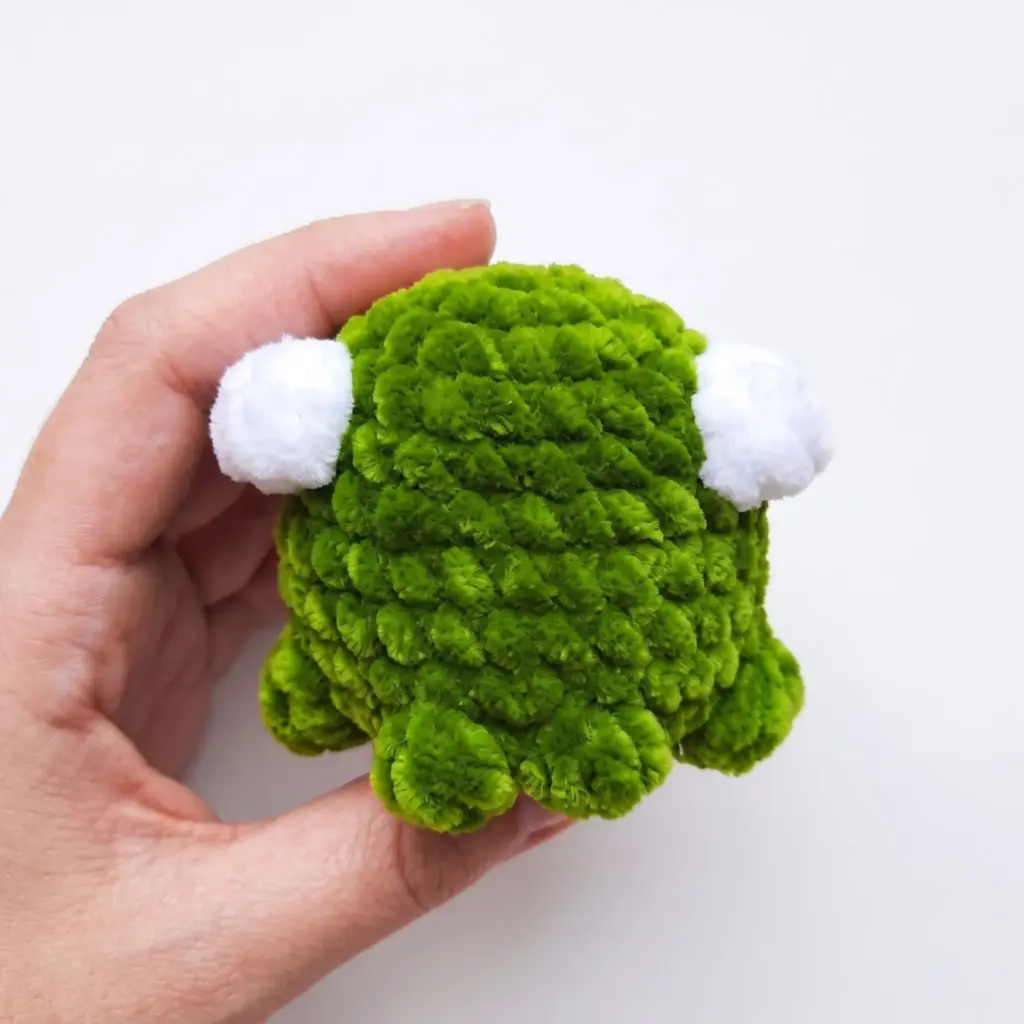
Stuff the toy firmly now, paying special attention to the bottom and rear.
Rnd 12: Remove stitch marker, dec 9 sts evenly, working in the front loops only of the previous round. Pull the yarn tail through the remaining stitches, cinch tight, fasten off, and weave in the end.
Tongue
Using the US size B-1 (2mm) hook and YarnArt Jeans yarn: ch 8. Starting in the 2nd ch from hook, work inc hdc (2 hdc), then 6 sc. Leave a long tail for sewing. For a longer tongue, add extra chains as desired.
Face Finishing — Choose Your Frog’s Mood
In Love Frog
Sew on 18mm eyes so the eye post sits between the 1st and 2nd dc from the center of the toy. Embroider the mouth in black, centered between the eyes. Using a single strand of red plush yarn, embroider small heart shapes with straight, check-mark-style stitches beneath the eyes.
Very Angry Frog
Sew on 18mm eyes. Work an eyelid edging around each eye in main-color yarn, starting between Rnds 4–5. Attach the yarn with a sl st, sc in the same stitch, then one row up work 2 hdc in one stitch; one row up again, directly across the center of the eye, work 2 hdc in one stitch; then in the stitch below/beside, work sc, sl st. Cut the yarn, tie the ends together, and hide them. Repeat for the second eye. Embroider the mouth in black between the eyes, sew on the tongue if desired, and embroider pink cheeks beneath the eyes.
Sad Frog
Sew on 18mm eyes. Thread a large-eye needle with doubled main-color yarn and, using two backstitch-style stitches, form a lower eyelid so the sewn-on eye sits just beneath it. Embroider the mouth in black between the eyes and sew on the tongue if desired.
Suspicious Frog
Thread a large-eye needle with doubled main-color yarn. Form a lower eyelid with two backstitch-style stitches, then repeat for an upper eyelid, leaving a small sliver of “eye white” showing. Glue the half-bead eyes into position within the eyelids. Embroider the mouth in black between the eyes, sew on the tongue if desired, and embroider pink cheeks beneath the eyes.
Shaping the rear (all face styles)
Turn the toy so the back faces you. Using main-color yarn, insert the needle between Rnds 11–12 and bring it out at Rnd 7, between the last increase of Rnd 6 and the first sc of Rnd 7. Pull tight to cinch the rear into shape, tie off the ends, and hide them. Use the blunt end of the needle to adjust stuffing if needed.
Bee Frog (Body Variation)
Rnd 1: 7 sc in mr. (7)
Rnd 2: inc in each st around. (14)
Rnd 3: *1 sc, inc; repeat from * around. (21)
Rnd 4: sc around. (21)
Work the Puff/Bobble Sts in white; all other stitches in green.
Rnd 5: 5 sc, Puff St (5-tr) in next st, 8 sc, Puff St (5-tr) in next st, 6 sc. (21)
Change to brown. Do not cut the green yarn. Work Rnds 6–10 in Back Loop Only (BLO).
Rnd 6: *2 sc, inc; repeat from * around. (28)
Rnd 7: sc around. (28)
Rnd 8: 22 sc, 6 hdc. (28)
Rnd 9: 6 hdc, 22 sc. (28)
Rnd 10: 7 sc, (in green) Bobble St (4-tr) in next st, change to brown — 4 sc, (in green) Puff St (4-hdc) in next st, change to brown — 2 sc, (in green) Puff St (4-hdc) in next st, change to brown — 4 sc, (in green) Bobble St (4-tr) in next st, change to brown — 7 sc. (28)
Cut the brown yarn and fasten off. Continue in green.
Rnd 11: [dec] x3, 3 sc, [dec] x5, 3 sc, [dec] x3. (17)
Stuff firmly, paying special attention to the bottom and rear.
Rnd 12: Remove stitch marker, dec 9 sts evenly, working in the front loops only of the previous round. Pull the yarn tight through the remaining stitches, fasten off, and weave in the end.
Sew on 18mm eyes.
Stripes: Attach yellow yarn at the back of the toy on Rnd 8 and work a round of sl sts all the way around. Skip Rnd 9, then repeat the same sl st edging on Rnd 10. Tie the yellow yarn ends together and hide them.
Wings: Attach white yarn above the top yellow stripe, 3 sc away from the eye. Ch 3, work a 2-tr cluster (2 tr joined at the top) in the same stitch, ch 3, and fasten with a sl st in the same stitch. Skip a round, sl st under the yellow stripe, ch 3, work a 2-tr cluster in the same stitch, ch 3, and fasten with a sl st in the same stitch. Cut the white yarn, tie the ends together, and hide them. Repeat identically for the second wing.
Antennae: Using the US size B-1 (2mm) hook, attach YarnArt Jeans yarn on the head between Rnds 1–2. Ch 8, then starting in the 2nd ch from hook, work inc hdc (2 hdc), then 6 sl st. Cut the yarn and fasten off. Repeat identically for the second antenna.
Embroider the mouth in black between the eyes. Shaping the rear: follow the same technique described above in Face Finishing.
Flower Frog (Body Variation)
Between Rnds 7–8, work a sl st edging all the way around in dark green yarn. Cut the yarn, tie the ends together, and hide them. Attach pink yarn, then work (ch 3, 2-tr cluster, ch 3, fasten with sl st in next st) repeated around to the end of the round to form the petal trim.
Assembly
Complete the Head/Body through Rnd 12, stuffing firmly before closing as instructed. Choose your face style — In Love, Very Angry, Sad, or Suspicious — and sew or glue the eyes into position as described for that style. Work any eyelid shaping or eyelid edging called for by your chosen face style. Embroider the mouth in black yarn, centered between the eyes, and add cheeks or hearts if your face style calls for them. If using the tongue, sew it into place below the mouth using the long tail left when you made it. Shape the rear using the cinching technique, then adjust stuffing through the gap with the blunt end of your needle before pulling the last stitches tight. For the Bee Frog, add the brown stripe rounds during the body, then attach the yellow stripes, white wings, and antennae as described. For the Flower Frog, add the sl st edging and petal trim after Rnd 8. Weave in all remaining yarn ends and trim neatly.
Tips
- Keep your tension tight. Amigurumi worked with velvet or chenille yarn hides gaps well, but a snug tension still keeps stuffing from peeking through — aim for stitches that feel firm but not strained.
- Master the invisible decrease early. Because Rnds 11–12 shape the entire bottom of the frog, practice your invisible decrease on scrap yarn first so your rear stays smooth and rounded rather than pointed.
- Stuff as you go, not all at once. Add fiberfill in small amounts throughout Rnds 6–10, then top off before Rnd 11. Trying to stuff a fully closed toy through a tiny gap is much harder.
- Match yarn weight carefully if substituting. Swapping to a non-velvet yarn will change your finished size and may make the Puff and Bobble Stitches around the eyes and limbs look less plush — a soft, low-twist yarn gives the best result.
- Take your time with the eyelids. The Very Angry, Sad, and Suspicious face styles all live or die by eyelid placement — baste the eyelid stitches loosely first, check how the expression reads, then tighten and secure.
Frequently Asked Questions
What skill level is this pattern?
This pattern is suitable for confident beginners who already know how to single crochet, increase, and decrease. The puff and bobble stitches are explained in the abbreviations.
Can I use different yarn?
Yes, but swapping to a non-velvet yarn will change the finished size and may make the puff and bobble stitches look less plush. A soft, low-twist yarn gives the best result.
How do I make the face expressions?
Each face style uses the same base body. The difference comes from how you place the eyes, shape the eyelids, and embroider the mouth and cheeks. Detailed instructions for each style are provided in the Face Finishing section.
What size are the safety eyes?
You can use 8mm glue-on half-bead eyes or 15–18mm sew-on safety eyes. The larger eyes work best for the Very Angry, Sad, and Suspicious styles where eyelid shaping is involved.
Can I make the tongue longer?
Yes! The tongue is made with a simple chain and hdc. To make it longer, just add more chains at the beginning.
How do I shape the rear of the frog?
The rear is cinched using a length of main-color yarn. Insert the needle between Rnds 11–12 and bring it out at Rnd 7, then pull tight. This gives the frog its characteristic rounded bottom.
Pin This Crochet Pattern!