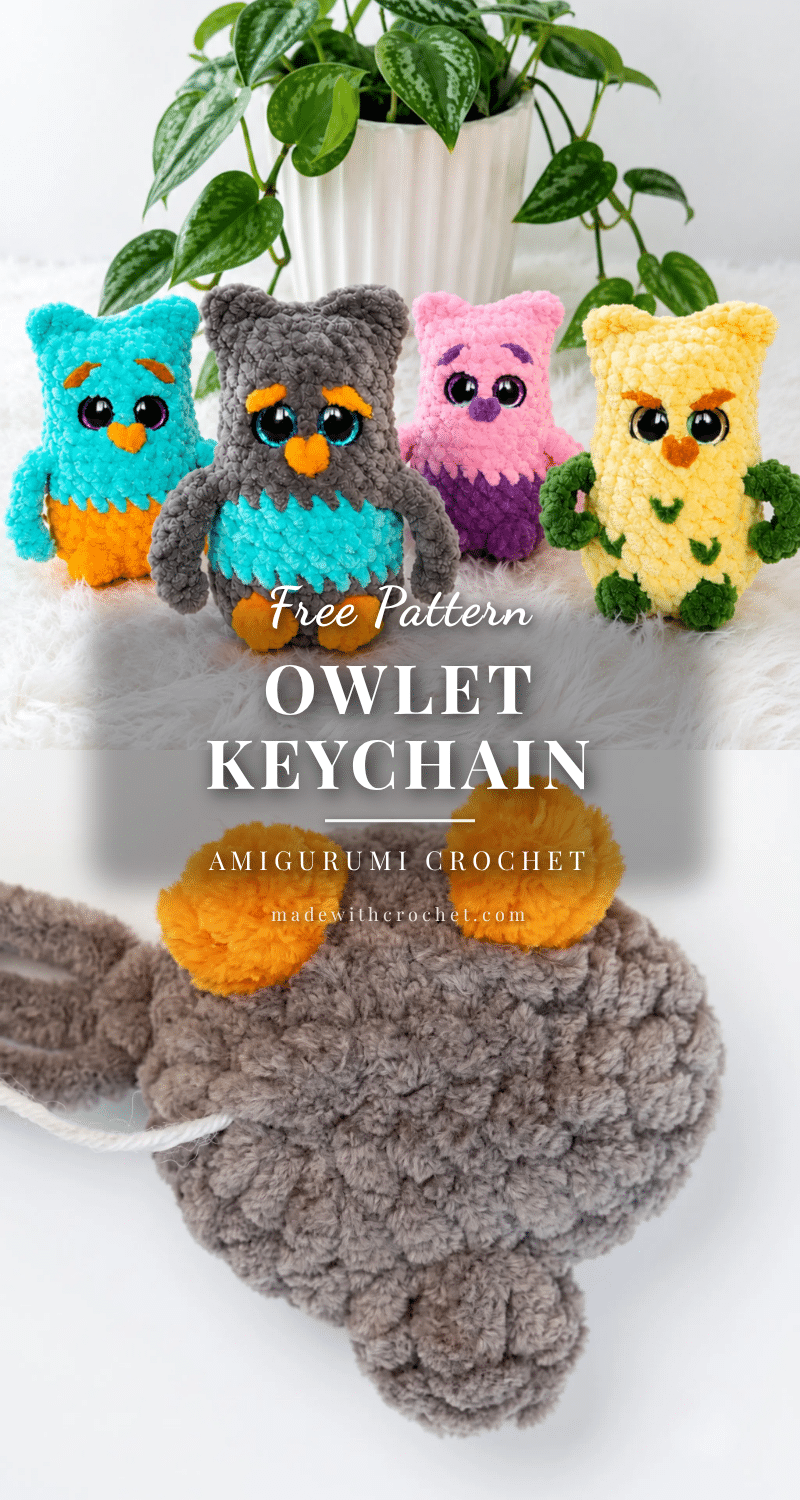
There’s something deeply satisfying about watching a few rounds of single crochet transform into a tiny, expressive creature. This Amigurumi Owlet Keychain pattern is built on that exact kind of magic, where the shaping happens in the round and the little details—a puff-stitch foot, a chain-and-dc tail, a wing worked in FLO—are what make you want to keep going. The texture of velvet yarn adds a soft, plush finish that makes this owlet feel like a tiny stuffed friend, and the way the components are worked directly into the body means you get to focus on the rhythm of the stitches without breaking your flow for assembly.
Texture and Stitch Notes
What makes this owlet pattern so appealing is how it uses simple stitches to create distinct textures. The body is worked in smooth, continuous rounds of single crochet, while the tail and feet introduce double crochet and puff stitches for a bit of dimension. The wings are formed with a chain and a series of slip stitch, single crochet, half double crochet, and double crochet, creating a delicate, feathered look. The choice of a plush or velvet-style worsted-weight yarn is key here—it softens the stitch definition just enough to give the owlet a cuddly, polished appearance without losing the structural integrity of the piece. If you’re a maker who loves seeing how a change in stitch or loop placement can create a whole new effect, this pattern will keep you engaged from the first chain to the final weave-in.
Project Overview
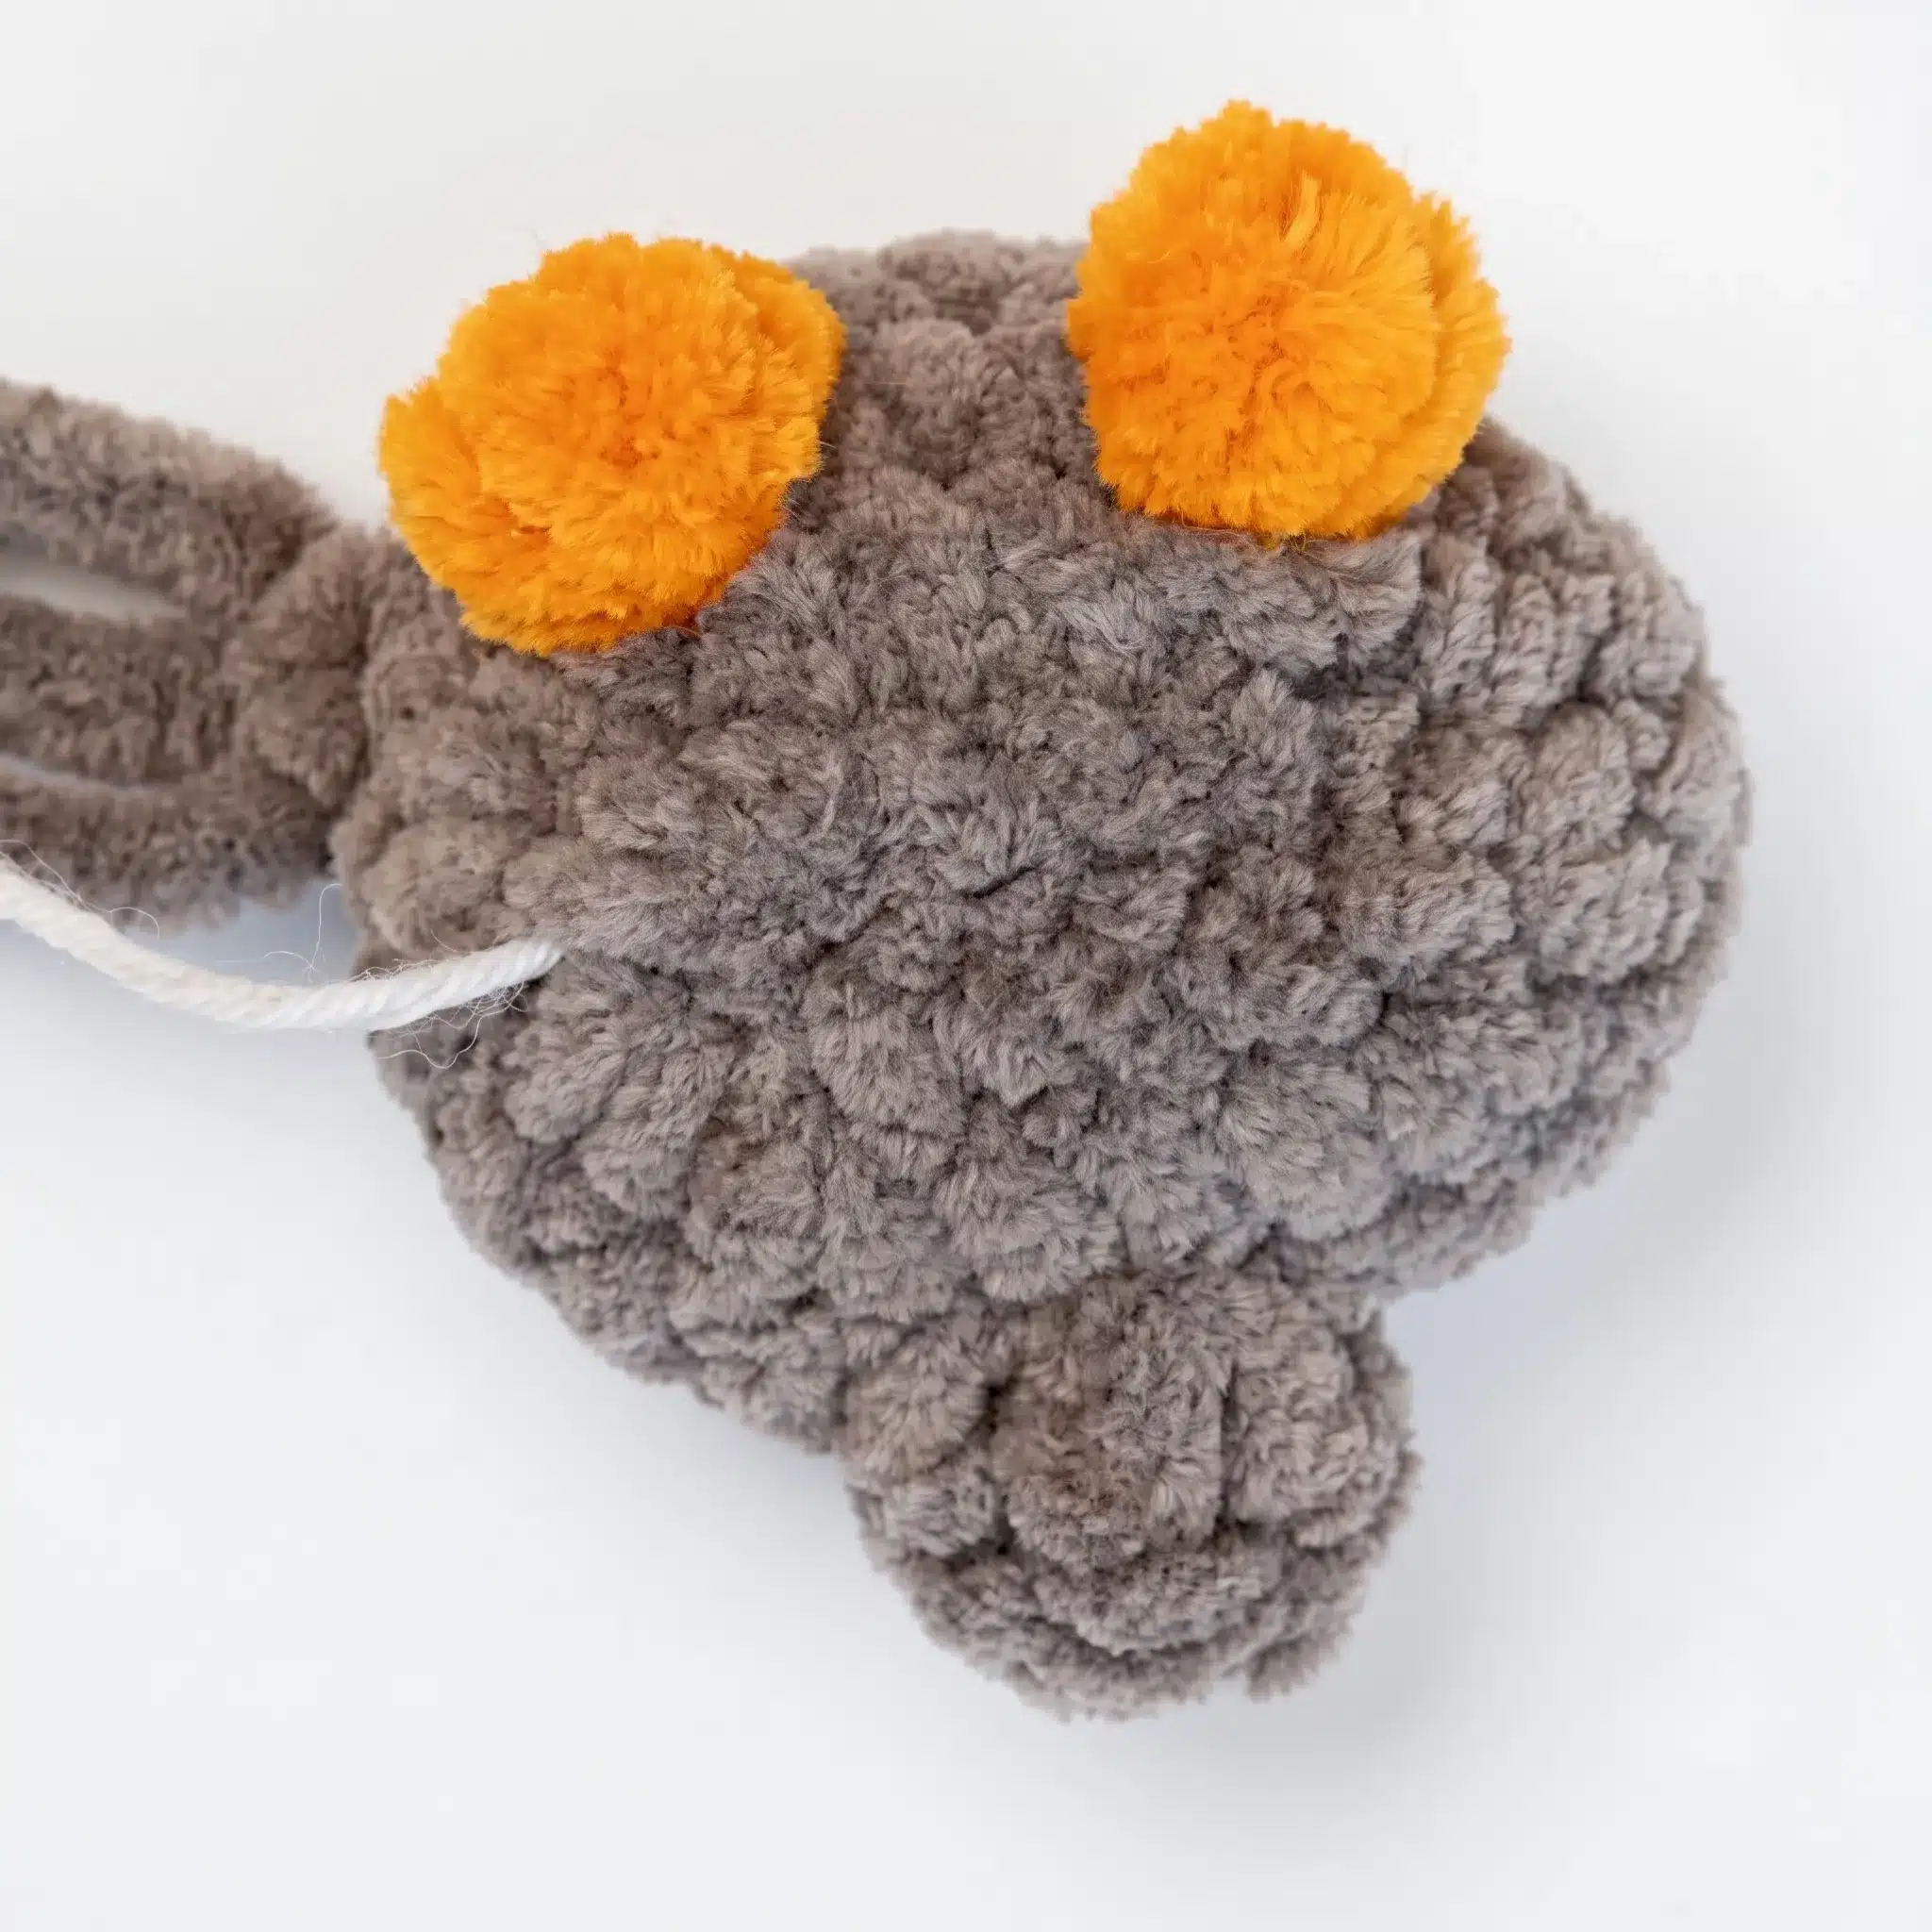
This beginner-friendly amigurumi project creates a tiny owlet keychain that works up in a single evening. Using soft velvet-style yarn and simple single crochet stitches, the pattern turns a handful of basic techniques into an adorable 3.5-inch companion. The wings, tail, and feet are worked directly into the body as you go, so there’s no separate piece-sewing at the end—just stuff, close, and attach your keyring. Whether you’re crocheting your very first amigurumi or you’re a seasoned maker looking for a quick, satisfying make, this owlet keychain pattern delivers a polished result without a steep learning curve.
Materials
- Yarn: Velvet/plush-style yarn, worsted weight (CYCA 4) — in gray, teal, and orange (or your choice of two contrasting colors)
- Hook: US E-4 (3.5 mm)
- Safety eyes: 12mm, 1 pair
- Stuffing/fiberfill
- Stitch marker
- Yarn needle/tapestry needle
- Scissors
- Keyring or lobster clasp (optional, for attaching the finished owlet)
Abbreviations
- BLO — Back Loop Only
- ch — Chain
- dc — Double Crochet
- dec — Decrease (invisible decrease)
- FLO — Front Loop Only
- hdc — Half Double Crochet
- inc — Increase (2 sc in same stitch)
- sc — Single Crochet
- sl st — Slip Stitch
- st(s) — Stitch(es)
Pattern Notes
- This pattern is written in US crochet terminology.
- The owlet is worked in continuous spiral rounds — do not join or turn unless otherwise noted.
- Gauge is not critical for this project; it will only affect the finished size of your owlet.
- Stitch count is given at the end of each round in parentheses, like this: (22).
- Stuff the owlet firmly as you go rather than waiting until the end — this keeps the shape smooth and prevents lumps.
- The feet, tail, and wings are worked directly into the body rounds, so pay close attention to the FLO/BLO instructions in those rounds.
- If you’d like a two-tone owlet, the color change instructions are included at the end of the pattern.
Pattern Instructions
Body (worked as one continuous piece)
Chain 6. Starting in the 2nd chain from the hook, work as follows:
Rnd 1: inc, sc 3, 4 sc in same st, sc 3, inc. (14)
Rnd 2: inc x2, sc 3, inc x4, sc 3, inc x2. (22)
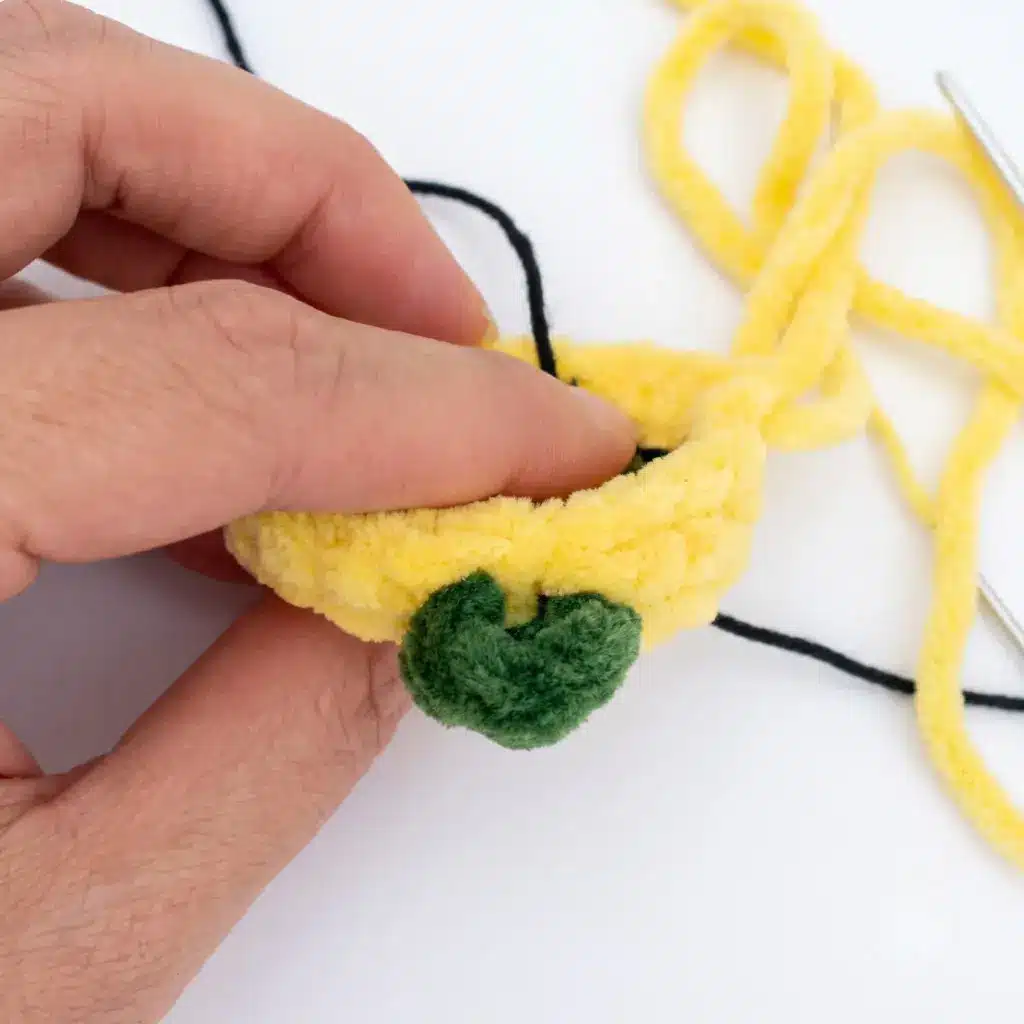
In Round 3, you’ll work the tail and both feet directly into the body. Work the tail in FLO only — everything else is worked through both loops as usual.
Rnd 3: sc 5; work the tail — ch 2, then in FLO work an increase of dc (2 dc in same st), ch 2; continue with sc 8; work a puff stitch of 4 dc closed together as one top (this forms a foot); sc 3; work a second foot the same way; sc 3. (22)
Rnd 4: sc 5, 1 sc in BLO (the stitch where the tail was worked), sc 16. (22)
Rnds 5–8: sc 22 around, worked even for 4 rounds. (22)
In Rounds 9 and 10, you’ll work both wings directly into the body. Anywhere FLO is specified, work in FLO only — everything else is worked through both loops.
Rnd 9: sc 12, 1 sc in FLO, work a wing (ch 7, then starting in the 2nd chain from the hook work back along the chain: sl st 1, sc 1, hdc 1, dc 3), 1 sc in FLO, sc 8. (22)
Rnd 10: 1 sc in FLO, work a second wing the same way, 1 sc in FLO, sc 10, 2 sc in BLO (the stitches where the wing was worked), sc 8. (22)
Rnd 11: 2 sc in BLO (the stitches where the wing was worked), sc 20. (22)
Rnd 12: sc 22 around. (22)
In Round 13, your decreases should land directly above the wings.
Rnd 13: dec, sc 11, dec, sc 7. (20)
Insert the safety eyes now, between Rounds 12 and 13, spacing them 3 sc apart measured between the eye posts.
Rnds 14–17: sc 20 around, worked even for 4 rounds. (20)
Rnd 18: sc 12. (12) This is a partial round — do not complete the full round. You should end up at the center, on the left side of the owlet.
Continue stuffing the owlet firmly, adding more fiberfill as needed while you finish the top.
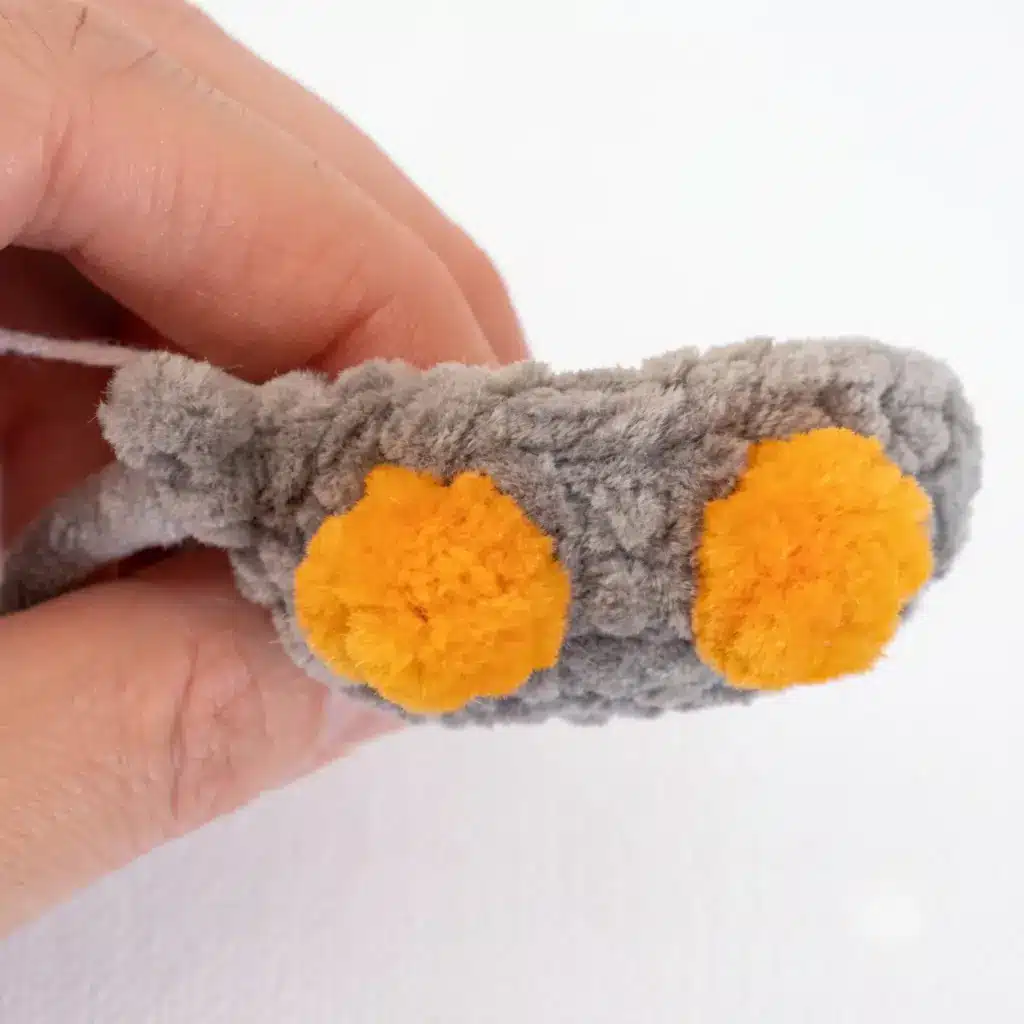
Fold both halves of the top opening together, then work through both layers as one to close the piece.
Rnd 19: hdc 2, sc 1, sl st 4, sc 1, hdc 2. (10)
Fasten off, leaving a short tail. Weave in the end and tuck it inside the owlet.
Assembly
- Using a yarn needle or a knitting needle, gently pull the stuffing up toward the top of the Body so the back has a slight rounded curve rather than sitting flat.
- Embroider the beak in a contrasting color yarn, centering it below the eyes, and style the brow shapes to your liking with small straight stitches.
- If you’re making a two-color owlet, switch to your contrast color on the 2nd or 3rd sc after your stitch marker. For a shorter color-block, work the contrast color for 6 rounds; for a taller color-block, work it from Round 5 through Round 8.
- Weave in any remaining yarn tails securely, then attach a keyring or clasp through the top closure if you’d like to wear your owlet as a keychain or bag charm.
Tips
- Getting a tight, even amigurumi fabric starts with your tension — if your stitches look loose or gappy, drop down a hook size so the stuffing doesn’t peek through. This matters even more with plush or velvet-style yarns, since their texture can mask small tension inconsistencies until the piece is stuffed.
- When you reach the increase-heavy Round 3, take it slow. Working the tail and both feet in FLO only, while the surrounding stitches use both loops, is the trickiest part of this pattern — count your stitches after this round before moving on, and confirm you’ve landed on 22.
- Stuff as you go rather than all at once at the end. Firm, even stuffing keeps the belly and back rounded instead of lopsided, and it’s much easier to distribute fiberfill evenly into a partially-worked piece than to stuff a fully closed one.
- If you want to substitute yarn, stick with a worsted-weight plush or velvet yarn for the same soft, dense texture and finished size shown here. Switching to a smooth cotton or a thinner yarn will change both the drape and the final measurements, so expect to adjust your hook size and possibly your stitch counts.
- For invisible-looking decreases in Round 13, insert your hook into the front loops only of the next two stitches before pulling through — this creates a cleaner, less bulky decrease than working through both loops, which matters most right above the wings where the shaping is most visible.
Frequently Asked Questions
What size will my finished owlet be?
Using worsted-weight velvet yarn and a US E-4 (3.5 mm) hook, your owlet will measure approximately 3.5 inches tall. Your finished size may vary depending on your tension, yarn choice, and hook size, so don’t worry if yours comes out slightly larger or smaller.
Do I need to sew any pieces together?
No separate sewing is required for the wings, tail, or feet, since they’re all worked directly into the Body as you go. The only assembly step is closing the top opening in Round 19 and weaving in your ends.
Can I make this owlet without safety eyes?
Yes, you can substitute embroidered eyes using black yarn or embroidery floss if you prefer, or if the toy is intended for a very young child. Simply skip the safety eye insertion step between Rounds 12 and 13 and stitch the eyes on after assembly instead.
What’s the best way to achieve the two-tone color effect?
Switch to your contrast color on the 2nd or 3rd single crochet after your stitch marker for a clean color break. Work the contrast color for 6 rounds for a shorter band, or from Round 5 through Round 8 for a taller one, depending on the look you want.
How do I attach the keyring?
After you’ve woven in all ends, simply thread your keyring or lobster clasp through the top closure stitches. You can also use a small jump ring for a more secure attachment if desired.
Can I use a different weight of yarn?
While the pattern is designed for worsted weight (CYCA 4) yarn, you can experiment with other weights. Keep in mind that using a different yarn will change the finished size and may require adjusting your hook size to maintain a tight fabric that prevents stuffing from showing.
Pin This Crochet Pattern!