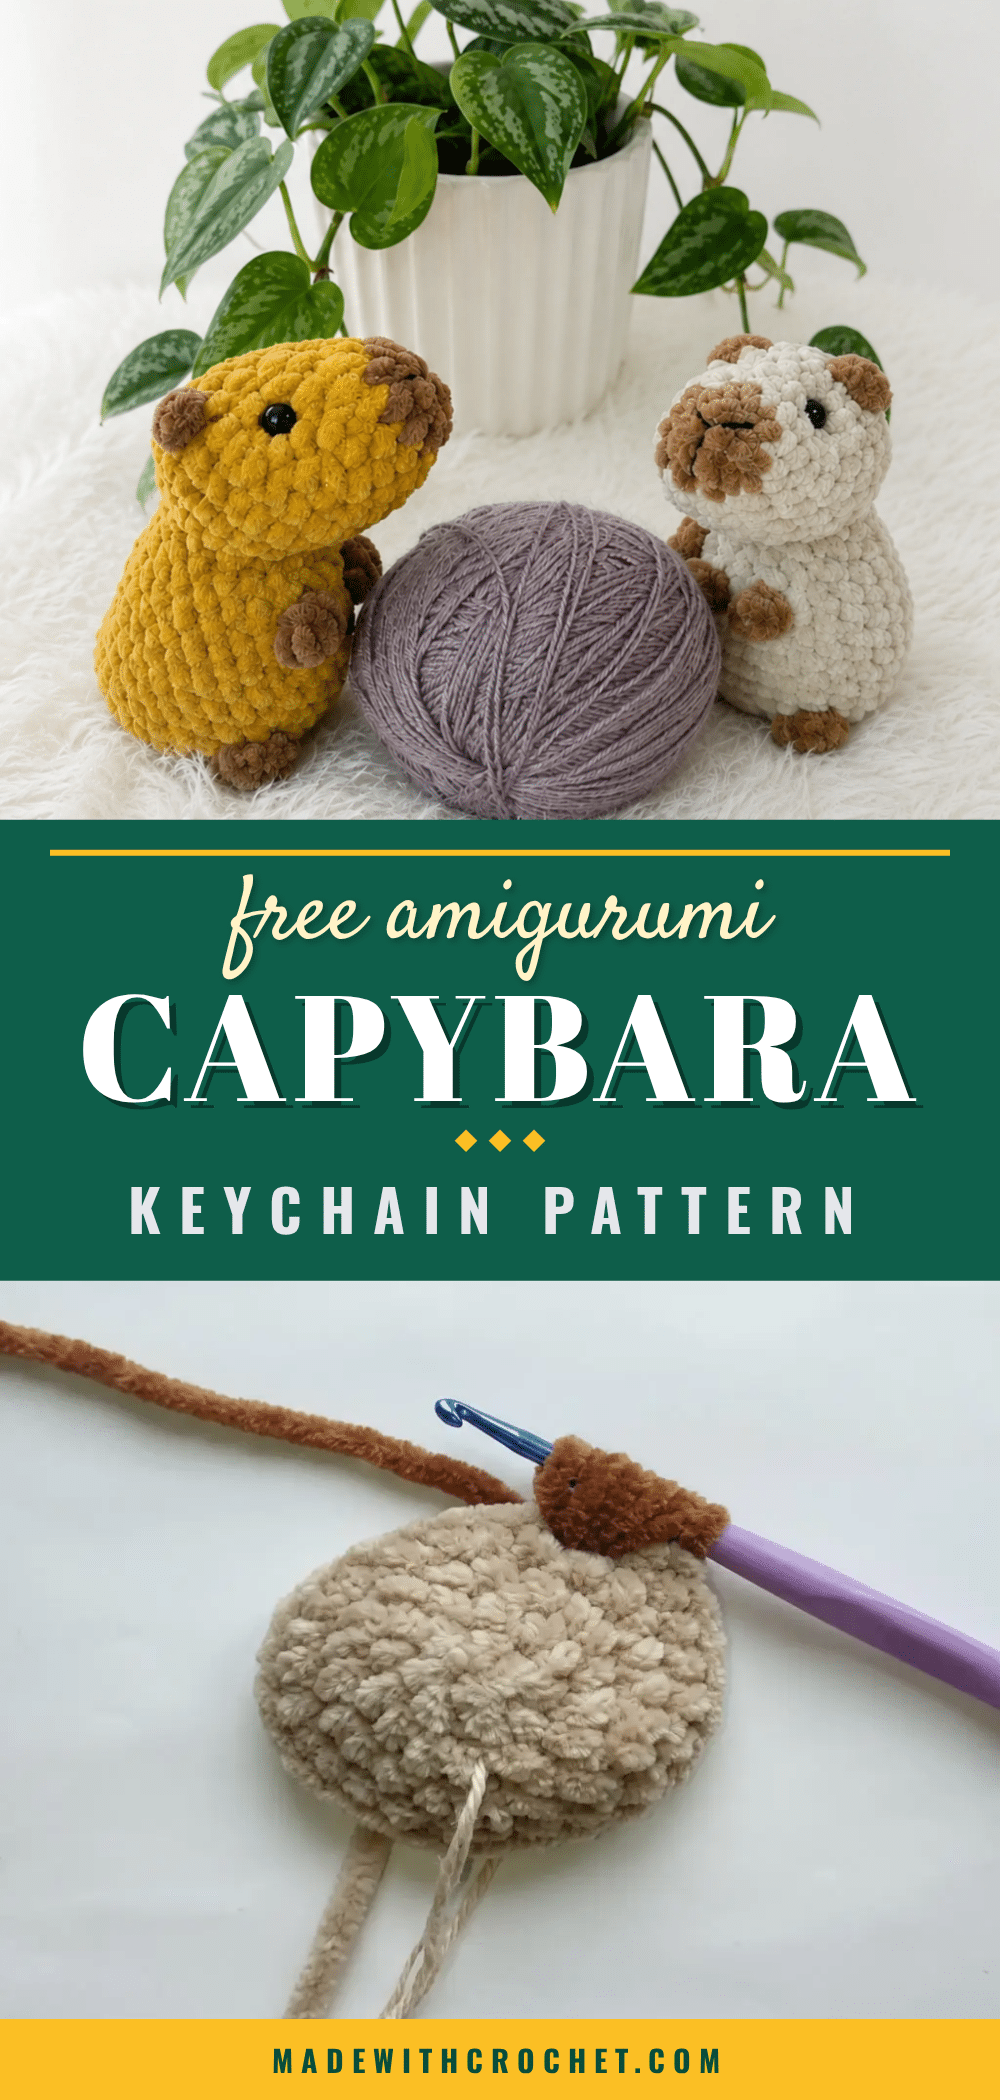
There’s a specific kind of satisfaction that comes from choosing the perfect yarn for a project. For this little capybara, I knew I wanted something that felt as soft and serene as the animal itself. I reached for a skein of warm, caramel-toned worsted weight yarn with a subtle halo—a plush, brushed texture that would give the finished keychain a fuzzy, huggable coat. The contrast color for the ears and feet was a slightly lighter, creamy beige, chosen to mimic the capybara’s natural coloring. It’s a small decision, but picking that specific combination of colors and textures made the whole project feel intentional from the very first stitch.
Yarn and Color Notes
The yarn choice is the foundation of this project’s charm. A worsted weight yarn with a soft, brushed texture, like Himalaya Dolphin Baby, is ideal because its slight halo perfectly replicates a capybara’s fuzzy coat. This texture also helps to hide minor tension inconsistencies, making it a forgiving choice for beginners. The main color should be a warm, earthy brown, while the contrast color for the ears and feet can be a lighter tan or cream. This color pairing creates a natural, realistic look. If you substitute yarn, avoid smooth cotton; the plush texture is key to achieving that signature capybara softness.
Project Overview
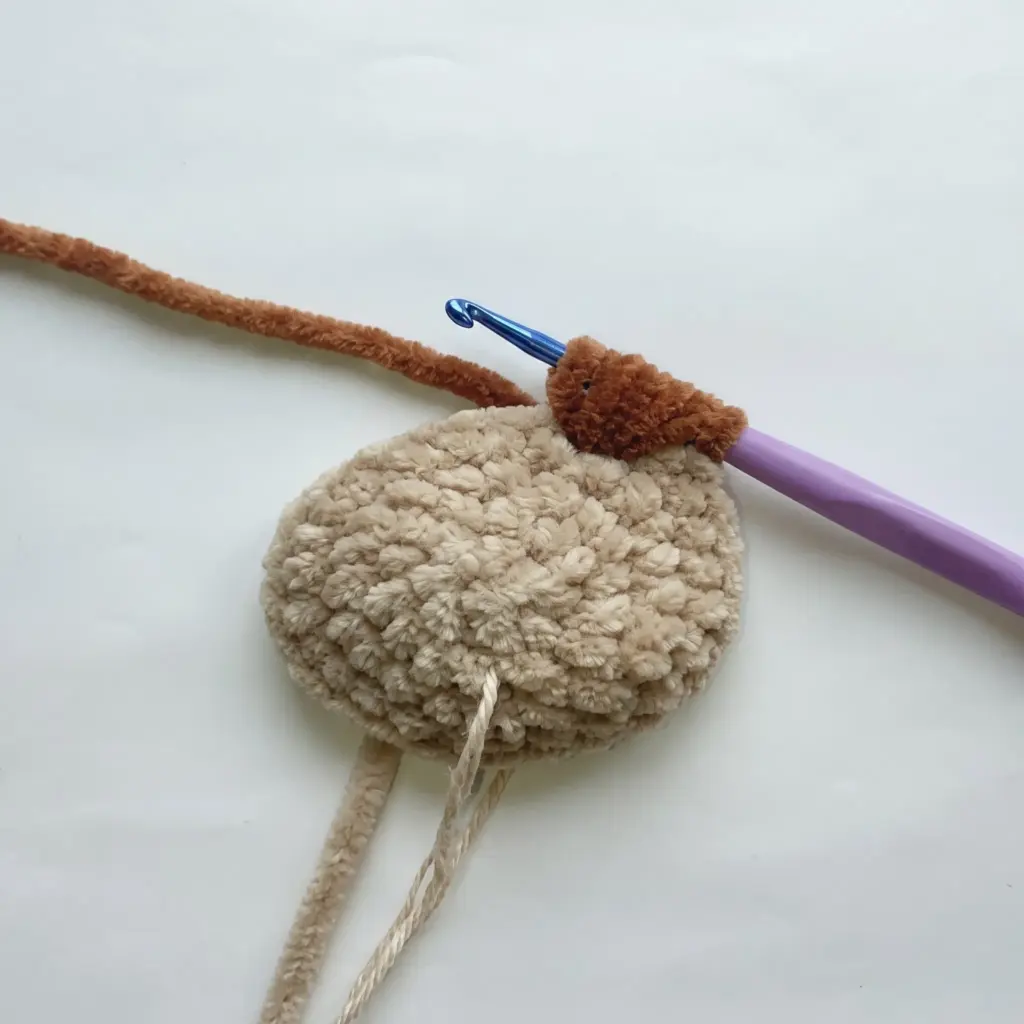
This amigurumi capybara keychain is a small-scale project with a big personality. The body and head are worked in one continuous spiral, with textured puff stitches forming the ears and feet directly into the surface. The finished piece is perfect as a bag charm, gift, or shelf companion. This pattern is written for confident beginners and intermediate crocheters who are comfortable working in the round and following a stitch count.
Materials
- Yarn: Worsted weight yarn (such as Himalaya Dolphin Baby or similar plush yarn) in a main color and a contrast color for the ears and feet
- Small amount of black yarn for embroidering the nose
- Hook: US G-7 / 4.5 mm crochet hook
- Safety eyes: 2 half-round cabochon-style safety eyes
- Fiberfill stuffing
- Stitch marker
- Yarn needle / tapestry needle
- Craft glue (clear-drying, for securing the eyes)
- Scissors
Abbreviations
- dec — Decrease
- FLO — Front Loop Only
- inc — Increase
- MR — Magic Ring
- puff st — Puff Stitch
- sc — Single Crochet
- sl st — Slip Stitch
Pattern Notes
- This pattern is written in US crochet terminology.
- The Head & Body piece is worked in a continuous spiral — do not join rounds. Use a stitch marker to track the beginning of each round and move it up as you go.
- Gauge is not critical for this project; just make sure your stitches are tight enough to keep the stuffing from showing through.
- Stitch count is given at the end of each round in parentheses, like this: (12).
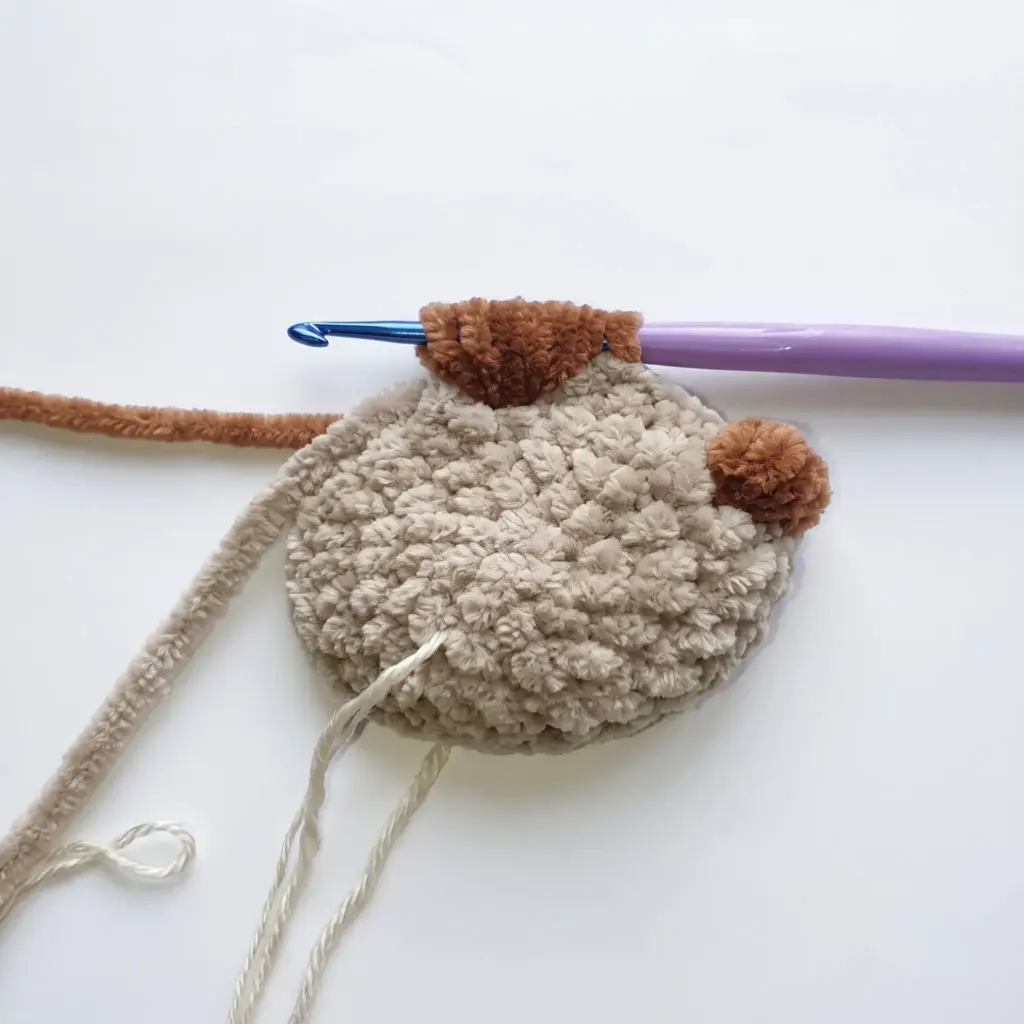
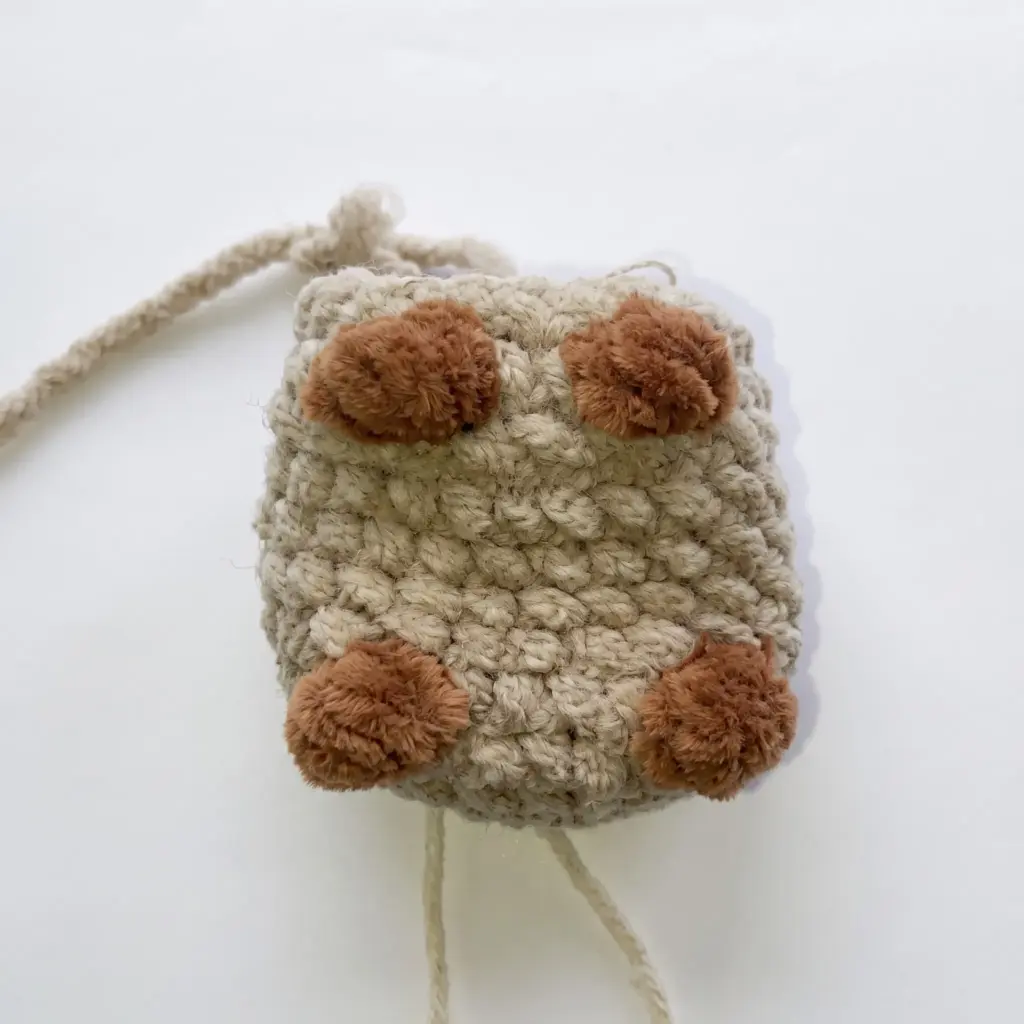
- Puff stitches are worked in the contrast color to form the ears and feet directly into the body — stuff the piece as you go, since it will be difficult to add filling once the opening closes.
- The neck shaping is defined afterward with a cinching technique, so don’t skip that finishing step even though the piece is worked in one continuous spiral.
Pattern Instructions
Head & Body (make 1)
Work rounds 1–4 in your main color. Switch to your contrast color for each puff stitch as noted, then return to main color to continue.
- Rnd 1: 6 sc in MR. (6)
- Rnd 2: inc in each st around. (12)
- Rnd 3: 1 sc, inc repeat around. (18)
- Rnd 4: 2 sc, inc repeat around. (24)
- Rnd 5: 9 sc, puff st, 4 sc, puff st, 9 sc. (24)
- Rnds 6–9: sc in each st around. (24)
- Rnd 10: 10 sc, dec repeat 3 times, 8 sc. (21)
- Rnd 11: 10 sc, puff st, 2 sc, puff st, 7 sc. (21)
- Rnd 12: dec, 5 sc repeat around. (18)
- Rnd 13: 4 sc, dec repeat 6 times, 2 sc. (12)
Place the safety eyes now, spacing them evenly across the front of the face before continuing to the next round.
- Rnd 14: inc repeat 4 times, 6 sl st in FLO, inc repeat 2 times. (18)
- Rnd 15: 1 sc, inc repeat 4 times, 6 sl st in FLO, 1 sc, inc repeat 2 times. (24)
- Rnd 16: 13 sc, 6 sl st in FLO, 5 sc. (24)
- Rnd 17: 2 sc, puff st, 3 sc, puff st, 6 sc, 6 sl st in FLO, 5 sc. (24)
- Rnd 18: 15 sc, dec repeat 3 times, 3 sc. (21)
- Rnd 19: dec, 5 sc repeat around. (18)
- Rnd 20: dec, 4 sc repeat around. (15)
- Rnd 21: dec, 3 sc repeat around. (12)
Check your stuffing here — this is your last chance to add more before the opening closes.
- Rnd 22: 8 sc; switch to contrast color; 4 sc. (12)
- Rnd 23: dec repeat 6 times. (6)
Fasten off, leaving a long tail. Weave the tail through the front loops of the remaining 6 stitches and pull tight to close the opening.
Assembly
- With the Head & Body piece complete and stuffed, thread a strong length of yarn onto your tapestry needle. This step defines the neck and separates the head from the body.
- Insert the needle into the neck area (the natural gap between the head and body shaping) and bring it out about 2 rounds below one ear, leaving a starting tail.
- Insert the needle back in nearby, skip 1 stitch, and bring it out on the opposite side of the neck.
- Insert the needle again nearby, skip 1 stitch, and bring it out at the neck, one stitch over from your starting point.
- Pull the yarn firmly to cinch the neck into shape, then tie off with several secure knots.
- Weave in all remaining yarn tails, including the starting tail from step 2, so no ends are visible.
- Embroider the nose using black yarn, working small straight stitches at the center-front of the face below the eyes.
- Glue the safety eyes in place if they aren’t already secured through the fabric, holding them until the glue sets.
Tips & Tricks
- Keep your tension snug throughout this pattern, especially through the increase rounds — amigurumi pieces look their best when the stitches are tight enough that stuffing doesn’t peek through. If your stitches feel loose, try dropping down half a hook size.
- The front-loop-only slip stitch sections in rounds 14 through 17 create a subtle ridge that shapes the capybara’s snout, so take your time there. Work those slip stitches a little looser than your regular single crochets; because you’re only catching one loop, it’s easy to pull them too tight and pucker the fabric.
- Stuff firmly but not aggressively. You want the piece to hold its round shape without stretching the stitches thin, especially around the puff stitch ears and feet, which should stay soft and slightly poufy rather than rock hard.
- If you substitute yarn, look for something with a similar plush, brushed texture to Himalaya Dolphin Baby — a soft worsted-weight yarn with a bit of halo will replicate the capybara’s fuzzy coat far better than a smooth cotton yarn would, and it will also help hide minor tension inconsistencies.
- The neck cinch is what gives this piece its recognizable capybara silhouette, so don’t skip it even though it happens after the crocheting is technically finished. Pull the cinching yarn snug and check the shape from multiple angles before you knot it off, since this is your only chance to adjust the head-to-body proportion.
Frequently Asked Questions
Do I need to join each round when making this capybara keychain?
No, this pattern is worked in a continuous spiral rather than joined rounds. Use a stitch marker to mark the first stitch of each round and simply move it up as you go, without slip stitching to close each round.
What yarn weight works best for this amigurumi pattern?
A worsted weight yarn with a soft, plush texture, similar to Himalaya Dolphin Baby, works best for this project. The slight halo on this type of yarn helps recreate the capybara’s fuzzy coat and also helps disguise small tension differences between stitches.
Why does the pattern use puff stitches instead of separate pieces for the ears and feet?
Working the ears and feet as puff stitches directly into the main piece keeps the construction simple and avoids extra sewing. It also gives the finished capybara a seamless, rounded look that matches its soft, real-life appearance.
When should I insert the safety eyes?
Insert the safety eyes after completing round 13, before you begin the front-loop slip stitch shaping in round 14. Placing them at this stage lets you check spacing and symmetry while the opening is still large enough to adjust the washers from the inside.
Pin This Crochet Pattern!