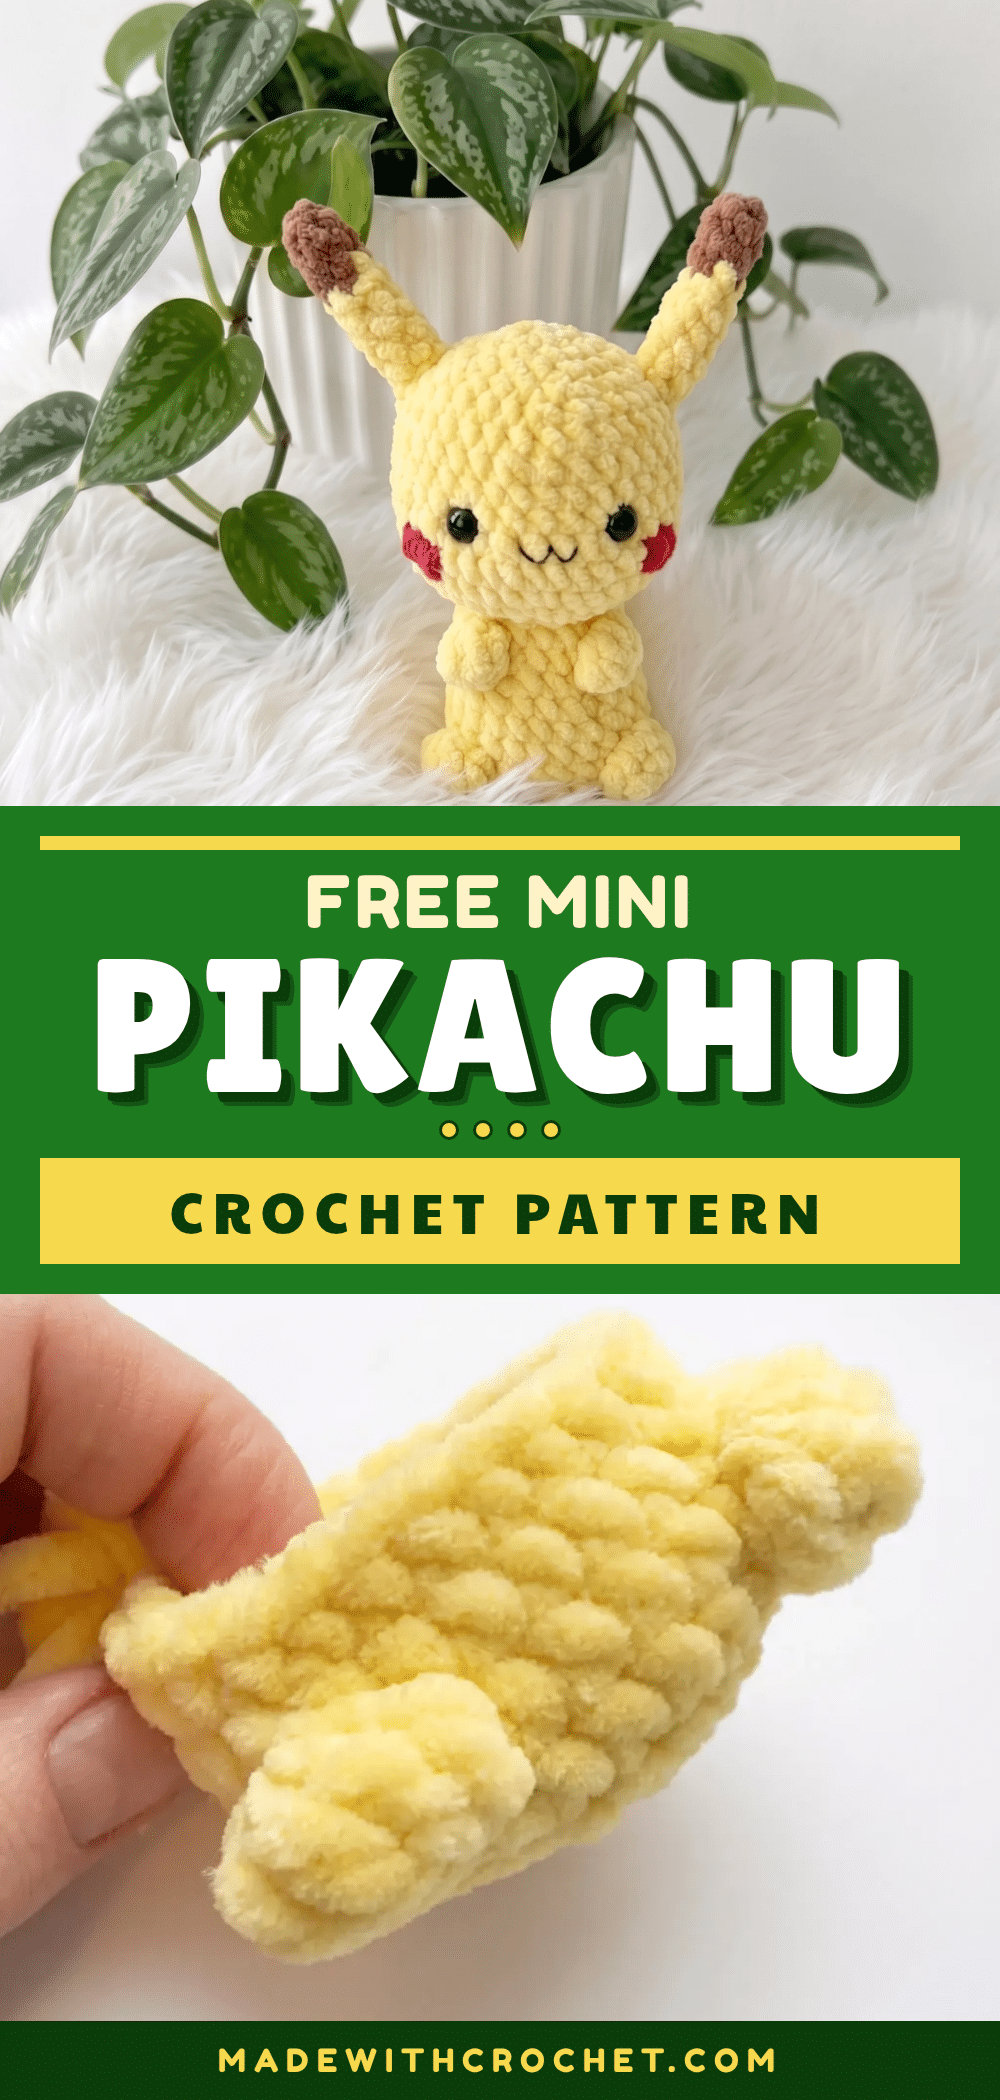
There is something deeply satisfying about watching a simple round of single crochet stitches transform into a recognizable shape. This Mini Pikachu amigurumi is a perfect example of that magic. From the very first increase round, you’ll feel the piece take form, and the subtle shaping of the head and body is a joy to work through. The real texture highlight comes with the bobble stitches for the arms and legs—a small cluster of treble crochet that creates a wonderfully raised, three-dimensional effect against the smooth single crochet fabric. It’s these little details, the careful decreases that shape the head and the precise placement of the safety eyes, that make this pattern so rewarding to crochet.
Texture and Stitch Notes
This pattern is a fantastic showcase for how a few simple techniques can create a lot of character. The body and head are worked in a continuous spiral of single crochet, which gives a smooth, seamless finish. The real star is the bobble stitch. Don’t be intimidated by the treble crochet cluster; it’s worked into a single stitch and joined at the top, creating a neat, rounded nub that’s perfect for tiny paws. The plush, bulky yarn recommended here really makes the bobbles pop, giving them a soft, tactile quality that invites squishing. The color changes for the ears and tail are also a great chance to practice clean transitions, and the final embroidery for the cheeks and mouth adds that last bit of handcrafted charm.
Project Overview
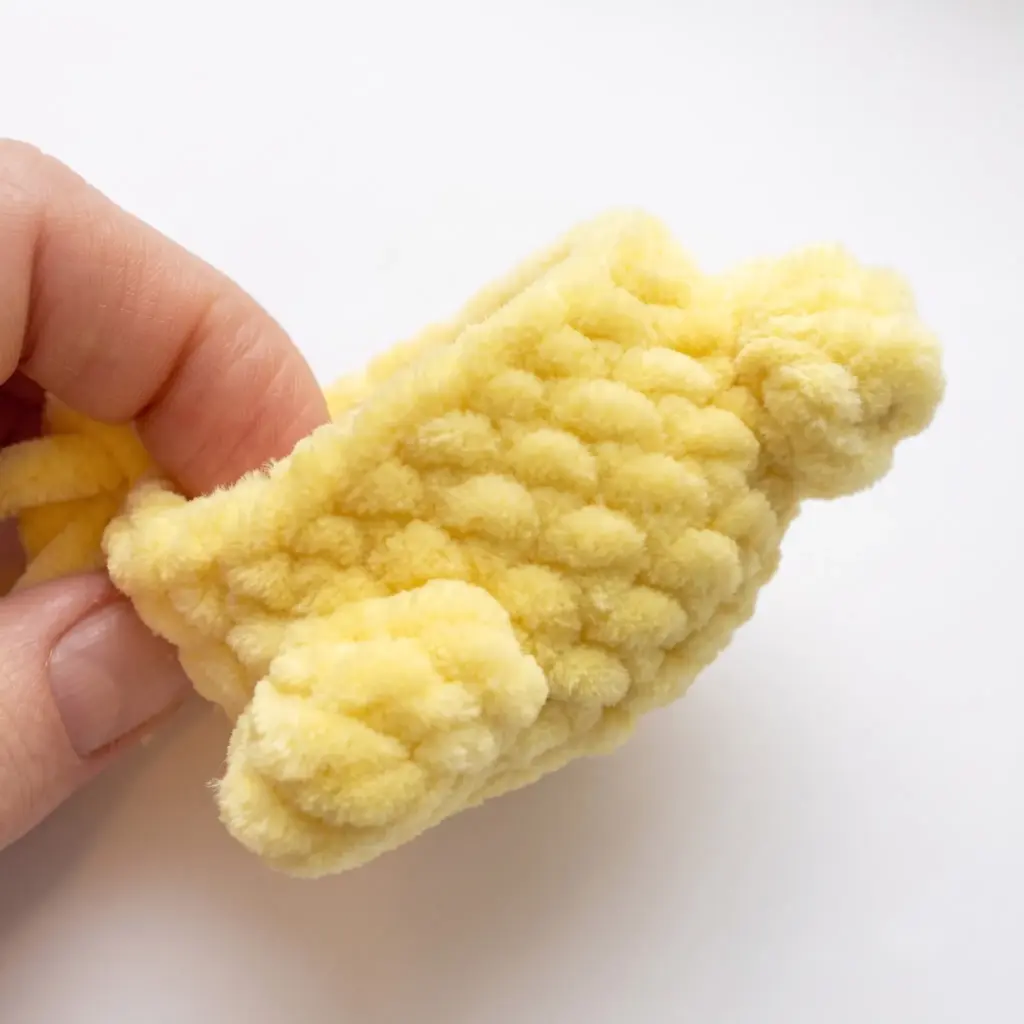
This free crochet pattern will guide you through creating a miniature Pikachu amigurumi. It’s a beginner-friendly project that uses basic amigurumi techniques like working in the round, increasing, and decreasing, with the addition of a simple bobble stitch for the limbs. The head and body are worked as one continuous piece, making it a quick and satisfying make. The finished doll is a perfect size for a desk buddy, a thoughtful handmade gift, or a fun way to practice your skills.
Materials
- Yarn: Bulky (5) weight plush/chenille yarn in Yellow (main color), Brown (ears and tail tips), and Red (cheek accents)
- Hook: US size E-4 (3.5 mm)
- Safety eyes: 8–10 mm black, 2
- Fiberfill stuffing
- Stitch marker
- Yarn or tapestry needle
- Black embroidery thread (for the mouth)
- Sewing pins
- Scissors
Abbreviations Used
- ch — Chain
- dec — Decrease (invisible decrease)
- inc — Increase (2 sc in same st)
- mr — Magic Ring
- sc — Single Crochet
- st(s) — Stitch(es)
- tr — Treble Crochet
Pattern Notes
- This pattern is written in US crochet terminology.
- The Head-Body and Ears are worked in continuous spiral rounds — do not join or chain up between rounds.
- The Tail pieces are worked in turned rows.
- Gauge is not critical, but a tighter gauge keeps stuffing from peeking through and yields a firmer finished shape closer to 6 inches (15 cm) tall including the ears when using bulky yarn and a 3.5 mm hook.
- Stitch count is given at the end of each round or row in parentheses.
- The Head and Body are worked as a single continuous piece — stuff firmly as you go rather than waiting until the end.
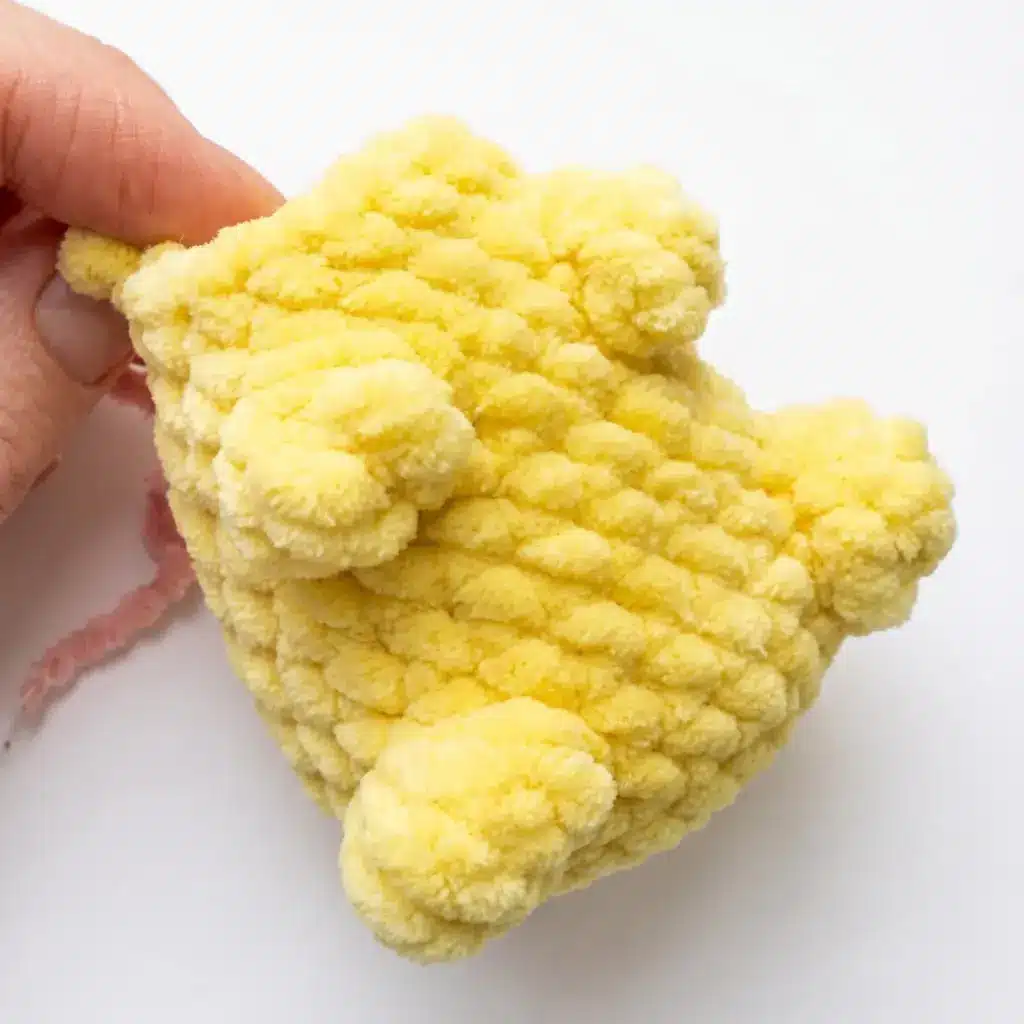
- The “Bobble” stitch used for the arms and legs is a cluster of treble crochet stitches worked into one stitch and joined at a single top point.
Pattern Instructions
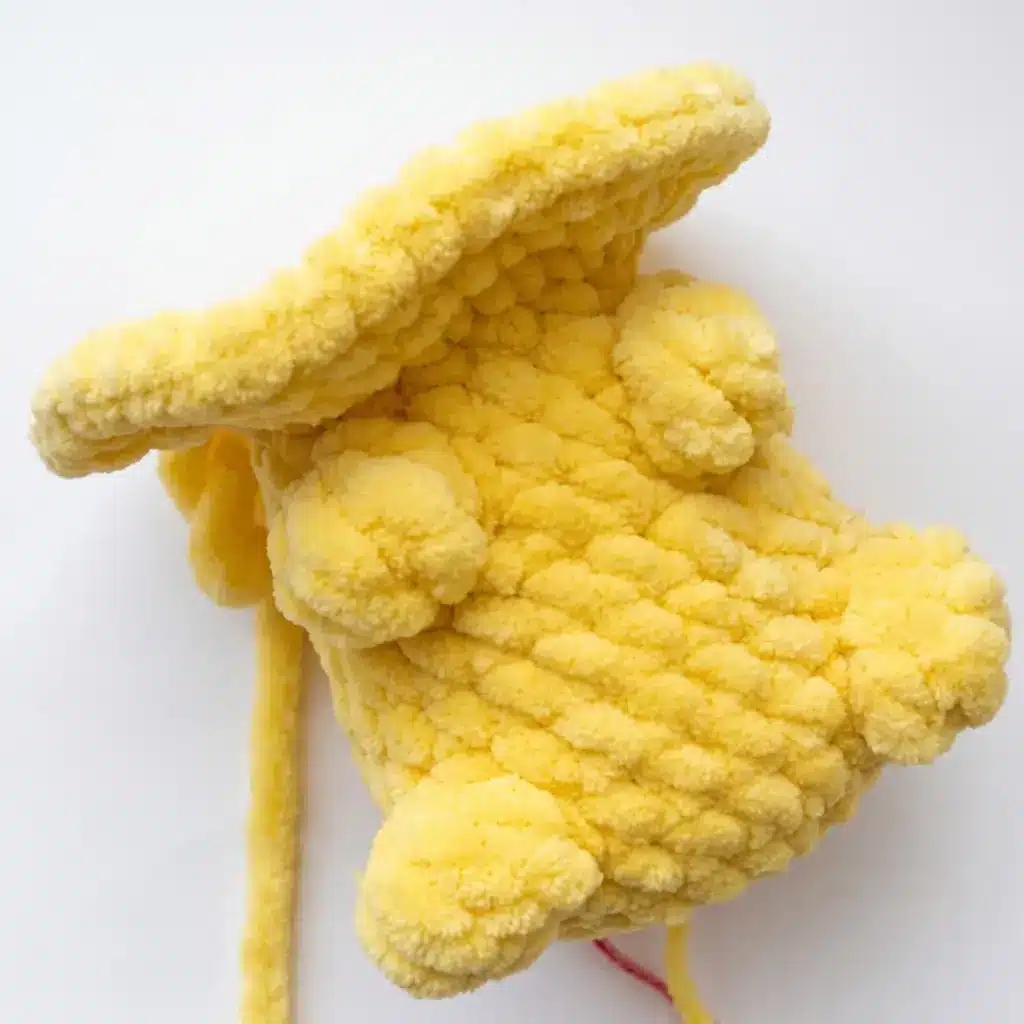
Head-Body (make 1)
Rnd 1: 6 sc in MR. (6)
Rnd 2: inc in each st around. (12)
Rnd 3: (1 sc, inc) repeat around. (18)
Rnd 4: (2 sc, inc) repeat around. (24)
Rnd 5: sc in each st around. (24)
Rnd 6: 8 sc, Bobble (5 tr in next st, joined at top) – first leg , 6 sc, Bobble (5 tr in next st, joined at top) – second leg , 8 sc. (24)
Rnds 7–8: sc in each st around. (24)
Rnd 9: (4 sc, dec) repeat around. (20)
Rnd 10: sc in each st around. (20)
Rnd 11: 7 sc, Bobble (4 tr in next st, joined at top) – first arm , 4 sc, Bobble (4 tr in next st, joined at top) – second arm , 7 sc. (20)
Rnd 12: (3 sc, dec) repeat around. (16)
Rnd 13: sc in each st around. (16)
Begin stuffing the body firmly now, and keep adding stuffing as you continue through the remaining rounds.
Rnd 14: inc in each st around. (32)
Rnd 15: (3 sc, inc) repeat around. (40)
Rnds 16–17: sc in each st around. (40)
Rnd 18: 10 sc, (2 sc, dec) repeat 5 times, 10 sc. (35)
Rnds 19–20: sc in each st around. (35)
Place a stitch marker centered between Rnds 18 and 19, at the front of the head. Count 3 sts to the right of the marker and 3 sts to the left, and insert one safety eye at each point.
Rnd 21: (5 sc, dec) repeat around. (30)
Rnd 22: sc in each st around. (30)
Rnd 23: (4 sc, dec) repeat around. (25)
Rnd 24: (3 sc, dec) repeat around. (20)
Rnd 25: (2 sc, dec) repeat around. (15)
Rnd 26: (1 sc, dec) repeat around. (10)
Rnd 27: dec around. (5)
Top off the stuffing so the head feels firm to the touch, then close the opening. Fasten off and weave in the end.
Tail (make 2 pieces)
Work each piece in turned rows, beginning with brown yarn.
Foundation: ch 5.
Row 1: starting in 2nd ch from hook, 4 sc. (4) ch 1, turn.
Row 2: 4 sc. (4) ch 1, turn.
Row 3: 2 sc. (2) ch 1, turn.
Change to yellow yarn.
Row 4: 2 sc, ch 3. (5) ch 1, turn.
Row 5: 5 sc. (5) ch 1, turn.
Row 6: 5 sc, ch 3. (8) ch 1, turn.
Rows 7–9: 8 sc. (8) ch 1, turn.
Row 10: 8 sc. (8)
Fasten off and weave in the end on the first tail piece. On the second piece, leave a long yarn tail — you’ll use it to join both pieces together in Assembly.
Ears (make 2)
Rnd 1: 5 sc in MR. (5) (brown yarn)
Rnds 2–3: sc in each st around. (5)
Change to yellow yarn.
Rnds 4–9: sc in each st around. (5)
Fasten off, leaving a yarn tail for sewing.
Assembly
- Sew the two Ear pieces onto the head at Rnds 21–23, spacing them so they sit symmetrically on either side of the head.
- Hold the two Tail pieces together, brown sections matching, and use the long tail left on the second piece to single crochet around the edge, joining both pieces into one flat tail.
- Pin the tail to the back of the body with sewing pins, adjusting the angle until you’re happy with how it sits. Whipstitch the tail to the body, sewing through every point where you placed a pin to secure it firmly.
- Using red yarn, embroider a small rounded cheek mark on each side of the face, just below the eyes.
- Using black embroidery thread, stitch a simple smiling mouth centered below the eyes. Weave in any remaining yarn tails and trim them close to the fabric.
Tips & Tricks
- Keep your tension slightly tight through the Head-Body rounds — amigurumi worked too loosely will show gaps between stitches once stuffed, especially around the bobble stitches at the arms and legs.
- For the decrease rounds near the top of the head (Rnds 21–27), use an invisible decrease rather than a standard one. It keeps the shaping smooth and avoids the small holes that regular decreases can leave in a rounded piece like this.
- Don’t wait until the final round to stuff. Add stuffing in small amounts as you work each round of the Head-Body so it distributes evenly and the shape stays rounded instead of lumpy.
- If you swap in a different yarn weight, size down or up your hook accordingly and expect the finished piece to shrink or grow proportionally — a thinner yarn with a smaller hook will give you a denser, smaller Pikachu, which some makers prefer for keychains or ornaments.
- When sewing the tail on, use the same yarn color as the body for your sewing strand so the stitches blend in, and check the tail’s angle from a few different sides before you commit to the final position with pins.
Frequently Asked Questions
What size will my finished Mini Pikachu amigurumi be?
Using bulky weight yarn and a US E-4 (3.5 mm) hook, your finished Mini Pikachu will be about 6 inches (15 cm) tall including the ears. A tighter gauge will produce a smaller, firmer doll, while a looser gauge will make it slightly larger and softer.
Can I use a different yarn weight for this pattern?
Yes, you can substitute a different yarn weight as long as you adjust your hook size to match. Keep in mind that a thinner yarn will produce a smaller finished piece, and you should choose a hook size that keeps the fabric dense enough to fully contain the stuffing.
What is the bobble stitch used for the arms and legs?
The bobble stitch is a cluster of treble crochet stitches worked into a single stitch and joined together at one top point. The legs use a 5-treble bobble and the arms use a 4-treble bobble, giving them a raised, three-dimensional shape.
Do I need to stuff the head and body separately?
No, the head and body are worked as one continuous piece, so there is no separate seam between them. Stuff firmly as you work through the rounds rather than waiting until the piece is finished, and add any final stuffing needed before closing the last opening.
Pin This Crochet Pattern!