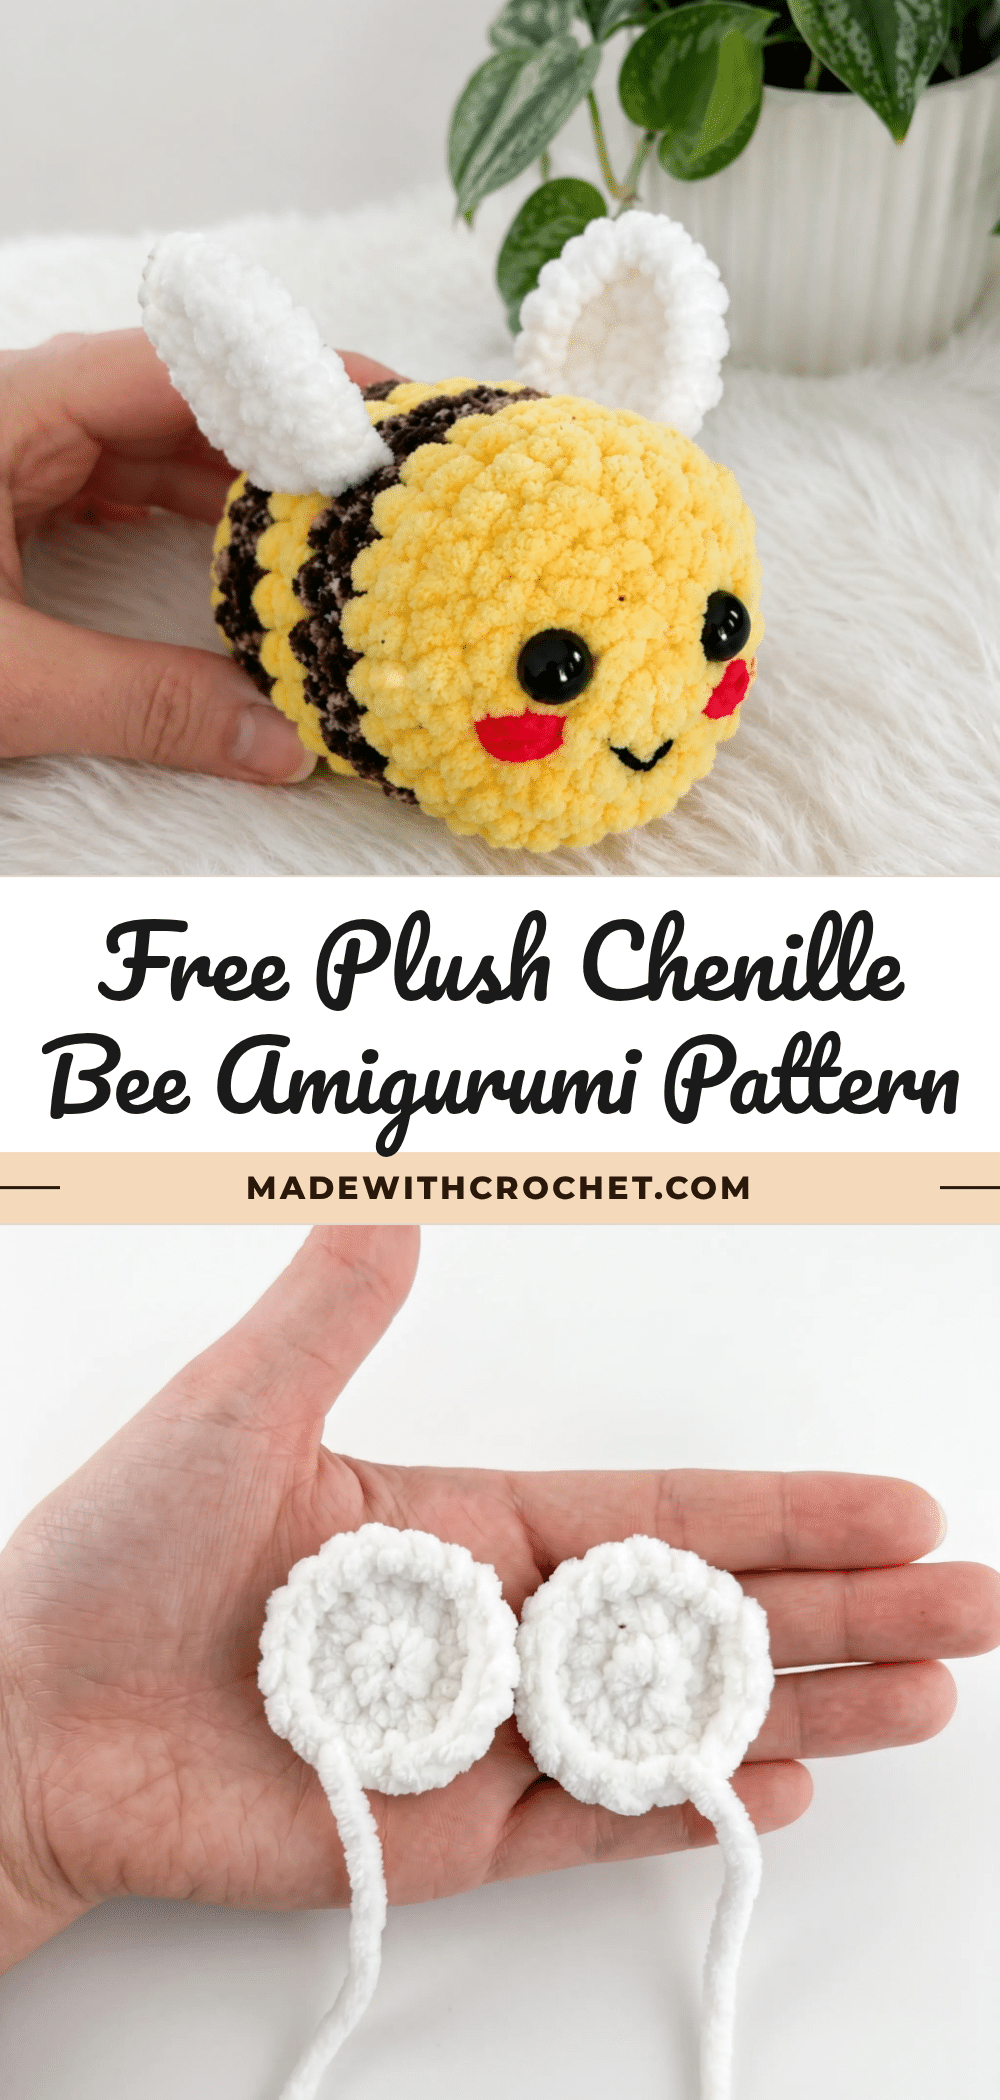
Have you ever started an amigurumi project only to worry that the color changes will look messy or that the stripes won’t line up? It’s a common concern, especially when working with fluffy chenille yarn where every stitch seems to disappear into the fuzz. But this plush chenille bee amigurumi pattern is designed to be forgiving and fun, making it a perfect project to build your confidence. With just basic stitches, simple stripes, and a two-piece construction, you’ll be surprised at how quickly this adorable bee comes together.
Maker Notes
There’s something incredibly satisfying about a project that feels both plush and precise. The chenille yarn gives this bee a soft, squeezable texture that’s perfect for little hands or as a comforting gift. The color palette of yellow, black, and white is classic and cheerful, and the simple wing design adds just the right amount of charm. This pattern is a wonderful way to practice color changes and invisible decreases without the pressure of a complex shape. Whether you’re making it for a keychain, a nursery decoration, or a spontaneous gift, this bee is sure to bring a smile.
Project Overview
This beginner-friendly pattern creates a small, plush bee amigurumi that sits perfectly in the palm of your hand. Worked in continuous spiral rounds, the body features crisp yellow and black stripes, while the wings are left flat and soft. The finished bee measures approximately 8 cm (3.1 inches) and uses only single crochet, increases, and decreases.
Materials
- Yarn: Medium/Worsted Weight (CYCA #4) plush chenille-style yarn in yellow, black, and white
- Small amount of red and black lightweight yarn for embroidering the cheeks and mouth
- Hook: G-6 (4.0 mm)
- Safety eyes: 2 half-round style, sized to fit an 8 cm (3.1 in) finished body
- Fiberfill stuffing
- Stitch marker
- Yarn needle / tapestry needle
- Scissors
- Craft glue (for securing safety eyes)
Abbreviations
- ch — Chain
- dec — Decrease (invisible decrease)
- inc — Increase (2 sc in same stitch)
- sc — Single Crochet
- sl st — Slip Stitch
Pattern Notes
- This pattern is written in US crochet terminology.
- The body and wings are both worked in continuous spiral rounds — do not join or chain between rounds unless otherwise noted.
- Gauge is not critical for this project; it only affects the finished size of your bee.
- Stitch count is given at the end of each round in parentheses: (##)
- Stuff the body firmly but evenly before closing the final round, paying extra attention to the ends so the shape stays rounded rather than lumpy.
- Wings are worked flat in spiral rounds and left unstuffed for a soft, flat finish.
Pattern Instructions
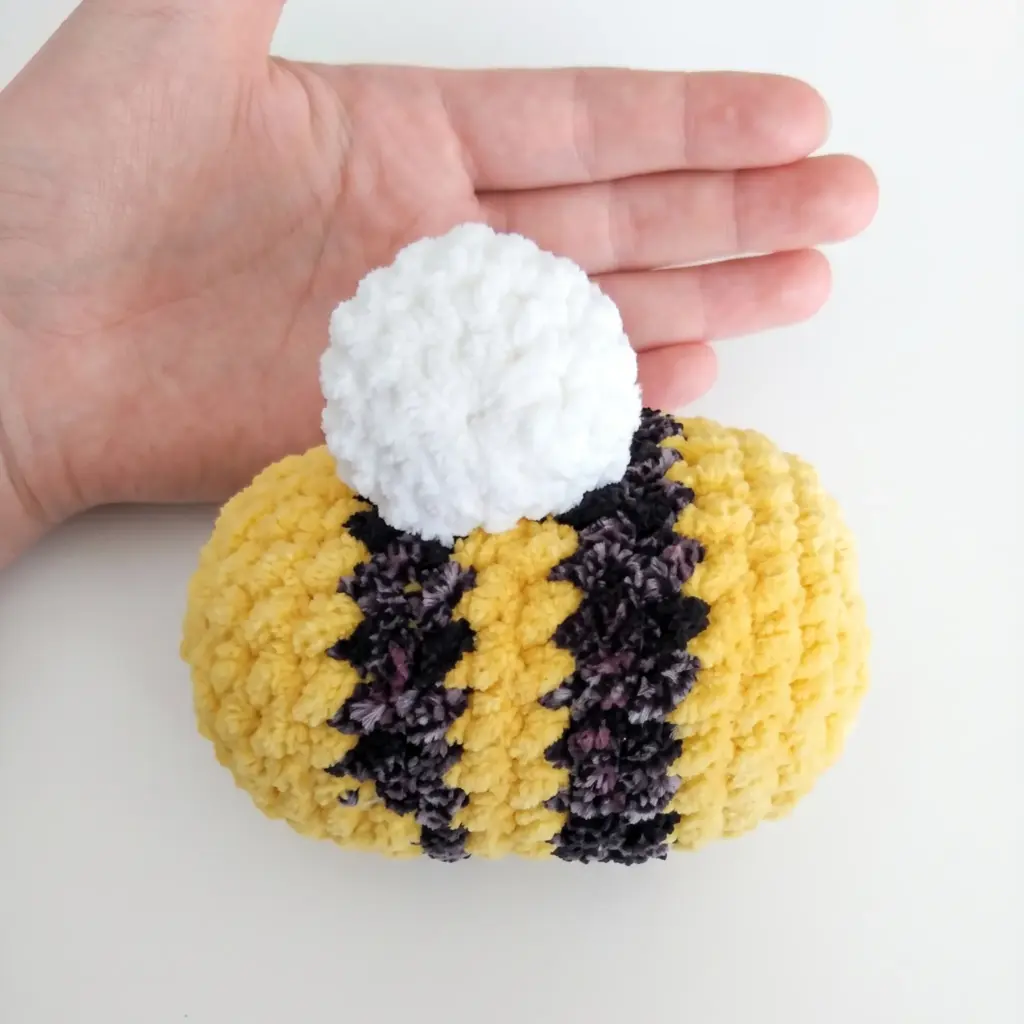
Body
Rnd 1: Ch 2, 6 sc in 2nd ch from hook. (6)
Rnd 2: inc in each st around. (12)
Rnd 3: sc, inc repeat around. (18)
Rnd 4: 2 sc, inc repeat around. (24)
Rnd 5–6: sc in each st around. (24)
Change to black.
Rnd 7–8: sc in each st around. (24)
Change to yellow.
Rnd 9–10: sc in each st around. (24)
Change to black.
Rnd 11–12: sc in each st around. (24)
Change to yellow.
Rnd 13: sc in each st around. (24)
Rnd 14: 2 sc, dec repeat around. (18)
Rnd 15: sc, dec repeat around. (12)
Begin stuffing the body firmly now, before the opening becomes too small to work with.
Rnd 16: dec around. (6)
Fasten off, leaving a short tail. Weave in end and close the opening.
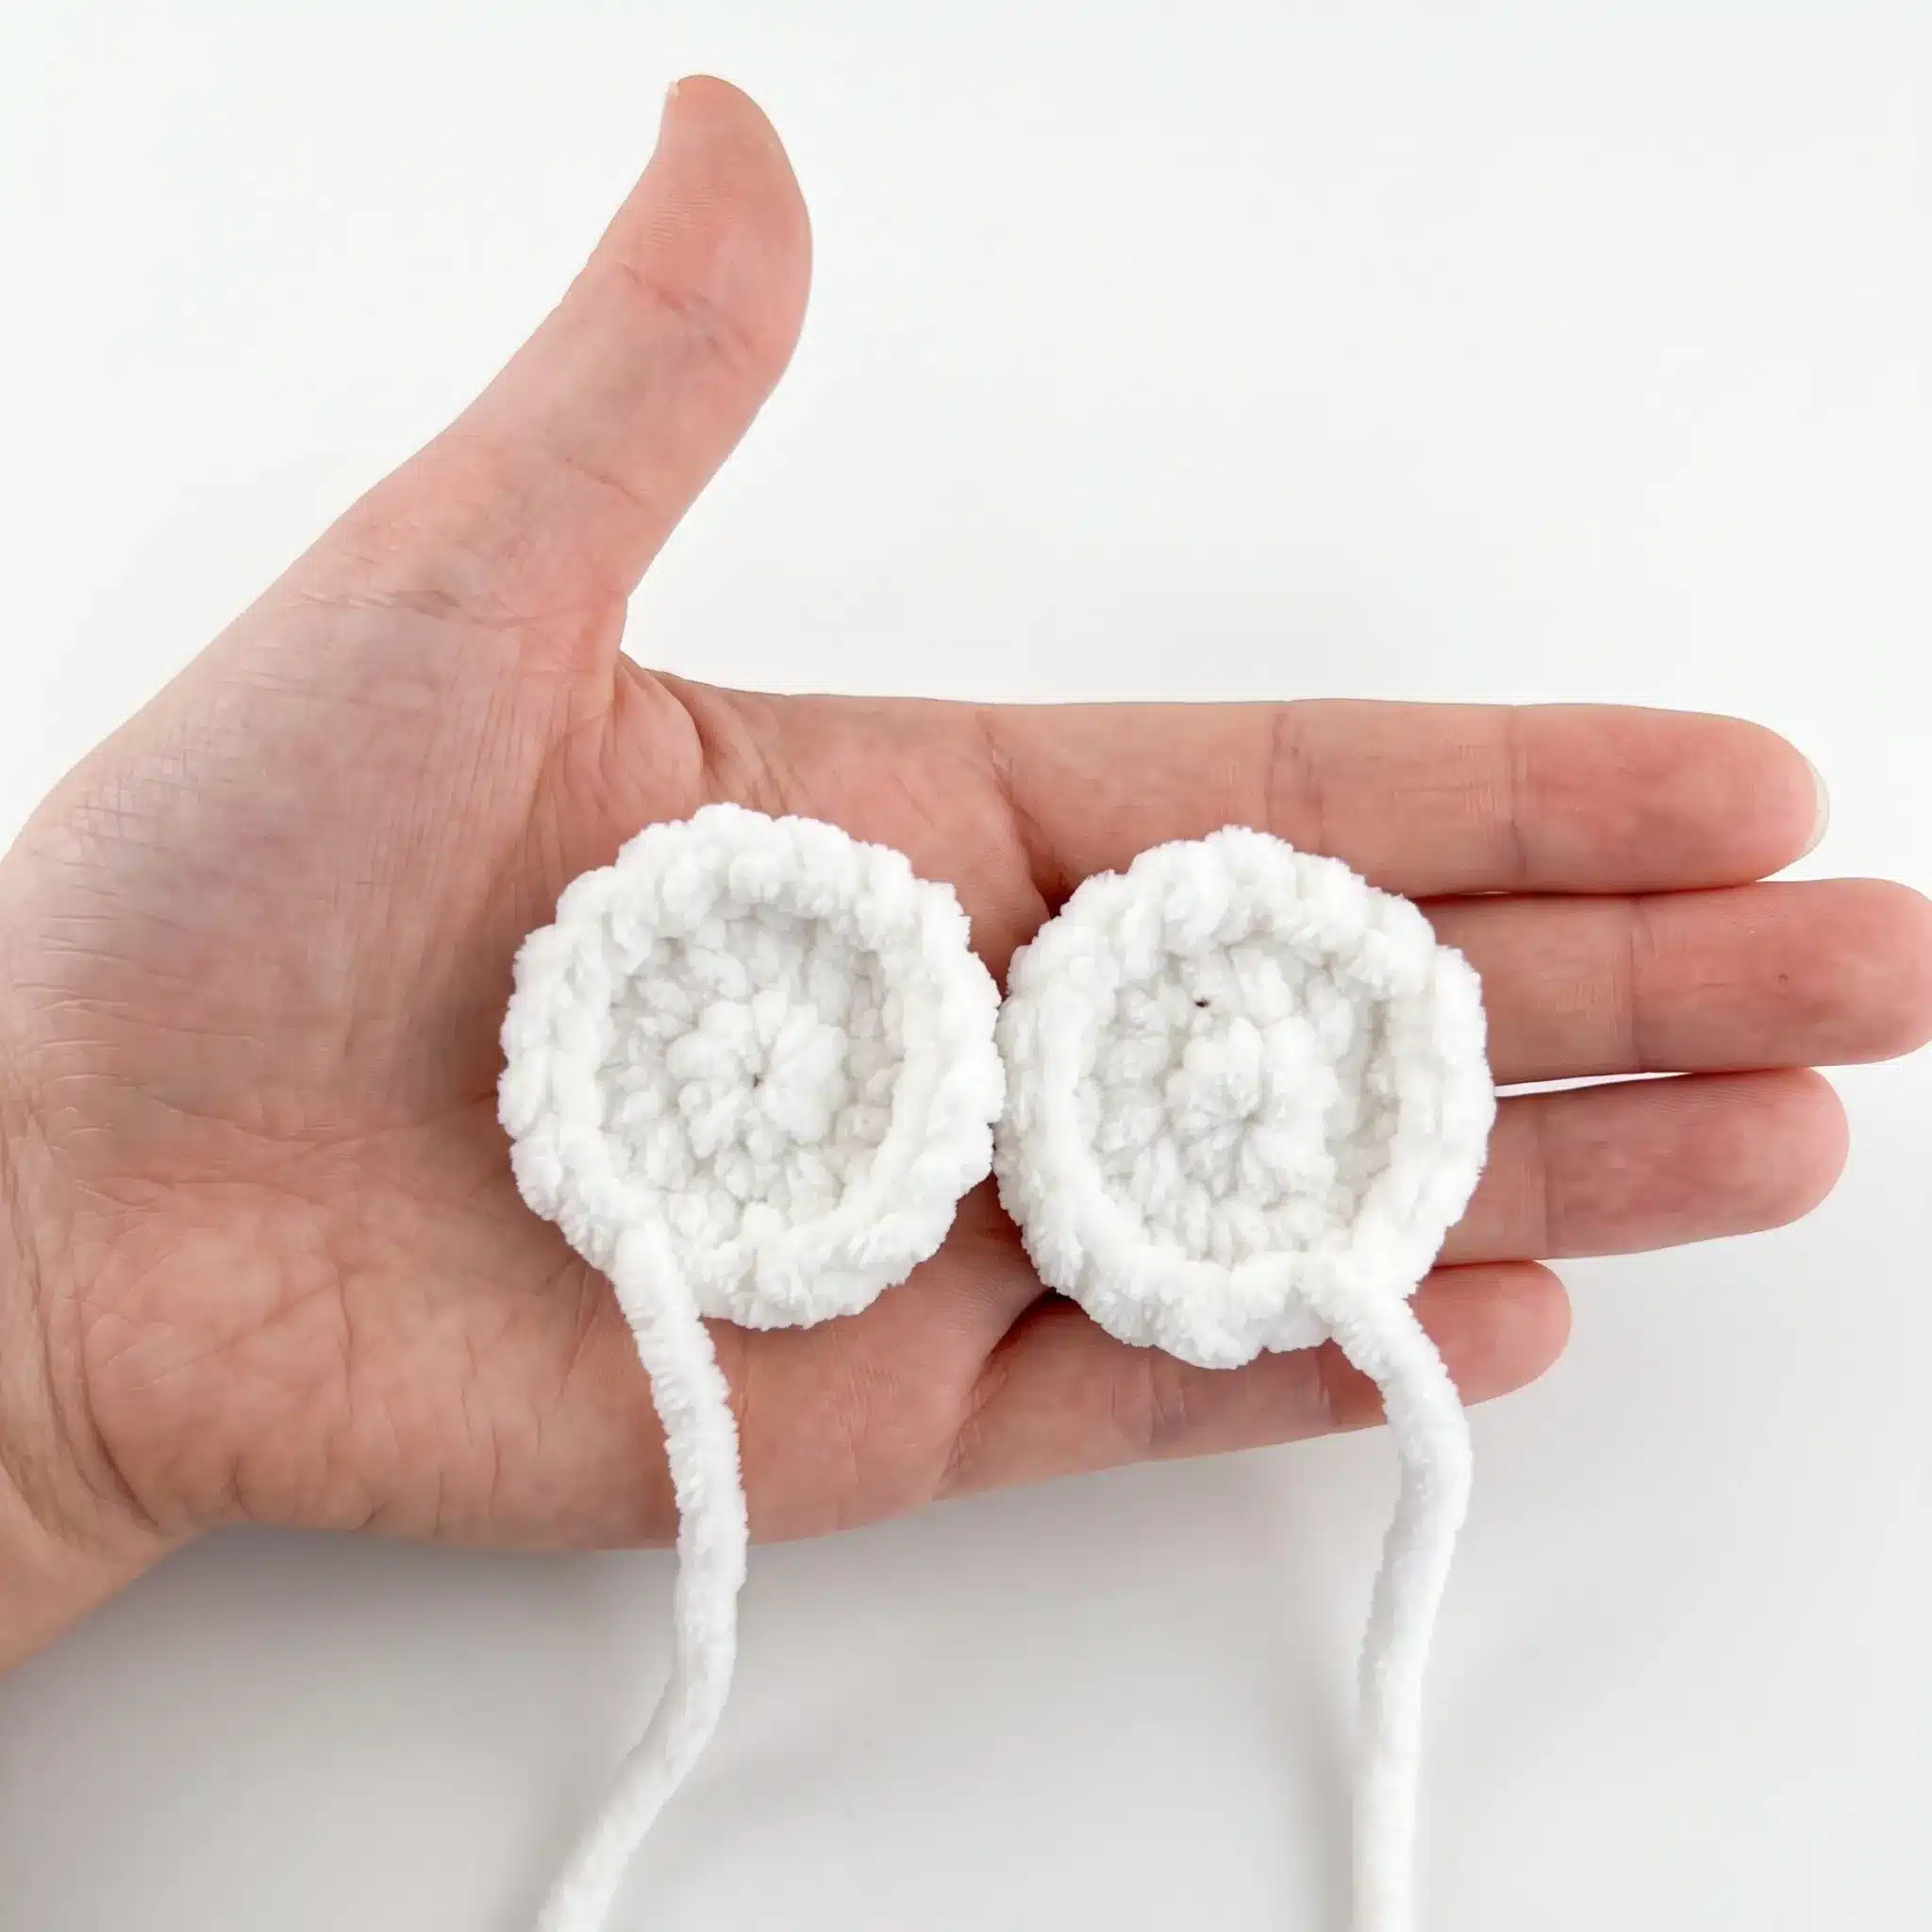
Wings (make 2)
Worked in white yarn.
Rnd 1: Ch 2, 6 sc in 2nd ch from hook. (6)
Rnd 2: inc in each st around. (12)
For small wings, fasten off here. For larger wings, continue to Round 3.
Rnd 3: sc, inc repeat around, sl st to join. (18)
Fasten off, leaving a long tail for sewing.
Assembly
- Weave in all loose ends on the Body, making sure the opening at Round 16 is fully closed.
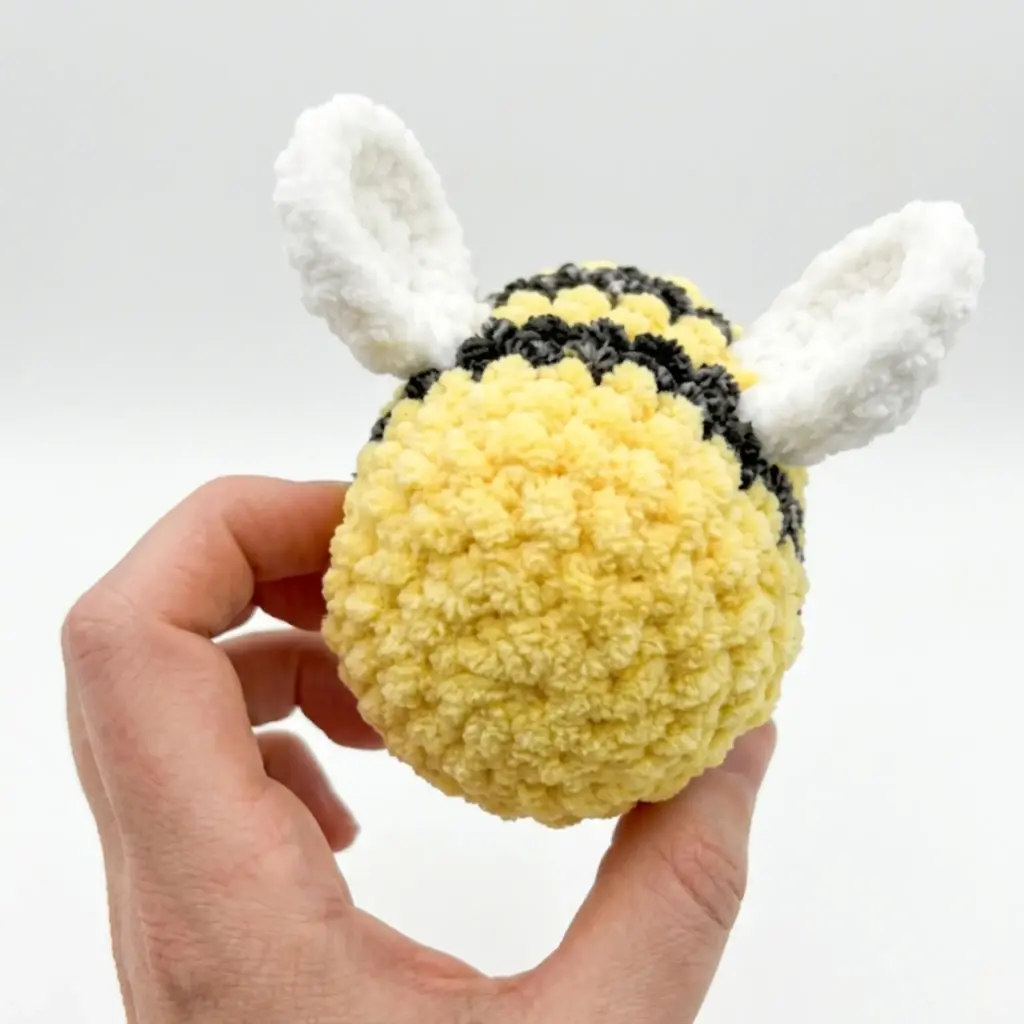
- Position both Wings at the top of the Body, just behind the black-and-yellow stripe section, angled slightly outward.
- Using the long tail left on each Wing, whipstitch the wings securely to the Body, checking that they sit evenly on either side.
- Glue the safety eyes onto the front of the Body’s rounded head section, spacing them evenly apart.
- Using red yarn, embroider two small rounded cheeks beneath the eyes.
- Using black yarn, embroider a simple curved smile between the cheeks.
- Weave in any remaining yarn tails and trim close to the work.
Tips
- Chenille-style plush yarn is forgiving but slippery, so keep your tension slightly tighter than usual — this keeps stitches closed and prevents stuffing from peeking through, especially around the color-change stripes.
- When switching from yellow to black (or back), always change colors on the last yarn-over of the final stitch in the previous round; this keeps your stripe lines crisp instead of jagged.
- For a clean invisible decrease, insert your hook into the front loops of both indicated stitches before pulling through, rather than working through all four loops — this keeps the decrease nearly invisible in a textured chenille yarn where regular decreases tend to disappear anyway.
- Stuff the body in small pinches rather than one large clump; this helps you control firmness and avoid a lopsided shape once the final rounds close.
- If you’re substituting yarn, choose something with a similar loft to chenille (like a brushed acrylic or velvet-style yarn) rather than a smooth worsted cotton — a smoother yarn will show stitch definition that chenille naturally hides, changing the plush look of the finished bee.
- When sewing the wings on, sew through only a few strands of the body’s surface loops rather than deep into the stuffing; this keeps the wings sitting naturally on top rather than pulling the head out of shape.
- The trickiest part of this pattern is Round 13, where you return to yellow just before the decrease rounds begin — take a moment to confirm your stripe count matches (two yellow, two black, two yellow, two black, one yellow) before continuing, since an extra or missing round here will throw off the symmetry of the stripes.
Frequently Asked Questions
What size hook and yarn do I need for this bee?
This pattern uses a G-6 (4.0 mm) crochet hook paired with a medium/worsted weight plush chenille yarn. The chenille texture is what gives the finished bee its soft, fuzzy look, so it’s worth using a similar yarn type if substituting.
How big is the finished bee?
With the materials listed, the finished bee measures approximately 8 cm (about 3.1 inches). Using a thicker or thinner yarn, or a different hook size, will change the finished measurements slightly.
Is this pattern worked in rows or rounds?
Both the body and the wings are worked in continuous spiral rounds, meaning you do not join or chain between most rounds. The only exception is the final round of the wings, which is closed with a slip stitch.
When should I add the stuffing?
Begin stuffing the body during Round 15, once the opening is small enough to hold stuffing in place but still large enough to adjust it easily. Add stuffing gradually to keep the shape even before closing the final round.
Can I use a different type of yarn?
Yes, but for the best plush look, choose a yarn with a similar loft to chenille, such as a brushed acrylic or velvet-style yarn. A smooth worsted cotton will show more stitch definition and change the soft, fuzzy appearance of the bee.
How do I keep the stripes even?
Always change colors on the last yarn-over of the final stitch in the previous round. This keeps the color transition clean and prevents jagged lines between stripes. Double-check your stripe count before starting the decrease rounds to ensure symmetry.
Pin This Crochet Pattern!