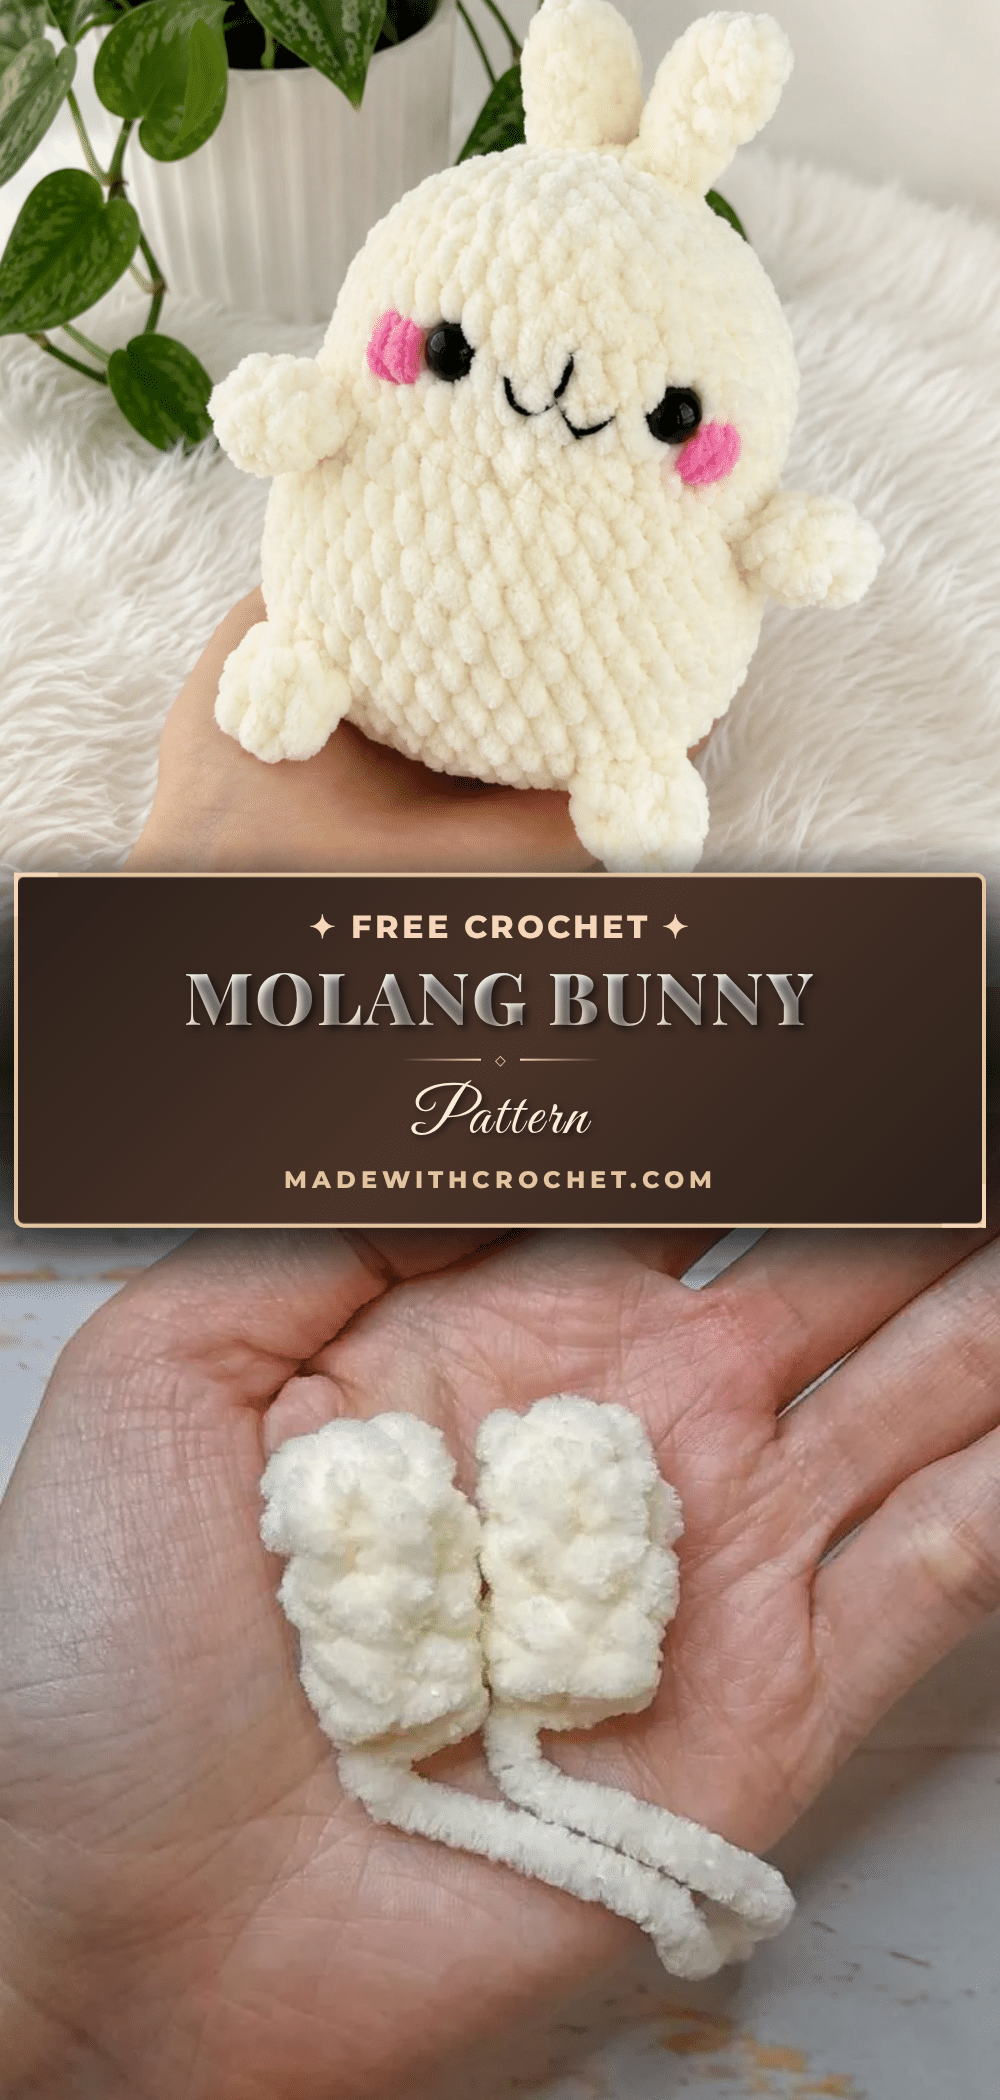
There’s something quietly satisfying about settling into a cozy evening with a small batch of plush yarn, counting stitches as a simple shape begins to form. The Molang bunny amigurumi pattern is the perfect project for those moments—a relaxing repeat that builds a round, cream-colored bunny with a soft double chin, tiny stub arms, and blush-pink cheeks that make it look perpetually happy. Named after the beloved pillow-shaped character, this design turns a simple ball body into an expressive little companion that’s equally at home on a nursery shelf or tucked into a gift bag.
Small Details That Make It Better
What makes this Molang bunny so endearing is the thoughtful finishing. The tiny crocheted mouth piece, the embroidered smile lines, and the soft pink cheeks all work together to give it that signature cheerful expression. The plush chenille yarn is the real star here—it hides stitch definition and gives that fuzzy, huggable texture the Molang bunny is known for. Working the limbs directly into the body rounds keeps seaming to a minimum and creates a beautifully seamless silhouette. This pattern is written for confident beginners who’ve made a few amigurumi basics before, and the result is a sweet, huggable friend that feels just right for gifting or keeping close.
Project Overview
This Molang bunny amigurumi pattern is written for confident beginners who’ve made a few amigurumi basics before—you’ll need to be comfortable with magic rings, increases, and decreases, but nothing here is technically difficult. The body is worked as one continuous piece with the arms and legs crocheted separately and joined right into the rounds, which keeps seaming to a minimum. Grab your hook and a skein of plush yarn, and let’s get this little bunny started.
Materials
- Yarn: Bulky (5) weight plush/chenille yarn in cream or off-white (approximately half a skein), plus small amounts of pink yarn for the cheeks and mouth, and black yarn (or embroidery floss) for the face details
- Hook: US G-6 (4mm) for the body pieces, and US B-1 (2mm) for the small mouth piece
- Safety eyes: 10mm, 1 pair
- Polyester fiberfill stuffing
- Stitch markers
- Yarn needle (tapestry needle) with a large eye
- Scissors
- Small scrap of felt (optional, for reinforcing the backs of the safety eyes)
- Sturdy body-colored thread for sewing on the ears
Abbreviations
- ch — Chain
- dec — Decrease (invisible decrease)
- inc — Increase (2 sc in same stitch)
- MR — Magic Ring
- sc — Single Crochet
- sl st — Slip Stitch
Pattern Notes
- This pattern is written in US crochet terminology.
- The Head/Body, Ears, Limbs, and Tail are all worked in continuous spiral rounds — do not join or chain up unless otherwise noted.
- Gauge is not critical for this project; it will only affect the finished size of your bunny.
- Stitch count is given at the end of each round in parentheses, like this: (12).
- Safety eyes are inserted directly into the Head/Body at a specified round — place them before you continue crocheting, since they can’t be added after the piece is closed.
- Stuff the Head/Body firmly as you work the final decrease rounds so the shape stays smooth and round.
- The Limbs piece is used four times total: two are joined in as legs and two as arms, so make all four before you begin the Head/Body.
Pattern Instructions
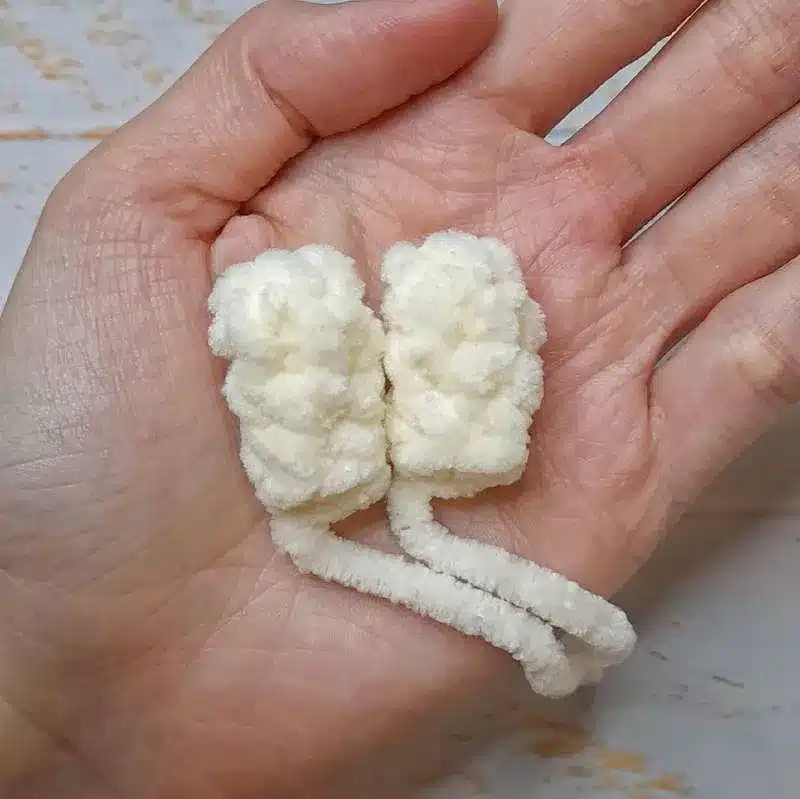
Ears (make 2)
Rnd 1: 5 sc in MR. (5)
Rnds 2–4: sc in each st around. (5)
Sl st to close, fasten off, leaving a long tail for sewing.
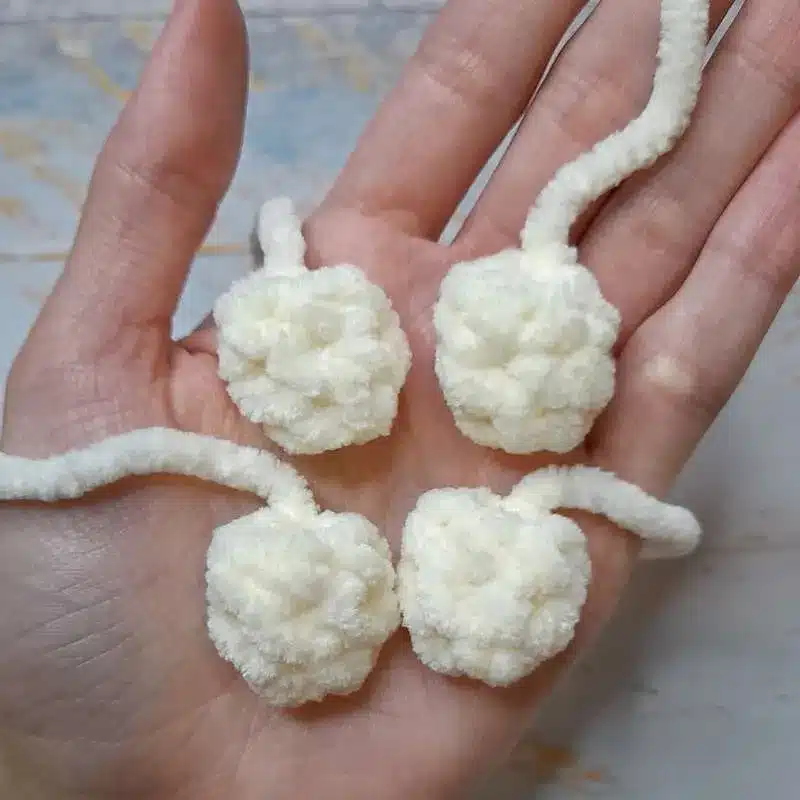
Limbs (make 4)
Rnd 1: 6 sc in MR. (6)
Rnds 2–3: sc in each st around. (6)
Sl st to close, fasten off, leaving a long tail for attaching.
Head/Body
Rnd 1: 6 sc in MR. (6)
Rnd 2: inc around. (12)
Rnd 3: sc, inc repeat around. (18)
Rnd 4: 2 sc, inc repeat around. (24)
Rnd 5: 3 sc, inc repeat around. (30)
Rnd 6: 4 sc, inc repeat around. (36)
Rnd 7: 5 sc, inc repeat around. (42)
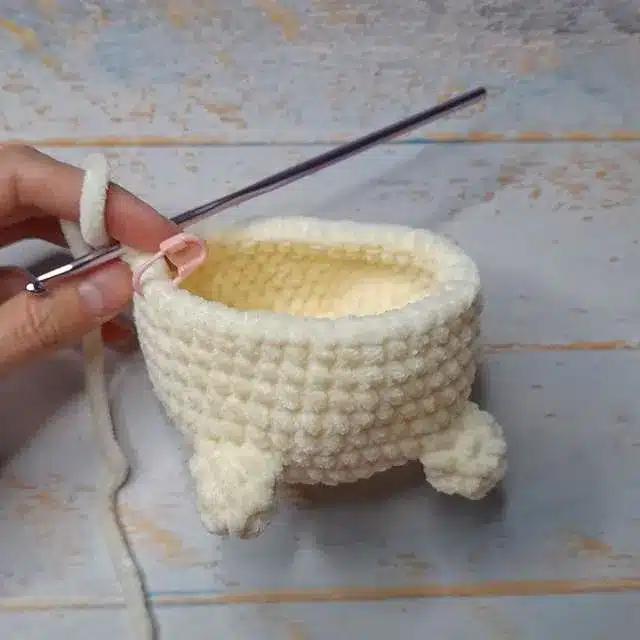
Rnd 8: Attach legs here. 25 sc, sc3tog joining a Limb piece, 7 sc, sc3tog joining a second Limb piece, 4 sc. (42)
Rnds 9–13: sc in each st around. (42)
Rnd 14: Attach arms here. 23 sc, sc3tog joining a Limb piece, 13 sc, sc3tog joining the last Limb piece. (42)
Rnd 15: 24 sc, sc, dec repeat around. (36)
Rnd 16: 24 sc, sc, inc repeat around. (42)
Rnds 17–18: sc in each st around. (42)
Rnd 19: 5 sc, dec repeat around. (36)
Insert the safety eyes now, positioning them between Rnds 17 and 18, spaced 8 stitches apart. For extra hold, back each eye post with a small circle of felt before securing the washer.
Rnd 20: 4 sc, dec repeat around. (30)
Rnd 21: 3 sc, dec repeat around. (24)
Rnd 22: 2 sc, dec repeat around. (18)
Rnd 23: sc, dec repeat around. (12)
Rnd 24: dec around. (6)
Add or top off stuffing before closing so the body stays firm. Fasten off, cinch the opening closed, and weave the tail into the body.
Tail
Rnd 1: 6 sc in MR. (6)
Rnd 2: sc in each st around. (6)
Sl st to close, fasten off, leaving a tail for sewing. Do not stuff this piece.
Mouth
Using the smaller B-1 (2mm) hook and pink yarn:
Ch 3. Working into the 2nd ch from hook: 1 sc, 4 sc in the next stitch, 1 sc. Fasten off, leaving a tail for sewing.
Assembly
- Position the two Ears at the top of the Head/Body, just behind the cinched closure point, sitting side by side. Whipstitch each one in place using the sturdy body-colored thread.
- Attach the Tail by counting up 8 rounds from the base of the Head/Body and sewing it flat against the back, using its own yarn tail.
- Using pink yarn and the yarn needle, embroider the cheeks as two soft rounded patches sitting just below and beside each eye.
- Center the crocheted Mouth piece between the eyes and sew it in place with its yarn tail.
- With black yarn or embroidery floss, embroider the smile lines extending outward from the top corners of the mouth toward each eye.
- Weave in any remaining loose ends throughout the piece.
Tips
- Keep your tension slightly tight through the Head/Body rounds — plush chenille yarn is forgiving, but a looser gauge can let stuffing peek through between stitches on a shape this large. If you’re new to invisible decreases, practice a few on a scrap ring first: insert your hook into the front loops only of the next two stitches, yarn over, and pull through both loops at once for a seamless, bump-free finish.
- Stuff the body gradually as you go rather than all at once at the end — add fiberfill in small handfuls starting around Rnd 10, and press firmly with your fingers to check for lumps before closing the final rounds. This keeps the shape evenly rounded instead of lopsided.
- Chenille or plush yarn is the star of this pattern, and swapping it for a smooth cotton or acrylic will change the finished look significantly — plush yarn hides stitch definition and gives that fuzzy, huggable texture the Molang bunny is known for, so stick with a similar bulky chenille if you can.
- When sewing on the Ears and Tail, use small, tight stitches close to the base of each piece rather than large loose ones. Tucking your needle just under the surface stitches on the body (rather than through the very top) will keep your seams nearly invisible.
- The trickiest section is Rnd 8 and Rnd 14, where you’re joining the Limb pieces mid-round. Work slowly here, and use a stitch marker to hold each Limb in position before you crochet through both layers — this prevents the limb from twisting as you stitch it into place.
Frequently Asked Questions
What weight yarn works best for this Molang bunny amigurumi pattern?
A bulky weight chenille or plush yarn gives the softest, most authentic look for this pattern. It hides individual stitches nicely, which suits the smooth, rounded shape of the Molang bunny. A standard worsted weight cotton yarn can be substituted, but the texture and finished size will differ.
Can I make this bunny without safety eyes?
Yes, you can embroider the eyes with black yarn or felt circles instead of using safety eyes. This is a good option if the toy is intended for a very young child, since sewn or embroidered eyes eliminate any small parts. Just be sure to secure any stitched eyes very firmly if the piece will see heavy use.
Why are the arms and legs attached mid-round instead of sewn on afterward?
Joining the limbs directly into Rnd 8 and Rnd 14 creates a stronger connection than sewing them on after the body is finished. It also gives the bunny a seamless, rounded silhouette without visible attachment points. This technique does take a little practice, but it results in a much more secure and polished finish.
How much stuffing does the Head/Body need?
Stuff the piece firmly enough that it holds its rounded shape without any dents, but not so tightly that the stitches stretch and gap. Add stuffing gradually starting around Rnd 10 and check the shape by pressing gently with your fingers.
What if I can’t find plush chenille yarn?
If plush chenille is unavailable, look for any bulky weight yarn with a soft, fuzzy texture. Velvet-style yarns can also work well, though they may have less stretch. Avoid smooth, tightly twisted yarns if you want the classic Molang look, as they will show more stitch definition.
Can I adjust the size of the bunny?
Yes, you can use a different weight yarn and corresponding hook size to change the finished dimensions. A worsted weight yarn with a smaller hook will produce a smaller bunny, while a super bulky yarn will make it larger. Keep in mind that the proportions may shift slightly if you change the yarn weight significantly.
Pin This Crochet Pattern!