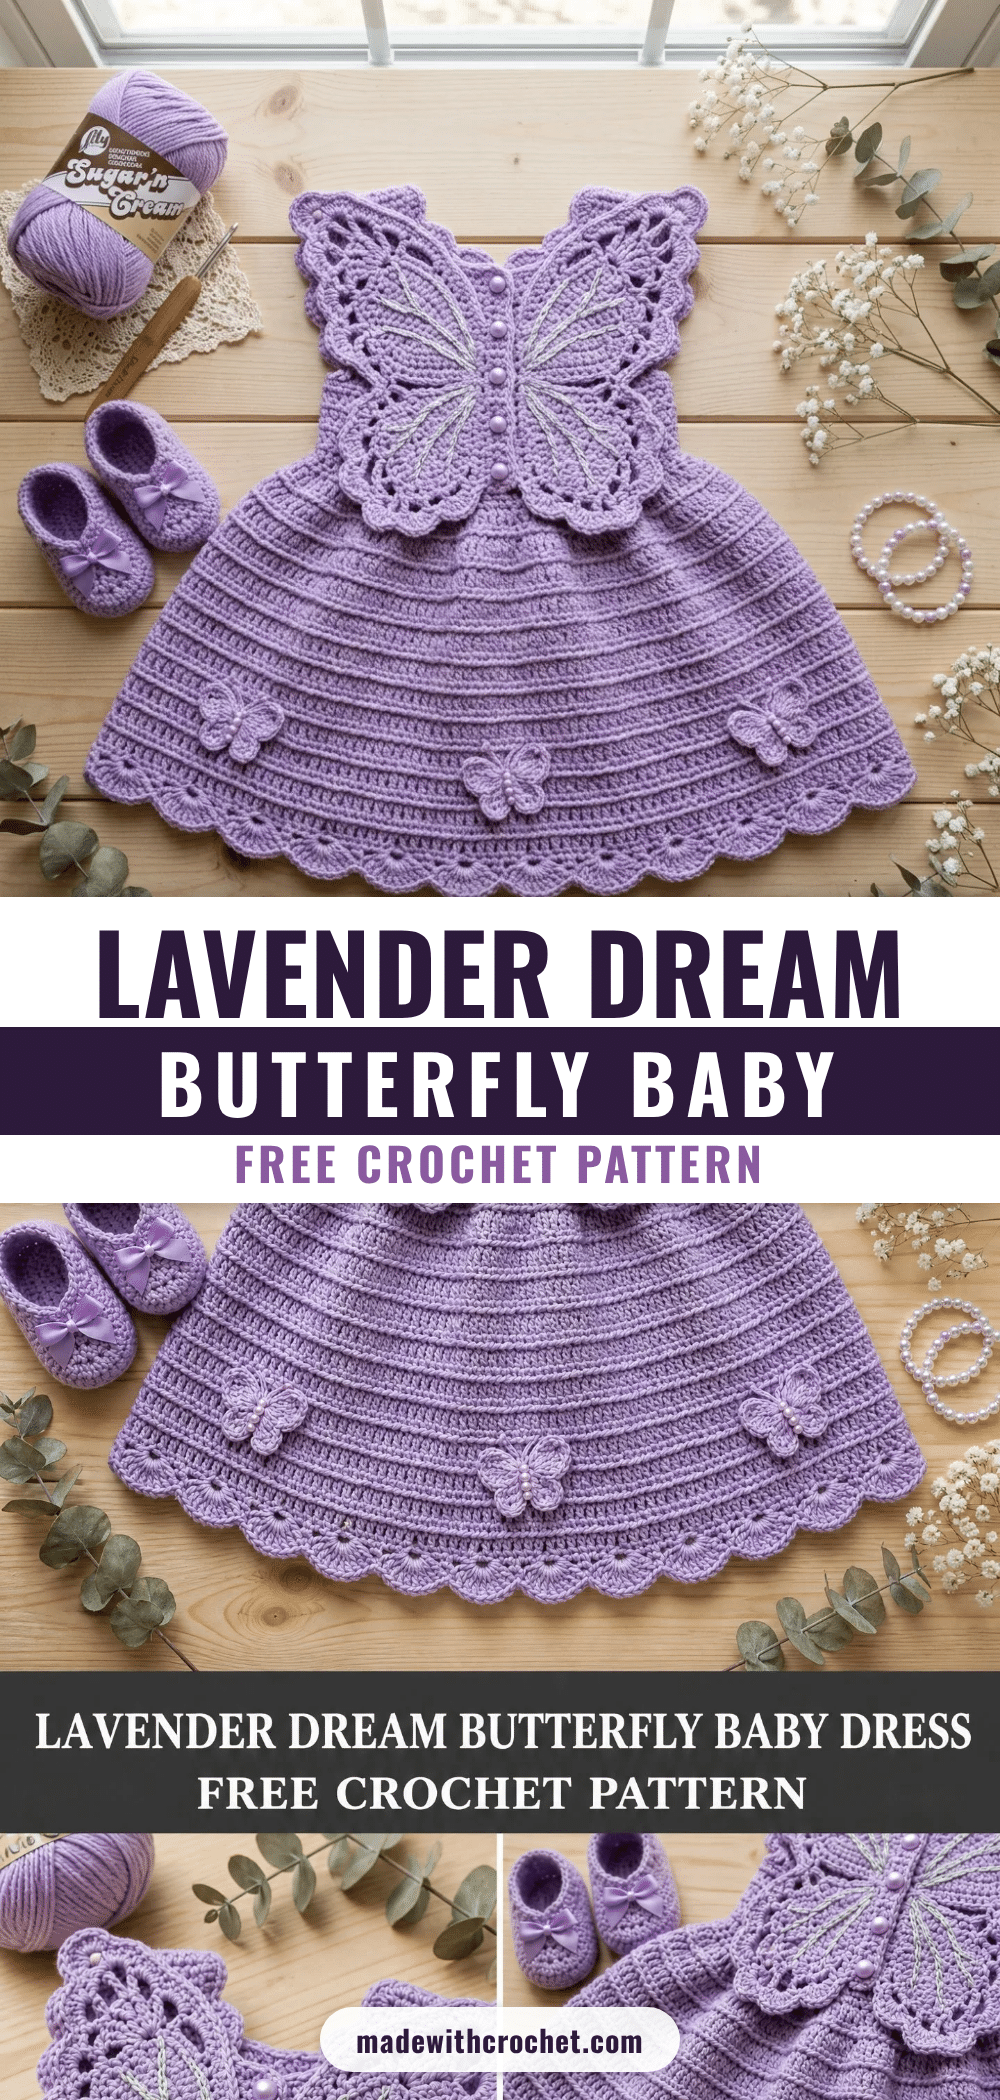
Spring and summer are the perfect seasons for crafting sweet, airy garments for little ones. Whether you’re preparing for a baby shower, a spring market, or simply want to create a cherished handmade gift, this Lavender Dream Butterfly Baby Dress is a stunning project that captures the essence of the season. The soft lavender hue and delicate butterfly details make it an ideal piece for warm-weather celebrations and everyday elegance.
Seasonal Styling Ideas
The soft lavender color of this dress is a natural fit for spring and summer wardrobes. Pair it with a simple white onesie for a fresh, clean look, or add a pair of soft sandals for a complete outfit. The butterfly motif makes it a wonderful choice for garden parties, Easter gatherings, or even as a special baptism or birthday gift. The dress’s lightweight cotton construction ensures it’s comfortable for baby to wear on warm days, and the A-line skirt allows for easy movement. For a touch of whimsy, consider adding a matching lavender hair bow or headband.
Project Overview
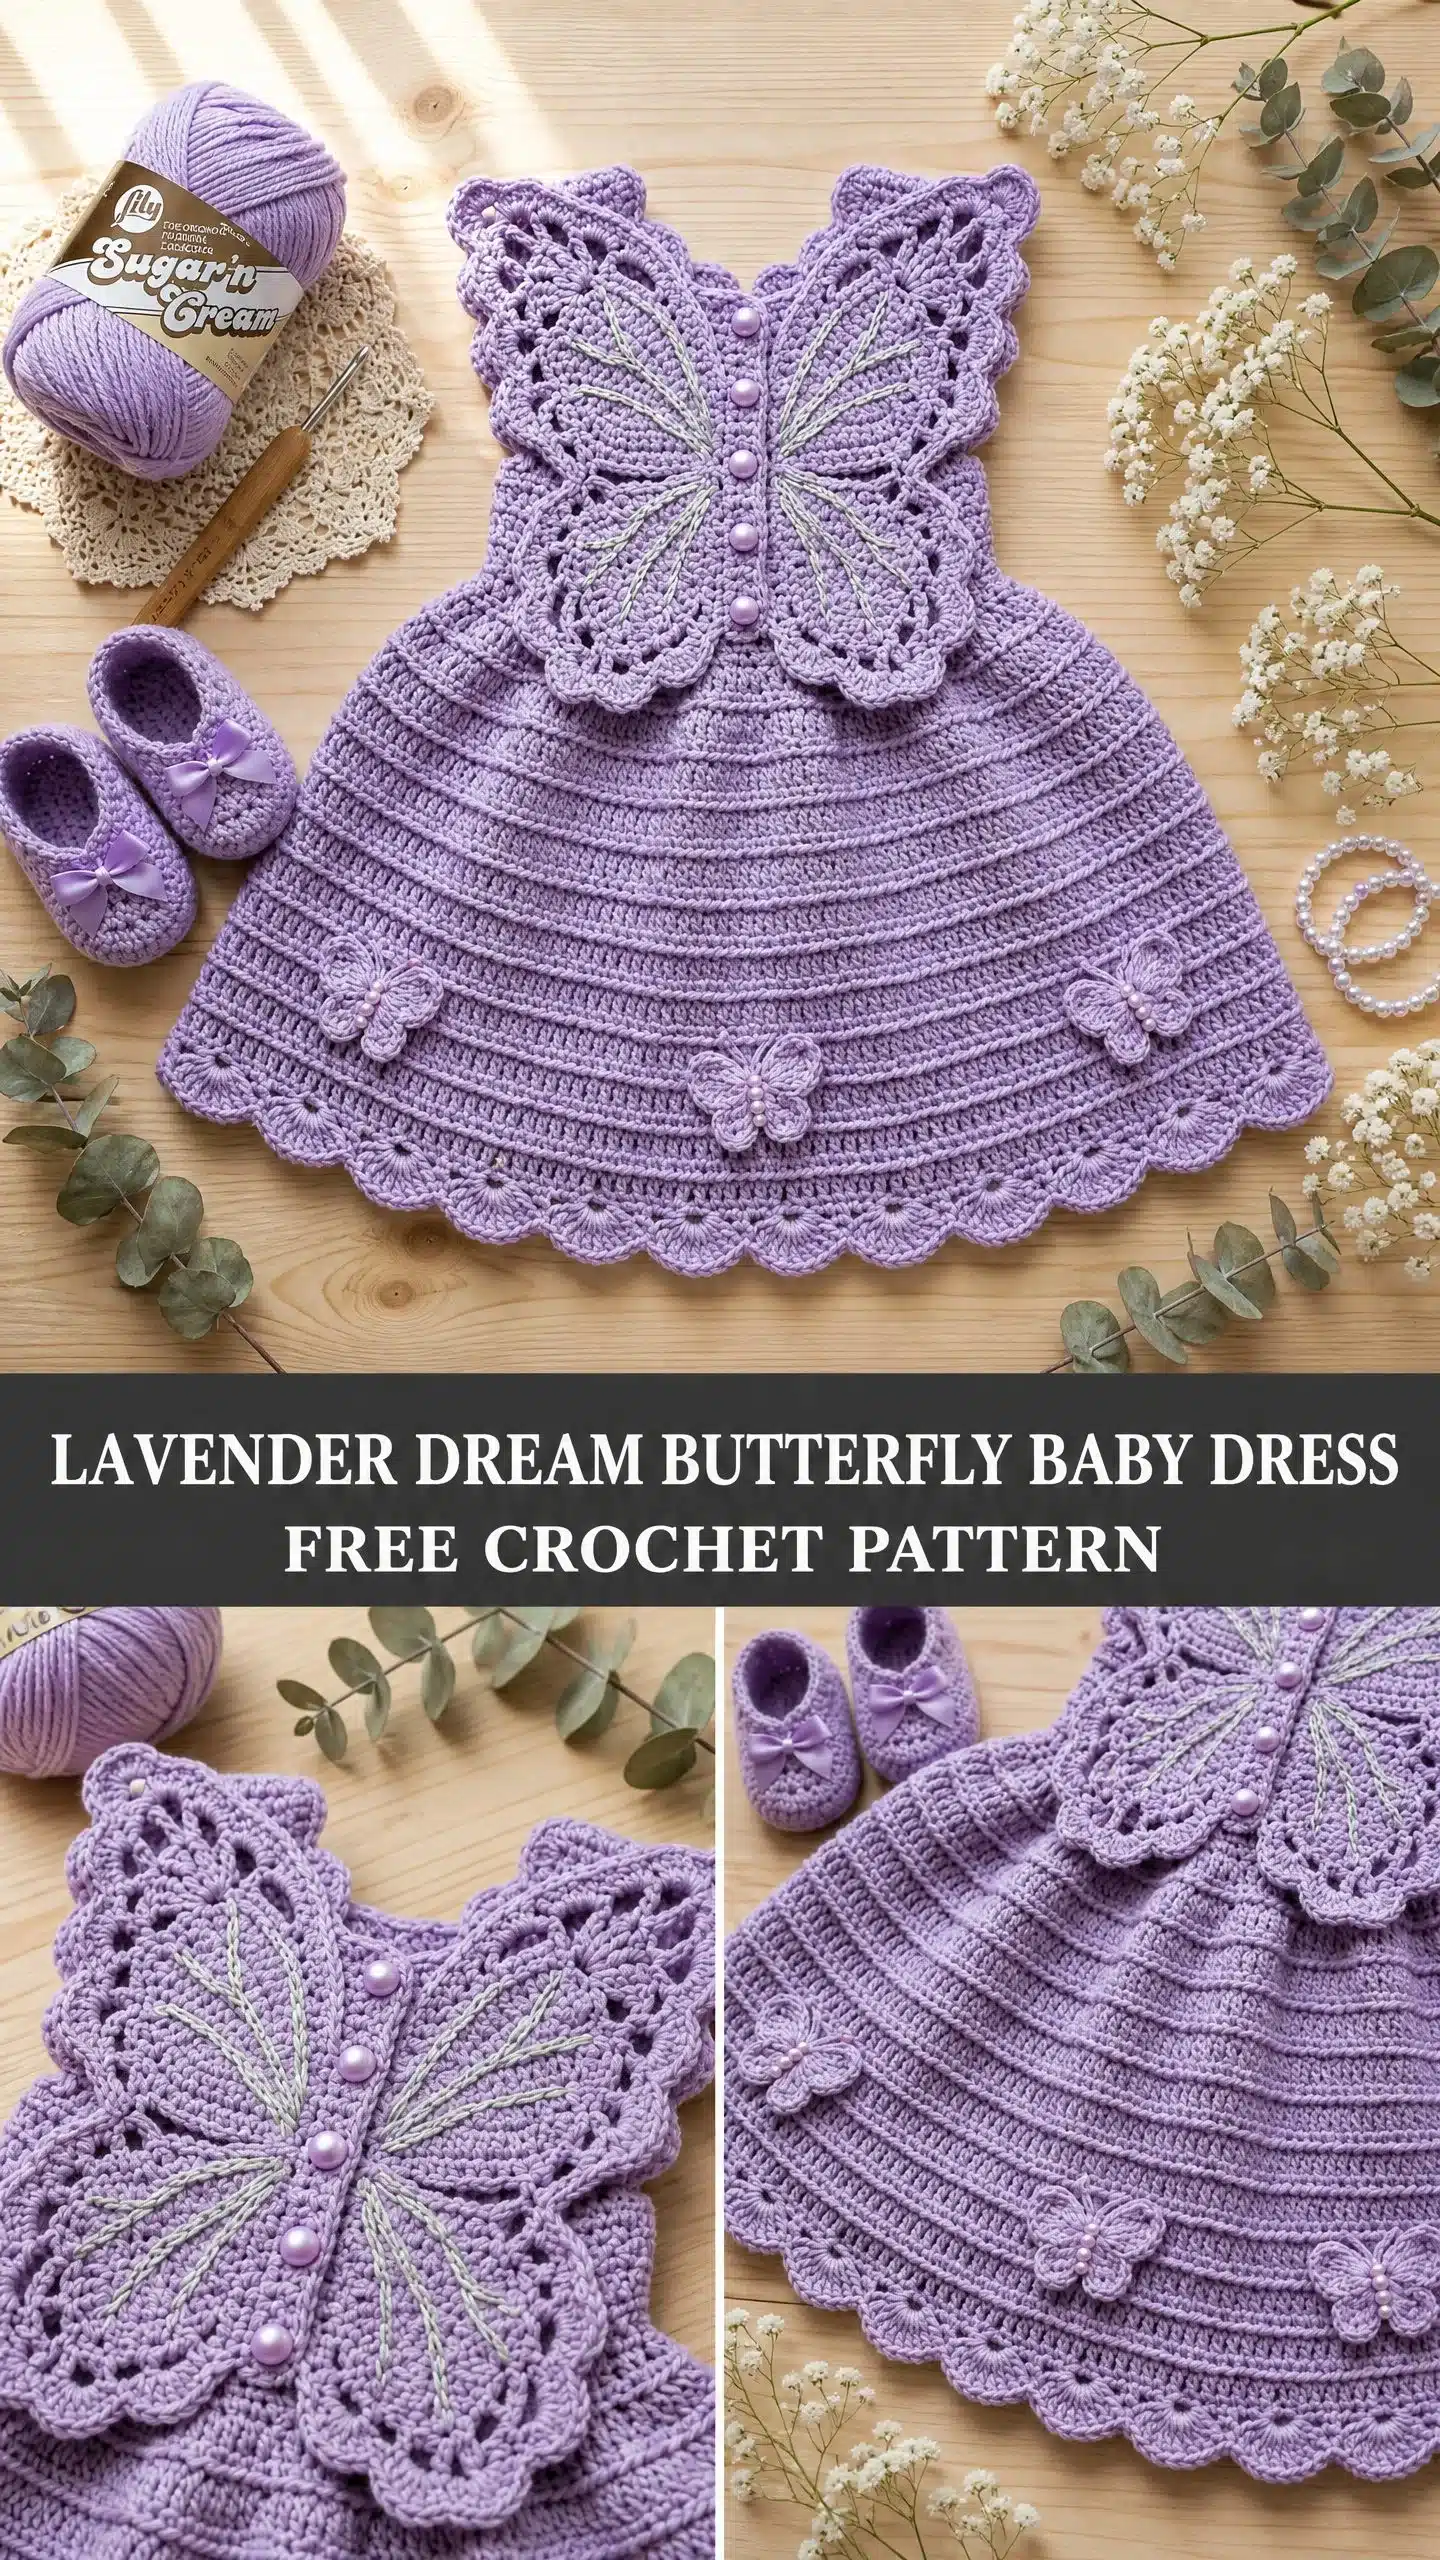
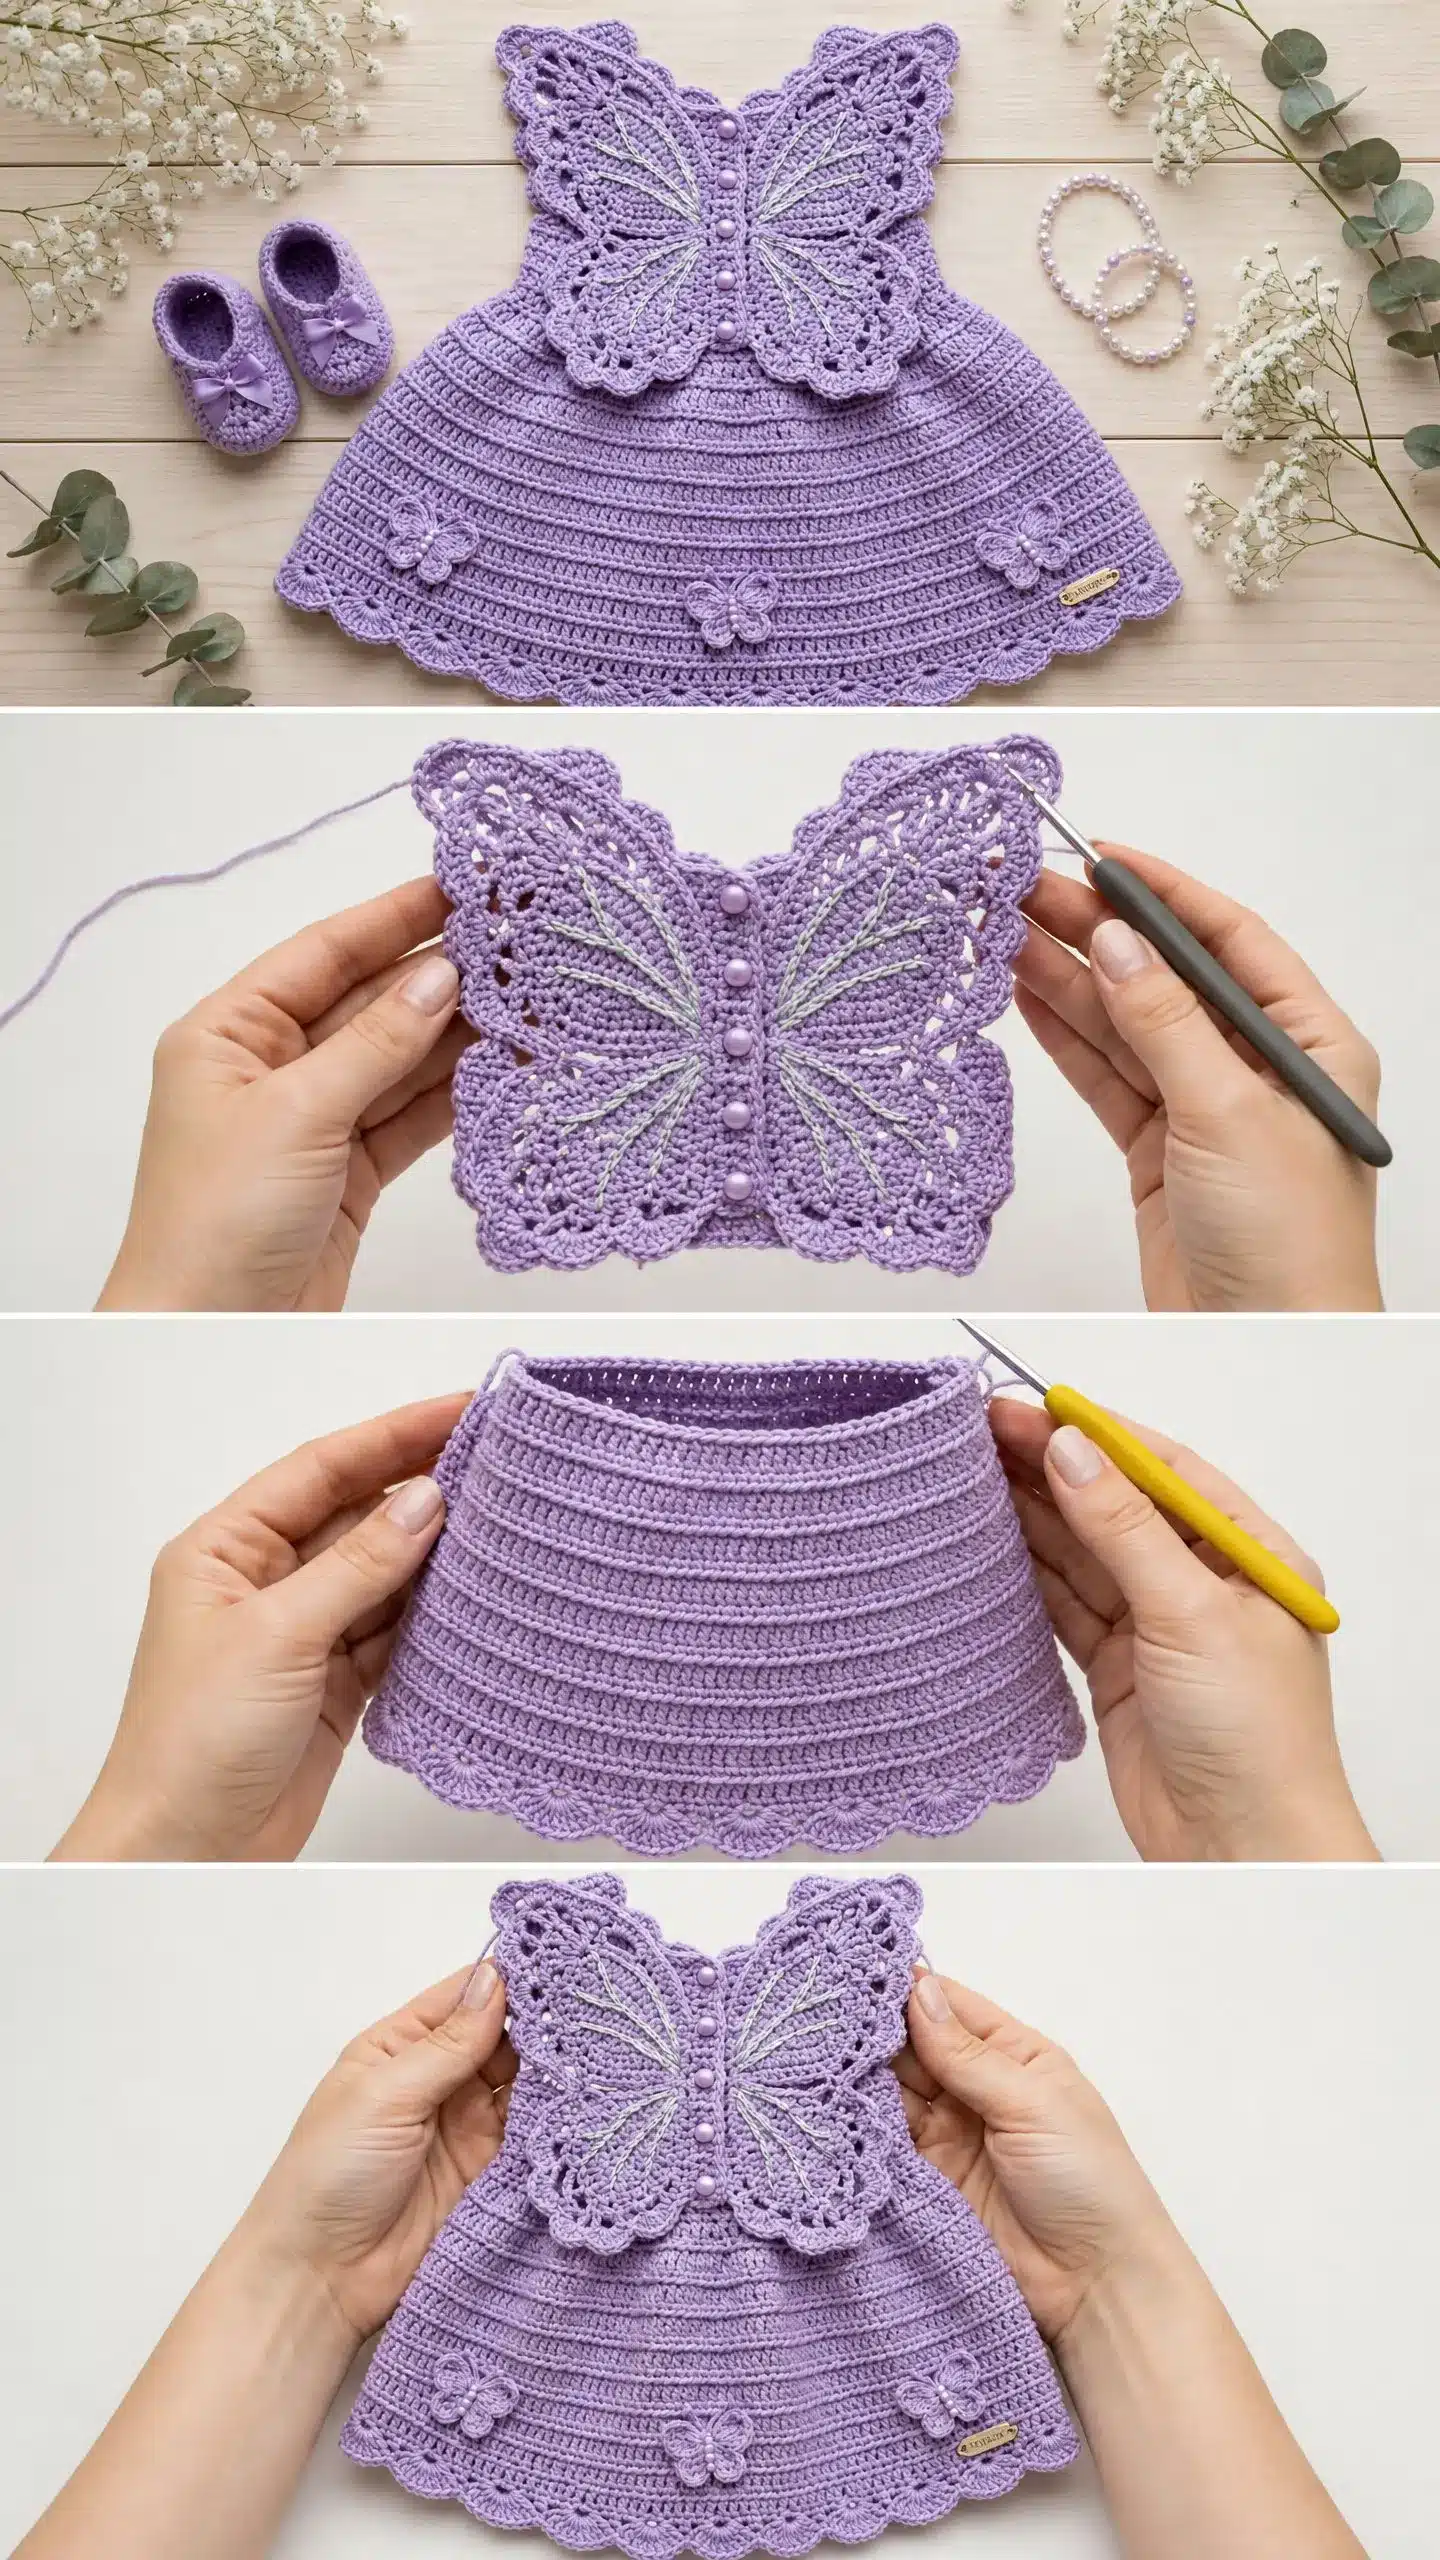
This show-stopping baby dress features a modular construction, meaning you work each piece separately and then assemble everything at the end. The design includes a wide A-line skirt worked flat from the waist down, a dramatic butterfly motif that forms the entire front bodice, and delicate scallop lace edging. Small butterfly appliques add extra charm to the finished piece, and pearl button closures run up the center back for easy dressing. This pattern is an advanced beginner to intermediate level project, perfect for a dedicated home crocheter looking for a rewarding challenge.
Materials
- Yarn: Worsted weight (weight category 4), 100% cotton or cotton-acrylic blend. Approximately 400 yards / 366 meters total in a single lavender color. The yarn shown in the photos is Lily Sugar n Cream (100% cotton, 95 yards per 2.5 oz ball, approximately 5 balls needed). Other great options include Lion Brand 24/7 Cotton (approximately 3 balls needed) or any smooth worsted weight yarn that achieves gauge. Avoid fuzzy or textured yarns because the butterfly lace details will lose their definition.
- Hook: US size G-6 / 4.0 mm for all main sections. You may use a US size F-5 / 3.75 mm for the small butterfly appliques if you want them slightly firmer.
- Notions: Yarn needle for seaming and weaving ends, stitch markers (at least 6 locking style), small pearl buttons (4 to 6, approximately 8 mm diameter), pearl beads (approximately 8 to 12, 6 mm diameter, optional), beading needle and thread to match yarn, sewing pins for blocking, blocking mat or padded surface, spray bottle or damp towels for wet blocking, scissors, ruler or tape measure.
Gauge and Finished Size
Gauge
With US G-6 / 4.0 mm hook and worsted weight cotton: 16 hdc x 12 rows = 4 inches / 10 cm worked flat in half double crochet (hdc), turning chain counts as first hdc. Please check your gauge before beginning. The skirt circumference and length depend on accurate gauge. If your swatch is larger than stated, go down one hook size. If smaller, go up one hook size. For the lace bodice sections, one shell (5 dc into same stitch) measures approximately 1 inch / 2.5 cm across and 0.5 inch / 1.25 cm tall.
Finished Size
This pattern fits size 6 to 12 months:
- Chest circumference (laid flat, doubled): approximately 18 inches / 46 cm
- Dress length from shoulder to hem: approximately 14 inches / 35.5 cm
- Skirt length from waist to hem: approximately 9 inches / 23 cm
- Bodice/yoke height: approximately 5 inches / 12.5 cm
Abbreviations
- ch = chain
- sl st = slip stitch
- sc = single crochet
- hdc = half double crochet
- dc = double crochet
- tr = treble crochet
- yo = yarn over
- sp = space
- ch-sp = chain space
- sk = skip
- st(s) = stitch(es)
- beg = beginning
- rep = repeat
- rem = remaining
- RS = right side
- WS = wrong side
- PM = place marker
- inc = increase (work 2 stitches into same stitch)
- dec = decrease
- hdc2tog = half double crochet 2 together
- dc2tog = double crochet 2 together
- t-ch = turning chain
Special Stitches
- Shell Stitch: Work 5 double crochet (dc) all into the same stitch or space.
- V-Stitch: Work (dc, ch 2, dc) all into the same stitch or space.
- Picot: Ch 3, slip stitch into the first of those 3 chains.
- Puff Stitch: (Yo, insert hook in stitch, pull up a loop to height of a dc) 4 times in the same stitch, yo, pull through all 9 loops on hook, ch 1 to lock.
- Scallop Edging: Working along a foundation edge, sc in first st, sk 2 sts, (shell in next st, sk 2 sts, sc in next st) repeat across.
Pattern Notes
- The skirt is worked flat (back and forth in rows) beginning from the waist and expanding outward to the hem.
- The dress has a center back opening for ease of dressing. Buttons and button loops close the back.
- The bodice butterfly is worked as a separate flat piece, then overlaid onto the upper skirt and seamed at the sides and waist.
- The upper butterfly wings extend above the bodice panel to form the shoulder straps. They do not connect at the shoulders but frame the neckline on each side.
- All turning chains are noted. The t-ch at the beginning of an hdc row counts as 1 hdc unless explicitly stated otherwise.
- Stitch counts in parentheses at the end of each row reflect total working stitches.
- Right side is the public/outside face of the garment.
- Block all pieces before assembly. The lace bodice butterfly opens up dramatically when blocked wet.
- The small butterfly appliques are pinned in place before sewing so you can adjust their placement visually.
Pattern Instructions
Section 1: The Skirt
The skirt is worked from the waist down. You are beginning with a chain that forms the waist edge.
Foundation: ch 74.
Row 1 (RS): hdc in 3rd ch from hook and in each ch across. (72 hdc) The turning chain counts as 1 hdc here and throughout unless noted.
Row 2 (WS): ch 2, turn. hdc in each st across. (72 hdc)
Row 3 (RS): ch 2, turn. hdc in first 8 sts, inc in next st, (hdc in next 8 sts, inc in next st) 7 times. Check: 8 increases added. (80 hdc)
Row 4 (WS): ch 2, turn. hdc in each st across. (80 hdc)
Row 5 (RS): ch 2, turn. hdc in first 9 sts, inc in next st, (hdc in next 9 sts, inc in next st) 7 times. (88 hdc)
Continue in this pattern, increasing 8 stitches evenly across every RS row, working a WS row even between each increase row, until the skirt measures approximately 9 inches / 23 cm from the foundation chain. The final row count will depend on your gauge. Fasten off after a WS row.
Section 2: The Bodice Butterfly
The bodice butterfly is worked in separate pieces: a center body column, two upper wings, and two lower wings. All pieces are then assembled and edged.
Bodice Center Body Column
Ch 7.
Row 1: sc in 2nd ch from hook and in each ch across. (6 sc)
Rows 2 through 16: ch 1, turn. sc in each st across. (6 sc)
After Row 16, you have a narrow rectangle approximately 5.5 inches / 14 cm tall. This is the butterfly body. Fasten off and set aside.
Upper Right Wing
Foundation: Ch 37.
Row 1 (RS): dc in 4th ch from hook, dc in next 2 ch, (sk 2 ch, shell in next ch, sk 2 ch, dc in next 3 ch) 4 times. (4 shells, 5 groups of 3 dc) Total working sts: (35 dc)
Row 2 (WS): ch 3, turn. dc in each dc and shell st across, working 3 dc across each shell top (compress to 3 dc on the return row to maintain shape). (35 dc)
Row 3 (RS): ch 3, turn. dc in first 2 dc, (sk 2 dc, shell in next dc, sk 2 dc, dc in next 3 dc) across, end dc in last 2 dc. (4 shells) (35 dc)
Row 4 (WS): rep Row 2. (35 dc)
Row 5 (RS): ch 3, turn. dc2tog over first 2 sts (decrease at wing tip edge), dc in next dc, (sk 2, shell in next dc, sk 2, dc in next 3 dc) 3 times, sk 2, shell in next dc, sk 2, dc in next 2 dc, dc2tog over last 2 sts. (33 dc, 4 shells inside)
Row 6 (WS): ch 3, turn. dc2tog, dc across compressing shells to 3 dc, dc2tog at end. (31 dc)
Row 7 (RS): ch 3, turn. dc2tog, dc in next dc, (sk 2, shell in next dc, sk 2, dc in next 3 dc) across adjusting to fit 31 sts with 3 shells, dc2tog at end. (29 dc)
Row 8 (WS): ch 3, turn. dc2tog, dc across (compress shells), dc2tog. (27 dc)
Row 9 (RS): ch 3, turn. dc2tog, dc in next dc, (sk 2, shell in next dc, sk 2, dc in next 2 dc) across for 2 shells, end dc2tog. (25 dc)
Row 10 (WS): ch 3, turn. dc2tog, dc across, dc2tog. (23 dc)
Row 11 (RS): ch 3, turn. dc2tog, (sk 2, shell in next dc, sk 2, dc in next 3 dc) once, (sk 1, shell in next dc, sk 1, dc in next 2 dc) once, dc2tog. (21 dc, 2 shells)
Row 12 (WS): ch 3, turn. dc2tog, dc across, dc2tog. (19 dc)
Do not fasten off. Proceed to wing edging.
Upper Left Wing
Work exactly as Upper Right Wing. The mirroring is achieved during assembly by placing the left wing on the opposite side of the body column.
Lower Right Wing
Foundation: Ch 25.
Row 1 (RS): dc in 4th ch from hook, dc in next dc, (sk 2 ch, shell in next ch, sk 2 ch, dc in next 3 ch) twice, sk 2 ch, shell in next ch, sk 2 ch, dc in last 2 ch. (3 shells, 4 anchor groups) (24 dc total)
Row 2 (WS): ch 3, turn. dc2tog, dc across compressing shells to 3 dc, dc2tog. (22 dc)
Row 3 (RS): ch 3, turn. dc2tog, dc in next dc, (sk 2, shell in next dc, sk 2, dc in next 3 dc) twice, dc2tog. (20 dc, 2 shells)
Row 4 (WS): ch 3, turn. dc2tog, dc across, dc2tog. (18 dc)
Row 5 (RS): ch 3, turn. dc2tog, dc in next dc, (sk 2, shell in next dc, sk 2, dc in next 3 dc) once, sk 2, shell in next dc, dc2tog. (16 dc, 2 shells)
Row 6 (WS): ch 3, turn. dc2tog, dc across, dc2tog. (14 dc)
Row 7 (RS): ch 3, turn. dc2tog, sk 2, shell in next dc, sk 2, dc in next dc, shell in next dc, dc2tog. (12 dc, 2 shells)
Row 8 (WS): ch 3, turn. dc2tog, dc across, dc2tog. (10 dc)
Row 9 (RS): ch 3, turn. dc2tog, dc in next 6 dc, dc2tog. (8 dc)
Do not fasten off. Proceed to lower wing edging.
Lower Left Wing
Work as Lower Right Wing.
Wing Edging
All four wing pieces receive the same scallop/shell edging before assembly.
With RS facing, join yarn at the corner of any wing at the lowest point of the piece.
Round 1 (edging): ch 1, sc evenly around all edges of the wing. Work 1 sc per dc post, 2 sc across each shell top, and 3 sc in each corner point. When you reach the flat base edge, work 1 sc per foundation chain stitch. Join with sl st to first sc. Adjust your count so it is divisible by 6. For the upper wing, aim for approximately 96 sc. For the lower wing, aim for approximately 60 sc.
Round 2 (scallop shell edging): ch 1, (sc in first sc, sk 2 sc, shell in next sc, sk 2 sc) around. Join with sl st to first sc.
Round 3 (picot finish, upper wings only): ch 1, sc in first st, (sc in each dc of shell, picot after 3rd dc of shell, sc in remaining shell dc, sc in sc between shells) around. Join and fasten off.
On lower wings, fasten off after Round 2 without the picot round.
Butterfly Body Detail
Using the puff stitch, work 3 to 5 puff stitches in a vertical line down the center of the body column, spacing them approximately 1 inch apart. If attaching pearl beads, use a beading needle and thread to sew one 6 mm pearl bead between each puff stitch.
Section 3: Assembling Skirt and Bodice
Pin the bodice butterfly pieces onto the upper portion of the skirt, with the center body column aligned with the center front of the skirt. The upper wings should extend above the skirt to form the shoulder straps. The lower wings should sit just below the center body column. Sew all pieces in place securely.
Section 4: Waistband Finish
Work a row of single crochet across the waist edge of the skirt to create a neat finish. This will also serve as the base for the back opening bands.
Section 5: Back Opening and Button Loops
Right Back Band
With RS facing, join yarn at the top right edge of the back opening. Work a row of sc down the edge to the waist. Fasten off.
Left Back Band
With RS facing, join yarn at the waist edge of the left back opening. Work a row of sc up the edge. At the top, create button loops by chaining a length that fits over your buttons, then slip stitch back down. Fasten off. Sew buttons onto the right back band to correspond with the loops.
Section 6: Hem Scallop Edging
With RS facing, join yarn at the bottom hem edge. Work the scallop edging around the entire hem: sc in first st, sk 2 sts, (shell in next st, sk 2 sts, sc in next st) repeat across. Join and fasten off.
Section 7: Small Butterfly Appliques
Work 5 small butterfly appliques using the smaller hook if desired. Pin them in place along the hem, adjusting their placement visually before sewing them down securely.
Assembly
Block all pieces before assembly. Sew the bodice butterfly pieces onto the skirt as described. Sew the back bands and attach buttons. Sew the small butterfly appliques onto the hem. Weave in all ends.
Tips
- Take your time with the butterfly wings. They look complicated, but if you work row by row and count your stitches, the shaping becomes clear.
- Block before assembly. It is much easier to sew pieces together when they are blocked flat and relaxed.
- Use locking stitch markers. Mark your increase positions on the skirt rows so you do not lose track.
- Do not skip the gauge swatch. This dress needs accurate sizing, and cotton yarn can behave differently from acrylic.
- Pin the appliques before sewing. Move them around until the placement looks balanced, then sew them down.
Frequently Asked Questions
Can I use a different yarn weight for this pattern?
This pattern is designed specifically for worsted weight yarn (weight category 4). Using a different weight will significantly alter the gauge and finished size of the dress. If you wish to substitute, you will need to work a gauge swatch and adjust the pattern accordingly.
How do I adjust the size for a larger or smaller baby?
This pattern is written for size 6 to 12 months. To adjust the size, you can modify the foundation chain and increase rows of the skirt, as well as the size of the bodice butterfly pieces. Working a gauge swatch and measuring against the baby is the best way to ensure a proper fit.
Can I skip the small butterfly appliques?
Yes, the small butterfly appliques are an optional decorative element. The dress will still look beautiful without them, but they add an extra touch of charm and detail to the finished piece.
How do I care for the finished dress?
Because this dress is made with cotton yarn, it is best to hand wash it in cool water with a mild detergent and lay it flat to dry. This will help maintain the shape of the lace details and prevent stretching.
What if my gauge is off?
If your gauge swatch is larger than stated, go down one hook size. If it is smaller, go up one hook size. Achieving the correct gauge is crucial for the skirt circumference and length to be accurate.
Can I use a different color?
Absolutely! While the pattern is shown in lavender, you can use any color you like. Soft pastels, bright hues, or even a neutral tone would all look lovely. Just ensure you use a smooth worsted weight yarn that achieves gauge.
Pin This Crochet Pattern!