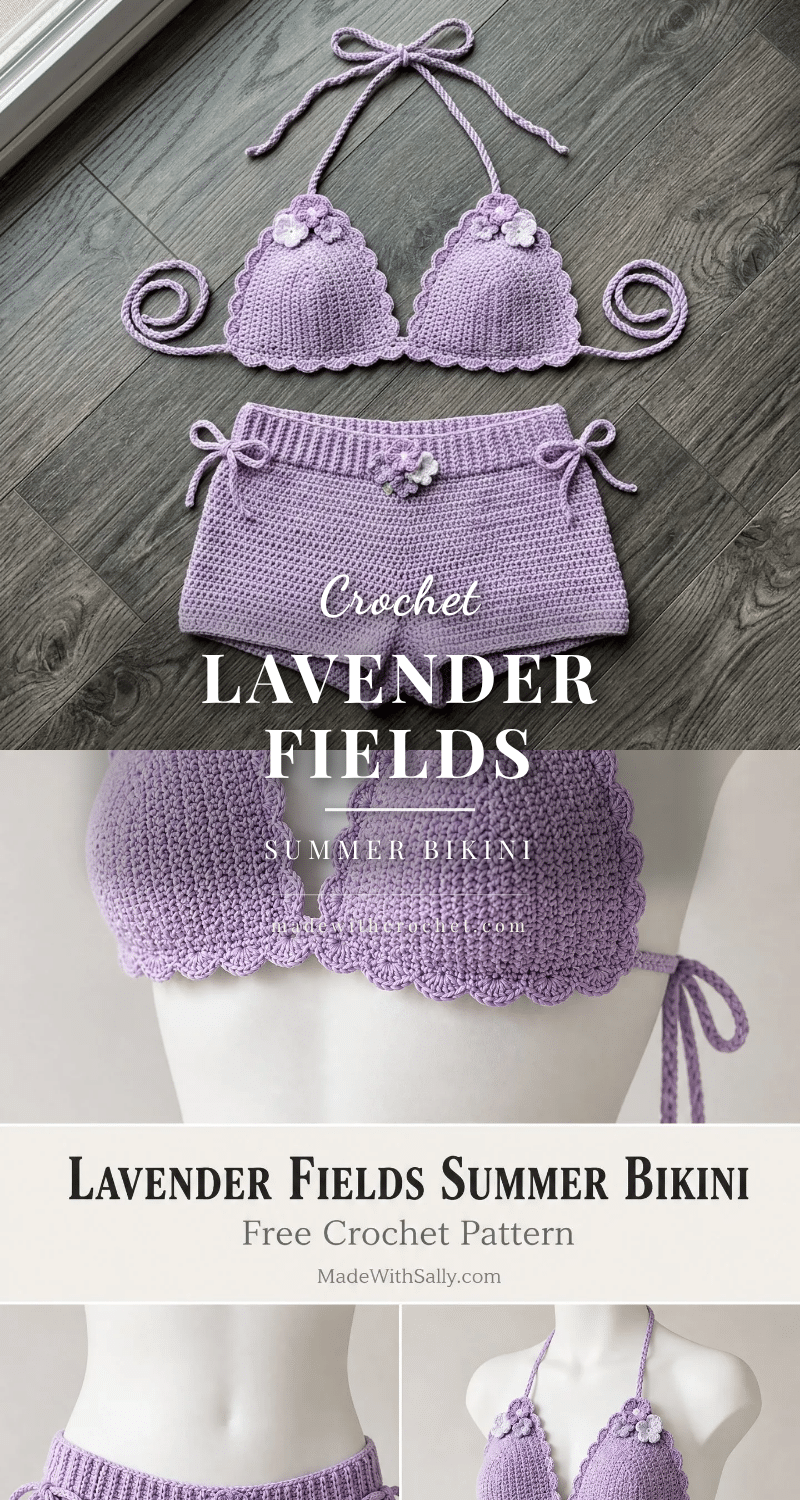
If the thought of crocheting a swimsuit makes you nervous—will it hold up? Will it look like a craft project gone wrong?—you’re not alone. But the Lavender Fields Summer Bikini is designed to change your mind. This pattern walks you through every step, from triangle cups with elegant scalloped edges to boy-short bottoms with a stay-put ribbed waistband. The result is a polished, boutique-worthy set that feels intentional and beautiful, not homemade in the awkward sense. Let’s get started.
Maker Notes
What makes this pattern so rewarding is the attention to detail. The scallop edging and tiny layered flower appliques add a handcrafted charm that feels special without being fussy. The lavender main color is soft and dreamy, but you could easily swap it for a bright coral or a classic black for a different vibe. The crocheted cord ties are both functional and decorative, giving you full adjustability. This is a project to savor over a few evenings, and the result is a summer staple you’ll reach for again and again.
Project Overview
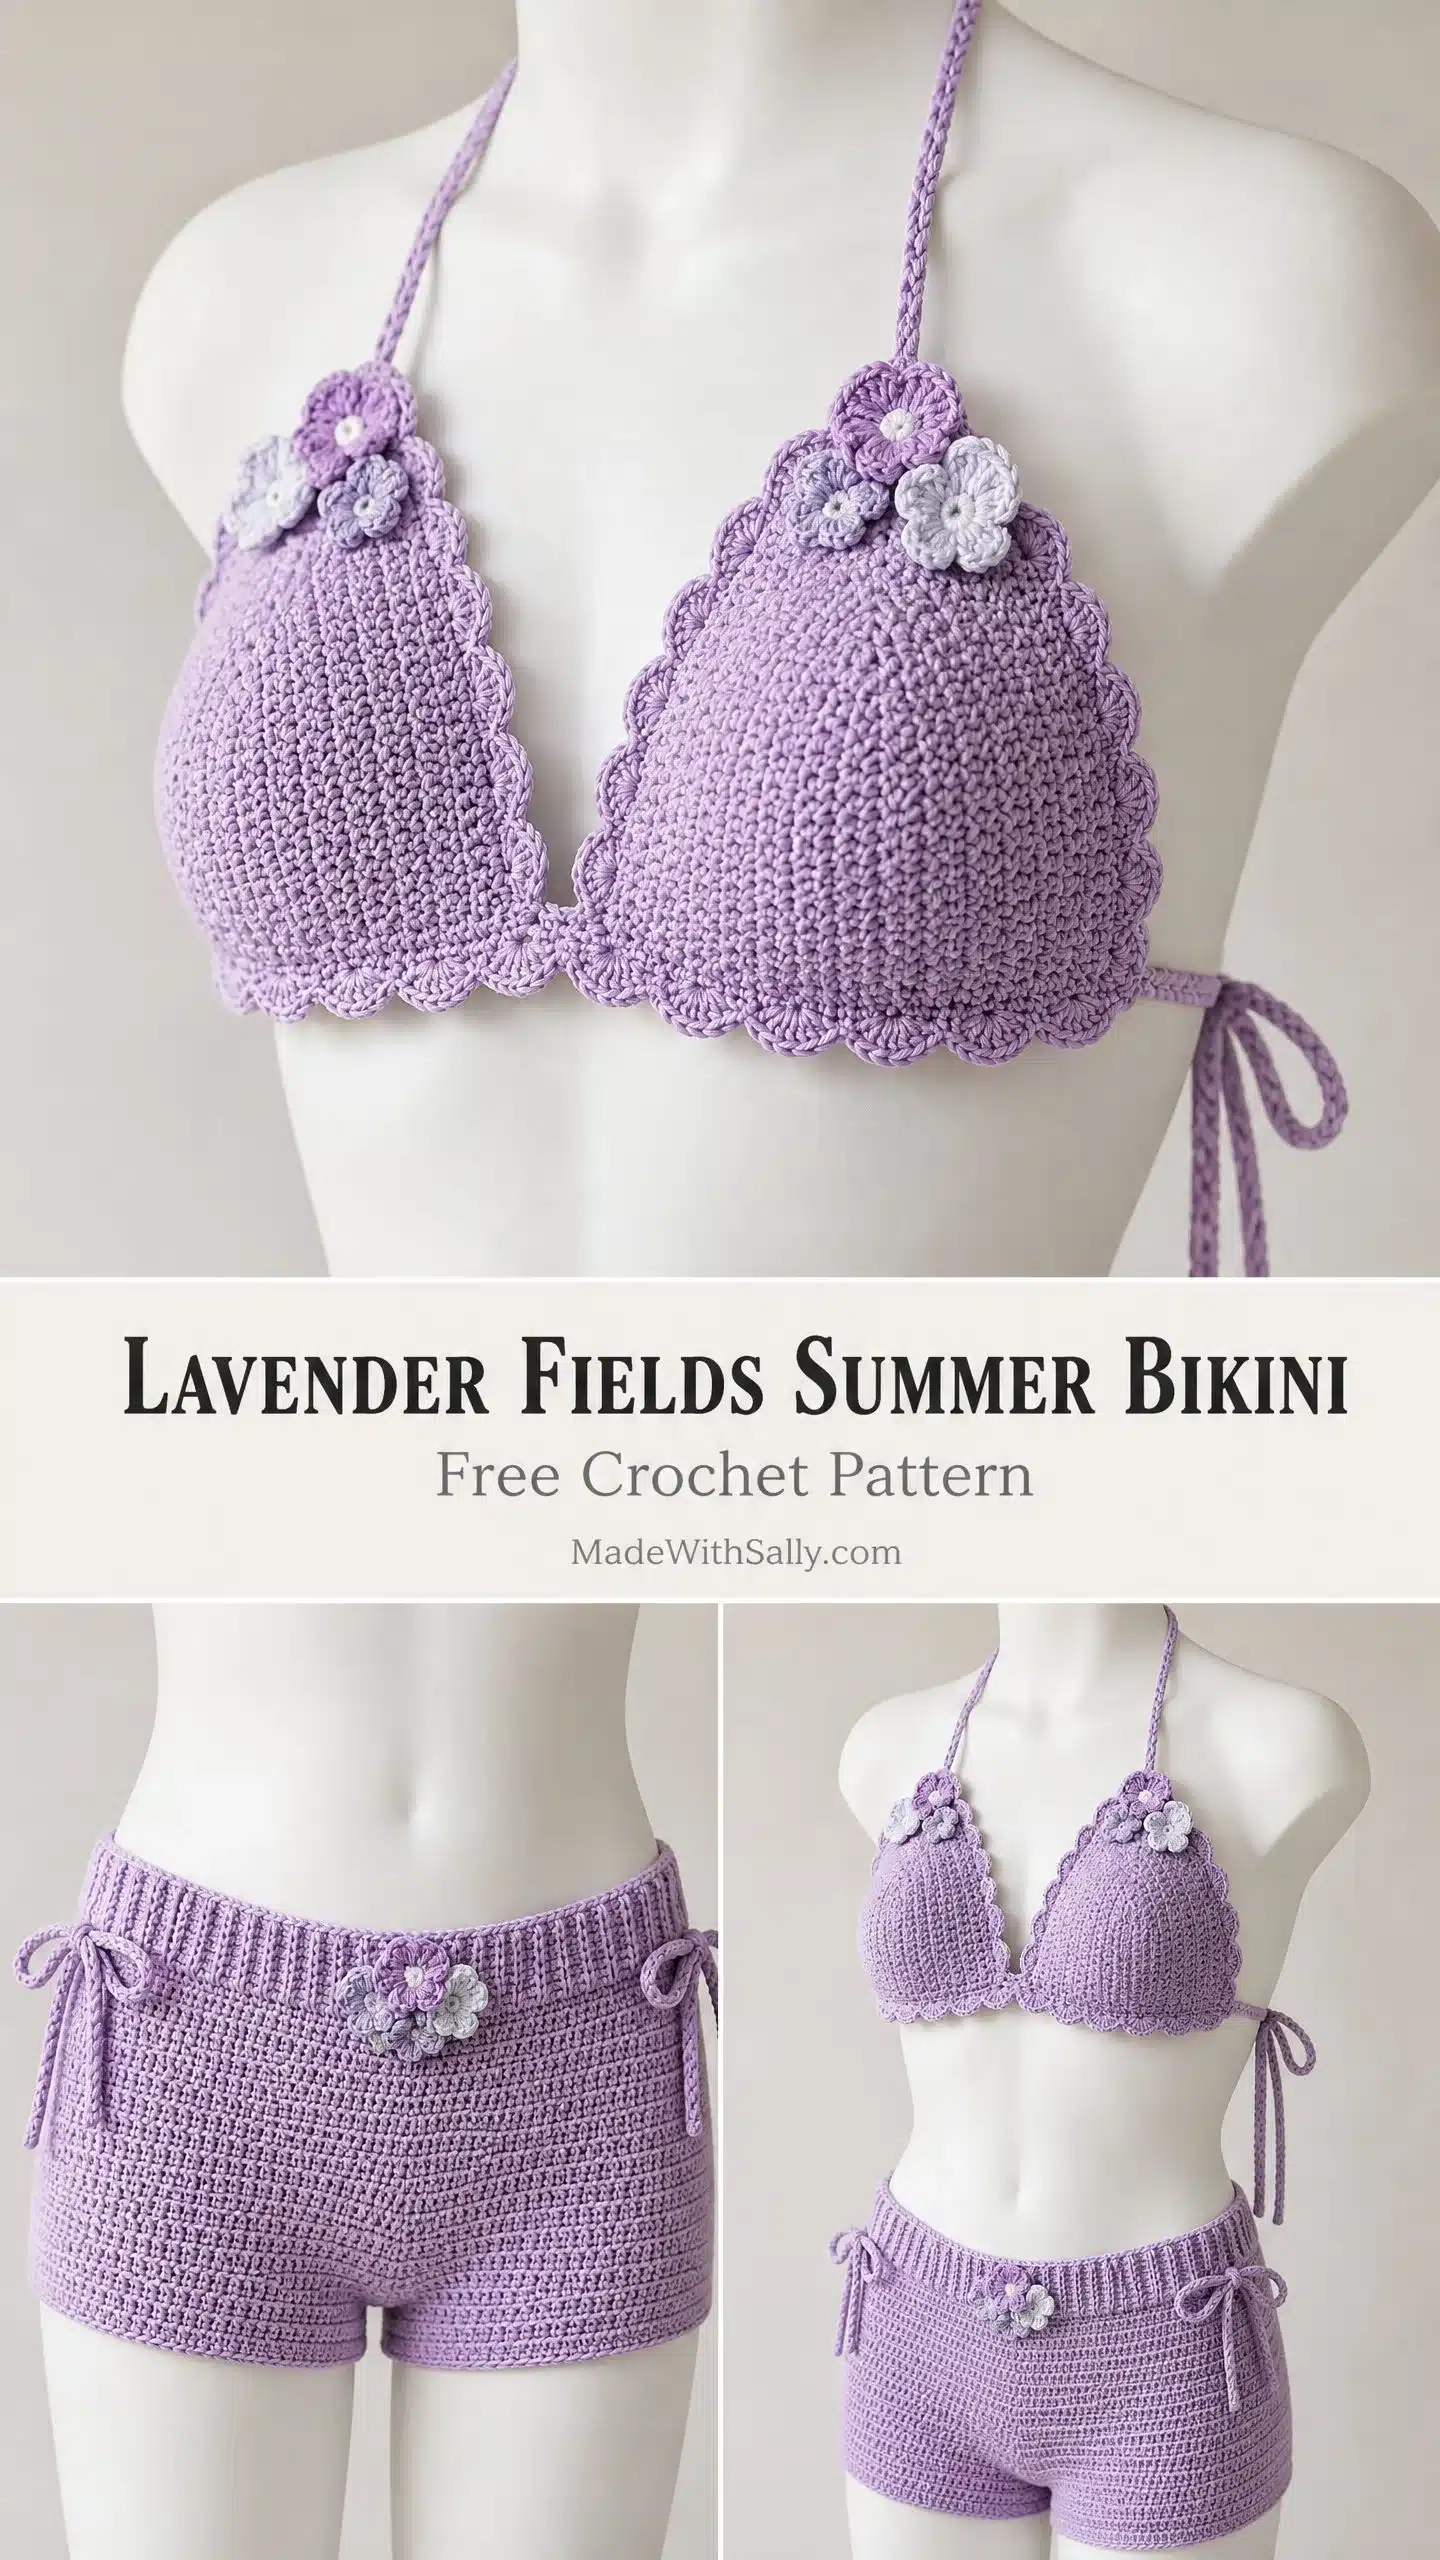
This two-piece summer set includes a halter-style triangle bikini top and matching boy-short bottoms. The top features two triangle cups worked with increases to create that classic bikini shape. Each cup gets finished with a shell stitch scallop edging along the outer edges. The whole look comes together with crocheted cord ties at the neck and band. The bottoms start with a stretchy front loop only ribbed waistband, then the body works downward in joined rounds. You’ll shape the crotch area by dividing into front and back panels, decreasing at the edges, then rejoining for the leg openings. Side ties at the waistband add adjustability and that signature cute factor. The finishing touch? Five small layered flower appliques in contrasting purples and whites scattered across both pieces.
Skill Level
Intermediate. You should feel comfortable working in rows and rounds, increasing and decreasing for shaping, working into the front loop only for that ribbing texture, making a magic ring, joining rounds, and working a shell stitch edging. Don’t let the skill level scare you though. Every section builds on basic single crochet (sc), and each special technique is explained as we go. The flower appliques are probably the fiddliest part since they’re tiny, but they’re also optional if you want to keep things simple.
Finished Measurements
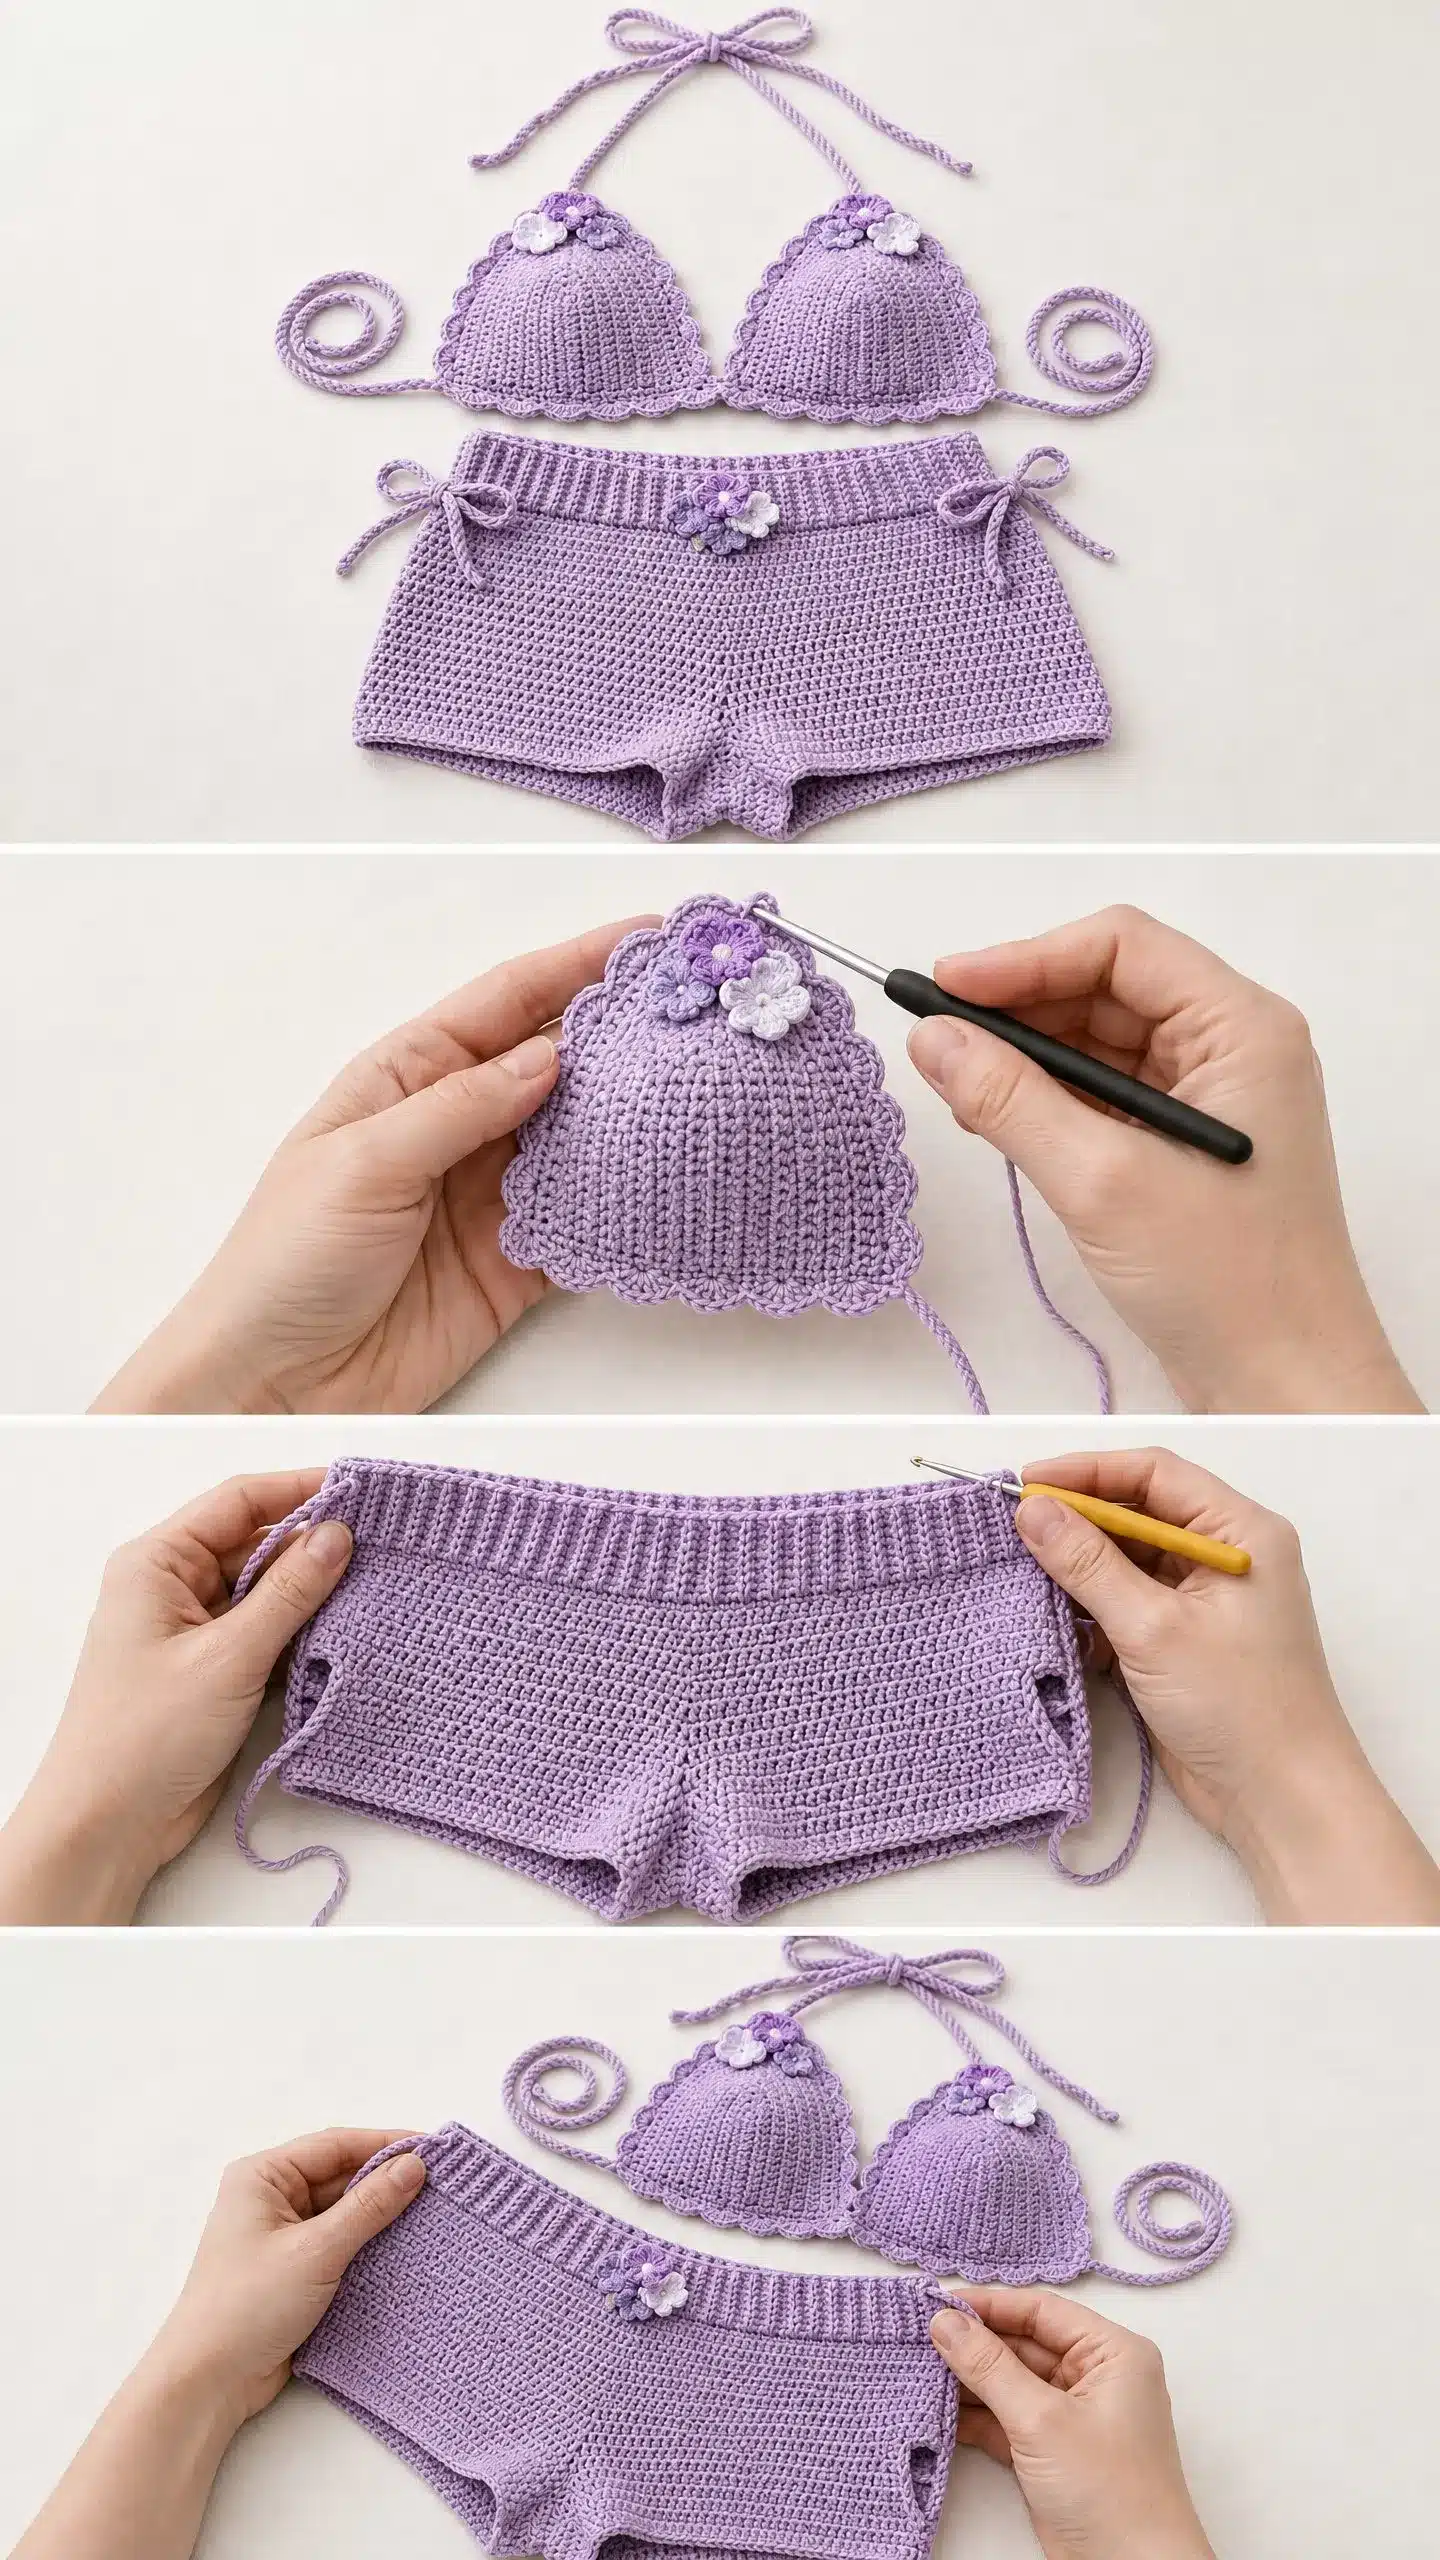
Top (one size, adjustable via tie length): Each cup approximately 5 inches wide at the base and 4.5 inches tall (12.5 cm wide, 11.5 cm tall). Band ties approximately 18 inches (46 cm) each side, adjustable. Neck ties approximately 14 inches (35.5 cm) each, adjustable.
Bottoms (sized as written for US size Small to Medium): Waist circumference approximately 26 to 30 inches (66 to 76 cm) with ties. Hip circumference approximately 34 to 36 inches (86.5 to 91.5 cm). Rise (waistband top to crotch) approximately 8 inches (20.5 cm). Inseam approximately 2 inches (5 cm). Size customization tips are included later in the pattern if you need to go up or down.
Materials
- Yarn: Approximately 500 yards (457 m) total of worsted weight yarn (weight category 4) in main color lavender. Approximately 15 yards (14 m) each of two contrast colors for flowers: one medium purple and one pale white or very pale lavender.
- Yarn Suggestions: Choose a smooth, plied yarn with good stitch definition so your scallop edging and flowers show up clearly. Avoid fuzzy or heavily textured yarns. If you plan to actually swim in this, consider cotton or a cotton blend and go up one hook size since cotton tends to be heavier and denser.
- Hooks: US size G-6 (4.0 mm) for main fabric. US size F-5 (3.75 mm) for flowers and edging details.
- Notions: Yarn needle (tapestry needle) for weaving in ends, scissors, stitch markers (at least 6), measuring tape. Optional: small amounts of fiberfill or foam padding for cup structure (not required).
Gauge
With G-6 (4.0 mm) hook and worsted weight yarn in single crochet: 16 stitches = 4 inches (10 cm) and 18 rows = 4 inches (10 cm).
Gauge swatch: Chain 20. Work single crochet back and forth for 22 rows. Block lightly. Measure the center 16 stitches across and center 18 rows vertically. Adjust hook size as needed. Gauge matters a lot for the bottoms to fit correctly at the waist and hip. Please don’t skip this step.
Abbreviations
- ch – chain
- sl st – slip stitch
- sc – single crochet
- hdc – half double crochet
- dc – double crochet
- tr – treble crochet
- inc – increase (work 2 sc in the same stitch)
- dec – decrease (sc2tog)
- FLO – front loop only
- BLO – back loop only
- sk – skip
- sp – space
- st / sts – stitch / stitches
- RS / WS – right side / wrong side
- MR – magic ring
- rnd – round
- rep – repeat
- rem – remaining
- beg – beginning
- pm – place marker
- sm – slip marker
Pattern Notes
- The top cups are each worked separately in rows. The two cups are then joined at the center front.
- The neck ties and band ties are made separately as crocheted cords and attached.
- The bottoms are worked in joined rounds. The waistband is worked first in ribbing, seamed, then attached to the body which works downward.
- Ch 1 at the beginning of sc rows does NOT count as a stitch in this pattern.
- When joining new yarn, always join with a sl st into the first stitch and ch 1 before beginning.
- Stitch markers are essential for the bottoms. Mark the first stitch of each round.
Pattern Instructions
Bikini Top Instructions
Triangle Cups (Make 2)
Work each cup in rows. The shaping rows are planned so the edge stitch count is a multiple of 4 plus 1 for the scallop edging.
Joining the Cups
Hold both cups with RS facing you. The two cups are joined along their inner vertical edges.
- Identify the inner edge of each cup. This is the straight vertical edge running from the tip to the band edge.
- With main color and G-6 hook, join yarn at the bottom inner corner of the left cup.
- Working through both layers at once (right sides facing each other), sl st through the edge rows of both cups together, working 1 sl st per row end. Work up from the band edge for approximately 8 row ends (halfway up) to create the center front join. (8 sl sts)
- Fasten off and weave in end.
Alternatively, join with a whip stitch seam on the WS for a cleaner look.
Scallop Edging on Cups
Work the scallop edging along the outer edges of each cup using the shell stitch technique described in the Special Stitches section.
Neck Ties (Make 2)
Make a crocheted cord to approximately 14 inches (35.5 cm) each. Attach to the top tip of each cup.
Band Ties (Make 4)
Make a crocheted cord to approximately 18 inches (46 cm) each. Attach two to the bottom edge of each cup, one on each side of the center join.
Boy-Short Bottoms Instructions
Ribbed Waistband
Work the waistband in rows using FLO for ribbing. Seam the short ends together to form a tube.
Waistband Top Edging
With F-5 hook and main color, work 1 round of sc around the top edge of the waistband.
Body Worked from Waistband Bottom
Turn the waistband tube so the unworked long edge faces up. Join main color at the back seam at the bottom edge of the waistband.
Rnd 1: Ch 1, sc evenly around the bottom edge, 1 sc per row end. Work 116 sc evenly. Sl st to first sc to join. (116 sc)
Rnds 2 through 16: Ch 1, sc in each st around. Sl st to first sc to join. (116 sc per round)
Crotch Shaping
Divide the work into front and back panels. Work decreases at the edges of each panel to shape the crotch.
Rejoining for Leg Openings
With yarn still attached after the last back panel row, fold the piece so front and back crotch edges align.
- Sl st through the first st of front panel and first st of back panel together. (Right side seam)
- Continue sc across the remaining front panel sts. (41 sc across front)
- At the left edge, sl st through the last front panel st and last back panel st together. (Left side seam)
- Continue sc across the remaining back panel sts. (41 sc across back)
- Sl st to the first sl st join to close the round. (84 sc)
Rnd 1 post-join: Ch 1, sc in each st around, working sc into each join sl st. Sl st to first sc to join. (84 sc)
Rnd 2: Ch 1, sc in each st around. Sl st to first sc to join. (84 sc)
Leg Opening Edging
With F-5 hook and main color, work 1 round of sc around each leg opening. Work sc evenly around each opening at approximately 1 sc per row end for the 9 shaping rows (9 sc), 1 sc through the join point, 9 sc along the other side, and 2 sc across the bottom inseam. Approximately 21 sc per leg opening. Adjust as needed. Sl st to first sc to join. Fasten off. Repeat for second leg opening.
Side Ties for Bottoms (Make 4)
Make a crocheted cord to desired length. Attach two to each side of the waistband.
Small Flower Applique (Make 5 Total)
Each flower has two layers in contrasting colors.
Layer 1 (back petals, worked in medium purple):
- Make a MR.
- Ch 1. Work 6 sc into the ring. Pull ring closed. (6 sc)
Continue with the remaining flower instructions as per the source pattern.
Flower Placement
Sew flowers in final positions after blocking. Scatter across both pieces as desired.
Assembly
- Weave in all ends securely, running each tail through at least 1 inch of fabric in two directions.
- Wet block both pieces in cool water for 10 to 15 minutes.
- Gently squeeze out water without wringing. Roll in a towel.
- Pin pieces flat on a blocking board. Shape cups into rounded triangles. Pin scallop shells open. Allow to dry completely (24 hours minimum).
- Sew flowers in final positions after blocking.
Tips
- Cup size: For smaller cups (A/B), stop at Row 12. For larger cups (C/D), continue through Row 18 to 20.
- Waistband: Work the strip to 2 inches less than your actual waist measurement for a snug fit, or 4 to 6 inches less if you want the ties to do the adjusting.
- Hip: Add or subtract 16 sc to the body round count for every 4 inches of difference needed.
- Rise: Add or subtract body rounds in Section H. Each round adds approximately 0.22 inches of length.
Care Instructions
Machine wash gentle cycle in cool water for acrylic yarn. Hand wash cotton blends. No bleach or fabric softener. Roll in towel to remove moisture. Lay flat to dry away from direct heat and sunlight. Do not tumble dry. Store folded, not hung.
Frequently Asked Questions
Can I use a different yarn weight?
This pattern is designed for worsted weight yarn (weight category 4). Using a different weight will change the gauge and finished size significantly. If you substitute, be sure to make a gauge swatch and adjust hook size accordingly.
Are the flowers required?
No, the flower appliques are optional. The set looks beautiful with or without them. If you’re short on time or prefer a simpler look, you can skip them entirely.
How do I adjust the bottoms for a larger or smaller size?
The pattern includes customization tips for waist, hip, and rise. You can add or subtract stitches and rounds as needed. Refer to the Tips section for specific adjustments.
Can I actually swim in this?
If you plan to swim, use a cotton or cotton blend yarn and go up one hook size, as cotton is heavier and denser. Acrylic yarn is not recommended for prolonged water exposure.
What if my gauge is off?
Gauge is especially important for the bottoms to fit correctly at the waist and hip. If your gauge is off, try a different hook size and re-swatch. Adjusting the hook size is the easiest way to match the pattern gauge.
How long does this project take?
Expect approximately 15 to 23 hours total, depending on your experience level. The top takes about 6 to 9 hours, the bottoms 8 to 12 hours, and the flowers 1 to 2 hours. Breaking it into sections over several evenings makes it very manageable.
Pin This Crochet Pattern!