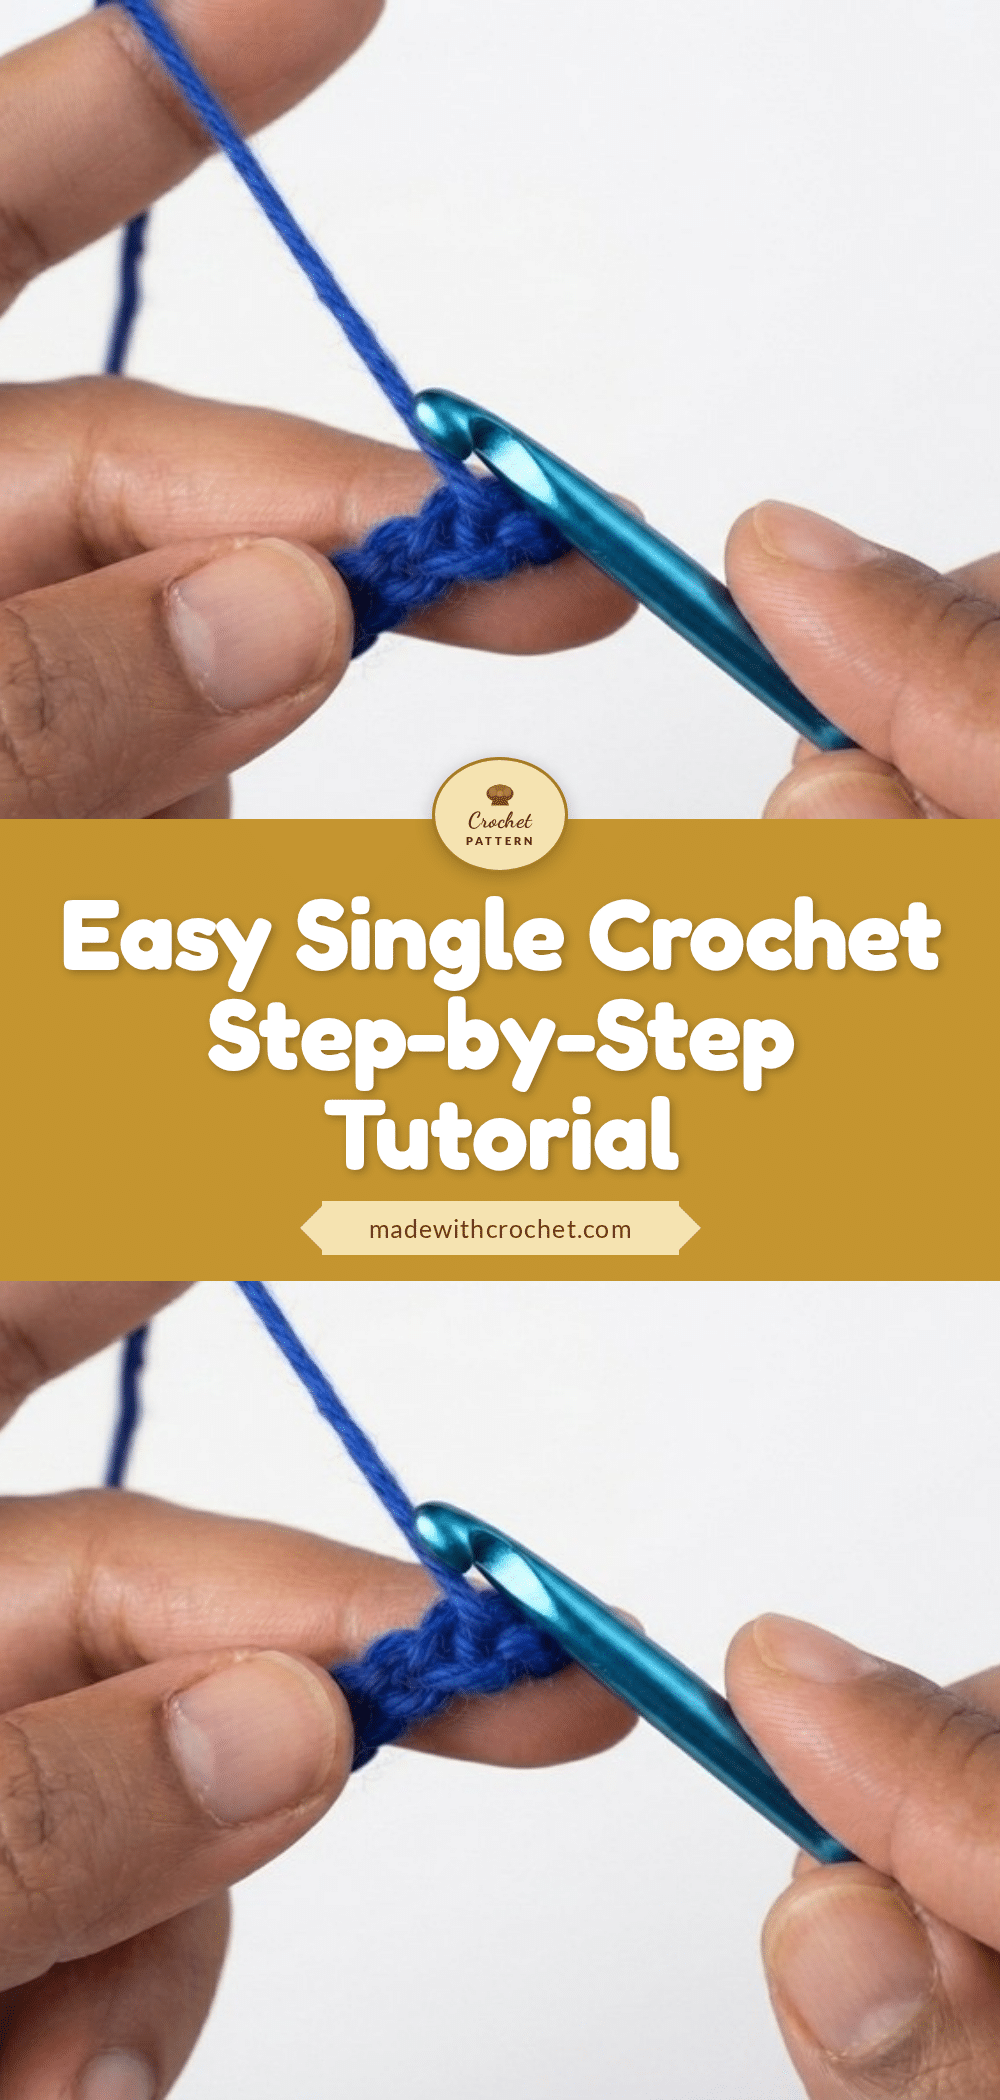
There’s something deeply comforting about settling in for a quiet evening with a small batch of sky-blue yarn, a 2.5 mm hook, and the gentle rhythm of counting stitches. The single crochet stitch, with its relaxing repeat, is the perfect project ritual—a chance to unwind, build muscle memory, and create something neat and satisfying with your own hands.
Small Details That Make It Better
What makes this pattern so appealing is its focus on the essentials. The sky-blue four-ply acrylic yarn gives your swatch a soft, airy feel, while the 2.5 mm hook creates a dense, firm fabric that holds its shape beautifully. This stitch is ideal for amigurumi, where even tension and a polished finish matter most. The clean, compact rows provide a timeless look that works for everything from cozy accessories to thoughtful handmade gifts. For beginners, the emphasis on consistent stitches rather than perfect gauge takes the pressure off, letting you enjoy the process of learning.
Project Overview
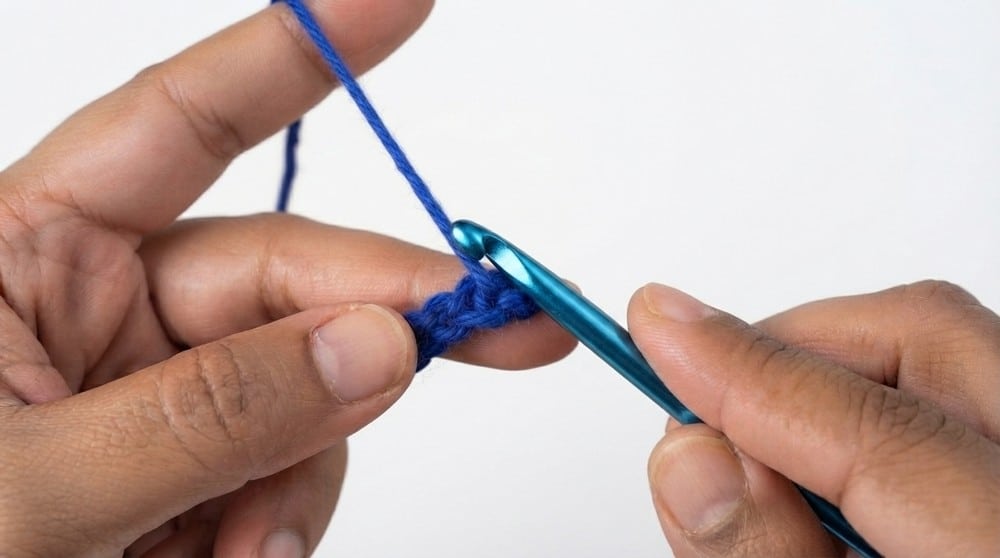
This beginner-friendly pattern teaches you the single crochet (SC) stitch, one of the most fundamental building blocks in crochet. You’ll start with a slip knot and foundation chain, then work a row of single crochets into the front strand of each chain. The result is a neat, rectangular swatch that lays the groundwork for countless future projects, from scarves and blankets to amigurumi toys.
Materials
- Yarn: Four-ply acrylic yarn (Colour sky-blue)
- Hook: 2.5 mm crochet hook
- Scissors: To cut your yarn upon project completion
- Yarn Needle: For weaving in ends (optional for practice swatches)
Gauge and Finished Size
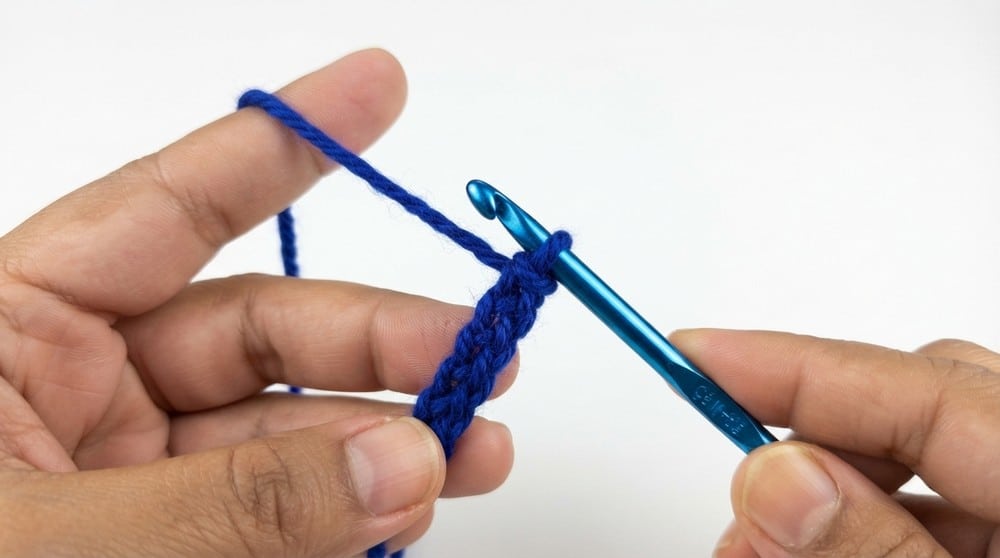
Gauge: For learning, gauge is not critical. Practice Tip: Aim for consistent stitches and even tension; this is more important than stitch count for your first attempts.
Finished Size: Sample Foundation Chain: Beginners may start with 16–20 chains. Swatch Size: With 20 chains, expect a starting swatch width of approximately 2.5–3.5″ (6–9 cm), depending on tension. NOTE: Both the length of the chain and the number of rows determine the finished size.
Abbreviations
- ch – Chain
- sc – Single Crochet
- yo – Yarn Over
- st(s) – Stitch(es)
Pattern Notes
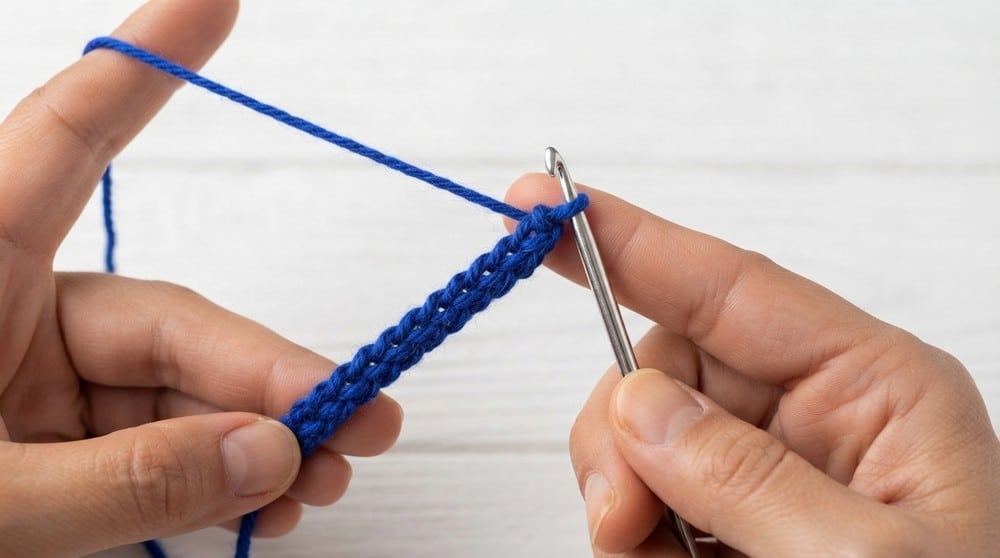
- Foundation Chains: A dedicated chain tutorial is recommended if you wish to refine your starting row or need further help.
- Stitch Consistency: For a polished look, pull each stitch snugly but not overly tight; this ensures a fabric neither too rigid nor too loose.
- Strand Selection: While you can insert your hook into various strands of the foundation chain, this basic pattern specifies using the first (front) strand.
- Row Turning: This basic pattern establishes the first row; additional practice can include how to turn and work subsequent rows for larger swatches or finished pieces.
- Special Stitches: None required beyond Slip Knot, Chain, and Single Crochet. (If needed, refer to a slip knot and chain tutorial before beginning.)
Pattern Instructions
Foundation
Slip Knot: Begin by making a slip knot and place it on the hook.
Chain (ch): Chain the desired number of stitches (e.g., ch 20 for a practice swatch).
Row 1: Single Crochet (SC)
All times reference tutorial order. Follow each step as described for one single crochet stitch; repeat for each chain across the row.
- Skip the First Chain: Do not work into the loop closest to your hook (the first chain). Always skip the first chain (acts as a “turning chain” for height).
- Insert the Hook: Insert your hook into the first (front) strand of the second chain from the hook.
- Yarn Over (yo): Loop the yarn underneath and over the hook.
- Pull Through: Pull the yarn through the chain loop. You now have two loops on the hook.
- Yarn Over Again: Yarn over again (the yarn goes over the hook from back to front).
- Pull Through Both Loops: Draw the yarn through both loops now on the hook. You have now completed one single crochet stitch.
- Repeat for Each Stitch Across: Move to the next chain, and repeat Steps 2 to 6 until you have worked across your entire chain.
Finishing
At the End of the Row: After your last single crochet, cut the yarn (if desired), yarn over and pull through to form a knot, securing your swatch.
Weaving in Ends (Optional): With a yarn needle, neatly tuck your ends into the swatch.
Assembly
No assembly is required for a basic practice swatch. Your finished piece will be a neat, rectangular row of single crochet stitches, laying the groundwork for beautiful, even crochet in your upcoming projects.
Tips for Success
- Practice on a small swatch of 16–20 chains to build confidence before moving to larger projects.
- Keep your tension even by pulling each stitch snugly but not too tight—this creates a fabric that is neither rigid nor loose.
- If your stitches feel uneven, try slowing down and focusing on the rhythm of insert, yarn over, pull through, and complete.
Frequently Asked Questions
What is the best yarn for a beginner learning single crochet?
A smooth, light-colored four-ply acrylic yarn is ideal because it’s easy to see your stitches and forgiving to work with. The sky-blue yarn recommended in this pattern is a great choice.
Why do I skip the first chain when starting a row of single crochet?
Skipping the first chain creates a “turning chain” that gives your row the proper height. If you work into the first chain, your row may become too tight or uneven.
How do I fix uneven tension in my single crochet stitches?
Practice is key. Focus on pulling each stitch to the same snugness, and avoid yanking the yarn too tight. Consistent tension comes with time and repetition.
Can I use this stitch for amigurumi projects?
Yes! The single crochet stitch creates a dense, firm fabric that holds its shape well, making it perfect for amigurumi toys, coasters, and other structured items.
What should I do if my swatch is wider or narrower than expected?
Since gauge is not critical for learning, don’t worry about exact measurements. Focus on making your stitches even and consistent. The width will vary based on your tension.
How do I add more rows to my practice swatch?
After finishing Row 1, chain one (this is your turning chain), turn your work, and then work a single crochet into the first stitch of the previous row. Repeat for each stitch across.
Pin This Crochet Pattern!