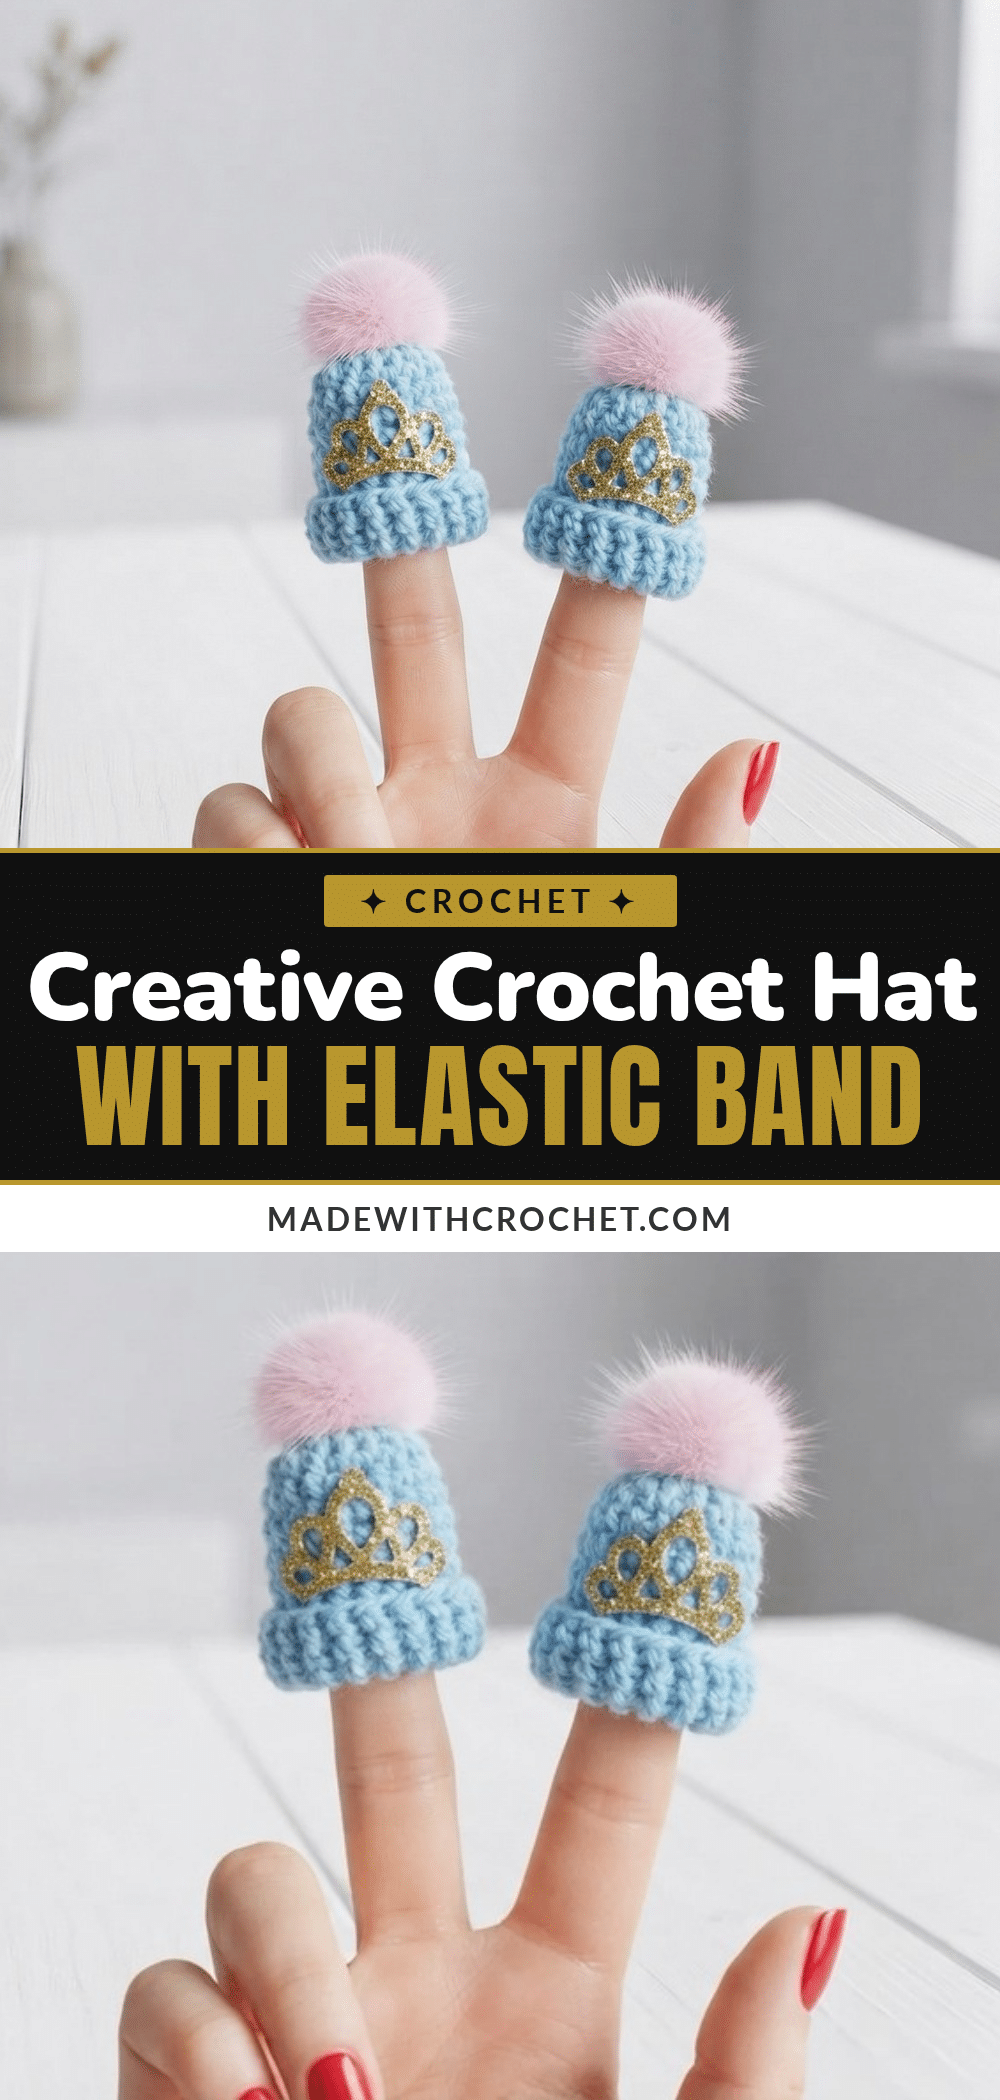
There’s something so satisfying about watching a simple tube of single crochet stitches transform into a tiny, structured hat. This pattern is a love letter to that moment—the way the dense, tight fabric builds round by round, the neat little crown that forms from a magic ring, and the satisfying finish of a slip stitch brim. Every detail, from the careful increases to the even rounds, makes you want to keep going, just to see the final shape emerge.
Texture and Stitch Notes
What makes this project so charming is the interplay of texture and function. The all-single-crochet construction creates a firm, amigurumi-style fabric that holds its shape beautifully, while the optional slip stitch brim adds a crisp, defined edge. The yarn choice is key—100% acrylic gives just the right amount of stretch and a soft, matte finish that makes the stitches pop. Whether you choose bright, cheerful colors or soft pastels, the result is a tiny hat that feels both sturdy and delicate. It’s perfect for using up scrap yarn, and the small size means you can experiment with color combinations and embellishments without a big commitment. These little hats are wonderful for adding a handmade touch to hair ties, gift packages, or even as cute bag charms.
Project Overview
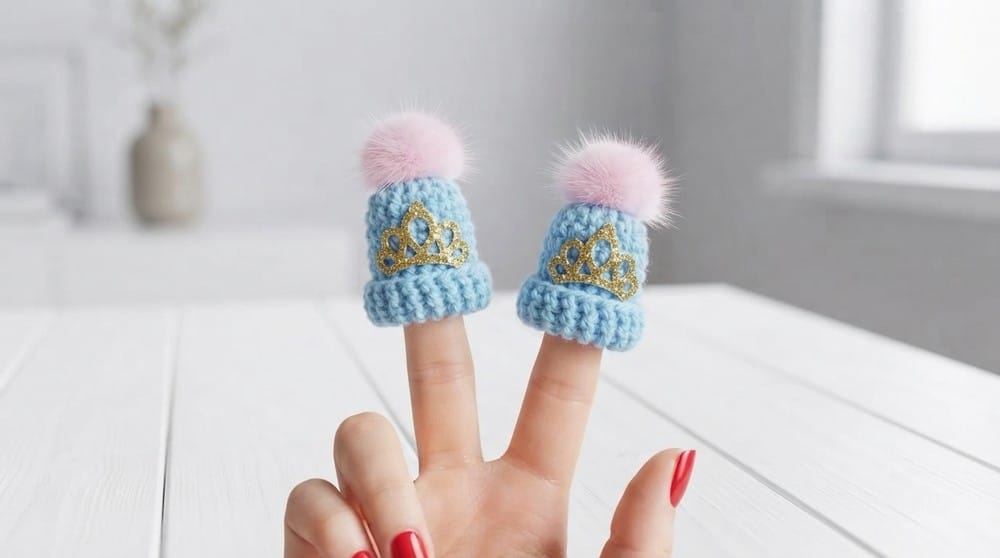
This pattern guides you through crocheting a mini hat that is then attached to a standard rubber band or hair elastic, creating a decorative hair accessory. The hat is worked in the round from the top down, using only basic stitches. The dense fabric and simple shaping make it a quick and satisfying project for beginners and experienced crocheters alike.
Materials
- Yarn: 100% acrylic yarn (preferred), bright or pastel shades as desired
- Crochet Hook: 3.0 mm
- Rubber Band/Hair Elastic: Any standard size
- Stuffing (optional): Small amount of fiberfill
- Pompom: Commercial or handmade
- Decorations: Rhinestones, beads, bows, etc. (optional)
- Yarn Needle: For sewing hat to elastic and weaving in ends
- Scissors
Gauge and Finished Size
Gauge: Gauge is not critical. Aim for a dense, tight fabric so stuffing does not show through.
Finished Size: Each mini hat is approximately 4–5 cm tall, but size will vary with yarn, hook, and tension. The hat fits a typical rubber band/hair elastic for ponytails or braids.
Skill Level
Beginner / Confident Beginner. The pattern uses only basic stitches (single crochet and slip stitch), making it perfect for new crocheters or those new to working in the round.
Abbreviations
- ch – Chain
- sc – Single Crochet
- inc – Increase (2 sc in same st)
- st(s) – Stitch(es)
- sl st – Slip Stitch
Pattern Notes
- Material Choice: The designer prefers 100% acrylic for stretch and appearance (cotton is not recommended as it may not give the right look).
- Stitch Marker: Use one if needed to help you keep track of your rounds.
- Rubber Band Attachment: Adjust how thickly you wrap and place the hat for the best comfort and appearance.
- Stuffing: For extra volume, you may lightly stuff the hat before closing.
- Decorating: Have fun! Add pompoms, rhinestones, or any embellishments you enjoy for a truly personal touch.
Special Stitches
- Magic Ring (MR): Make a loop, hold tail, insert hook, pull up loop, work stitches into ring, then pull tight.
- Increase (inc): Work 2 sc into same stitch.
Pattern Instructions
Crown of the Hat
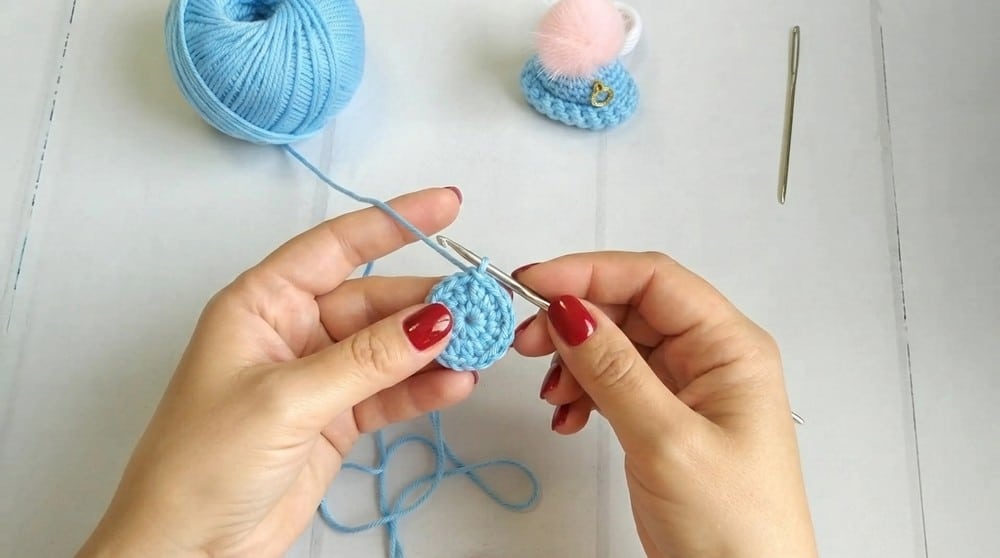
Start: Make a Magic Ring (MR) OR ch 2 (if you find MR awkward). Into the ring or second ch from the hook, work 6 sc. (6 sts)
Round 2 (Increase Round): 2 sc into each stitch around (6 inc) – you now have 12 sts.
Round 3 (Another Increase Round): (1 sc, 1 inc) repeat around for a total of 18 sts.
Body of the Hat
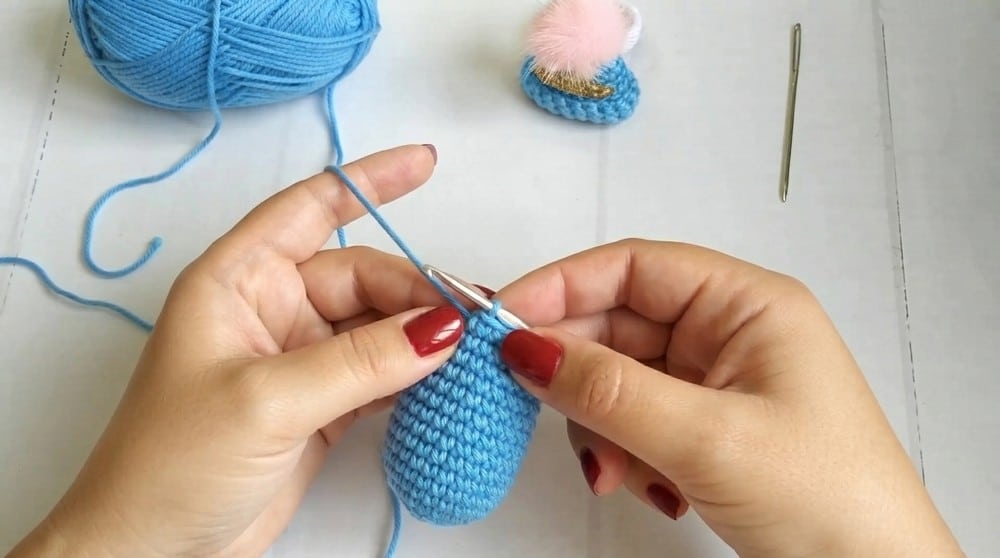
Rounds 4–13 (Hat Height): Work 1 sc in each st around for a total of 18 sc per round. Continue straight, no increases or decreases, to build your hat’s body. Total: 10 rounds worked even. (Mark the start of each round if necessary for accuracy. You will now have a small tube-like shape.)
Brim and Finishing
Hat Brim/Finishing Row: Optionally, work 1 round of sl st (surface slip stitch) to give structure—recommended for a defined brim.
Fasten Off: Do not cut yarn yet! Leave a long tail to sew the hat onto the elastic band. Pull up last loop and secure.
Assembly
Attaching the Hat to the Rubber Band
Wrap the hat around the rubber band in the position and orientation you like. Using the tail and a yarn needle, sew the brim of the hat firmly to the elastic. Insert the needle from inside/outside the hat, catching the rubber band as you go. Distribute stitches around the band so the hat sits securely. Ensure the hat is attached at several points around the band for stability and so it does not slide.
Optional Pompon and Decorations
Add a pompom: Sew or glue a pompom to the top of the hat. Use minks, faux fur, or handmade yarn pompoms—whatever you have available. Decorate to taste: Glue or sew on rhinestones, bows, or beaded accents under the ‘brim’ (as simulated crown). Let your creativity shine!
Final Steps
Tie Off & Hide Yarn Ends: Pull yarn tails to the inside of the hat, tie a couple of knots, and trim securely—no loose ends!
Shape Hat: Optionally, add a touch of stuffing before closing for a puffier look.
Tips
- Use a stitch marker to keep track of your rounds, especially when working the 10 even rounds of the hat body.
- If you prefer a puffier hat, lightly stuff it with fiberfill before sewing it to the elastic band.
- When attaching the hat to the elastic, make sure to catch the band with your stitches at several points to prevent the hat from sliding.
- Experiment with different colors and embellishments to create a set of unique hats for gifts or personal use.
FAQs
Can I use cotton yarn for this pattern?
The designer recommends 100% acrylic yarn for the best stretch and appearance. Cotton is not recommended as it may not give the right look or fit.
How do I adjust the hat size?
You can adjust the size by using a different yarn weight or hook size. For a larger hat, add an extra increase round (e.g., (2 sc, inc) around for 24 sts) before working the even rounds. For a smaller hat, stop increasing after Round 2.
What if I don’t have a magic ring?
You can start with a chain 2 and work 6 single crochet into the second chain from the hook. Pull the tail to close the ring as much as possible.
Can I make this hat without the elastic band?
Yes, you can skip the elastic band and use the hat as a tiny ornament, gift topper, or bag charm. Simply close the bottom of the hat and add a loop for hanging if desired.
How do I keep the hat from sliding on the elastic?
Make sure to sew the hat to the elastic at several points around the band, distributing your stitches evenly. This will keep the hat secure and prevent it from sliding.
What kind of pompom works best?
Any pompom works well! You can use commercial pompoms, faux fur pompoms, or make your own from yarn. Choose a size that complements your mini hat.
Pin This Crochet Pattern!