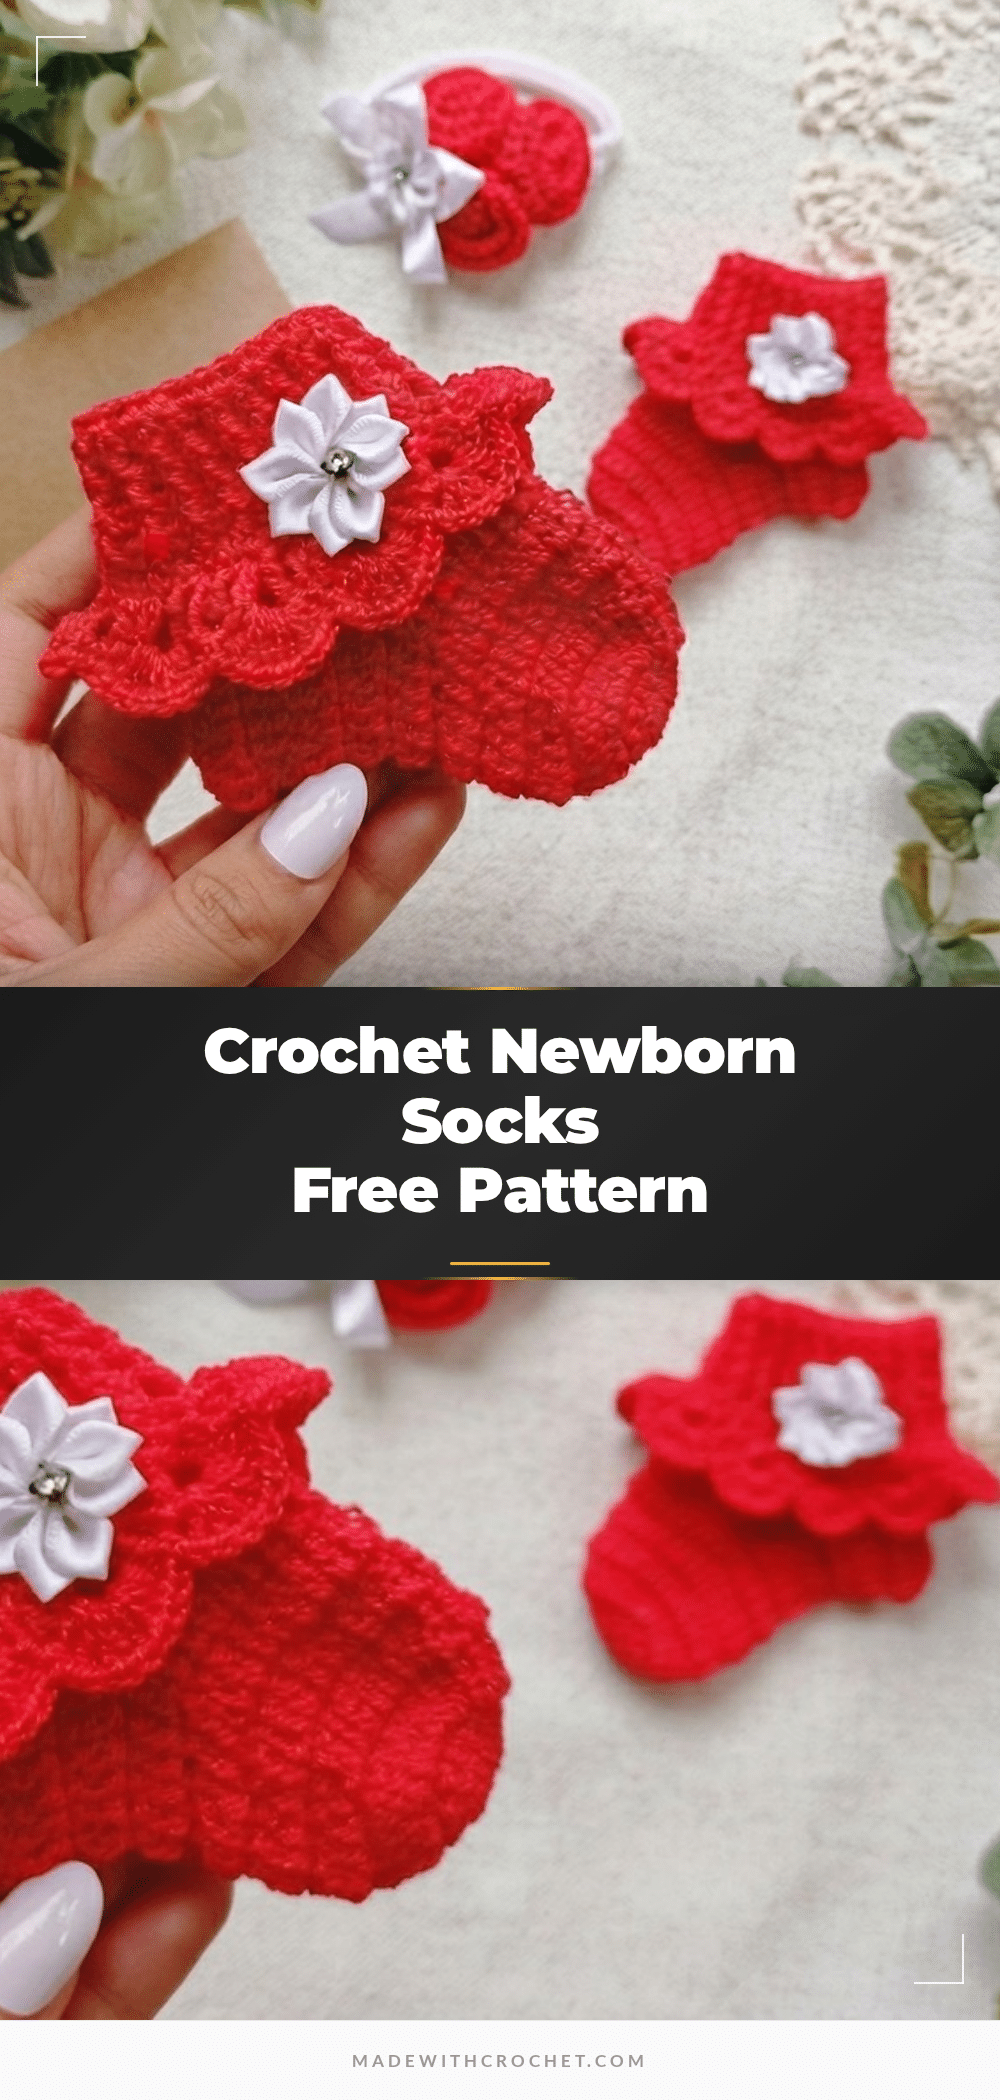
If you’ve ever hesitated to crochet socks because the heel shaping or tiny sizing seemed intimidating, you’re not alone. Many makers worry that small-scale projects like newborn socks will be fiddly or require advanced techniques. But this free crochet infant socks pattern proves that with clear steps and a bit of patience, you can create a soft, stretchy, and truly adorable pair of socks for a newborn. The pattern breaks down each section—from the base and foot to the elastic cuff and decorative border—so you can focus on one manageable part at a time. Whether you’re a confident beginner ready to try post stitches or an intermediate crocheter looking for a quick gift project, these socks are a rewarding way to practice working in the round and shaping.
Maker Notes
What makes this pattern especially appealing is the thoughtful combination of texture and fit. The elastic cuff, worked with front post and back post double crochet, provides a gentle stretch that helps the socks stay on tiny feet without being too tight. The decorative border adds a delicate, lacy finish that elevates the socks from simple to special—perfect for baby shower gifts or newborn photo props. When choosing yarn, a fine 1 mm acrylic in a soft pastel or neutral shade will highlight the stitch definition beautifully. If you prefer a more breathable option, a cotton-acrylic blend works well too. Keep your tension consistent throughout, especially in the heel and cuff, to ensure the socks measure the intended 8–8.5 cm length. These socks work up quickly and are a wonderful way to use up small amounts of leftover fine yarn.
Project Overview
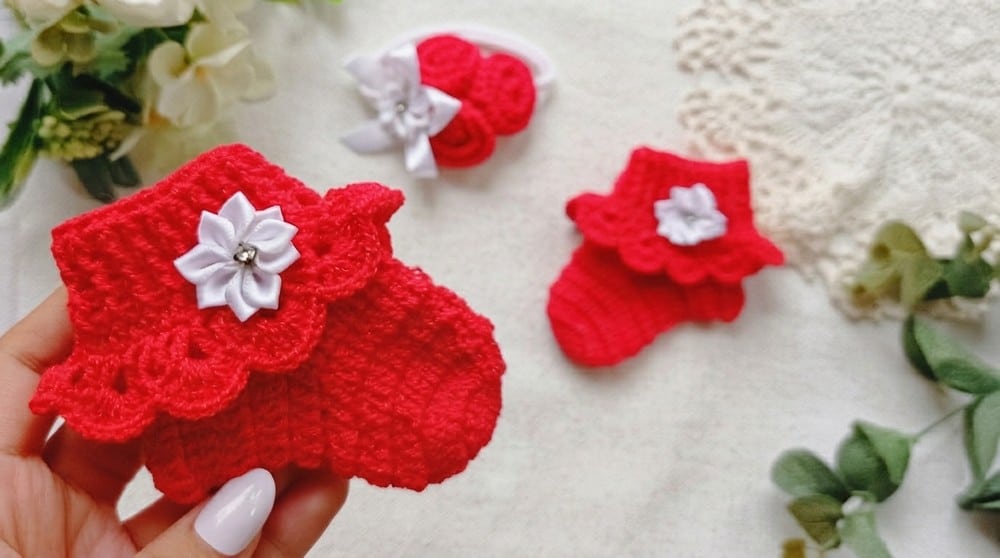
This pattern guides you step-by-step to crochet adorable newborn socks approximately 8–8.5 cm in size. Made with fine 1 mm acrylic yarn and a 2.0 mm crochet hook, these socks feature a textured cuff and delicate decorative edging, perfect for a cozy newborn accessory.
Quick Overview of Pattern
- Crochet base and foot starting from a magic ring
- Form the heel with rows and join edges
- Work the upper sock rounds including textured stitches
- Create an elastic cuff using front post and back post stitches
- Finish with a decorative lace border of V-stitches and fans
Materials
- 1 mm thick acrylic yarn (fine weight)
- 2.0 mm crochet hook
- Yarn needle for sewing/securing ends
- Scissors
Gauge and Finished Size
Gauge: Not explicitly stated; maintain tight, consistent stitches for correct sizing. Stitch density as shown in pattern rounds.
Finished Size: Finished sock length: approx. 8 to 8.5 cm (newborn size). After finishing all rounds, weave in all ends securely with a yarn needle. The sock length will measure approximately 8–8.5 cm, good for newborn feet. These socks can be gifted as handmade keepsakes or worn for warmth and cuteness.
Abbreviations
- ch = chain
- sc = single crochet
- dc = double crochet
- fpdc = front post double crochet
- bpdc = back post double crochet
- sl st = slip stitch
- V-stitch = (dc, ch 2, dc) in the same stitch or space
Pattern Notes
- Maintain consistent tension for a comfortable fit.
- Slip stitch joins are used to close rounds and seams.
- Work carefully when joining heel edges to ensure smooth shaping.
- The elastic cuff is designed for gentle stretch around the ankle.
- Skill Level: Intermediate – familiarity with double crochet, front/back post stitches, and working in rounds and rows required.
Special Stitches
Front Post Double Crochet (fpdc): Yarn over, insert hook from front to back around the post of the stitch below, yarn over, pull up a loop, yarn over, pull through two loops twice.
Back Post Double Crochet (bpdc): Yarn over, insert hook from back to front around the post of the stitch below, yarn over, pull up a loop, yarn over, pull through two loops twice.
Pattern Instructions
1. Base and Foot
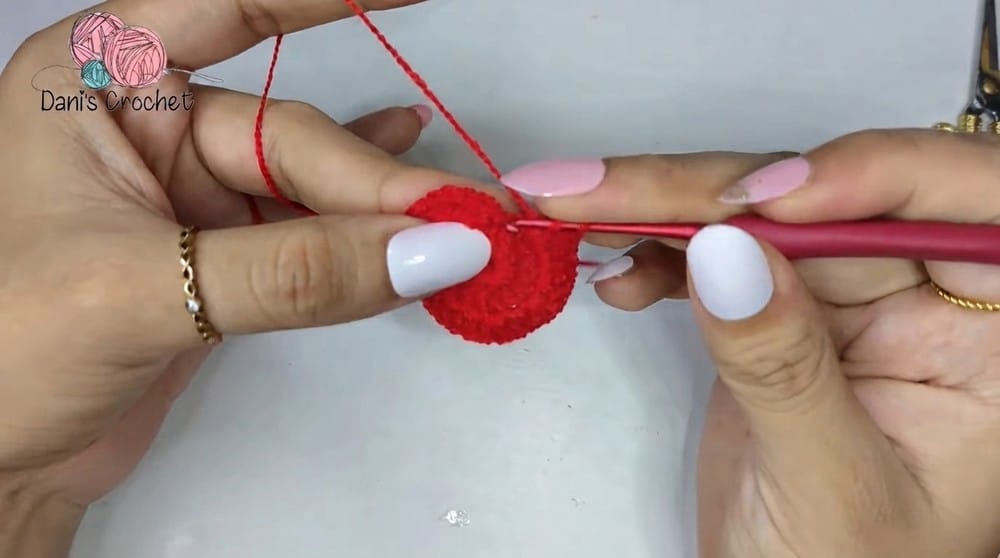
Round 1: Begin with a magic ring. Chain 3 (counts as 1st dc). Work 14 double crochets (dc) into the ring (15 dc total). Join with a slip stitch to top of chain 3.
Round 2: Chain 3. Work 2 double crochets in each stitch around (15 increases). Join with slip stitch (30 stitches total).
Rounds 3 to 6: Chain 3. Work 1 double crochet in every stitch around. Maintain 30 stitches each round.
2. The Heel
Row 1: Chain 3. Work 14 double crochets across (15 stitches total). Turn.
Rows 2 to 4: Chain 3. Work 1 double crochet into each of the 14 stitches. Turn after each row.
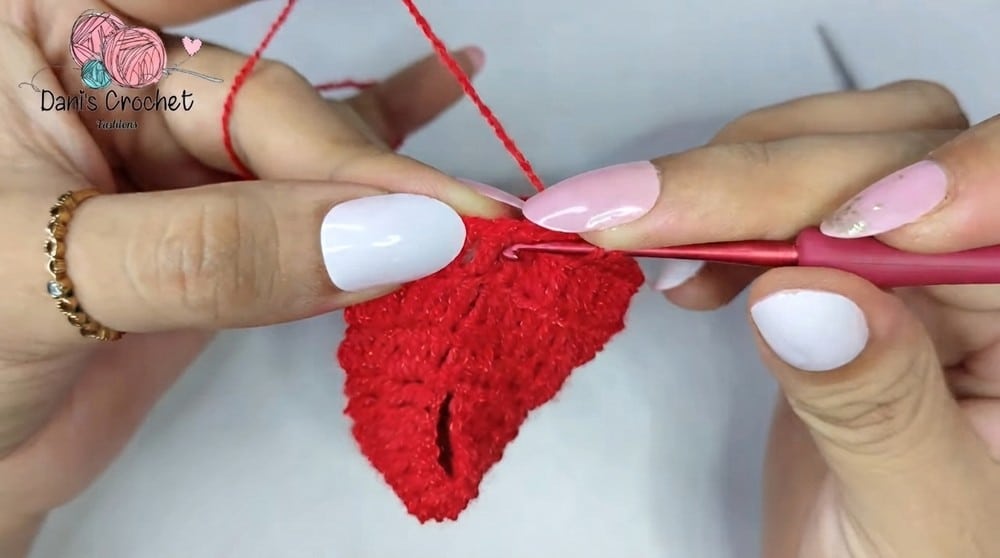
Joining Heel: Fold the piece so the edges of the heel align. Slip stitch the edges together to close the heel.
3. The Upper Sock
Round 1: Chain 3. Work 2 double crochets in each horizontal space from heel and 1 double crochet into center of joins. Work around to total 40 stitches.
Round 2: Chain 3. Work 1 double crochet in each stitch around (40 stitches).
Round 3: Chain 3. Work 1 double crochet in the back loop only of each stitch (40 stitches).
4. Elastic Cuff
Work 3 rounds of alternating front post double crochet (fpdc) and back post double crochet (bpdc) around the sock to create an elastic ribbing. Finish with 1 round of alternating front post and back post single crochet (sc) stitches. Sew the heel gap closed completely.
5. Decorative Border
V-Stitch Round: Using the free loops from Round 3 (Upper sock) as base, work 20 V-stitches around: (dc, ch 2, dc), skipping one base stitch between each V-stitch.
Fan Round: Alternate between: 8 double crochet fans worked into one V-stitch, and 1 single crochet in the next V-stitch. Repeat this pattern around to create 10 fans.
Assembly
After finishing all rounds, weave in all ends securely with a yarn needle. The sock length will measure approximately 8–8.5 cm, good for newborn feet. These socks can be gifted as handmade keepsakes or worn for warmth and cuteness.
Tips
- Use a stitch marker to keep track of the beginning of each round, especially in the base and upper sock sections.
- If your stitches feel too tight, try using a slightly larger hook for the foundation chain only, then switch to the 2.0 mm hook for the rest of the pattern.
- For a snugger fit around the ankle, you can work an extra round of fpdc/bpdc ribbing.
- Block the finished socks gently with steam or a light mist to even out the stitches and enhance the lace border.
FAQs
Can I use a different yarn weight for this pattern?
This pattern is designed for fine 1 mm acrylic yarn and a 2.0 mm hook. Using a different yarn weight will change the size and fit significantly. If you want to adjust the size, you may need to experiment with a thicker yarn and larger hook, but the stitch counts and shaping will likely need modification.
How do I make these socks larger for an older baby?
To increase the size, you can add extra rounds to the foot section (Rounds 3–6) before starting the heel. Each additional round will add about 0.5 cm in length. You may also need to adjust the number of stitches in the upper sock round to maintain a comfortable fit around the ankle.
What if my heel join looks messy?
Take your time when slip stitching the heel edges together. Use a yarn needle to sew the gap closed if the slip stitch join feels bulky. Weaving the ends neatly will also help hide any unevenness.
Can I make these socks without the decorative border?
Yes, you can omit the V-stitch and fan rounds for a simpler, more classic sock. The elastic cuff will still provide a good fit, and the socks will be just as functional and cute.
How do I care for these crochet socks?
Hand wash the socks in cool water with a mild detergent, then lay them flat to dry. Avoid wringing or twisting, as this can distort the shape. Proper care will help the socks maintain their softness and fit.
What is the best way to weave in ends on such a small project?
Use a yarn needle to weave the ends through the wrong side of the stitches, following the path of the yarn for about 1–2 inches. Trim the excess close to the fabric. For extra security, weave in the opposite direction for a short distance before trimming.
Pin This Crochet Pattern!