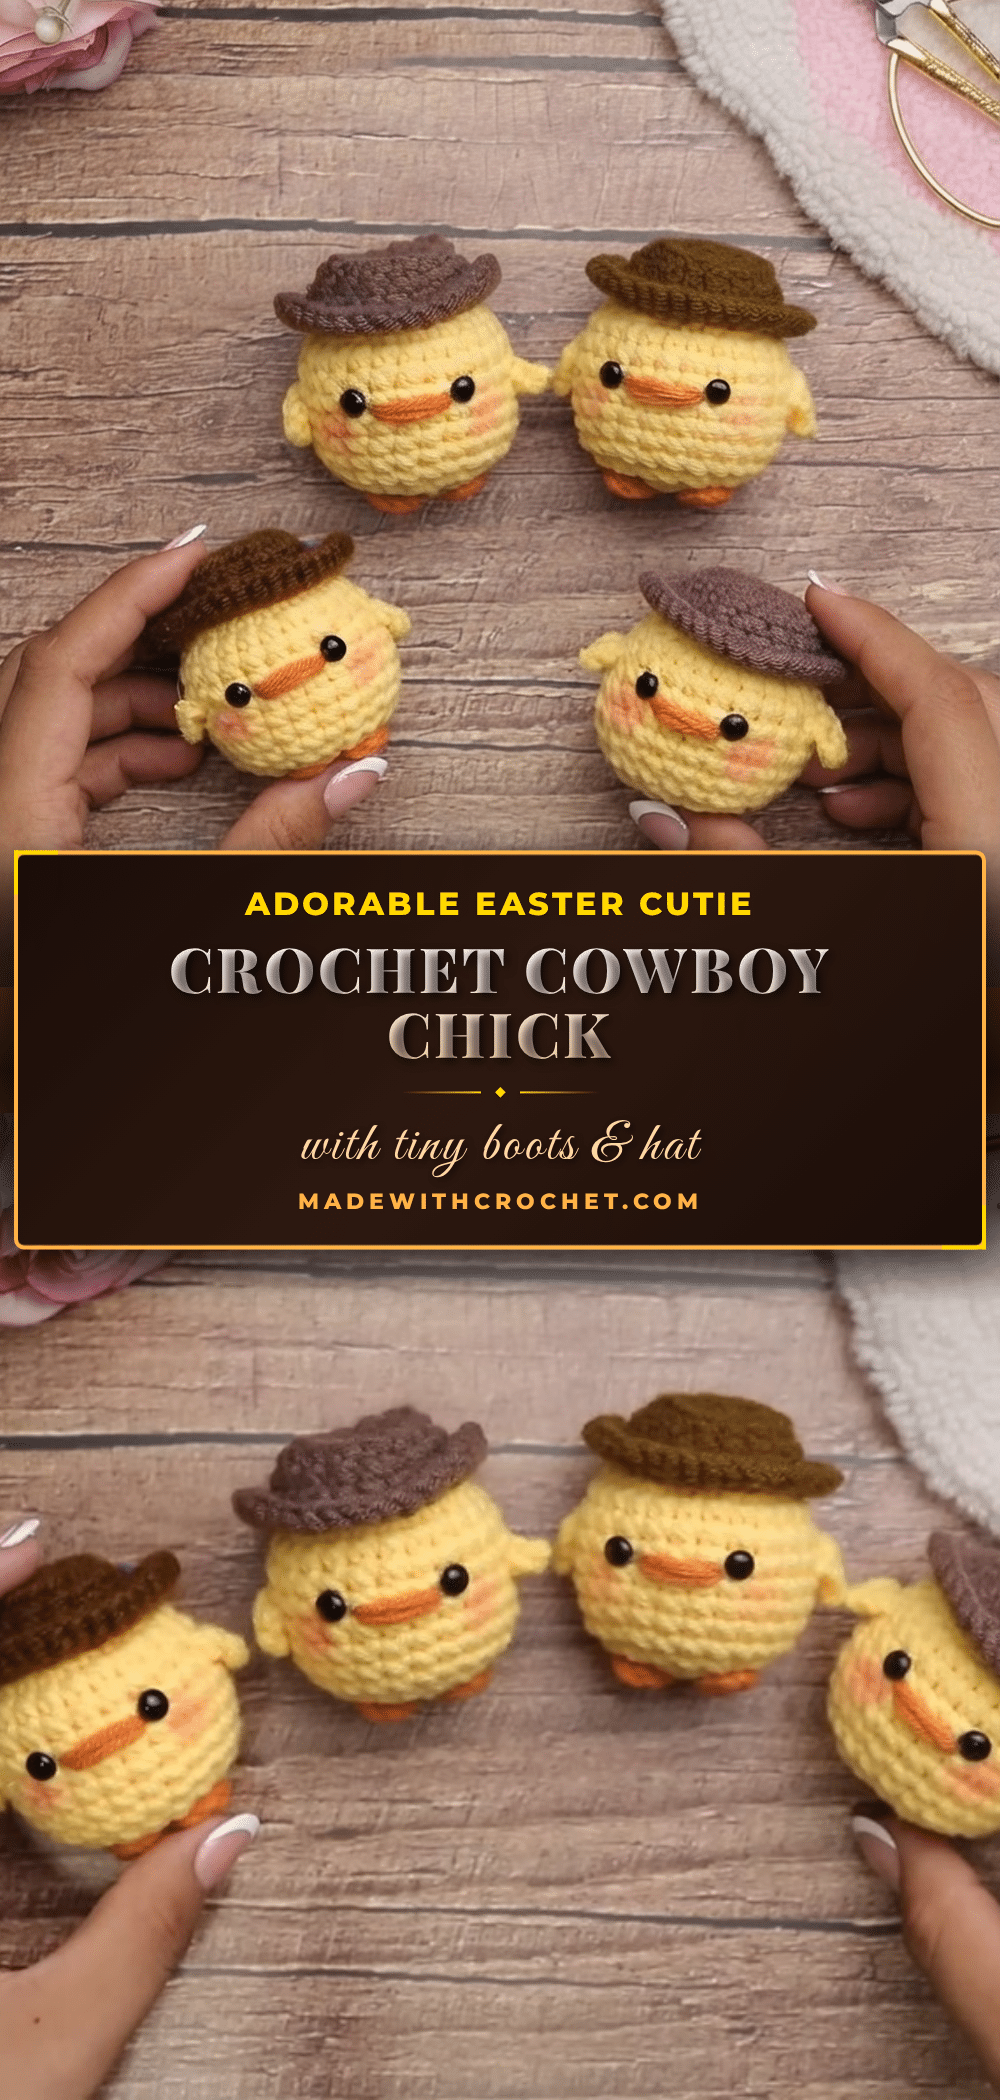
Spring is the perfect time to hatch a new amigurumi friend, and this adorable crochet cowboy chick pattern brings together the sweetness of a baby chick with the charm of the Wild West. Whether you’re looking for a unique Easter basket filler, a cheerful desk companion, or a handmade gift for a little cowboy or cowgirl, this little guy is sure to steal the show. With its bright yellow body, tiny cowboy hat, and playful boots, it’s a delightful project that’s as fun to make as it is to display.
Seasonal Styling Ideas
This cowboy chick is incredibly versatile for spring and Easter crafting. For a classic Easter look, pair it with pastel-colored eggs and a nest of shredded paper. If you’re creating a farm-themed basket, add a few other barnyard amigurumi. The brown cowboy hat and orange feet also make it a natural fit for a “Little Cowpoke” baby shower gift. You can even swap the yellow yarn for a soft cream or light blue to match a specific nursery or holiday color scheme. The simple, round shape and friendly face make it a welcome addition to any seasonal decor.
Project Overview
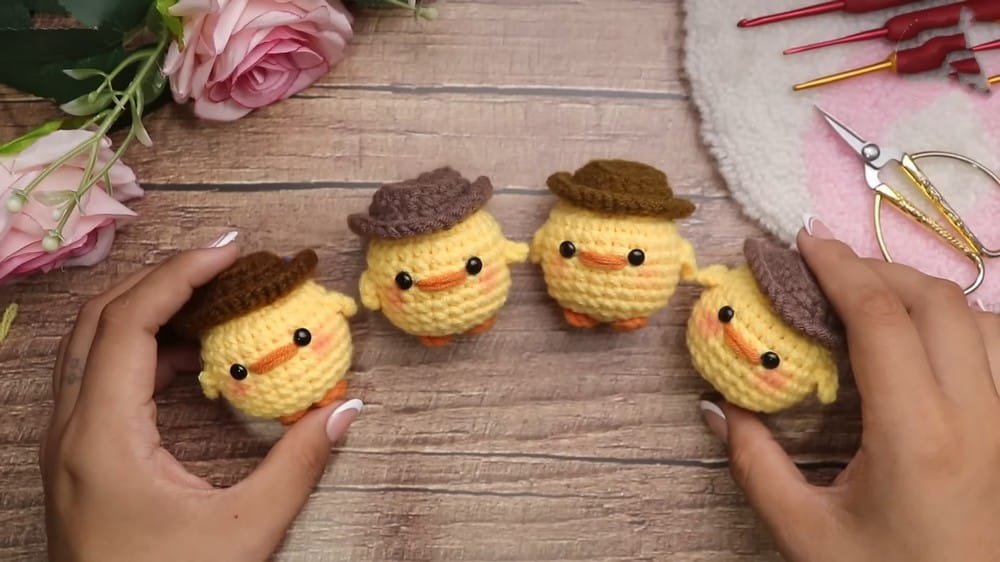
This free crochet cowboy chick pattern is a small amigurumi figure that combines rustic Western style with a playful farmyard friend. It is worked in continuous rounds using basic stitches, making it a great project for beginners who want to practice shaping and assembly, while still being enjoyable for more experienced crocheters. The finished chick stands about 3–4 inches tall, perfect for little hands or a small shelf display.
Materials
- Yellow yarn (body and wings)
- Orange yarn (feet and beak)
- Brown yarn (cowboy hat)
- Black safety eyes (or black thread to embroider eyes)
- Small amount of fiberfill stuffing
- 2.5–3 mm crochet hook
- Yarn needle
- Scissors
- Stitch marker
Gauge and Finished Size
- Gauge: Not critical for amigurumi. Make sure stitches are tight so stuffing won’t show.
- Finished Size: Approximately 8–10 cm (3–4 inches) tall, including the hat.
Skill Level
Beginner to Intermediate
Abbreviations
- MR – Magic Ring
- ch – chain
- sc – single crochet
- hdc – half-double crochet
- sl st – slip stitch
- inc – increase (2 sc in one stitch)
- dec – decrease (sc two together)
- BLO – back loop only
- FLO – front loop only
Pattern Notes
- Work stitches tightly so the stuffing doesn’t show.
- Use a stitch marker to keep track of rounds.
- Stuff the body firmly for a rounded shape.
- Adjust eye, wing, and foot placement for your preferred look.
- Weave in all loose ends securely.
- This pattern is worked in continuous rounds, unless stated otherwise.
Pattern Instructions
Body
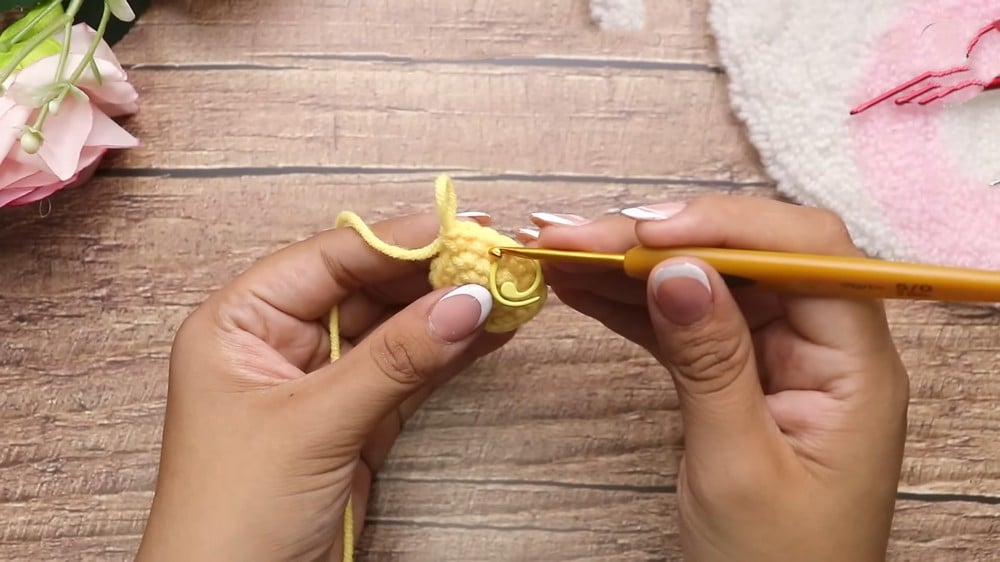
- Round 1: Make a magic ring. 6 sc into ring.
- Round 2: 2 sc in each stitch around (inc in every stitch). (12 sc)
- Round 3: 1 sc, inc —repeat around. (18 sc)
- Round 4: 2 sc, inc —repeat around. (24 sc)
- Rounds 5–11: 1 sc in each stitch around. Repeat for 7 rounds. (24 sc per round)
- Round 12: 2 sc, dec —repeat around. (18 sc)
- Round 13: 1 sc, dec —repeat around. (12 sc)
- Round 14: dec around (6 decreases). (6 sc)
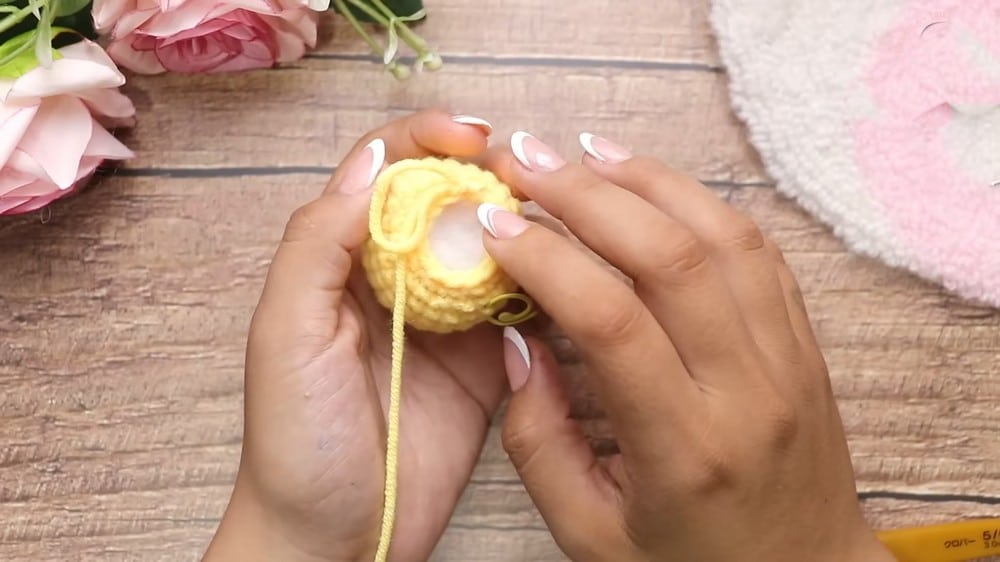
- Finish: Fasten off, leaving a long tail. Stuff the body firmly. Thread yarn through remaining 6 stitches and pull tight (inverted magic ring) to close.
Wings (Make 2)
Attach yellow yarn to the side of the body about 2 stitches away from the eye. Chain 3. Skip the first chain. In second chain: 1 slip stitch (sl st). In third chain: 1 half double crochet (hdc). Slip stitch back into the body to secure. Fasten off and weave in the end. Repeat for the opposite side.
Beak
The beak is embroidered by inserting the needle from the back, exiting near the eye, and wrapping the thread around three stitches in the center area, repeating the process three times to create the beak shape.
Feet (Make 2)
With orange yarn, chain 4. Skip the first two chains. In third chain: 1 half double crochet (hdc). In fourth chain: 1 half double crochet (hdc). Fasten off and leave a tail for sewing. Sew both feet to the base of the chick.
Cowboy Hat
- Round 1: Chain 5. Turn, work 3 sc across the chain. In the last stitch: 3 sc (to turn the corner). Work 2 sc down the other side of the chain. Finish with 1 increase (2 sc in the last stitch). (10 sc in round)
- Round 2: 1 inc, 2 sc, 3 inc, 2 sc, 2 inc. (16 sc)
- Round 3: 16 sc, working in back loop only (BLO).
- Round 4: 3 sc, inc —repeat 4 times. (20 sc)
- Round 5: 1 sc, 1 inc, 4 sc, 1 sc, 1 inc —repeat 3 times, 4 sc, 1 sc, 1 inc —repeat 2 times. (26 sc)
- Round 6: 1 sc, inc —repeat around, working in front loop only (FLO). (39 sc)
- Finish: Join with a slip stitch. Fasten off, weave in ends.
Assembly
- Eyes: Attach safety eyes (or embroider) on the face.
- Wings: Sew onto each side of the body.
- Feet: Sew securely to the bottom of the body.
- Hat: Shape brim, pinch top, and sew onto head.
- Weave in all ends and adjust all parts for symmetry.
Tips
- Use a stitch marker to keep your place, as it’s easy to lose count in the long middle section of the body.
- When embroidering the beak, make sure your stitches are snug so they don’t loosen over time.
- For the hat, shaping the brim by pinching it gently before sewing gives it a more authentic cowboy look.
- If you don’t have safety eyes, you can embroider simple black French knots for a softer, baby-safe option.
FAQs
Can I use a different yarn weight for this pattern?
Yes, but your finished chick will be a different size. If you use a heavier yarn, you will need a larger hook, and the gauge will change. The pattern is written for a 2.5–3 mm hook and light yarn to achieve the stated finished size.
How do I make the inverted magic ring to close the body?
After stuffing, thread your yarn needle with the long tail. Insert the needle through the front loop of each of the 6 remaining stitches. Pull the yarn tight to draw the hole closed, then weave the end securely into the body.
My stitches are showing the stuffing. What should I do?
This usually means your tension is too loose. Try using a smaller hook or working your stitches more tightly. The pattern notes emphasize tight stitches for this reason.
Can I make the cowboy chick without safety eyes?
Absolutely. You can embroider the eyes using black thread or yarn. This is a great option if you are making the toy for a very young child.
How do I attach the hat so it stays in place?
After shaping the brim and pinching the top of the hat, sew it securely to the head using the yarn tail. Make a few stitches around the base of the hat and through the head to keep it from shifting.
What if I want a bigger cowboy chick?
You can use a thicker yarn and a larger hook, but you will need to adjust the number of stitches and rounds to maintain the correct proportions. The pattern is designed for a small amigurumi, so scaling up may require some experimentation.
Pin This Crochet Pattern!