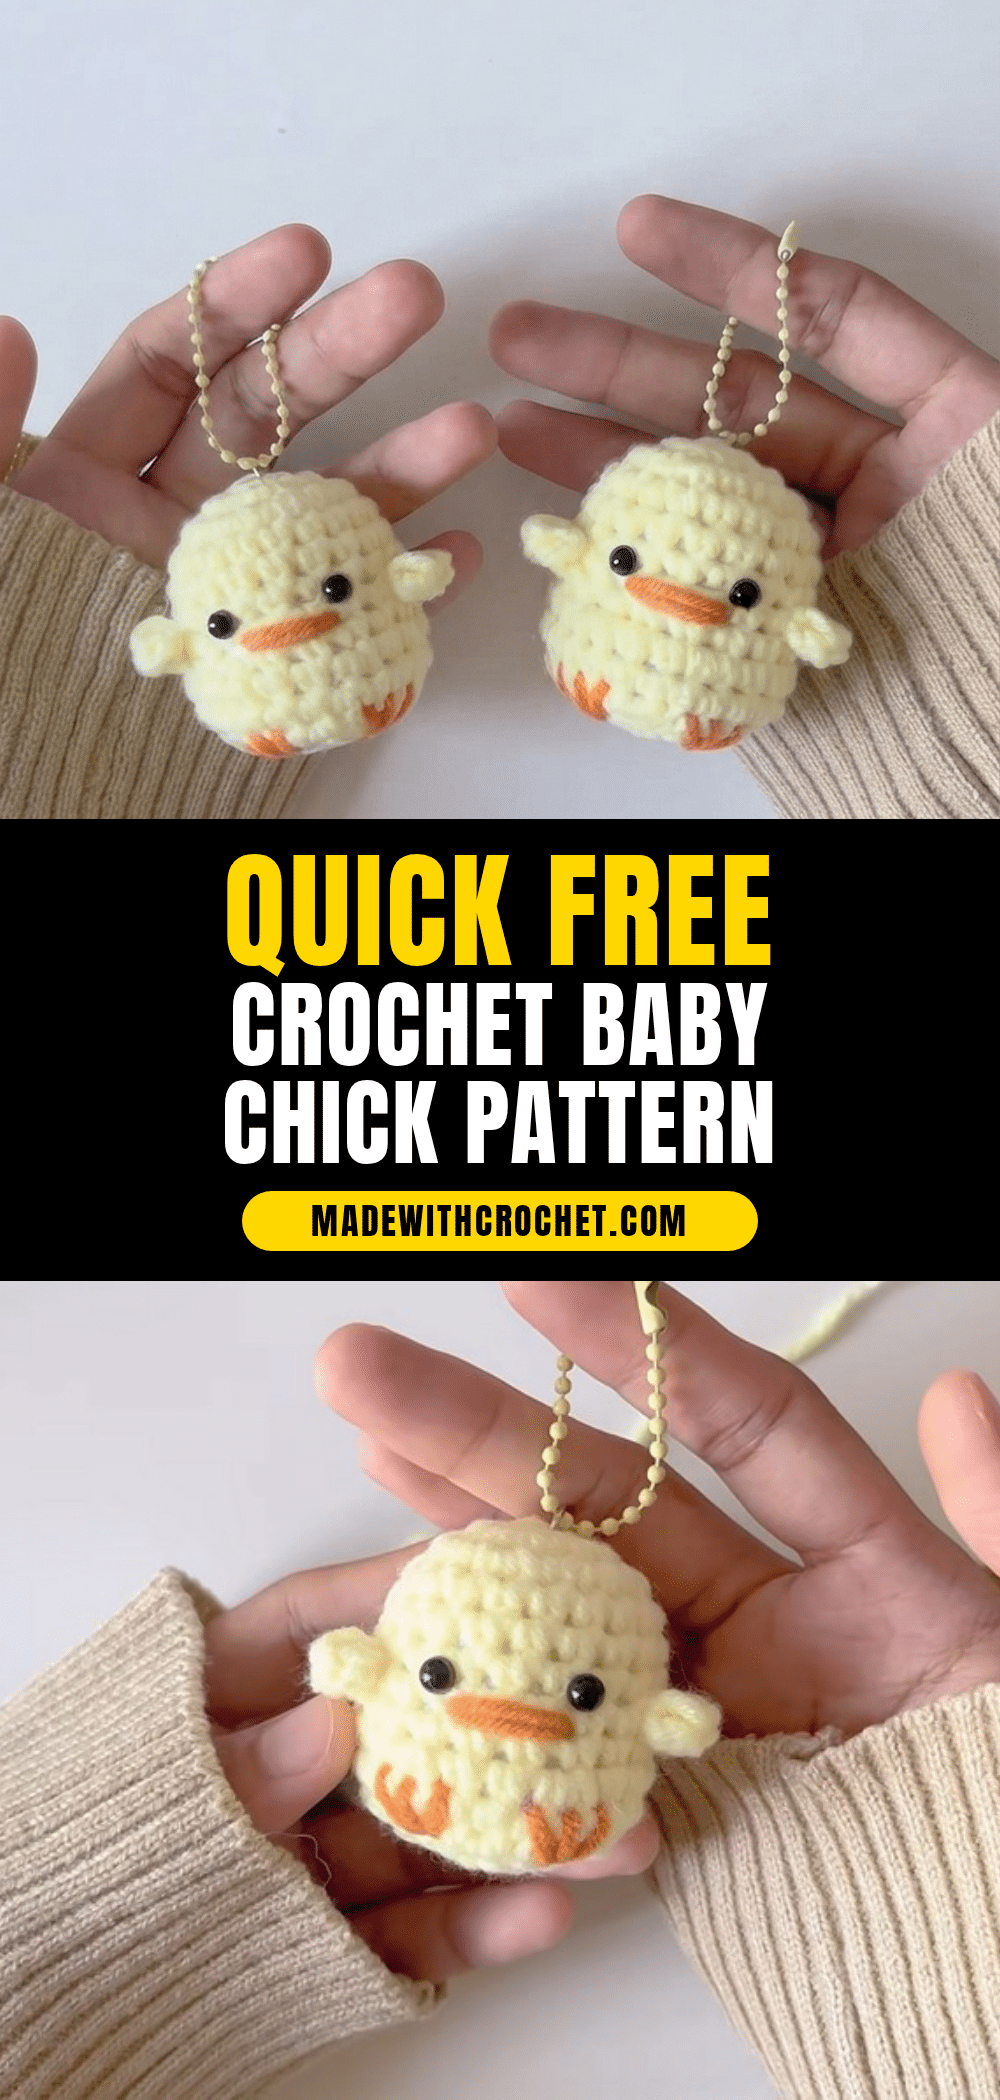
You’ve got your yellow yarn wound, a 3 mm hook resting in your hand, and a stitch marker clipped to your work. The magic ring is already forming under your fingers—just six single crochets, and the tiniest chick begins to take shape. This is one of those projects that feels like a happy little pause in your day, a quick make that turns into something you’ll want to dangle from your bag or gift to a friend.
Why This Project Works
There’s something irresistible about a crochet chick that fits in the palm of your hand. This pattern is quick enough for a single evening, but the result is so polished you’ll want to make a whole flock. The simple spiral construction gives the chick a smooth, rounded body, while the optional keychain hardware turns it into a wearable bit of spring cheer. It’s a perfect stash-buster for leftover DK or worsted weight yarn, and the technique is gentle enough for a confident beginner while still satisfying for more experienced makers.
Project Overview
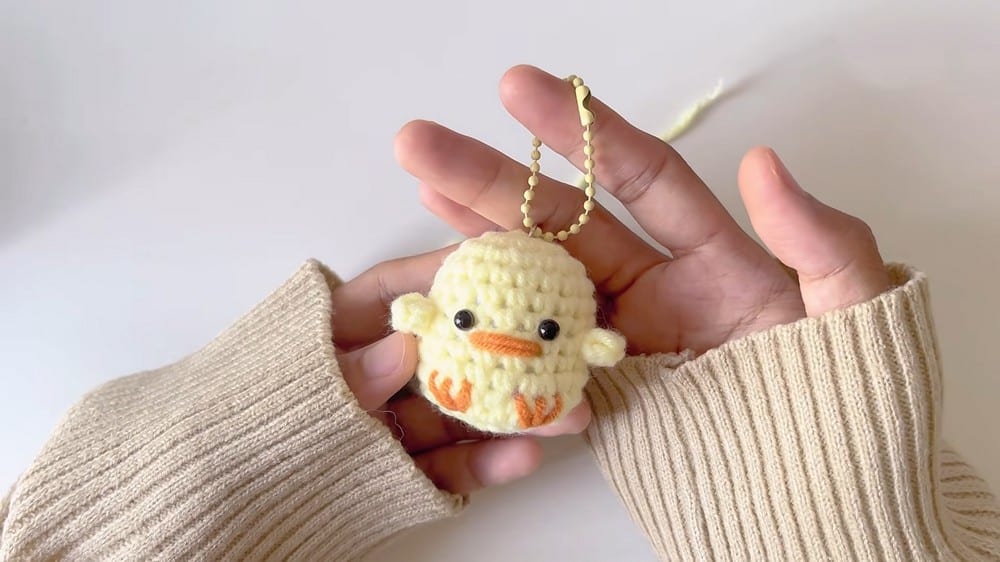
Work the chick body in continuous rounds using single crochet stitches. Shape the chick by increasing and decreasing stitch counts. Add safety eyes (or beads or embroidery) between specified rounds. Crochet simple wings on each side of the body. Attach a beak and a keychain hanger to finish.
Materials
- Yellow yarn – DK or worsted weight (main body)
- Small amount of orange yarn (beak)
- Small amount of colored yarn, thread, or embroidery floss (hanger/decoration)
- 2 black safety eyes, beads, or black yarn for embroidering eyes
- Stuffing (fiberfill or dacron)
- Crochet hook (2.5 to 3.5 mm recommended)
- Stitch marker
- Tapestry needle (for sewing in ends)
- Scissors
- Craft glue (if gluing on eyes)
- Keychain ring or hanger, optional bead for extra decoration
Gauge and Finished Size
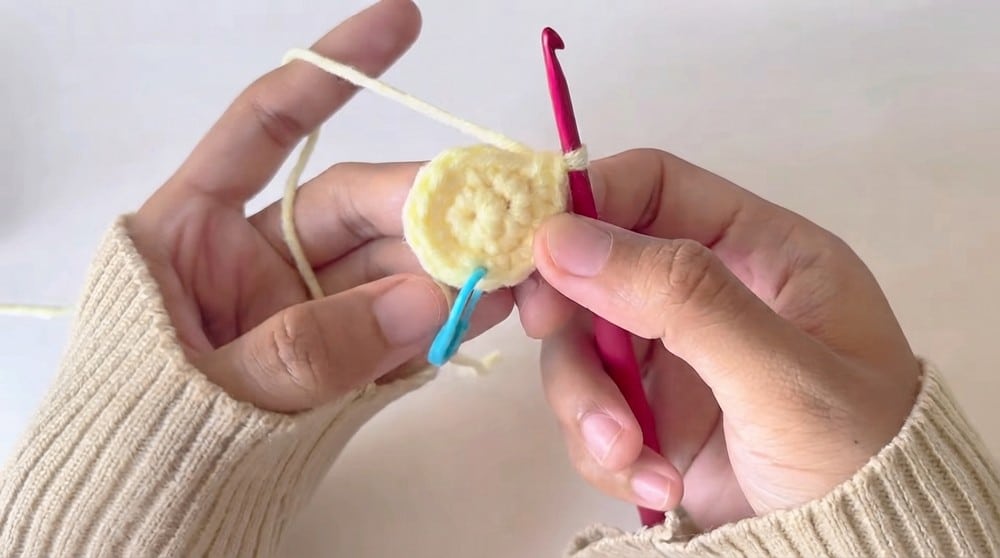
Gauge: Not crucial, but your stitches should be tight enough to keep the stuffing from poking through.
Finished Size: Finished chick is about 5–7 cm tall (using recommended yarn and hook).
Skill Level
Beginner to Intermediate
Abbreviations
- MR – Magic ring
- sc – single crochet
- inc – increase (work 2 sc in one stitch)
- dec – decrease (work two stitches together)
- dc – double crochet
- sl st – slip stitch
- ch – chain
Pattern Notes
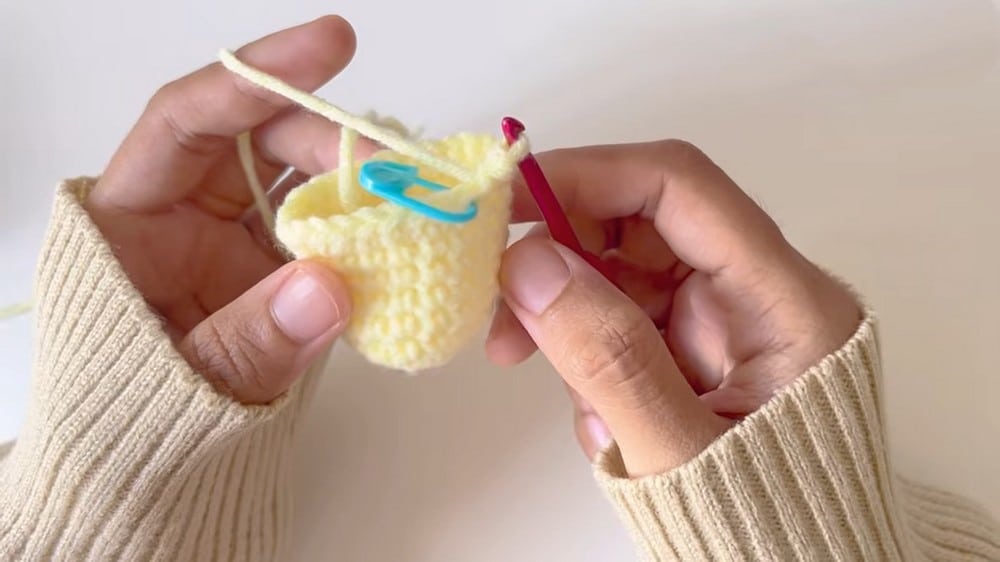
- Always work in continuous (spiral) rounds unless instructed otherwise—do not join at the end of each round.
- Use a stitch marker to keep track of the first stitch of each round.
- Stuff (fill) your chick before the final closing round.
- Safety eyes or small black beads are recommended for beginners (be careful for children under 3).
- For help with the magic ring, check tutorials online.
Special Stitches
Magic Ring: Make a loop, insert hook, pull yarn through, work stitches into the loop.
Invisible Decrease: Insert hook into front loop of 2 next stitches, yarn over, pull through, yarn over, pull through 2 loops on hook.
Pattern Instructions
Chick Body
Round 1: Start with a Magic Ring. Make a magic ring. Work 6 single crochet (sc) inside the ring. Pull tail to close the ring tightly. (You have 6 stitches in this round.)
Round 2: Increase All Around. Work 2 sc in each stitch (increase in each) around. (You now have 12 stitches.)
Round 3: [1 sc, Increase] Around. Repeat the following steps until you finish the round: 1 sc in the next stitch. 2 sc in the next stitch (increase). Place a stitch marker in your first stitch to help you know where each round begins. (You will have 18 stitches.)
Rounds 4–8: Even Rounds. For each of these 5 rounds: Sc in each stitch around the entire round. Move your stitch marker up to the new first stitch each time. (Each of these rounds has 18 stitches.)
Round 9: [2 sc, Increase] Around. Repeat the following steps until you finish the round: 1 sc in each of the next 2 stitches. 2 sc in the next stitch (increase). (You will have 24 stitches.)
Round 10: Even Round. Sc in each stitch around. (24 stitches.)
Round 11: [2 sc, Decrease] Around. Repeat the following steps until you finish the round: 1 sc in each of the next 2 stitches. Decrease over the next 2 stitches (dec). (You will have 18 stitches.)
Round 12: [1 sc, Decrease] Around. Repeat the following sequence until you finish the round: 1 sc in the next stitch. Decrease over the next 2 stitches. (12 stitches.) Pause here to stuff your baby chick body! Push small amounts of fiberfill inside to make the chick nice and round.
Round 13: Final Decreases. Decrease in each stitch around (so, work a decrease 6 times). (6 stitches.) Cut the yarn, leaving a tail. Use your tapestry needle to thread the yarn through the front loops of the last 6 stitches. Pull to close. Weave in the end to secure.
Eyes
Insert or glue on eyes between rounds 6 and 7, spaced evenly on the face. If using safety eyes, attach the backings inside before closing the fabric. Optional: Embroider the eyes with black thread for young children.
Wings (Make 2)
Insert your hook into the side of the chick where you want the wing to be. Attach new yarn and: Ch 1. In the same spot, work 3 double crochets (dc). In the same stitch, slip stitch (sl st). Cut yarn and pull through to fasten off, weaving in the tail. Repeat for the other side.
For Feet visit the Tutorial.
Beak
With orange yarn: Use a yarn needle to embroider a small triangle or ‘V’ shape below the eyes, or Crochet ch 2, 1 dc in the first ch, fasten off and sew this tiny piece on as a beak.
Hanger & Keychain
Thread a piece of decorative yarn or string through the top of the chick’s head. Add a bead for a cute touch if you like. Loop on your keychain ring or hanger.
Assembly
- Check to make sure the chick is evenly stuffed and rounded.
- Weave in all leftover yarn ends.
- Securely attach all parts (wings, beak, eyes, hanger).
- Finished size should be around 5–7 cm tall.
Tips
- Use a smooth, soft acrylic or cotton yarn to showcase the stitch texture beautifully and make the finished piece cuddly yet durable.
- If you prefer a fluffier chick, try a yarn with a slight halo, but keep your tension tight to prevent stuffing from showing.
- For a keychain that won’t snag, weave the hanger yarn through the top several times and knot securely before adding the ring.
FAQs
Can I use a different yarn weight?
Yes, you can adjust your yarn weight and hook size. Just note that the finished size will change—the pattern is written for DK or worsted weight with a 2.5–3.5 mm hook.
How do I make the invisible decrease?
Insert your hook into the front loop of the next two stitches, yarn over, pull through, yarn over, and pull through the two loops on your hook. This creates a neater decrease than a standard sc2tog.
What if I don’t have safety eyes?
You can use small black beads and glue them in place, or embroider the eyes with black yarn or embroidery floss. This is actually safer for very young children.
Why does my chick look lumpy?
Make sure you are stuffing evenly and not over-stuffing. Use small amounts of fiberfill at a time and shape the body as you go. Also check that your tension is consistent throughout.
Can I make this chick larger?
Absolutely. Use a heavier yarn and a larger hook, or add extra increase rounds (for example, [3 sc, inc] around) before the even rounds to widen the body.
How do I attach the keychain ring?
Thread a strand of yarn or decorative cord through the top of the chick’s head, tie a secure knot, and then loop the ring through the cord. Add a bead over the knot for a finished look.
Pin This Crochet Pattern!