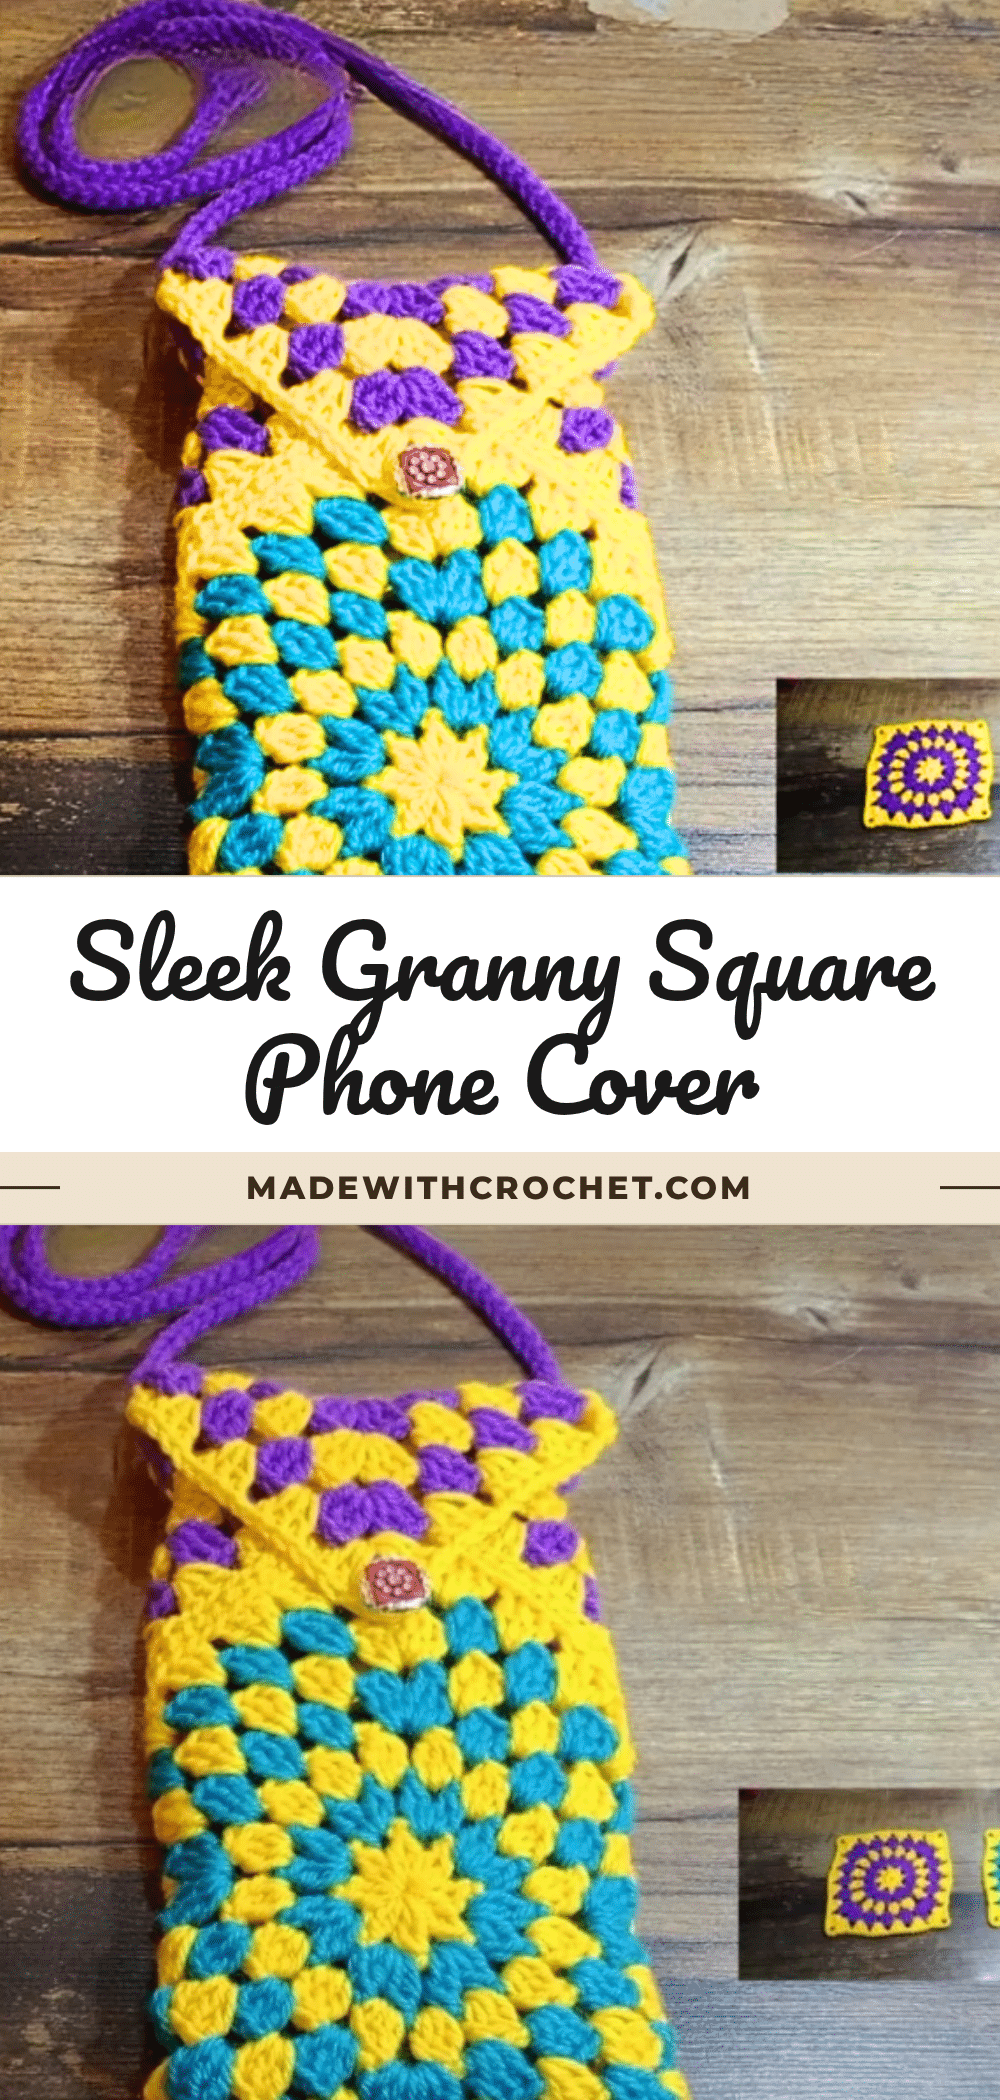
As the seasons shift and cozy handmade gifts come to the forefront, a crochet granny square phone cover is the perfect project to welcome the new season. Whether you’re crafting for holiday markets, spring color refreshes, or simply to add a touch of warmth to your daily carry, this pattern combines timeless charm with practical protection. It’s a delightful way to use up leftover yarn and create a personalized accessory that’s as functional as it is beautiful.
Seasonal Styling Ideas
This pattern’s beauty lies in its versatility. For autumn, choose warm jewel tones like burnt orange, mustard, and deep burgundy. Spring calls for pastel pinks, soft lavenders, and mint greens. You can even create a set of covers for different seasons or holidays, swapping them out to match your mood or the calendar. The granny square motif itself has a nostalgic, handmade feel that pairs perfectly with the changing seasons, making it a wonderful gift for friends and family.
Project Overview
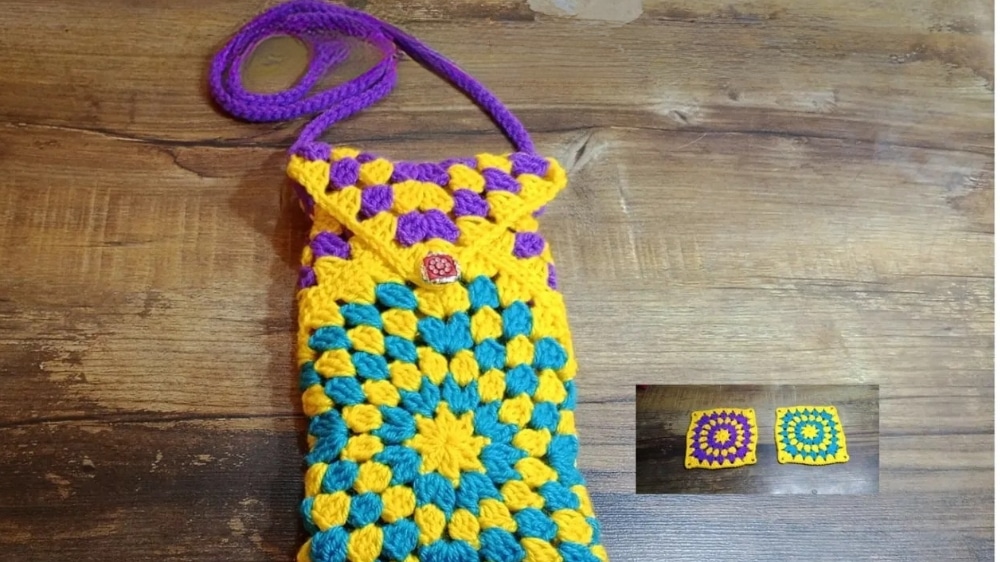
This pattern guides you through assembling a crochet mobile cover using pre-made granny squares. It provides precise instructions on preparing, assembling, and finishing a sturdy, functional, and attractive mobile pouch. The result is a lightweight, resilient cover that adds a lively splash of personality to your device.
Materials
- Two matching granny squares (recommended: each with 5 standard rounds + 2 additional rounds)
- Worsted or DK weight yarn (same as granny squares or complementary)
- Crochet hook (3.5mm–4mm, or suitable for your yarn)
- Yarn needle for seaming and attaching
- Scissors
- Button for closure
Gauge and Finished Size
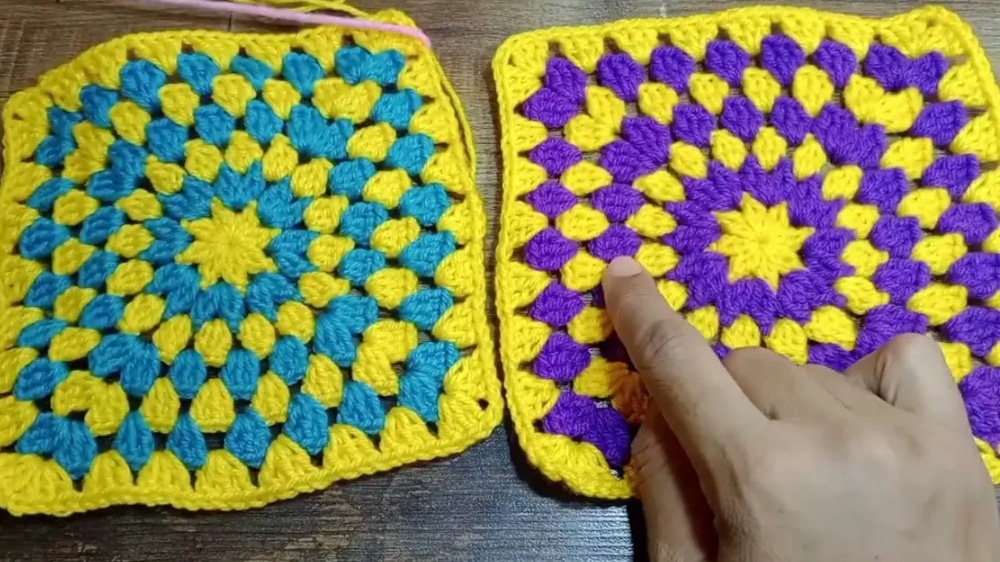
Gauge: Gauge is flexible. Typically, after seven rounds, each granny square will measure at least 6 inches (15 cm) on each side. Always measure against your device before assembly for best results.
Finished Size: Finished pouch: approximately 6–7 inches (15–18 cm) square (adjust rounds per your device). Size should allow the mobile to slide in easily with a secure, snug fit. Following seaming, turning, handle creation, and button attachment, your pouch should measure approximately 6.5 inches square (or as required for your mobile device). The fit should be snug, the seams neat, and the handle and button closure sturdy and secure.
Abbreviations
- ch – chain
- sl st – slip stitch
- dc – double crochet
- sp – space
- st – stitch
Pattern Notes
- Ensure your granny squares are large enough for your device; add or remove rounds as needed.
- Keep seaming stitches consistent to create a tidy, even pouch.
- This project is perfect for using up leftover yarn and for practicing joining techniques.
- All closures—handle and button—are constructed for both functionality and decoration.
Skill Level
Beginner to Advanced Beginner. Basic crochet stitches and sewing skills are required. If you’re comfortable making granny squares and seaming crochet pieces, you will find this pattern accessible and enjoyable.
Special Stitches
- Granny Cluster: 3 double crochets worked into the same chain space.
- Chain Space Seam: Insert the needle through corresponding chain spaces and double crochet stitches to create a strong, even joining seam.
Pattern Instructions
1. Preparation and Measurement
Crochet two identical granny squares. Complete five main rounds and add two more rounds (adjust as needed for your phone’s size). Lay your mobile on top of a square. The square should fully enclose your phone with small margins for seams. If necessary, add or subtract rounds so that the finished pouch will not be too tight or too loose.
2. Joining the Sides
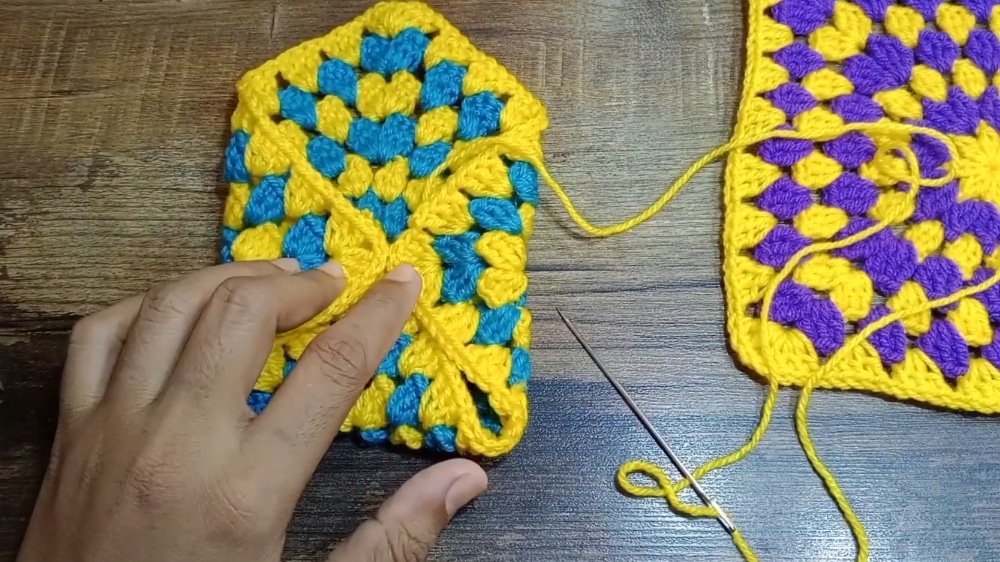
Place both granny squares together, right sides facing out, aligning all edges precisely. With a yarn needle threaded with matching yarn, begin seaming one side from the bottom corner. Insert the needle through the outermost chain spaces or directly through double crochet stitches of both pieces. Use small, even whipstitches, working from the bottom up. Ensure every stitch passes through both squares to form a symmetrical and durable seam. Continue up the side until you reach the top edge. Secure the yarn and weave in the end. Repeat this process for the opposite side.
3. Closing the Bottom and Sides
Turn your work so the open side faces you, forming a pocket. Seam the bottom edge similarly, matching up corners and ensuring an even, gap-free finish. Use careful, consistent tension; avoid sewing too tightly, as this may pucker the fabric, or too loosely, which could allow stretching. Reinforce both corners for extra durability. When complete, weave in all ends on the inside of the bag.
4. Finishing Touches
Mobile Insertion: Turn the pouch right side out. Insert your mobile device to ensure a precise, secure fit.
Handle Creation: Attach yarn at one upper corner of the pouch’s opening. Chain to your desired length for the handle (about 35–50 chains for a wristlet). Slip stitch in every chain from end to start, creating a dense, sturdy strap. Fasten off. Sew both ends of the strap securely to the top corners of the pouch using the yarn needle.
Final Assembly: Button and Closure: Fold the upper portion of the pouch over to form a flap. Attach a button to the pouch body at the point under the flap. Chain a small loop (typically 8–10 ch) with yarn, securing both ends to the inner edge of the flap. The loop should fit snugly around the button, securing the pouch closed. Weave in any ends, and tidy up all edges as necessary.
Assembly
Place both granny squares together, right sides facing out, aligning all edges precisely. With a yarn needle threaded with matching yarn, begin seaming one side from the bottom corner. Insert the needle through the outermost chain spaces or directly through double crochet stitches of both pieces. Use small, even whipstitches, working from the bottom up. Ensure every stitch passes through both squares to form a symmetrical and durable seam. Continue up the side until you reach the top edge. Secure the yarn and weave in the end. Repeat this process for the opposite side.
Fold the upper portion of the pouch over to form a flap. Attach a button to the pouch body at the point under the flap. Chain a small loop (typically 8–10 ch) with yarn, securing both ends to the inner edge of the flap. The loop should fit snugly around the button, securing the pouch closed. Weave in any ends, and tidy up all edges as necessary.
FAQs
Can I use any size granny square for this pattern?
Yes, but you must adjust the number of rounds so that the square fully encloses your phone with small margins for seams. Measure your device against the square before assembly.
What type of yarn is best for this cover?
Worsted or DK weight yarn works well. Choose a yarn that matches your granny squares or a complementary color for a cohesive look.
How do I ensure the pouch fits snugly?
After seaming the sides and bottom, insert your mobile device to check the fit. If it’s too loose, you can add a few more rounds to the squares; if too tight, remove a round.
Can I use a different closure instead of a button?
Absolutely. You can substitute a toggle, a snap, or even a drawstring closure. Just ensure it secures the flap firmly.
How do I care for my crochet phone cover?
Hand wash in cool water with mild detergent, then lay flat to dry. Avoid wringing or machine drying to maintain the shape and color.
Is this pattern suitable for a beginner?
Yes, it’s designed for beginner to advanced beginner crocheters. Basic knowledge of granny squares and seaming is helpful, but the instructions are clear and easy to follow.
Pin This Crochet Pattern!