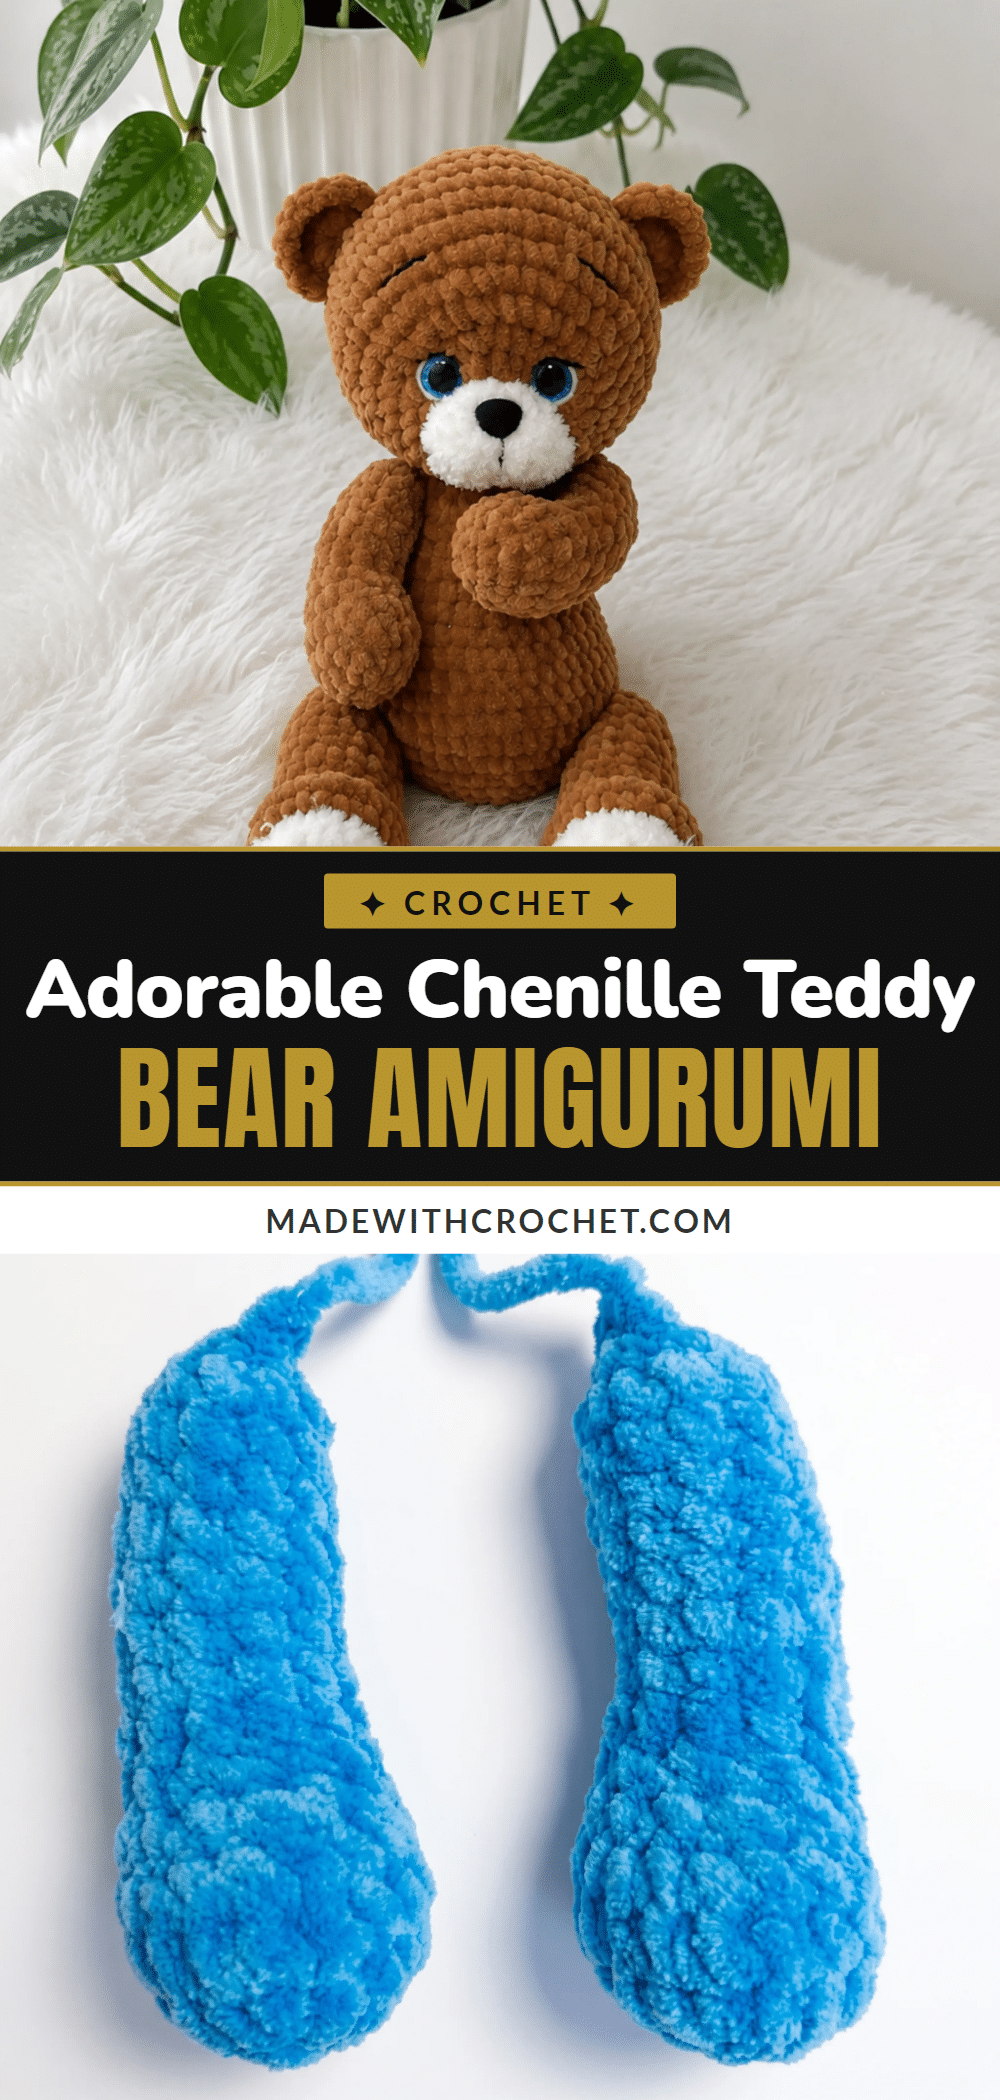
Yarn is piled on the table, your hook is ready, and the first magic ring is just about to tighten. This is the moment where a pile of soft chenille transforms into a plush companion. The Chenille Teddy Bear Amigurumi is designed for makers who want a genuinely huggable finished piece, not just a cute photo. With its soft velvet coat, sparkling trapezoid eyes, and a fuzzy white muzzle, this bear turns simple single crochet rounds into a face with real personality. It is an intermediate-level project that rewards patience with a stunning, textured result.
Why This Project Works
What makes this bear special is the yarn choice. A soft, velvety chenille gives every stitch a plush, teddy-bear texture without any extra fuzzing or brushing. The pattern utilizes a continuous spiral technique, which helps maintain that smooth, seamless look essential for amigurumi. The white muzzle and foot pads provide a lovely contrast against the main color, while the safety eyes and embroidered details bring the character to life. This project is perfect for gifting or as a comforting companion, and the finished size of approximately 10.5 inches makes it substantial enough to hold but small enough to cuddle.
Project Overview
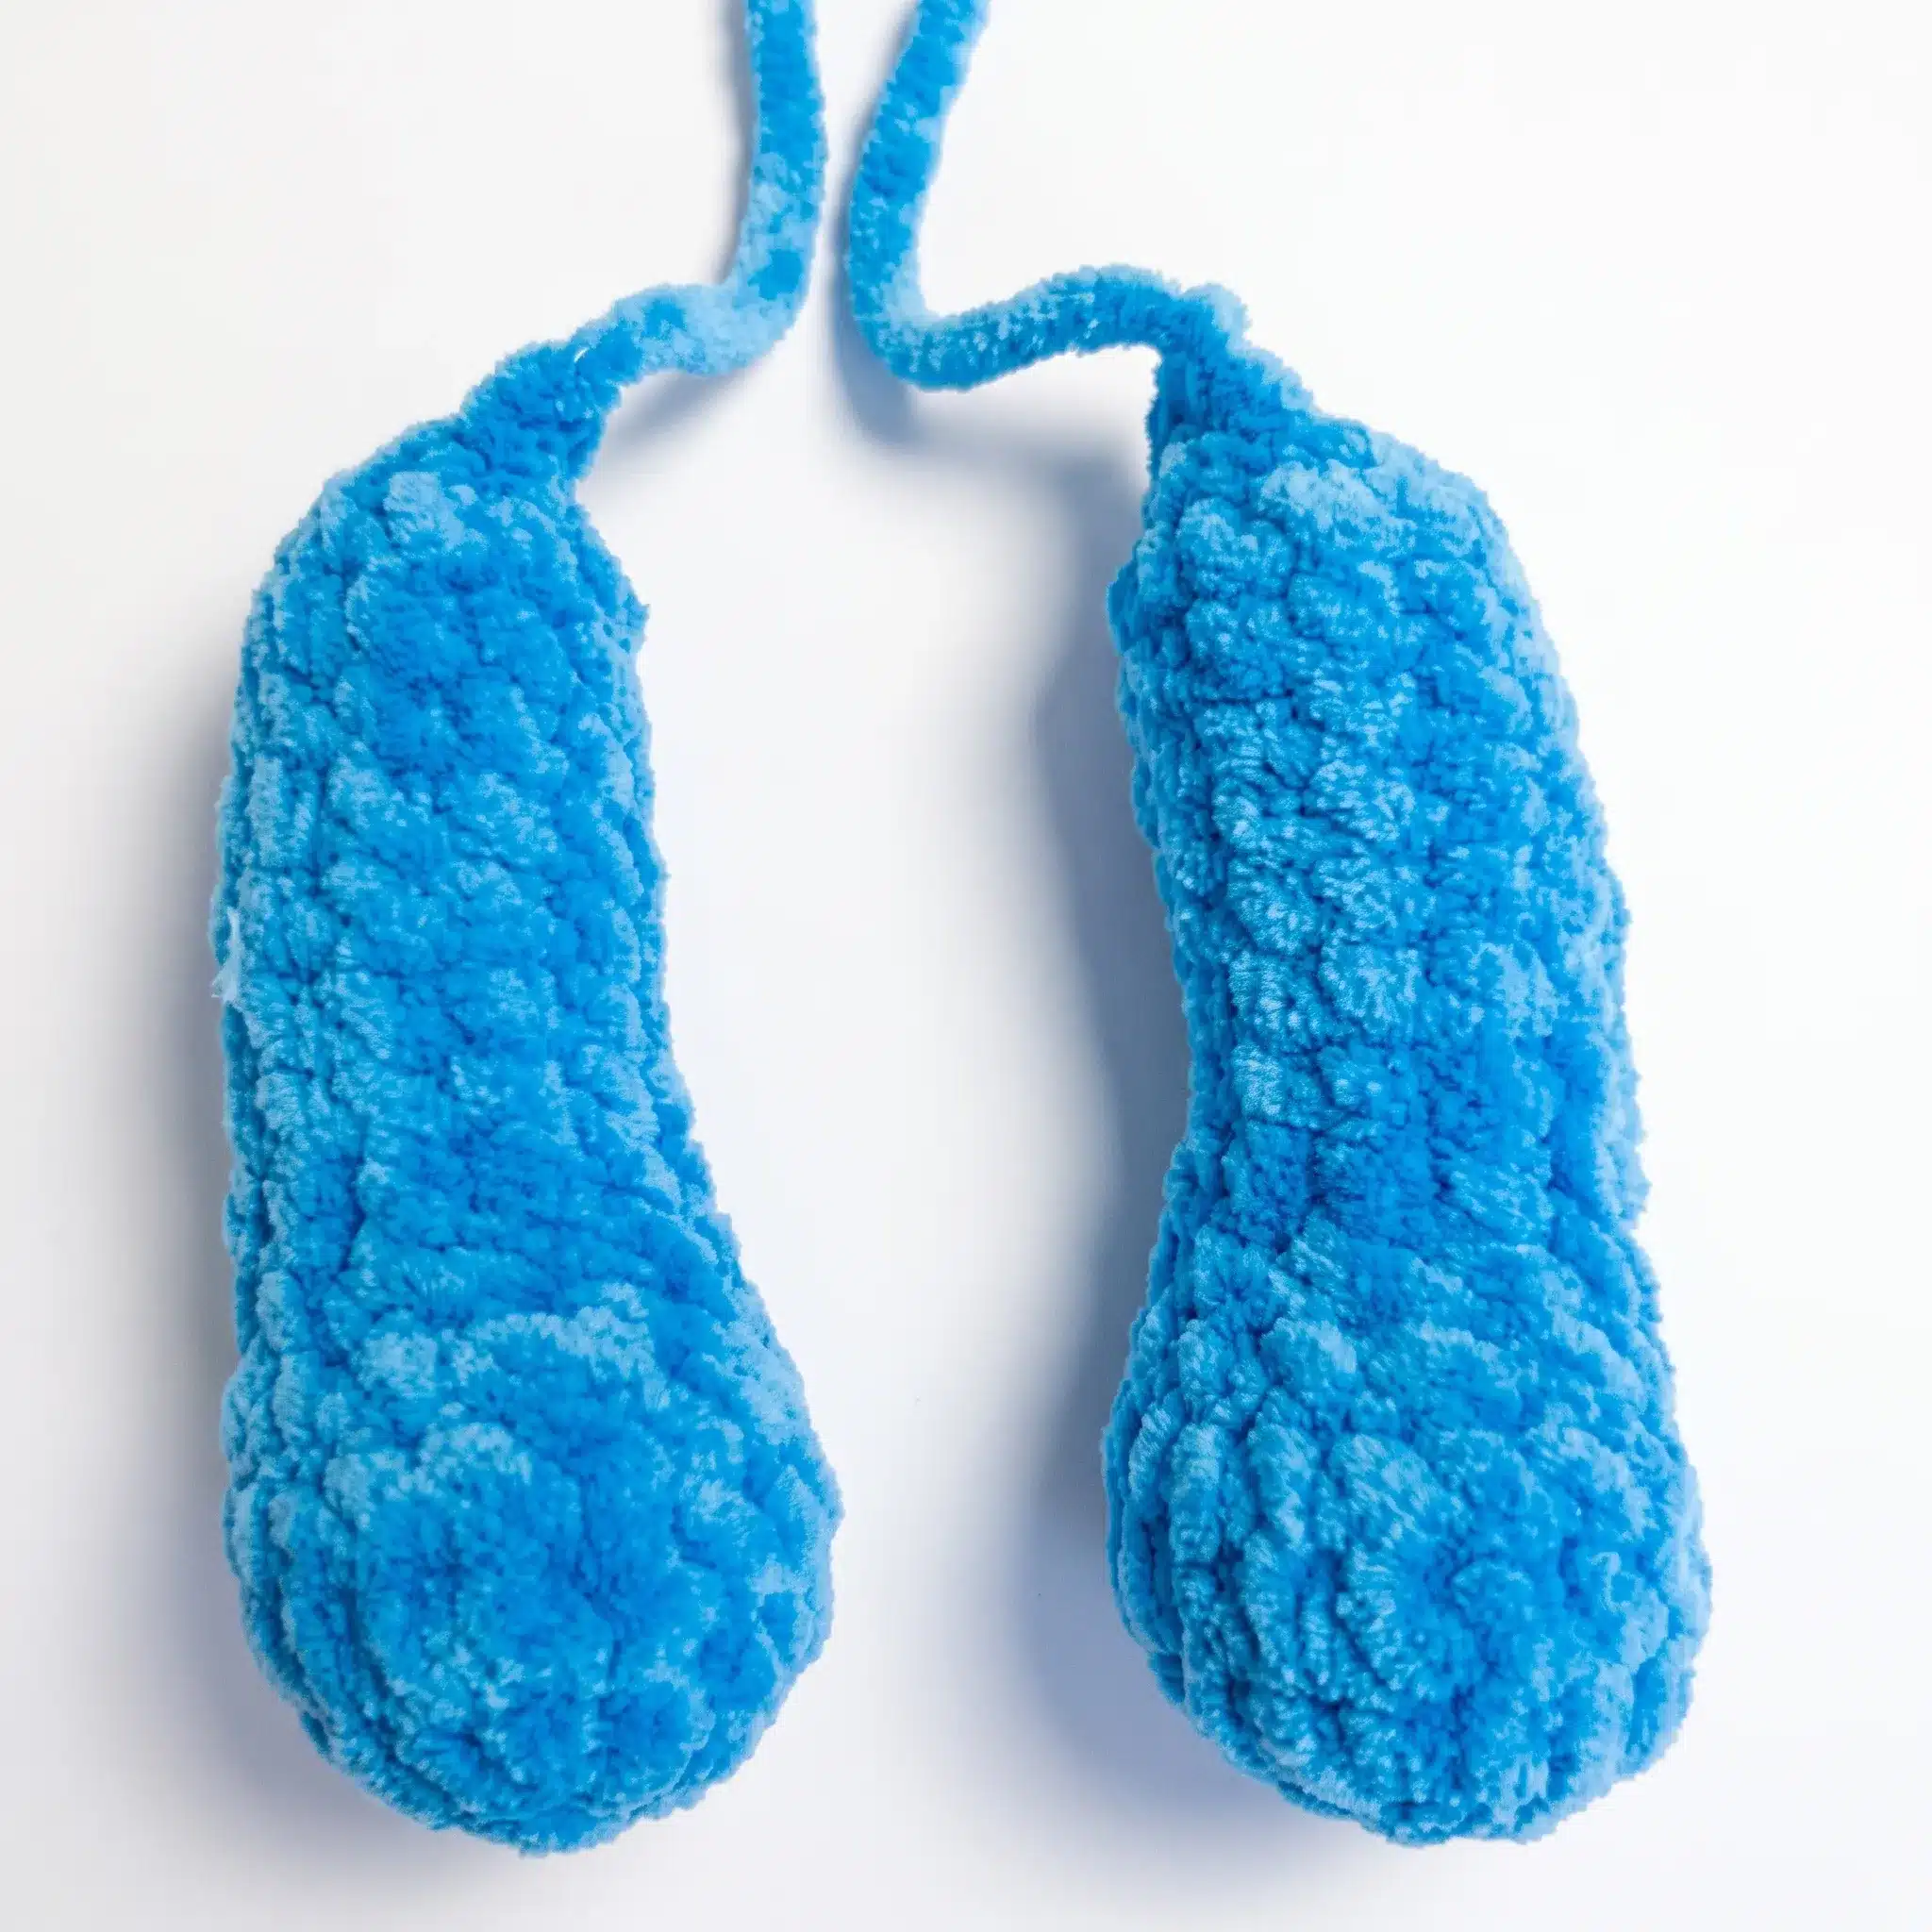
This pattern creates a 10.5-inch (27 cm) teddy bear using bulky chenille yarn. The design features integrated limbs, meaning the arms and legs are attached directly to the body during the crocheting process, reducing the number of separate sewing steps. The head is worked in white for the muzzle area and main color for the rest, featuring a unique cinching technique to create gentle indentations for the eye sockets.
Materials
- Yarn: Bulky (5) weight chenille/velvet yarn (such as Himalaya Dolphin Baby) in your main color — 1 skein
- Yarn: Small amount of Bulky (5) weight chenille yarn (such as Alize Softy Plus) in white, for the muzzle and foot pads
- Hook: US E-4 (3.5 mm)
- Safety eyes: 14mm trapezoid glitter eyes, 2 count
- Safety nose: 16x12mm or 20x16mm triangle safety nose, 1 count
- Fiberfill stuffing
- Thread: Black and white yarn or embroidery thread, for the nose outline, eyelash line, and eyebrows
- Needle: Yarn needle / tapestry needle, long enough for cinching and sewing pieces
- Thread: Strong sewing thread, for cinching rounds
- Tools: Stitch markers, Scissors
- Optional: Fabric glue (for securing embroidery thread)
Gauge and Finished Size
Finished size is approximately 10.5 inches (27 cm) using the materials listed. Gauge is not critical for this project, but a smaller hook will yield a firmer, smaller bear.
Abbreviations
- BLO — Back Loop Only
- ch — Chain
- dec — Decrease (invisible decrease)
- hdc — Half Double Crochet
- inc — Increase (2 sc in same stitch)
- MR — Magic Ring
- sc — Single Crochet
- sl st — Slip Stitch
- st(s) — Stitch(es)
Pattern Notes
- This pattern is written in US crochet terminology.
- All pieces are worked in continuous spiral rounds unless otherwise noted; do not join or chain up between rounds.
- Stitch count is given at the end of each round in parentheses: (##).
- Stuff each piece firmly as you go — it’s much easier to add stuffing gradually than to force it in after the round is closed.
- Leave the last 2 rounds of the upper arms and lower legs unstuffed so they lie flat for sewing.
- Safety eye and nose placement is noted at the correct round within the Head section — always test the placement before locking the safety backs in place.
Pattern Instructions
Upper Arms (make 2)
Stuff as you go. Do not stuff the last 2 rounds.
- Rnd 1: 7 sc in MR. (7)
- Rnd 2: inc in each st around. (12)
- Rnd 3: 3 inc, sc repeat around 5 times. (25)
- Rnds 4–5: sc in each st around. (25) — work 2 rounds
- Rnd 6: sc, 2 dec, 3 sc. (20)
- Rnd 7: 2 sc, 2 inc, 4 sc. (22)
- Rnd 8: 4 sc, 4 dec, 4 sc. (18)
- Rnds 9–14: sc in each st around. (18) — work 6 rounds
- Rnd 15: 6 dec. (6) Continue single crochet flat until you reach the center of the back of the arm, then fold the piece in half.
- Rnd 16: 3 sc worked through both layers. (3) Fasten off, leaving a tail for closing and sewing.
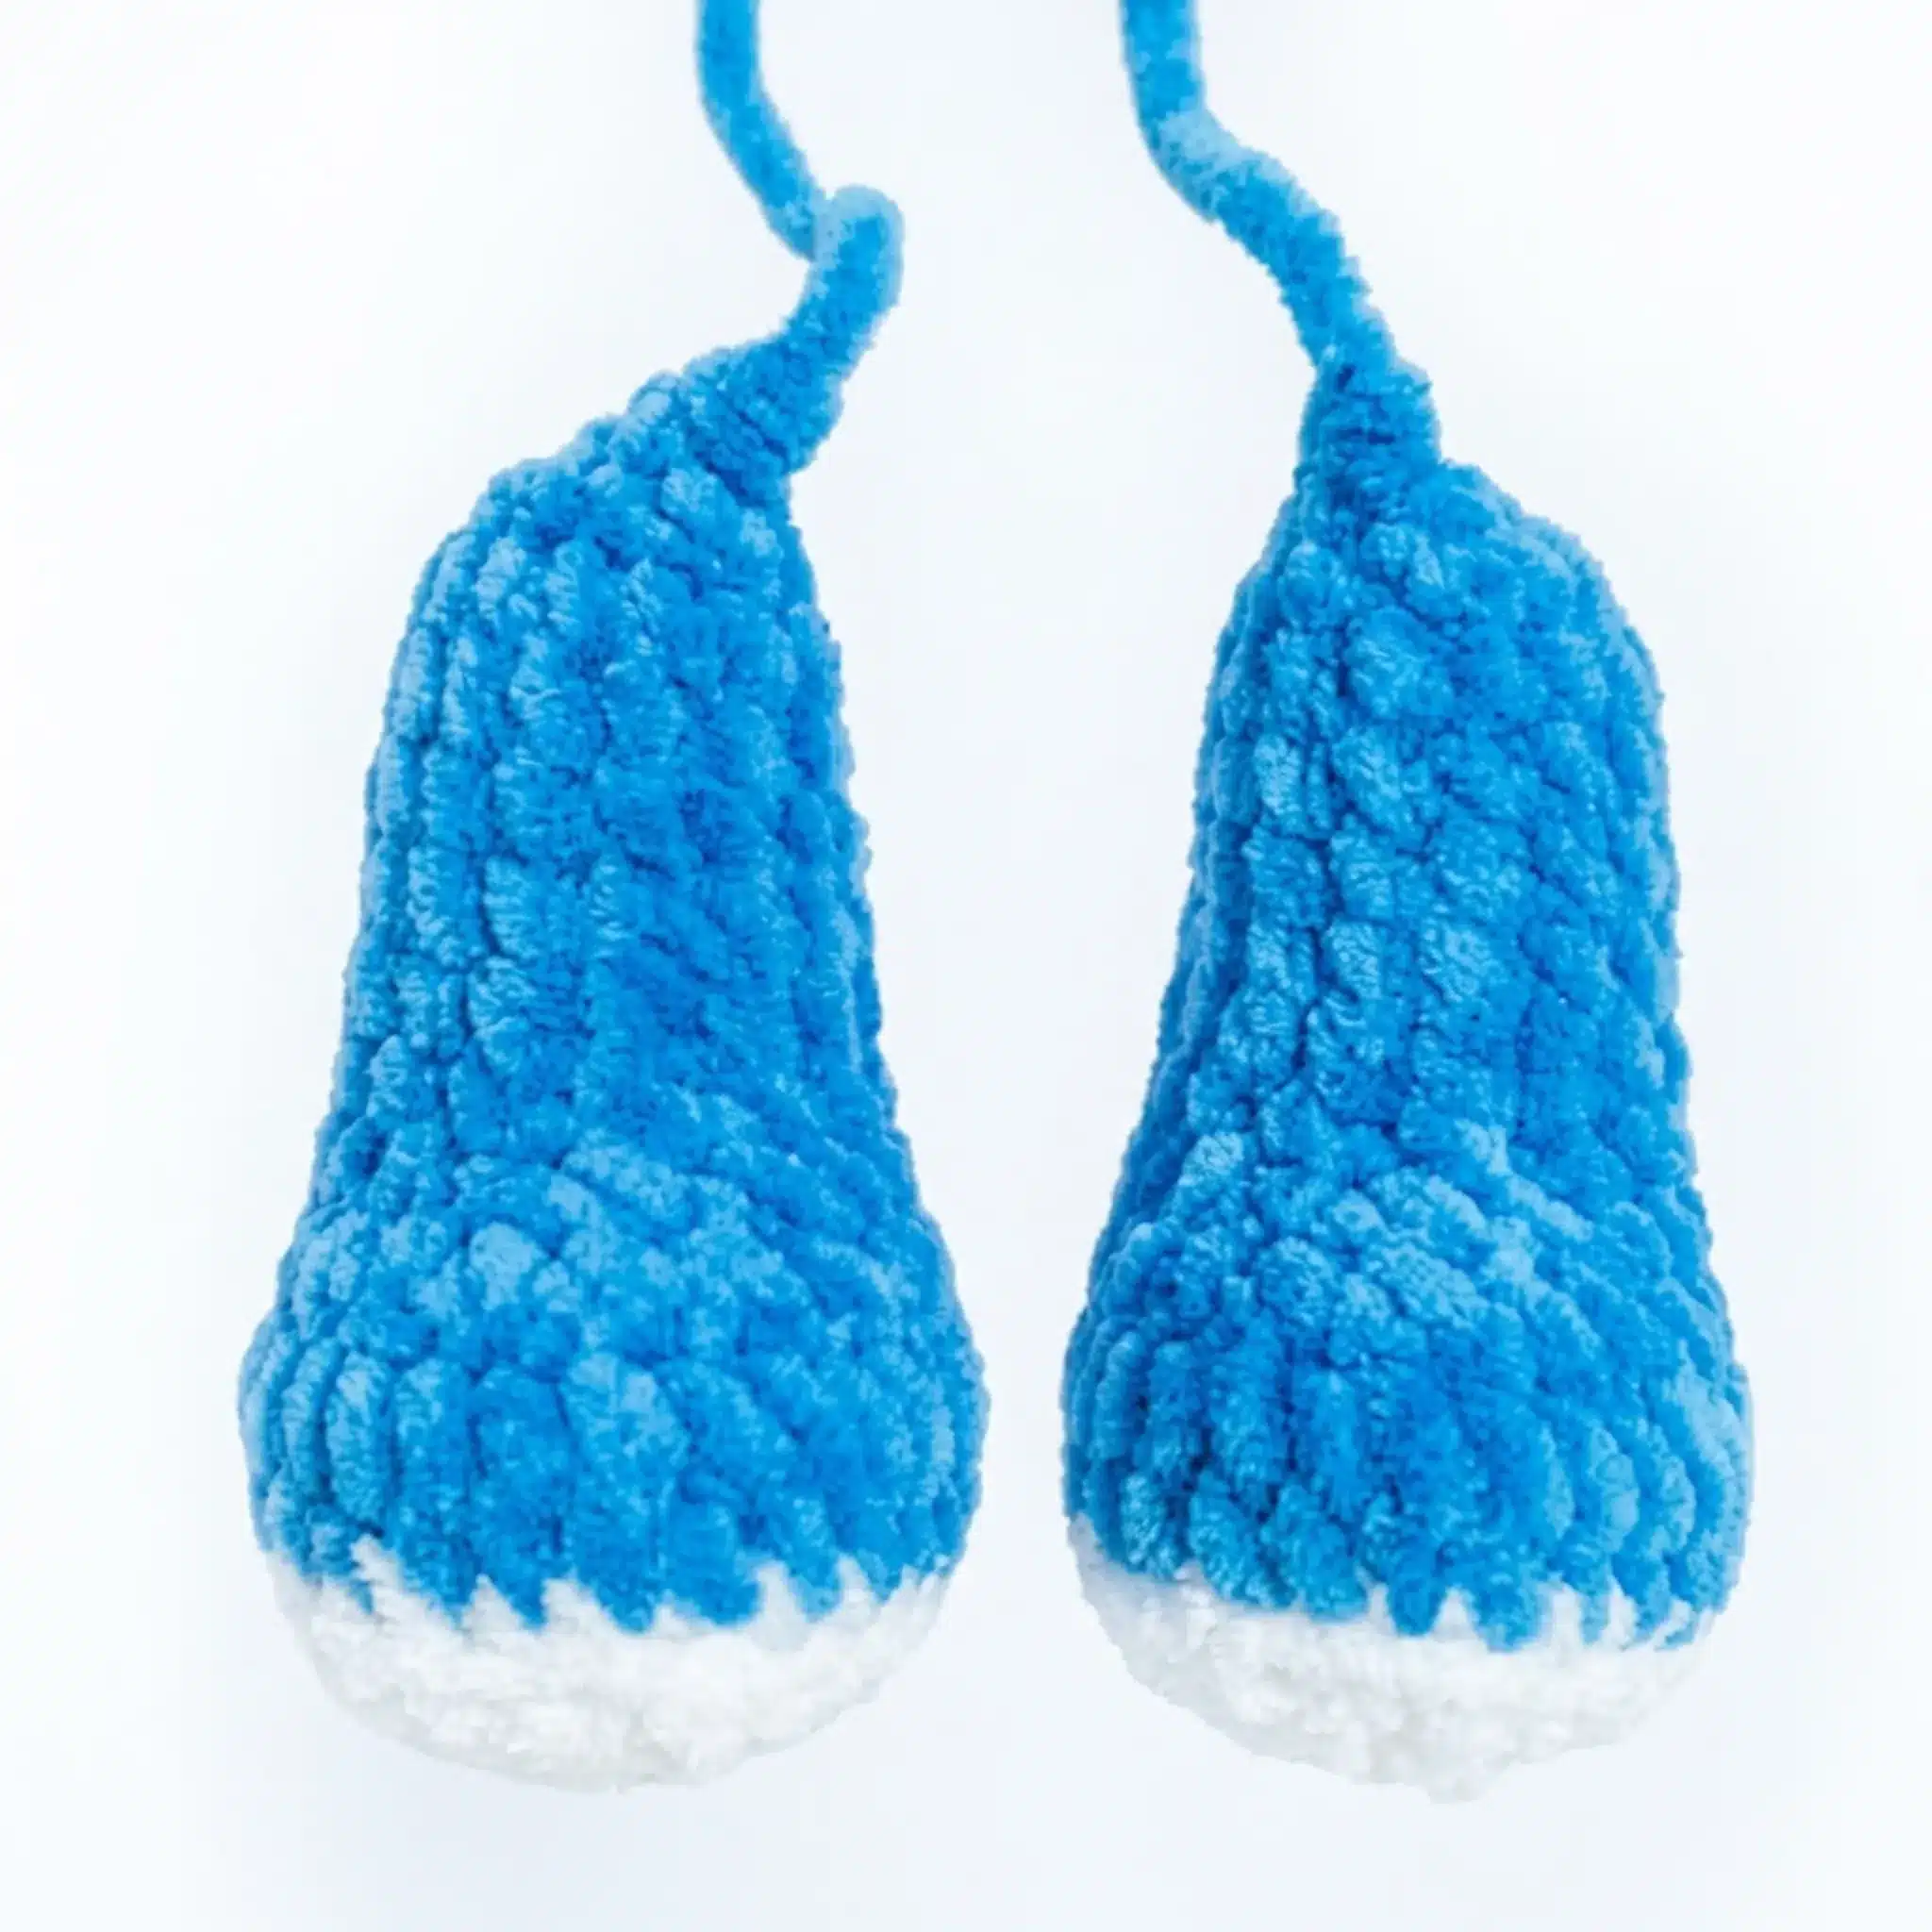
Lower Legs / Feet (make 2)
Stuff as you go. Do not stuff the last 2 rounds. Worked in white.
- Chain 6. Starting in the 2nd chain from the hook:
- Rnd 1: 2 inc, sc, 3 sc in same st; working down the other side of the foundation chain: 2 sc, 2 inc. (18)
- Rnd 2: 2 dec, 3 sc, 4 inc, sc, 3 inc. (20)
- Rnd 3: 2 sc, inc repeat 3 times, sc, 2 sc, inc repeat 4 times, sc, sc, dec repeat 2 times. (28)
- Rnds 4–5: sc in each st around. (28) — work 2 rounds
- In Rounds 6–8, keep the decreases centered on the front of the foot; work a standing sc to reposition your working yarn if needed.
- Rnd 6: 4 sc, 5 dec, 10 sc. (22)
- Rnd 7: 5 sc, 2 dec, 7 sc. (18)
- Rnd 8: 4 sc, dec, 6 sc. (16)
- In Round 9, the 2 hdc should be centered on the leg.
- Rnd 9: 4 sc, 2 hdc, 8 sc. (16)
- Rnds 10–13: sc in each st around. (16) — work 4 rounds
- Rnd 14: sc, dec repeat 3 times. (12)
- Rnd 15: sc, 2 dec repeat 4 times. (8) Leave the opening unclosed. Fasten off, leaving a tail.
Body
Stuff as you go.
- Rnd 1: 6 sc in MR. (6)
- Rnd 2: inc in each st around. (12)
- Rnd 3: inc, sc repeat around 6 times. (18)
- Rnd 4: 2 sc, inc repeat around 6 times. (24)
- Rnd 5: inc, 3 sc repeat around 6 times. (30)
- Rnds 6–7: sc in each st around. (30) — work 2 rounds
- In Round 8, attach the legs to the body as you crochet across.
- Rnd 8: 4 sc, joining the left leg: 4 sc, 17 sc, joining the right leg: 4 sc, 9 sc. (30)
- Rnds 9–11: sc in each st around. (30) — work 3 rounds
- In Round 12, keep decreases directly above the Round 8 increases; use a standing sc to reposition as needed.
- Rnd 12: 8 sc, 3 dec, 17 sc, 3 dec, 9 sc. (42)
- Rnd 13: 3 sc, 2 dec, sc repeat around 6 times. (30)
- Rnd 14: sc in each st around. (30)
- Rnd 15: 2 sc, inc, 2 sc repeat around 6 times. (30)
- Rnd 16: sc in each st around. (30)
- Rnd 17: dec, 3 sc repeat around 6 times. (24)
- Rnd 18: sc in each st around. (24)
- Rnd 19: 2 sc, dec repeat around 6 times. (18)
- In Round 20, attach the upper arms directly above the legs.
- Rnd 20: sc, 3 sc joining the left arm, 6 sc, 3 sc joining the right arm, 5 sc. (18)
- Rnd 21: sc in each st around. (18) Fasten off.
Head
Stuff as you go. Worked in white.
- Chain 5. Starting in the 2nd chain from the hook:
- Rnd 1: 3 sc, 4 sc in same st; working down the other side of the foundation chain: 3 sc, 2 inc. (18)
- Rnd 2: 2 inc, 4 sc, 2 inc, 4 sc, 2 inc. (20)
- Rnd 3: sc in each st around. (20)
- Rnd 4: 5 sc, 2 sc, 6 inc, 2 sc. (25)
- Rnd 5: 5 sc, sc, 2 inc repeat 3 times, 3 sc, 2 inc, sc repeat 3 times, 2 sc. (31)
- Rnd 6: 8 sc, 3 sc, inc repeat 2 times, 4 sc, 2 inc, 2 sc repeat 2 times, 2 sc. (37)
- Rnd 7: 8 sc, 2 sc, inc repeat 2 times, 3 sc, 2 inc, 3 sc repeat 2 times, 2 sc. (43)
- Rnd 8: 8 sc, 2 sc, 2 inc repeat 3 times, 3 sc, 2 inc, 4 sc repeat 3 times, 2 sc. (49)
- Rnd 9: 8 sc, 3 sc, inc repeat 2 times, 3 sc, 2 inc, 5 sc repeat 3 times, 2 sc. (57)
- Rnds 10–19: sc in each st around. (57) — work 10 rounds
- Insert the safety eyes now, positioning them so the lower edge of each eye touches the white section, with 6 hdc-widths of space between the inner corners of the eyes. The designer placed her eyes between Rounds 4 and 5.
- Insert the safety nose under the 2nd white round from the top.
- Rnd 20: 3 sc, dec repeat around 5 times. (20)
- Rnd 21: dec, 2 sc repeat around 5 times. (15)
- Rnd 22: sc, dec repeat around 5 times. (10) Leave the opening unclosed for now.
- Cinch the face by running strong thread through the head from front to back a few times to create gentle indentations for the eye sockets, then secure and weave in the ends inside the head.
- With white thread, outline the outer edge of each eye and secure with a touch of fabric glue if needed.
- With black thread, embroider a lash line above each eye.
- Embroider the eyebrows between Rounds 8 and 9, making each brow 5 sc wide with 9 sc of space between them.
- Close the head opening by working through the front loops (FLO) of the remaining 10 stitches, pulling tight, then fasten off and weave in the end.
Tail
Rnd 1: 6 sc in MR. (6)
Rnd 2: inc in each st around. (12)
Rnd 3: sc in each st around. (12)
Rnd 4: sc, dec repeat around 4 times. (8)
Sl st to close. Leave a tail for sewing, fasten off.
Assembly
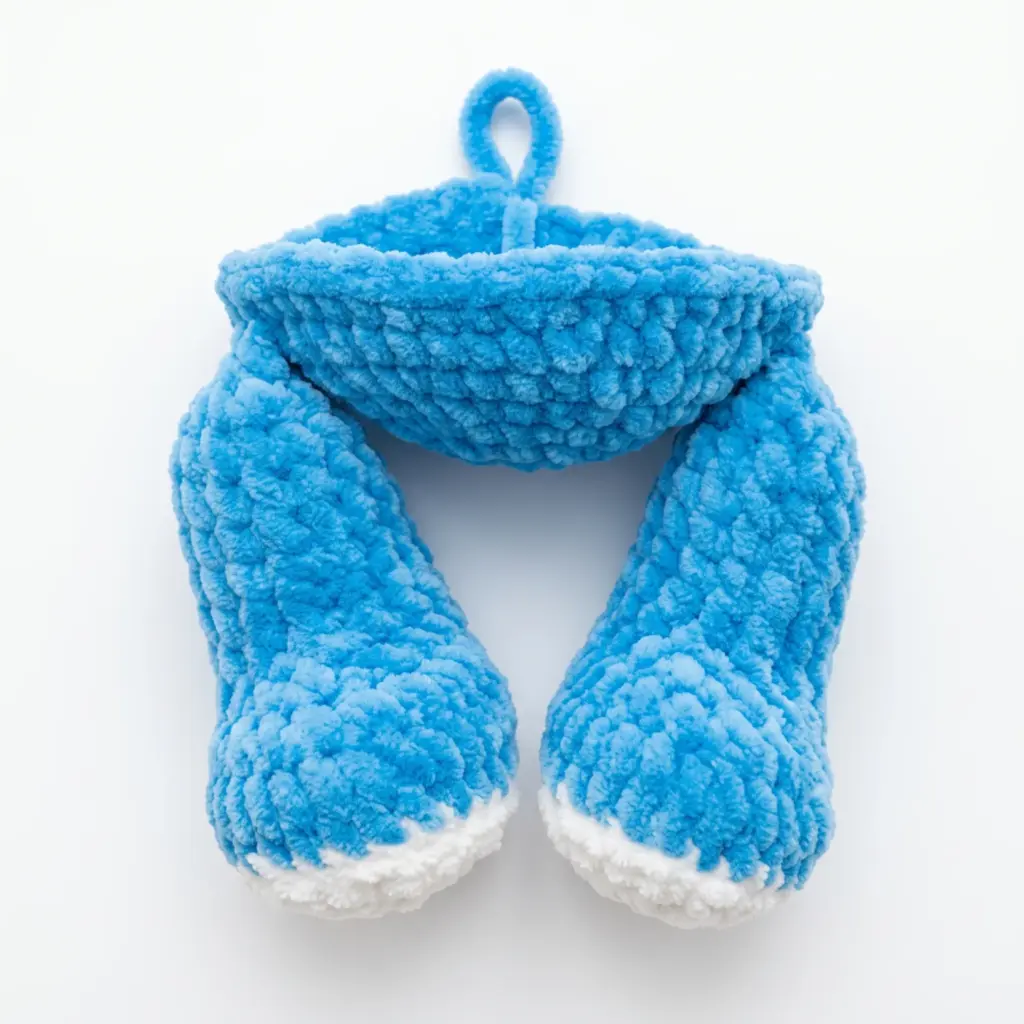
Lightly stuff the Head and sew it to the neck of the Body using the yarn tail, working through Rounds 4–9 of the main color (counting from the white section). Position it so three rounds of the main color remain visible just below the head. Attach the Ears to the top of the Head, spacing them evenly on either side of the face above the eyebrow line, and whipstitch them in place using the yarn tail. Lightly stuff the Tail and whipstitch it to Rounds 7–8 of the Body, centered on the back. Check that the Upper Arms and Lower Legs, already joined during the Body rounds, sit symmetrically; add a few extra stitches to reinforce the joins if needed. Weave in all remaining yarn ends throughout the bear, hiding tails inside the stuffed pieces for a clean finish.
Tips
- Keep your tension slightly tight. Amigurumi pieces need dense stitches so stuffing doesn’t peek through — this matters even more with chenille yarn, which has more natural give than a smooth worsted wool.
- Master the invisible decrease. Insert your hook under the front loops of the next two stitches only, pull up a loop, then yarn over and pull through both loops. This keeps the decrease nearly invisible against the chenille texture.
- Don’t overstuff. Stuff firmly but stop before the piece feels rock-hard or the stitches start to gap. You want the bear to hold its shape while still feeling soft to hug.
- Choose yarn substitutes carefully. Stick with another bulky chenille or velvet-style yarn to preserve the same plush texture and finished size. Switching to a smooth worsted-weight yarn will make the bear noticeably smaller and change the surface texture entirely.
- Take your time attaching the head. Work slowly and check the eye alignment from multiple angles before finishing the seam — a slightly tilted head is the easiest mistake to spot on a finished bear.
FAQs
Can I use a different yarn weight?
It is recommended to stick with Bulky (5) weight chenille or velvet yarn. Using a lighter weight yarn will result in a significantly smaller bear, while a heavier weight may make the stitches too large to hold the shape properly.
How do I make the eyes look symmetrical?
Insert the safety eyes when the pattern instructs (between Rounds 4 and 5 of the head). Measure the distance between the inner corners of the eyes to ensure they are 6 hdc-widths apart. Check the alignment from the front and side before locking the backs in place.
Why are the arms and legs attached during the body rounds?
Integrating the limbs into the body creates a stronger structural bond and reduces the number of separate sewing steps. It also ensures the limbs sit at the correct height and angle relative to the torso.
What if I don’t have a triangle safety nose?
You can use a 16x12mm or 20x16mm triangle safety nose as specified. Alternatively, you can embroider the nose using black thread, though the safety nose provides a more defined, 3D look typical of teddy bears.
How do I cinch the face for eye sockets?
Run strong sewing thread through the head from front to back a few times before closing the final opening. Pull the thread gently to create indentations for the eye sockets, then secure the thread inside the head and weave in the ends.
If you enjoy making plush toys, you might also like this adorable tie-neck goose amigurumi or this adorable Larry the spider amigurumi pattern.
Pin This Crochet Pattern!