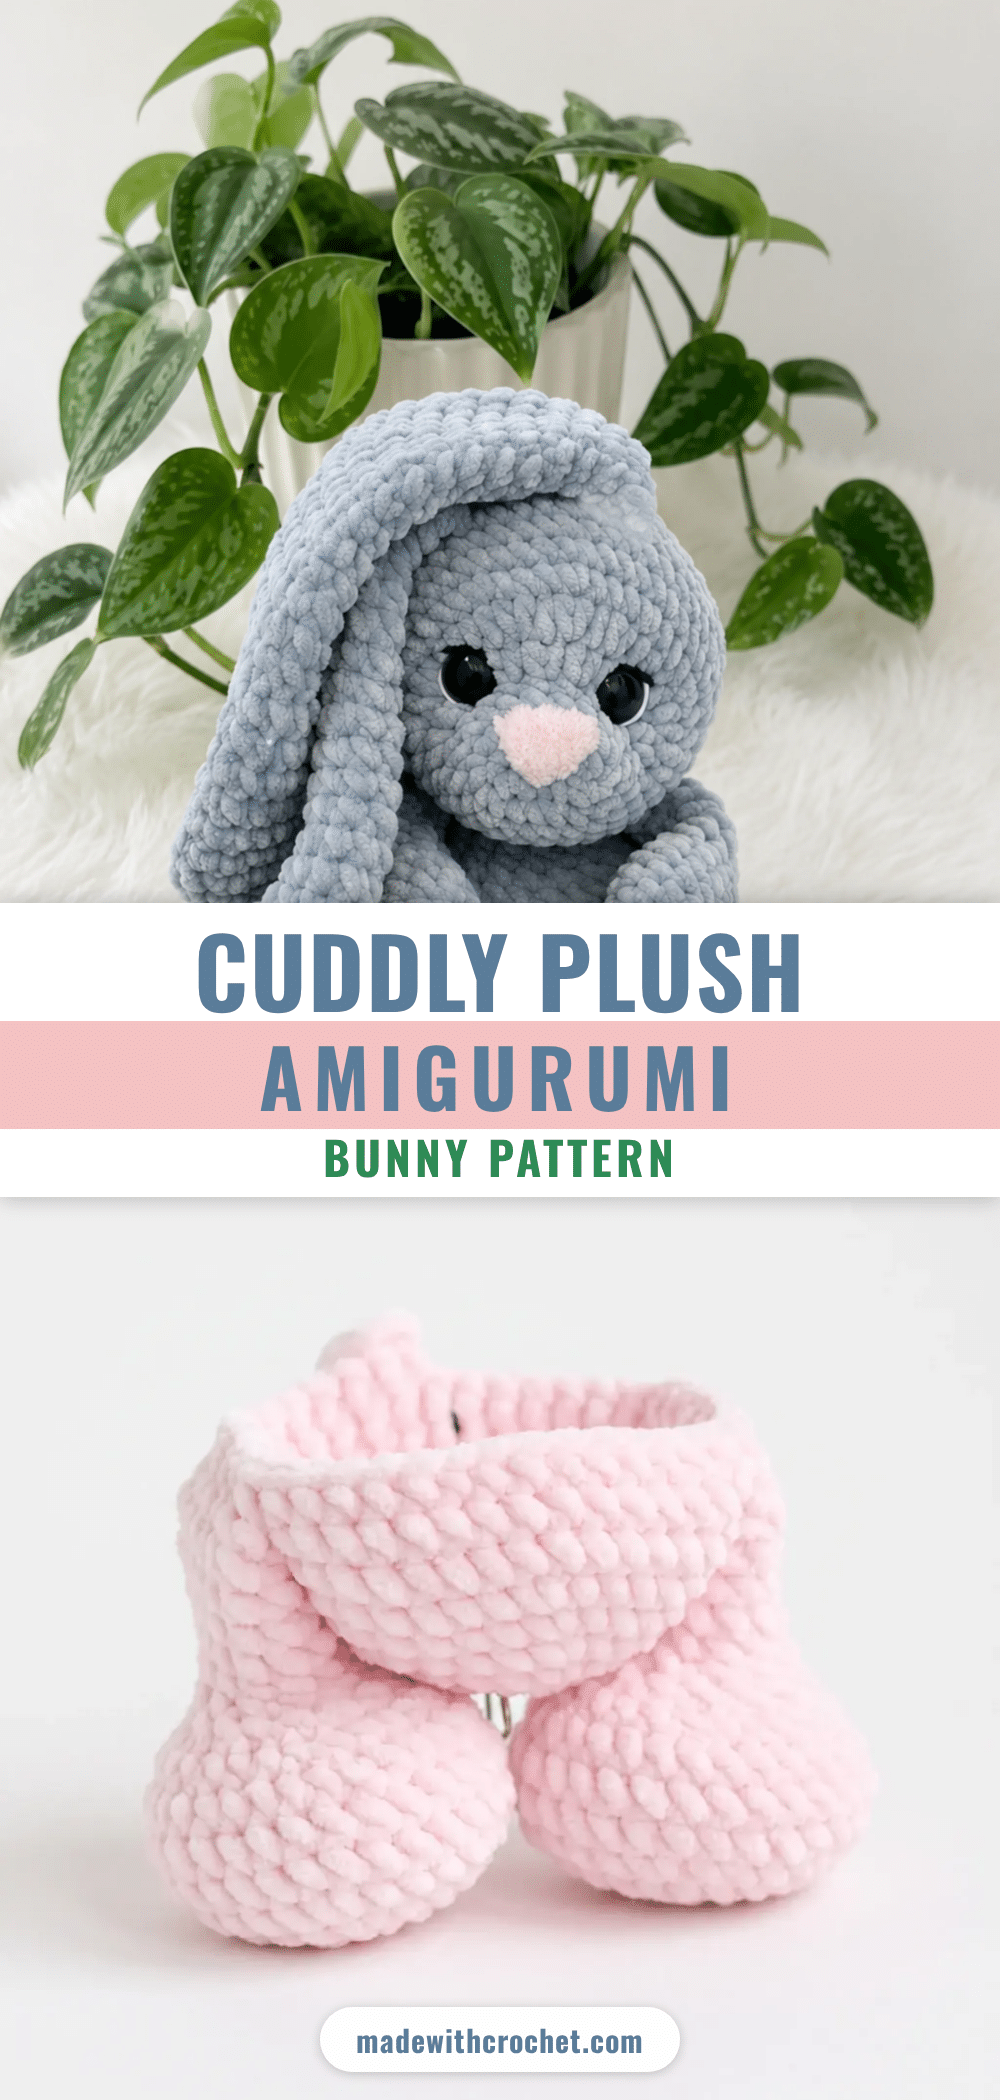
There is something undeniably magical about a plush amigurumi bunny that makes it an instant favorite for nurseries, gift boxes, and display shelves. With ears so soft they flop over at the tips and a round, velvety body that begs to be squeezed, this cuddly companion offers a tactile experience that goes beyond standard crochet toys. The chenille-style yarn gives every finished piece an irresistible, huggable texture right out of the hook, making it a perfect project for confident beginners and intermediate crocheters alike.
Why the Finished Piece Stands Out
What truly sets this bunny apart is the specific choice of materials and the resulting “squishy” aesthetic. By using plush or chenille yarn in a bulky weight, the stitch definition naturally softens, creating a seamless, velvety surface that hides minor imperfections while highlighting the toy’s shape. The design allows for creative color decisions, such as using a contrast color for the lower portions of the arms and legs to mimic natural paw markings. Furthermore, the inclusion of floppy, hand-stretched ears adds a layer of personality and realism that stiff cotton amigurumi often lacks. It is a toy designed not just to be looked at, but to be held, making it an ideal keepsake or comfort object.
Project Overview
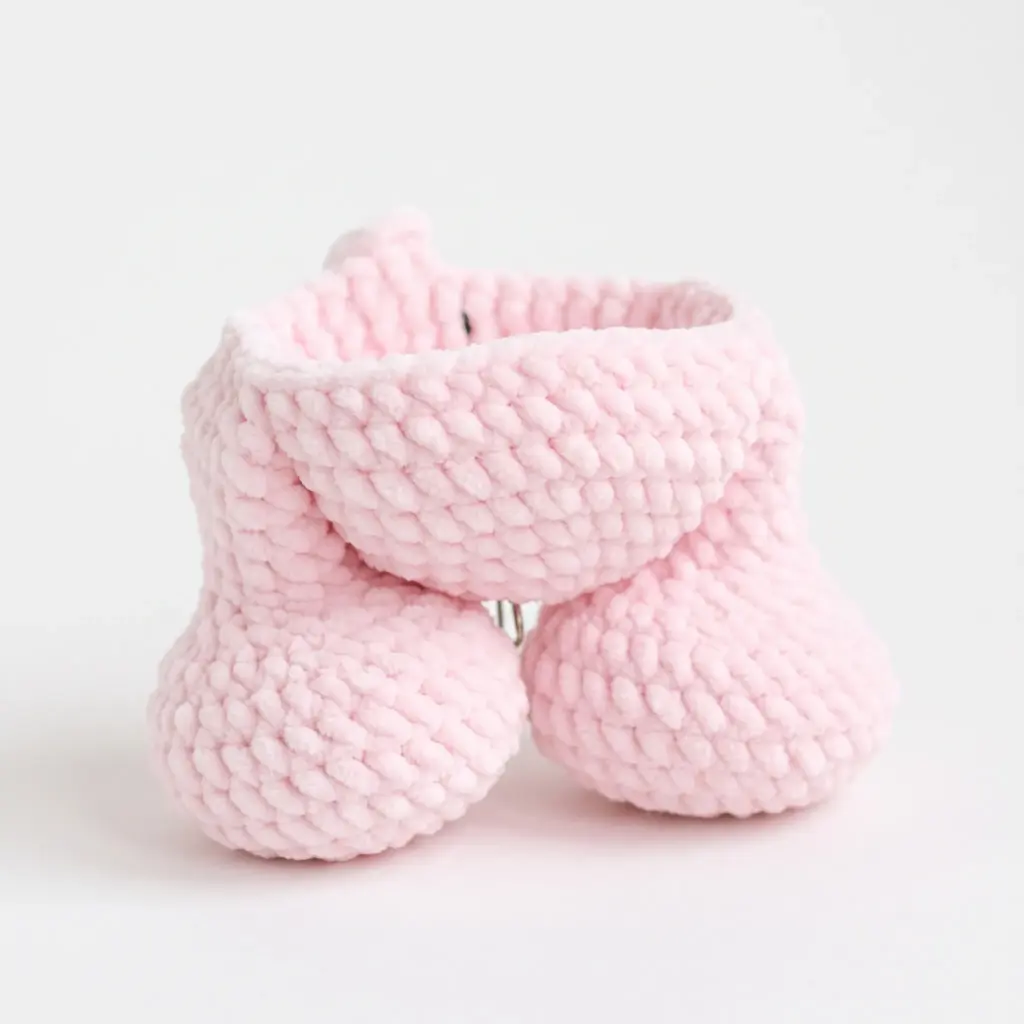
This pattern creates a plush amigurumi bunny using US crochet terminology. The project is worked in continuous spiral rounds for most components, with the head starting as two flat rows before joining into a circle. The design features a sturdy body with integrated leg and arm attachments, a distinct muzzle, and soft, drooping ears. It is designed to be stuffed firmly but not tightly, ensuring the bunny holds its shape while remaining squeezable.
Materials Needed
- Main Yarn: Plush/chenille yarn, Bulky (5) weight, 100g/120m. You will need 2–2.5 skeins in pink (or your chosen main color), depending on gauge and desired plush density. A small amount of white plush yarn is needed for the tail.
- Contrast Yarn (Optional): Plush/chenille yarn, Bulky (5) weight, for the lower portions of the arms and legs.
- Eye Finishing Yarn: Cotton-blend yarn, Sport/DK weight, 50g/160m. Small amounts of black and white (under 1 yard total) for finishing the eye rims.
- Nose Yarn: Microfiber yarn, Bulky (5) weight, 50g/115m. A small amount in gray (about 1–1.5 yards) for embroidering the nose.
- Sewing Thread: 100% cotton thread, Fingering weight, 25g/150m. Color should match your main yarn; used for sewing on ears, head, and face-gathering.
- Hook: US G-6 (4mm). If you tend to crochet loosely, size down to US D-3/E-4 (3.25–3.5mm).
- Safety Eyes: 16mm, 1 pair.
- Stuffing: Fiberfill.
- Notions: Stitch markers, yarn needle/tapestry needle (metal is easiest for plush yarn), scissors, sewing pins with plastic heads, and a pair of straight or double-pointed knitting needles (to hold the head steady during assembly).
Gauge and Finished Size
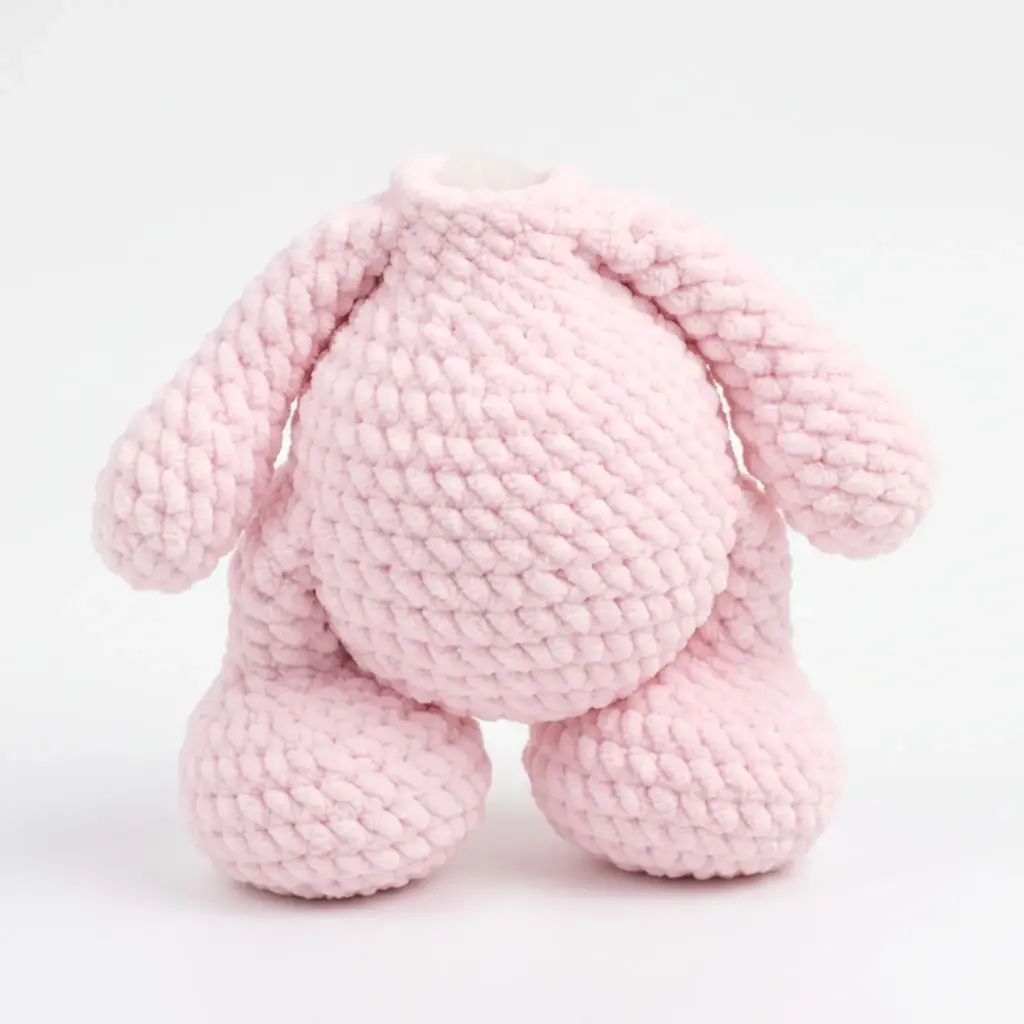
Gauge is not critical for this project. The most important factor is that your fabric is tight enough that stuffing does not peek through. Adjust your hook size accordingly to achieve a dense fabric.
Abbreviations
- ch: Chain
- dec: Decrease
- hdc: Half Double Crochet
- inc: Increase
- MR: Magic Ring
- sc: Single Crochet
- sl st: Slip Stitch
Pattern Notes
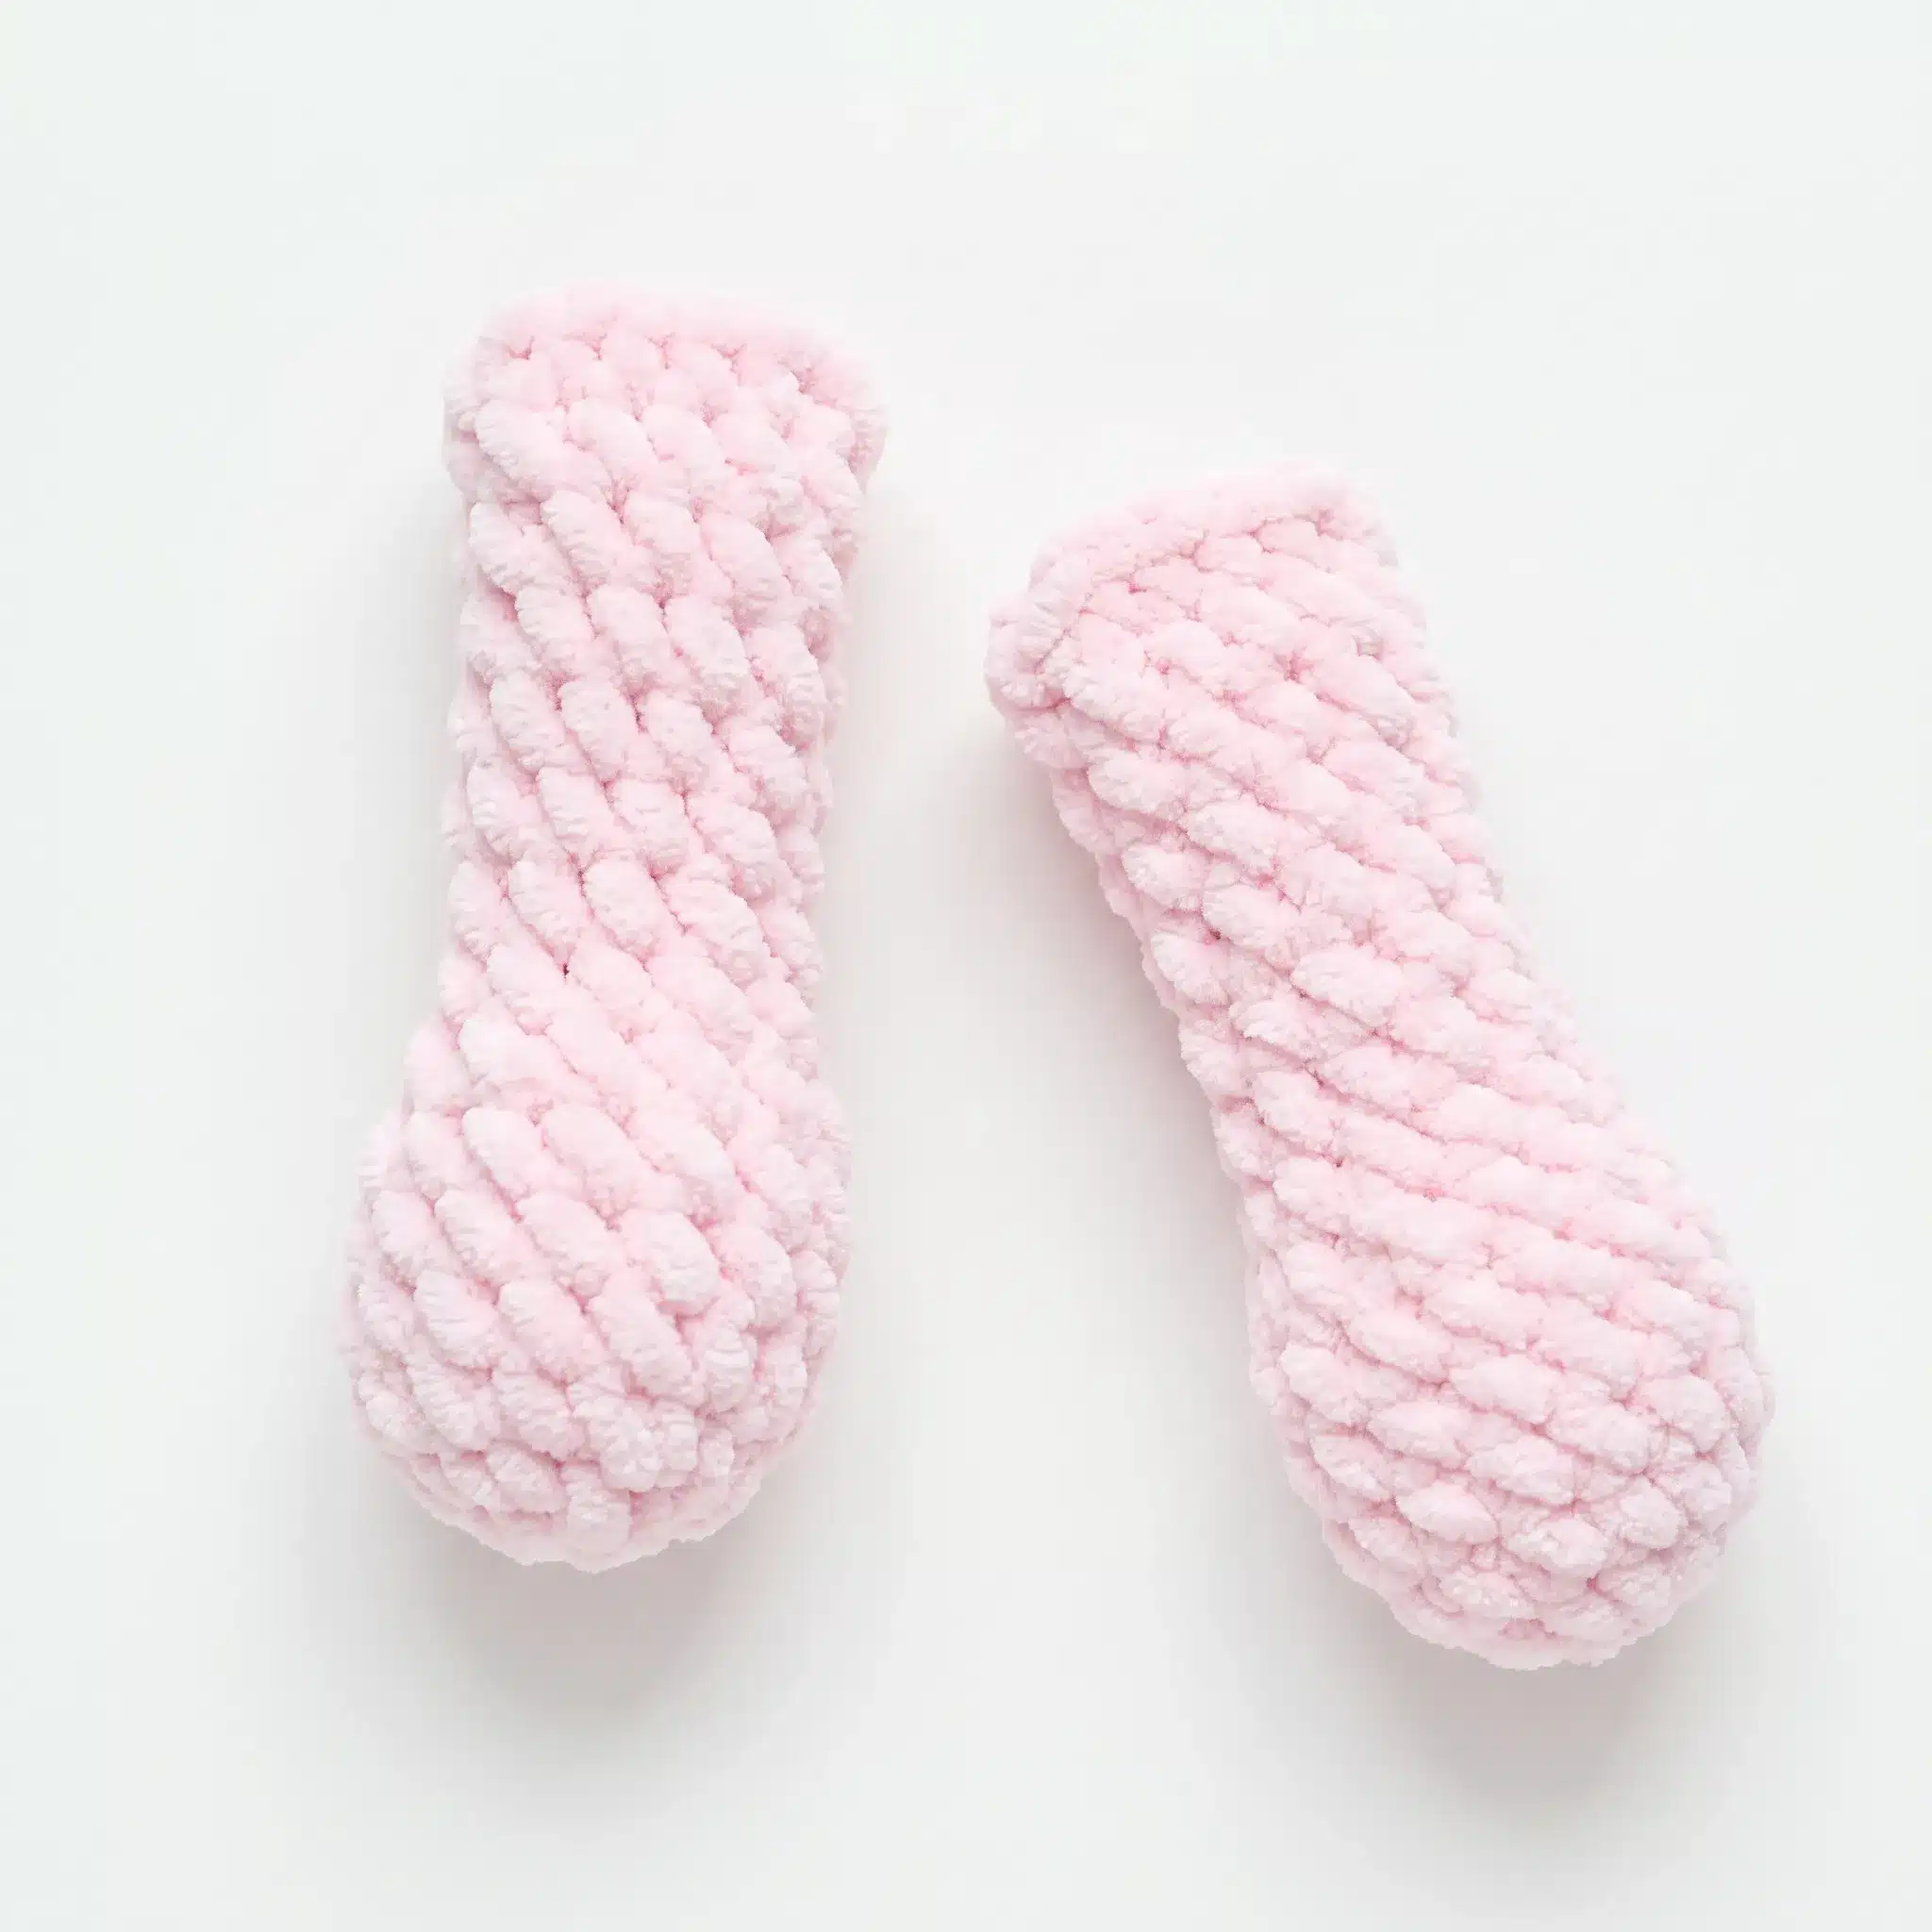
Small pieces (arms, legs, tail, body, ears) are worked in continuous spiral rounds; do not join or chain between rounds unless otherwise noted. The head begins with two flat rows before joining into rounds. Stitch counts are given at the end of each round or row in parentheses: (##). Only the lower portions of the arms and legs need stuffing; the body, head, and tail are stuffed more fully. Because the round start naturally drifts during continuous spiral crochet, several rounds call for offset stitches to realign the start of the round with a specific landmark. Safety eyes are inserted partway through the head, before it is fully stuffed.
Pattern Instructions
Arms (make 2)
Stuff only the lower portion of this piece.
- Rnd 1: 7 sc in MR. (7)
- Rnd 2: inc in each st around. (14)
- Rnds 3–6: sc in each st around. (14)
- Rnd 7: (1 sc, dec) around. (10). Stuff the bottom of the arm now. Change to contrast color here if desired.
- Rnds 8–14: sc in each st around. (10)
Flatten the opening and close with 5 sc worked through both layers. Weave in the tail to the inside of the piece. Repeat for the second arm.
Legs (make 2)
Stuff only the lower portion of this piece.
- Rnd 1: 6 sc in MR. (6)
- Rnd 2: inc in each st around. (12)
- Rnd 3: (1 sc, inc) around. (18)
- Rnd 4: (2 sc, inc) around. (24)
- Rnd 5: (3 sc, inc) around. (30)
- Rnds 6–8: sc in each st around. (30). Change to contrast color here if desired, after completing Rnd 7.
- Rnd 9: (3 sc, dec) around. (24). From this point on, the start of the round marks the back of the leg.
- Rnd 10: 4 sc, dec 8 times, 4 sc. (16)
- Rnd 11: 6 sc, dec twice, 6 sc. (14). Begin stuffing.
- Rnds 12–16: sc in each st around. (14). Round 16 should end exactly above the last stitch of Round 9 — work an offset stitch here if needed to realign the back-center marker.
Flatten the piece and close with 7 sc. Weave in the tail to the inside. The closing seam should run perpendicular to the sole of the foot. Repeat for the second leg.
Tail
Stuff this piece as you go.
- Rnd 1: 6 sc in MR. (6)
- Rnd 2: inc in each st around. (12)
- Rnd 3: (1 sc, inc) around. (18)
- Rnd 4: (2 sc, inc) around. (24)
- Rnds 5–7: sc in each st around. (24)
- Rnd 8: (2 sc, dec) around. (18)
- Rnd 9: (1 sc, dec) around. (12)
Join with a sl st, cut the yarn, and weave the tail to the inside by pulling it under the last stitch. If you’d rather sew the tail on with the working yarn instead of a separate length, leave a long tail here.
Body
- Rnd 1: 6 sc in MR. (6)
- Rnd 2: inc in each st around. (12)
- Rnd 3: (1 sc, inc) around. (18)
- Rnd 4: (2 sc, inc) around. (24)
- Rnd 5: (3 sc, inc) around. (30)
- Rnd 6: (4 sc, inc) around. (36)
- Rnd 7: (5 sc, inc) around. (42)
- Rnds 8–9: sc in each st around. (42)
- Rnd 10: 6 sc, sc 8 sts joining across Leg 1, 14 sc, sc 8 sts joining across Leg 2, 6 sc. (42). Attach the legs here, working through 8 stitches on each leg. The round marker sits at center back. Position each leg with its closing seam facing the same direction — this keeps both legs facing forward.
- Rnds 11–13: sc in each st around. (42). Work an offset stitch as needed so the round begins exactly at center back.
- Rnd 14: dec twice, 34 sc, dec twice. (38). Begin stuffing the body; continue stuffing as you go.
- Rnd 15: dec, 3 sc, dec, (4 sc, dec) twice, dec, 3 sc, dec, (4 sc, dec) twice. (30)
- Rnd 16: (3 sc, dec) around. (24)
- Rnd 17: (2 sc, dec) around. (18)
- Rnds 18–19: sc in each st around. (18). Realign the round marker with an offset stitch so the round begins again at center back before attaching the arms. Leave 4 sc in front between the arms and 2 sc at back.
- Rnd 20: 1 sc, sc 6 sts joining across Arm 1, 4 sc, sc 6 sts joining across Arm 2, 1 sc. (18)
- Rnd 21: sc in each st around. (18)
Finish with a sl st, cut the yarn, and weave the tail to the inside of the body, pulling it under the last stitch. Finish stuffing the body completely.
Ears (make 2)
Work these loosely — sizing up to a 4.5mm hook can help keep the fabric soft and flexible.
- Rnd 1: 6 sc in MR. (6)
- Rnd 2: inc in each st around. (12)
- Rnd 3: (1 sc, inc) around. (18)
- Rnd 4: (2 sc, inc) around. (24)
- Rnd 5: (3 sc, inc) around. (30)
- Rnd 6: (4 sc, inc) around. (36)
- Rnds 7–12: sc in each st around. (36)
- Rnd 13: (4 sc, dec) around. (30)
- Rnds 14–16: sc in each st around. (30)
- Rnd 17: (3 sc, dec) around. (24)
- Rnds 18–20: sc in each st around. (24)
- Rnd 21: (2 sc, dec) around. (18)
- Rnds 22–24: sc in each st around. (18)
- Rnd 25: (1 sc, dec) around. (12)
- Rnds 26–28: sc in each st around. (12)
Repeat for the second ear. Flatten each ear and close with 6 sc worked through both layers; weave in the tail, or leave a tail for sewing the ear on later. For extra-soft, floppy ears, gently stretch each piece by hand after finishing — this loosens the plush fabric and gives the ears a relaxed, natural droop.
Head
- Row 1: 5 sc starting in the 2nd ch from hook, 3 sc in the last ch. Turn. 4 sc, inc. (14)
- Row 2: inc, 4 sc, inc 3 times, 4 sc, inc twice. (20)
- Rows 3–4: sc in each st around. (20)
- Rnd 5: inc worked in hdc 9 times, 11 sc. (29). Work an offset stitch here as needed so the round begins along the side of the muzzle.
- Rnd 6: (1 hdc, inc worked in hdc) 8 times, 13 sc. (37)
- Rnd 7: (3 sc, inc) 5 times, 17 sc. (42). Insert the safety eyes now, into Round 5: place the first eye between the 2nd and 3rd hdc-increases, and the second eye between the 7th and 8th hdc-increases.
- Rnds 8–14: sc in each st around. (42)
- Rnd 15: (5 sc, dec) around. (36)
- Rnd 16: (4 sc, dec) around. (30)
- Rnd 17: (3 sc, dec) around. (24). Begin stuffing the head; continue stuffing as you go.
- Rnd 18: (2 sc, dec) around. (18)
- Rnd 19: (1 sc, dec) around. (12)
- Rnd 20: dec 6 times. (6)
Cinch the opening closed and weave the tail to the inside of the head.
Assembly
- Shape the face: Thread your Fingering-weight cotton thread onto a needle. Insert it from the bottom of the head, between Rounds 9 and 10, and bring it out next to one eye on the outer edge. Re-insert on the inner edge of that same eye, and bring it out again between Rounds 9 and 10, one stitch toward center. Insert again, one stitch further. Bring the needle out next to the second eye on its inner edge, insert on the outer edge, and bring it out between Rounds 9 and 10, one stitch past your last exit point. Pull the thread until the eyes sit at your desired depth, tie off, and weave the tail inside the head.
- Finish the eye rims: Using your white cotton thread, work a small line along the lower rim of each eye; switch to black thread for the upper rim.
- Sew on the head: Attach the head to the body using Round 8 on the front of the head and Round 13 on the back, sewing all the way around with a whipstitch. Hold the head steady with a pair of straight or double-pointed knitting needles as you work, so it stays centered and level. Stuff the neck area as you go.
- Sew on the tail: Pin the tail in place with plastic-head pins. Sew the lower edge between Rounds 8–9 of the body, and the upper edge between Rounds 12–13, stitching all the way around. Leave roughly 4 stitches of clearance between each leg and the tail.
- Embroider the nose: Using your gray microfiber yarn, stitch a small triangle: the bottom point centered on Head Row 1, and five top points spread between Head Rounds 2–3.
- Sew on the ears: Pin each ear in place, leaving 4 rows of clearance between the eye and the base of the ear. Attach each ear across Rounds 10–14 of the head, spacing them about 7–8 stitches apart at the top.
- Final Check: Weave in all remaining ends and give your bunny a final check for any loose stitches or gaps before setting it on the shelf.
Tips & Tricks
- Stitch Counting: Plush yarn hides stitch definition. Use a stitch marker at the start of every round without exception, and count out loud as you go, especially through the increase-heavy rounds on the body and head.
- Invisible Decreases: For a clean decrease that doesn’t leave a visible bump, work each dec as an invisible decrease: insert your hook into the front loops of the next two stitches only, then pull your yarn through both and complete as a single crochet. On plush yarn, the fuzzy texture naturally camouflages small irregularities.
- Stuffing Density: Stuff firmly but not tightly. You want the piece to hold its round shape and feel dense when squeezed, but if you’re straining to close the final round, you’ve overstuffed it. The legs and arms only need stuffing in the lower half; leave the upper portion soft so the limbs can bend naturally.
- Yarn Substitution: If substituting yarn, look for another chenille or velvet-style yarn in a similar bulky weight. A smooth cotton or acrylic will crochet up fine, but you’ll lose that signature plush texture. Keep eye-finishing and nose-embroidery yarns thinner than your main yarn.
- Attaching Legs: The trickiest part is Round 10 of the body, where both legs get joined into the round at once. Work slowly here, double-check that both legs face the same direction before you crochet through them, and don’t be afraid to pause and re-count your 8-stitch spans.
Frequently Asked Questions
Why do I need to use offset stitches?
Because you are working in continuous spiral rounds, the start of the round naturally drifts. Offset stitches are extra stitches worked to realign the start of the round with a specific landmark, such as the back-center of a piece, ensuring symmetry and proper alignment for attaching limbs.
Can I use cotton yarn instead of plush yarn?
You can use cotton or acrylic, but the finished bunny will look and feel different. The plush yarn is essential for the specific “velvety” texture and soft, floppy appearance described in this pattern. If you switch yarns, the toy will be firmer and the stitch definition will be more visible.
How do I keep the ears floppy?
Work the ears loosely, potentially using a larger hook (4.5mm). After finishing, gently stretch each ear piece by hand. This loosens the plush fabric and gives the ears a relaxed, natural droop rather than a stiff, upright position.
When should I insert the safety eyes?
Insert the safety eyes during Round 5 of the head, before the head is fully stuffed. Place the first eye between the 2nd and 3rd hdc-increases, and the second eye between the 7th and 8th hdc-increases.
How do I attach the legs to the body?
Legs are attached in Round 10 of the body. Work 6 sc, then sc through 8 stitches of Leg 1, work 14 sc across the back, sc through 8 stitches of Leg 2, and finish with 6 sc. Ensure both legs are facing forward with their closing seams aligned before crocheting through them.
Pin This Crochet Pattern!