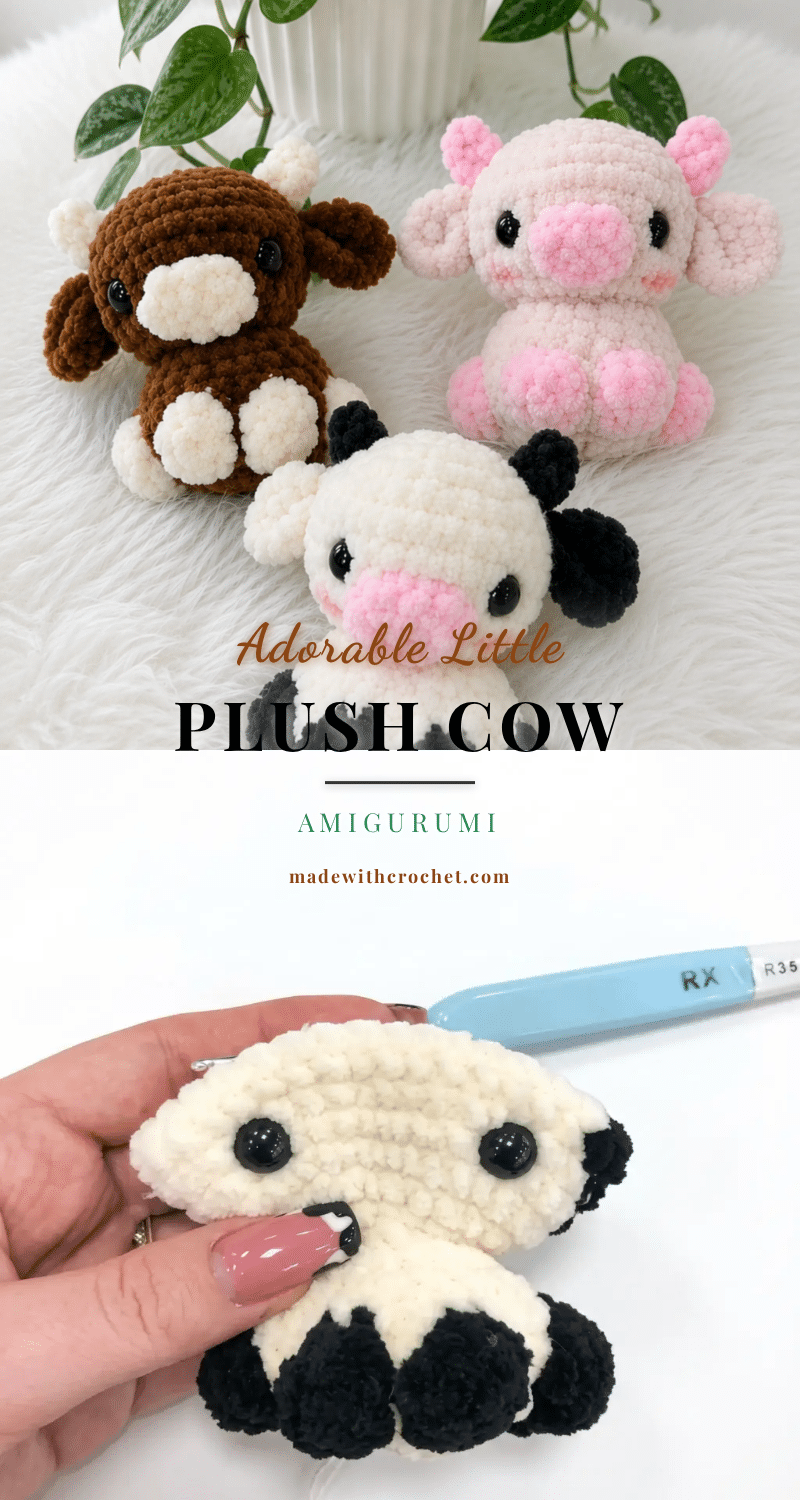
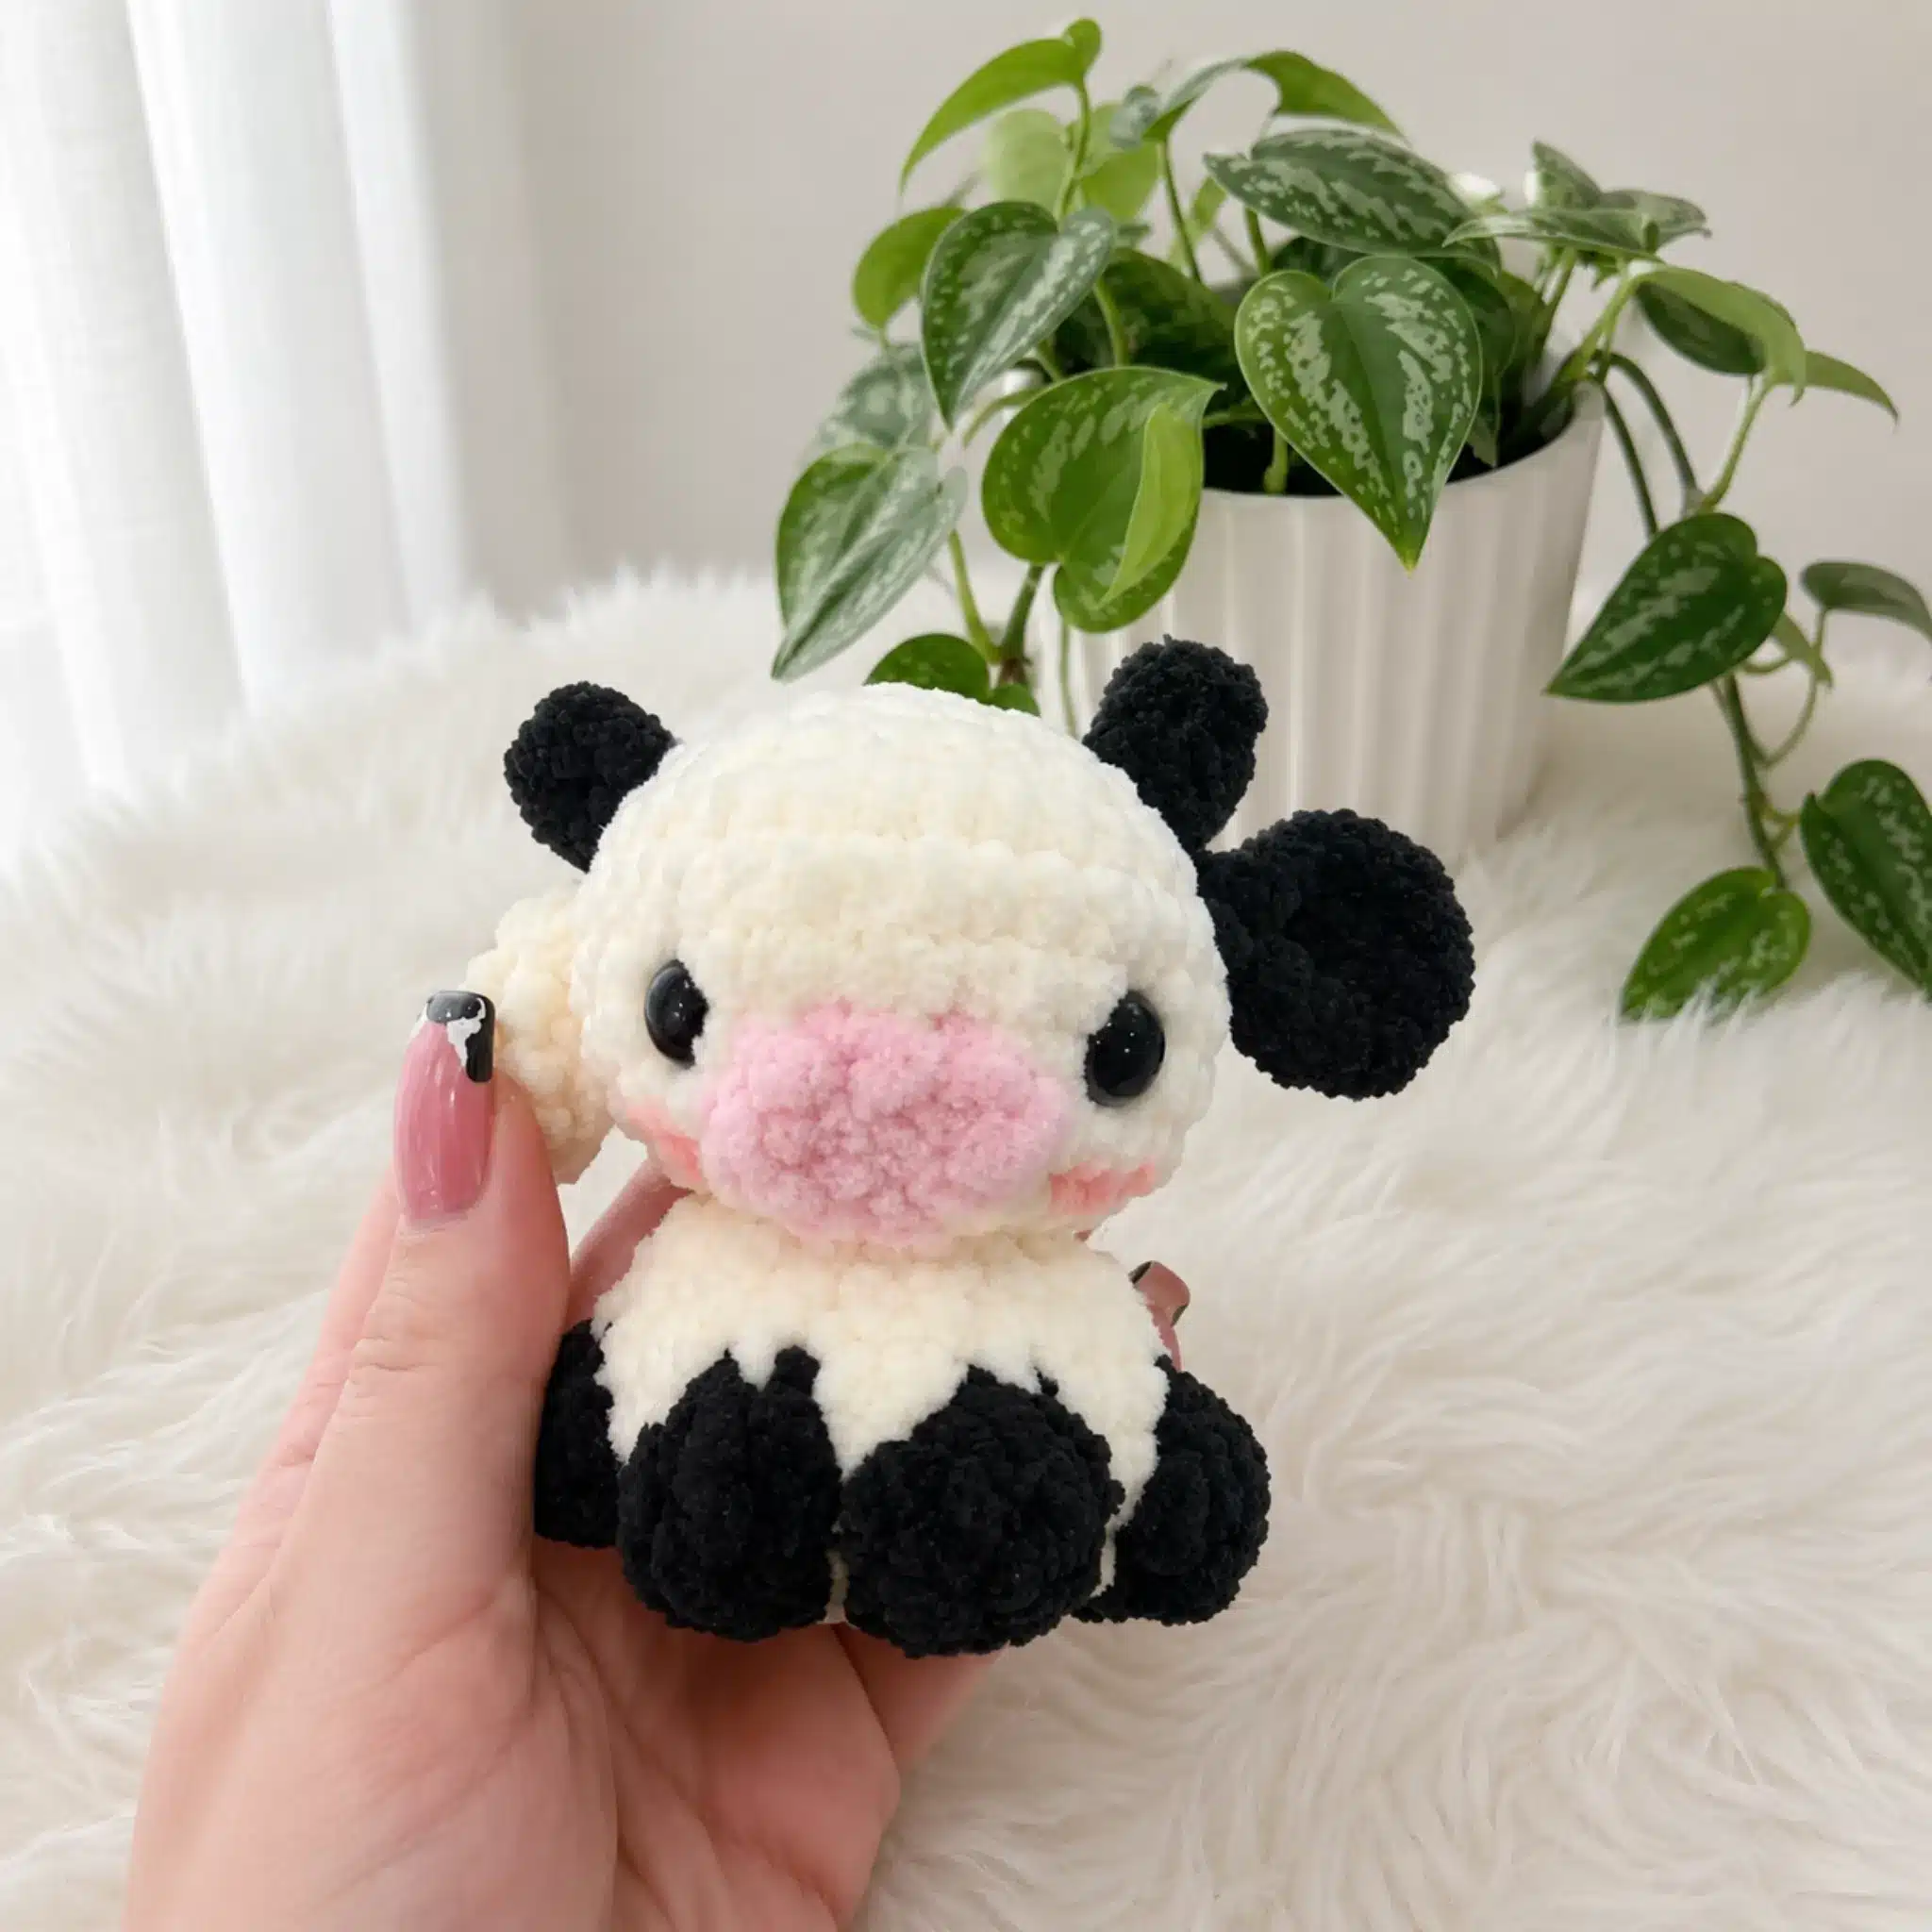
There is something undeniably charming about bringing a bit of the barnyard into your home or as a gift for a little one. This adorable Little Plush Cow Amigurumi Pattern is the perfect project for those looking to add a touch of rustic whimsy to their crafting repertoire. Designed for confident beginners, this pattern guides you through creating a 3.5-inch tall cow featuring distinct black-and-white patches, a soft pink muzzle, and tiny curled horns. Whether you are building a complete farmyard set or simply want to create a unique bag charm, this project offers a delightful mix of texture and simple shaping techniques.
Seasonal Styling Ideas
While this cow is a year-round delight, its plush texture and classic farmyard aesthetic make it particularly perfect for autumn and winter crafting seasons. The soft, chenille-style yarn gives it a cozy feel that pairs beautifully with fall harvest decor or winter nursery themes. Consider gifting this amigurumi as a handmade holiday present, perhaps clipped onto a child’s backpack or attached to a gift bag for a personal touch. During spring, the pink muzzle adds a gentle pop of color that complements pastel-themed Easter baskets or baby shower favors. Its small size makes it versatile enough to serve as a keychain for daily use or a shelf-sitter that brings a smile to any desk or windowsill.
Project Overview
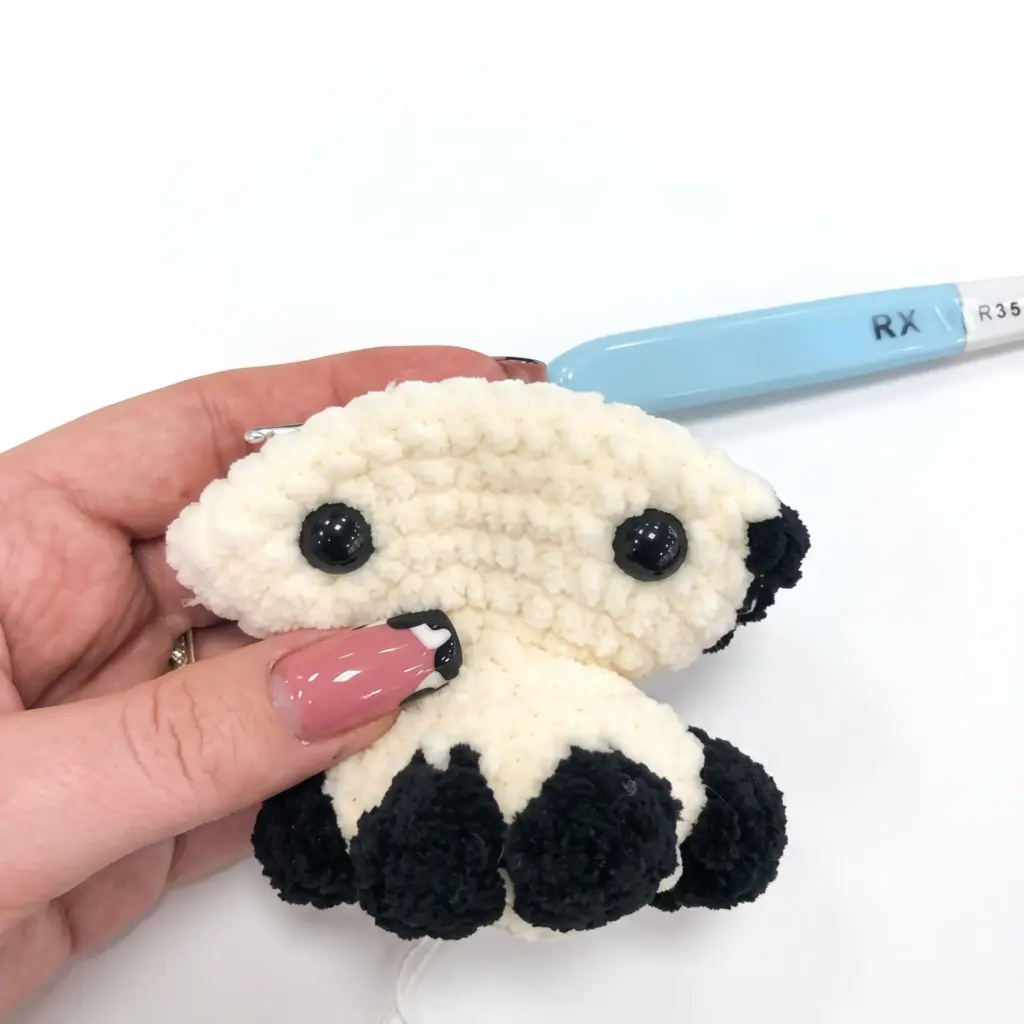
This amigurumi cow is designed for confident beginners who have made a few amigurumi basics and are ready to try simple color-change shaping and post-stitch texture. The pattern is written in US crochet terminology and uses plush or chenille-style yarn to create a soft, huggable finish. The cow features a body and head worked in continuous spiral rounds, with specific sections for the muzzle, ears, and horns worked in joined rows. The finished size is approximately 3.5 inches tall, making it ideal for keychains, bag charms, or small shelf decor.
Materials
- Yarn: Plush/chenille-style yarn (such as Himalaya Dolphin Baby or similar), DK/Light Worsted weight. Colors needed: Cream/Ivory, Black, and Pink.
- Hook: US size E-4 (3.5 mm).
- Safety Eyes: 10 mm, 1 pair.
- Stuffing: Fiberfill.
- Tools: Stitch marker (SM), Yarn needle (tapestry needle) with a large eye, Scissors, Dental floss or strong thread (for eye tacking/indenting).
Gauge and Finished Size
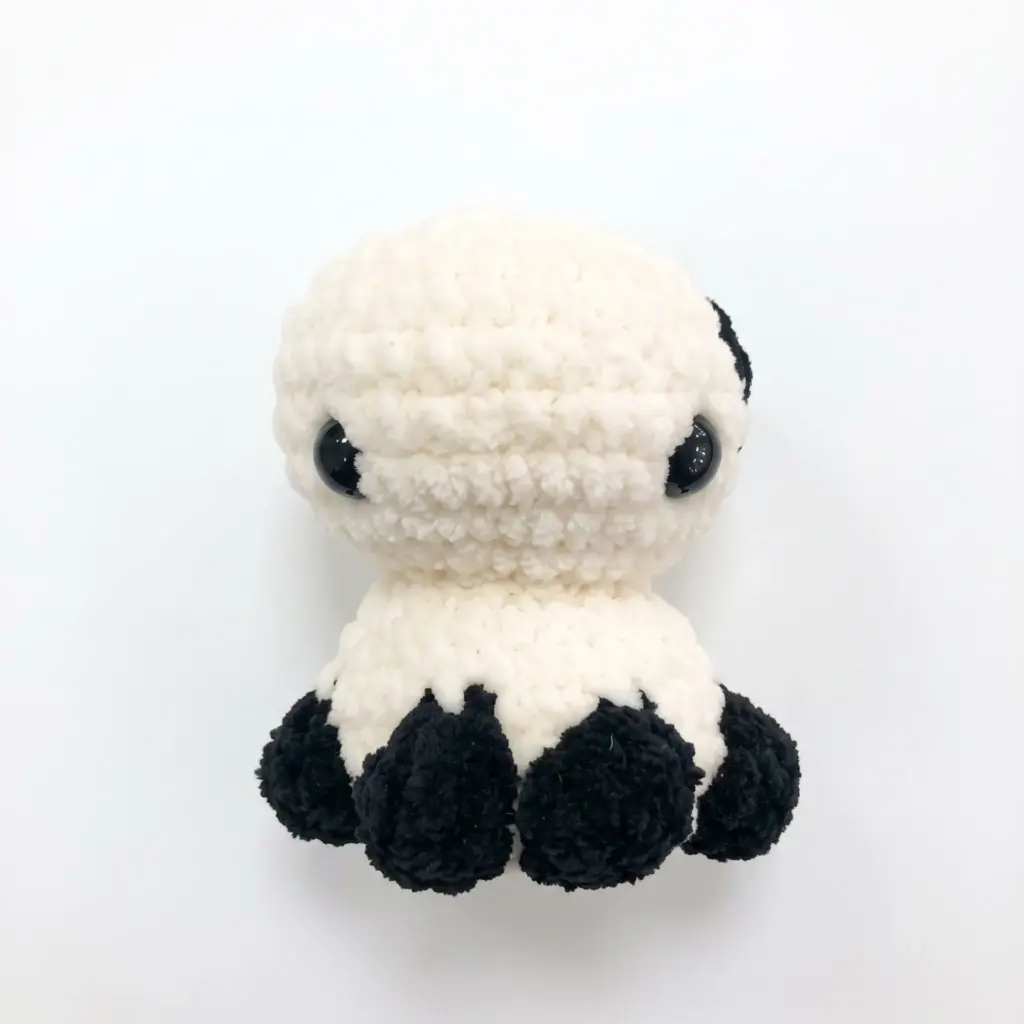
Gauge is not critical for this project. Because the yarn is plush or chenille-style, the focus should be on maintaining a tension that keeps stitches tight enough to prevent stuffing from showing through. The finished size is approximately 3.5 inches tall, though this may vary slightly based on your personal tension.
Abbreviations
- ch — Chain
- dc — Double Crochet
- dec — Decrease (invisible decrease)
- inc — Increase (2 sc in same stitch)
- mr — Magic Ring
- rnd — Round
- sc — Single Crochet
- sl st — Slip Stitch
- st(s) — Stitch(es)
Pattern Notes
The Body & Head, and Ears are worked in continuous spiral rounds; do not join or chain between rounds. Use a stitch marker to track the beginning of each round, moving it up as you go. The Muzzle and Horns are worked in joined rows, closing with a slip stitch. Stitch count is given at the end of each round or row in parentheses: (##). Sections worked in the contrast color (black) are called out directly in the instructions. Safety eyes are inserted between specific rounds on the head—read the placement notes carefully before you close up that section.
Pattern Instructions
Body & Head
Work in Cream/Ivory yarn unless noted otherwise. Rounds 4 and 5 create the black hoof/patch shaping at the base—work these in the contrast (black) color as noted.
- Rnd 1: 6 sc in MR. (6)
- Rnd 2: inc in each st around. (12)
- Rnd 3: inc in each st around. (24)
- Rnd 4: 6 sc, 4 dc in same st, 3 sc, 4 dc in same st, 2 sc, 4 dc in same st, 3 sc, 4 dc in same st, 6 sc. (36)
- Rnd 5: 6 sc, 4-dc cluster (worked together at the top), 3 sc, 4-dc cluster, 2 sc, 4-dc cluster, 3 sc, 4-dc cluster, 6 sc. (24)
- Rnds 6–8: sc in each st around. (24)
- Rnd 9: dec around. (12)
- Rnd 10: inc in each st around. (24)
- Rnd 11: 1 sc, inc repeat around. (36)
Rounds 12–15 begin the black-and-white face patch—work the noted stitches in the contrast (black) color as indicated.
- Rnd 12: 8 sc, 1 sc (contrast color), 27 sc. (36)
- Rnd 13: 7 sc, 3 sc (contrast color), 26 sc. (36)
- Rnd 14: 6 sc, 5 sc (contrast color), 25 sc. (36)
- Rnd 15: 5 sc, 7 sc (contrast color), 24 sc. (36)
Insert the safety eyes now, between Rounds 13 and 14, spaced 10 stitches apart.
- Rnd 16: 4 sc, dec, 4 sc, dec, 4 sc, dec repeat 4 times. (30)
- Rnd 17: 3 sc, dec, 1 sc, 2 sc, dec, 3 sc, dec repeat 4 times. (24)
- Rnd 18: 2 sc, dec, 2 sc, dec, 2 sc, dec repeat 4 times. (18)
- Rnd 19: sc, dec repeat around. (12)
- Rnd 20: dec around. (6)
Stuff the piece firmly before closing. Fasten off, leaving a long tail for closing the opening. Use the tail to add a small tacking stitch through both eyes to create a gentle indent.
Muzzle
Work in Pink yarn.
- Row 1: Ch 4. Starting in the 2nd chain from the hook: 2 sc, 3 sc in the same st, working down the opposite side of the foundation chain: 3 sc, sl st to join. (8 sts total)
Ears (make 2)
Work in Cream/Ivory yarn.
- Rnd 1: 6 sc in MR. (6)
- Row 2: ch 1, turn, inc in each st around, join both edges with a sl st. (12)
Horns (make 2)
Work in Cream/Ivory yarn.
- Row 1: Ch 3. Starting in the 2nd chain from the hook: 1 sc, 1 dc, join both edges with a sl st.
Assembly
Stuff the Body & Head firmly, paying extra attention to the head so the safety eyes sit securely, then close the opening using the fastened-off tail. Pin the Muzzle in place, wrong side out, centered between Rounds 11 and 13, and whipstitch it around the edge using the yarn tail left from the Muzzle row. Position both Ears between Rounds 14 and 15, 3–4 stitches out from the eyes on each side, and sew them on with a whipstitch, keeping them symmetrical. Attach the Horns directly beneath each ear—one right side out, one wrong side out for visual variety—using a whipstitch around the base. Weave in all remaining yarn ends through the body to hide them completely.
Tips
- Keep tension snug: Because this piece is worked in plush or chenille-style yarn, loose stitches let stuffing peek through more easily than with standard worsted cotton. If your stitches feel too open, drop to a hook a half-size smaller rather than fighting your natural tension.
- Master the clusters: Rounds 4 and 5 are the trickiest part of this pattern, since the clustered double crochet stitches create the black hoof shaping in a single round. Work slowly here, and count your stitches after Round 5 before moving on—getting 24 stitches confirms your clusters closed correctly.
- Perfect decreases: For a clean invisible decrease, insert your hook through the front loops of the next two stitches only, then pull your yarn through both loops at once before completing the single crochet as usual. This keeps the decrease rounds smooth instead of leaving small gaps.
- Stuff firmly: Stuff the head more firmly than the body—a dense, evenly packed head helps the safety eyes sit flush and prevents the face from looking lopsided once the muzzle and ears are attached.
- Neat seams: When sewing the Muzzle, Ears, and Horns, use small, even whipstitches close to the edge of each piece rather than large gathering stitches. This keeps seams nearly invisible against the plush texture of the yarn.
Frequently Asked Questions
What type of yarn is best for this pattern?
The pattern recommends plush or chenille-style yarn, such as Himalaya Dolphin Baby or similar, in DK/Light Worsted weight. This yarn provides the soft, fuzzy texture characteristic of this specific cow design.
How do I ensure the safety eyes stay secure?
Stuff the head firmly before closing the final rounds. Additionally, the pattern suggests using dental floss or strong thread to tack a small stitch through both eyes to create a gentle indent, which helps lock them in place securely.
Can I use a different hook size?
The pattern calls for a US size E-4 (3.5 mm) hook. If you find your stitches are too loose and stuffing is showing through, it is recommended to drop to a hook a half-size smaller to tighten your tension.
How do I make the black patches on the face?
The black patches are created using color changes in Rounds 12 through 15. You simply switch to the black contrast color for the specific stitch counts indicated in those rounds to form the facial markings.
Is this pattern suitable for absolute beginners?
This pattern is designed for confident beginners who have made a few amigurumi basics before. It involves continuous spiral rounds, color changes, and post-stitch texture, which may be challenging for a total novice but is very manageable for those with some experience.
Pin This Crochet Pattern!