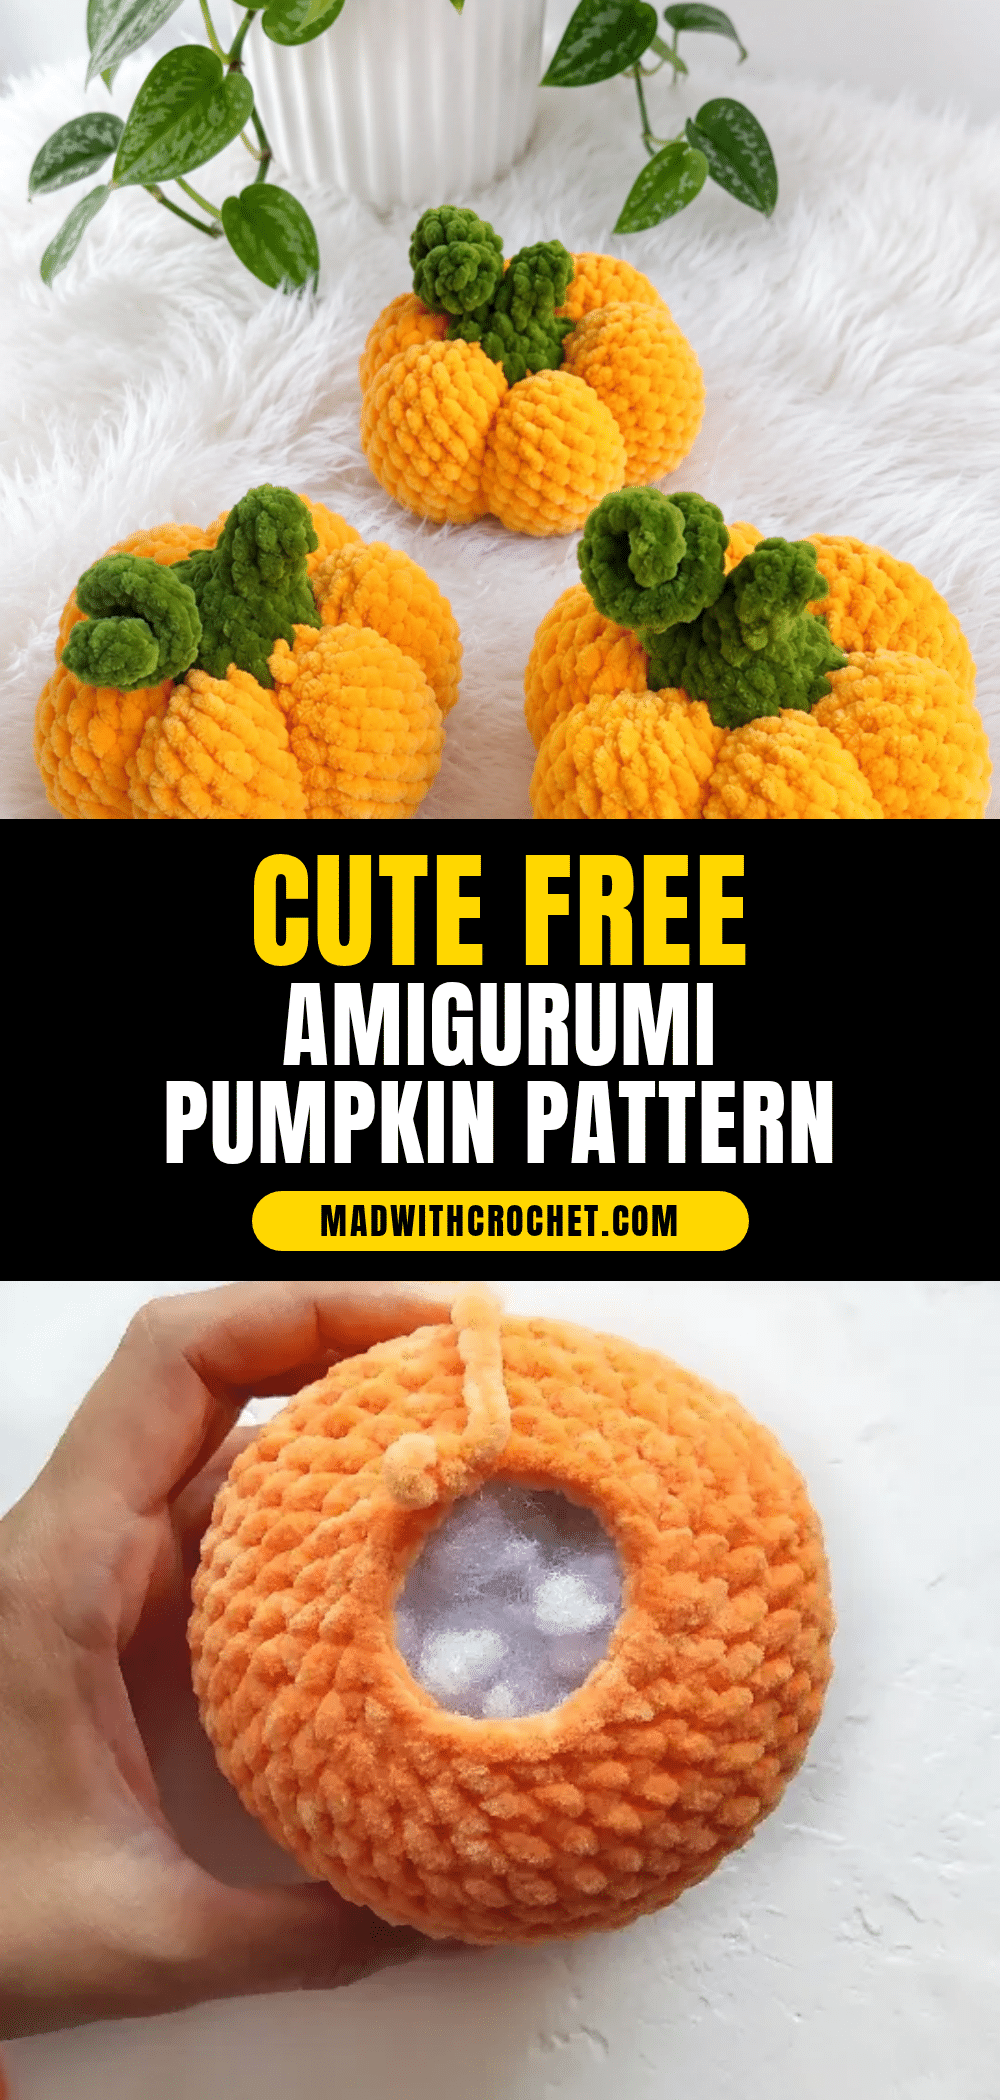
Picture three plump little pumpkins lined up on a windowsill, their curly green tendrils catching the afternoon light — that’s exactly what you’ll have once you finish this amigurumi pumpkin crochet pattern. Built from soft chenille-style yarn, this project uses simple single crochet shaping to create that signature ridged pumpkin silhouette, finished off with a jaunty stem and a spiraling vine. It’s a great pick for confident beginners who’ve made a few amigurumi basics and are ready to try cinching techniques for texture. You’ll love how quickly the shape comes together — most of the work is straightforward single crochet, with just a few clever shaping tricks giving it that unmistakable pumpkin look. Grab your hook and let’s get started.
Yarn and Color Notes
There is something inherently satisfying about pulling a skein from your stash that has been waiting for its moment. For this pumpkin, the choice of medium weight chenille yarn is not just a preference; it is the defining character of the piece. The plush, brushed texture of chenille softens the stitch definition just enough to make the amigurumi look like a soft, tactile decoration rather than a rigid toy. While you could substitute a smooth cotton or acrylic, you would lose that cozy, autumnal fuzz. The orange body provides a vibrant pop of seasonal color, while the green yarn for the stem and tendril offers a crisp, natural contrast. Using a sturdy matching thread for the cinching ensures that the structural integrity of the pumpkin remains hidden, allowing the soft yarn to do all the visual heavy lifting.
Project Overview
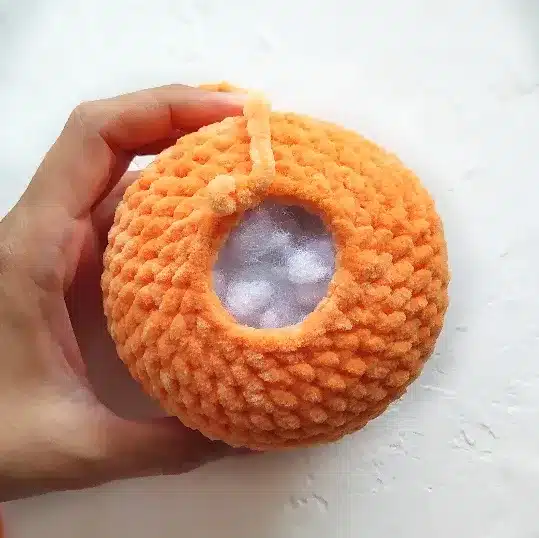
This free amigurumi pumpkin pattern is designed for fall décor or Halloween crafting. It features a continuous spiral body with signature ridges created through a unique cinching technique. The project includes a pumpkin body, a bottom stem, and a curly tendril. It is written in US crochet terminology and is suitable for crocheters who are comfortable with basic amigurumi shaping and invisible decreases.
Materials
- Medium (worsted) weight chenille yarn in Orange (less than half a skein)
- Medium (worsted) weight chenille yarn in Green (small amount)
- Hook size F-5 (3.75 mm)
- Polyester fiberfill / stuffing
- Yarn needle (blunt tip) for weaving in ends
- Long doll needle for cinching
- Sturdy matching-color thread for cinching (can be used doubled)
- Safety pins for marking cinch points and pinning pieces before sewing
- Scissors
Abbreviations
- BLO — Back Loop Only
- ch — Chain
- dec — Decrease (invisible decrease)
- hdc — Half Double Crochet
- inc — Increase (2 sc in same stitch)
- sc — Single Crochet
- sl st — Slip Stitch
Pattern Notes
- This pattern is written in US crochet terminology.
- The Pumpkin Body is worked in a continuous spiral — do not join or turn unless instructed otherwise.
- The Bottom Stem and Curly Tendril are worked as joined rounds/rows, finished with a slip stitch.
- Gauge is not critical for this project; work at a tension tight enough that stuffing doesn’t peek through the stitches.
- Stitch counts are given at the end of each round in parentheses: (##)
- Stuff the Pumpkin Body as you go, adding fiberfill gradually so it stays evenly distributed rather than lumpy.
- The pumpkin’s signature ridges come from the cinching step, so don’t skip marking your points carefully with safety pins.
Pattern Instructions
Pumpkin Body
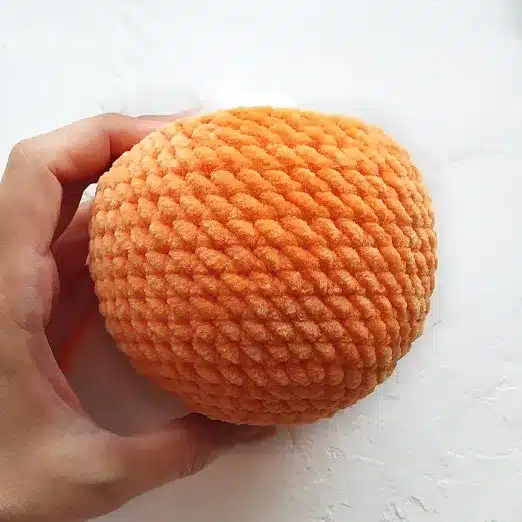
Work in orange yarn in a continuous spiral. Stuff as you go.
- Rnd 1: Ch 2, 6 sc in 2nd ch from hook. (6)
- Rnd 2: inc in each st around. (12)
- Rnd 3: sc, inc repeat around. (18)
- Rnd 4: 2 sc, inc repeat around. (24)
- Rnd 5: 3 sc, inc repeat around. (30)
- Rnd 6: 4 sc, inc repeat around. (36)
- Rnd 7: 5 sc, inc repeat around. (42)
- Rnds 8–15: sc in each st around. (42)
- Rnd 16: 5 sc, dec repeat around. (36)
- Rnd 17: 4 sc, dec repeat around. (30)
- Rnd 18: 3 sc, dec repeat around. (24)
- Rnd 19: 2 sc, dec repeat around. (18)
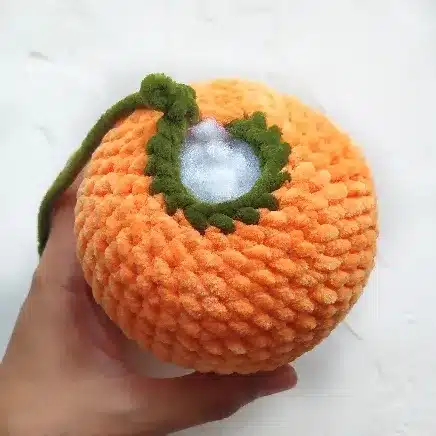
- Change to green yarn.
- Rnd 20: 4 sc, dec repeat around. (15)
- Rnd 21: Working in BLO: 3 sc, dec repeat around. (12)
- Rnd 22: dec around. (6)
- Rnds 23–25: sc in each st around. (6)
Cut yarn, leaving a short tail. Using your hook, weave the tail through the front loops of the last round and cinch the opening closed. Secure the yarn and weave in the end, tucking it deep into the piece.
Bottom Stem
Work in green yarn.
- Rnd 1: Ch 2, 6 sc in 2nd ch from hook. (6)
- Rnd 2: inc in each st around, sl st to join at the end of the round. (12)
Secure the yarn and weave in the end.
Curly Tendril
Join green yarn to Rnd 21 of the Pumpkin Body (the round worked in BLO).
- Row 1: Ch 12, hdc in 2nd ch from hook, then work an inc (2 hdc) in each ch across, sl st to finish.
Cut yarn, secure, and weave in the end, tucking it into the piece.
Assembly
Before sewing, use safety pins to mark your cinch points on the Pumpkin Body: one point centered at the very bottom, and six points at the level of Rnd 7 — right where the increases sit. Thread your long doll needle with sturdy matching-color thread. Starting at the bottom point, bring the needle up between Rnd 19 and Rnd 20, directly above one of the marked top points. Reinsert the needle back into the bottom point and repeat this path 2–3 times, pulling the thread taut each time to create a defined ridge. Repeat the same process at all six remaining points to form the classic pumpkin segments.
Pin the Bottom Stem to the base of the Pumpkin Body with safety pins, centering it in the cinched indentation. Sew the Bottom Stem in place using a whipstitch, working through both layers and using the yarn tail left from the stem for attachment. Position the Curly Tendril so it spirals naturally away from the stem, then weave in any remaining ends throughout the piece.
Tips & Tricks
- Keep your tension snug throughout the Pumpkin Body — amigurumi pieces worked in chenille yarn can look uneven if the stitches are too loose, since the plush texture already softens the stitch definition. Aim for stitches that close firmly around your hook without feeling stiff to work.
- When you reach the invisible decreases in Rnds 16–22, insert your hook under the front loops of the next two stitches only, then pull your yarn through both before finishing as a normal single crochet. This keeps the decrease line smooth instead of leaving a visible gap.
- Stuff the Pumpkin Body gradually as you complete each round rather than waiting until the piece is fully closed. Add fiberfill until the piece feels firm but still gives slightly when pressed — overstuffing chenille yarn can stretch the stitches and dull the texture.
- The cinching step is what transforms a plain sphere into a recognizable pumpkin, so take your time marking the six top points evenly around Rnd 7 before you start stitching. Uneven spacing here will throw off the symmetry of the finished ridges.
- If you substitute a different yarn, choose another chenille or velvet-style yarn in a similar medium weight — smooth cotton or acrylic will still work but will show stitch definition more clearly and won’t give you the same soft, brushed pumpkin surface.
Frequently Asked Questions
Can I use a different type of yarn?
While you can use smooth cotton or acrylic, the pattern is designed for medium weight chenille yarn to achieve the soft, brushed pumpkin surface. Substituting with a different fiber will change the final texture and stitch definition.
How do I create the pumpkin ridges?
The ridges are created during the assembly phase using a long doll needle and sturdy thread. You will mark specific points on the body and stitch through them to cinch the fabric, creating the classic segmented look.
Do I need to join rounds for the pumpkin body?
No, the Pumpkin Body is worked in a continuous spiral. You should not join or turn unless specifically instructed to do so for the stem or tendril.
What size hook should I use?
Use an F-5 (3.75 mm) hook to ensure your stitches are tight enough that stuffing does not peek through, which is especially important when working with plush chenille yarn.
How do I close the opening at the top of the stem?
After completing the final round of the stem, cut the yarn leaving a short tail. Weave this tail through the front loops of the last round and pull tight to cinch the opening closed before securing the end.
Pin This Crochet Pattern!