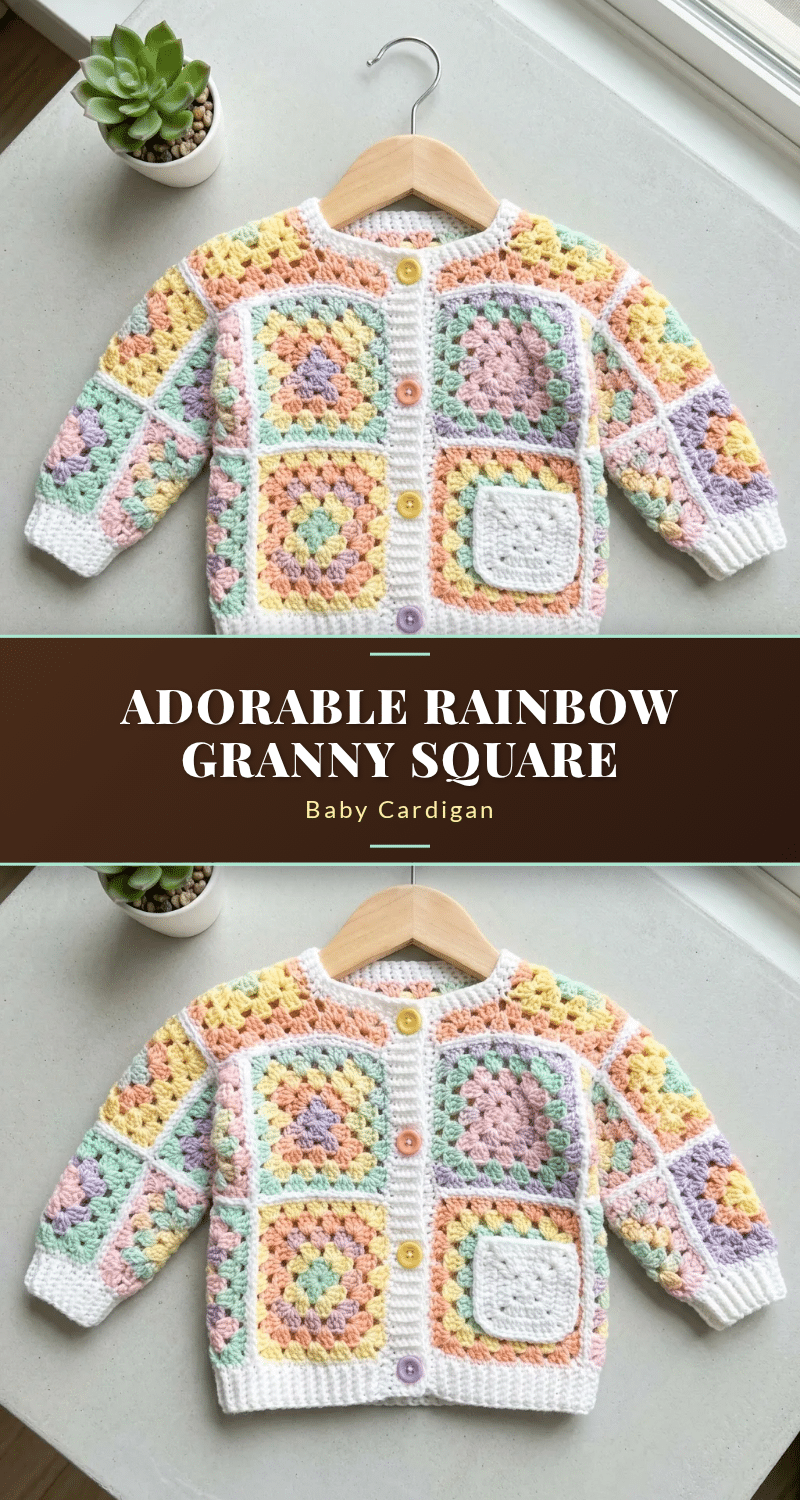
The rhythmic pull of the hook and the satisfying pop of stitches into chain spaces define the charm of this project. This cardigan is built on the reliable architecture of the classic granny square, where every round adds structure and every color change marks a new layer of texture. The join-as-you-go technique ensures that the seams lie flat and invisible, allowing the focus to remain on the clean lines of the clusters and the crisp white borders that frame each square. It is a design that rewards patience with a polished, heirloom-quality finish.
Texture and Stitch Notes
The visual appeal of this cardigan relies heavily on the contrast between the soft, airy granny clusters and the structured white border. The “granny” texture is created by the three-double-crochet clusters separated by chain spaces, which gives the fabric a slight stretch and a beautiful drape. The white Round 4 is not just decorative; it acts as a stabilizer, locking the previous rounds in place and providing a clean canvas for the join-as-you-go method. When you work the single crochet rib for the borders, you will notice a distinct vertical ridge. This ribbing provides essential elasticity, ensuring the cardigan fits snugly without restricting movement, while the horizontal grain of the squares provides stability to the body of the garment.
Project Overview
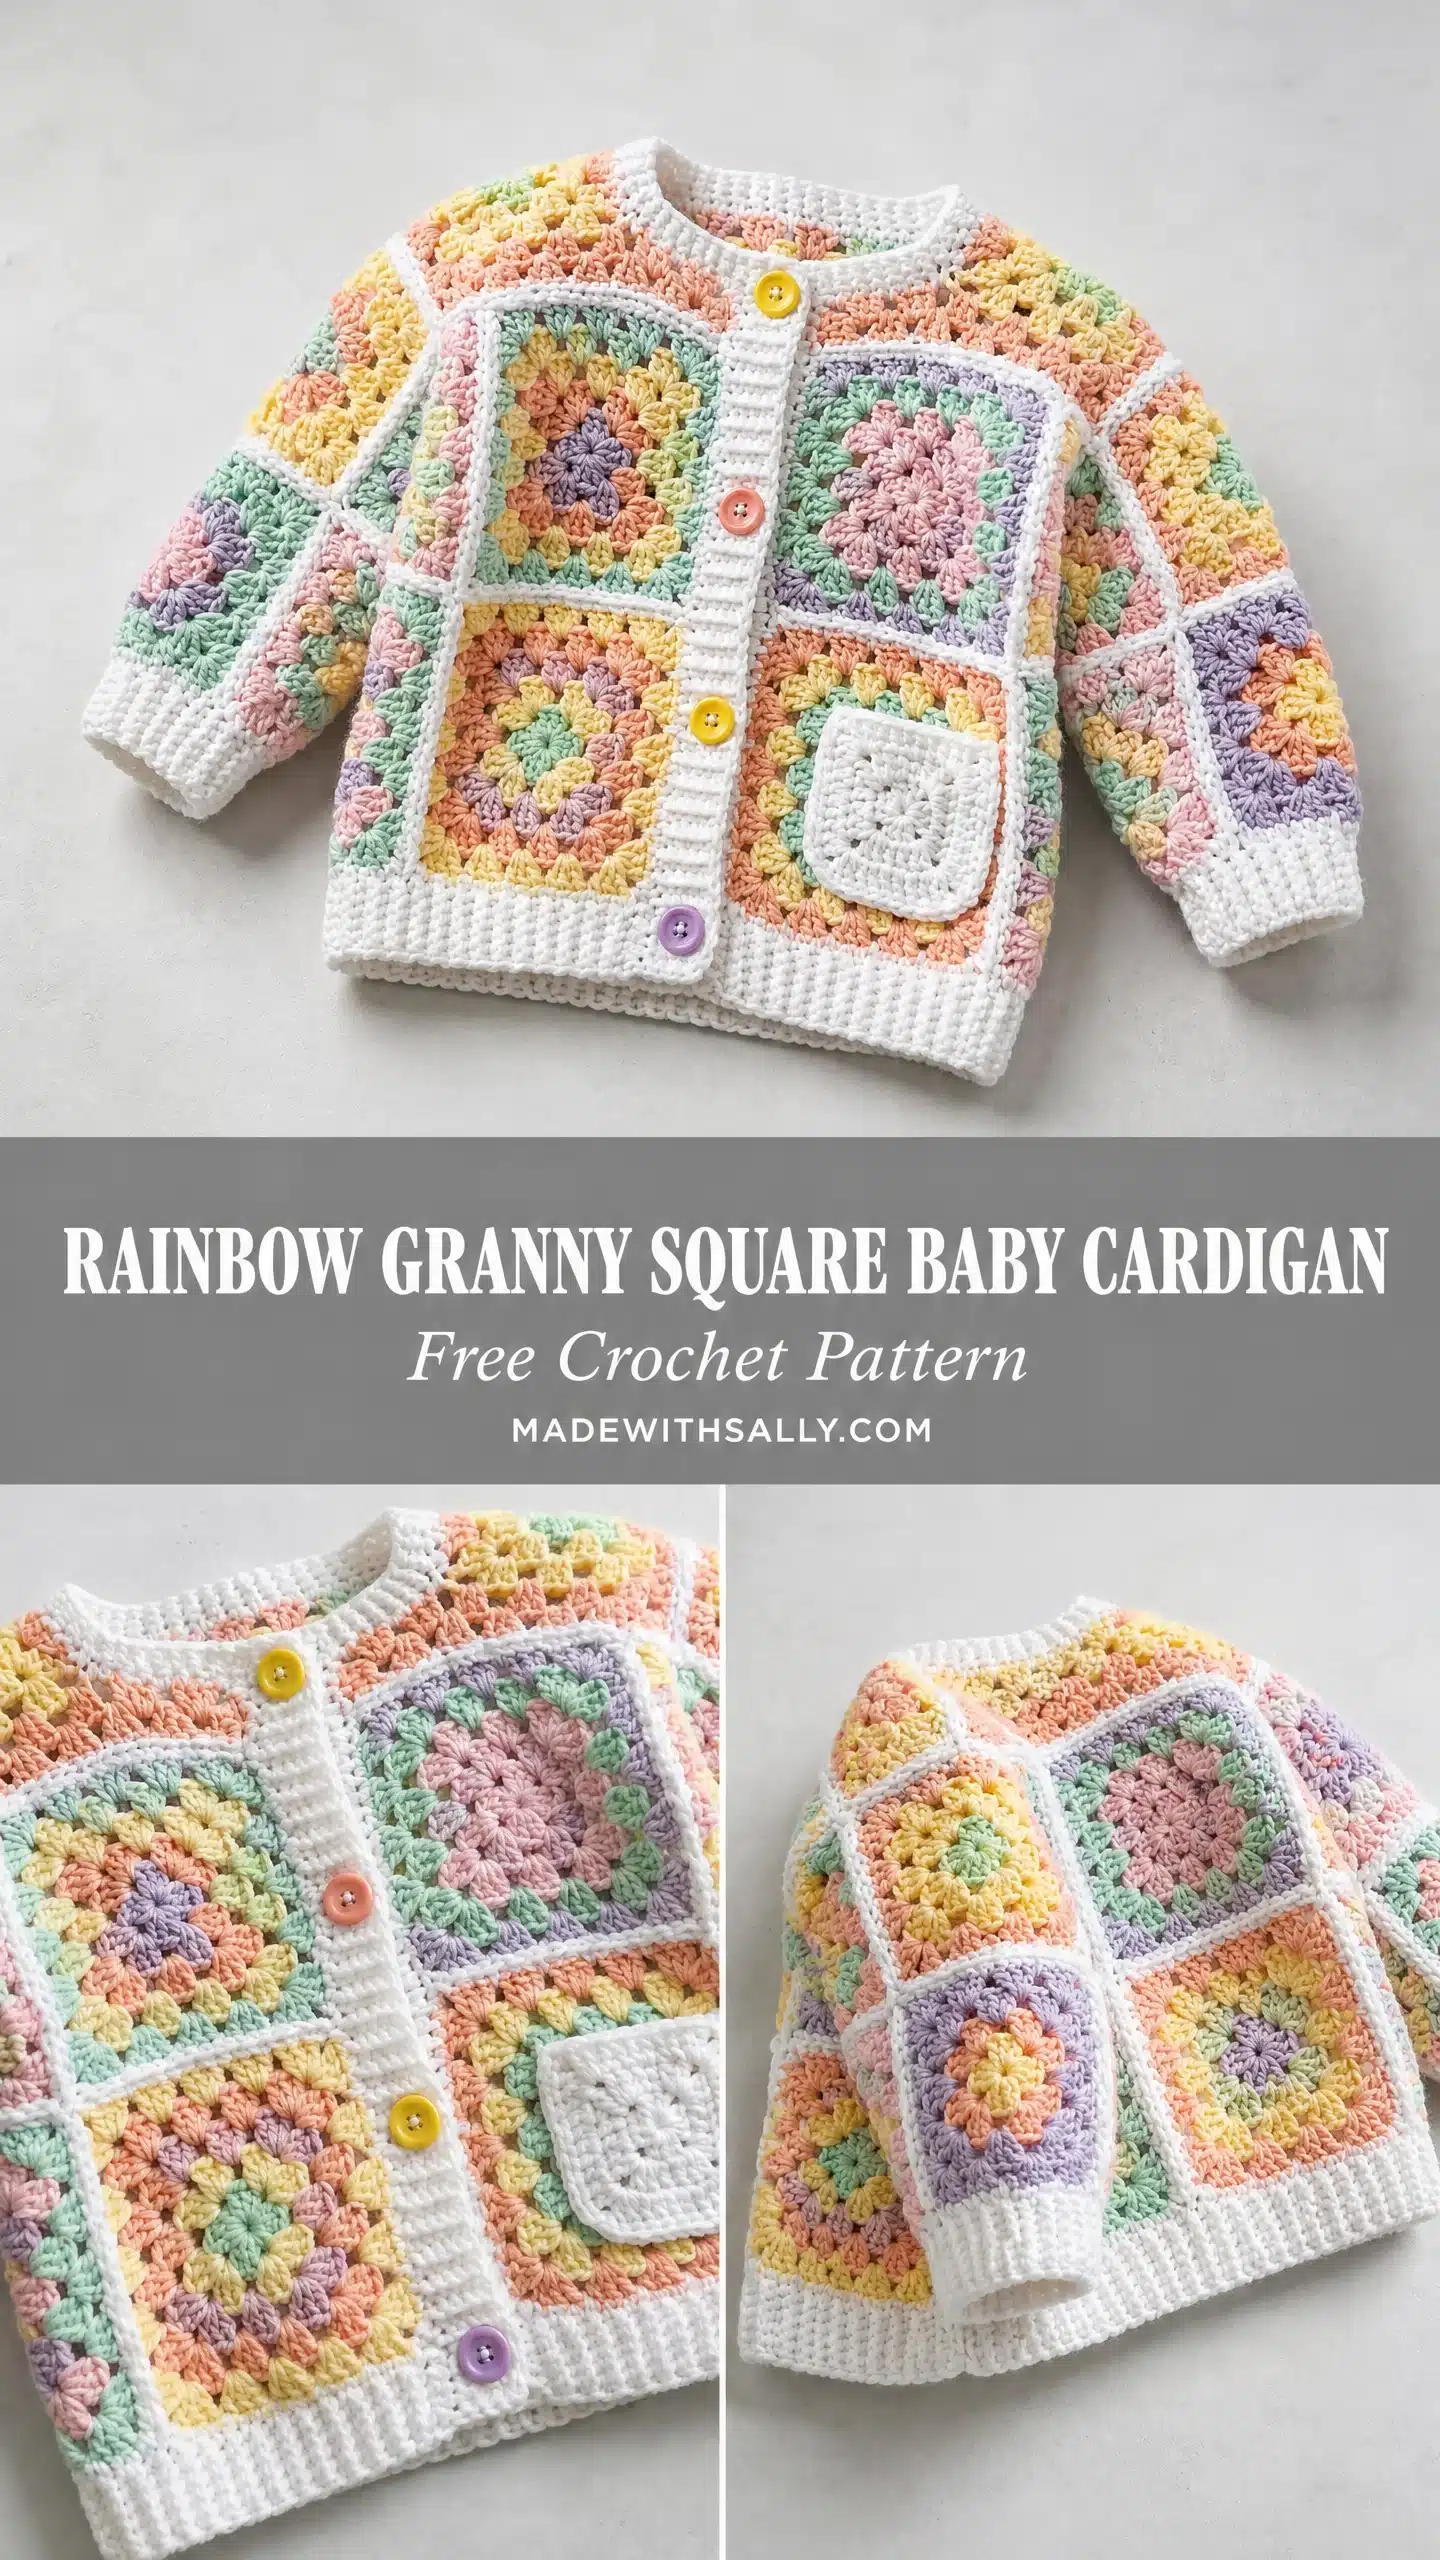
This rainbow granny square baby cardigan is an intermediate-level project that combines traditional crochet techniques with a modern patchwork aesthetic. The construction is straightforward: you will create individual granny squares, join them into panels using the join-as-you-go (JAYG) method, seam the body and sleeves, and finish with ribbed borders. The design features a small patch pocket and colorful buttons, making it a perfect handmade gift for a baby shower or a special keepsake.
Materials
Yarn
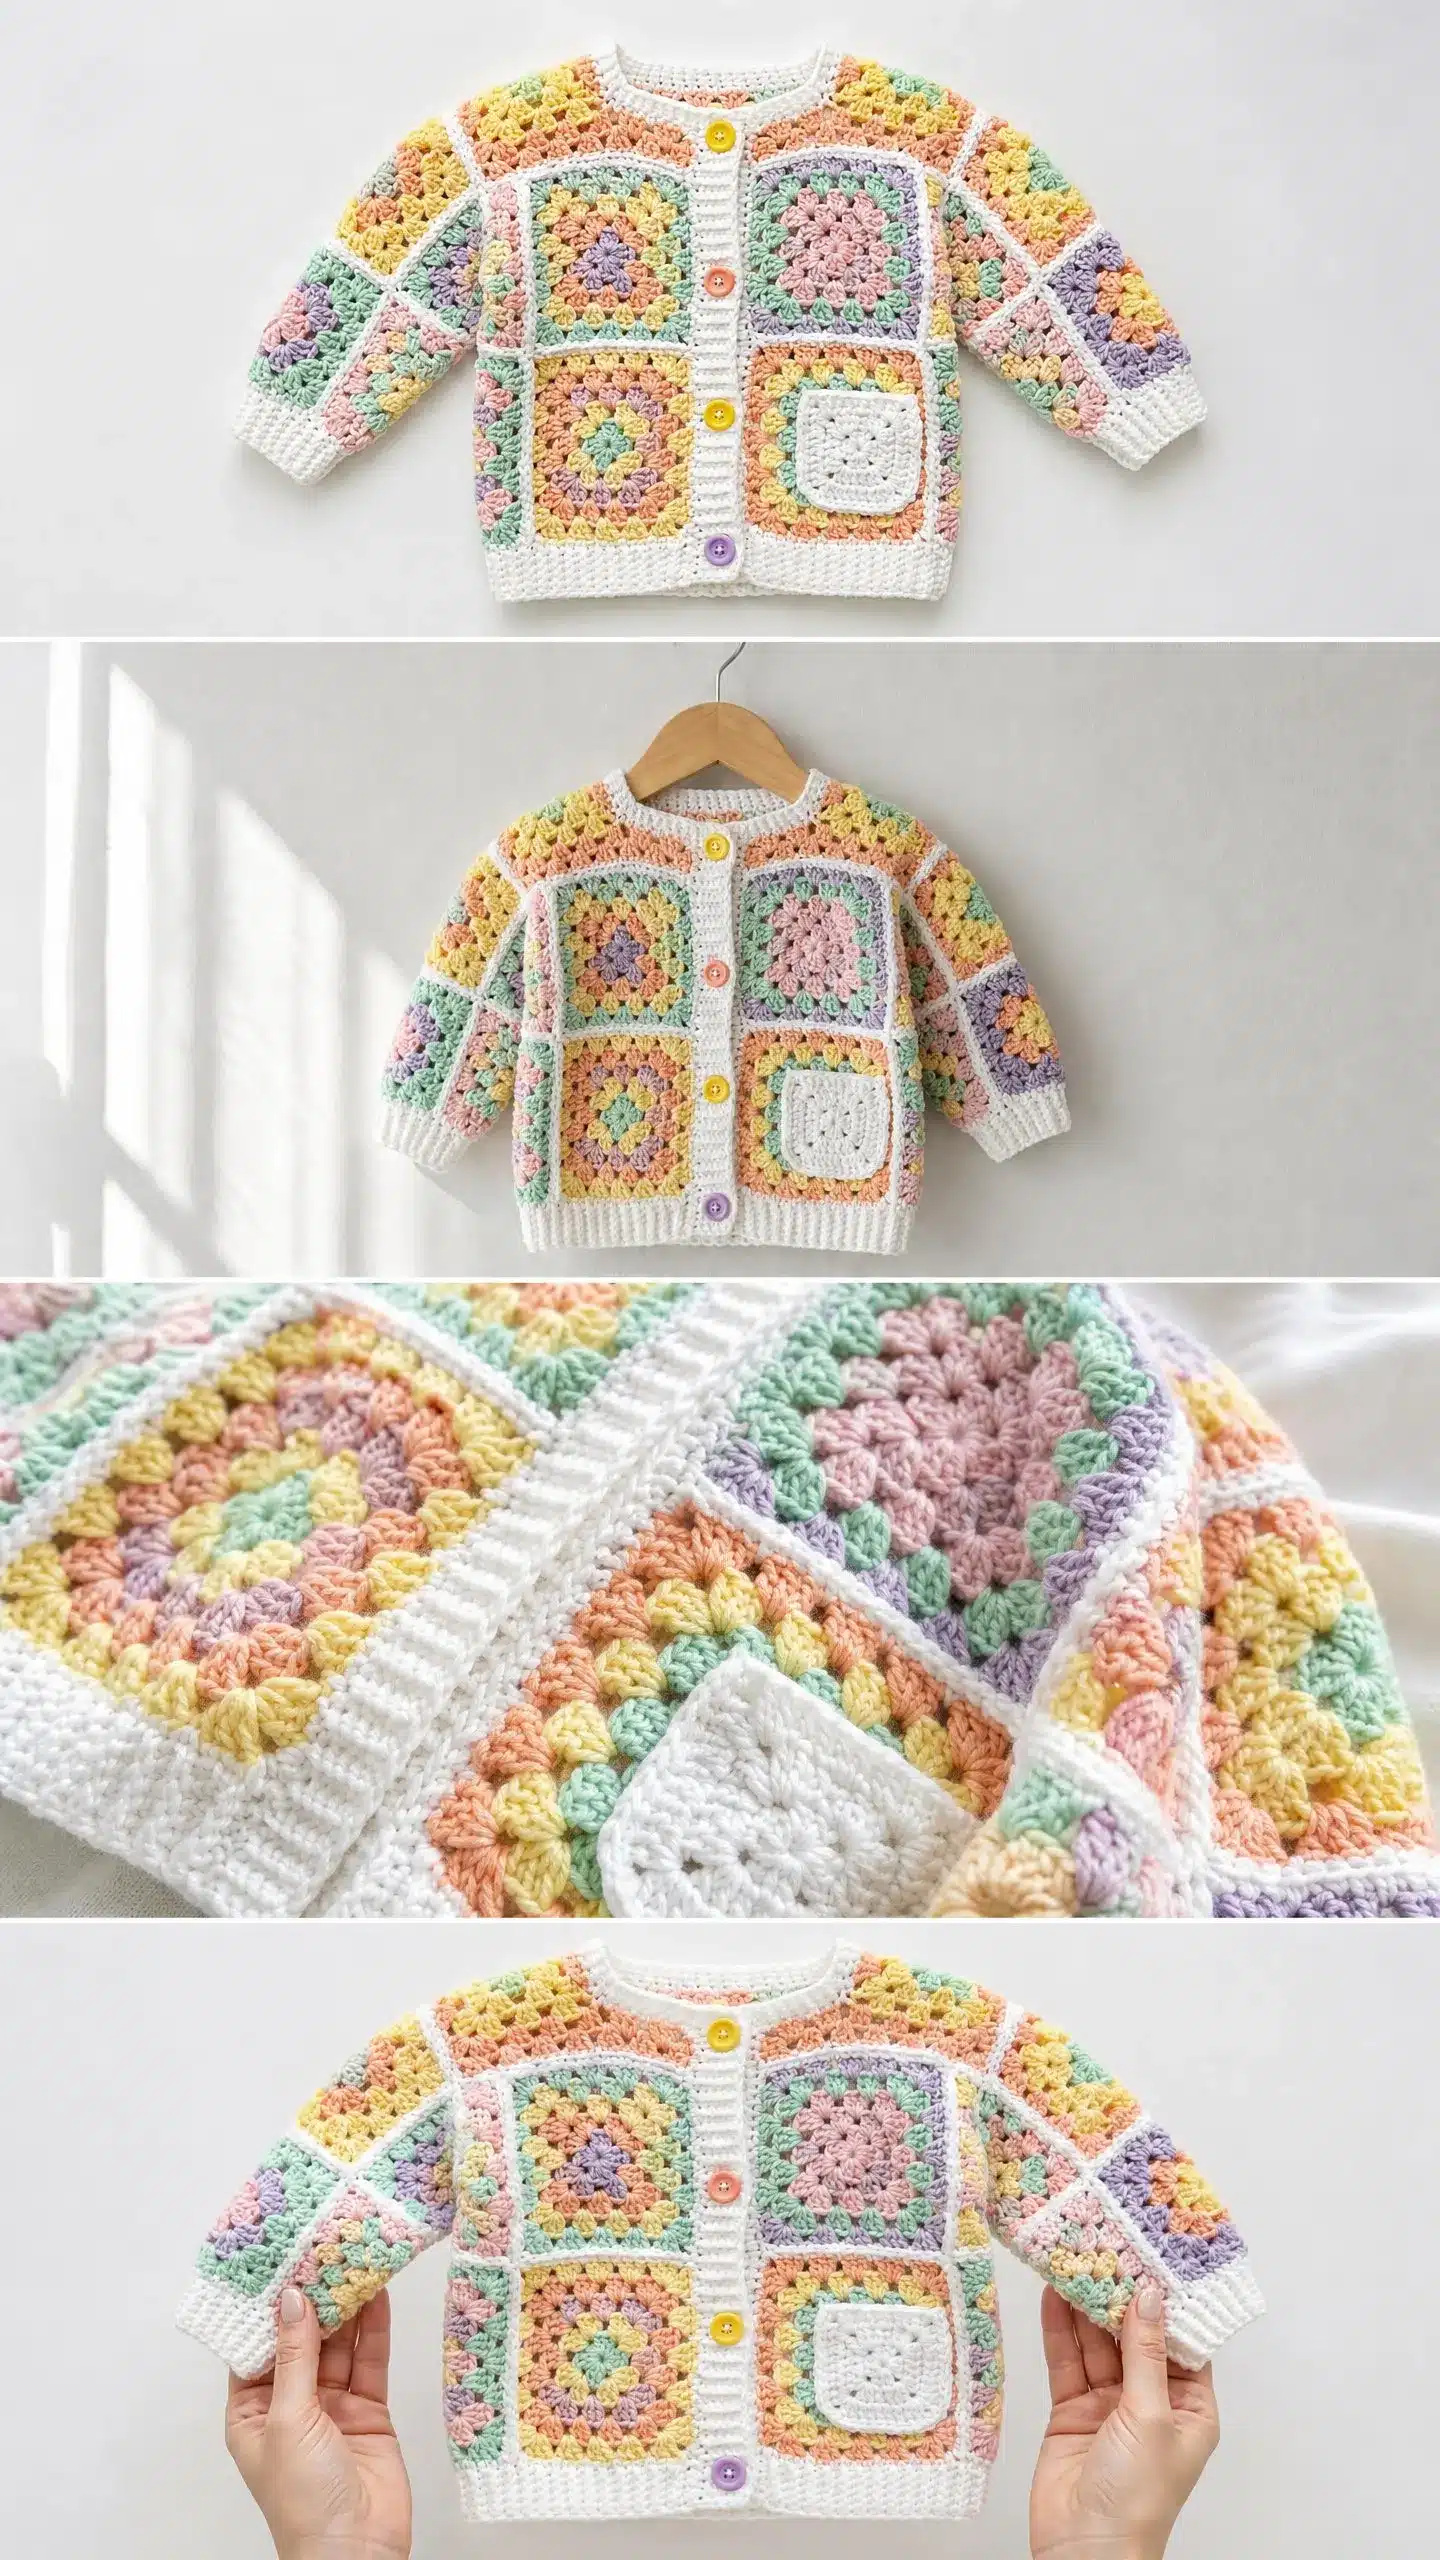
- Total: Approximately 550 yards / 503 m of DK weight yarn (CYCA 3).
- White (MC): 230 yards / 210 m.
- Pastel Peach (CC1): 45 yards / 41 m.
- Pastel Yellow (CC2): 45 yards / 41 m.
- Pastel Mint (CC3): 45 yards / 41 m.
- Pastel Lavender (CC4): 45 yards / 41 m.
- Pastel Pink (CC5): 45 yards / 41 m.
- Pastel Peach-Orange (CC6): 45 yards / 41 m (may be combined with CC1 if desired).
Yarn Suggestions
- Lion Brand Pound of Love: 100% premium acrylic, 1020 yards per 16 oz skein. Machine washable and widely available in white. Pair with Lion Brand Baby Soft for the pastels.
- Paintbox Yarns Simply DK: 100% acrylic, 137 yards per 50 g. Available in an extensive palette of soft pastels that match the colorway precisely. One skein each of white plus five pastel shades will cover the full project.
- Drops Safran: 70% cotton, 30% linen, 175 yards per 50 g. For a breathable warm-weather version. Note that cotton has less elasticity, so your gauge swatch is especially important.
Any smooth DK weight yarn that achieves gauge may be substituted. Avoid heavily textured or fluffy yarns because the granny square structure relies on clean stitch definition. Choose machine-washable fiber for a baby garment.
Hook
- US size G-6 / 4.0 mm (adjust as needed to meet gauge).
Notions
- Yarn needle
- Scissors
- Stitch markers
- 4 buttons in mixed pastel colors (approximately 15 mm diameter)
- Sewing needle and thread to match buttons
- Blocking mats and pins
Gauge and Finished Size
Finished Size
- Size: 6 to 12 months
- Chest: 20 in / 51 cm (blocked, buttoned)
- Length (shoulder to hem): 11 in / 28 cm
- Sleeve length (underarm to cuff): 7 in / 18 cm
- Each granny square: 3 in / 7.5 cm blocked
Gauge
- One completed and blocked granny square = 3 in x 3 in / 7.5 cm x 7.5 cm
- In single crochet rib (for borders): 18 sts x 22 rows = 4 in / 10 cm
Gauge is mandatory for this garment. The finished chest measurement is directly determined by the number and size of squares. A square that measures 3.25 in instead of 3 in will add over an inch to the chest per column of squares. Swatch, block, and measure before beginning.
Abbreviations
- ch: chain (wrap yarn over hook, pull through loop on hook)
- sl st: slip stitch (insert hook, yarn over, pull through both loops at once)
- sc: single crochet (insert hook, yarn over, pull up a loop, yarn over, pull through both loops)
- dc: double crochet (yarn over, insert hook, yarn over, pull up a loop, yarn over, pull through 2 loops, yarn over, pull through remaining 2 loops)
- sk: skip
- sp: space
- ch-sp: chain space
- st(s): stitch(es)
- RS: right side
- WS: wrong side
- JAYG: join as you go
- MC: main color (white)
- CC1 through CC6: contrast colors as listed in materials
- rep: repeat
- blo: back loop only
- flo: front loop only
- yo: yarn over
- rnd: round
- pm: place marker
Pattern Notes
- All squares are made individually through Round 3 and joined on Round 4 using JAYG. You can also make them fully and whipstitch with MC if you prefer, but the JAYG method gives the cleanest result.
- Block each panel before seaming for best results. The ch-3 at the start of each granny square round counts as the first dc throughout.
- Right and left fronts are mirror images. Button loops are made in the button band, not in the squares.
Pattern Instructions
The Classic Granny Square
This cardigan uses a traditional four-corner granny square with three-double-crochet clusters separated by chain-two corner spaces. Each round begins with a slip stitch join and ch-3 standing as first dc.
Round 1 (Color A)
Make a magic ring or ch 4 and join with sl st to form a ring. Ch 3 (counts as first dc now and throughout), work 2 dc into ring, ch 2, (3 dc into ring, ch 2) 3 times, join with sl st to top of beginning ch-3. Fasten off. (4 clusters of 3 dc, 4 ch-2 corner spaces)
Round 2 (Color B)
Join new color with sl st in any ch-2 corner sp. Ch 3, work 2 dc in same corner sp, ch 2, 3 dc in same corner sp (first corner made), ch 1, (3 dc, ch 2, 3 dc) in next ch-2 corner sp, ch 1. Rep from ( to ) 2 more times, join with sl st to top of beginning ch-3. Fasten off. (8 clusters of 3 dc, 4 ch-2 corner spaces, 4 ch-1 side spaces)
Round 3 (Color C)
Join new color with sl st in any ch-2 corner sp. Ch 3, work 2 dc in same corner sp, ch 2, 3 dc in same corner sp (corner made), ch 1, 3 dc in next ch-1 sp, ch 1, (3 dc, ch 2, 3 dc) in next ch-2 corner sp, ch 1, 3 dc in next ch-1 sp, ch 1. Rep from ( to ) 2 more times, join with sl st to top of beginning ch-3. Fasten off. (12 clusters of 3 dc, 4 ch-2 corner spaces, 8 ch-1 side spaces)
Round 4 (MC, White)
Join MC with sl st in any ch-2 corner sp. Ch 1, (sc, ch 2, sc) in corner sp (corner made), sc in each dc and in each ch-1 sp across to next corner, (sc, ch 2, sc) in corner sp. Rep around all 4 sides, join with sl st to first sc. Fasten off. (Each side has 11 sc plus 2 corner sc for a total of 52 sc and 4 ch-2 corner spaces)
The white Round 4 creates the clean white border visible between every square in the finished garment.
Join As You Go (JAYG) Method
When adding a new square adjacent to an existing one, work Rounds 1 through 3 of the new square as normal. On Round 4 (MC), work the joining side(s) as follows:
- At each joining corner, work (sc, ch 1, sl st into corresponding corner ch-2 sp of neighbor square, ch 1, sc) instead of (sc, ch 2, sc).
- Along each joining edge, replace each ch-1 sp between sc groups with sl st into the corresponding sc of the neighbor square.
- Continue Round 4 normally on all non-joining sides. This creates a flat, invisible join.
Single Crochet Rib
This technique creates a stretchy, neat border. The rib direction runs perpendicular to the garment edge.
- Ch to desired length plus 1.
- Foundation row: Sc in 2nd ch from hook and in each ch across. Turn.
- Rib row: Ch 1, sc in blo of each st across. Turn.
- Rep Rib row for desired length.
Color Sequence for Squares
Each square uses three rounds of two or three contrast colors progressing through the pastels, finished with one round of white. To achieve the rainbow scatter effect, follow these suggested center-to-outer color pairings:
- Square type A: Round 1 CC1 (peach), Round 2 CC2 (yellow), Round 3 CC3 (mint), Round 4 MC
- Square type B: Round 1 CC4 (lavender), Round 2 CC5 (pink), Round 3 CC1 (peach), Round 4 MC
- Square type C: Round 1 CC2 (yellow), [Sequence continues as per source design]
Granny Squares Required
You will need to create a total of 36 squares to form the panels described below.
Step by Step Instructions
Making Individual Squares
Crochet the required number of squares using the instructions above, varying the color sequences to create the rainbow effect.
Back Panel Assembly
Lay 12 squares in a 4-wide by 3-tall grid. Vary color types so no two identical squares are adjacent. Using JAYG on Round 4, join squares in rows from bottom to top, left to right.
- Row 1 (bottom): Join 4 squares side by side. (4 squares joined horizontally)
- Row 2 (middle): Join 4 squares side by side, then join the row to Row 1. (8 squares total)
- Row 3 (top): Join 4 squares side by side, then join to Row 2. (12 squares total)
Completed back panel dimensions: 12 in wide x 9 in tall / 30.5 cm x 23 cm
Front Panels Assembly
Right front panel: Join 2 squares wide by 3 squares tall using JAYG. (6 squares)
Completed right front dimensions: 6 in wide x 9 in tall / 15 cm x 23 cm
Left front panel: Join 2 squares wide by 3 squares tall using JAYG. (6 squares)
Completed left front dimensions: 6 in wide x 9 in tall / 15 cm x 23 cm
Sleeve Panels and Assembly
Work two sleeve panels, each 2 squares wide by 3 squares tall (6 squares each). Follow the same JAYG process as for the body panels.
Each sleeve panel: 6 in wide x 9 in tall / 15 cm x 23 cm
Seaming the sleeve tube: Fold one sleeve panel in half lengthwise (so the 9-in edges meet). With MC, seam the long edge (the underarm seam) to create a tube. The tube will have a 6-in circumference, which is perfect for a baby’s upper arm with ease. Repeat for second sleeve.
Shoulder and Side Seaming
With RS together, seam the shoulder seams of the back and front panels. Then seam the side seams from the underarm down to the hem.
Sleeve Attachment
With RS together, align the underarm seam of the sleeve tube with the side seam of the body. Pin and seam the sleeve into the armhole.
Neckline Border
Work a border around the neckline using the single crochet rib technique or standard sc to finish the edge neatly.
Button Band (Right Front)
Work a ribbed border along the right front opening. Create button loops as you work, spacing them to align with the buttons.
Buttonhole Band (Left Front)
Work a ribbed border along the left front opening. Sew buttons firmly in place, ensuring they align with the button loops on the opposite side.
Hem Border
Work a ribbed border along the bottom hem of the cardigan using the single crochet rib technique.
Cuffs
Work ribbed borders around the openings of the sleeve tubes.
Crochet a small white patch pocket. Sew it onto the lower left front panel.
Finishing Your Cardigan
Weave in all ends securely, especially ends from color changes within each square. Check that all button and buttonhole placements align correctly.
Tips
- To size down to 0 to 3 months: Reduce each panel by 1 row of squares. Body panels become 4 wide x 2 tall (back) and 2 wide x 2 tall (each front). Sleeve panels become 2 wide x 2 tall. Total squares: 25. Chest circumference becomes approximately 16 in / 40.5 cm.
- To size up to 12 to 18 months: Add 1 row of squares to the height of all body panels, or add 1 column to the back. For a chest of approximately 22 in / 56 cm, extend the hem to 2 in and adjust button bands to match.
- To resize for a different gauge: If your square measures 3.5 in instead of 3 in, adjust the number of squares per row accordingly.
FAQs
Can I use a different yarn weight?
While the pattern is designed for DK weight yarn, you can substitute other smooth DK weight yarns. Avoid heavily textured or fluffy yarns as they will obscure the granny square stitch definition. If using a cotton/linen blend like Drops Safran, ensure your gauge is accurate as cotton has less elasticity.
How do I block the squares?
Block each panel before seaming for best results. Lay the squares flat on blocking mats, pin them to the correct 3-inch dimensions, and mist with water. Allow to dry completely. This ensures the final garment fits correctly.
What is the JAYG method?
JAYG stands for “Join As You Go.” It is a technique where you join squares together while working the final round of the new square. This creates a flat, invisible seam that is much neater than sewing squares together after they are all finished.
How do I make the button loops?
Button loops are made in the button band, not in the squares. When working the ribbed border on the right front panel, create chain spaces at the marked intervals to serve as loops for the buttons.
How many squares do I need for the 6-12 month size?
You need a total of 36 squares: 12 for the back panel, 6 for the right front, 6 for the left front, and 12 for the two sleeves (6 per sleeve).
Pin This Crochet Pattern!