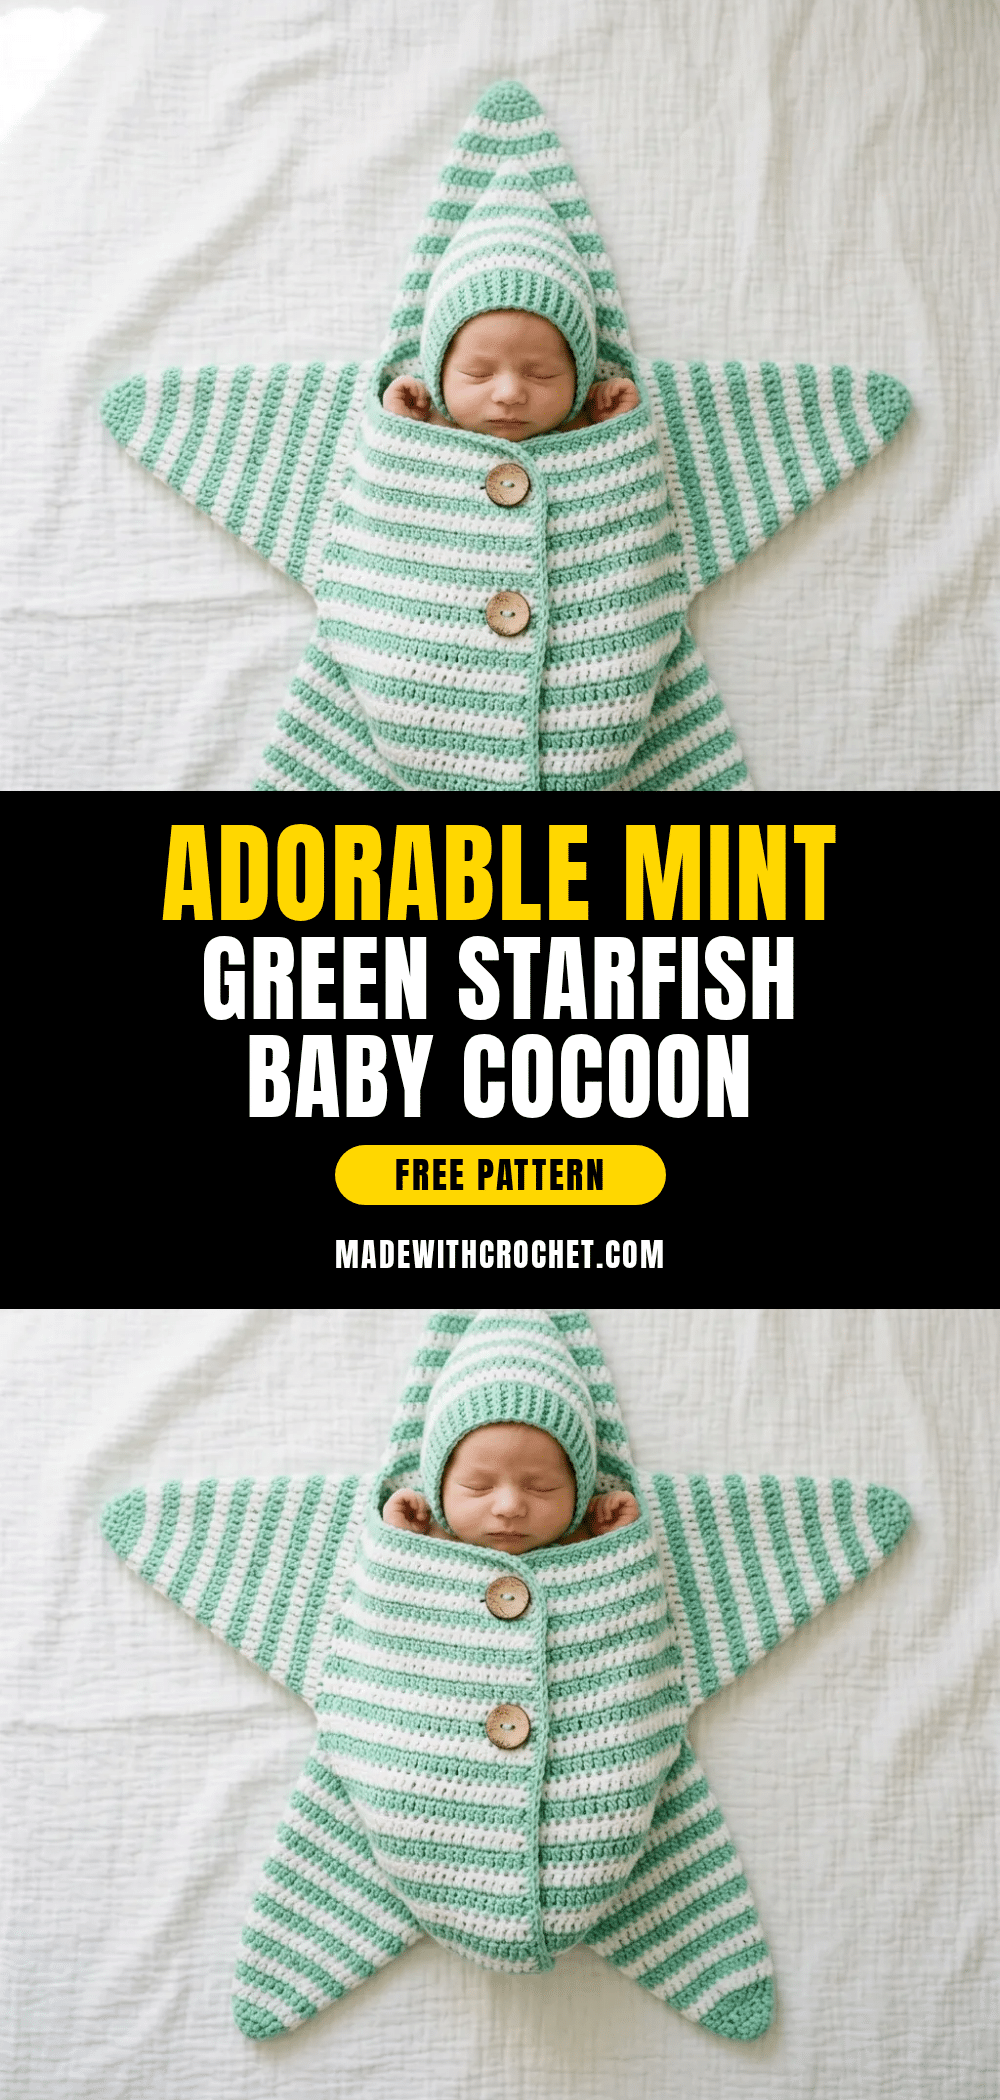
There is a specific kind of magic in creating a handmade gift that serves as both a practical necessity and a visual delight. This mint green starfish baby cocoon is exactly that—a wearable piece of art that photographs beautifully and keeps a newborn snug. Whether you are preparing for a baby shower, looking for a standout item for a craft market, or simply want to create a memorable keepsake for a new parent, this project offers a satisfying challenge. The design cleverly combines a simple striped body with five distinct star points, resulting in a cocoon that lays flat as a star and wraps securely around a baby. It is a project that rewards patience with a stunning final result that will be cherished for years.
Gift and Use Ideas
This cocoon is more than just a blanket; it is a statement piece for early photography. The mint green and white stripe combination is gender-neutral yet vibrant, making it perfect for newborn photoshoots where the baby needs to stand out against various backgrounds. Because the cocoon lays flat as a star shape, it serves as an adorable prop for nursery decor or as a unique blanket for tummy time. The matching pixie hat adds a whimsical touch that parents love to document. Beyond the nursery, the sturdy cotton construction makes it suitable for use in a stroller or as a cozy wrap during cooler evening walks, provided the baby is not yet rolling over. It is a gift that says you put thought into both aesthetics and comfort.
Project Overview
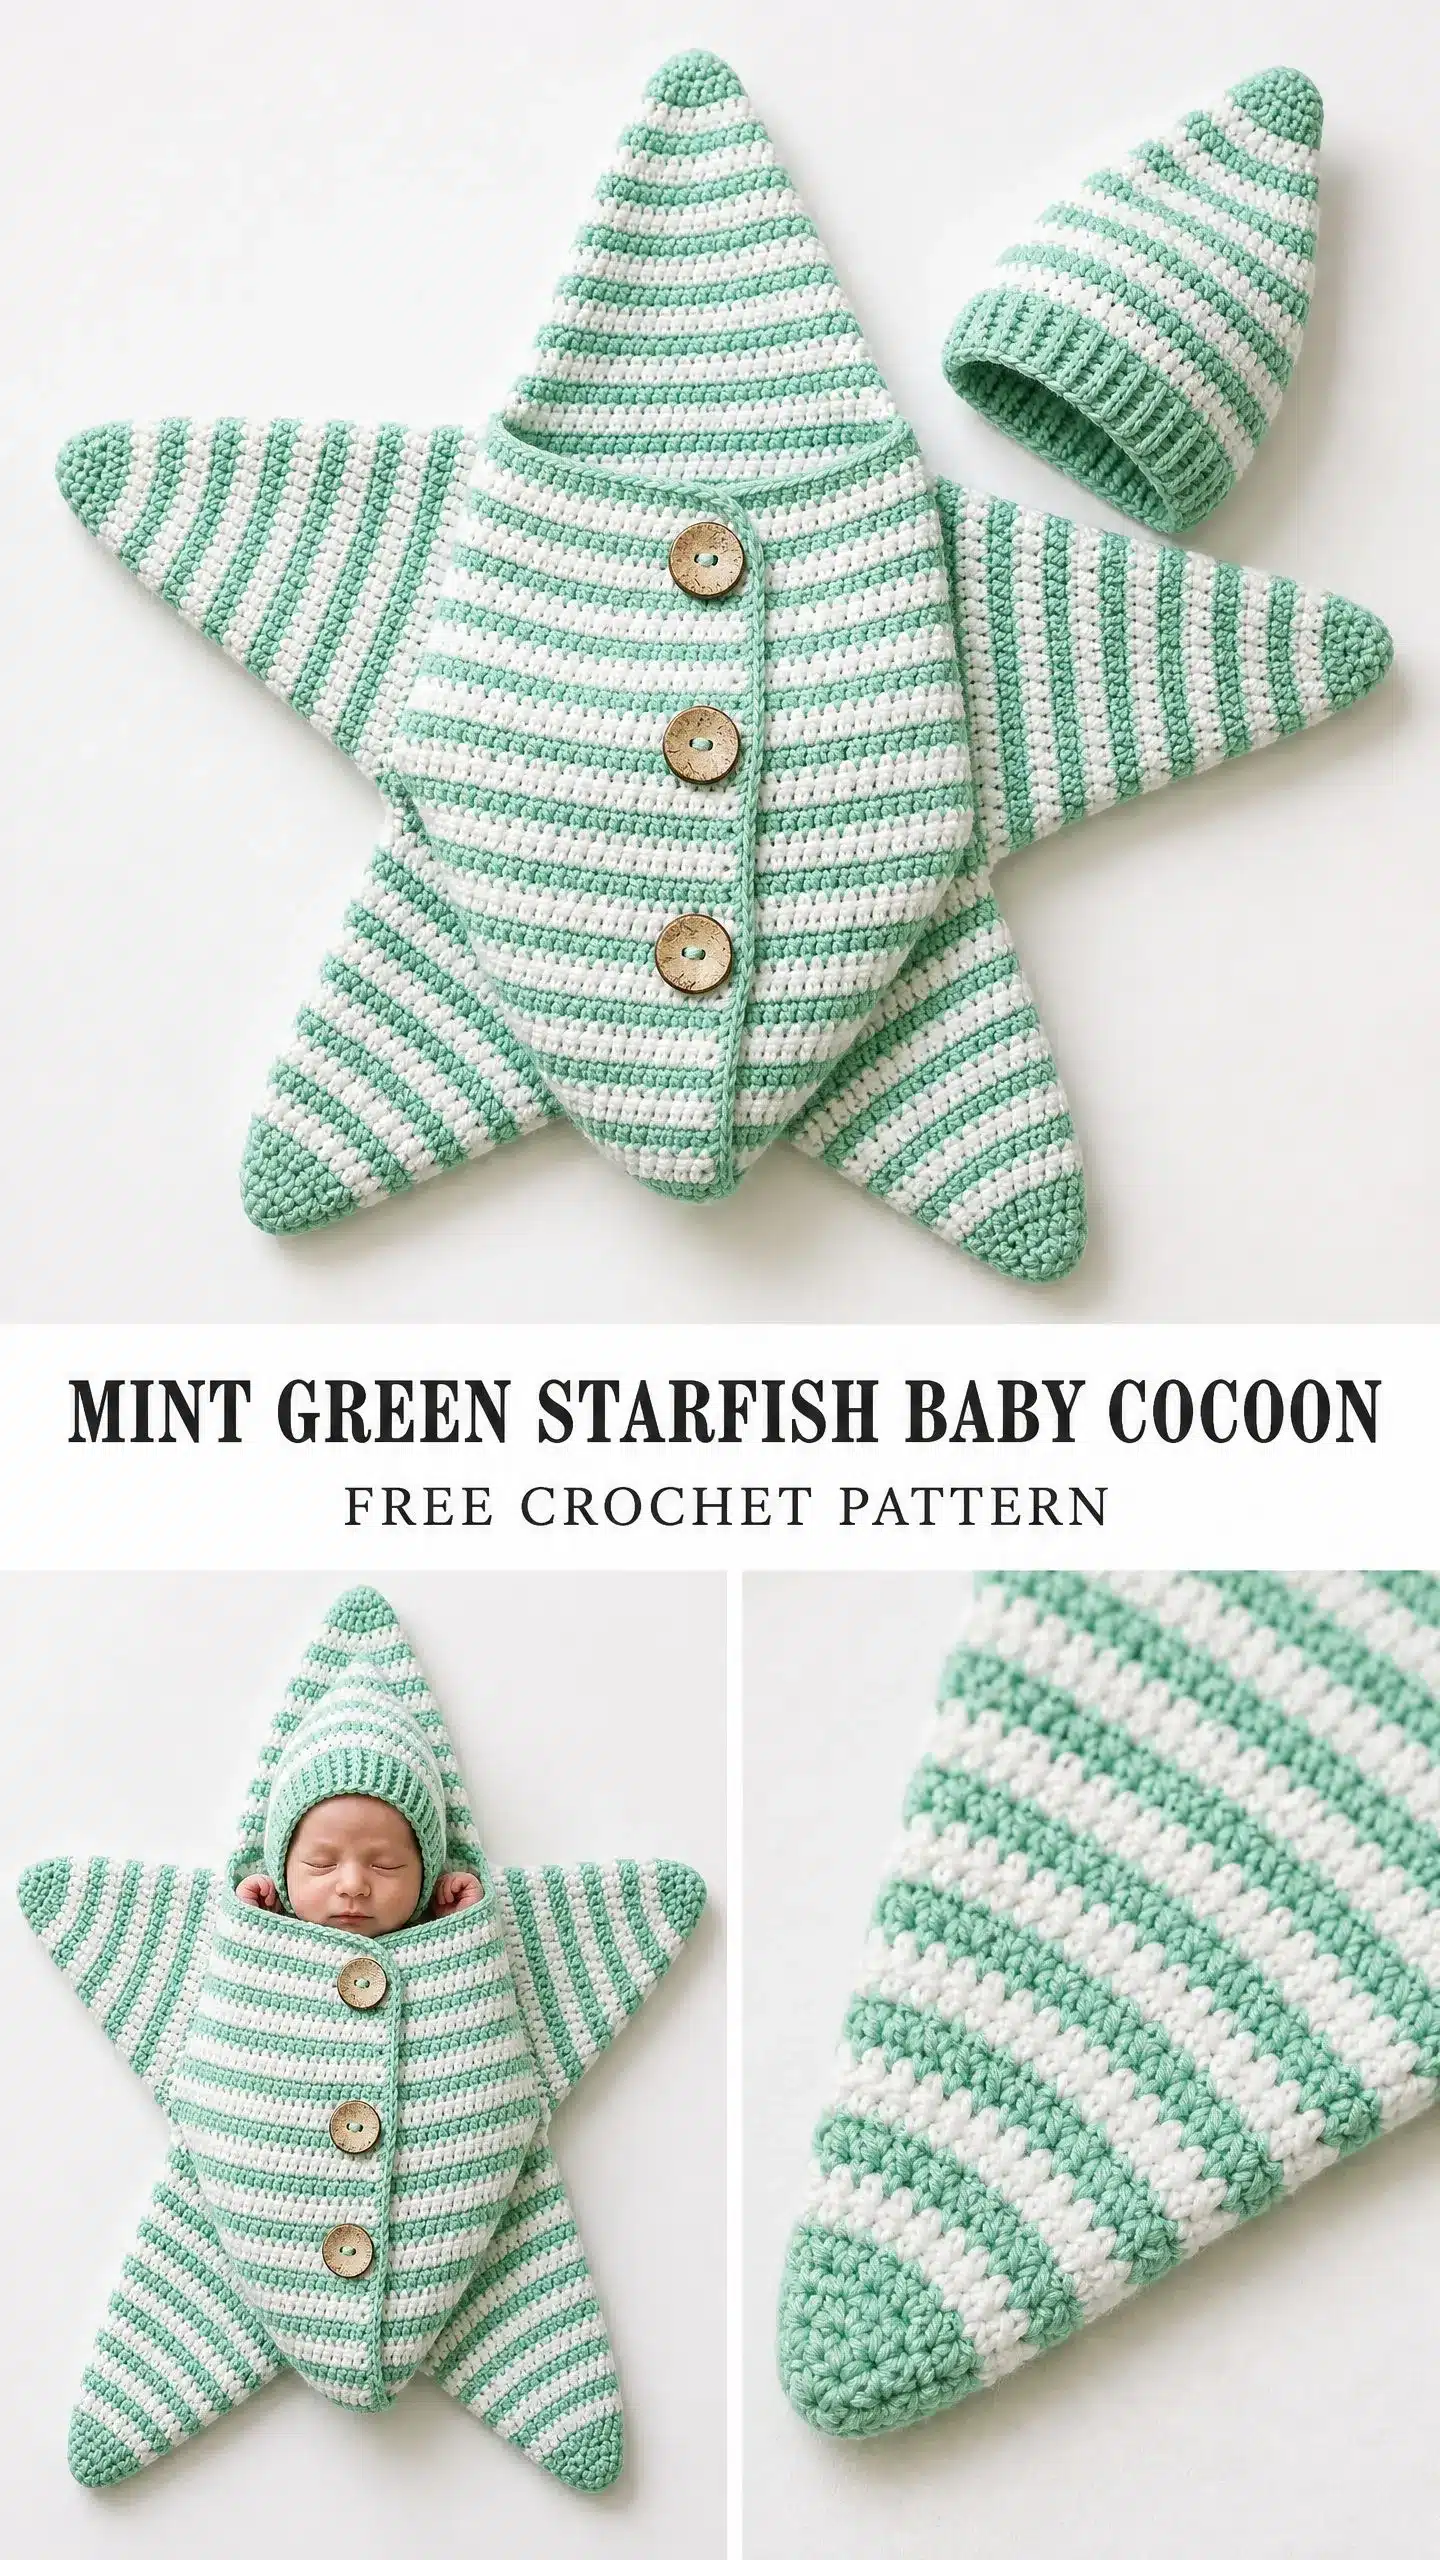
This starfish baby cocoon crochet pattern is rated intermediate. Before you close this tab, let me explain what that actually means. The individual stitches are completely beginner level. You will only use single crochet (sc), which is the most basic stitch in the crochet world. What bumps this up to intermediate is managing two yarn colors at once, following shaping sequences accurately, and assembling the three-dimensional cocoon from flat pieces. If you have completed at least one shaped project and feel comfortable reading row-by-row instructions, you can absolutely do this. I promise.
The construction method is clever and much easier than trying to work a five-pointed star from a single foundation. You will make a main body panel first, then create five separate star points and attach them. Think of it like building with blocks rather than sculpting from one piece of clay. The cocoon wraps snugly around a newborn with five points forming a perfect star silhouette when laid flat. The matching pixie hat has that tall pointed top that echoes the star body. Two coconut shell buttons make dressing and undressing easy, and the whole set works up in that satisfying mint green and white stripe combination that photographs beautifully.
Finished Size
- Cocoon: Approximately 18 inches wide point to point (45 cm) and 13 inches tall from bottom point to top of neck opening (33 cm). Fits newborns from birth to approximately 3 months, accommodating babies up to approximately 10 pounds (4.5 kg). The cocoon lays flat as a star shape. When the center front is buttoned closed, it forms a snug wrap around the baby’s torso, with the five star points extending outward.
- Hat: Approximately 13 inch head circumference (33 cm), fitting a newborn head.
Materials You Will Need
- Yarn: Worsted weight (Category 4), smooth cotton or cotton-blend yarn.
- Color A (Mint green): Approximately 350 yards (320 meters).
- Color B (White or cream): Approximately 300 yards (275 meters).
- Total yarn needed: Approximately 650 yards (595 meters) across both colors.
- Hook: US size G-6 (4.0 mm) crochet hook, or size needed to obtain gauge.
- Notions: 2 coconut shell buttons, approximately 1 inch (25 mm) diameter; Yarn needle for weaving ends; Scissors; Stitch markers (at least 5); Straight pins for blocking.
Yarn Suggestions
Lion Brand 24/7 Cotton in Mint and White is a top pick. This 100 percent mercerized cotton is machine washable, holds its shape beautifully, and produces crisp stripes. It is gentle against newborn skin since it contains no wool or synthetic content.
Paintbox Yarns Simply DK works well when held slightly loosely or on a G hook. This smooth cotton-acrylic blend comes in a wide range of colors and is affordable and widely available internationally.
Cascade Yarns Ultra Pima Cotton in Sage and Natural is a premium option with a subtle sheen and lovely drape. Machine washable on a gentle cycle.
Avoid fuzzy, textured, or chunky yarns as they will obscure the stripe pattern and alter the gauge. Always work a gauge swatch before beginning.
Gauge
18 single crochet stitches and 20 rows = 4 inches (10 cm) worked flat in single crochet with Color A, using a G-6 (4.0 mm) hook, after blocking.
Gauge is critical for this pattern. The star points and cocoon sizing are calculated based on this gauge. A swatch that is too loose will produce an oversized cocoon that will not hold a newborn snugly. A swatch that is too tight will produce a cocoon too small to fit comfortably.
Abbreviations and Stitch Definitions
- ch: chain
- sc: single crochet, which means insert hook into stitch, yarn over, pull up a loop (2 loops on hook), yarn over, pull through both loops
- sc2tog: single crochet two stitches together (decrease), which means insert hook into next stitch, pull up a loop, insert hook into following stitch, pull up a loop (3 loops on hook), yarn over, pull through all 3 loops
- inc: increase, meaning work 2 single crochet into the same stitch
- sl st: slip stitch
- st(s): stitch(es)
- RS: right side
- WS: wrong side
- sk: skip
- sp: space
- rep: repeat
- pm: place marker
- rem: remaining
Special Techniques
Two-Color Stripe Carry Method
This pattern uses two colors worked in alternating two-row stripes. Rather than cutting the yarn at each color change, both yarns are carried up the side of the work. To carry: when switching colors at the end of a row or round, draw the new color through the last two loops of the final stitch of the current row, leaving the old color hanging at the side. On flat rows, carry the unused yarn loosely up the right edge. On rounds, carry the unused yarn inside the work by laying it along the top of the previous round’s stitches and crocheting over it for 3 to 4 stitches before letting it hang until the next switch. This avoids long floats and keeps the wrong side tidy.
Pattern Instructions
Part 1: Main Cocoon Body Panel
The body is a flat rectangle that is seamed into an open-top tube. The front opening runs vertically.
With Color A and a G-6 hook, chain 63.
Foundation Row (WS): sc into 2nd ch from hook and into each ch across. Turn. (62 sc)
Row 1 (RS): ch 1, turn, sc in each st across. (62 sc)
Row 2 (WS): ch 1, turn, sc in each st across. (62 sc)
Switch to Color B at the end of Row 2 by drawing Color B through the last 2 loops of the last st.
Row 3 (RS): ch 1, turn, sc in each st across. (62 sc)
Row 4 (WS): ch 1, turn, sc in each st across. (62 sc)
Switch to Color A.
Continue in this 2-row stripe sequence (2 rows Color A, 2 rows Color B) until the panel measures approximately 9 inches (23 cm) from the foundation row. This will be approximately 46 rows total.
Checkpoint: After completing the main body panel, the piece should measure 9 inches (23 cm) tall and approximately 13.8 inches (35 cm) wide.
Body Shaping at Base
Work a slight curve at the bottom of the body to create a rounded base rather than a flat bottom seam.
Shaping Row 1 (RS): ch 1, turn, sc in first 27 sts, sc2tog, sc2tog, sc in rem 29 sts. (60 sc)
Shaping Row 2 (WS): ch 1, turn, sc in first 26 sts, sc2tog, sc2tog, sc in rem 28 sts. (58 sc)
Shaping Row 3 (RS): ch 1, turn, sc in first 25 sts, sc2tog, sc2tog, sc in rem 27 sts. (56 sc)
Shaping Row 4 (WS): ch 1, turn, sc in first 24 sts, sc2tog, sc2tog, sc in rem 26 sts. (54 sc)
Shaping Row 5 (RS): ch 1, turn, sc in first 23 sts, sc2tog, sc2tog, sc in rem 25 sts. (52 sc)
Shaping Row 6 (WS): ch 1, turn, sc in first 22 sts, sc2tog, sc2tog, sc in rem 24 sts. (50 sc)
Fasten off, leaving a 24-inch tail for seaming.
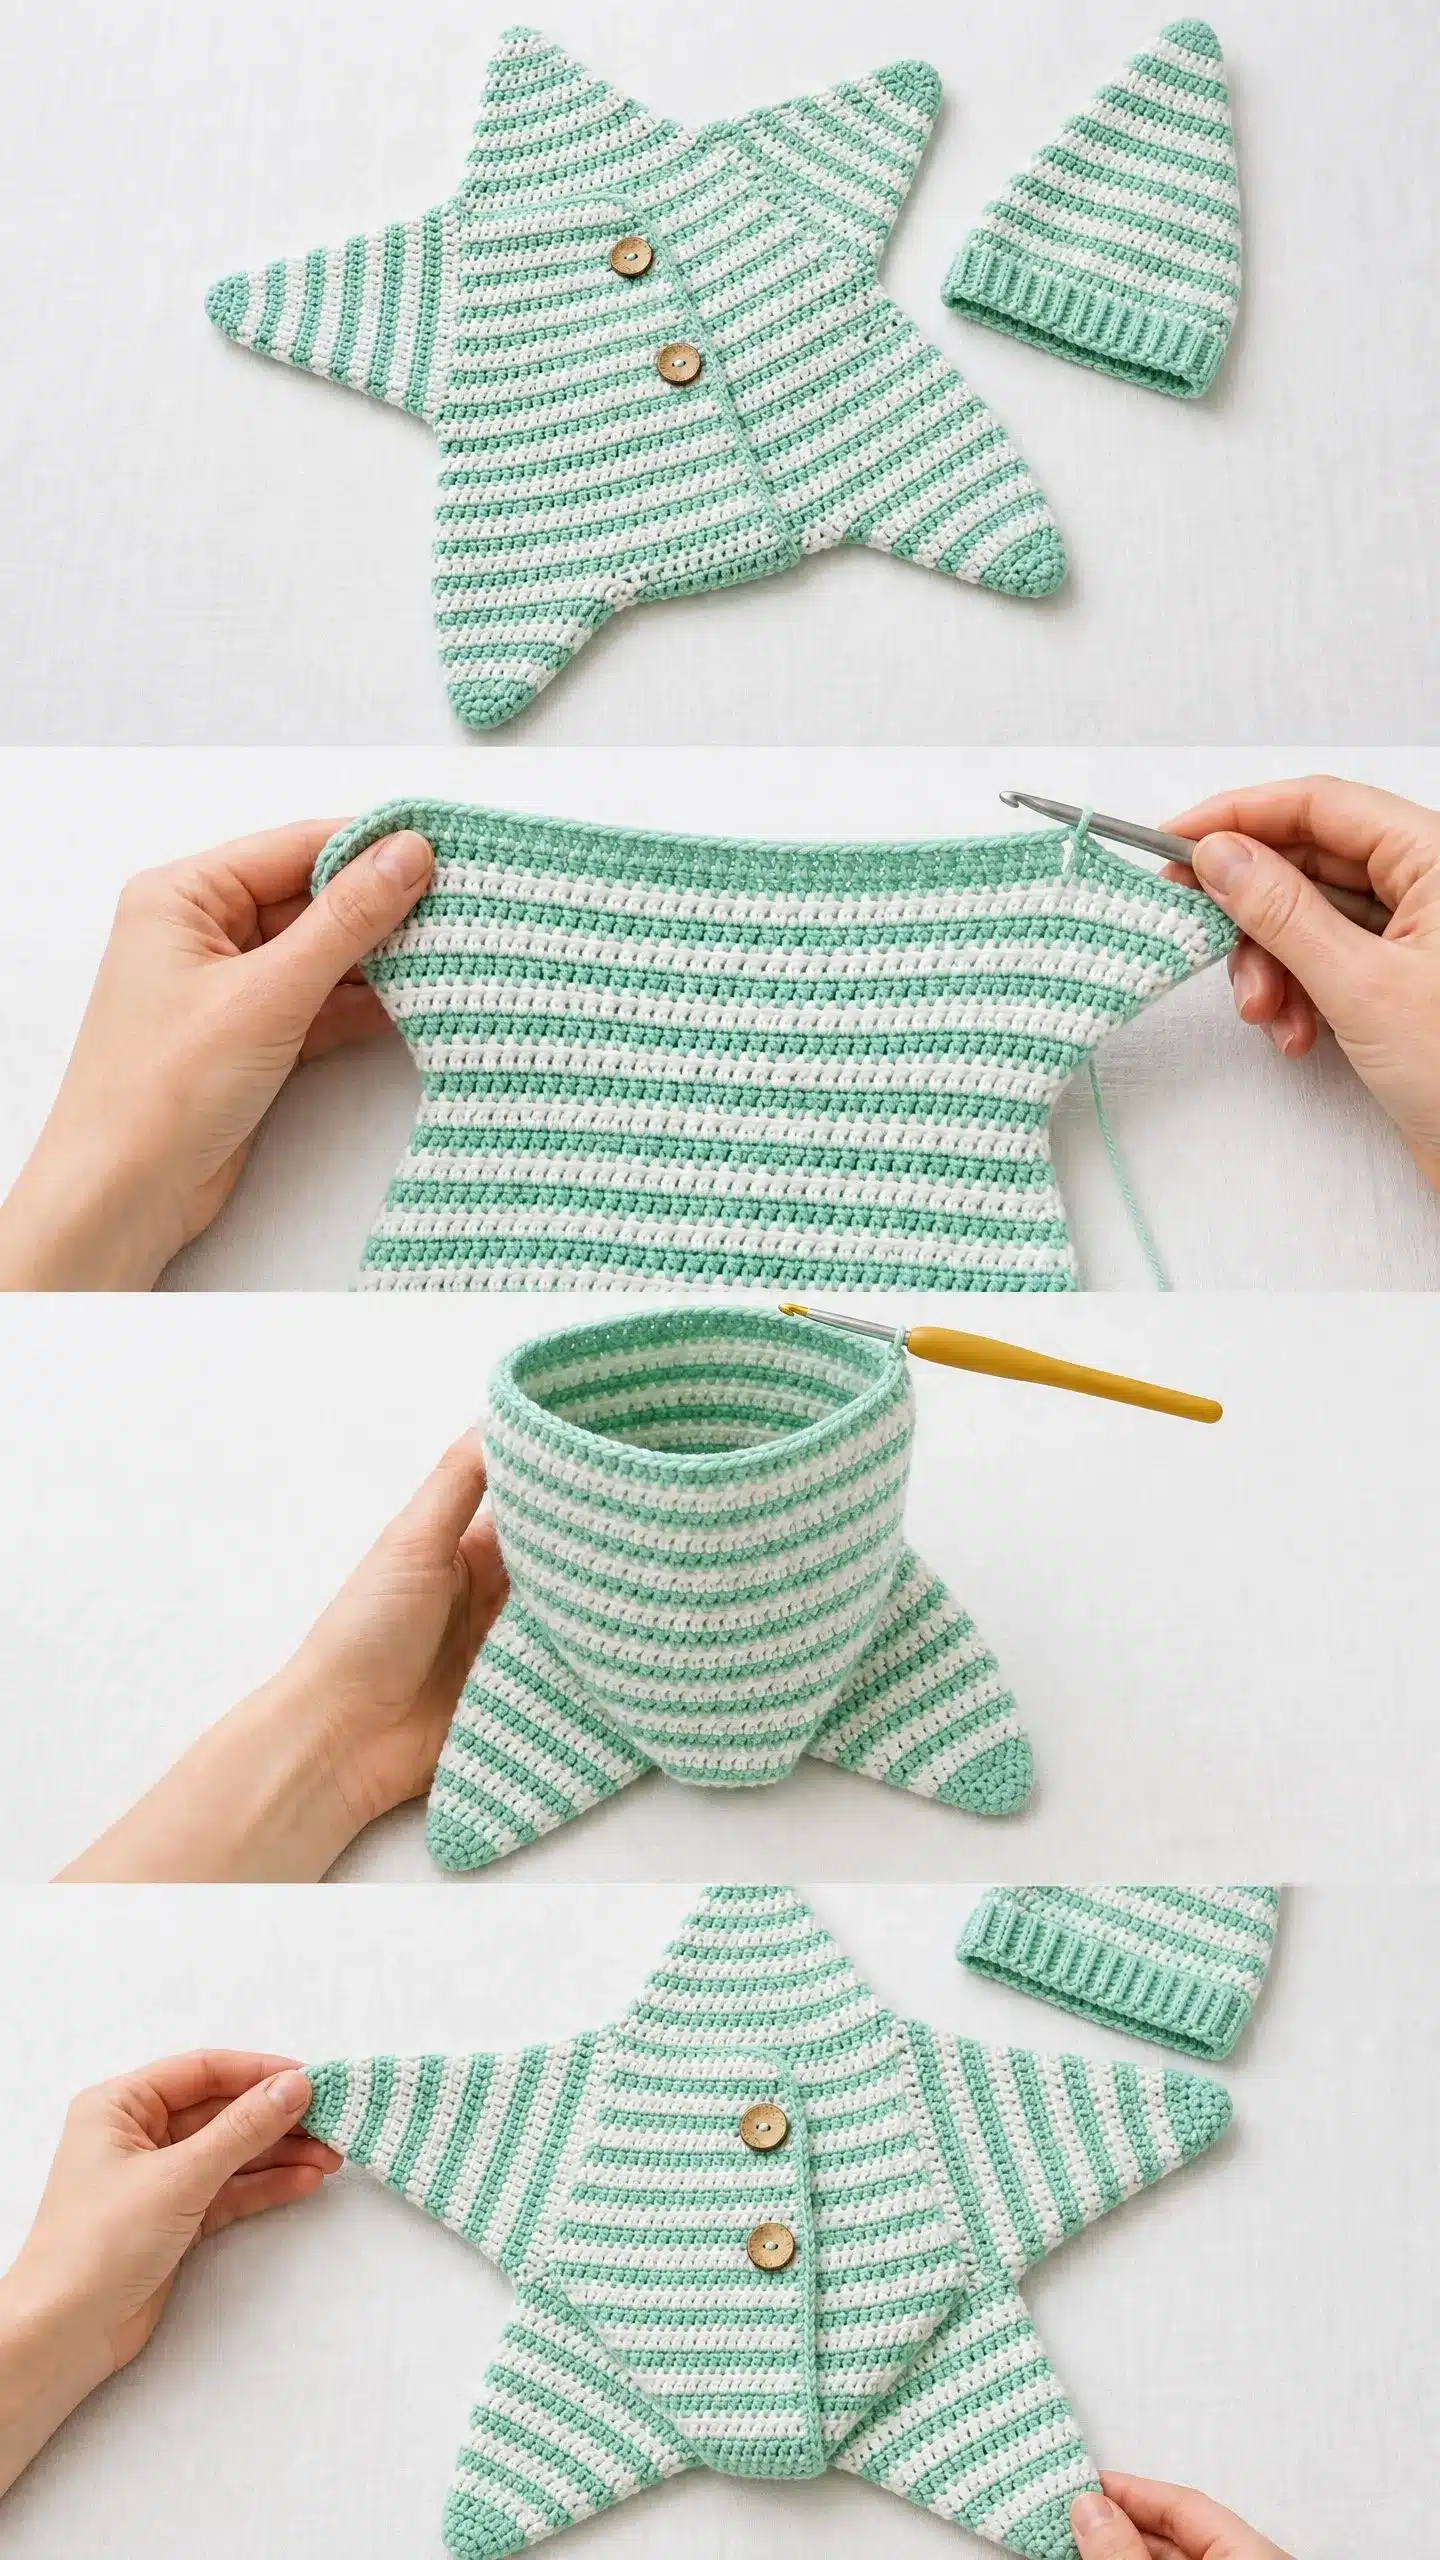
Fold the panel in half lengthwise, right sides together, matching the two short ends (these become the back seam). Using the yarn tail and yarn needle, whipstitch the back seam closed along the full length of the long edge. Then whipstitch the base curved shaping closed. Turn right side out.
Checkpoint: The seamed body tube should measure approximately 9 inches (23 cm) tall and approximately 6.5 inches (16.5 cm) in diameter at the widest point.
Part 2: Star Points (Make 5)
Each point is a triangular flat piece. Work all five points using the same stripe sequence.
With Color A, chain 3, sl st to join into a ring (or use a magic ring).
Part 2A: Attaching the Star Points
Once the five star points are complete, attach them to the main body tube. Position the points evenly around the circumference of the cocoon, ensuring they are distributed symmetrically to maintain the star shape. Use the yarn tails and a yarn needle to whipstitch the base of each point securely to the body tube.
Part 3: Button Band
With Color A, work single crochet evenly along the front opening edge of the cocoon. Attach the coconut shell buttons to the opposite front edge, aligning them with the button band for closure.
Part 4: Neck Band and Hood Rim
With Color A, work a round of single crochet around the neck opening to create a finished edge. If the pattern includes a hood, work the hood rim in the same manner to ensure a neat finish.
Part 5: Pixie Star Hat
With Color A, chain 3, sl st to join into a ring (or use a magic ring) and follow the hat instructions to create the matching pixie hat with a tall pointed top. Work in rounds using the two-color stripe sequence established in the body panel.
Size Customization Tips
- For a slightly larger baby (3 to 6 months, up to approximately 14 pounds): Increase the foundation chain of the body panel by 10 stitches (chain 73 instead of 63, giving 72 working stitches). Add 2 extra stripe repeats (4 rows) to the body panel height before working the base shaping. Increase each star point by 4 additional rows, ending with 29 stitches at the base of each point. Add 2 additional even rounds to the hat brim.
- For a preemie or smaller newborn (under 6 pounds): Decrease the foundation chain to 53 stitches (52 working stitches). Work 2 fewer stripe repeats in the body panel. Work each star point to 17 stitches at base instead of 21. Work 2 fewer even rounds on the hat brim.
Finishing and Blocking
Weave in all ends before blocking. Do not trim ends until after blocking is complete, as the yarn may shift slightly.
Wet blocking method (recommended for cotton): Submerge the cocoon and hat in cool water for 15 minutes. Gently press out excess water without wringing. Lay flat on a clean dry towel and roll the towel to absorb more water. Unroll and lay the pieces flat on a blocking mat. Using rust-proof pins, pin the star points out to their full triangular dimensions, stretching gently to open the points and define the star silhouette. Pin the brim of the hat to its full circular dimensions. Allow to dry completely (12 to 24 hours) before unpinning.
Care Instructions
Machine wash on gentle cycle in cold water. Place the cocoon inside a mesh laundry bag to protect the buttons and the star points during washing. Lay flat to dry. Do not tumble dry on high heat as this may cause the cotton to shrink and distort the star shape. Store folded, not hung, to preserve the shape of the star points.
Final Thoughts on This Starfish Baby Cocoon Crochet Pattern
This pattern offers a unique blend of simplicity and visual impact. By breaking down the star shape into manageable components, it becomes an achievable project for crocheters looking to expand their skills in colorwork and assembly. The result is a heirloom-quality piece that is as functional as it is beautiful.
FAQs
What is the best yarn to use for this pattern?
A smooth worsted weight cotton or cotton-blend yarn is recommended. Cotton holds its shape well and provides crisp definition for the star points and stripes. Avoid fuzzy or textured yarns as they can obscure the pattern details.
Is this pattern suitable for beginners?
While the stitches used are basic single crochet, the pattern is rated intermediate due to the two-color stripe management and the assembly of multiple pieces. If you are comfortable with basic shaping and reading row-by-row instructions, you can succeed.
How do I adjust the size for an older baby?
To make the cocoon larger, increase the foundation chain by 10 stitches and add extra rows to the body panel and star points. Refer to the Size Customization Tips section for specific adjustments.
Can I use acrylic yarn instead of cotton?
Yes, you can use acrylic yarn, but keep in mind that cotton is recommended for its durability and ability to hold the blocking shape. If using acrylic, you may need to adjust your blocking technique accordingly.
How do I carry the yarn colors without creating long floats?
Use the Two-Color Stripe Carry Method described in the Special Techniques section. Carry the unused yarn loosely up the side of flat rows or inside the work for rounds, crocheting over it for a few stitches before letting it hang.
Pin This Crochet Pattern!