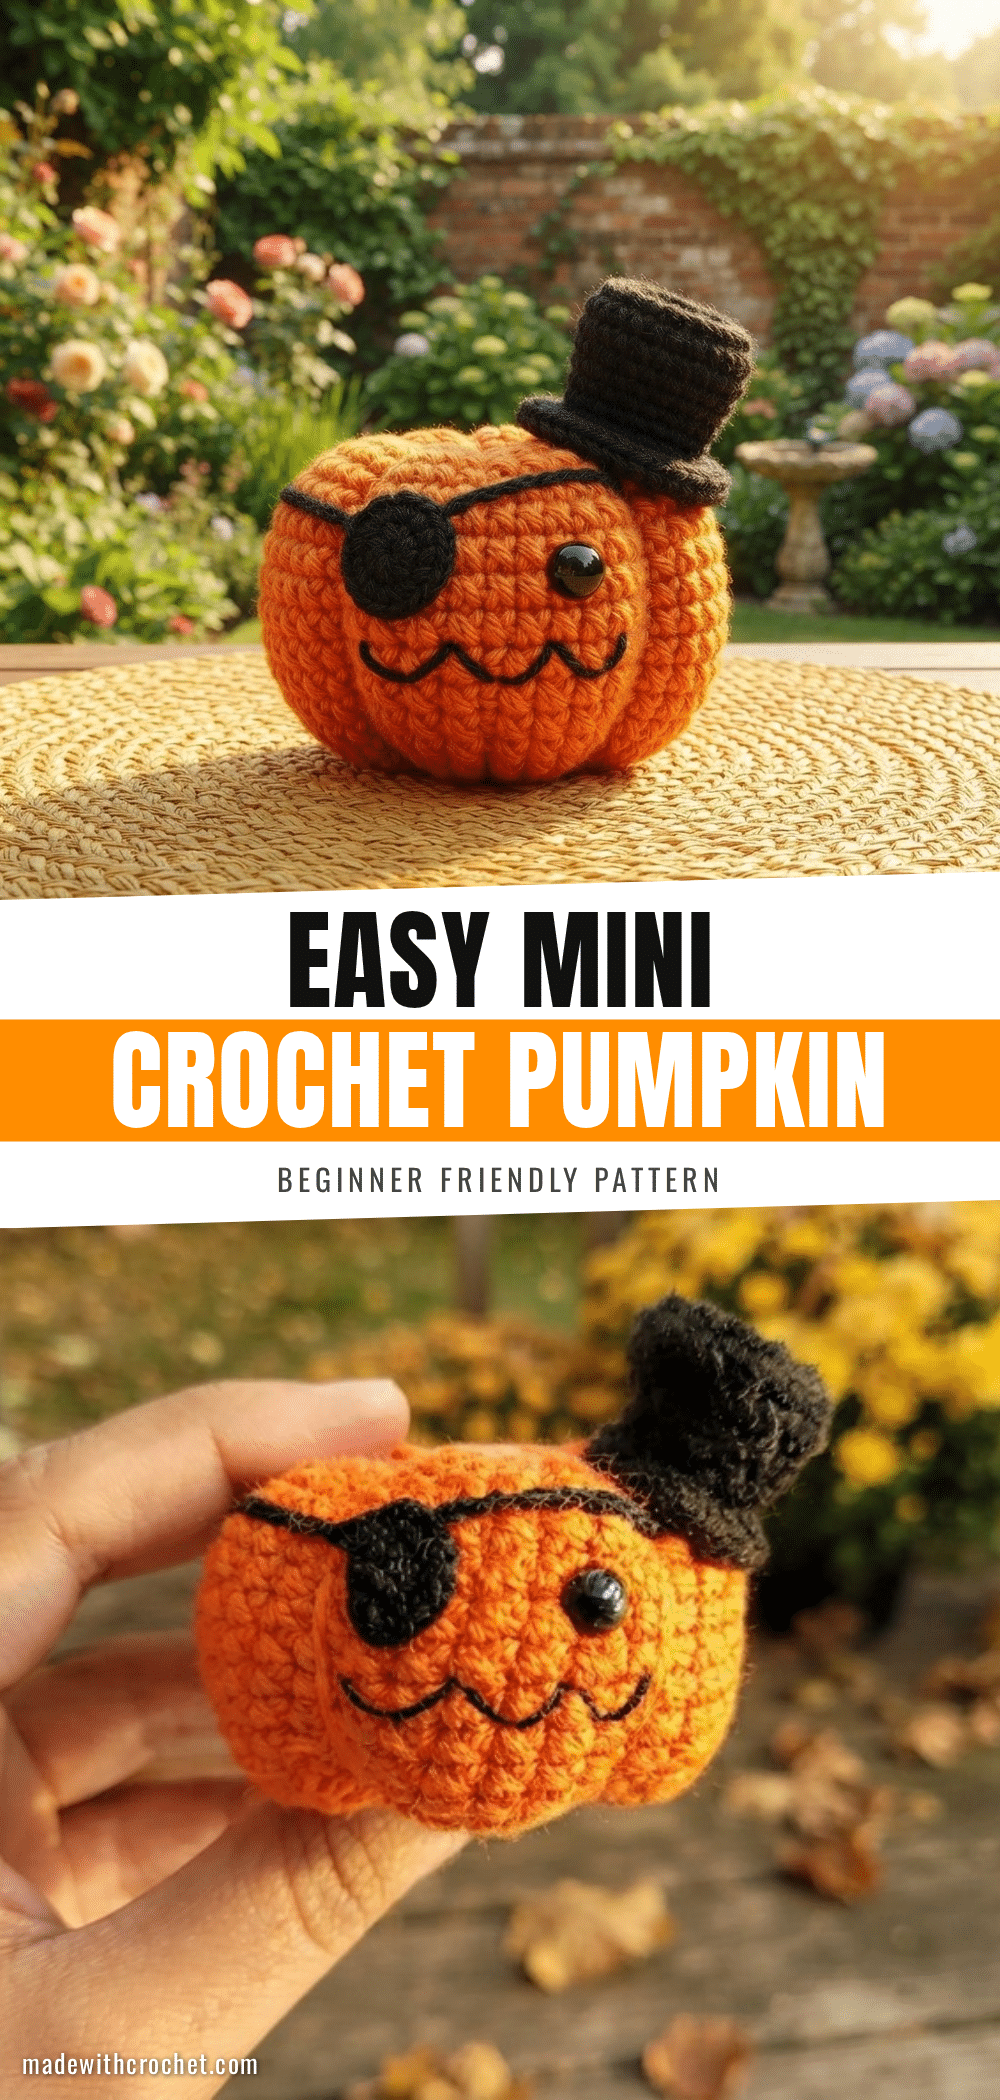
There is something deeply satisfying about pulling a skein of orange yarn from the back of a stash bin, the kind of decision that feels less like planning and more like destiny. For this mini pumpkin, the choice of a soft worsted weight in a warm, autumnal hue sets the tone for the entire project. It’s the kind of tactile comfort that makes crocheting feel like a hug, and when paired with a crisp white for the sleepy eye cover, it creates a contrast that is both playful and cozy. This isn’t just about making a decoration; it’s about creating a small, intentional piece of fall that fits perfectly in the palm of your hand.
Yarn and Color Notes
The visual appeal of this amigurumi pumpkin lies in its simplicity and the texture of the yarn. Using a standard worsted weight (category 4) yarn ensures the pumpkin holds its shape while remaining soft to the touch. The primary color, a vibrant orange, mimics the classic pumpkin look, while the white yarn used for the eye cover adds a whimsical, “sleepy” character. You might consider using a slightly textured yarn, such as a cotton blend or a soft acrylic, to enhance the tactile experience. The optional black yarn for facial features allows for personalization, letting you decide if your pumpkin is grinning, frowning, or simply resting its eyes. The choice of fiber affects the final drape and firmness, so ensure your yarn is durable enough to withstand the stuffing process without losing its integrity.
Project Overview
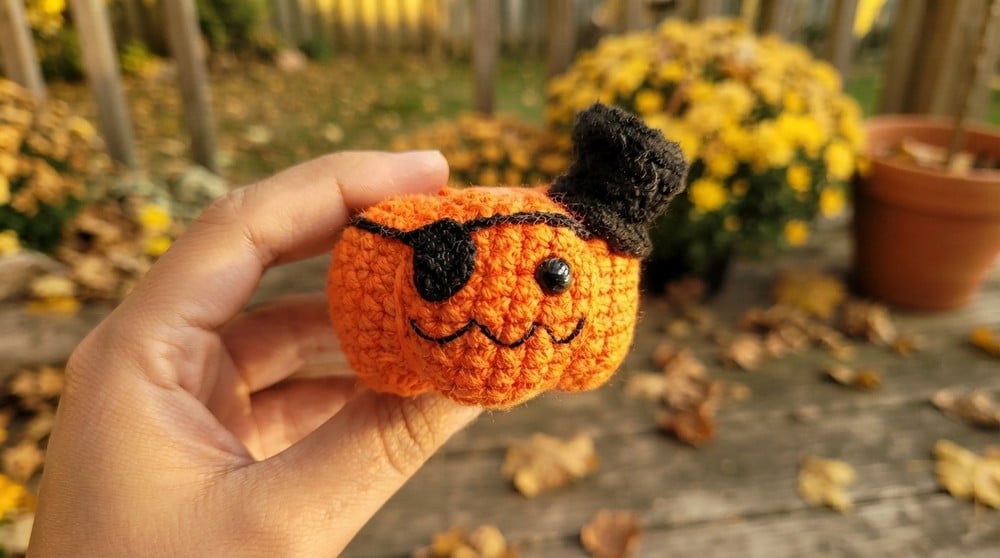
This Easy Mini Crochet Pumpkin Pattern is a charming amigurumi project perfect for Halloween or autumn decor. Designed by Needle Cuddle, this plushie features a plump, round body with a unique “sleep mask” eye cover, giving it a whimsical and endearing expression. It is small enough to serve as a keychain, bag charm, or shelf decoration. The pattern utilizes basic amigurumi techniques, making it accessible for confident beginners while offering enough detail to satisfy intermediate crocheters.
Materials
- Yarn: Worsted weight (category 4) in orange (main body), white (eye cover), and optional black (for mouth/features).
- Crochet Hook: 3.0 mm or 3.5 mm (adjust size to achieve tight, dense stitches).
- Stuffing: Polyester fiberfill.
- Safety Eye: One 8–10 mm eye.
- Notions: Yarn needle, scissors, and a stitch marker.
Gauge and Finished Size
Finished Size
The finished pumpkin measures approximately 9–10 cm (3.5–4″) in diameter and height. It is a palm-sized plushie. The eye cover chain (ch-60) can be adjusted to fit the specific size of your pumpkin.
Gauge
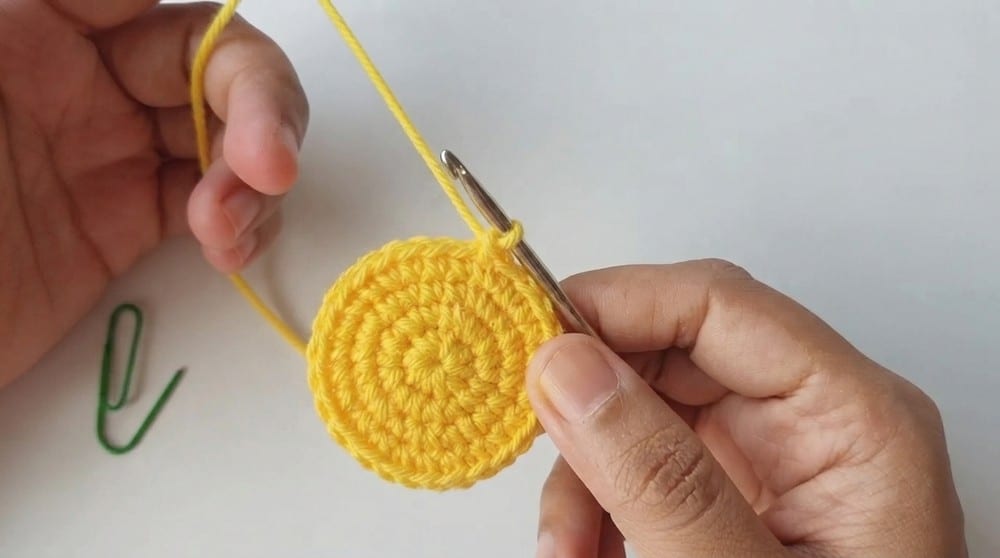
Gauge is not crucial for this project, but tighter tension is recommended to prevent stuffing from showing. For reference:
- 10 sc and 10 rows = 5 cm (2 in) with a 3.5 mm hook and worsted yarn.
Abbreviations
- MR: Magic Ring
- sc: Single Crochet
- inc: Increase (2 sc in 1 st)
- dec: Decrease (sc2tog)
- ch: Chain
- st(s): Stitch(es)
- R: Round
- sl st: Slip Stitch
Pattern Notes
All rounds are worked in a continuous spiral unless otherwise noted. Use a stitch marker to mark the first stitch of each round to keep track of your progress. Safety eyes should be securely fastened and checked for security, especially if the finished item is intended for young children. Stuffing is done before the final closing rounds to ensure optimal shape. The mask feature is optional; you can adapt this base pumpkin for other facial expressions or accessories. Tensions and gauge are not critical, but firm stitches are necessary to prevent stuffing from showing through.
Special Stitches
- Magic Ring (MR): Begin with a loop, crochet into the loop, then pull tight to close.
- Invisible Decrease (dec): Insert hook into front loops of next 2 sts, yo, pull through, yo, pull through both loops.
- Increase (inc): 2 single crochet in the same stitch.
Pattern Instructions
Pumpkin Body
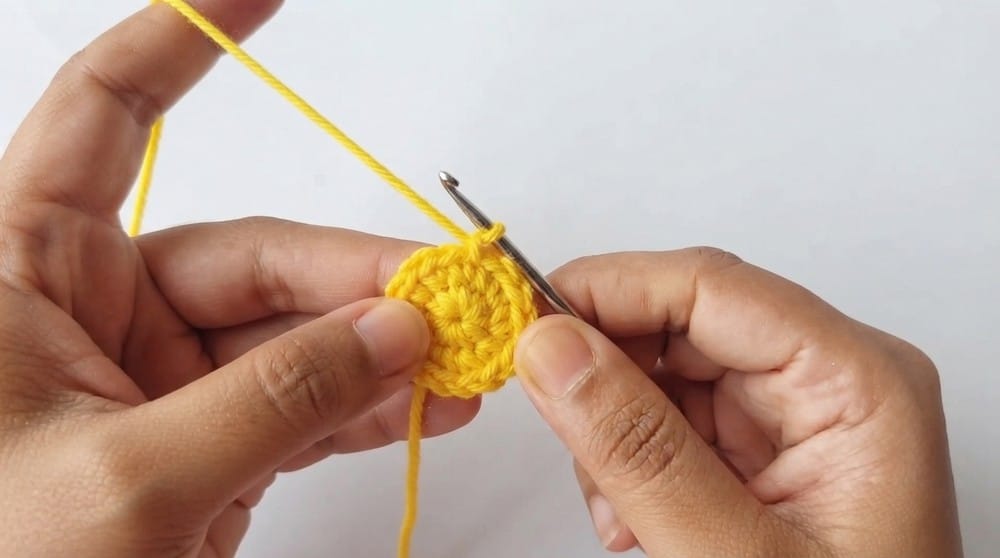
R1: Start with a MR. Make 6 sc in the ring. {6}
R2: inc in each st around (2 sc in each st). {12}
R3: (1 sc, inc) x6 (that is: sc in next st, 2 sc in next st, repeat six times). {18}
R4: (2 sc, inc) x6 (sc in next 2 sts, 2 sc in next st, repeat). {24}
R5: (3 sc, inc) x6 (sc in next 3 sts, 2 sc in next st, repeat). {30}
R6: (4 sc, inc) x6 (sc in next 4 sts, 2 sc in next st, repeat). {36}
R7–R16: sc in each st around. {36} (Continue for 12 rounds to create the height and plumpness of the pumpkin.)
R17: (4 sc, dec) x6 (sc in next 4 sts, invisible dec, repeat). {30}
Insert the Eye
Insert one safety eye between R9 and R10. (You may want to mark the “front” of your pumpkin before this step.)
R18: (3 sc, dec) x6 (sc in next 3 sts, dec, repeat). {24}
R19: (2 sc, dec) x6 (sc in next 2 sts, dec, repeat). {18}
Stuff the Pumpkin
Add ample fiberfill stuffing at this stage for best shape. Ensure the pumpkin is firm but not overstretched.
R20: (1 sc, dec) x6 (sc in next st, dec, repeat). {12}
R21: dec x6 (work 6 decreases). {6}
Fasten off, leaving a long tail for closing and shaping.
Pumpkin Shaping
Thread the end tail onto a yarn needle. Sew through the front loops of the remaining 6 sts and pull tight to close. For shape, insert needle up through the center top and down through the center bottom several times, pulling gently to create “pumpkin segments.” Secure and weave in remaining end.
Eye Cover / Sleep Mask
R1 of Eye Cover: With white yarn, MR, 6 sc in ring. {6}
R2: inc in each st around (2 sc in each st). {12}
R3: ch 60 (or desired length to fit around pumpkin’s head—can be adjusted for your specific pumpkin’s size). Fasten off, leaving tail for sewing if needed.
Assembly
Assemble Eye Cover
Place the eye cover over the pumpkin’s face so it covers the safety eye like a sleep mask. Use the long yarn tail to sew the ends of the ch-60 to each side of the mask, securing the band neatly at your desired height. Optionally, tack down the mask at a few points with small whip stitches for a secure fit.
Final Shaping
Adjust stuffing as needed before final closure or sewing. Smooth all yarn tails and weave in securely. Trim excess. Check the security of the safety eye, mask, and yarn joints.
Presentation
Your pumpkin should sit flat, with its sleepy (or awake!) eye showing under or behind the eye cover for a whimsical, endearing effect.
Tips
- Tight Stitches: Amigurumi requires tight tension to prevent stuffing from showing. If you see gaps, try a smaller hook.
- Stitch Marker: Always use a stitch marker to track the beginning of rounds, as working in a spiral can make counting difficult.
- Safety Eye Security: If making this for a child, ensure the safety eye is backed with a washer or secured with a knot and glue to prevent it from coming loose.
- Customization: Feel free to embroider a mouth or add a small green stem and leaf on top for a more traditional pumpkin look.
FAQs
What size safety eye should I use?
Use one 8–10 mm safety eye for this pattern. This size is proportional to the small, palm-sized pumpkin body.
Can I adjust the size of the pumpkin?
Yes. You can adjust the number of rounds in the middle section (R7–R16) to make the pumpkin taller or shorter. Additionally, the chain length for the eye cover (ch-60) can be adjusted to fit your specific pumpkin size.
Is this pattern suitable for beginners?
This pattern is rated for Confident Beginner to Intermediate crocheters. You should be familiar with magic rings, single crochet, increasing, decreasing, and working in the round.
Can I use a different yarn weight?
While the pattern calls for worsted weight (category 4) yarn, you can use other weights. However, you will need to adjust your hook size accordingly and expect the finished size to change.
How do I make the pumpkin look more like a real pumpkin?
After closing the final round, use the yarn tail to sew through the top and bottom center several times, pulling gently to create indentations that mimic pumpkin segments.
Pin This Crochet Pattern!